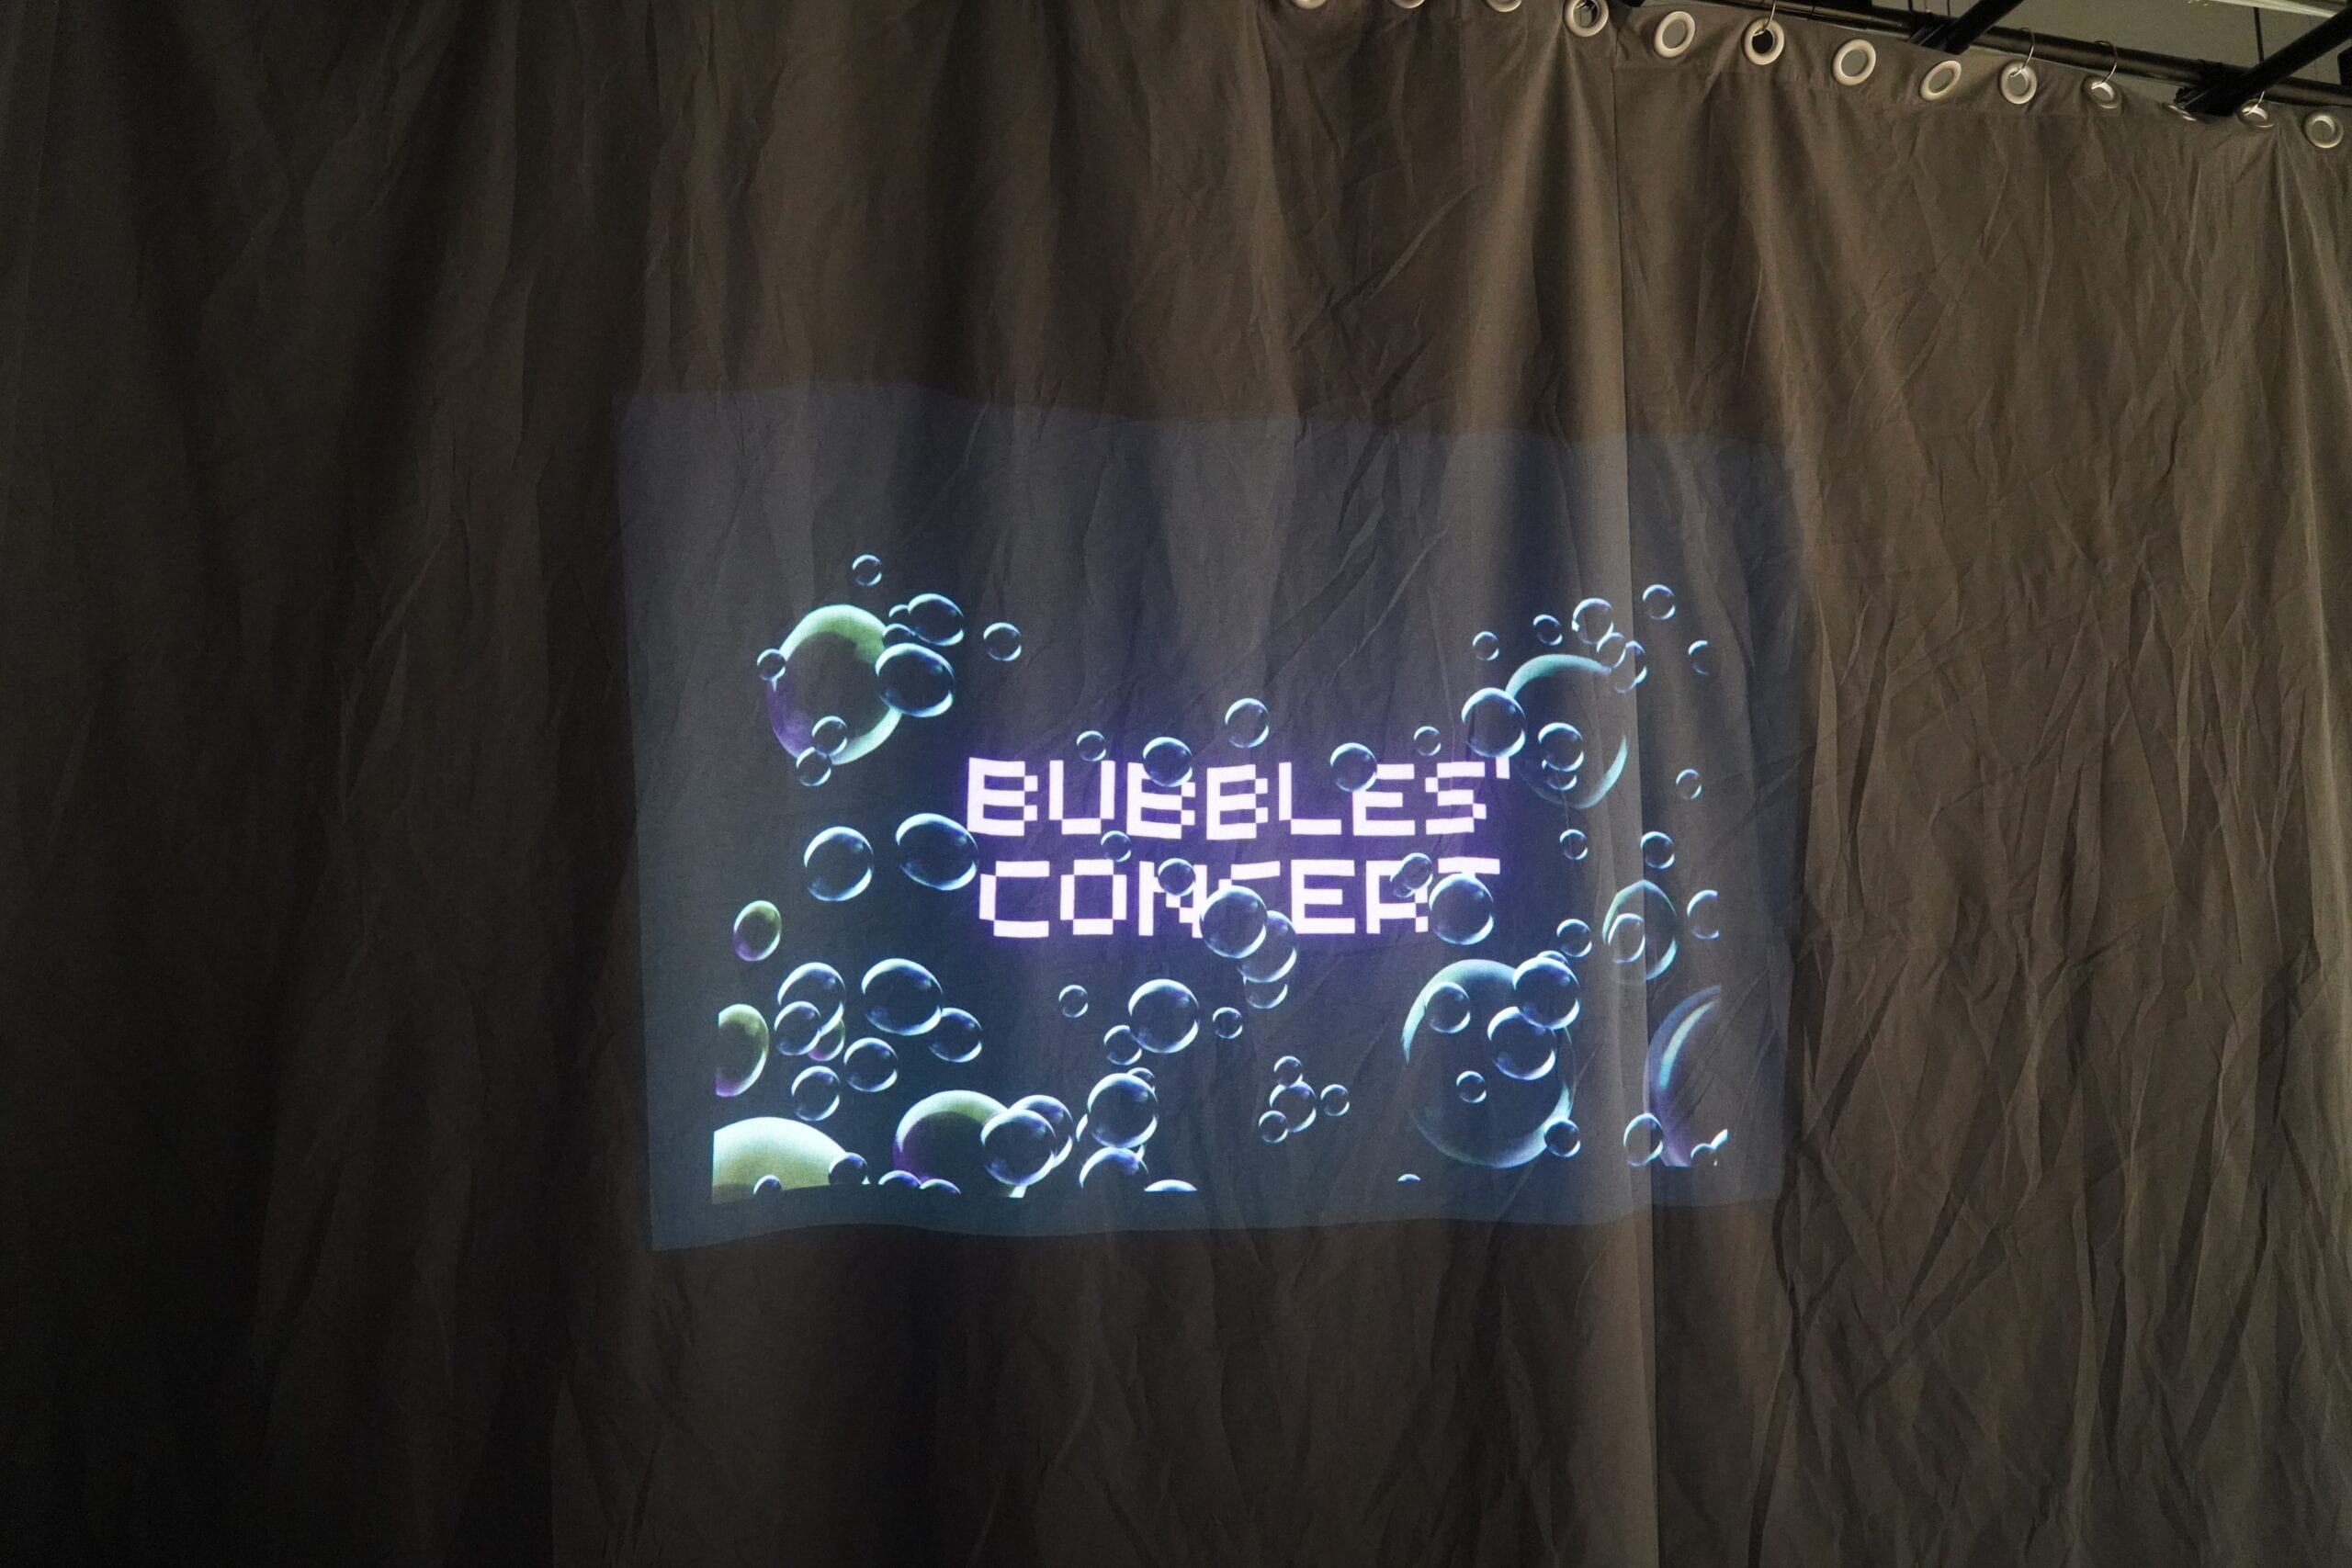
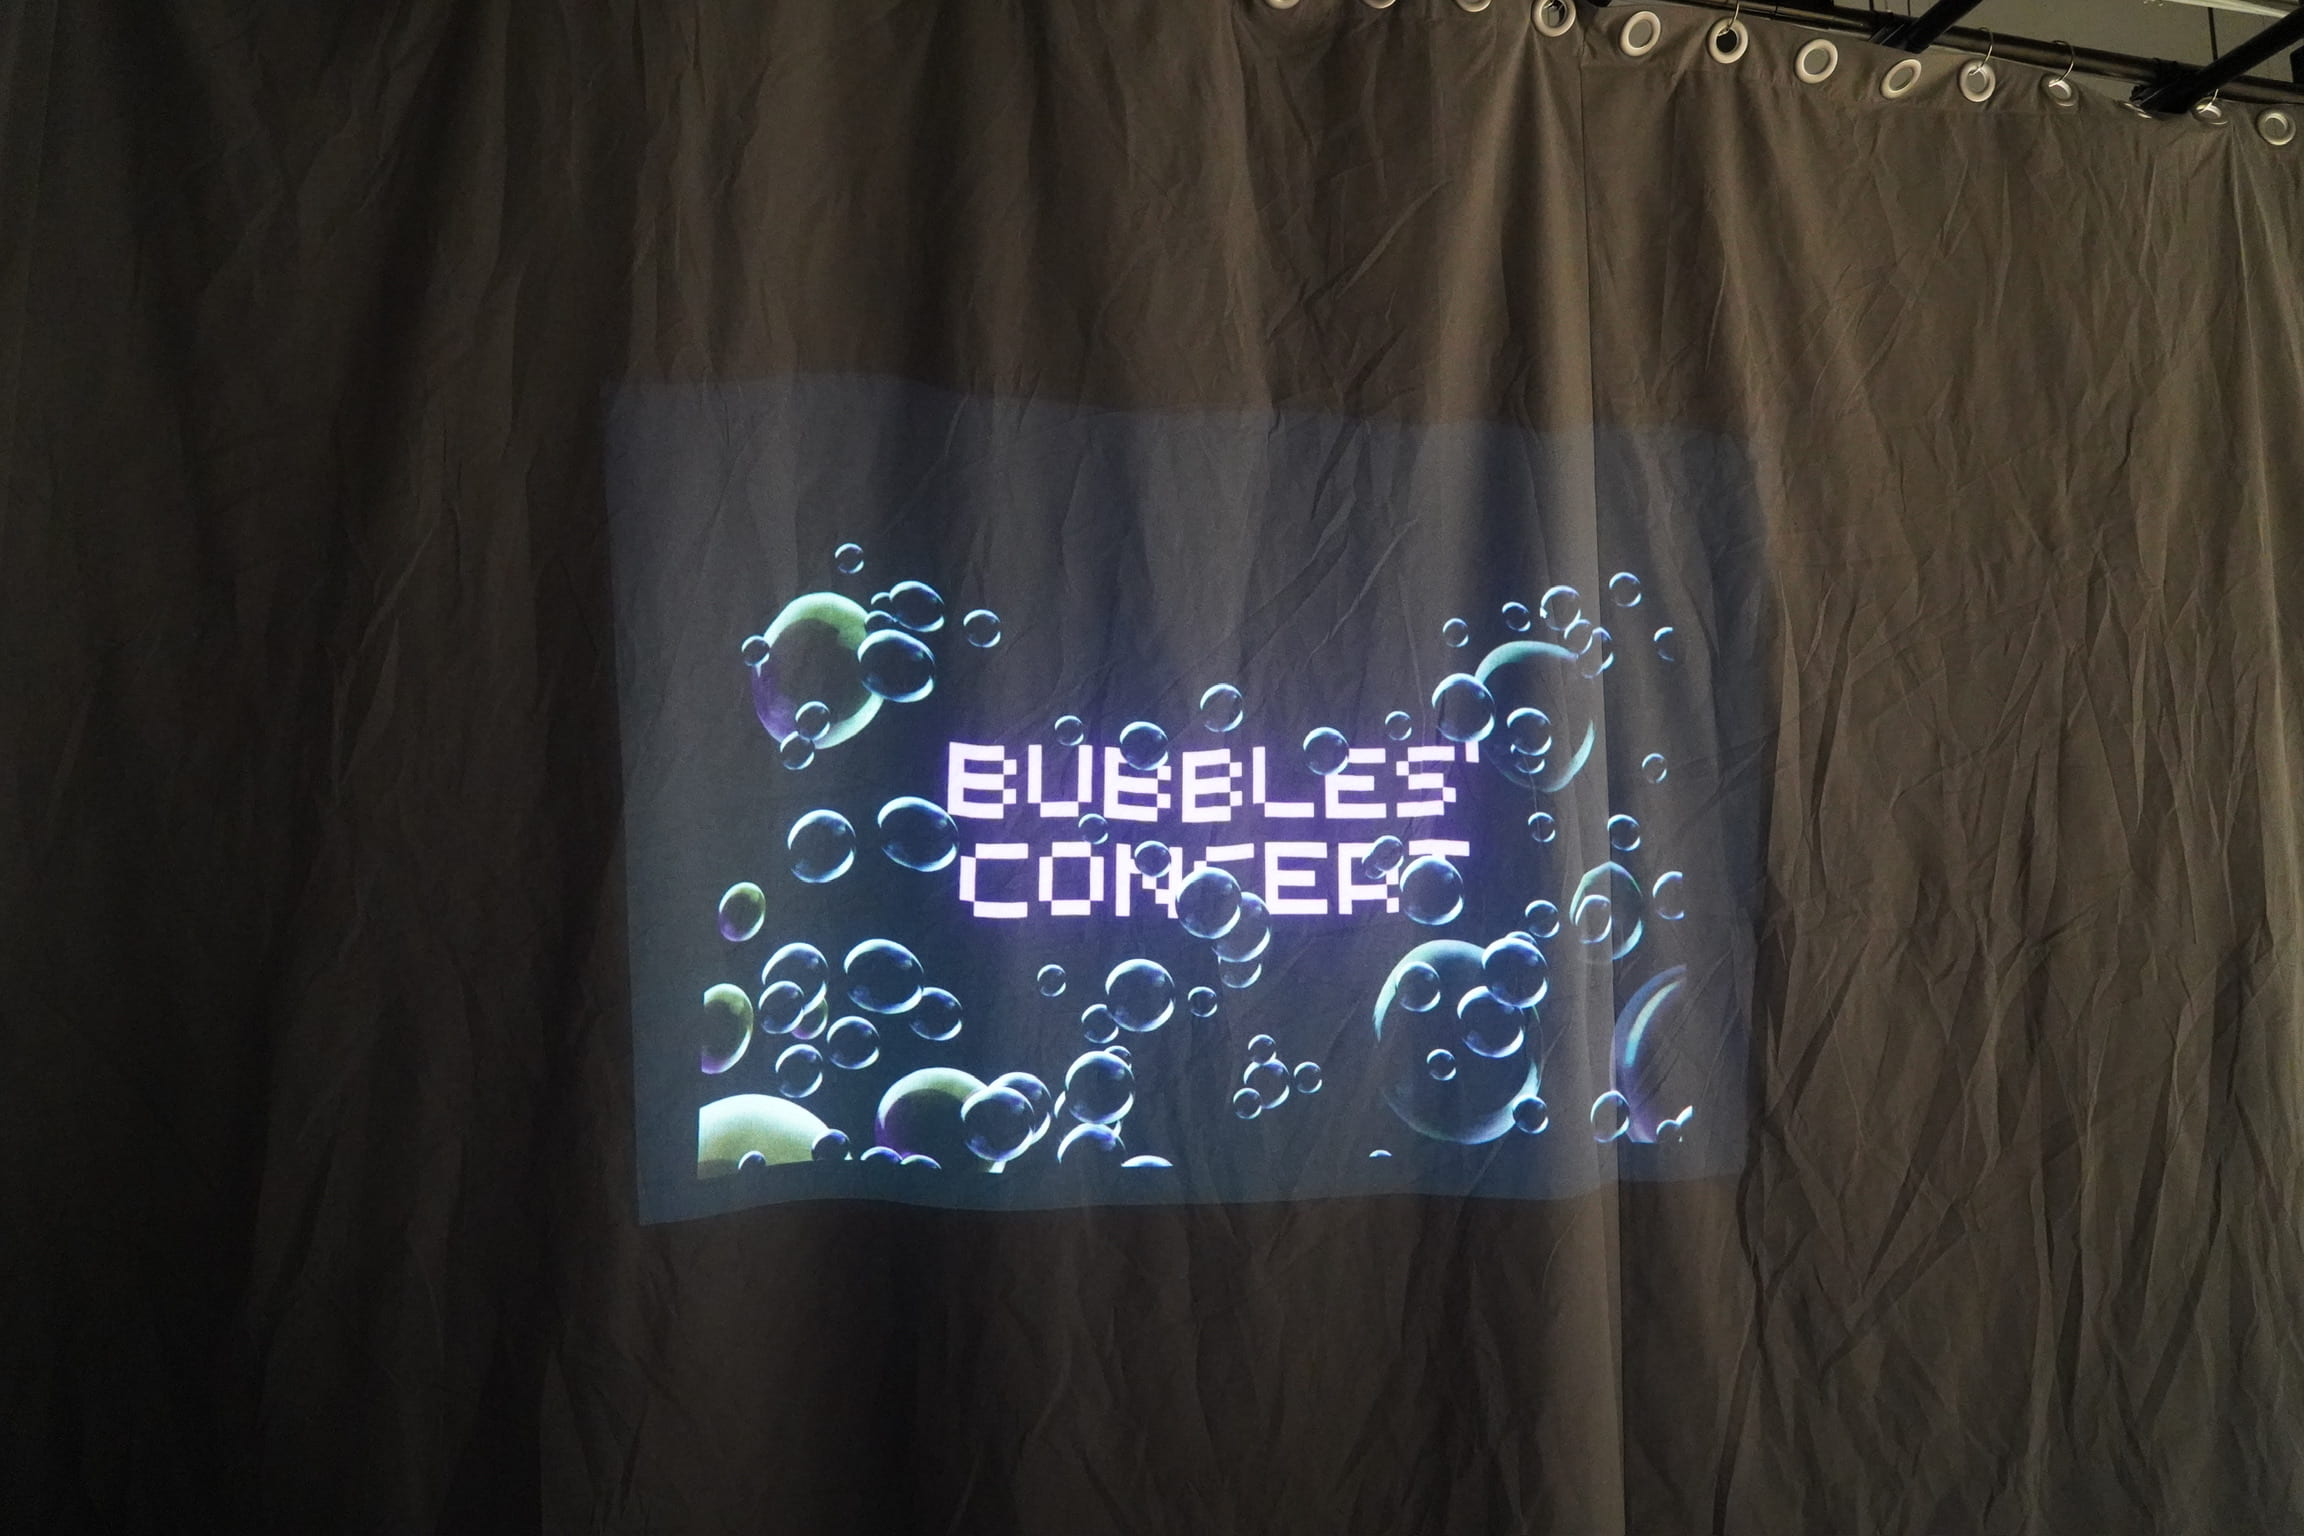
A. Bubbles’ Concert – Huiyi (Noelia) Yang & Kaidi (Katy) Wang – Gottfried Haider
B. CONCEPTION AND DESIGN
The core idea of our project is to reconnect individuals with the simple, often overlooked capabilities of their bodies, specifically through the act of breathing. Our society has become increasingly disconnected from physical sensations due to constant engagement with digital interfaces and repetitive sensory inputs: You experience the world through your eyes, absorbing visual delights from vast screens to more intimate ones. Your hands glide over countless textures, their memory fleeting. Your ears catch the routine sound of life, from the morning alarm to the hum of your electric toothbrush, down to the rhythmic dance of fingers on a keyboard. Yet, amidst this constant barrage of stimuli, we’ve grown numb, desensitized to the unvarying input that surrounds us, leaving us feeling detached from the world beyond. Our project, therefore, aims to bring people back to a worry-free childhood state, encouraging them to engage with the world in a more meaningful way.
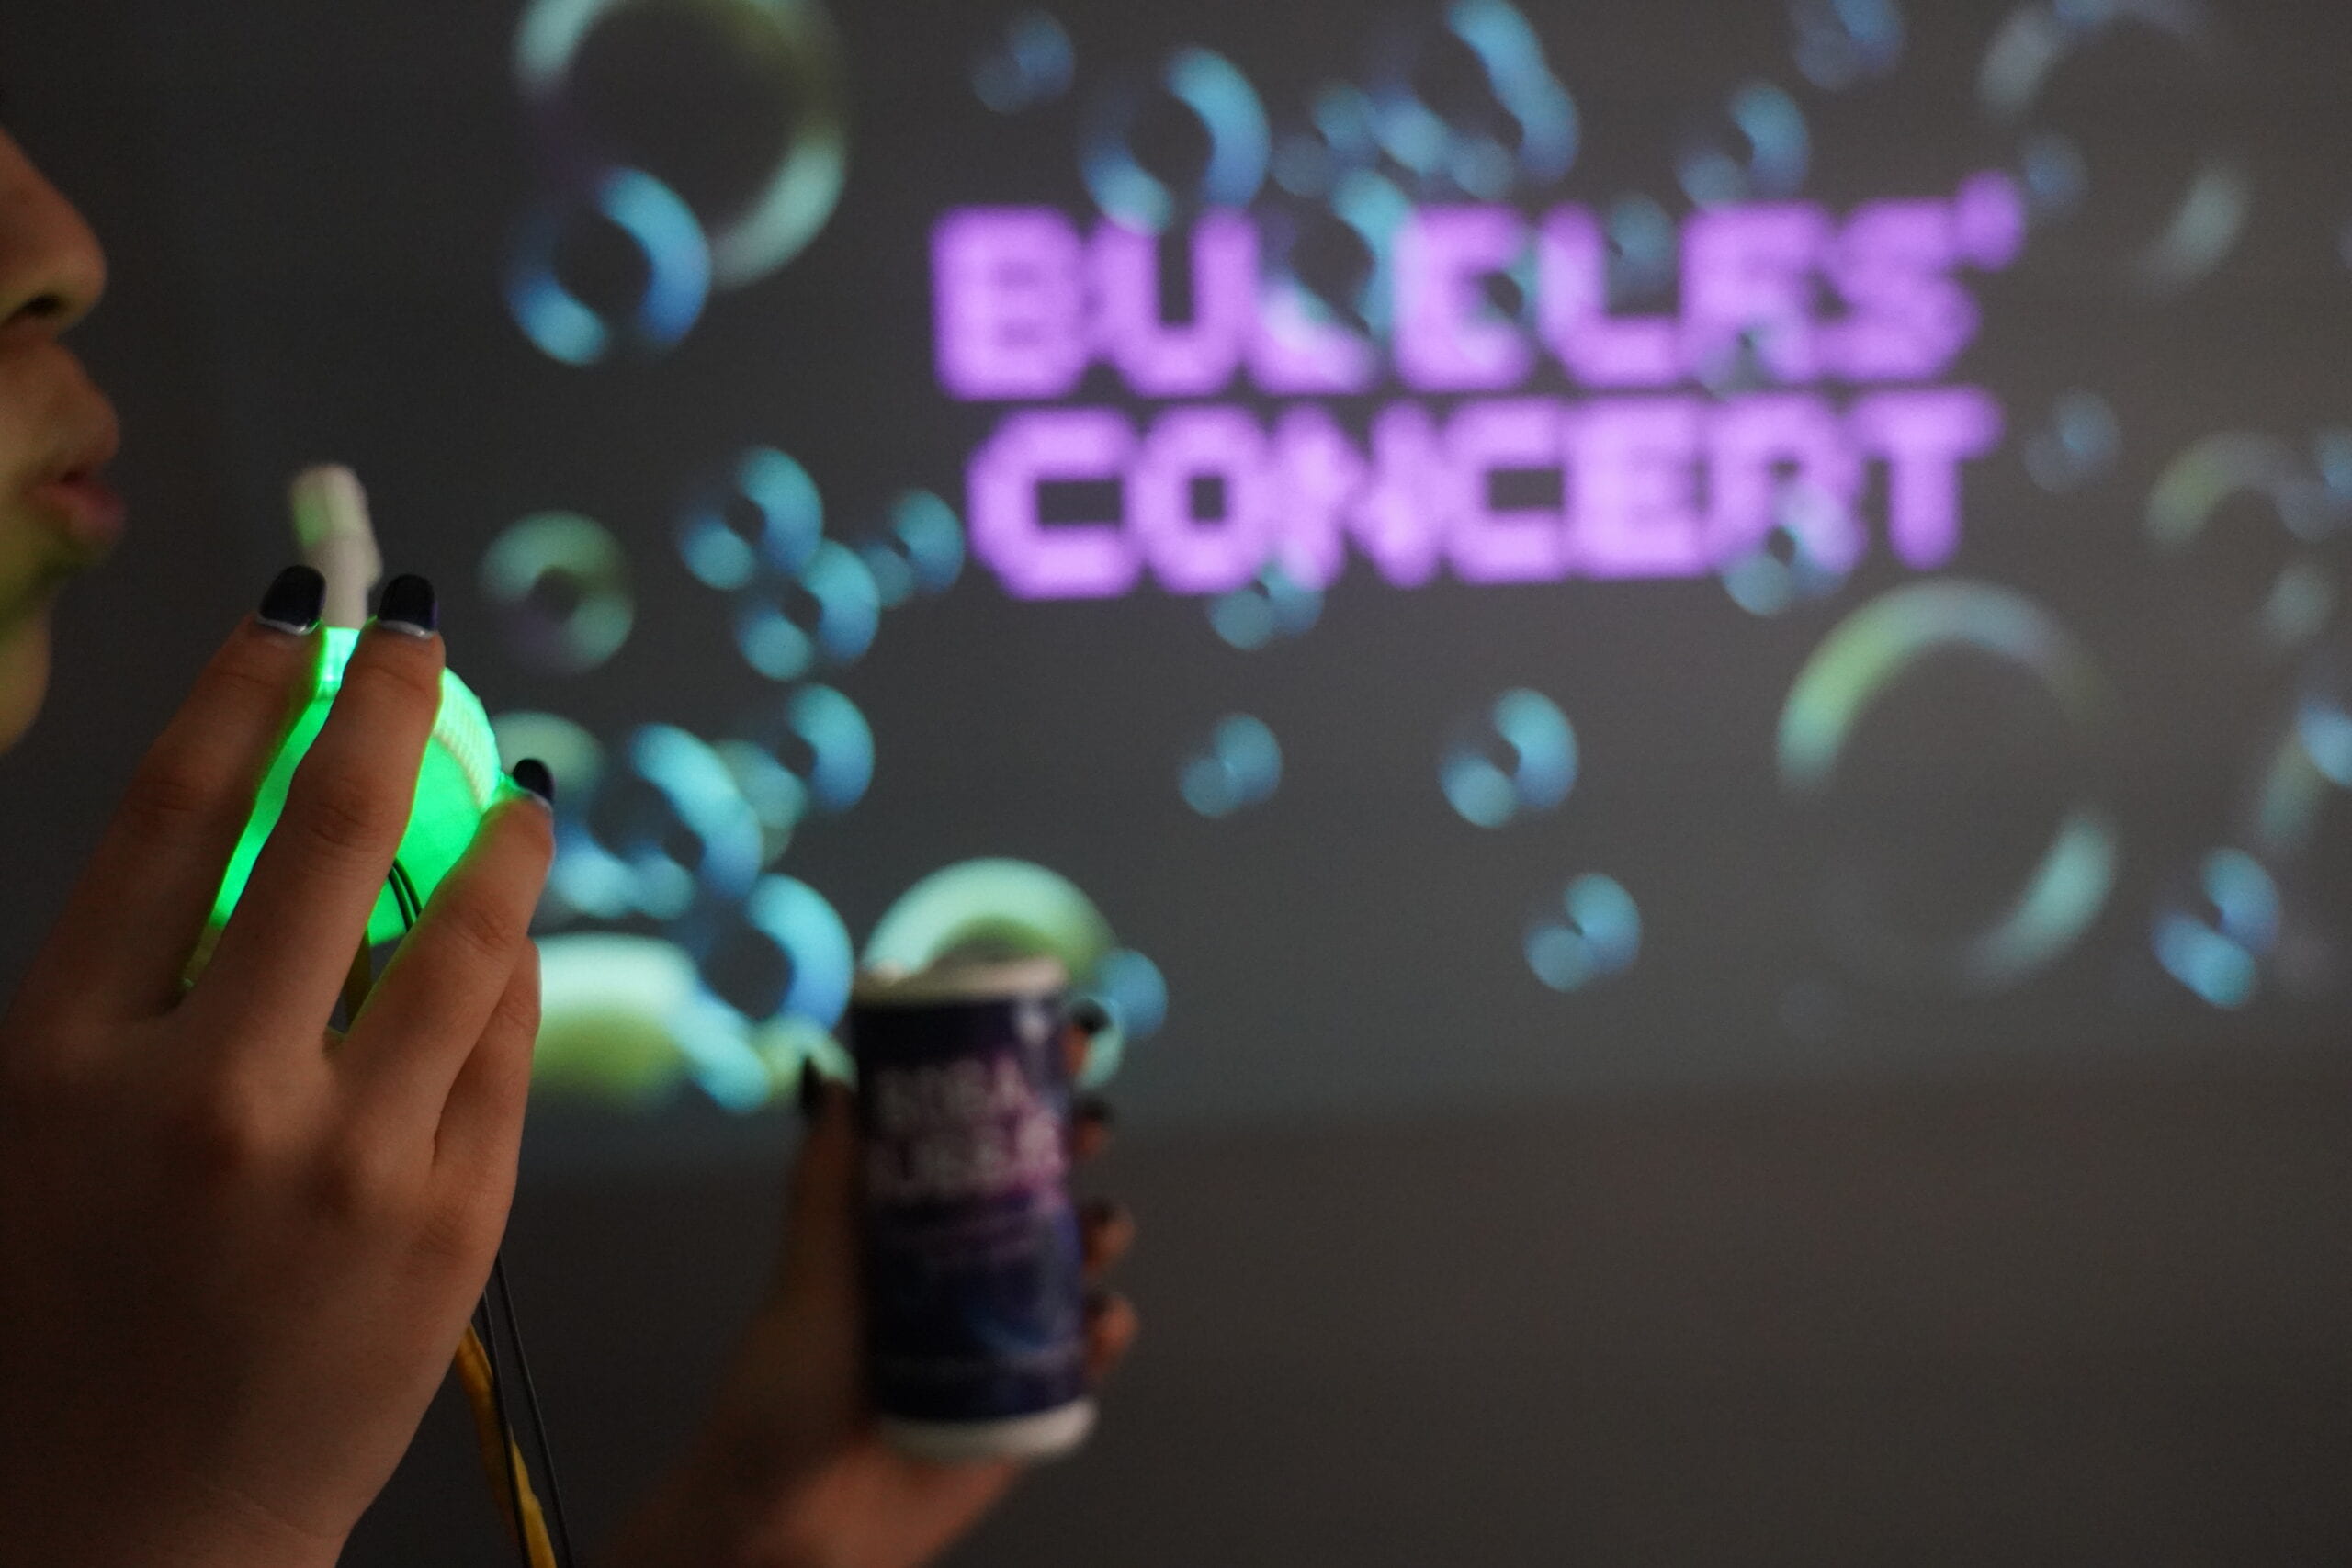
There are two goals we want to achieve with this project:
-
- Renewed appreciation for simple actions: We want participants to walk away with a deeper appreciation for basic bodily functions like breathing.
- Dual sensory experience: By creating bubbles that produce both visual and auditory outputs, participants experience the joy and wonder of seeing and hearing the results of their breath, promoting a re-engagement with their everyday actions.
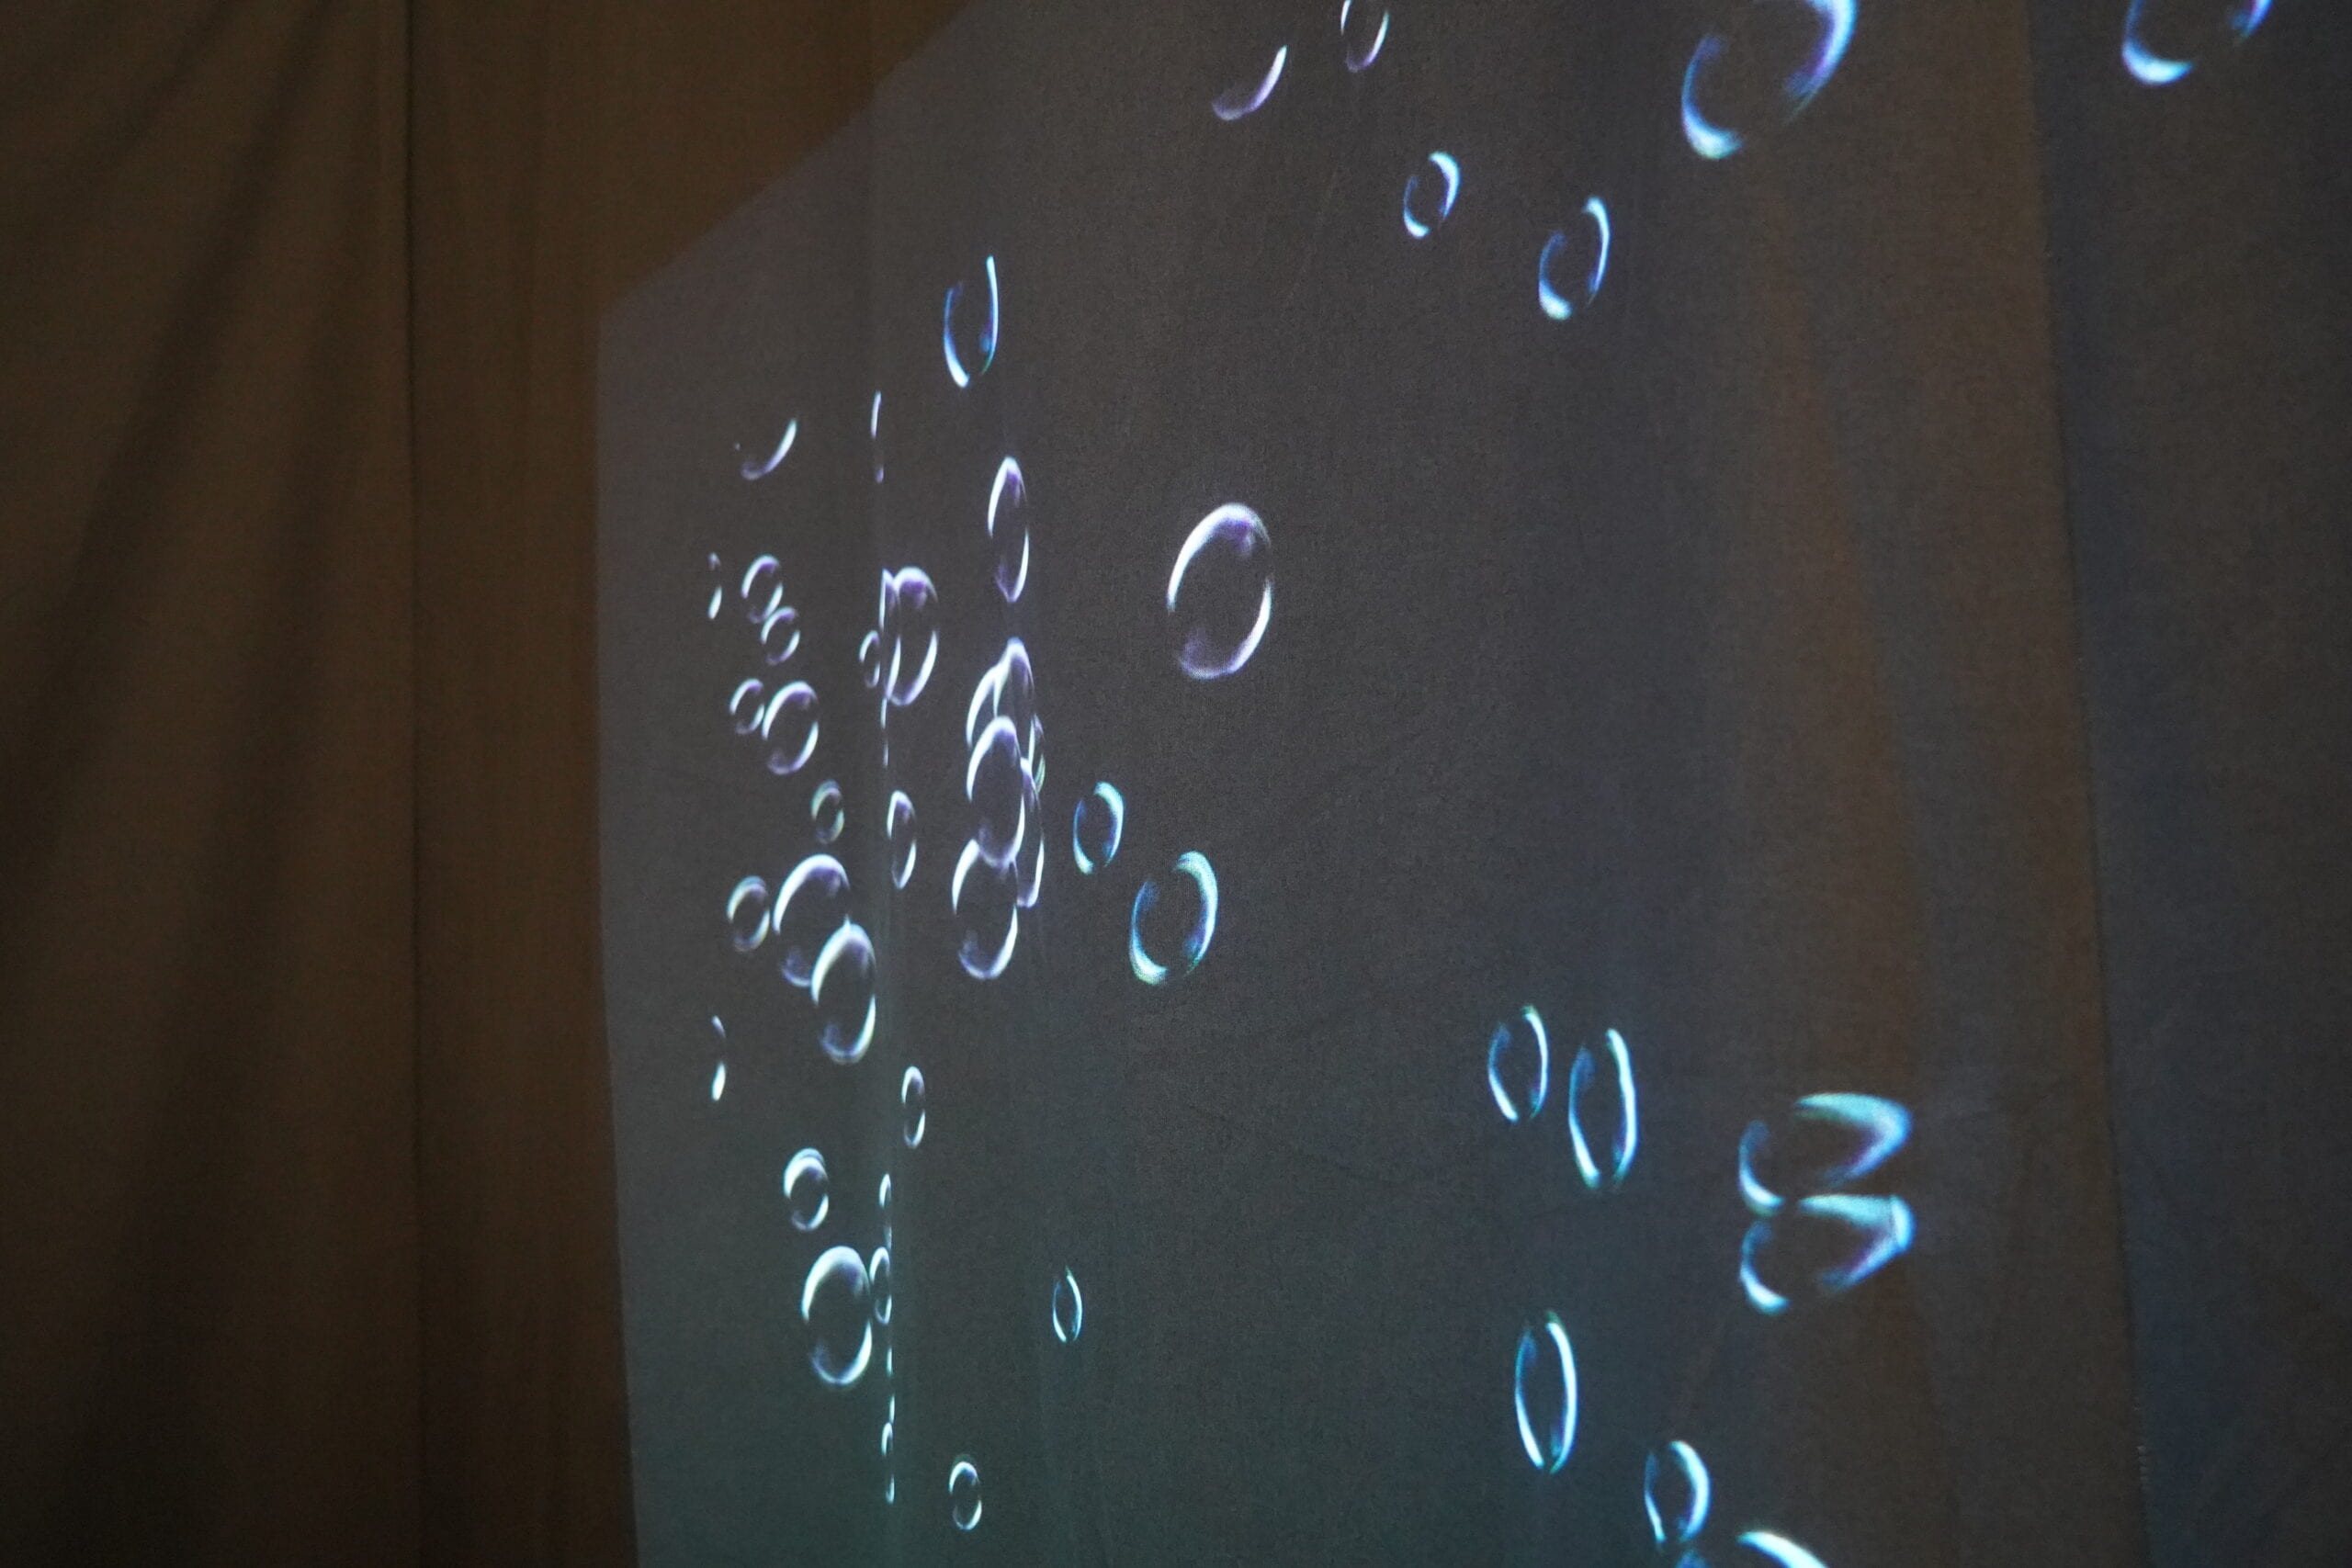
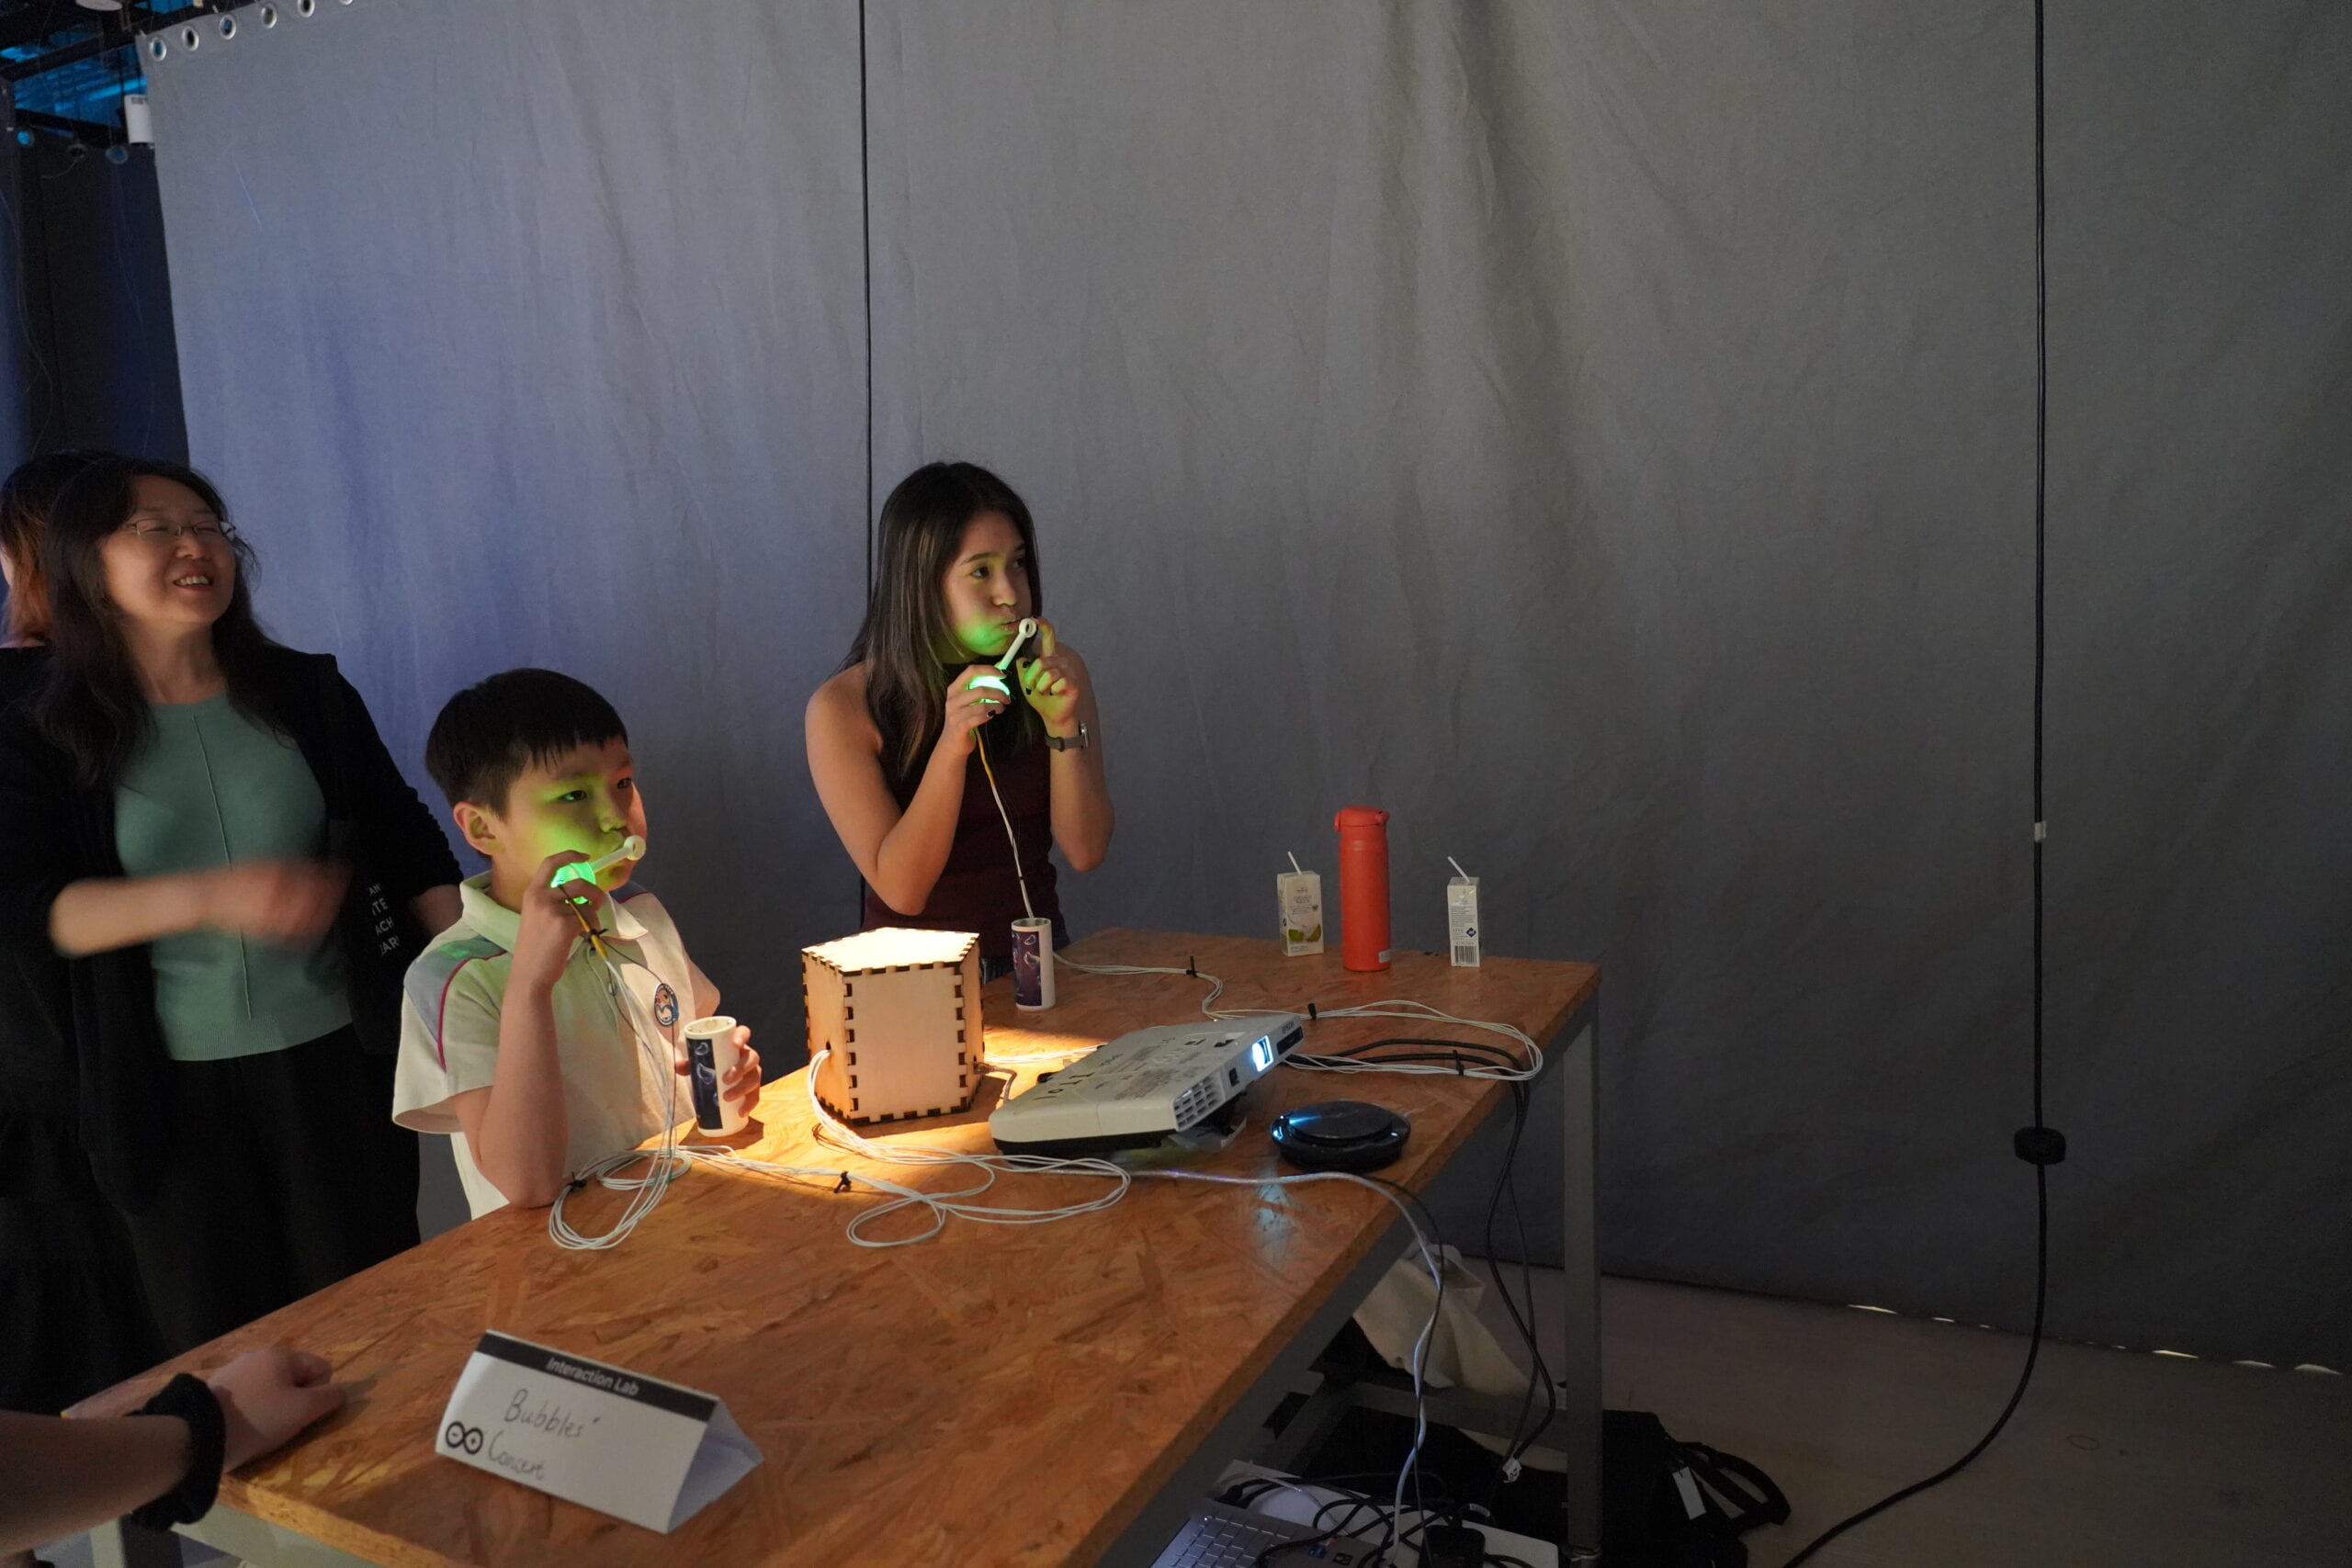
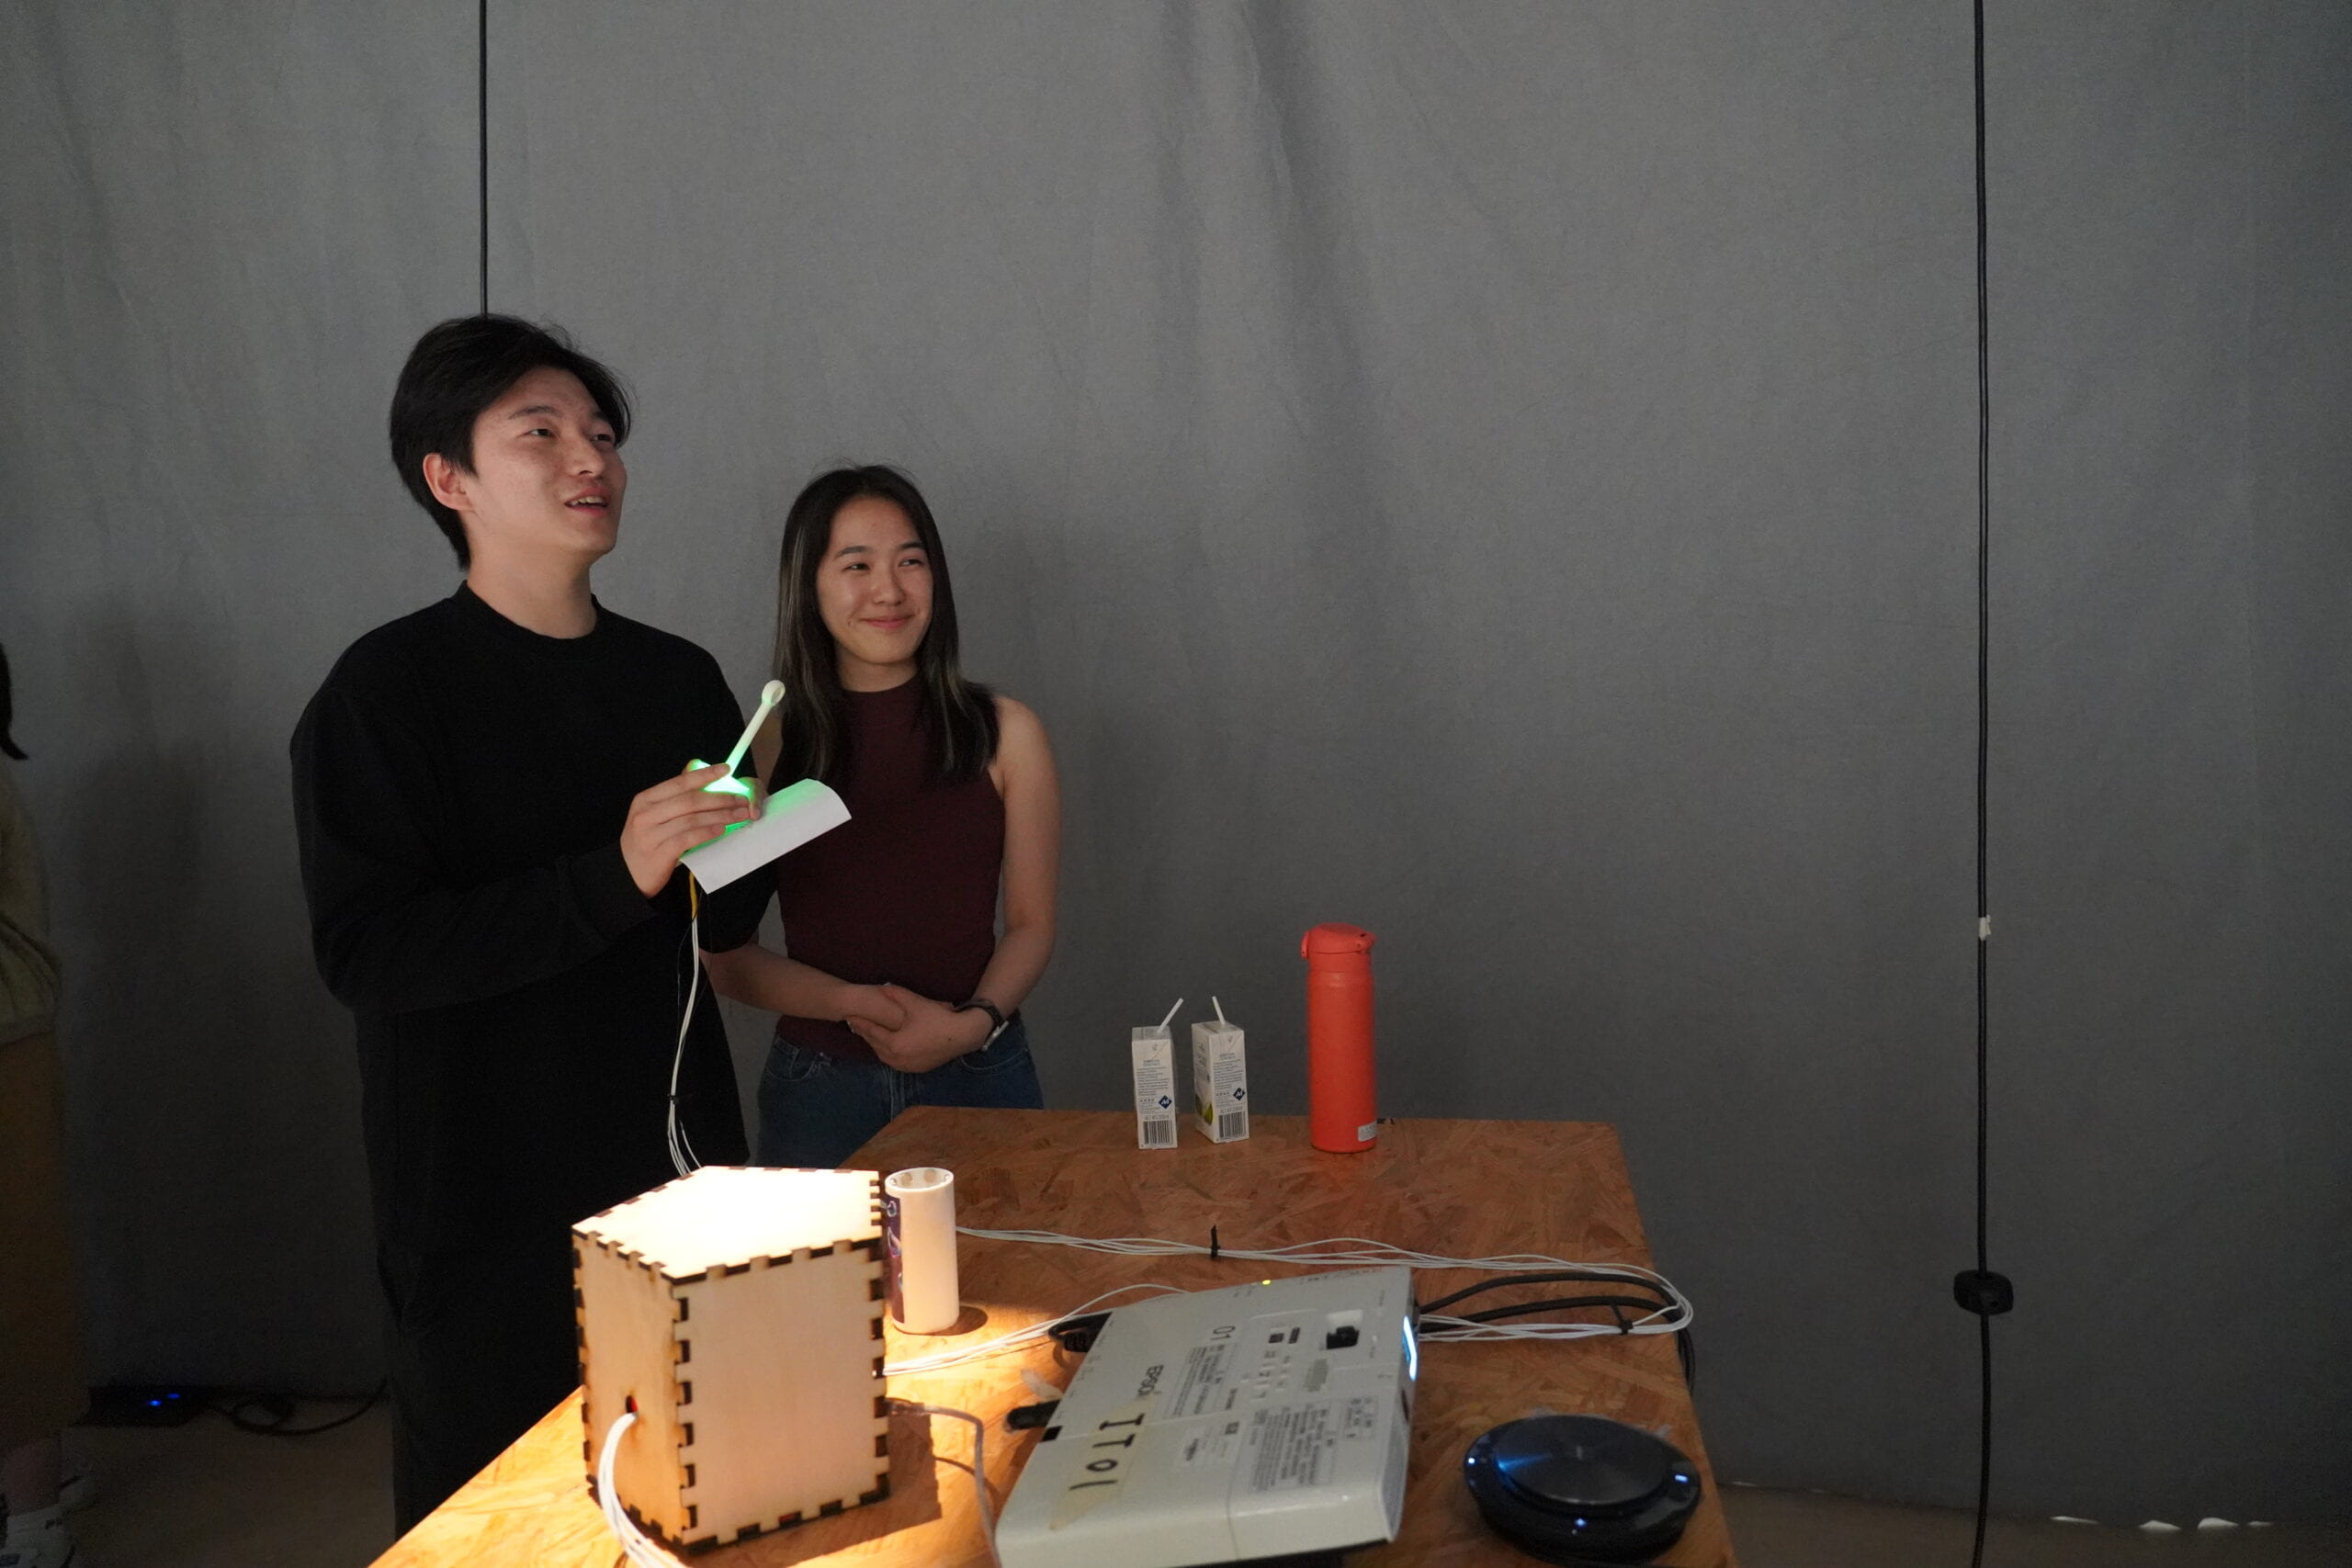
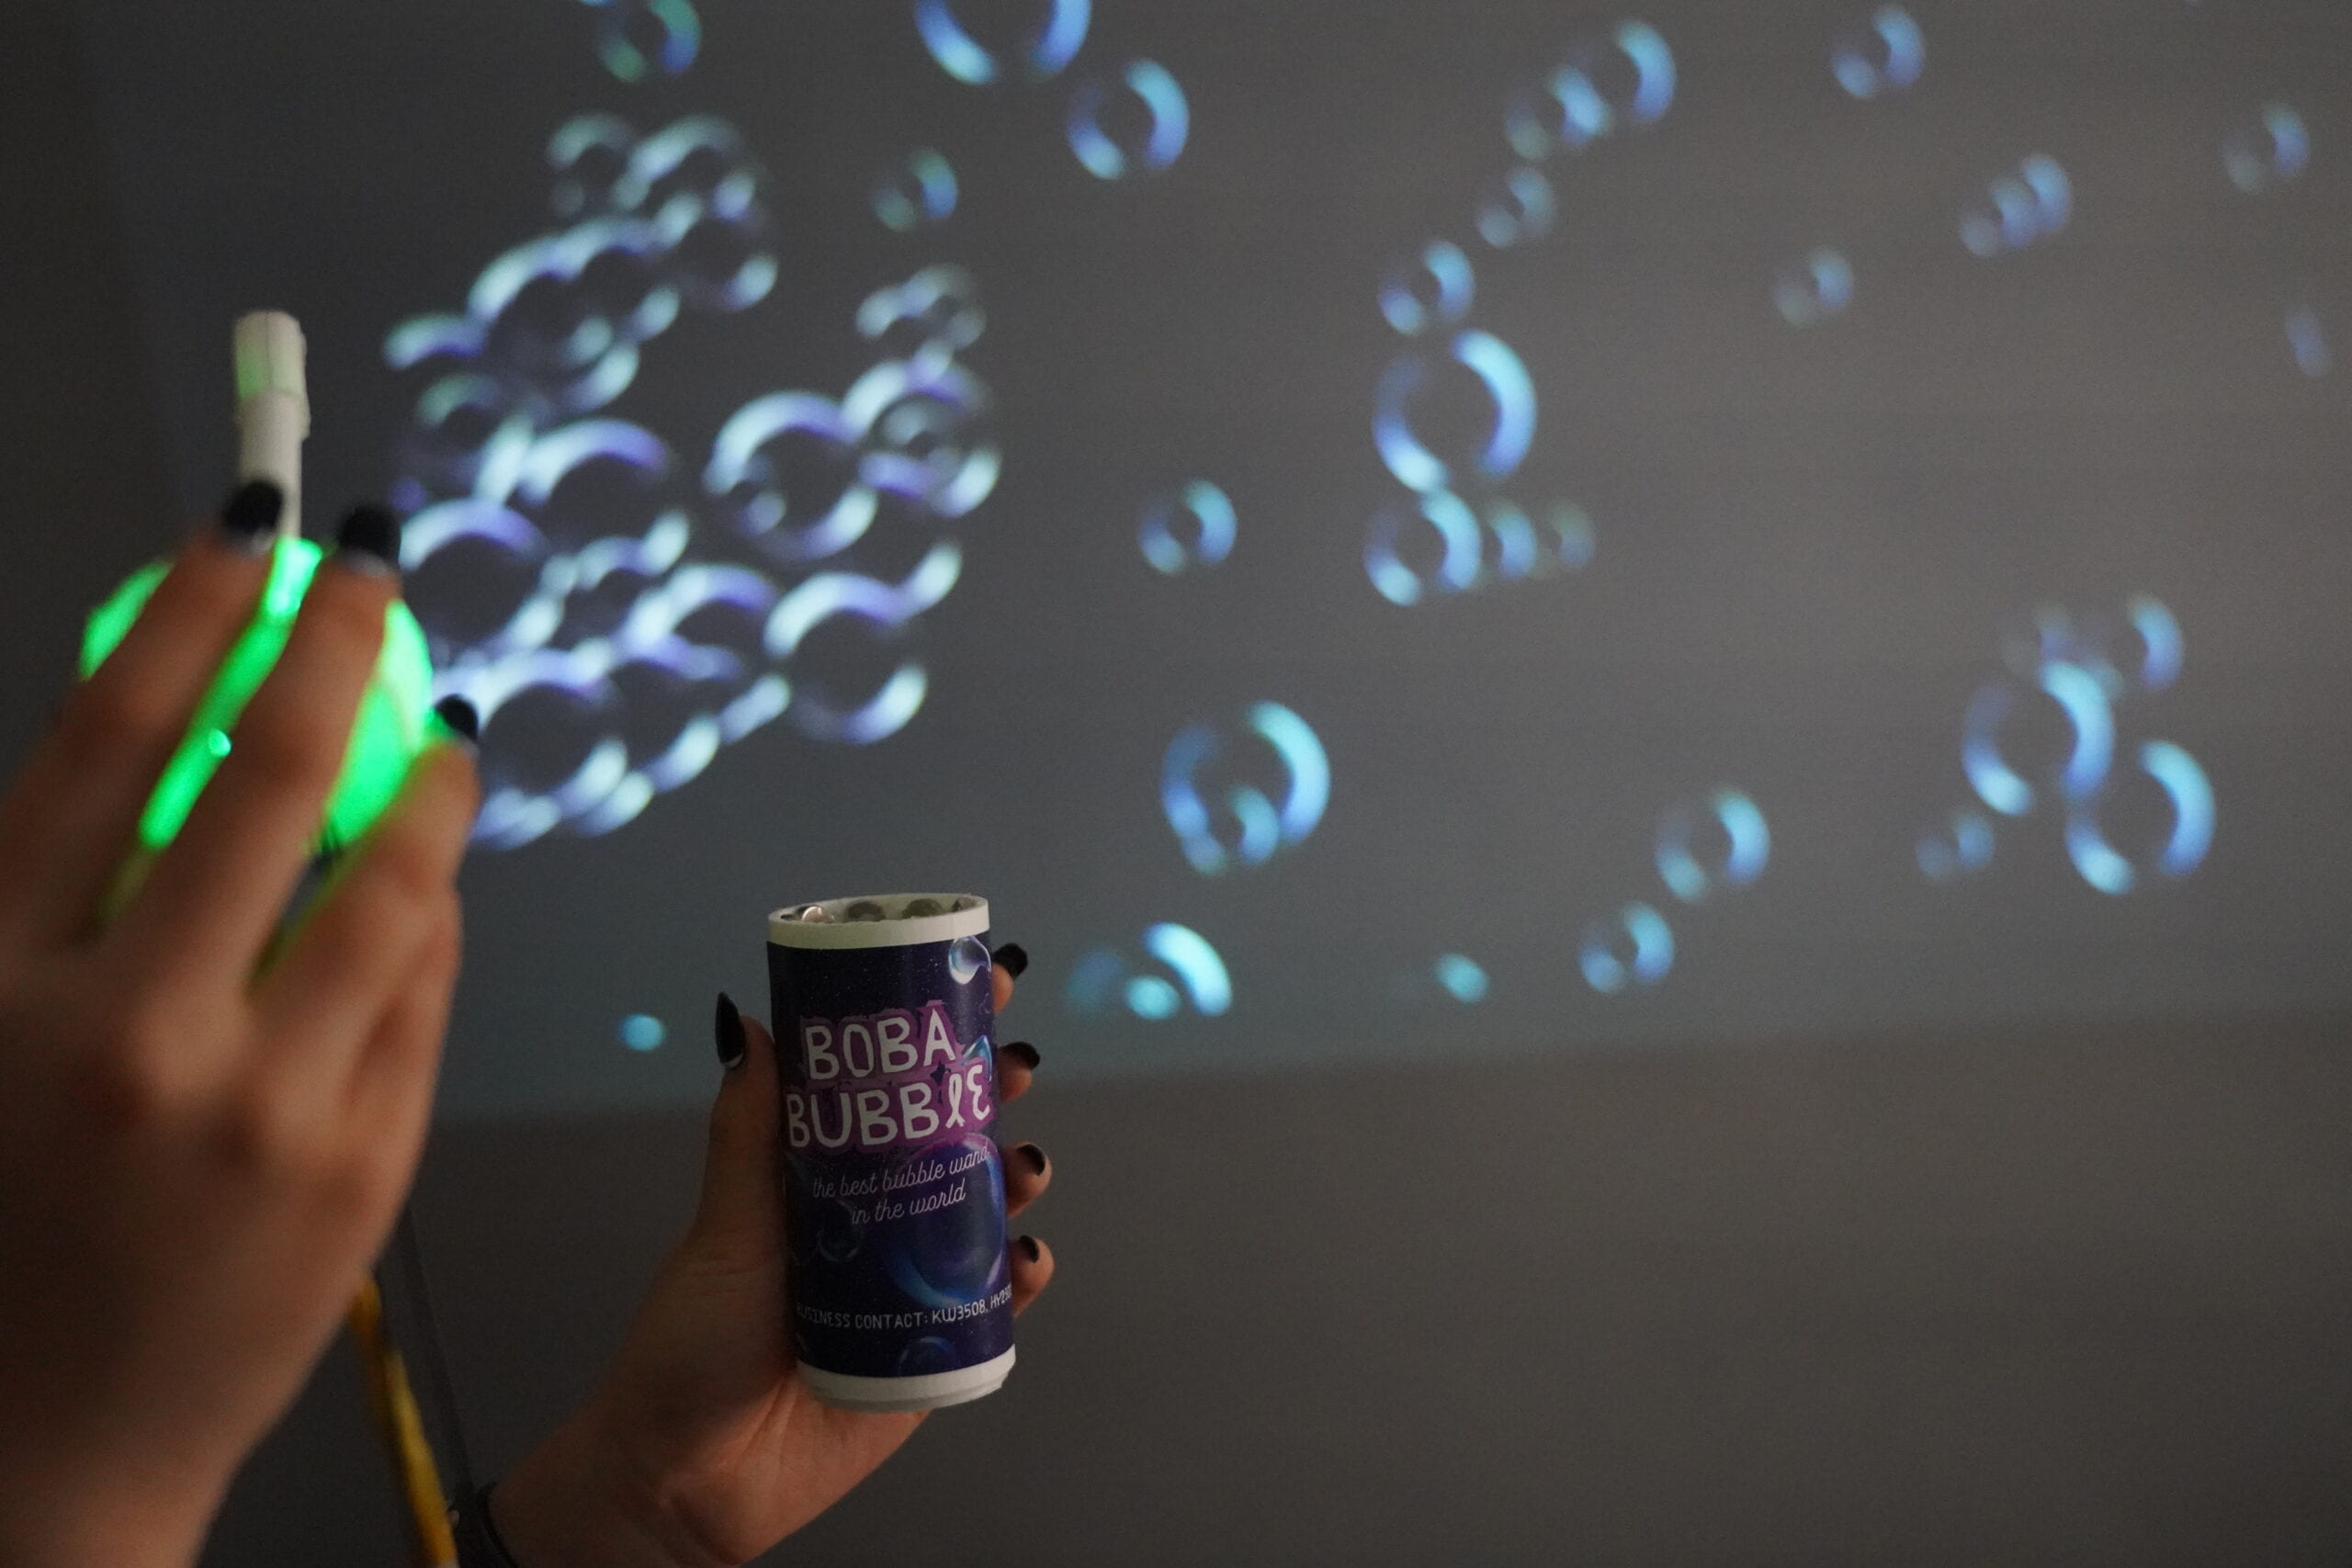
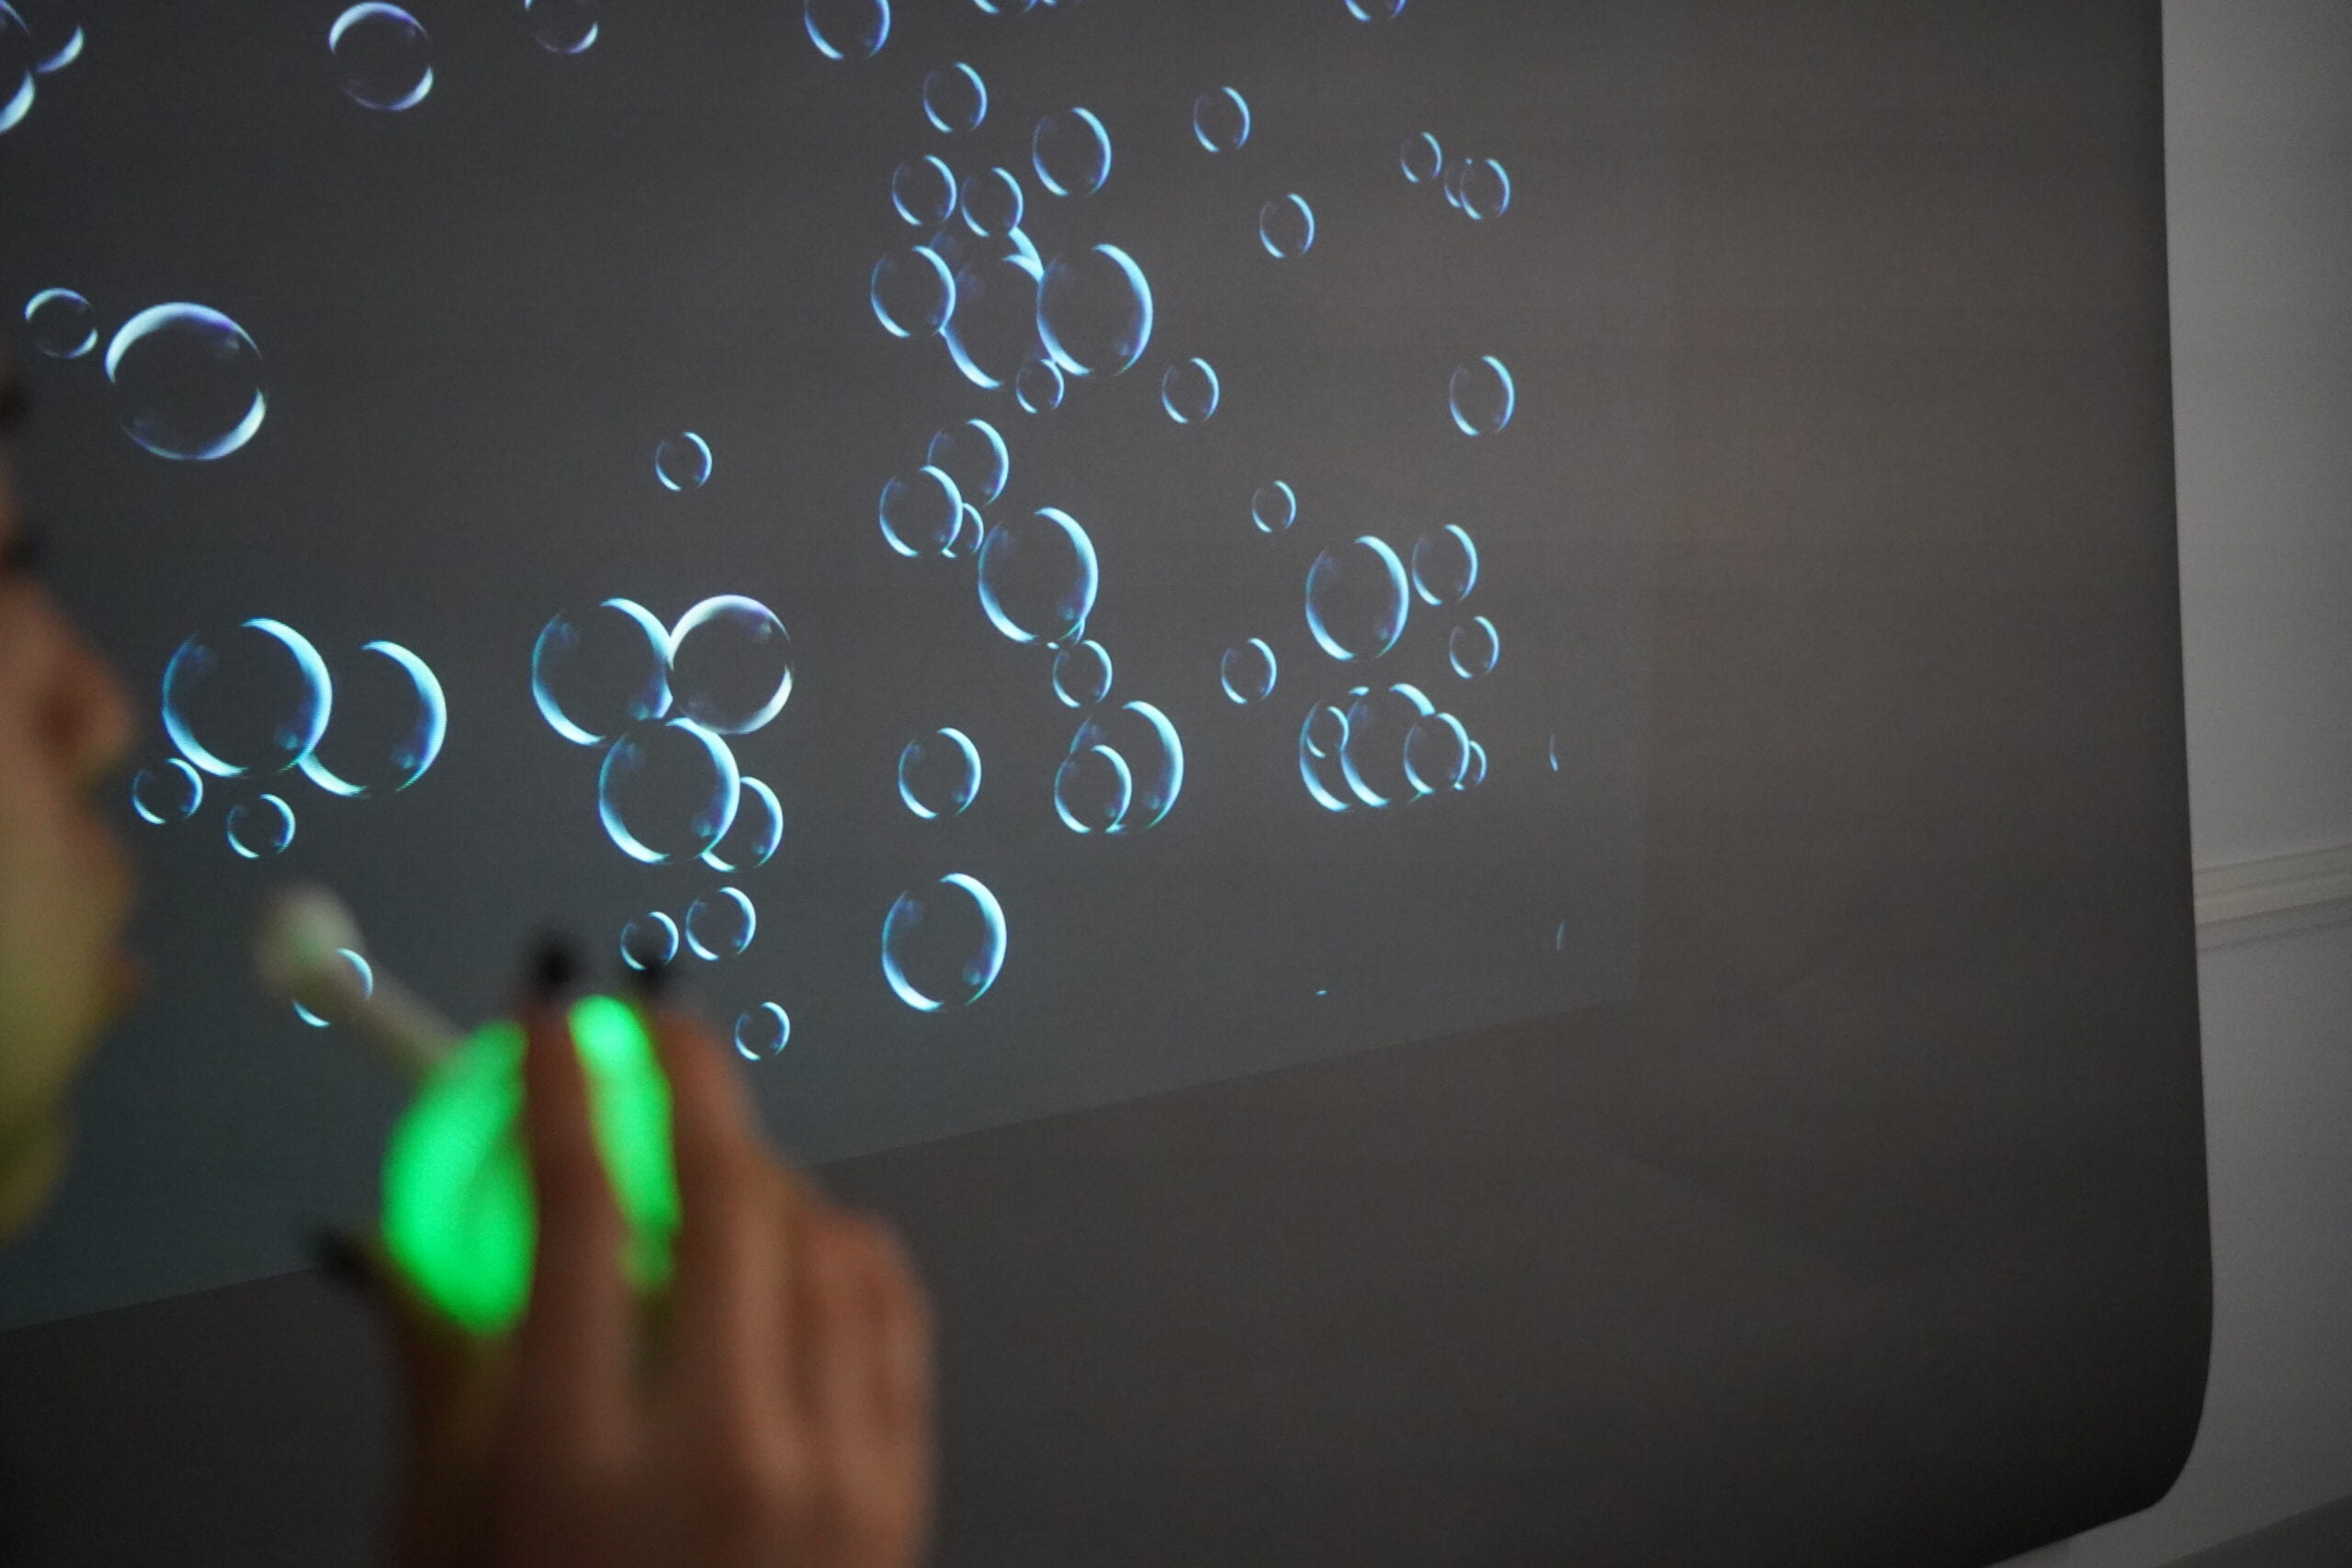
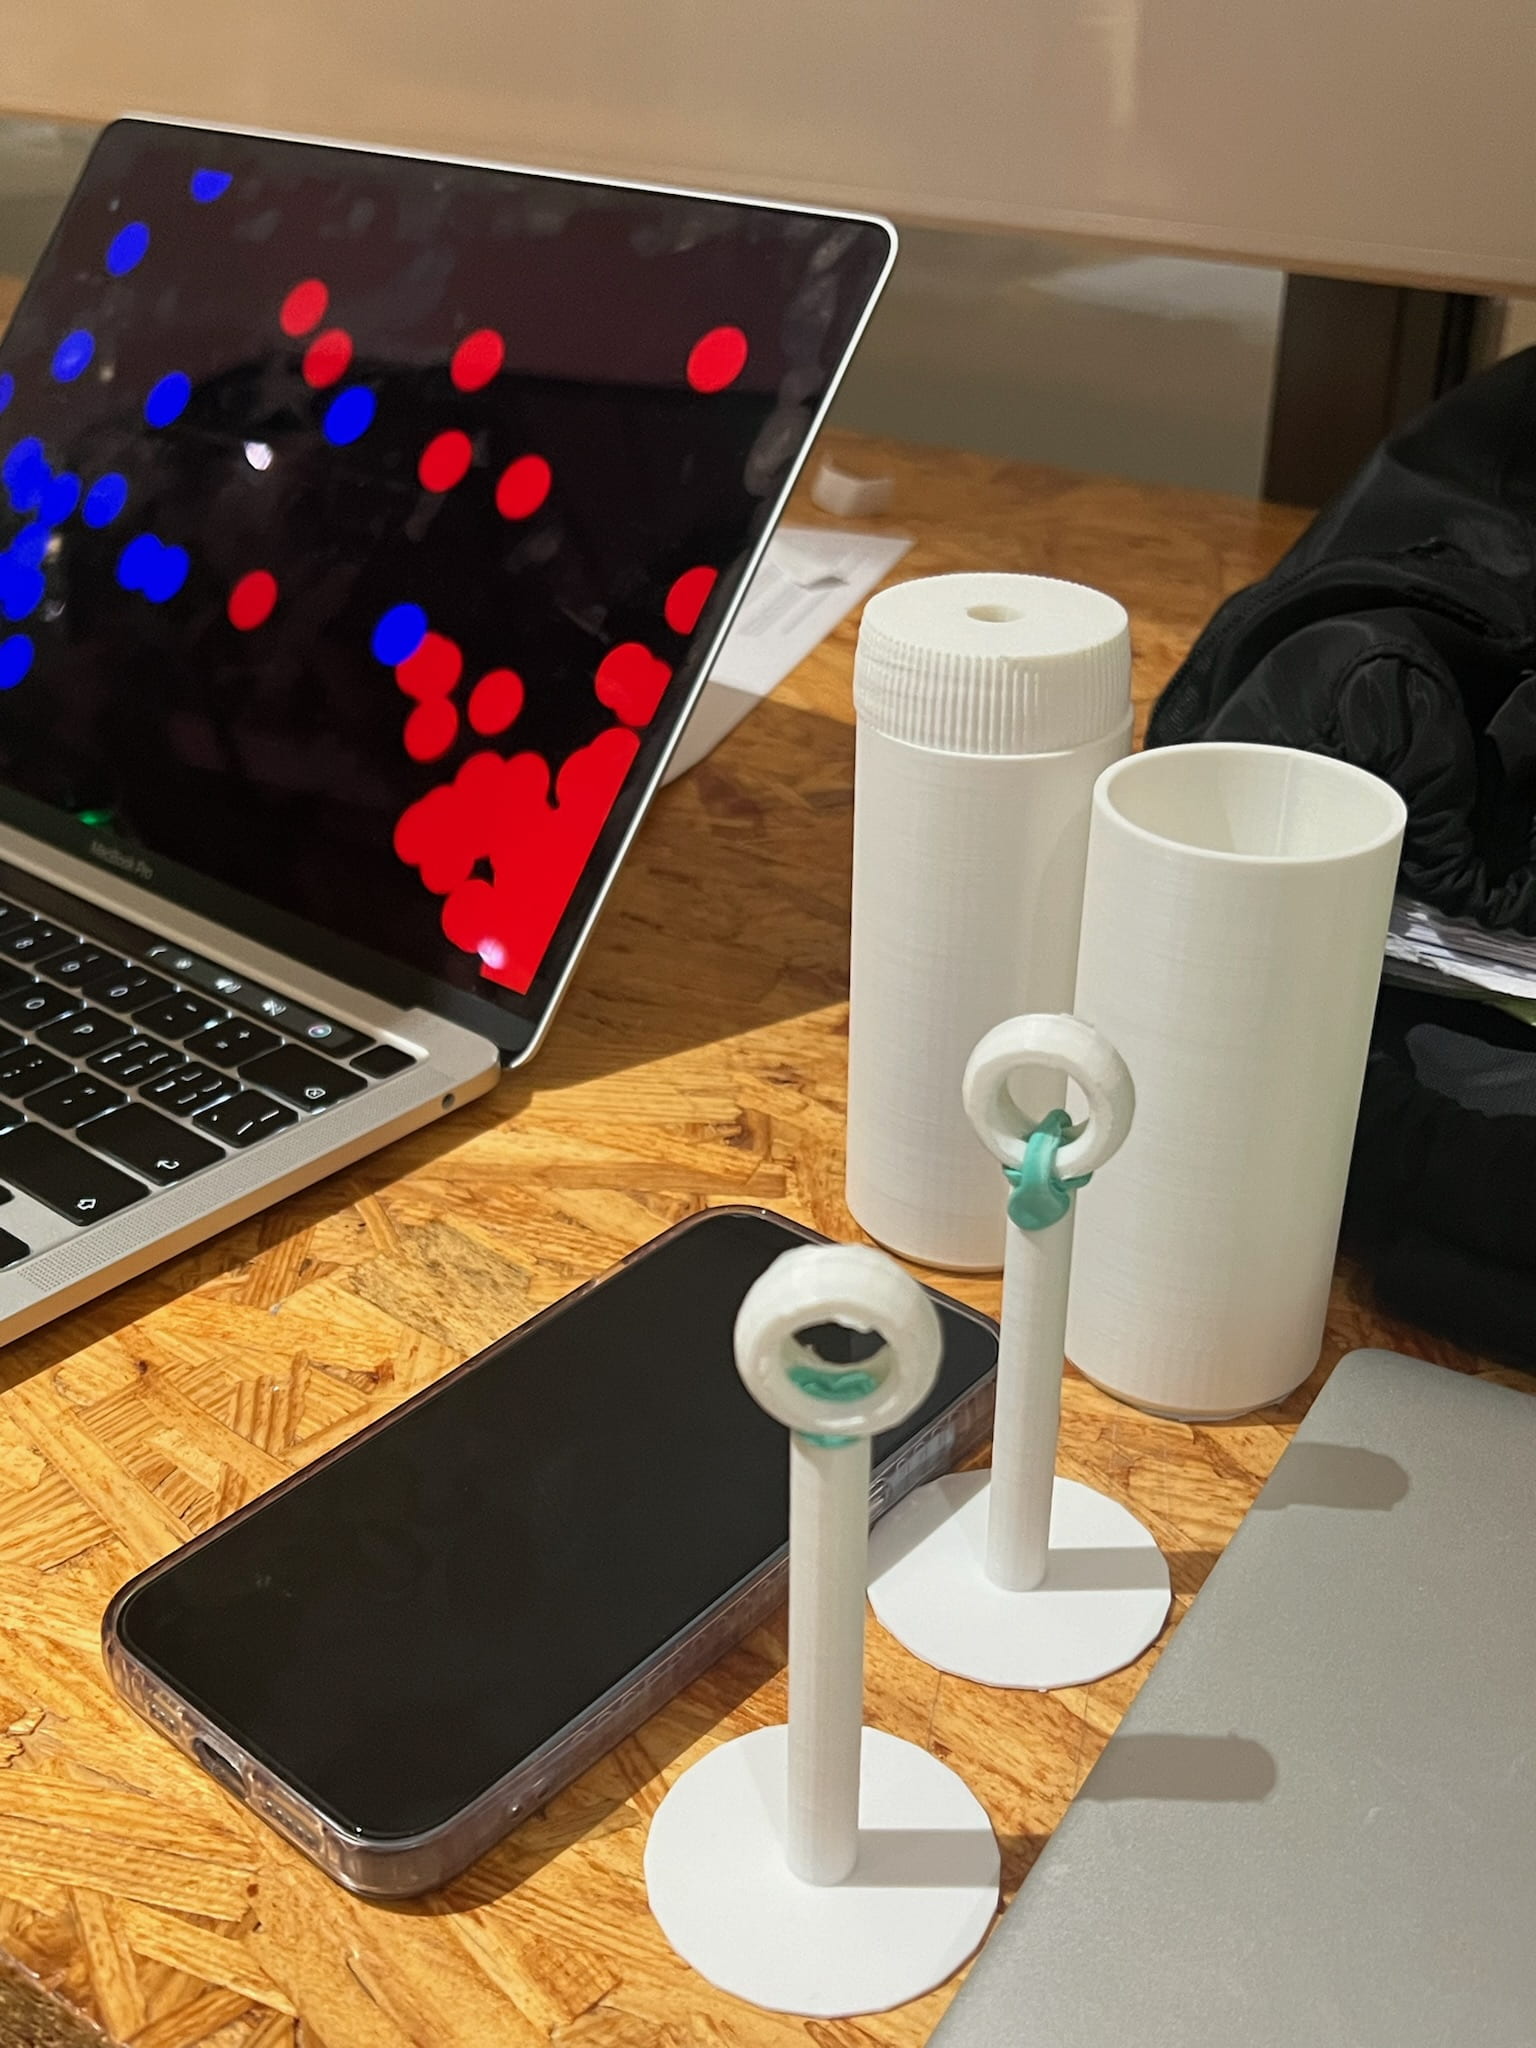
Our initial design involved participants blowing into a tool to create bubbles on a screen. These bubbles would interact, creating sounds upon collision, with the screen eventually filling up and triggering a change in the sound effect of the bubble collision. To be more specific, each player needs to blow into a bubble tool to release bubbles onto the screen. Two different types of bubbles will consistently emerge from the bottom corners of the screen. Whenever two bubbles of different types collide, a sound is played. As more bubbles bounce around the screen, they ideally create a piece of music. The bubbles don’t float off the screen; instead, they bounce back. When the screen fills up with bubbles, they all explode simultaneously, triggering a change in both the background and the sound filter, such as switching to piano or electronic music.
However, we made a few adjustments after the user test.
-
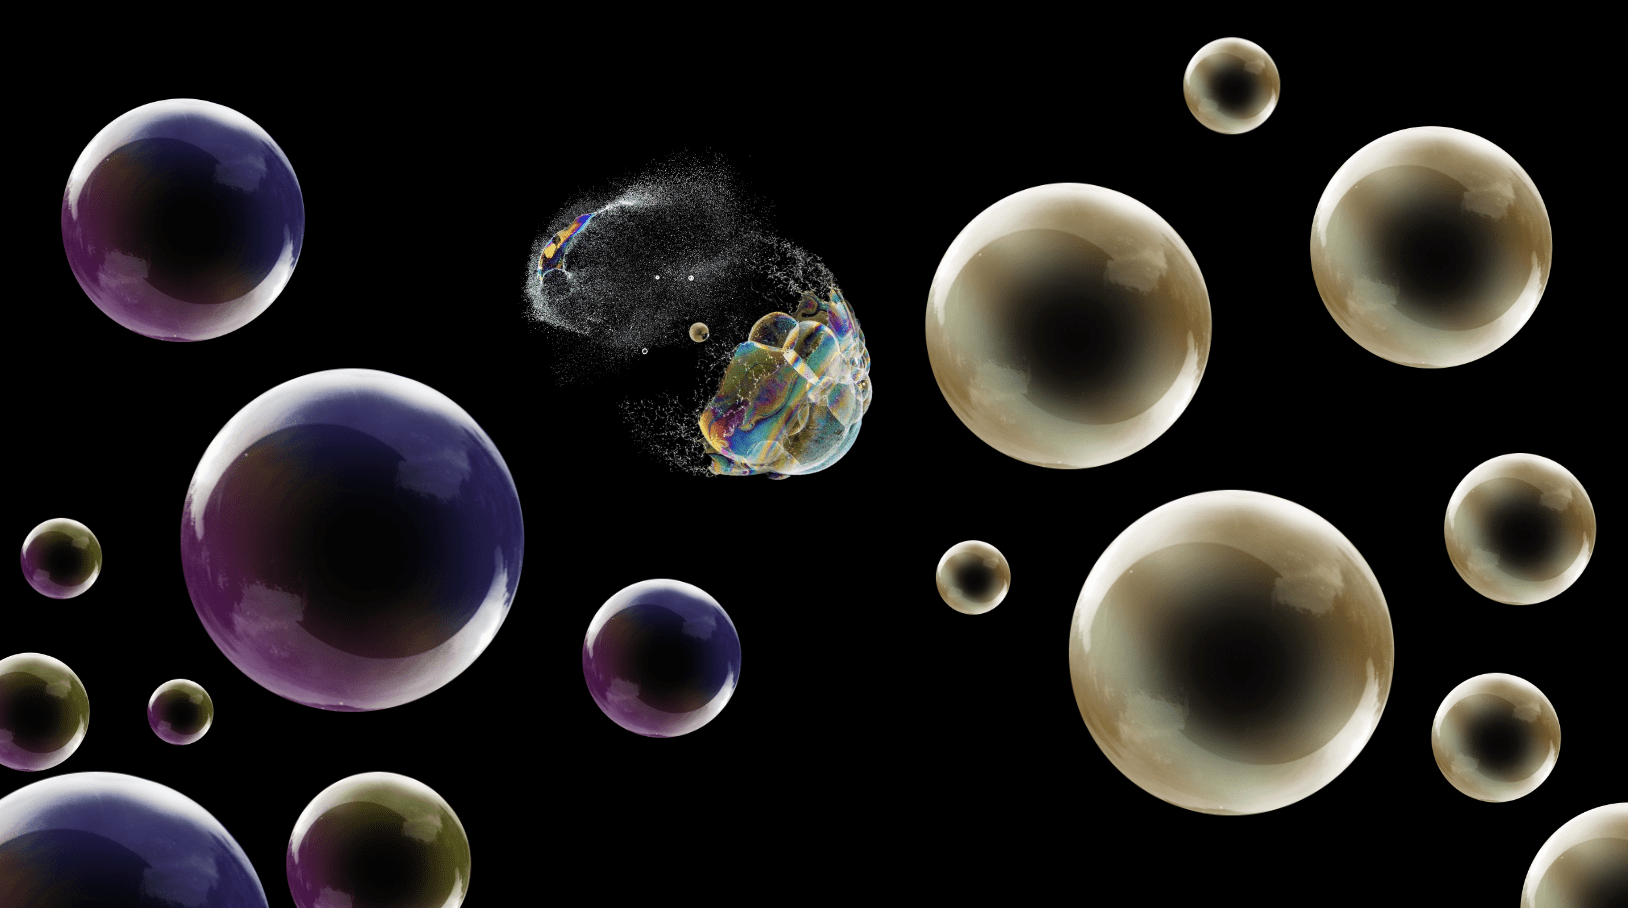
- Removal of the exaggerated bursting visual effect: During user testing, we discovered that the bursting visual effects of bubbles were confusing and made the application laggy. We decided to remove this feature to maintain simplicity and enhance the natural feel of the interaction.
-
- Change in the triggering mechanism: Feedback from Professor Gottfried Haider after our presentation led to significant design improvements. He suggested making the interaction more akin to real-life bubble blowing by incorporating a ‘dipping’ motion to change sounds. This helped align the digital experience more closely with physical reality. Originally, we used the screen filling up with bubbles to trigger music changes, but this was found to be too complex and detracted from user enjoyment. We’ve simplified this by changing the sound effect when the user dips into the bubble bottle.
C. FABRICATION AND PRODUCTION
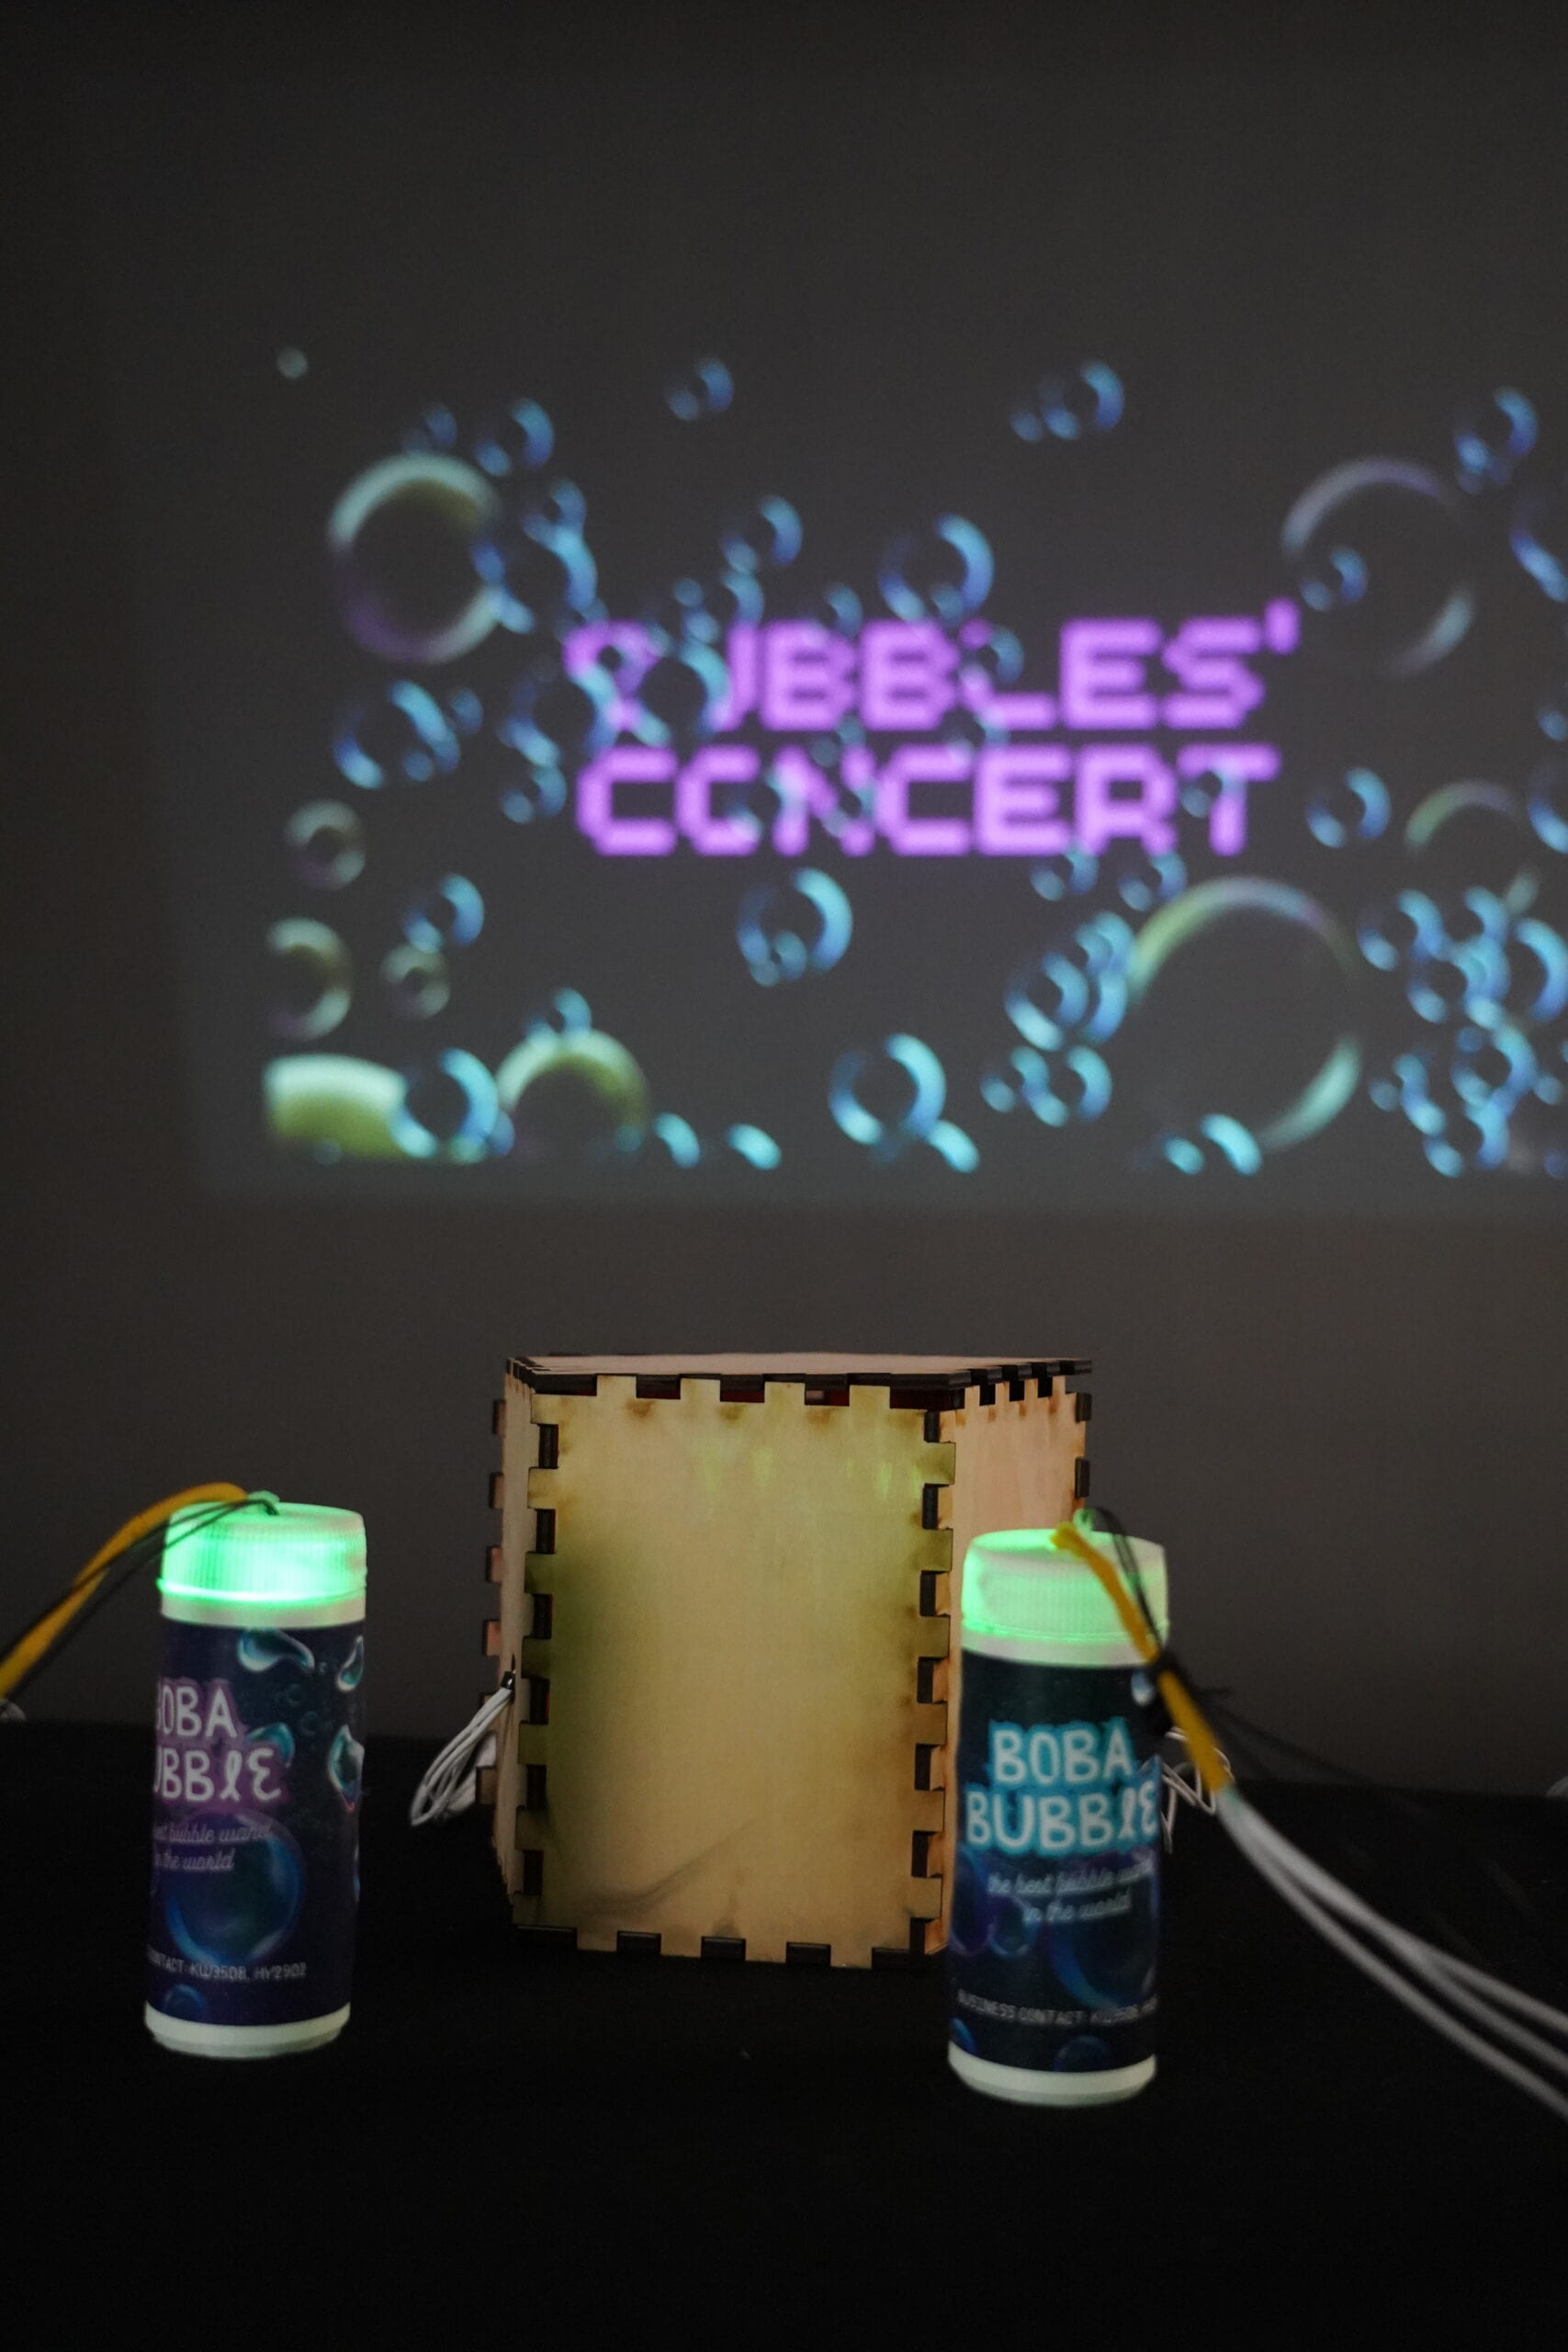
The production mainly involves four parts: Arduino circuit building and coding, Processing coding, digital fabrication (including 3D printing), and finalizing details and decoration.
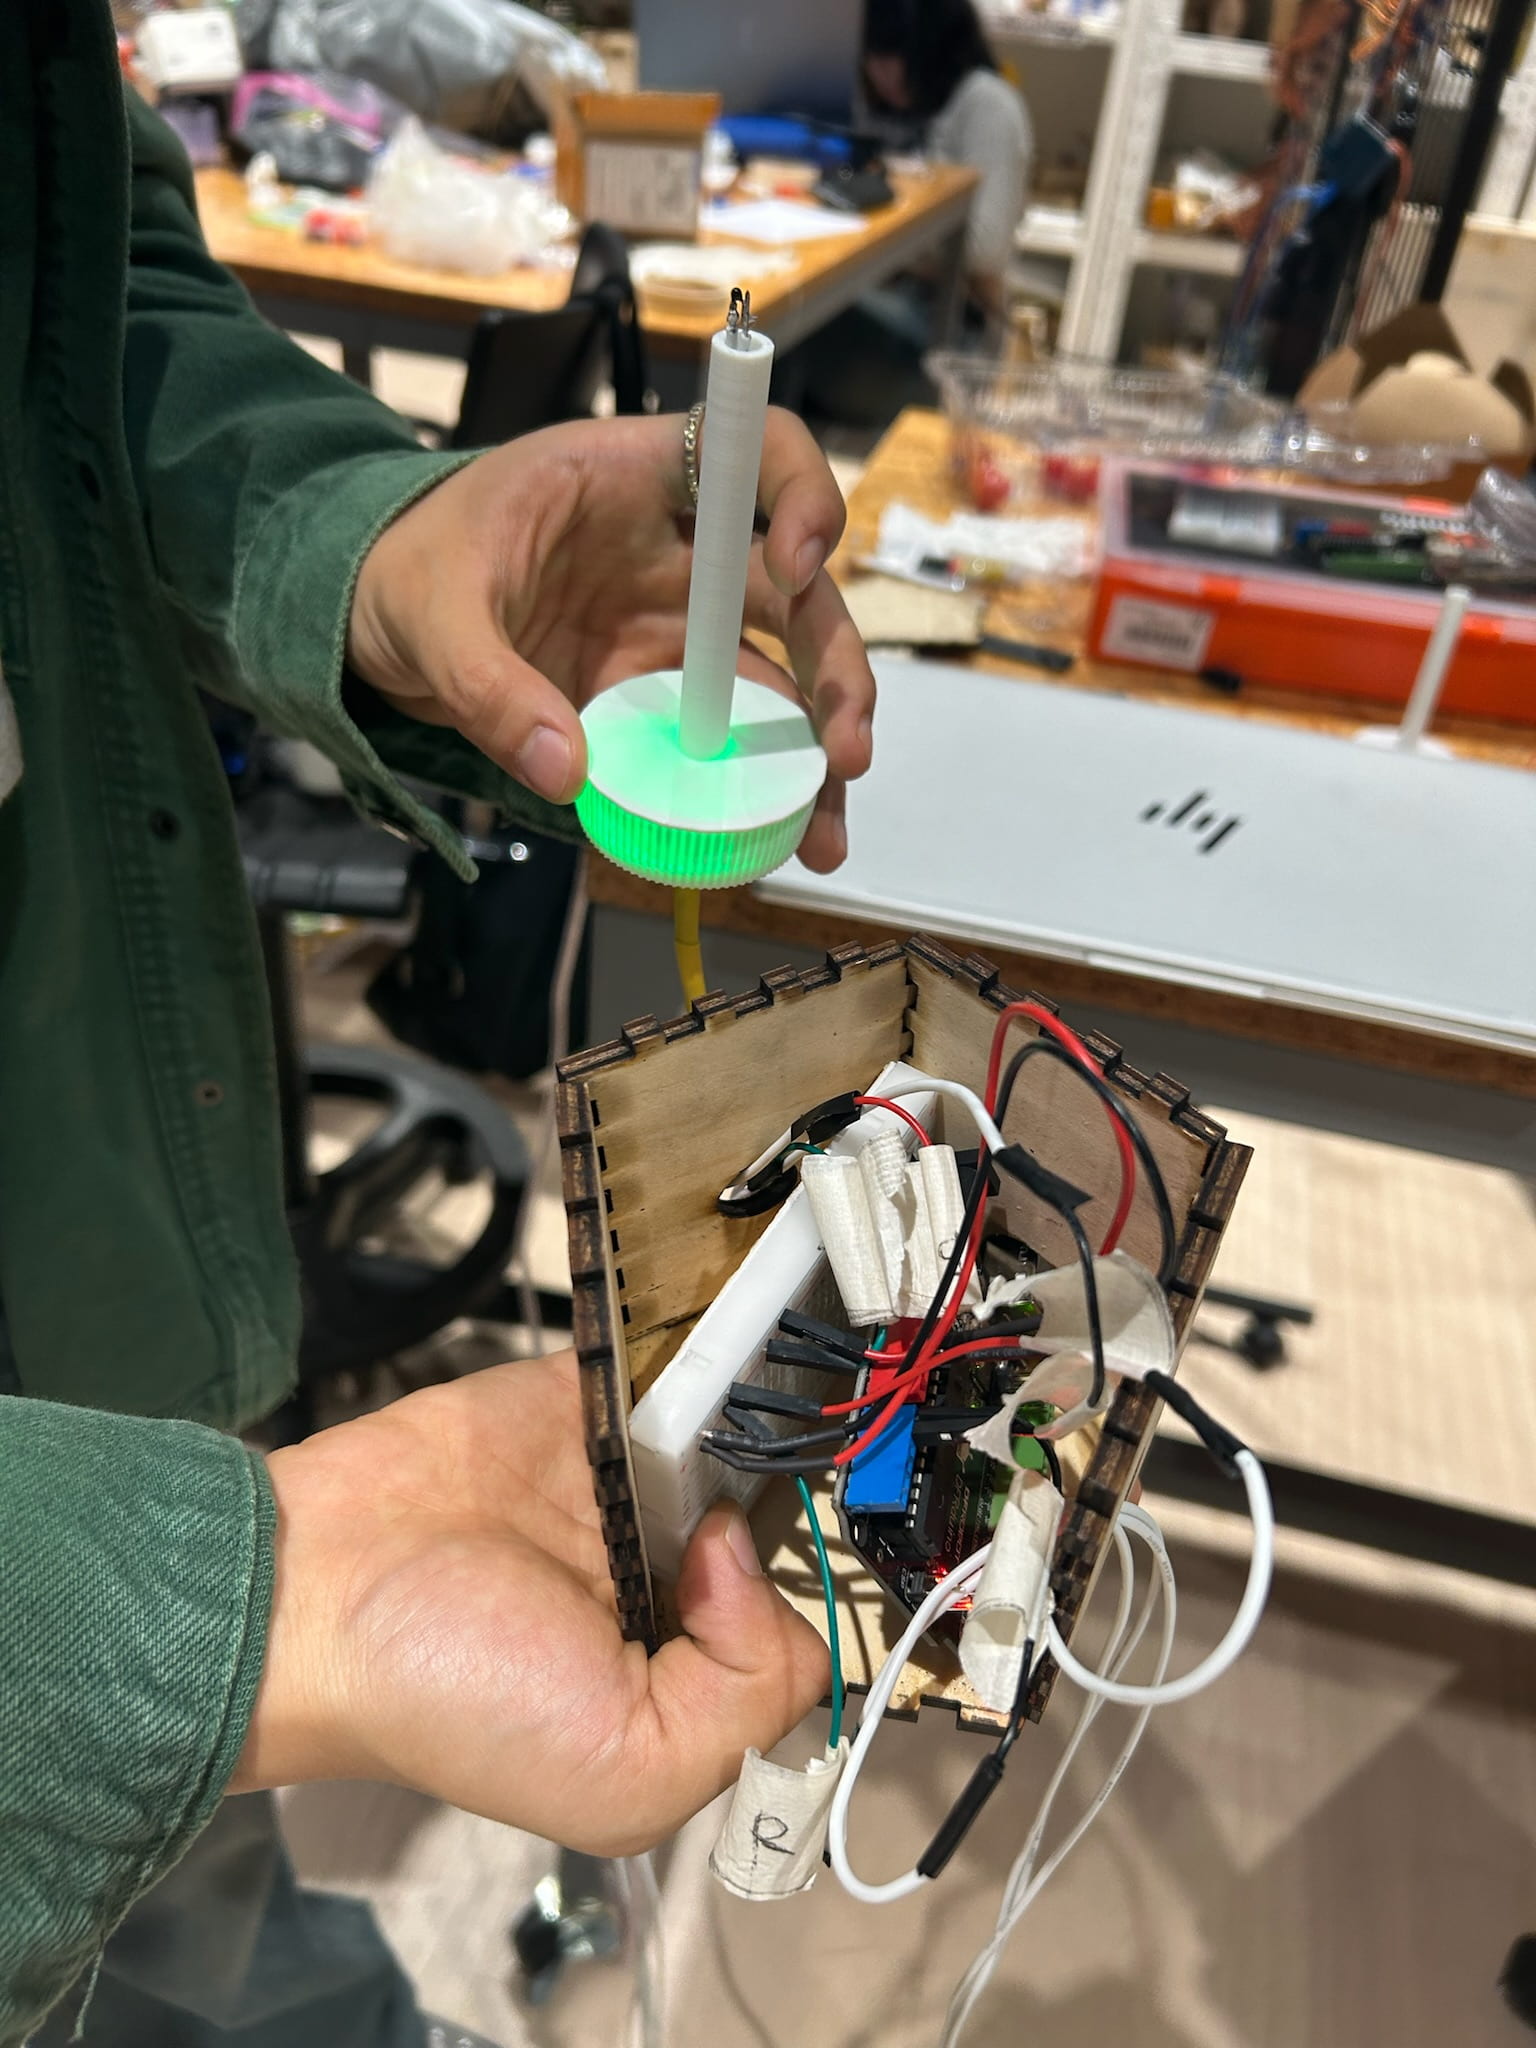
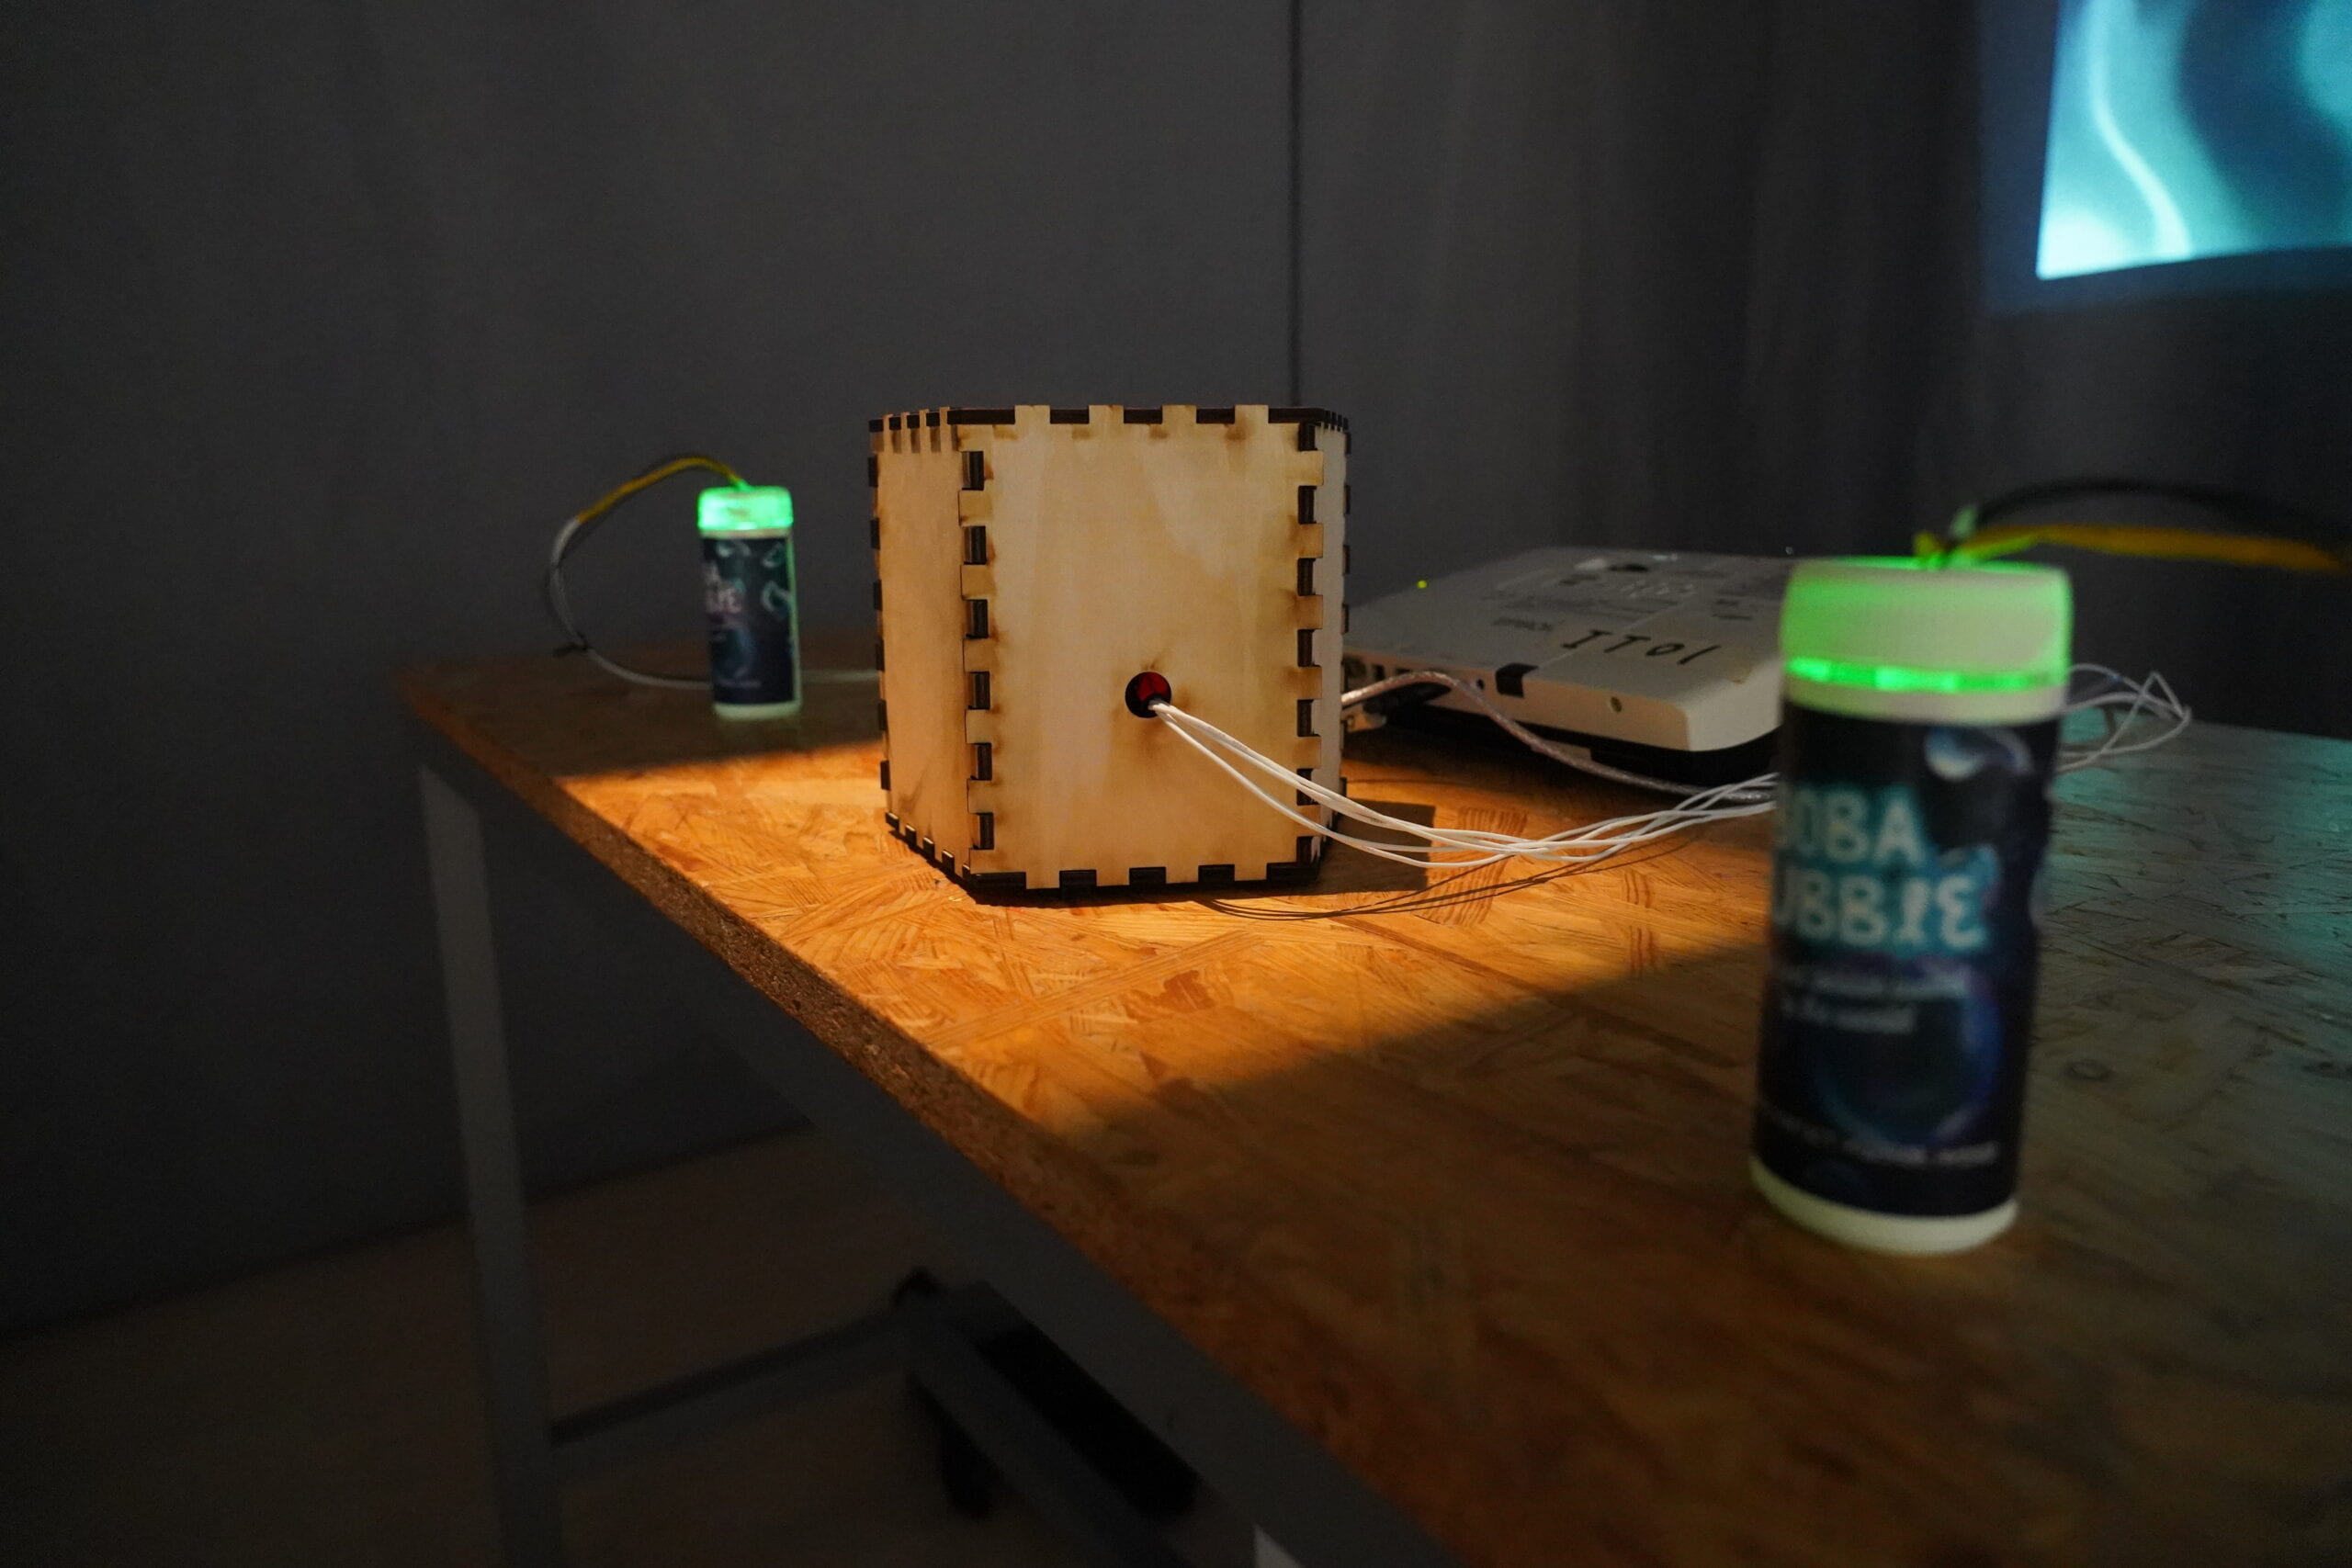
In the Arduino circuit building and coding phase, the biggest challenge was selecting the right sensor to detect air blowing, which also needed to be small enough to fit into a real-life bubble bottle. We considered using a temperature sensor, an air flow rate sensor, and a flex sensor. We quickly discarded the flex sensor because it responded to even the slightest movements, which wasn’t ideal for our needs. The temperature sensor was smaller than the air flow rate sensor, making it a better fit for the size of the bubble blowing wand and bottle, as we wanted to avoid a bulky appearance. However, using the temperature sensor to detect bubble blowing proved difficult, as we initially thought the temperature would drop when air was blown onto the sensor. This approach was unreliable due to the volatility of room temperature. Professor Gottfried suggested calculating a smoothed curve that averages previous and current values to more accurately determine if a user is blowing bubbles. This solution worked successfully.
In the Processing coding phase, we started by referencing the _Coding Train_ with Daniel Shiffman, which offers beginner-friendly creative coding tutorials. We found some code that was similar to what we needed, but it was challenging because it included many functions we hadn’t learned, which was quite overwhelming and the most painful moment in the project. Another major issue was that the screen became laggy when too many bubbles appeared. Professor Gottfried explained that the resizing function used to create bubbles of different sizes was causing the lag. He suggested resizing the embedded image size beforehand to smooth out the performance.
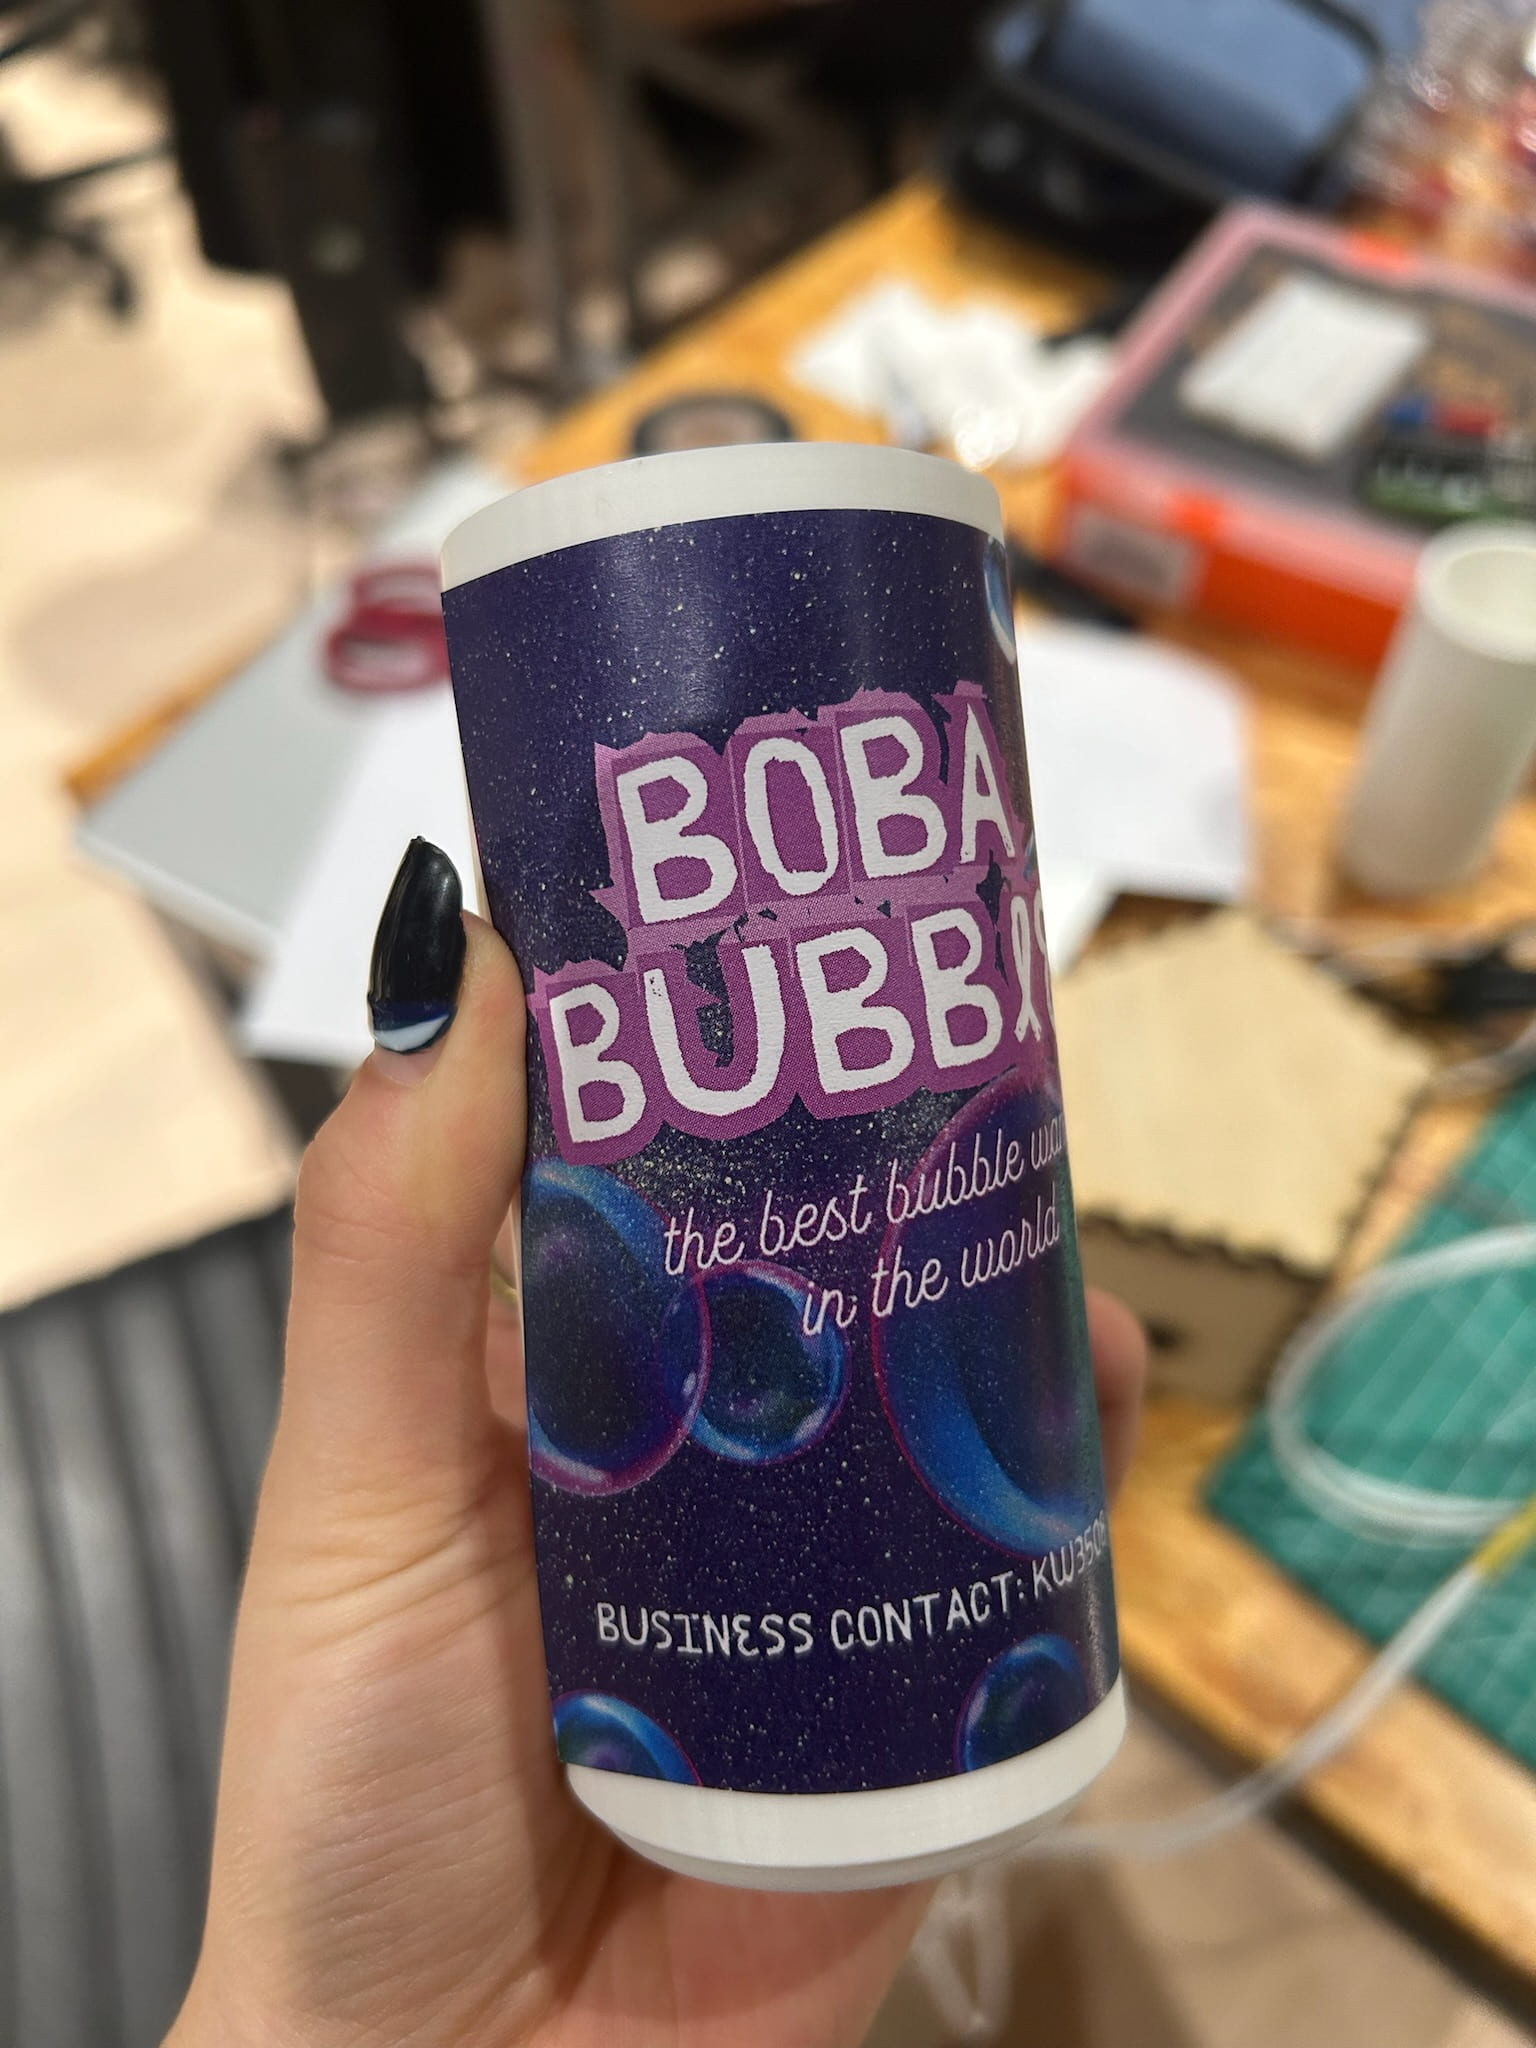
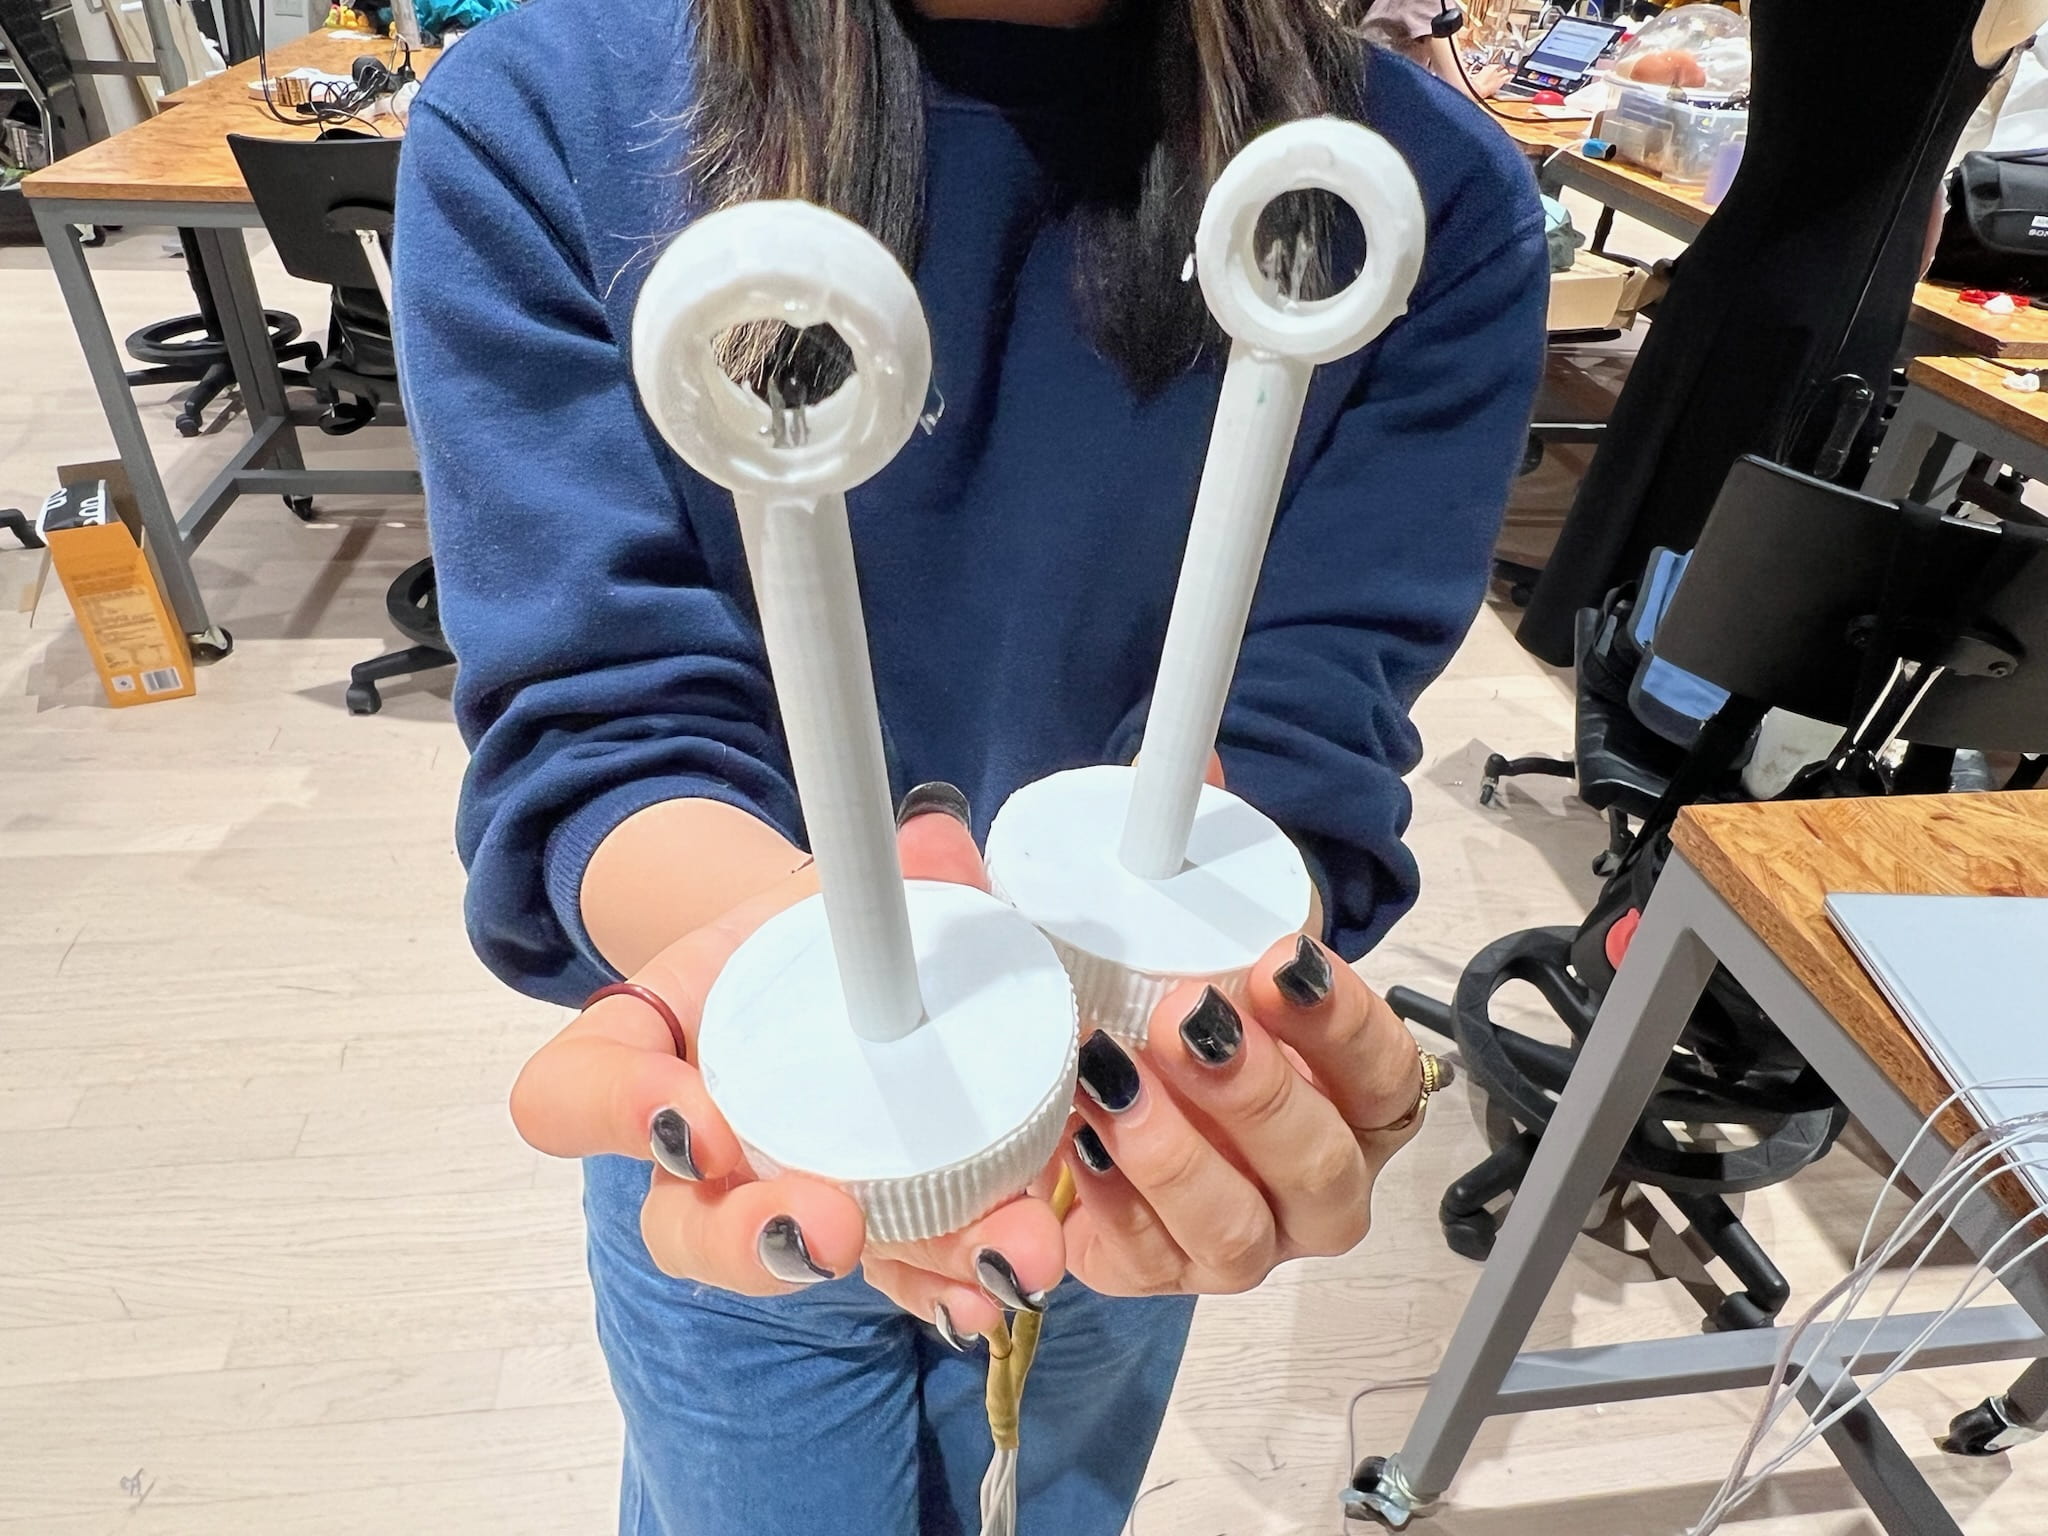
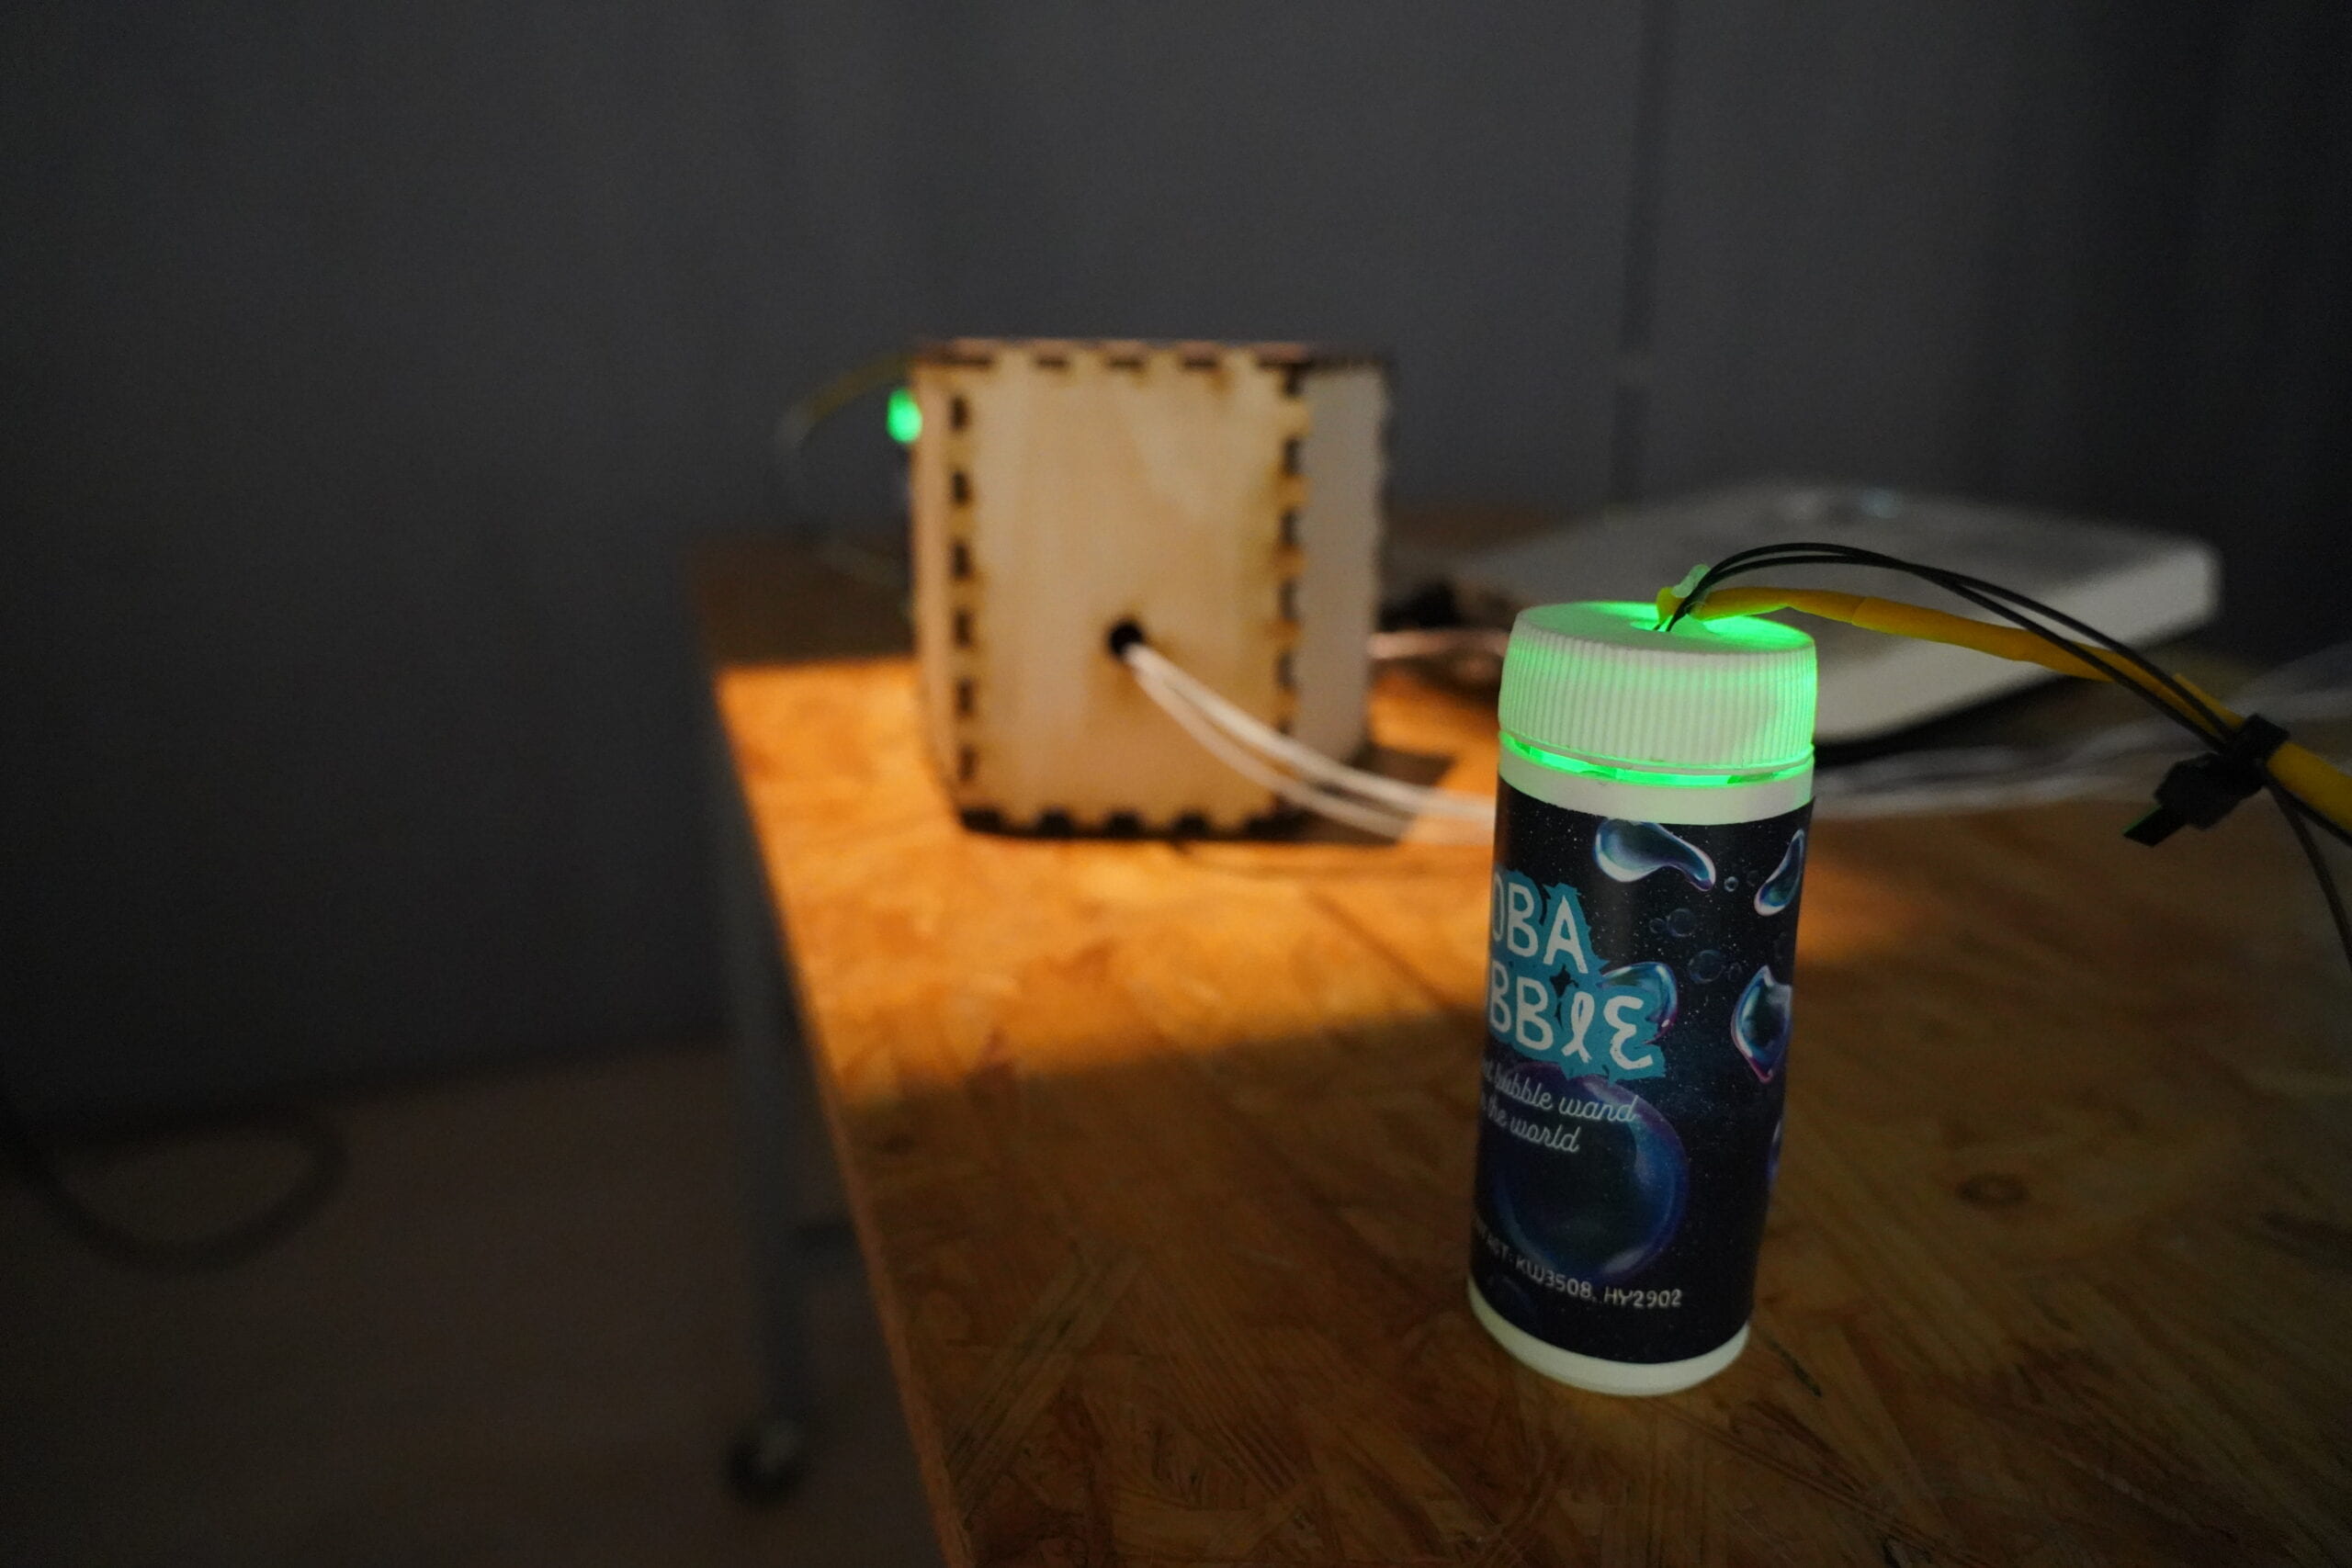
For the digital fabrication part, we began with an online sketch of a bubble bottle and redesigned the lid to accommodate the temperature sensor. We encountered several failures initially because one of the 3D printers was malfunctioning and the PLA material kept curling up. Switching to a different 3D printer resolved these issues.

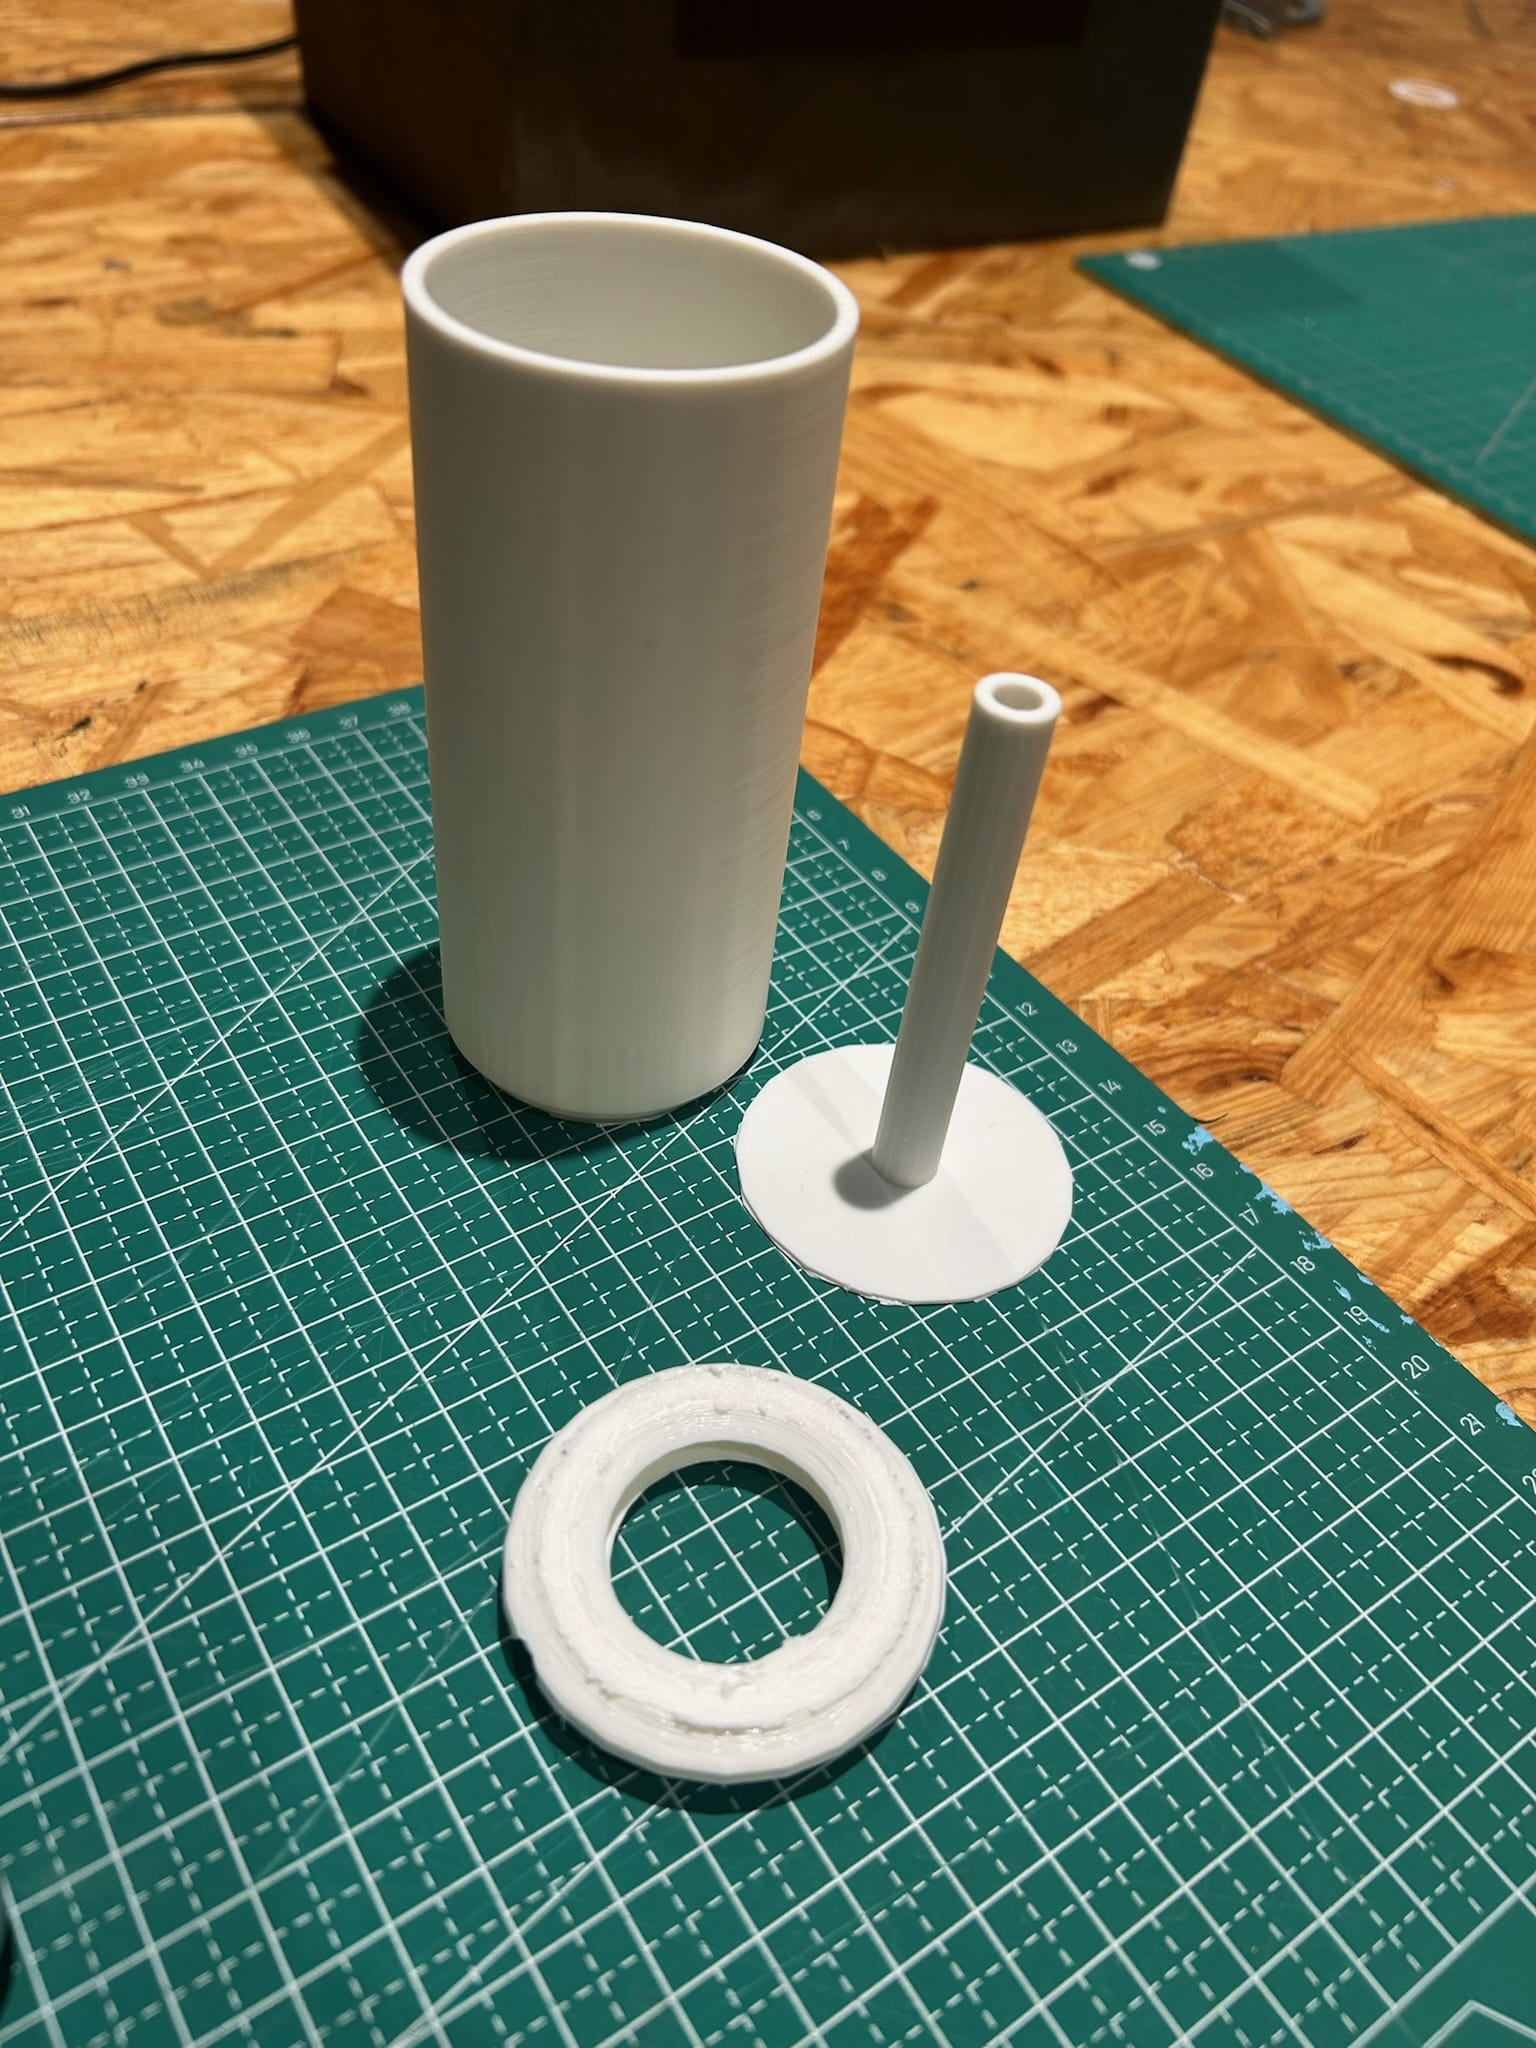
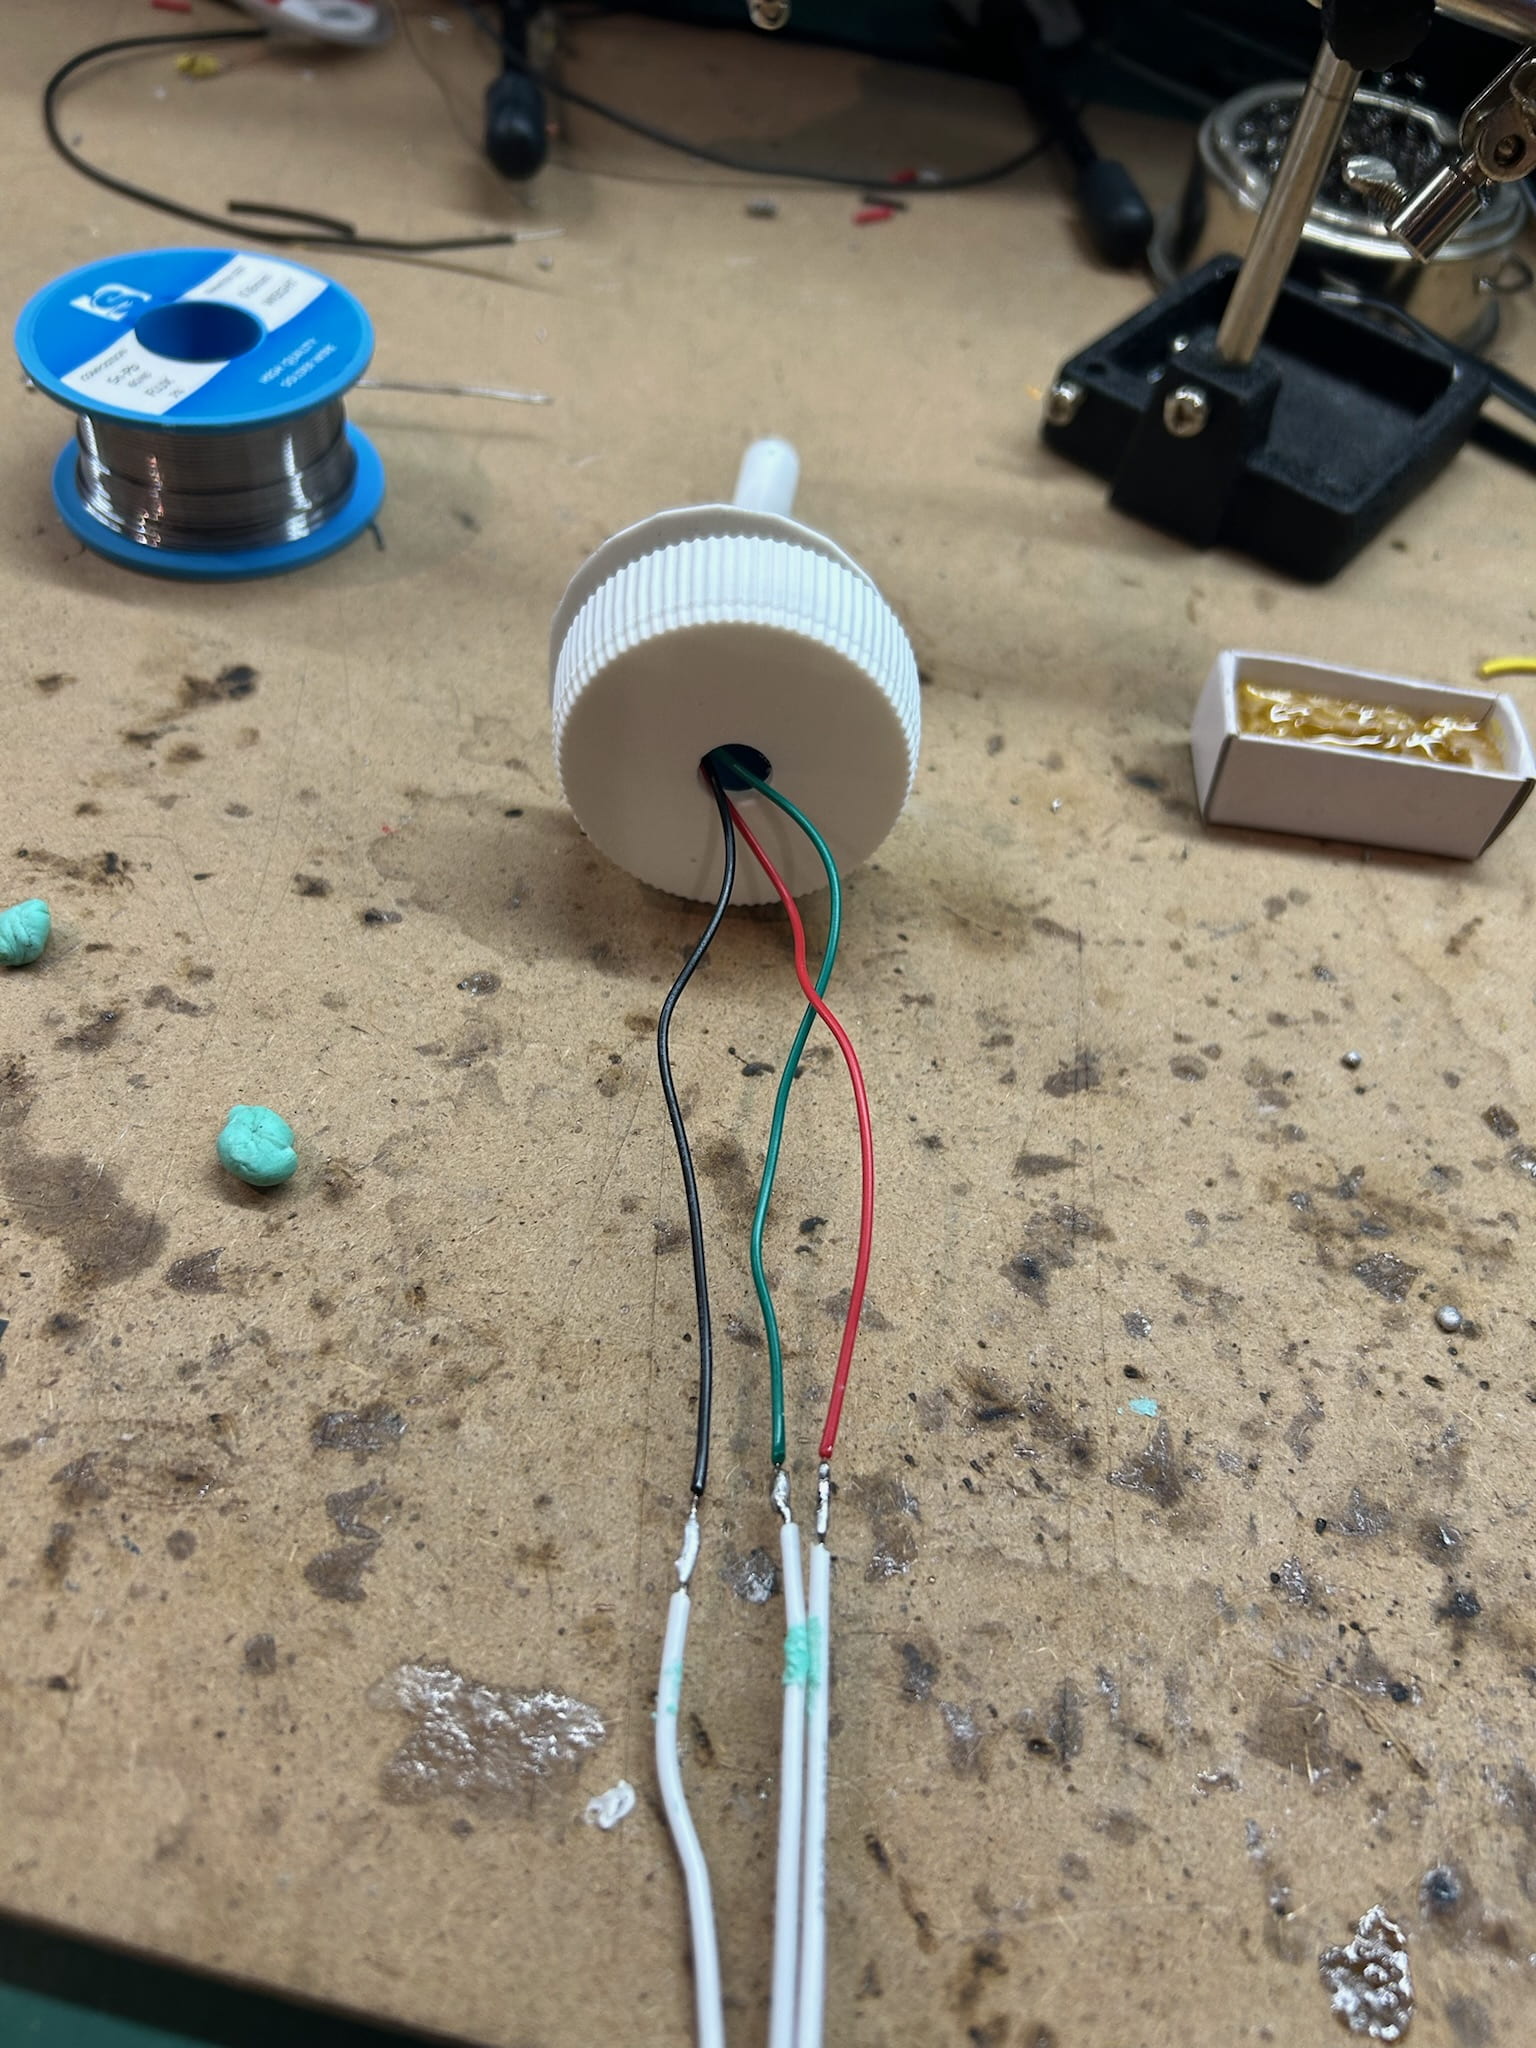
In finalizing the details and decoration, we decided to solder to extend the cable. However, we made the mistake of wrapping the ground, 5V, and data cables together without proper insulation, leading to a short circuit when we tested the extended cables. The problem was initially difficult to diagnose because the cables were wrapped, and we couldn’t see the wiring. Lab Assistant Freddie helped us find the error and recommended insulating the cables before wrapping them.
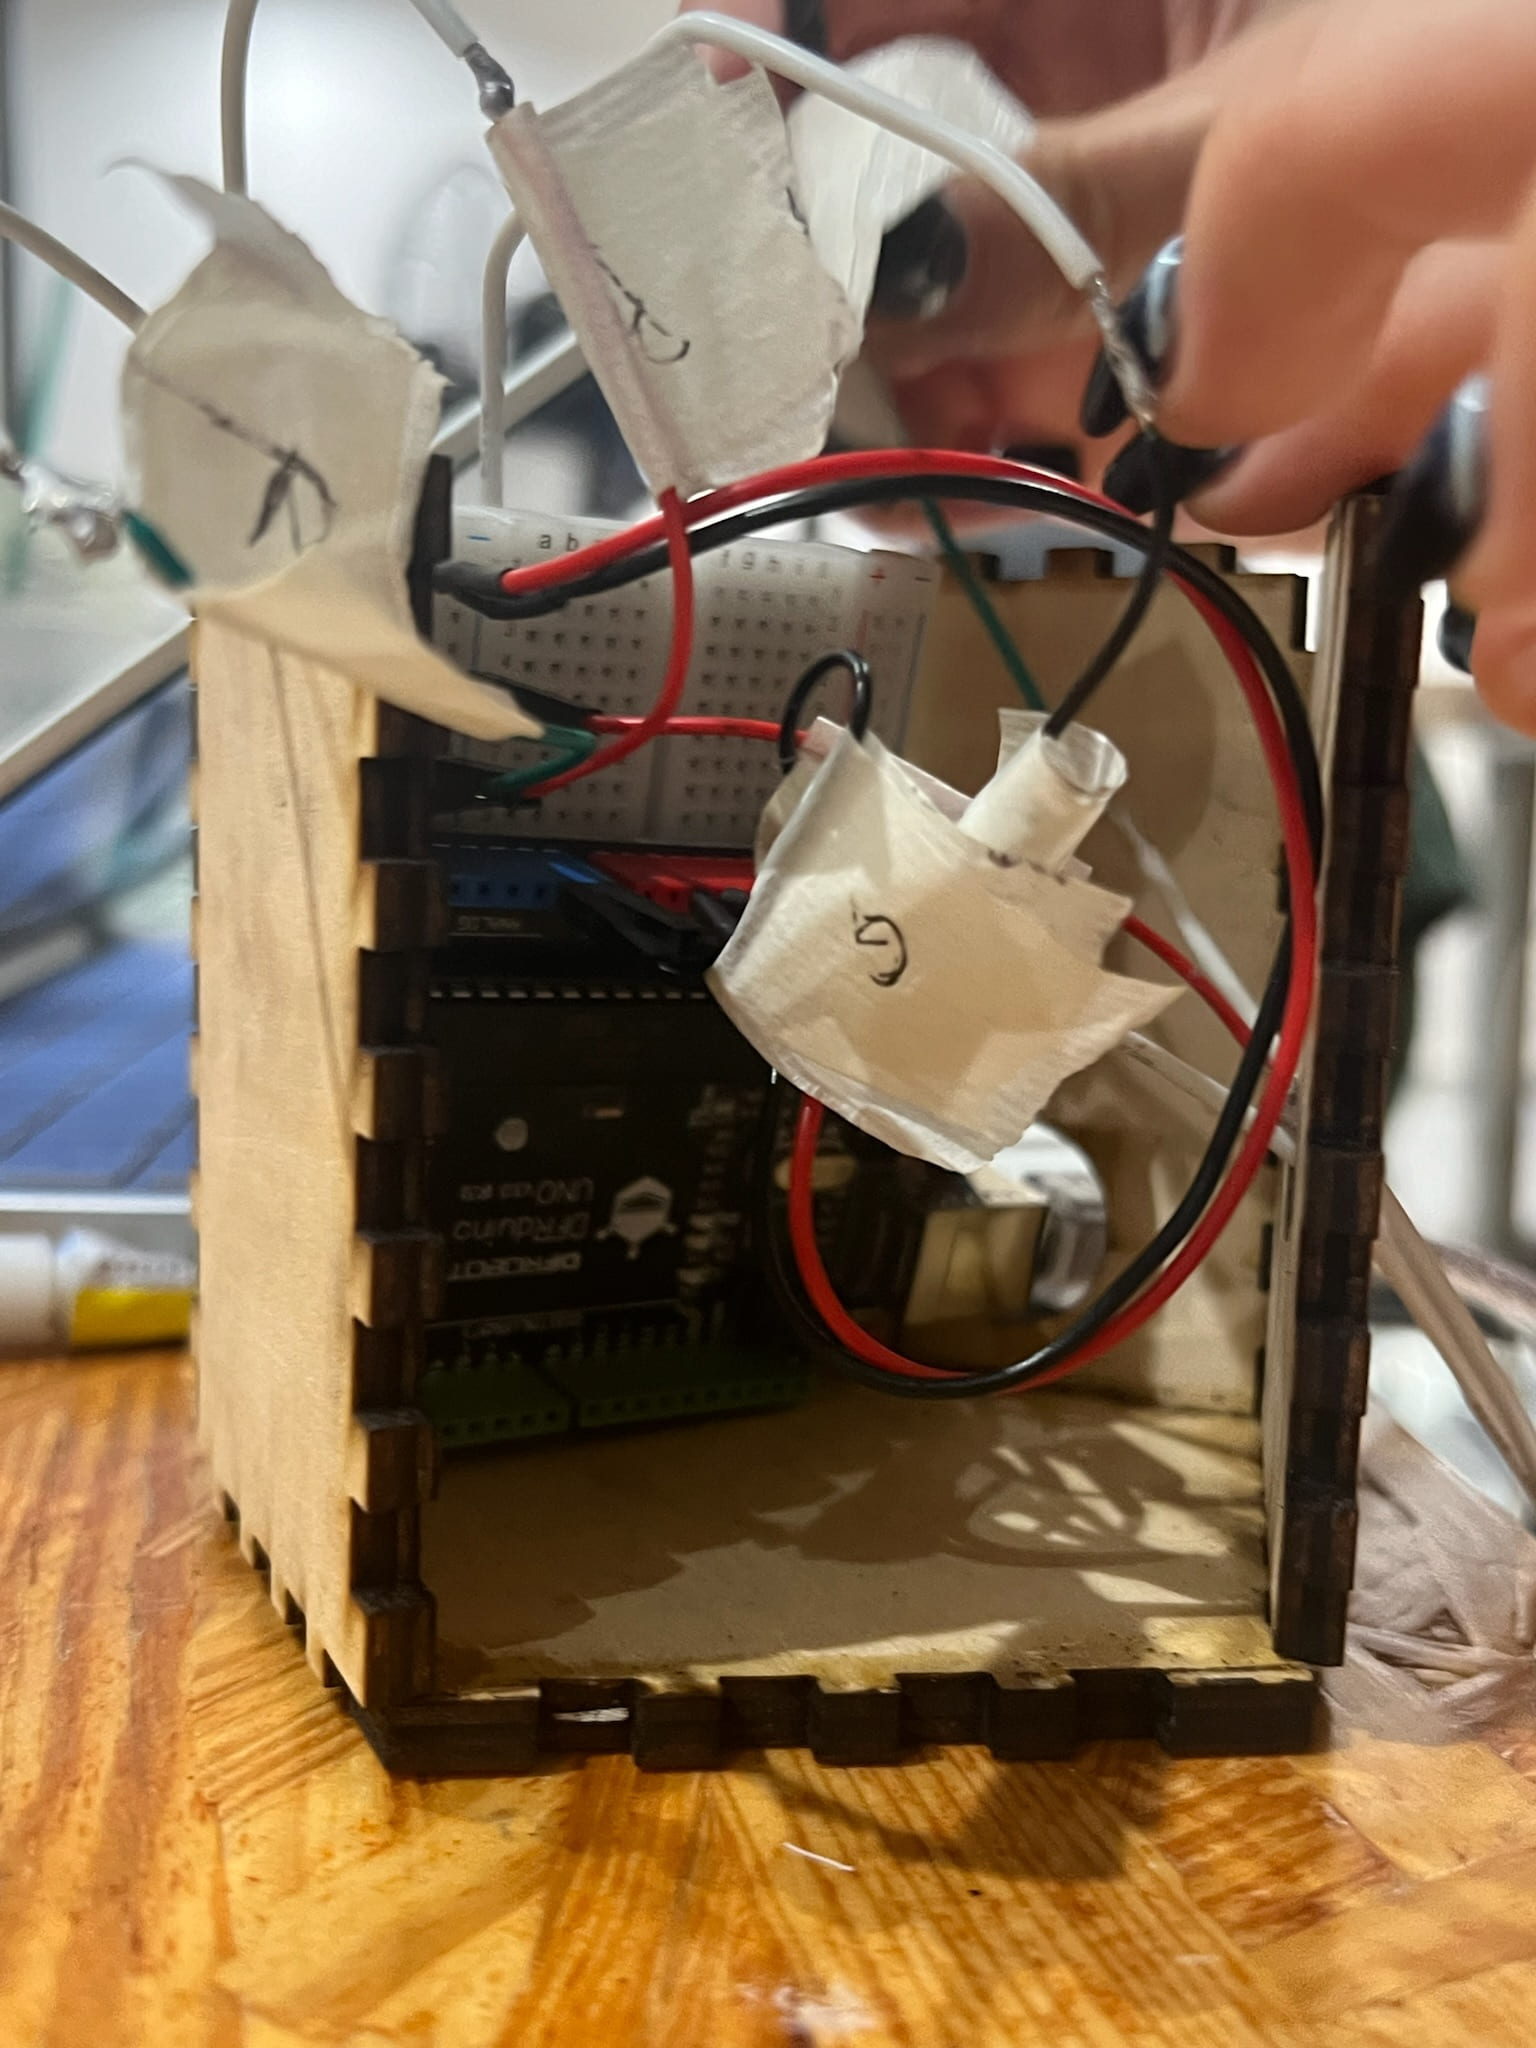
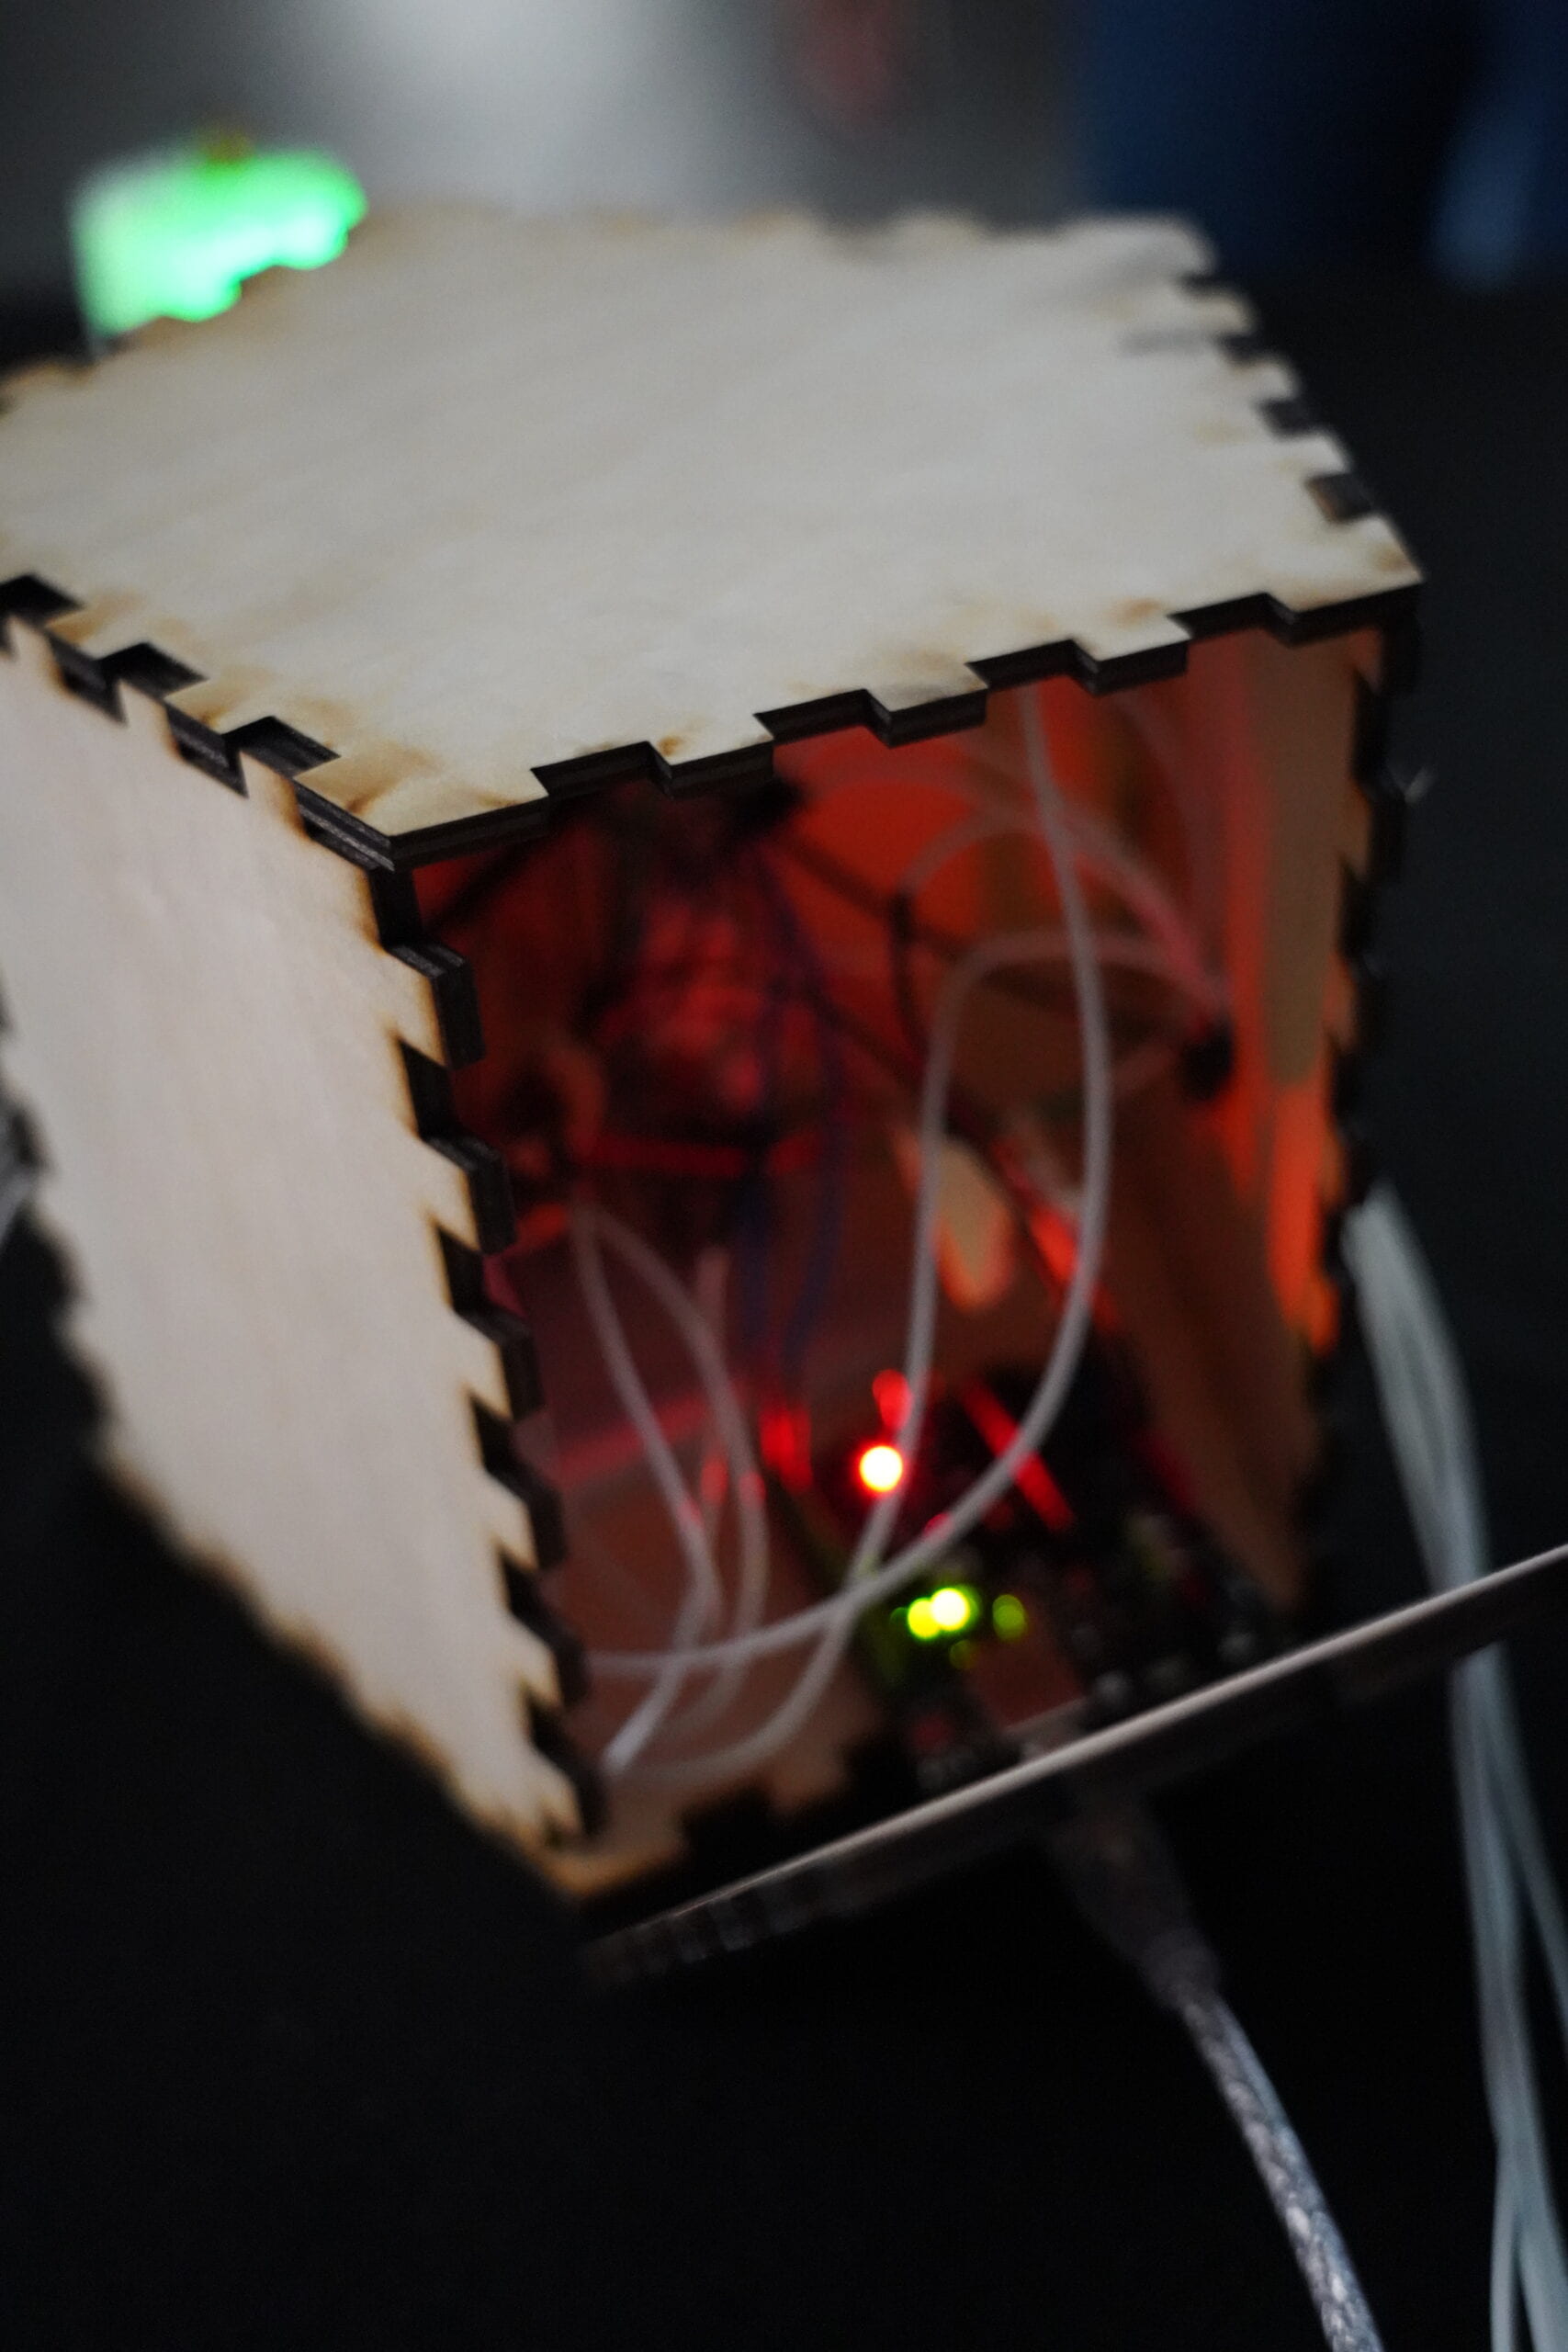
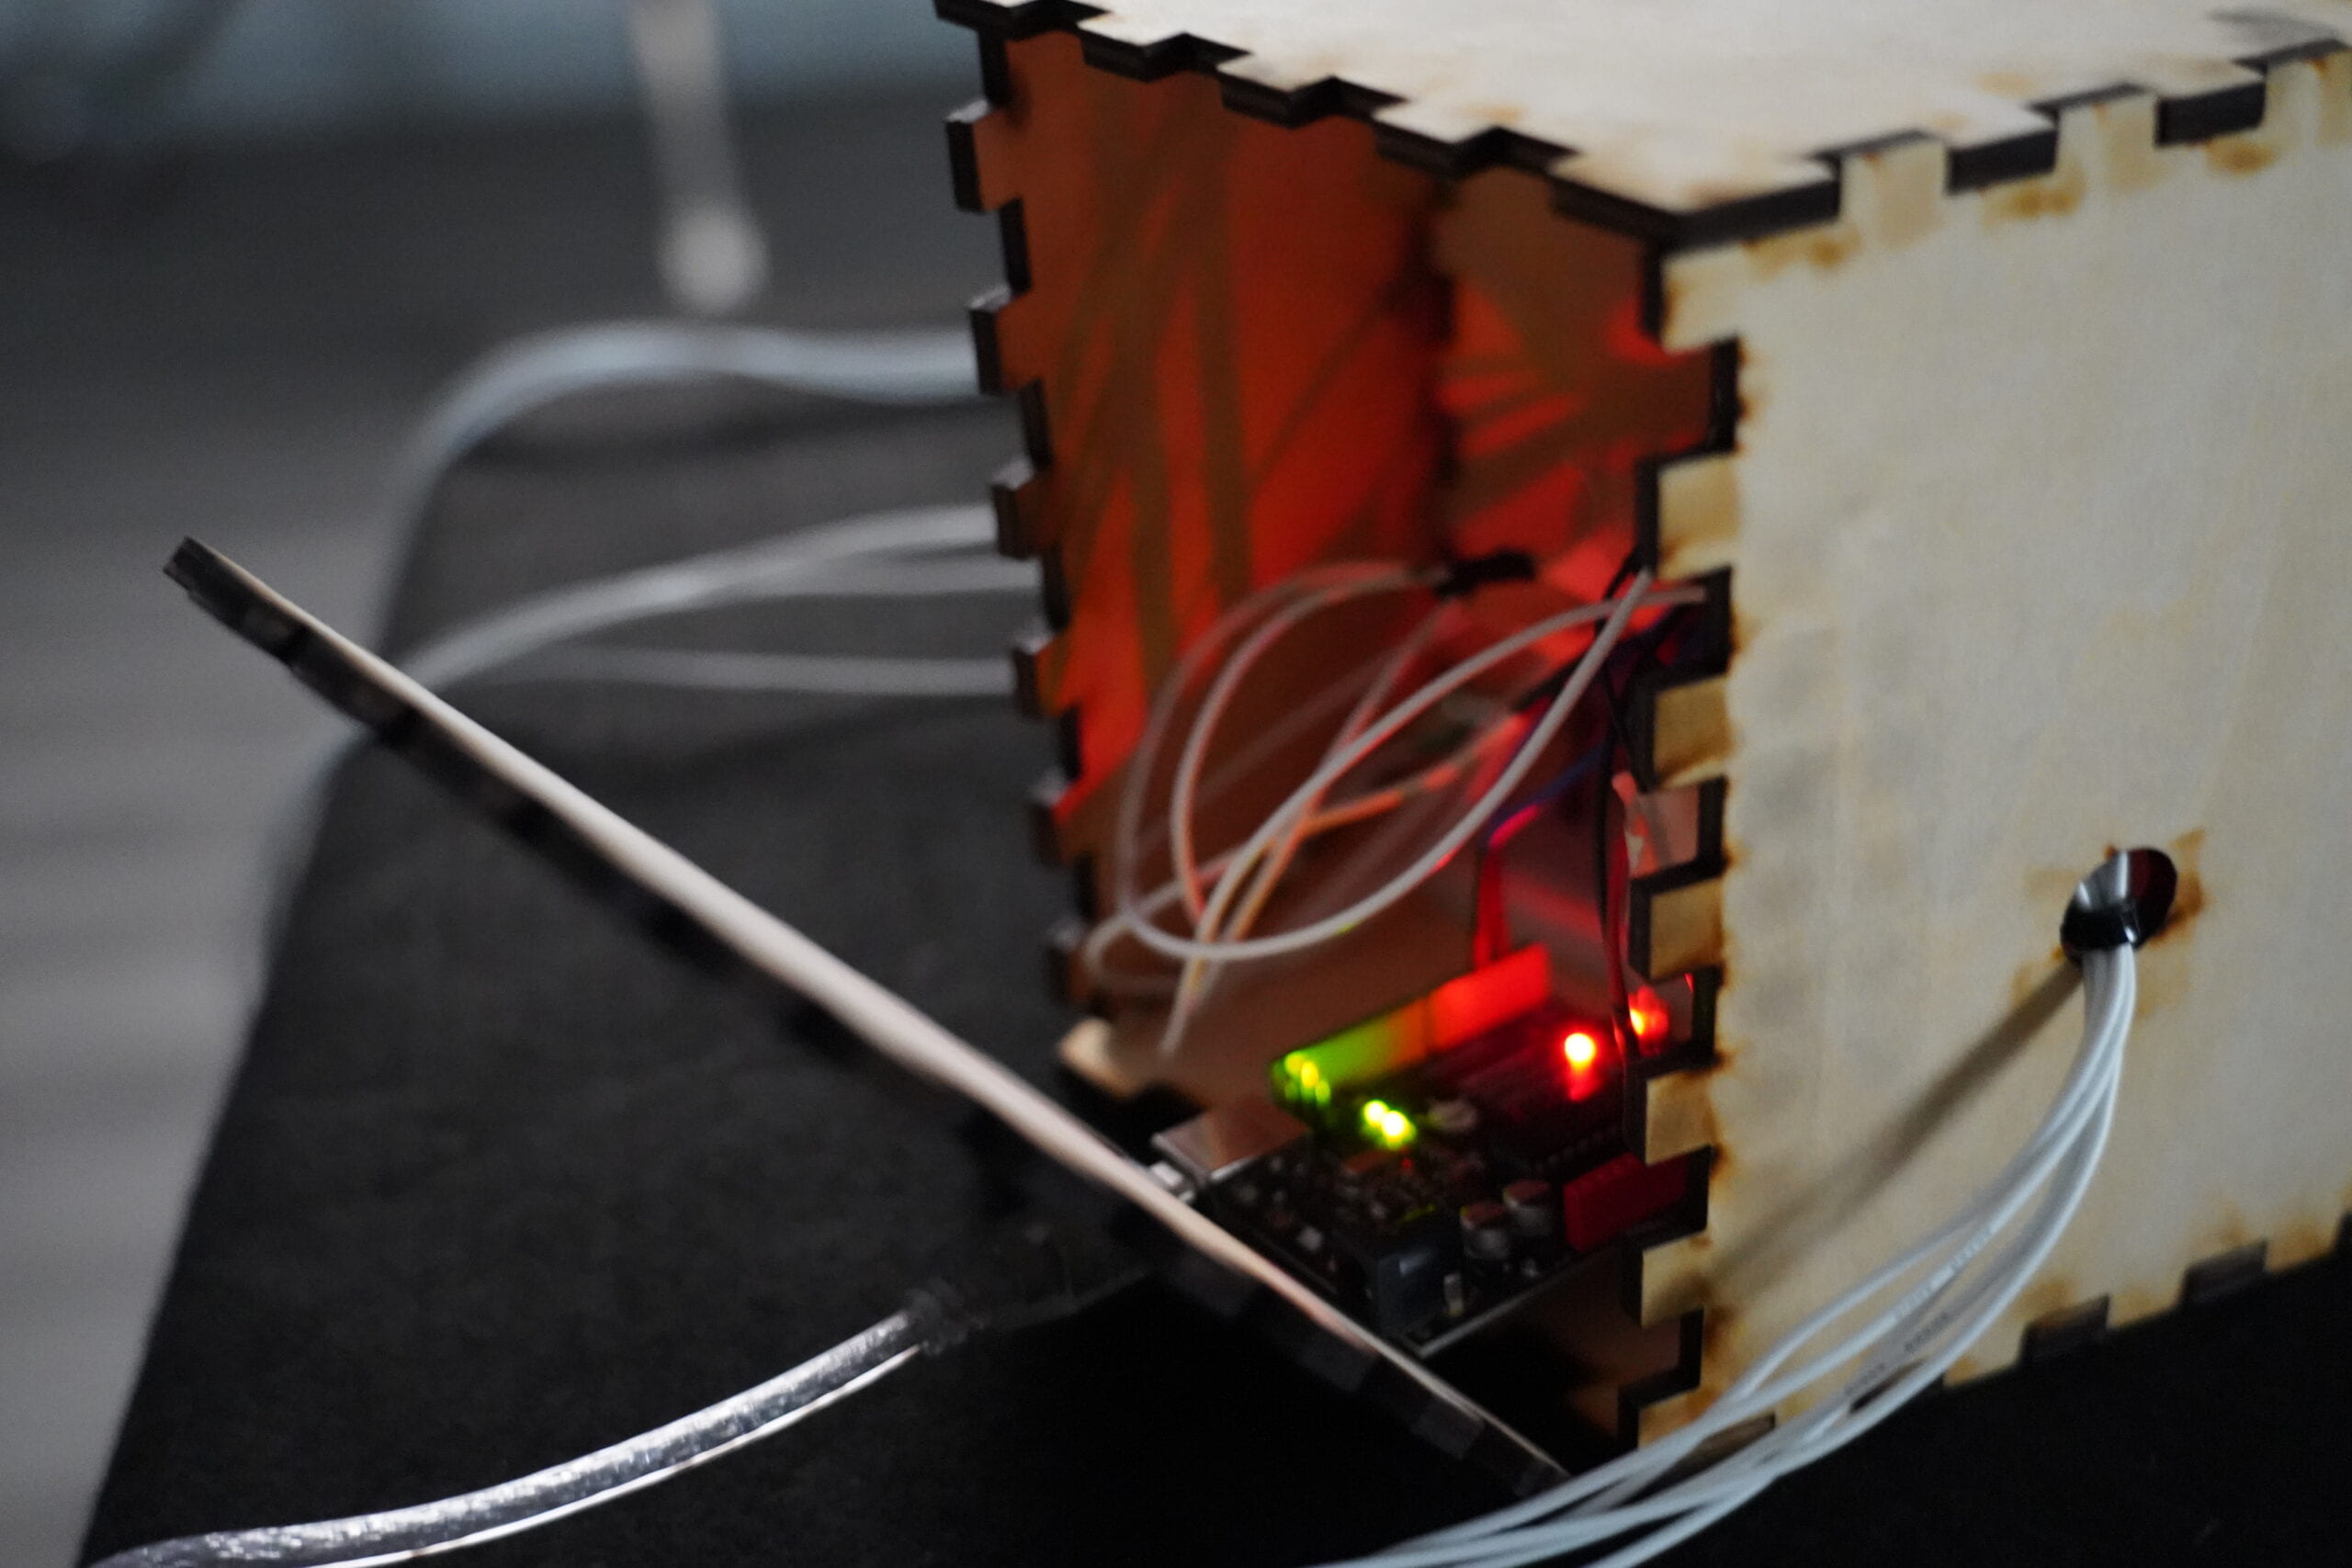
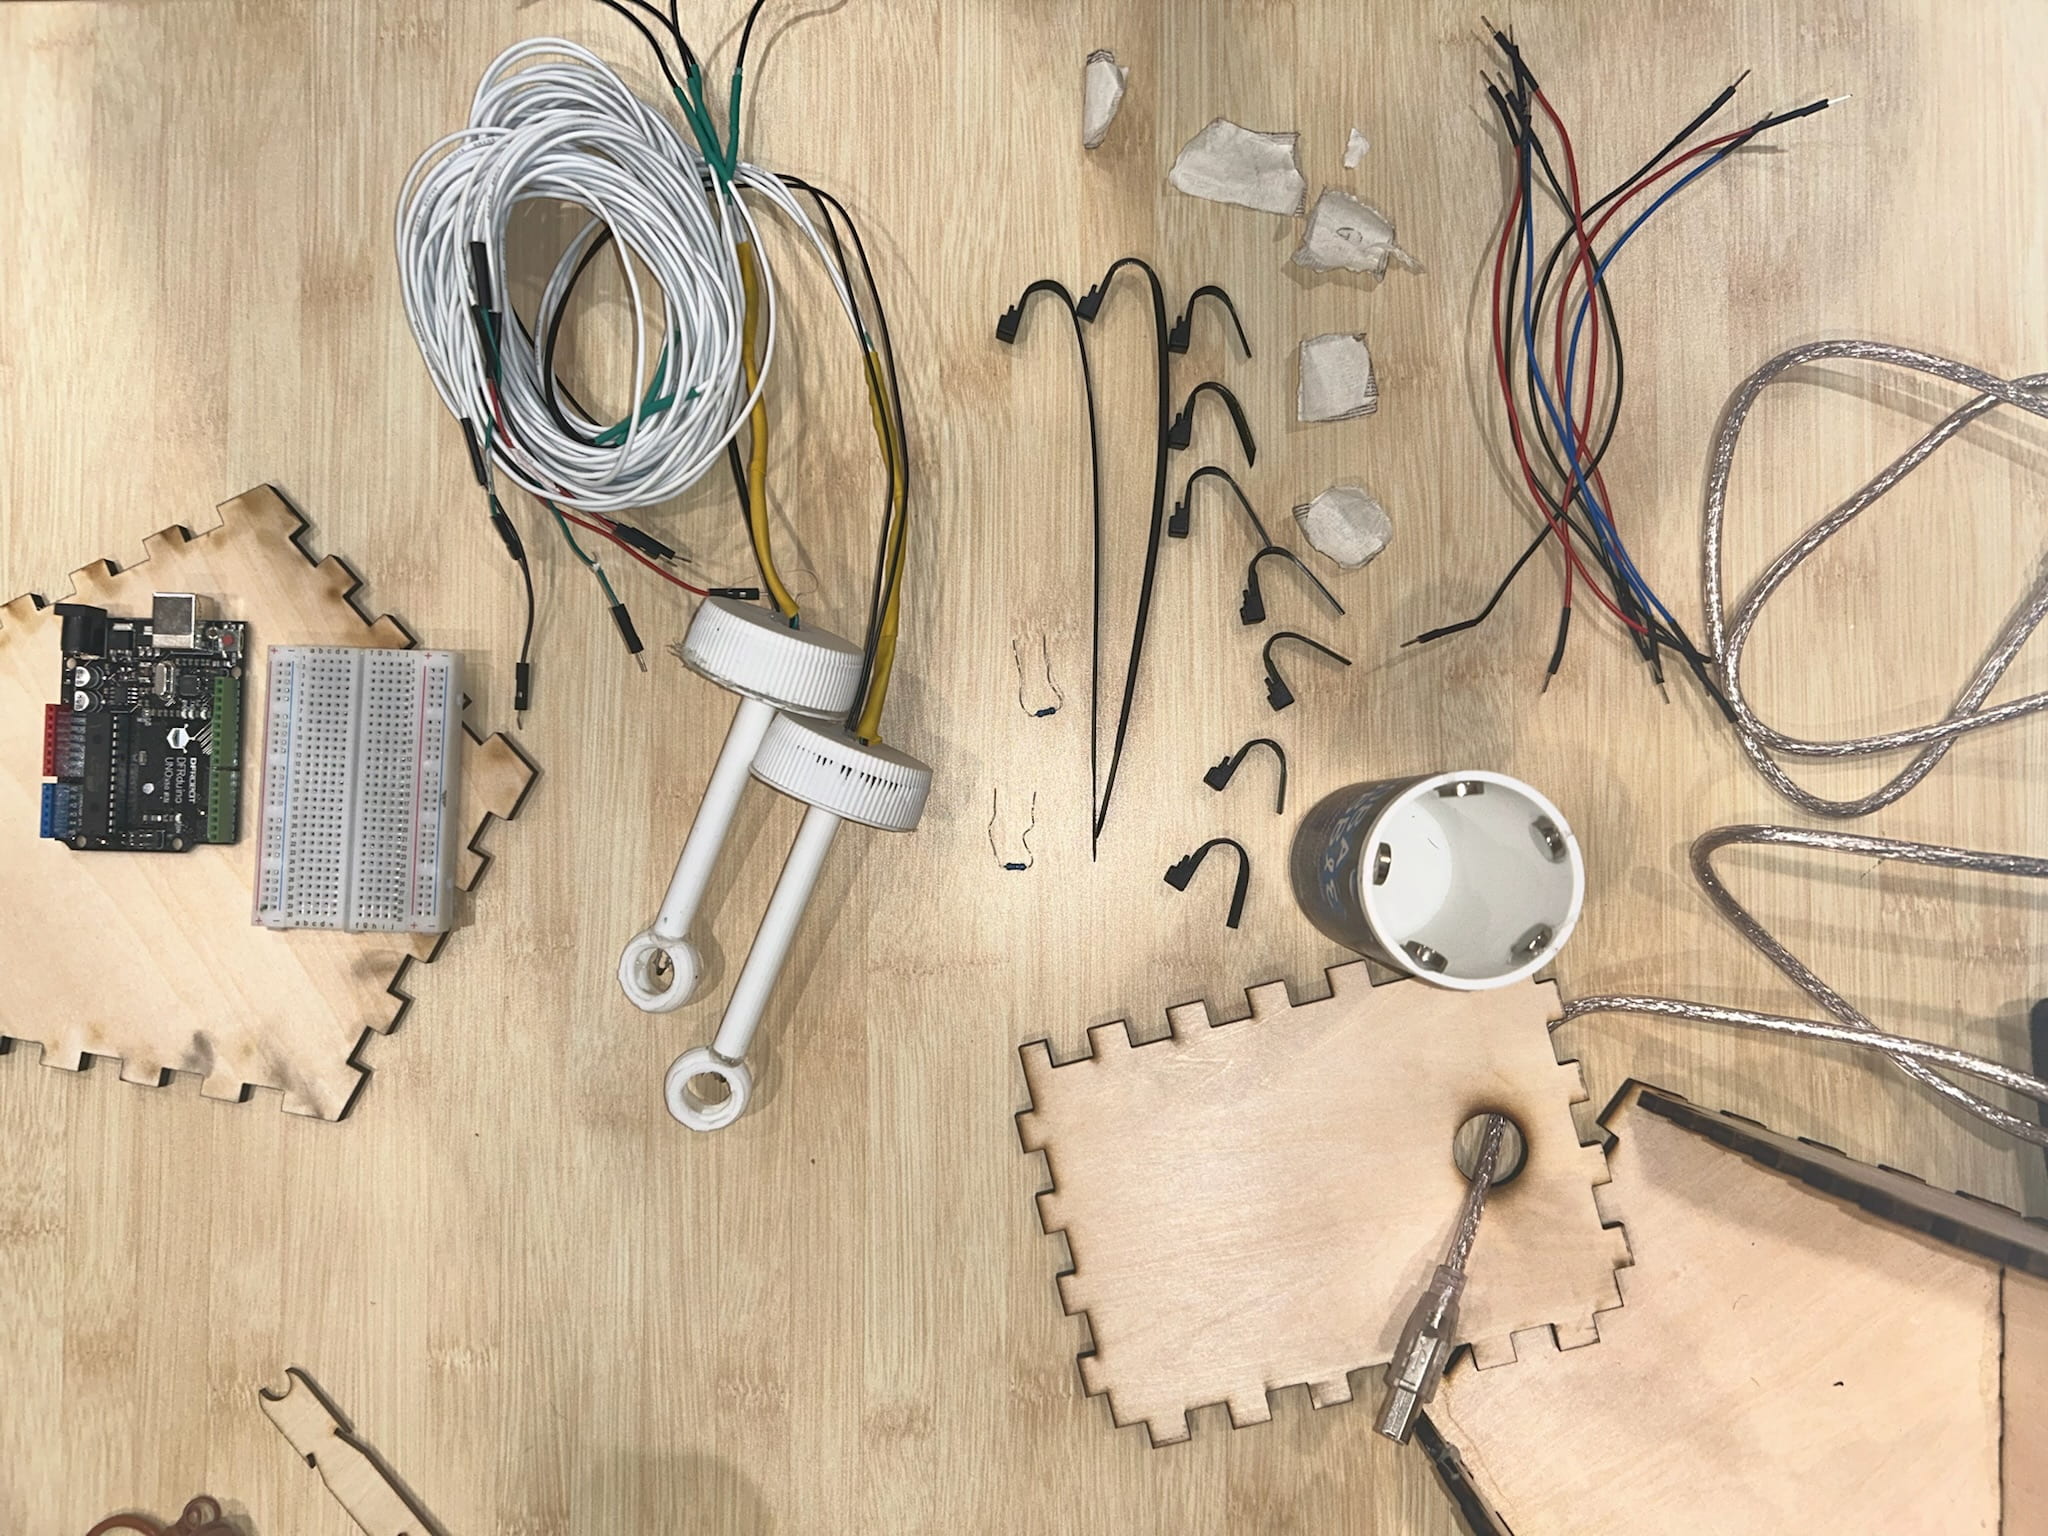
Additionally, we used a laser cutter to build a box to house the Arduino board and breadboard.
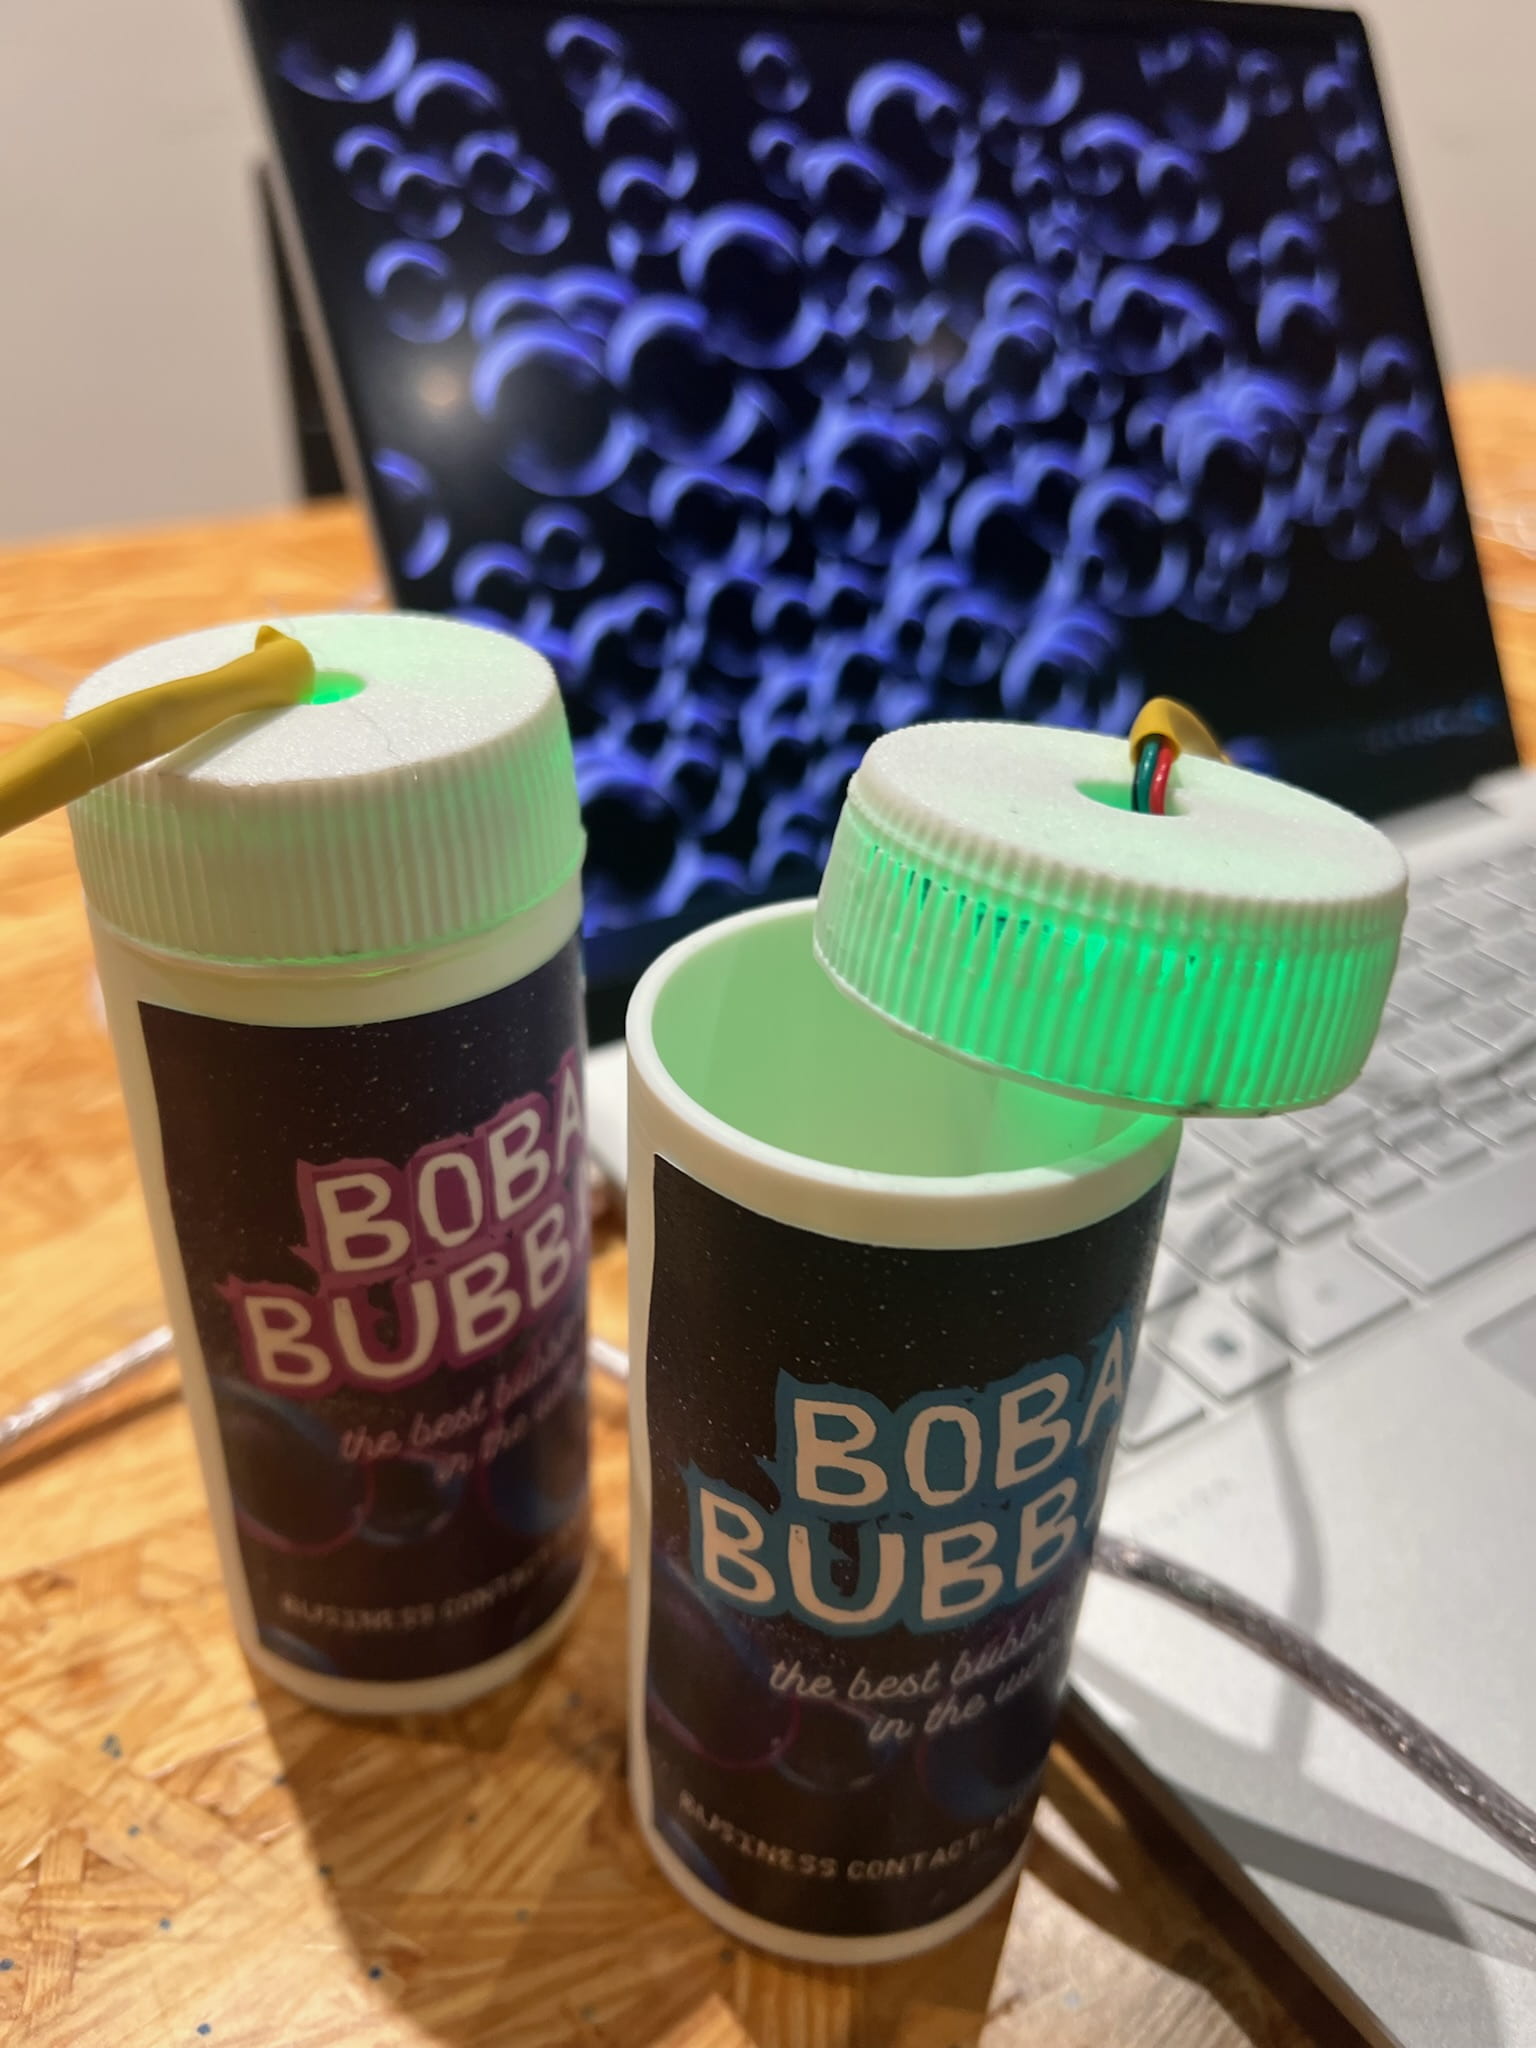
 After the final presentation, we added a function to change the sound effect by inserting a reed switch into the bottle lid and placing magnets near the rim of the bubble bottle. This setup detects when the user dips the bubble wand back into the bottle, changing the sound effects when two bubbles collide.
D. CONCLUSIONS
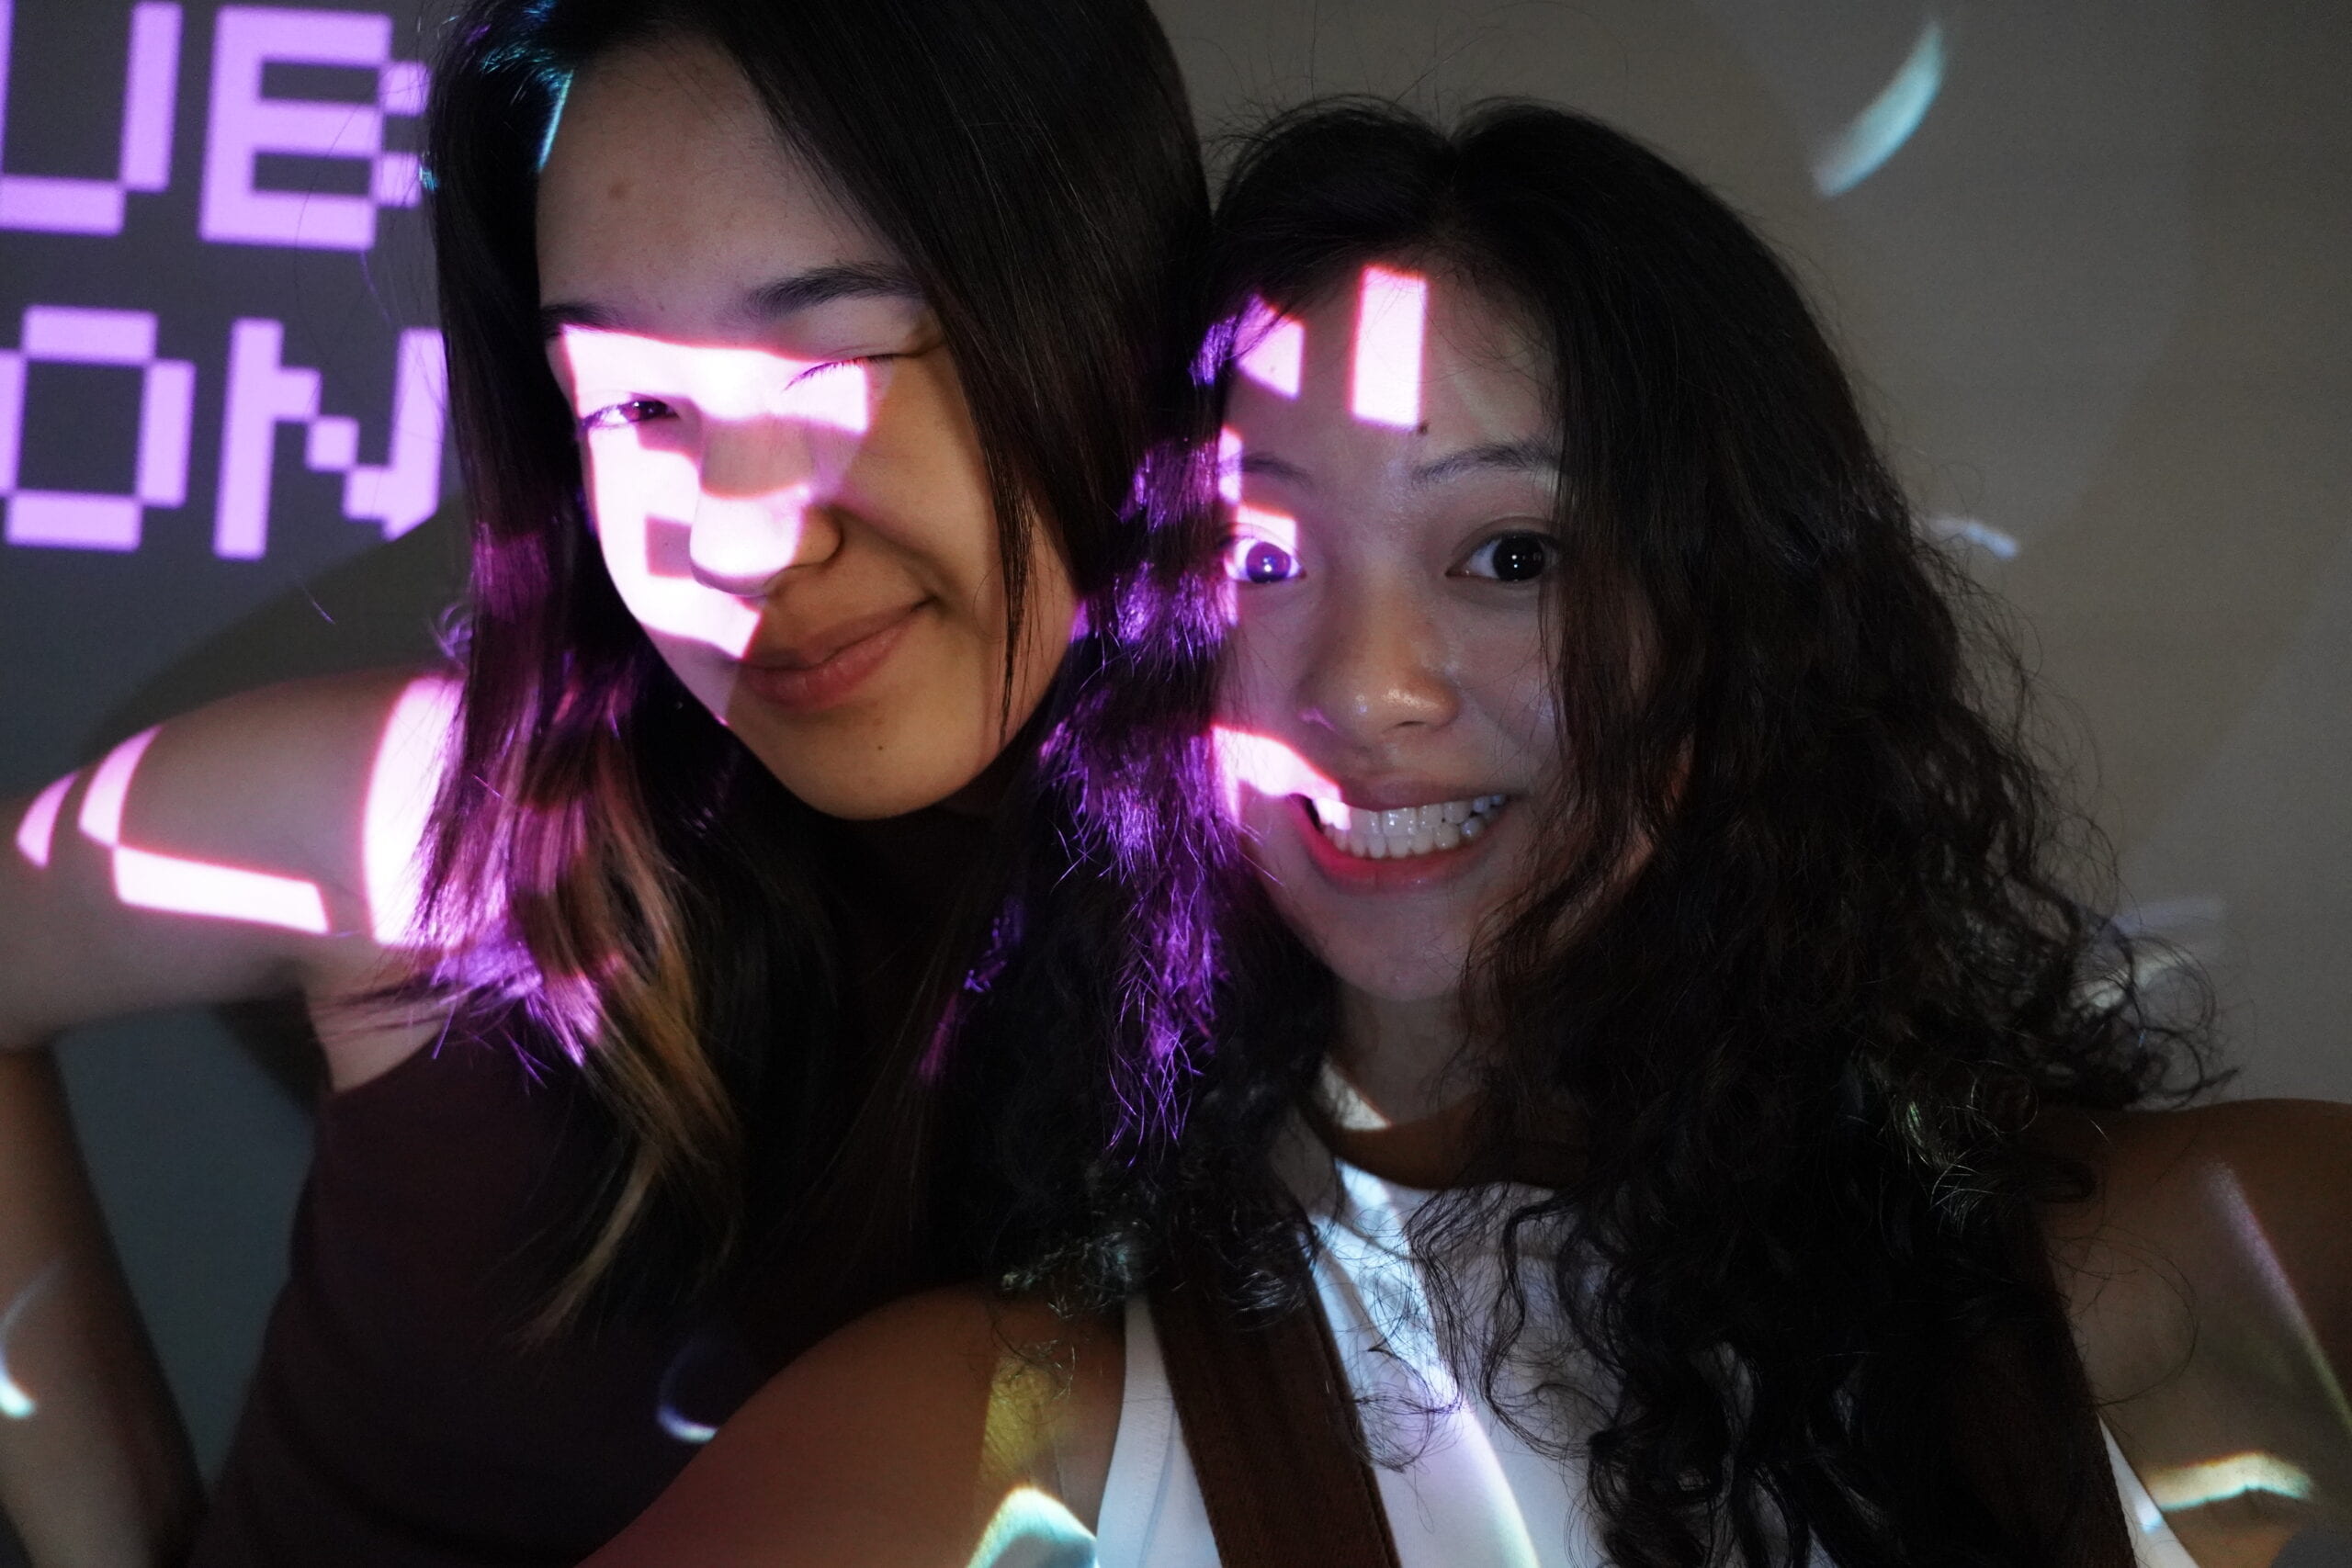
I achieved most of my goals, although some of my initial designs didn’t produce the effects I expected. I did manage to capture the overall aesthetic I envisioned, particularly in how the bubbles appeared on the screen, their visual details, and the nostalgic electronic sound produced when two bubbles collided.
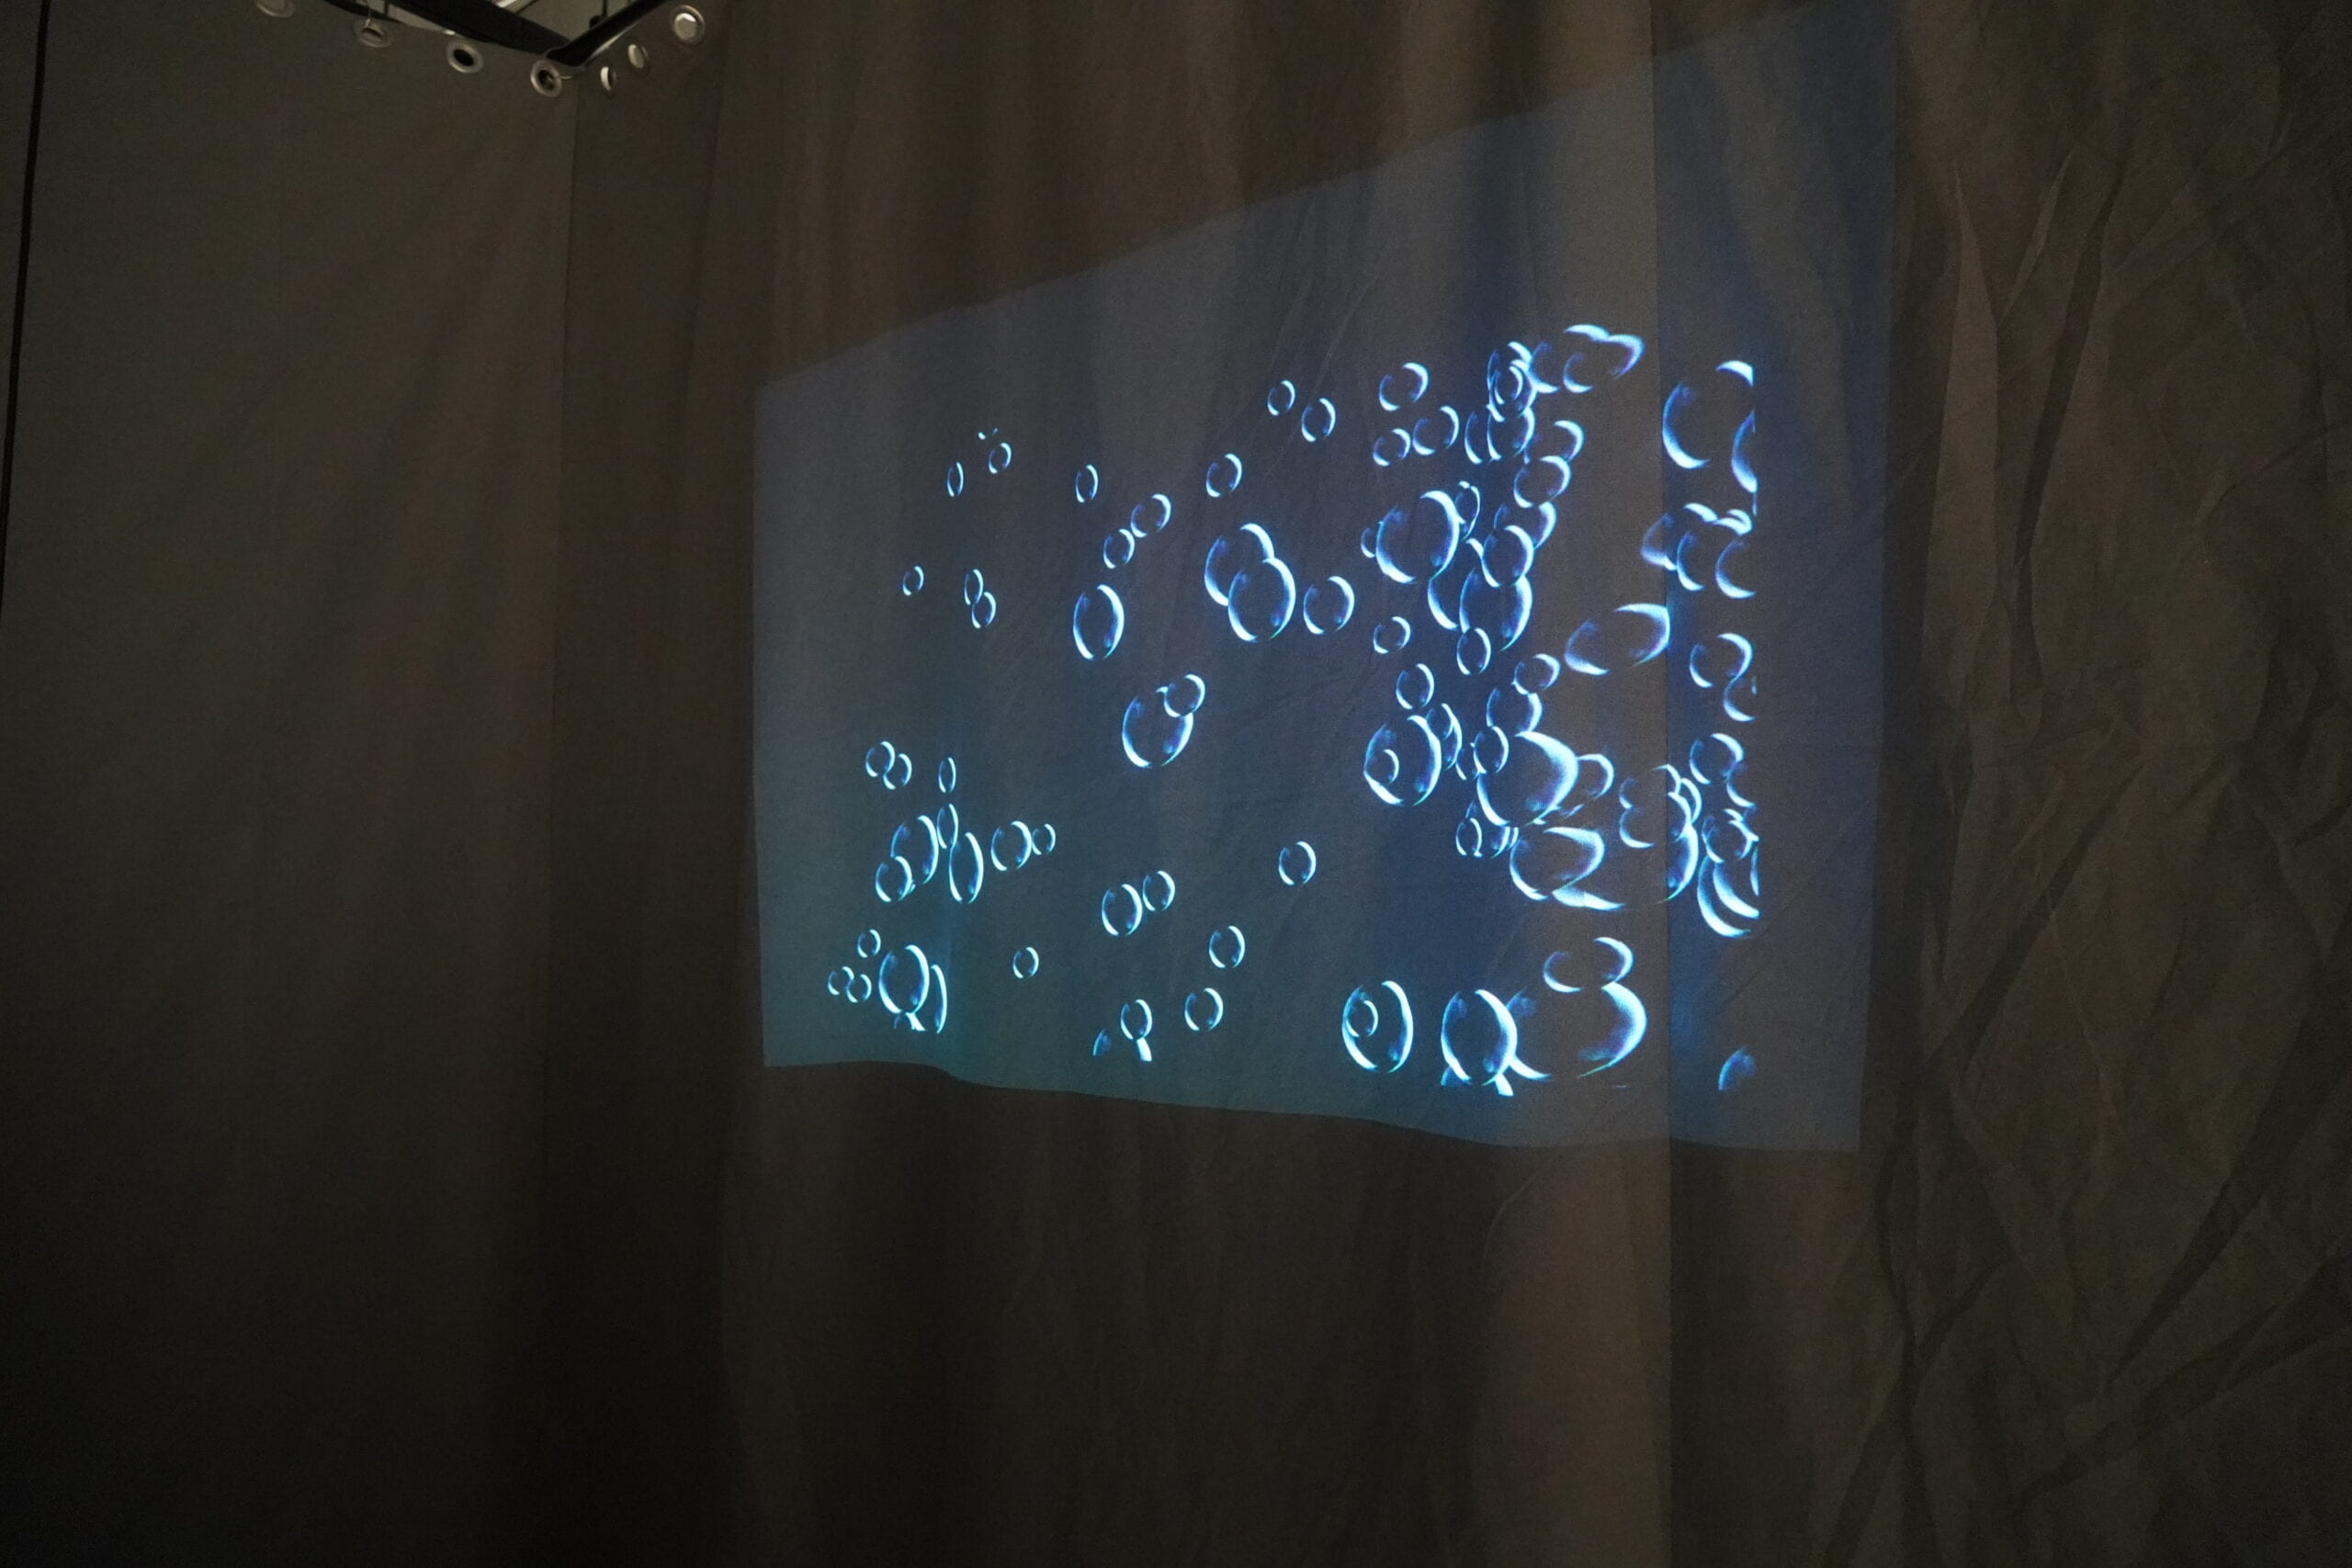
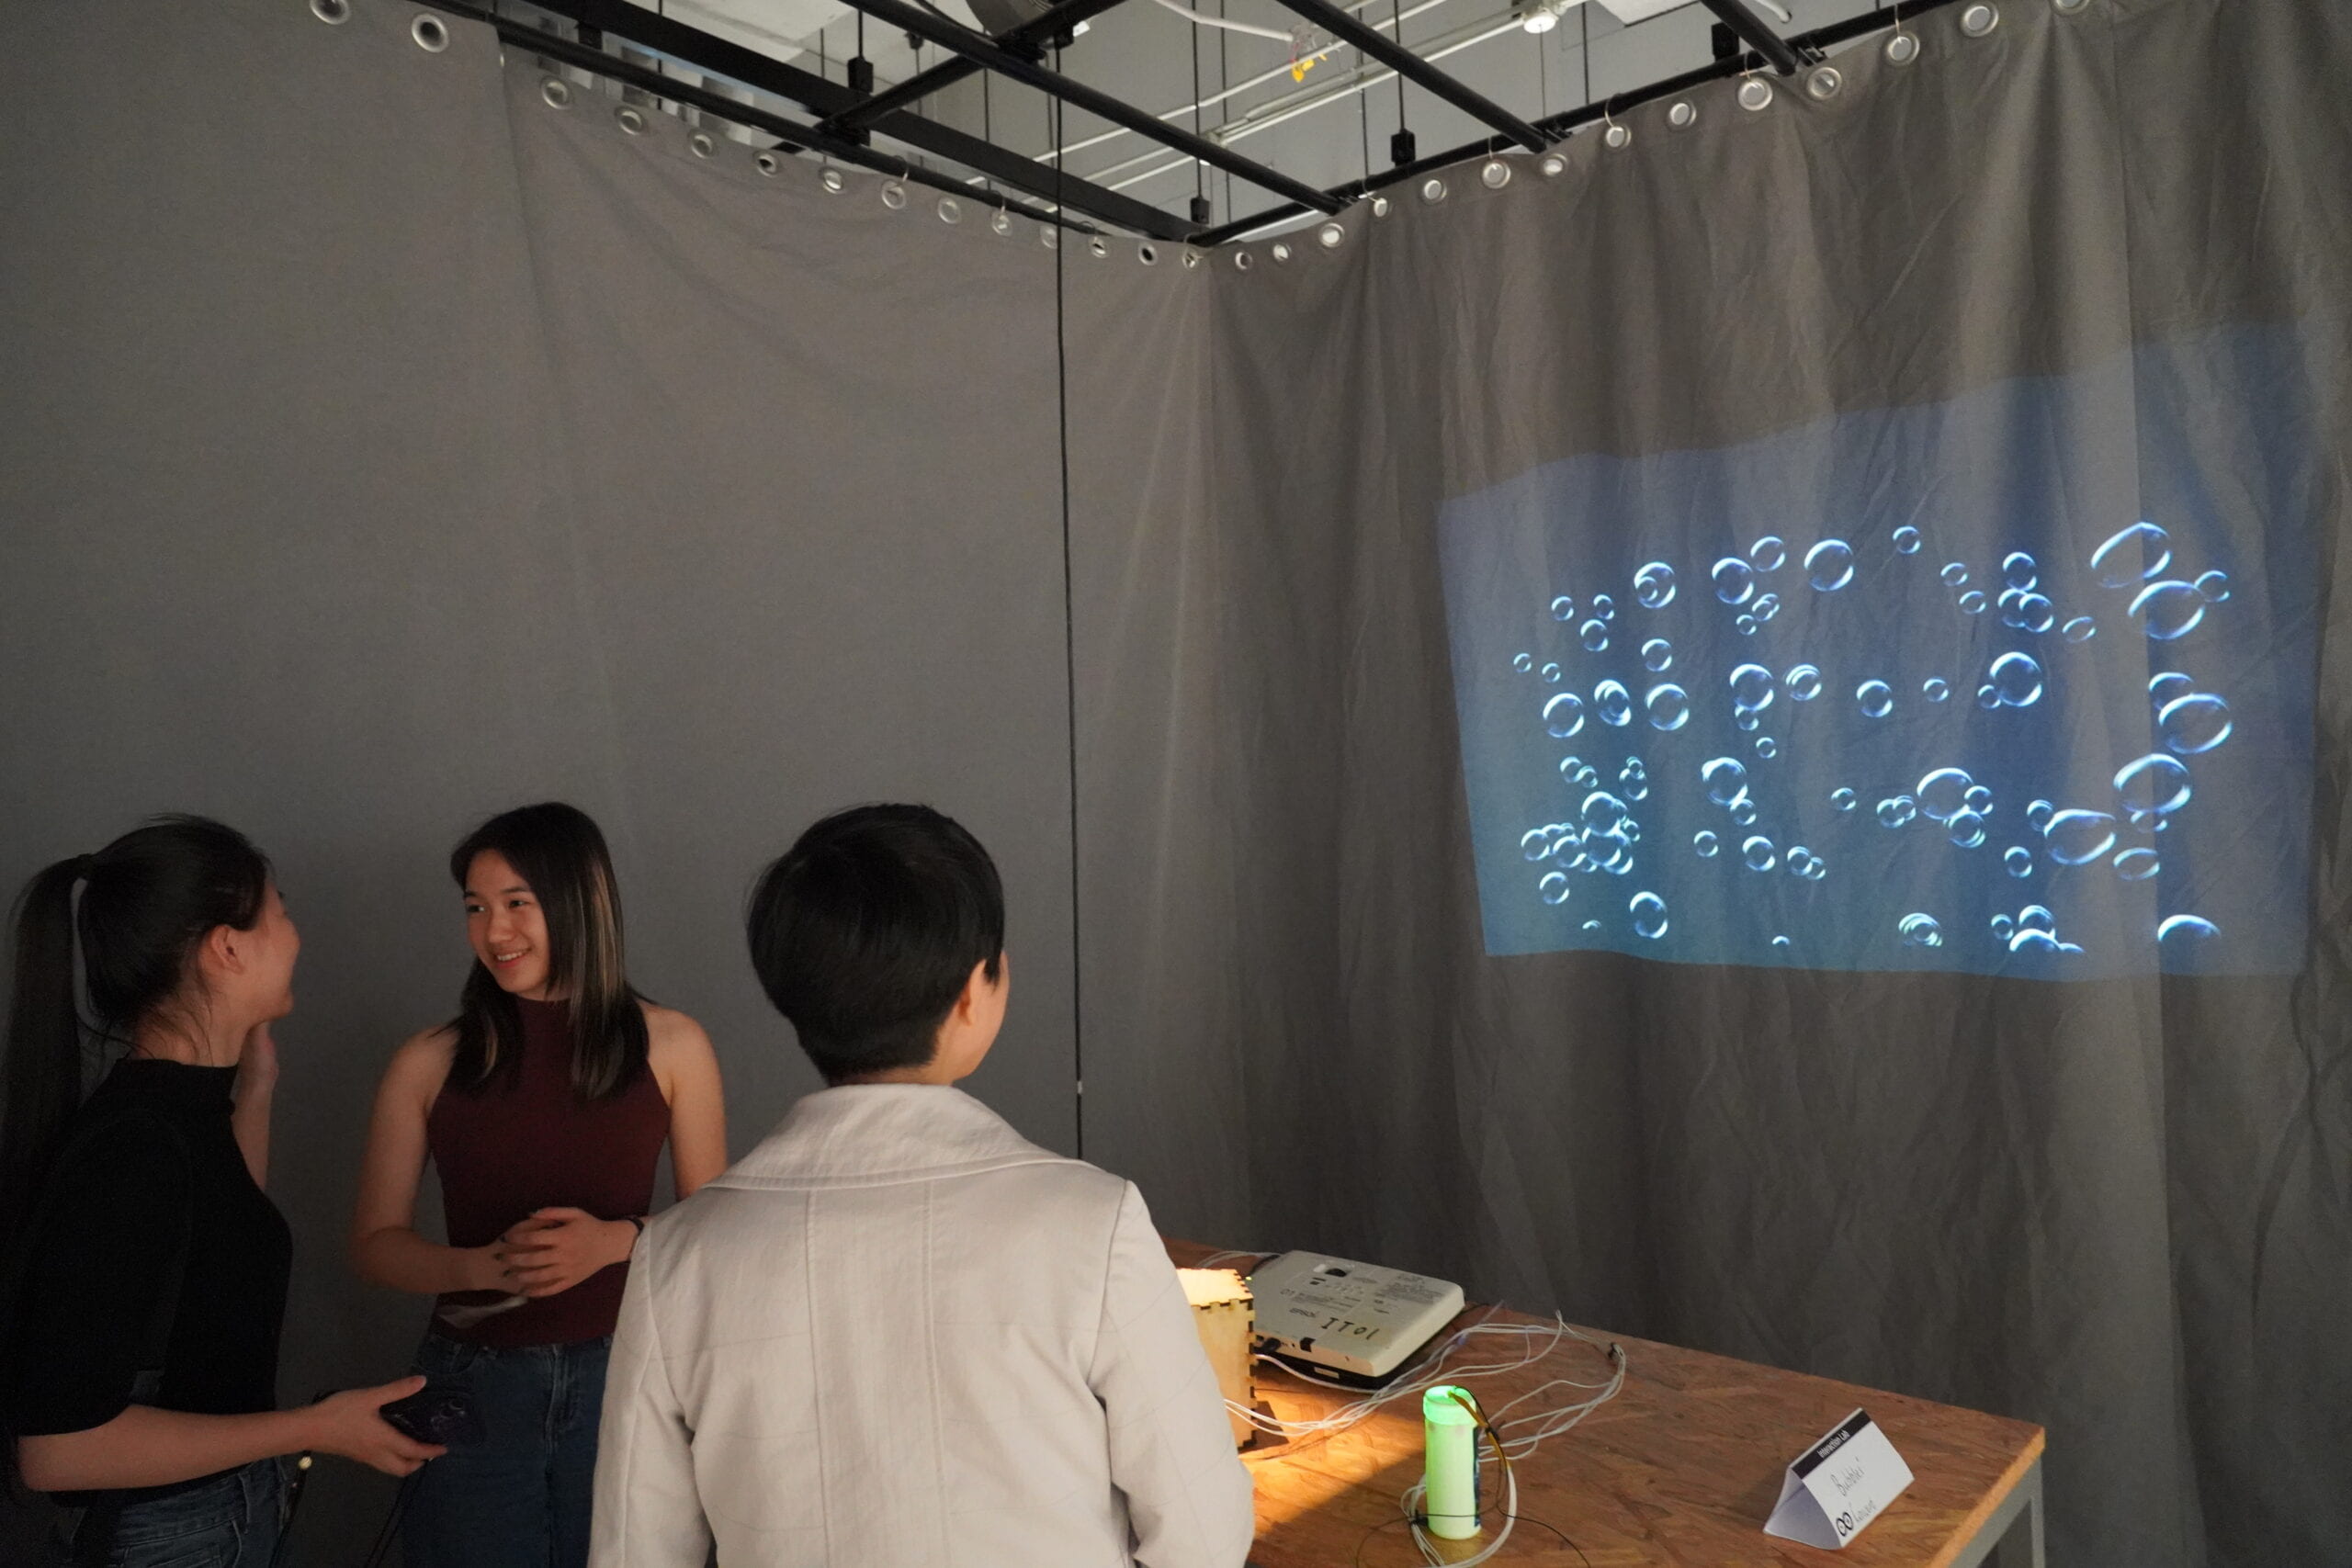
The audience interacted with our project in varied ways. Children were particularly fascinated by the opportunity to blow bubbles onto a virtual screen, while adults appreciated the beautiful interface.
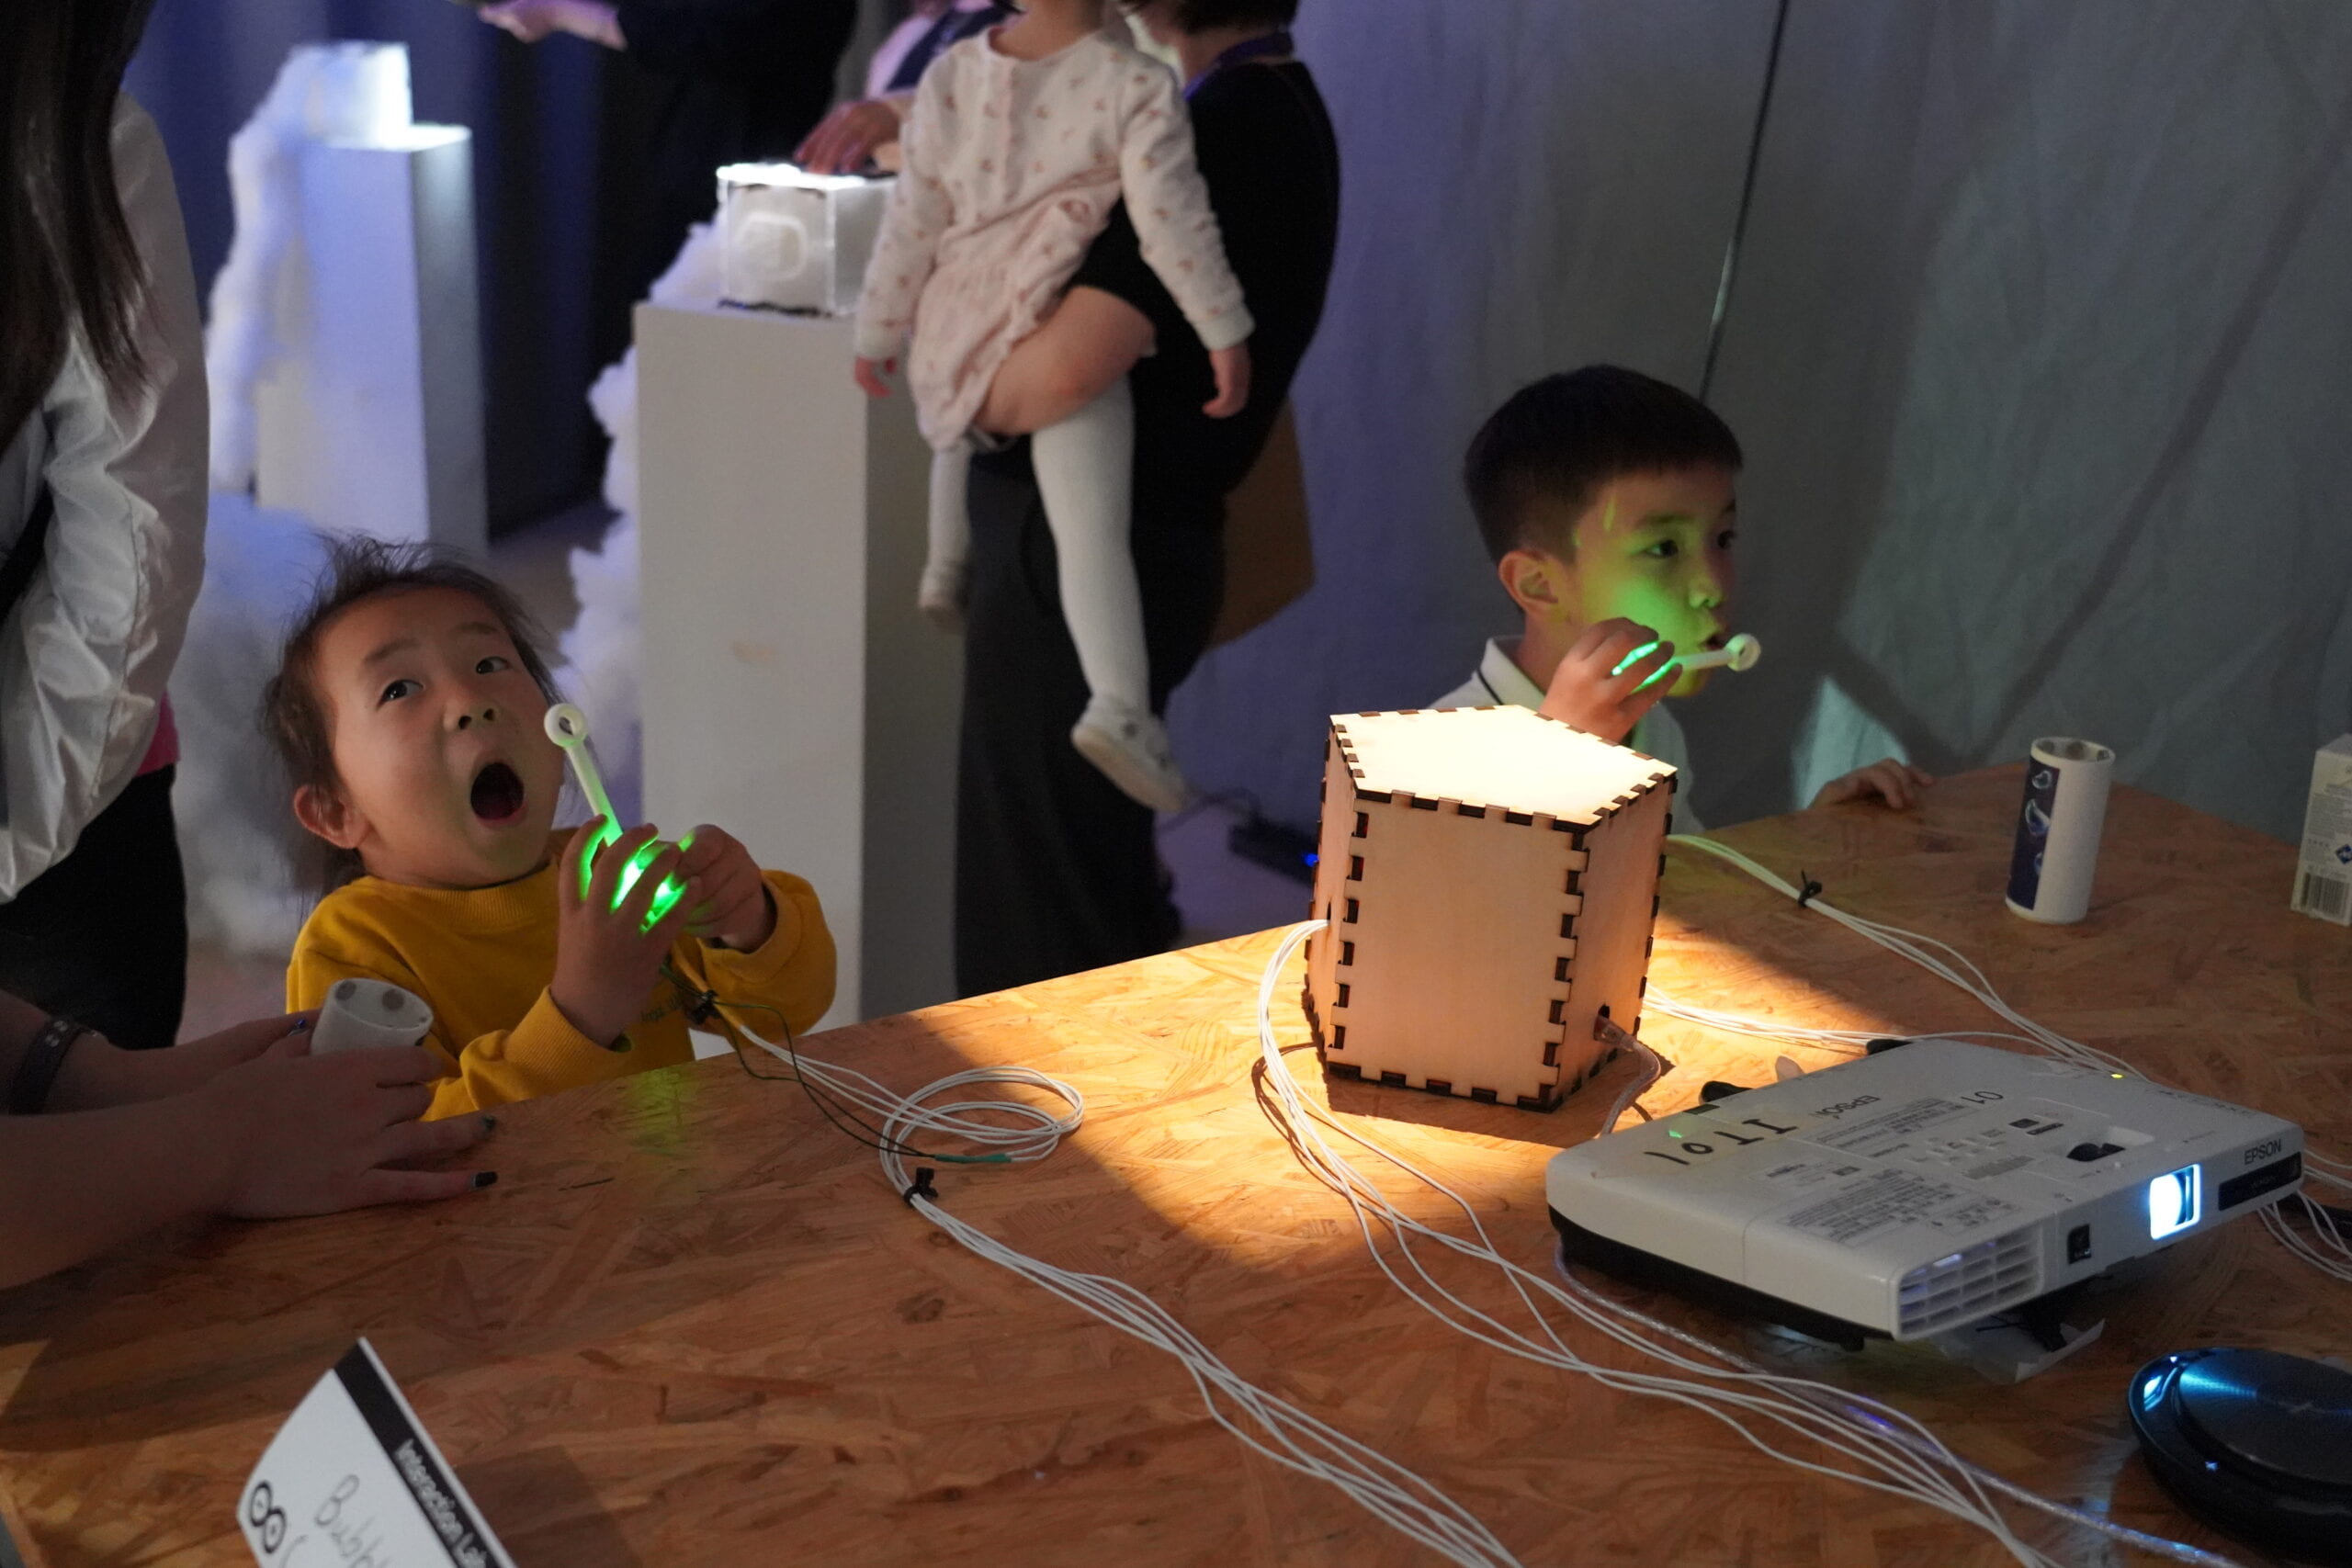
However, some mentioned that blowing bubbles was challenging without knowing the trick: they needed to blow directly and straight at the temperature sensor located at the lower part of the circle. Despite this, the overall feedback was very positive, with many enjoying the sensory experience of blowing bubbles, the smooth visuals, and the harmonious combination of sounds.
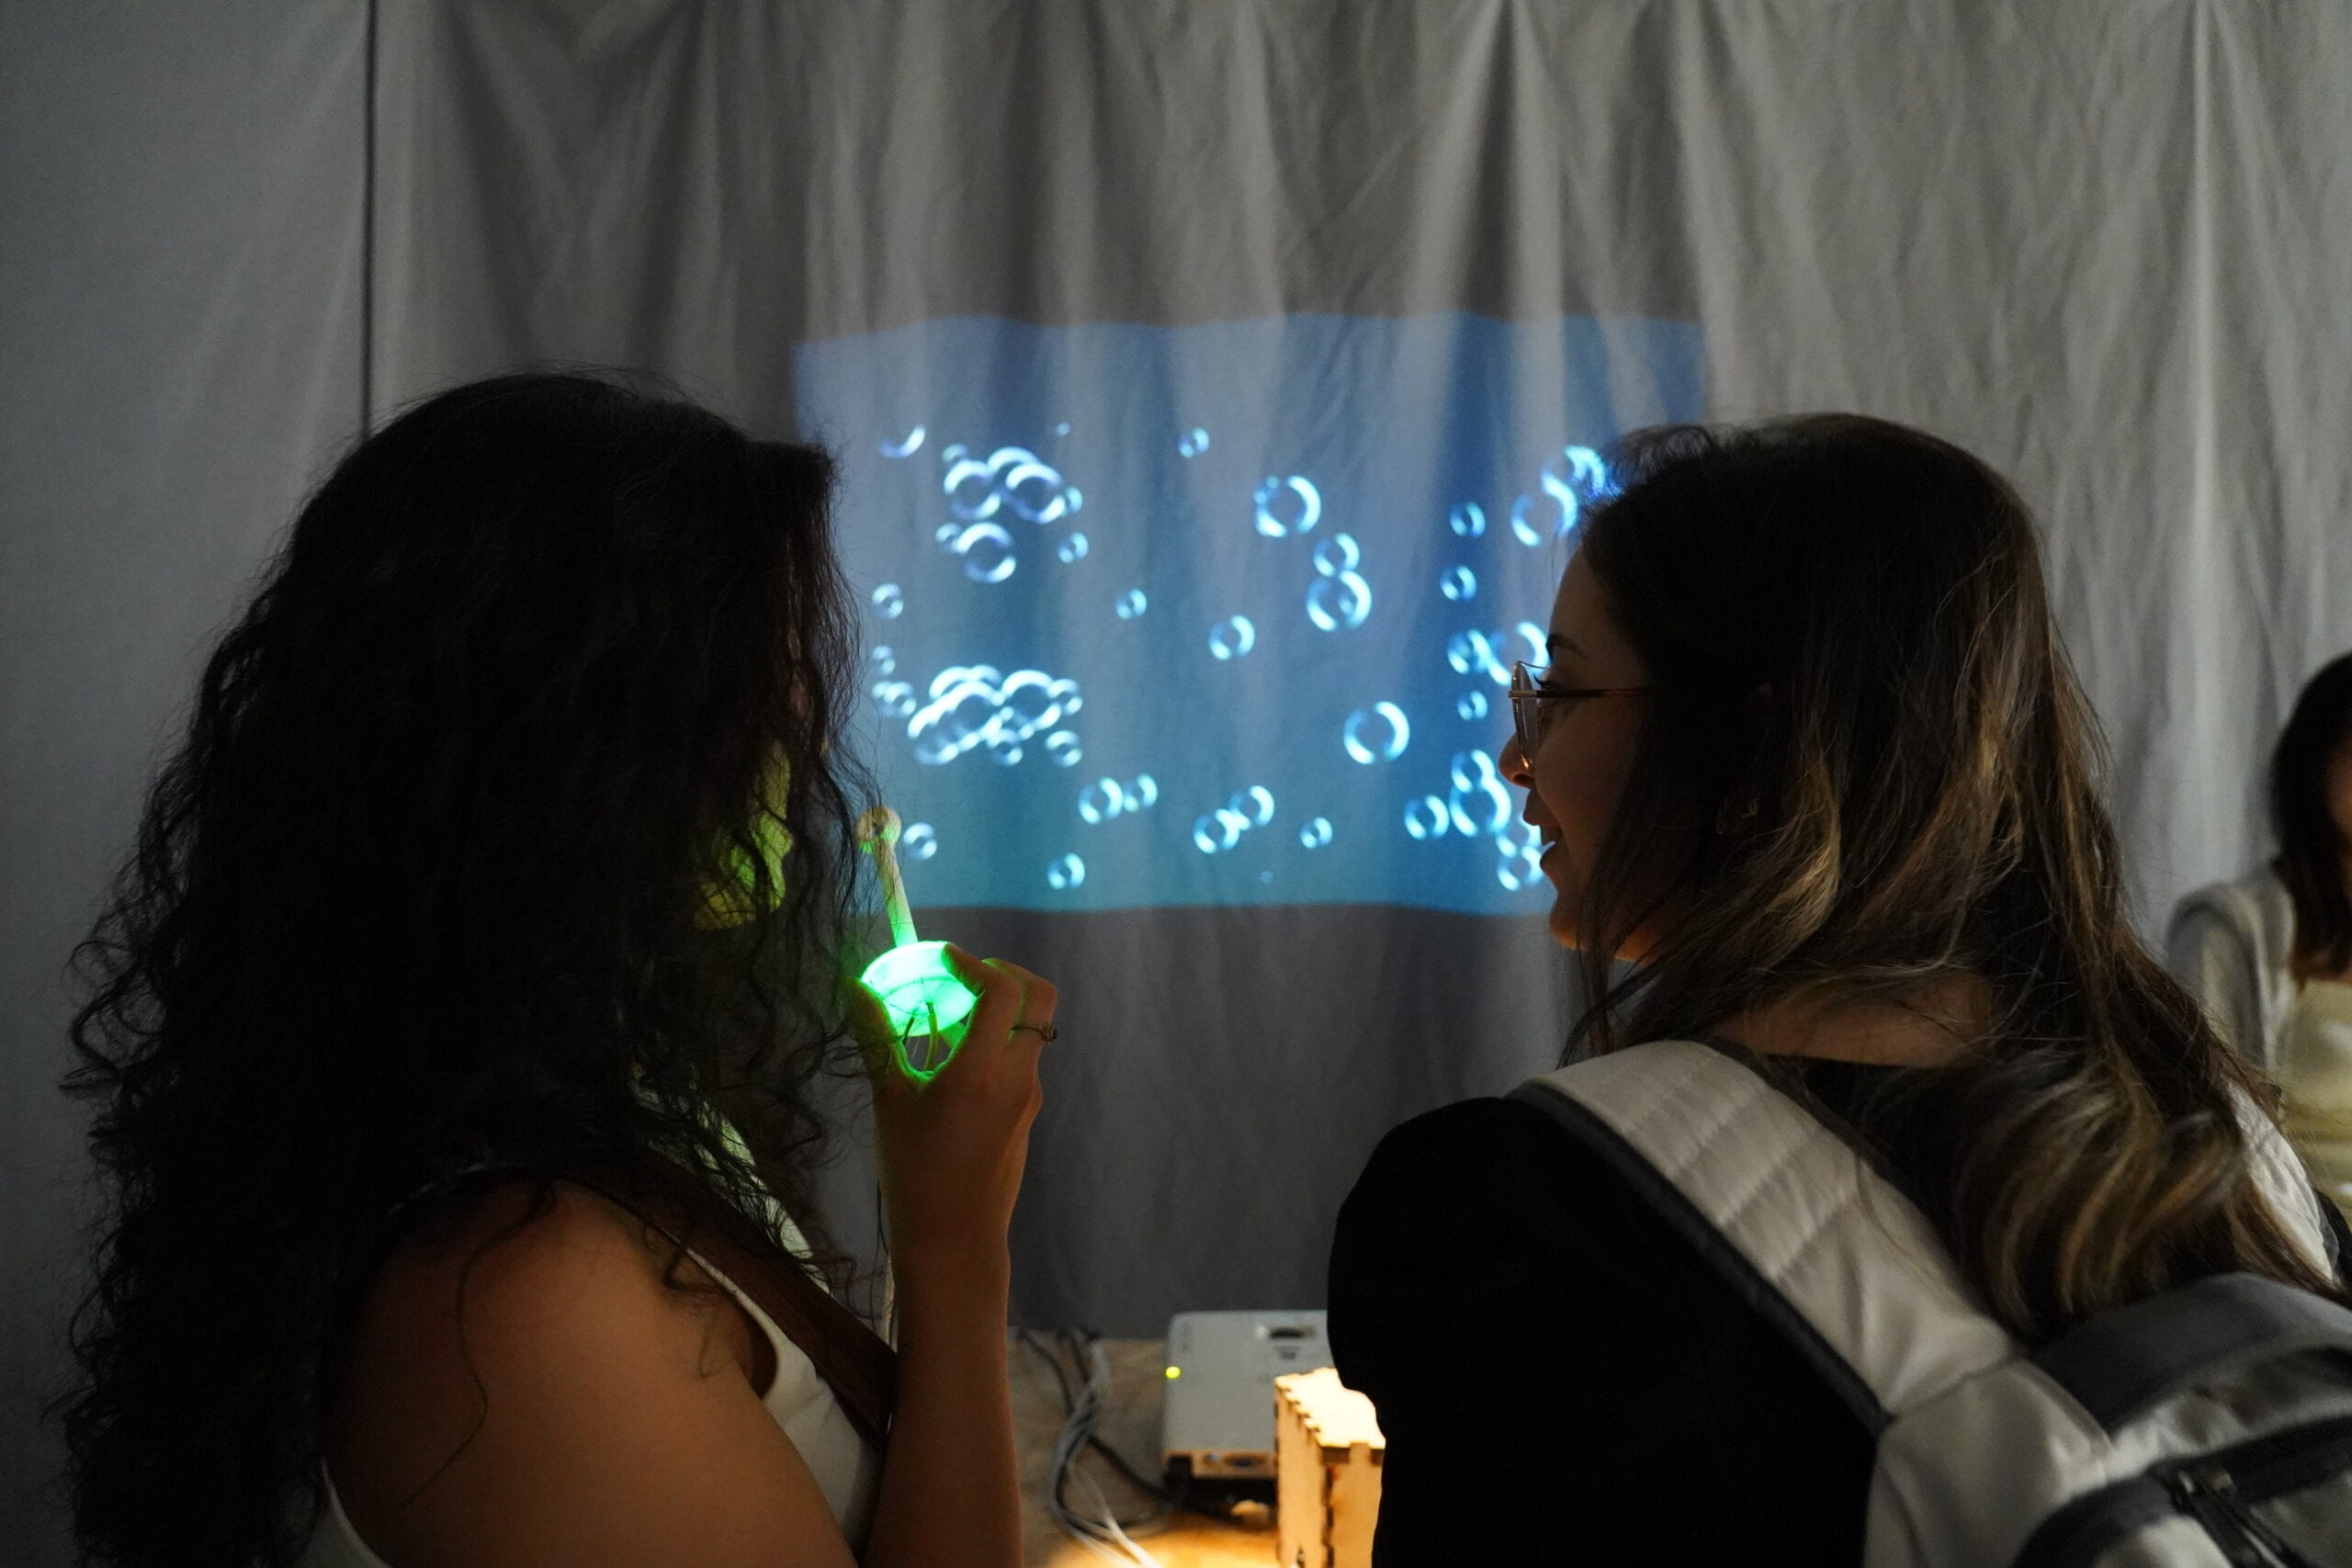
If I had more time, I would make the circle larger and reposition the temperature sensor from the lower part to the very center of the circle to simplify the bubble-blowing process and enhance the interaction, moving beyond just flat 2D bubbles on the screen.
I learned that even the simplest video games require significant effort in coding. Some movements or actions that are easily described in the physical world can be quite challenging to replicate and implement on a computer. It’s important not to get too fixated on a single problem for too long. Sometimes, like a fly repeatedly bumping into a window, it’s better to redirect efforts or seek help, which can save a lot of time. However, finding solutions independently is also crucial for learning and growth.
E. DISASSEMBLY
F. APPENDIX
1. Arduino Code
void setup() {
  Serial.begin(9600);
}
void loop() {
// to send values to Processing assign the values you want to send
// this is an example:
int sensor0 = analogRead(A0);
int sensor1 = analogRead(A1);
int sensorVal0 = digitalRead(2);
int sensorVal1 = digitalRead(4);

// send the values keeping this format
Serial.print(sensor0);
Serial.print(","); // put comma between sensor values
Serial.print(sensor1);
Serial.print(","); // add linefeed after sending the last sensor value
Serial.print(sensorVal0);
Serial.print(","); // put comma between sensor values
Serial.print(sensorVal1);
Serial.println();

// too fast communication might cause some latency in Processing
// this delay resolves the issue
delay(20);

// end of example sending values
}
2. Processing Code
import processing.serial.*;
import processing.sound.*;

SoundFile sound1;

SinOsc[] sines = new SinOsc[1];
float[] vols = new float[1];
SoundFile [] Drums = new SoundFile [3];

Serial serialPort;
int NUM_OF_VALUES_FROM_ARDUINO = 4;  /* CHANGE THIS ACCORDING TO YOUR PROJECT */
/* This array stores values from Arduino */
int arduino_values[] = new int[NUM_OF_VALUES_FROM_ARDUINO];
float AverageValueL =510;
float AverageValueR =503;
PImage [] BlueBubbles = new PImage [6];
PImage [] PurpleBubbles = new PImage [6];
PImage img;
PImage img2;
PImage bg;
int StatusL;
int StatusR;


float PreValueL;
float PreValueR;
int CurrentValueL;
int CurrentValueR;
int lastBubbleTime;
int freqMin;
int freqMax;

int pMagnetValueL = 0;
int pMagnetValueR = 0;
int SoundMode = 0;
//float freqMin = 20;  // this value gets changed whenever the user dips
//float freqMax = 2000;


ArrayList particlesR;
ArrayList particlesL;
void setup() {
  bg = loadImage("Bad.png");
  Drums[0]= new SoundFile(this, "kick.wav");
  Drums[1]= new SoundFile(this, "snare.wav");
  Drums[2]= new SoundFile(this, "hihat.aif");

  //m=mills();
  BlueBubbles[2] = loadImage("TwoPercentBlueBubble.png");
  PurpleBubbles[2] = loadImage("TwoPercentPurpleBubble.png");
  BlueBubbles[3] = loadImage("ThreePercentBlueBubble.png");
  PurpleBubbles[3] = loadImage("ThreePercentPurpleBubble.png");
  BlueBubbles[4] = loadImage("FourPercentBlueBubble.png");
  PurpleBubbles[4] = loadImage("FourPercentPurpleBubble.png");
  BlueBubbles[5] = loadImage("FivePercentBlueBubble.png");
  PurpleBubbles[5] = loadImage("FivePercentPurpleBubble.png");
  //sound = new SoundFile(this, "cello-f2.aif");


  printArray(Serial.list());
  println();
  //size(800, 400);
  fullScreen();
  particlesR = new ArrayList();
  particlesL = new ArrayList();
  serialPort = new Serial(this, "COM10", 9600);

  sines[0] = new SinOsc(this);
}

void draw() {
  getSerialData();
  CurrentValueL = arduino_values[0];
  CurrentValueR = arduino_values[1];
  AverageValueL = CurrentValueL*0.01 + AverageValueL*0.99;
  AverageValueR = CurrentValueR*0.01 + AverageValueR*0.99;
  //println(CurrentValueL-AverageValueL);
  //println(CurrentValueR-AverageValueR);
  background(0);

  if (millis() - lastBubbleTime > 15000) {
    image(bg, 0, 0, width, height);
  }

  if (SoundMode == 0) {
    freqMin = 200;
    freqMax = 550;
    //background(0);
  }
  if (SoundMode == 1) {
    freqMin = 600;
    freqMax = 1000;
    //background(67,19,157);
  }
  if (SoundMode == 2) {
    freqMin = 2000;
    freqMax = 4000;
    //background(138,19,157);
  }
  if (pMagnetValueL == 0 && arduino_values[2] == 1 || pMagnetValueR == 0 && arduino_values[3] == 1) {
    println("Magnet detected, switching sound");
    SoundMode = SoundMode + 1;
    if (SoundMode == 4) {
      SoundMode = 0;
    }
    //freqMin = random(20, 1000);
    //freqMax = random(400, 4000);
    //println(freqMin + " " + freqMax);
  }

  //rightside
  if (AverageValueR< PreValueR-0.05 ) {
    lastBubbleTime = millis();
    for (int i = 0; i < 1; i++) {
      int a= int(random(2, 6));
      Particle pr = new Particle(width, random(-5, 1), color(255, 0, 0), BlueBubbles[a]);
      particlesR.add(pr);
    }
    //print("LNumber of the bubbles:");
    //println(particlesL.size());
  }

  //leftside
  if  (AverageValueL< PreValueL-0.05) {
    lastBubbleTime = millis();
    for (int i = 0; i < 1; i++) { int a= int(random(2, 6)); Particle pl = new Particle(0, random(-1, 5), color(0, 0, 255), PurpleBubbles[a]); particlesL.add(pl); } } // right for (int i = particlesR.size() - 1; i >= 0; i--) {
    Particle particle = particlesR.get(i);
    particle.update();
    // check for overlap first (and mark them for removal)
    particle.checkOverlap(particlesL);
    particle.showR();
    //if (particle.isOverlapping) {
    //  // remove this particle
    //  particlesR.remove(i);
    //}
  }

  // left
  for (int i = particlesL.size() - 1; i >= 0; i--) {
    Particle particle = particlesL.get(i);
    particle.update();
    // check for overlap first (and mark them for removal)
    particle.checkOverlap(particlesR);
    particle.showL();
    //if (particle.isOverlapping) {
    //  // remove this particle
    //  particlesL.remove(i);
    //}
  }

  // actually do the removal
  for (int i = particlesR.size() - 1; i >= 0; i--) {
    Particle particle = particlesR.get(i);
    if (particle.isOverlapping) {
      particlesR.remove(i);
    }
  }
  for (int i = particlesL.size() - 1; i >= 0; i--) {
    Particle particle = particlesL.get(i);
    if (particle.isOverlapping) {
      particlesL.remove(i);
    }
  }

  vols[0] = vols[0] - 0.2;
  if (vols[0] <= 0.0) { sines[0].stop(); } else { sines[0].amp(vols[0]); } PreValueL = AverageValueL; PreValueR = AverageValueR; pMagnetValueL = arduino_values[2]; pMagnetValueR = arduino_values[3]; } class Particle { float x, y; float vx, vy; float alpha; color c; int bubbleType; int Bubblesize; PImage CurrentBubble; boolean isOverlapping; int SoundType = int(random(0, 2)); Particle(float startX, float startVX, color startColor, PImage tempImage) { x = startX; y = 1080; vx = startVX; vy = random(-5, -1); CurrentBubble =tempImage; //alpha = 255; //c = color(random(255), random(255), random(255)); c = startColor; bubbleType = int(random(3)); Bubblesize = int (random(2, 5)); } void update() { x += vx*2; y += vy*2; if (bubbleType==1) { if (x>width) {
        x=width-1;
        vx= -vx;
      }
      if (y>height) {//you should write width and height instead of the number
        y=height-1;
        vy= -vy;
      }
      if (x<0) {
        x=1;
        vx= -vx;
      }
      if (y<0) {
        y=1;
        vy= -vy;
      }
    }
  }

  void checkOverlap(ArrayList listToCheckAgainst) {
    isOverlapping = false;  // assume no overlap
    // go through each item in the list
    for (int i = listToCheckAgainst.size() - 1; i >= 0; i--) {
      // get the n-th item from the (other) list
      Particle otherParticle = listToCheckAgainst.get(i);
      // calculate the distance between our bubble, and the other bubble
      float d = dist(x, y, otherParticle.x, otherParticle.y);
      // if the bubble is less than twice the radius
      if (d < 80) { // make a note that at least one bubble from the other list // is overlapping with ours isOverlapping = true; } } } void showL() { noStroke(); //stroke(255); if (isOverlapping) { fill(0, 255, 0); } else { // XXX: for speedup: consider loading different bubble sizes and displaying // them at 100% (without resize) image(CurrentBubble, x, y); } //fill(255, alpha); //circle(x, y, 80); } void showR() { noStroke(); //stroke(255); if (isOverlapping) { if (SoundMode == 0 || SoundMode == 1 || SoundMode == 2 ) { sines[0].freq(map(y, 0, height, freqMin, freqMax)); vols[0] = 1.0; sines[0].amp(vols[0]); sines[0].play(); } else if (SoundMode == 3) { Drums[SoundType].play(); } } else { image(CurrentBubble, x, y); } //fill(255, alpha); //circle(x, y, 80); } void vanish () { //image(Burst1, x, y, img.width/Bubblesize, img.height/Bubblesize); } } void getSerialData() { if (serialPort == null) { return; } while (serialPort.available() > 0) {
    String in = serialPort.readStringUntil( 10 );  // 10 = '\n'  Linefeed in ASCII
    if (in != null) {
      // print("From Arduino: " + in);
      String[] serialInArray = split(trim(in), ",");
      if (serialInArray.length == NUM_OF_VALUES_FROM_ARDUINO) {
        for (int i=0; i<serialInArray.length; i++) {
          arduino_values[i] = int(serialInArray[i]);
        }
      }
    }
  }
}
3. Pictures
