Concept and Design
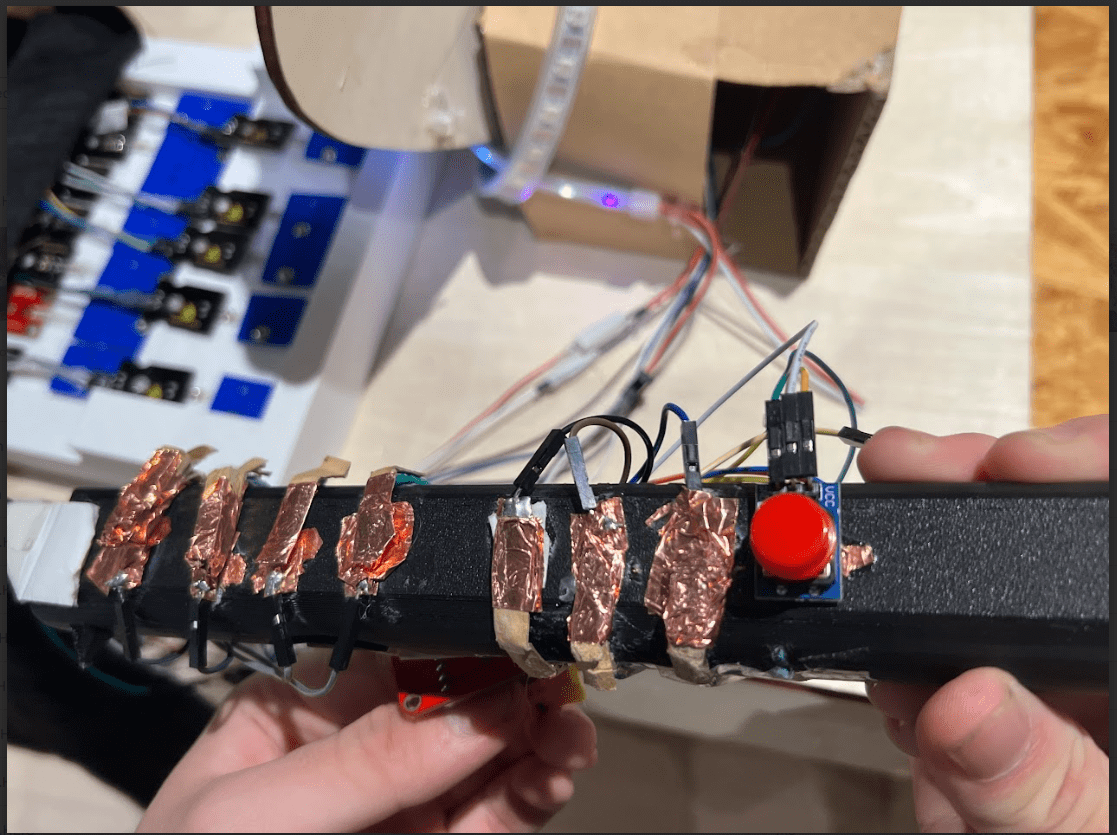
The project’s designing process consists of multiple parts and multiple changes according to the structure of how the project went and how further we want to implement the idea into. We started off with Idea #1: which is piano tiles falling within the processing and using similar concept of our midterm seashell project, it would act as an tone and note recorder that sets the recorded values into a list and by using the list we can be able to create the pattern of tiles falling depending on the the time when a certain recorded key is pressed. After we make a song and record the pattern of the falling tile, we would implement it into the actual interactive part which is following the tile, when the tile fall exceeds a certain threshold then the user should press the according key for the note to get points. But that idea was never actually implemented because of its concept in processing being too complicated, like how would we clearly make the tiles fall accordingly instead of dropping at the same idea and etc… So we scrapped that idea, but still wanted to make the final project music related so we decided on making a flute that have a clear musical tone that is related to how a real flute would sound like. After having the octave notes down and the regular notes down for the flute and working, the usage of the flute was actually great, so me and Fred thinks that since we finish the flute early and it would not fit the requirements of the final project interactivity and since flute alone itself is hard and not self-explanatory so we came up with the 3rd idea, which is incorporate 3 other possible musical instruments such as the xylophone, drum set, and triangle. We did this to make sure we could have multiple people involved in the playing and these instruments are way much simpler and easy to use than the electrical flute. During the user testing section, we came up merely with the prototype of the electrical flute and the code was changed during the testing sections therefore leading it to malfunction for like half of the user testing, which was not good because the feedback we received was mostly base on the wiring and how we should hide the wire and change the handling position of the 3d printed flute, however it did influence us to later hide the wires with fabric and wooden boards and we did change the way the flute 3d printed is structured, but the sound part testing we just asked around people in the lab after we resolve the issue to further give us feedback. Some adaptations we made during the creation of the project was that we decided to change the flute’s keys to copper wired instead of simply buttons because first the button took up too much space and the button itself is either hard to press (Small) or too tall for the user (Big). After much experimentation, this adaptation actually went pretty well, though sometimes we have to lift up the copper taped edge everytime we finish performing with the flute.
The beginning Idea: 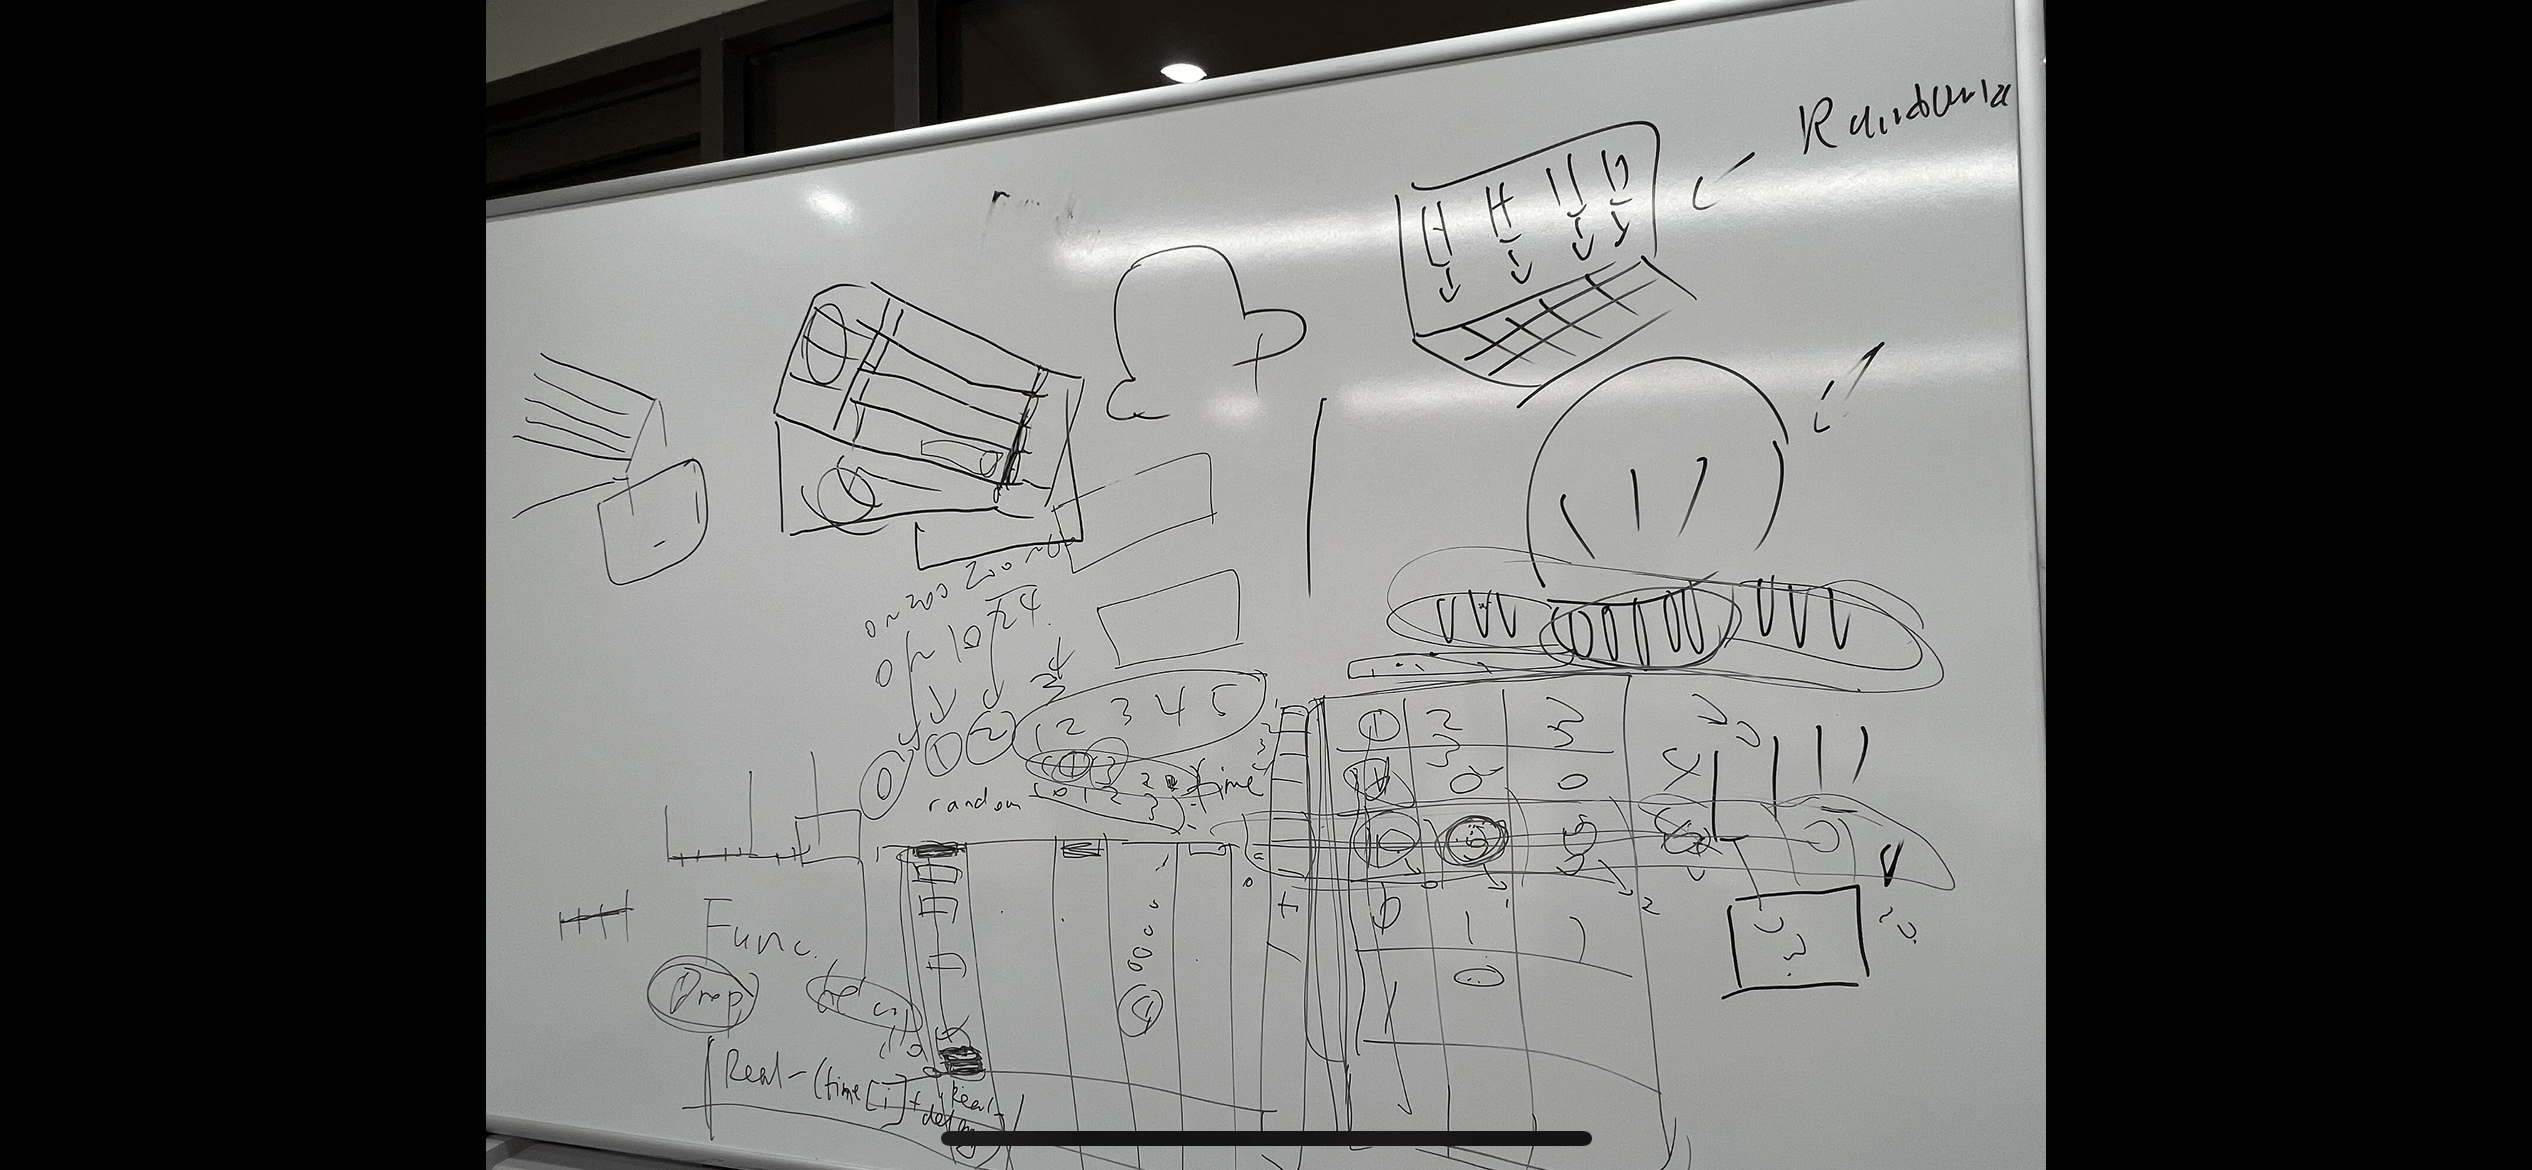
Fabrication and Production:
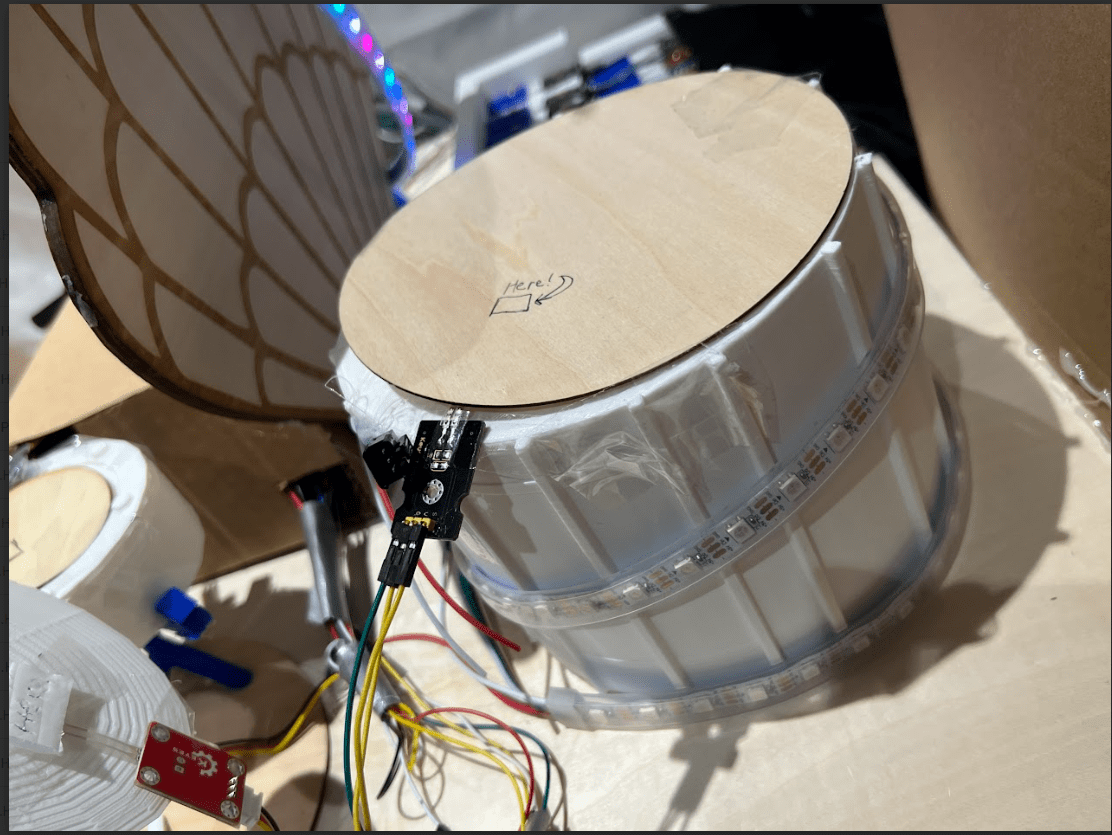
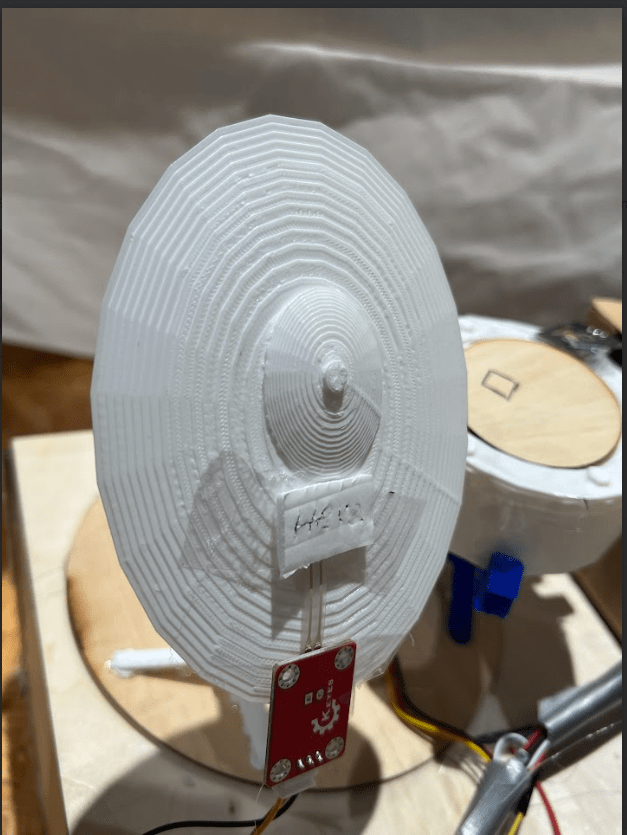
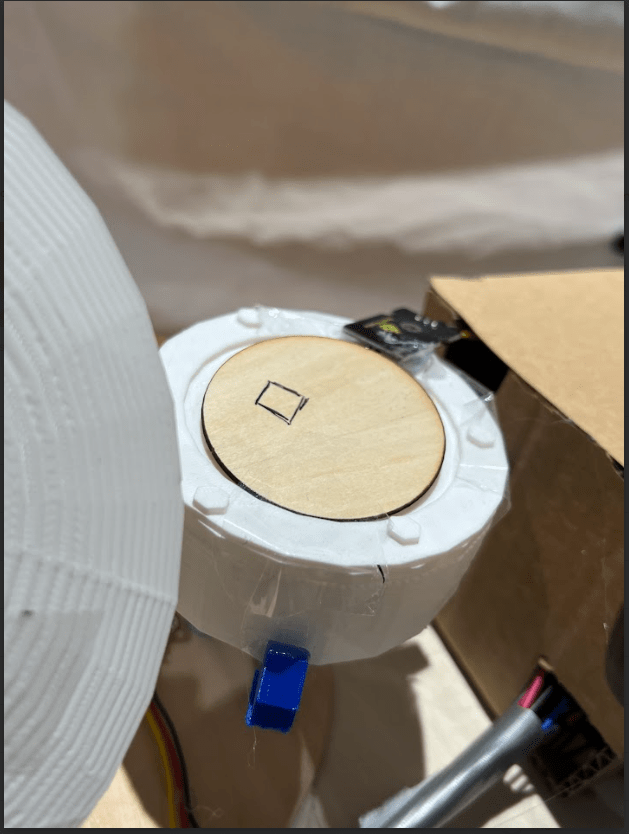
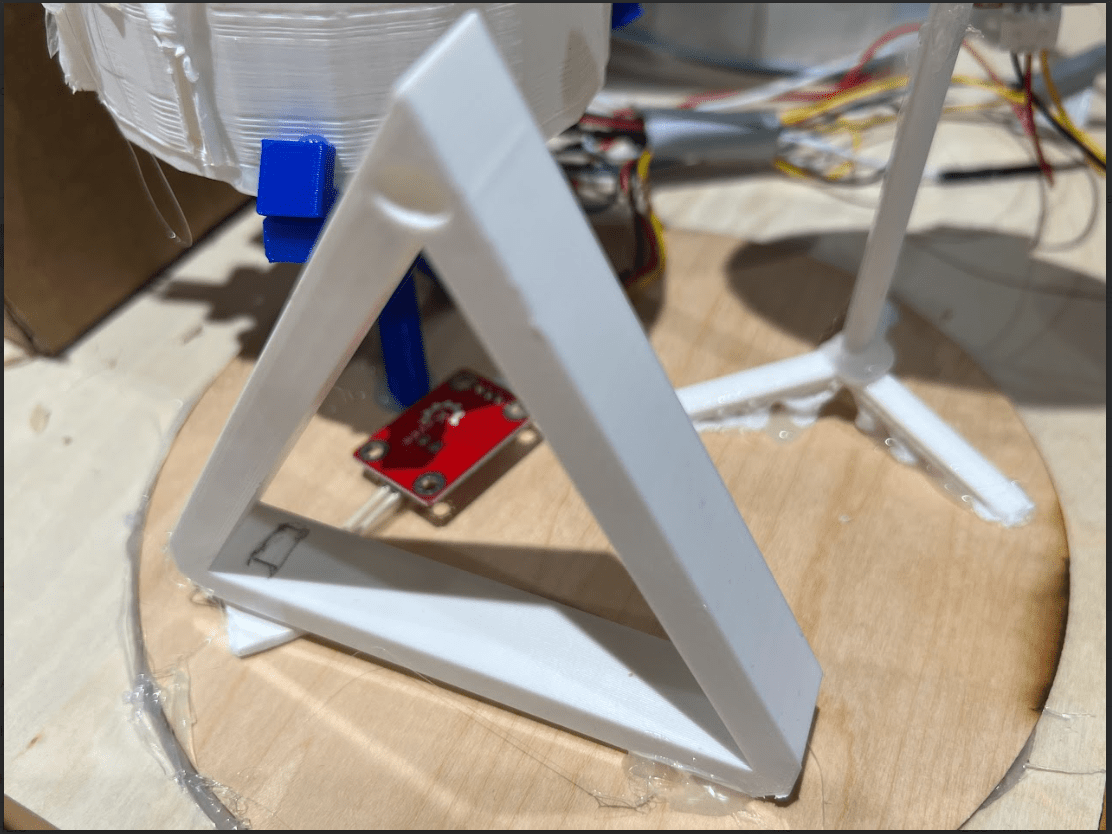
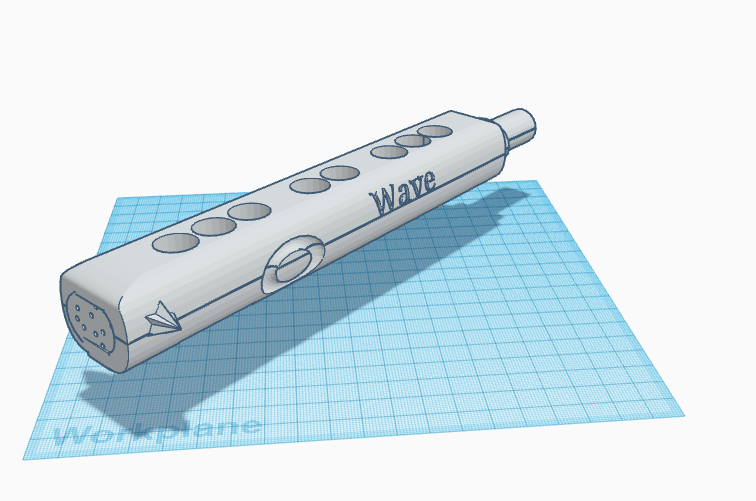
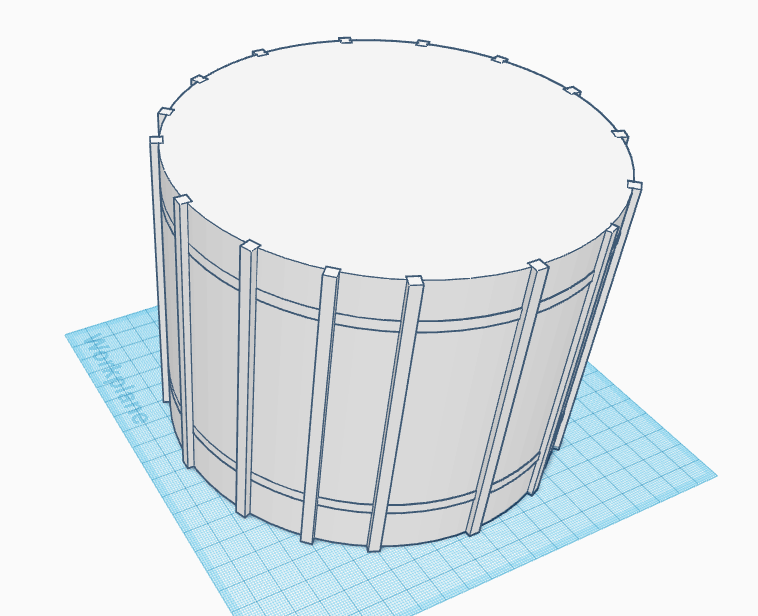
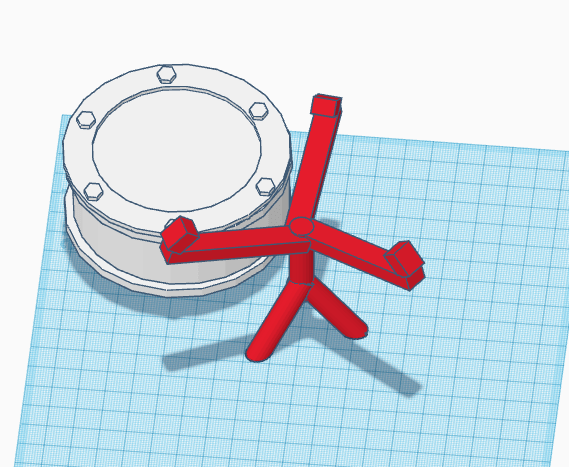
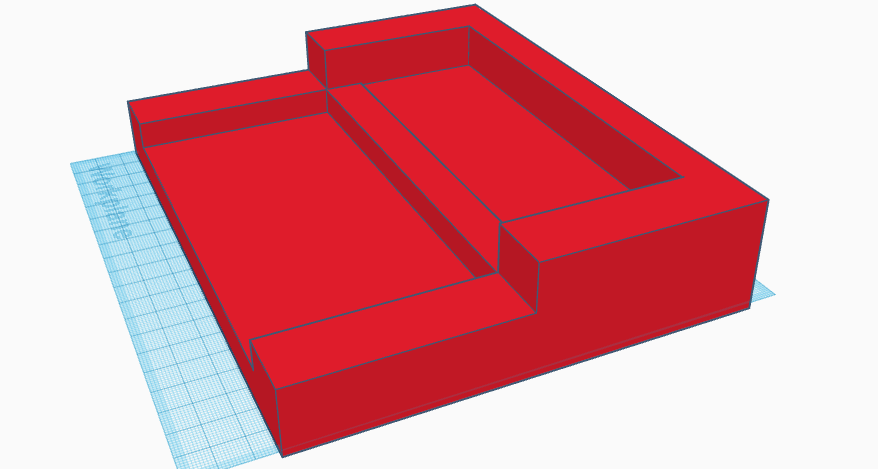
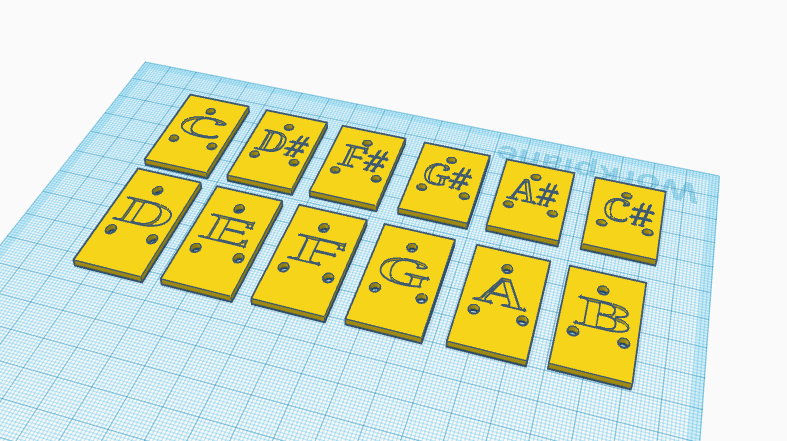
Due to wanting the project to be musical and with the idea related to musical instruments, we were able to settle on the idea of building a flute first to test and figure out how long it would take to perfect it. The process of building the flute first went like this: first we designed an breadboard connecting the buttons in a line on a piece of cardboard to act like an flute handling, and we coded the processing and input the sound files the octave notes and the regular notes, there was 8 in total and we also input an switch sensor to be able to adjust it’s amplitude of the sound file being reacted from the buttons. Then the next step was designing the 3D model of the flute, at first I didn’t know we could use the Tinkercad library as reference, so I built 2 models of the flute from scratch which was a little painful but the process was fun. After we have the 3d prototype, it was the day before the user testing, which we took the button out from the cardboard and hot glued it onto the 3d flute, and during the testing day the code was having problem due to the music file not releasing the sound, and we found the problem to be within the computer did not correctly process the file that was dragged into the processing folder. After the testing day, we decided to use sound sensor instead of the switch sensor to control the amplitude, which was a mistake because the sound sensor malfunctioned and became unusable later on so we swapped back. After we finished the Flute, Fred wanted to change the buttons on top to self-made wired copper being able to receive information when it is pressed down because we thought that the buttons are too tall and the general hand feeling is not quite on point like an real electrical flute, therefore this part took us a long time too. After we finish with the electric flute, we went on to the second instrument, which was the xylophone, this 3d process took the longest because of my in-concise models. Sometimes the keys I made may be either too small or too big, therefore we 3D printed the design 3 different times. After finishing with 3D printing, we pluck holes with the drills into the edges of the keys and used screw nails to lightly put the keys on top of the force sensors, this part required alot of force sensors, to be exact, a total of 12 force sensors to represent the keys. The code part we took inspiration from our midterm project and was quite fast, but the main problem of the creation of xylophone was that we didn’t predict that the hard surfaces of the keys would not send signal onto the force sensor because of the screw nails attached, so we used a little hard sticky foams behind each key and it surprising solve the problem. Then the drum set and the triangle part was more 3d printing, after we 3D printed every design, we added a thin wooden board to put on top of the circular surface and place a force sensor beneath each. This was considered to be the fastest instrument to finish but also the simplest. Now the hard part came, I was arguing with Fred (My partner) about the lighting, due to the limited amount of time we had left, which was around 1 day. I was saying that we should just add a simple light pattern to decorate the whole project in general, but he kept disagreeing and wanting me to code and build a light pattern that would follow the different beats and the different instruments played. This part was hard and was the most regretted decision I had ever made, which was to listen to his ideas and follow it. Since the wiring at this point is already very crazy and complicated, we had to be super careful not to take anything apart which would be a disaster to fix, so we taped the connection edges between every wire first and then worked on the light. The code of the light was doable but from Kevin he mentioned to us that we should just use the map function to make things easier and not proceed the code in a difficult way which worked, but the debugging part took us the whole night which that day we did not sleep, and in the morning while I was continuing testing the project hours before the final presentation date, we ran into the project where the Arduino mega was malfunctioning which was because of the wiring connections which cause it to have an short circuit, that morning my partner came and later felt ill and I wasn’t doing any better too, but I managed to find the short circuit and asked for help with the lighting code and we stayed over for one more night to make sure the exterior look the best we could and the processing screen be interactive. Then that’s where the last problem came before the “final” final demonstrating date, even though everything else was perfect, the processing was not showing anything except for the starting screen, however we just went with it into the final presentation and explained it, later we found that we could not use delay in processing, after fixing it 2 days after we also manage to fix the image being blurred with the help of Gohai. Before the IMA show we made more tweaks to the instructions and the exterior looks with a processing screen, and then the IMA show came… and I got sick on that day… So it was an bummer not being able to see the festival liked show.
Image of Flute, Drum set, Xylophone:
Conclusion:
If saying it like this, The project itself however did not achieve its “original” original first ever goal made, but it did build off of another track which was quite more difficult and more time consuming to demonstrate, which is building an whole musical performance with multi-instrumental. Base my the audience’s response during final presentation I feel like even though we achieve the goal of having multiple people to perform at once but at the same time however only 3 of the instruments were being played without difficulty, the one that was not quite so clear is the flute where we have to have someone who actually know how to use flute to use it. Some parts of the xylophone such as the octave steppers were not so clear to the audience as well because they thought that the steppers are an instrument themselves. Overall however the project does align with my definition of interaction but in a broader term, group interaction where not only one person is having the interaction with the musical instrument at once, and that’s what makes it special about it. However there was definitely a lot of improvement that could be made, such as the instruction, simplicity of the usage and the more usage of the processing screen. We all implemented and fixed the project in this way for the IMA show however, and I think it went decently well. The main thing I learned from this project was to never make things seem more complicated than they actually were, in the code sense: why do we keep trying to send signals back and forth from Arduino to processing, when we however can just just use a simple function called Map() to make the lighting work? In the Building sense: why do we always want to make the wiring so complex and the instruments so difficult to understand when we simply can build something more like the drum and other similar instruments to demonstrate similar interactive components to it. There was a lot of regret, but overall the accomplishments we made during the final project exceeded our expectations due to the constant add-ons and improvements we are trying to implement. It is definitely way way better than our midterm seashell project. Thank you guys for reading! Going to miss Interaction lab!
Video on demonstration:
(Playing)
https://drive.google.com/file/d/1HVU7H_uC5y89eMc7l7Ha6BgsqxcwGLuu/view?usp=sharing
(Recorded/Playback)
https://drive.google.com/file/d/1dW8dZjo5uRNyPTUeNvRhu4bGChbuzUkL/view?usp=sharing
Tinkercad models:
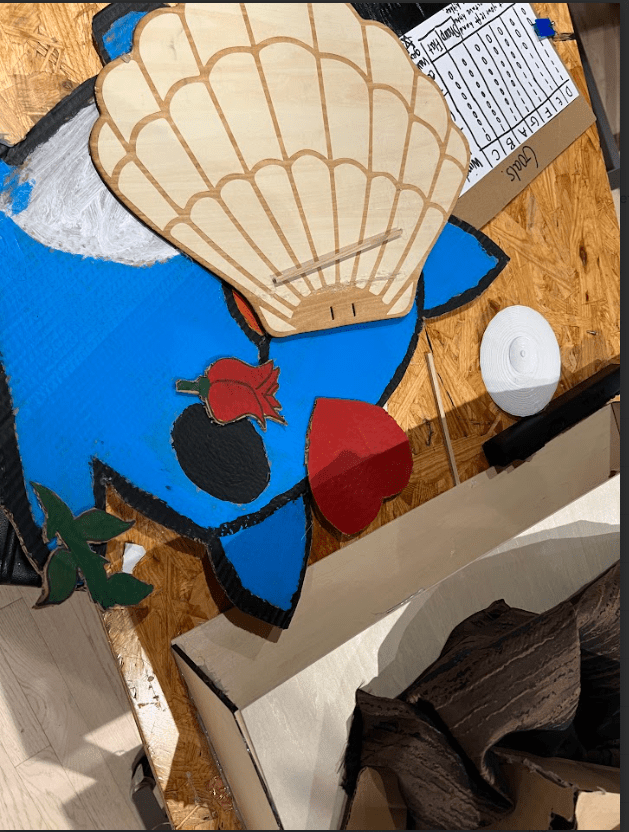
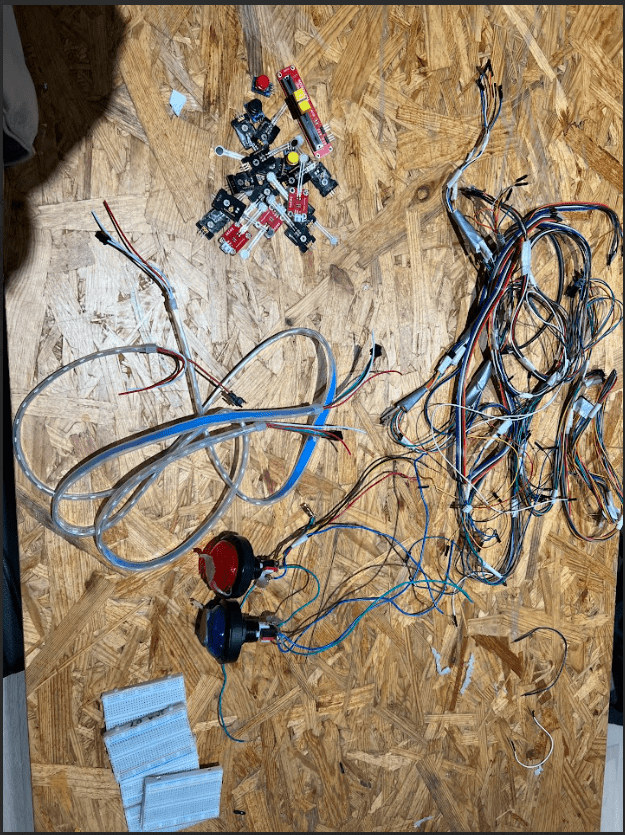
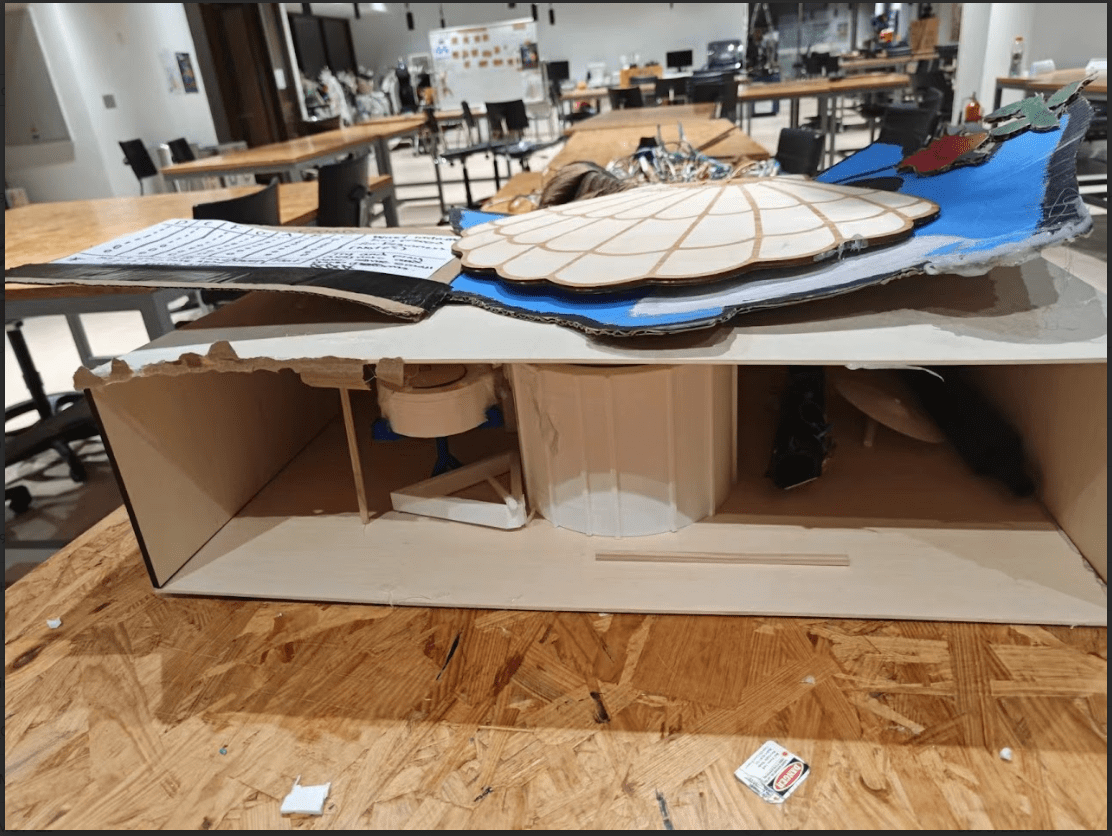
Clean up/Dismantled Project: (Such a pain to clean up..)
Code:
(Processing Part)