Task #1: Test the NeoPixel
Step 1: Connect the NeoPixel Led strip to your Arduino as shown on the diagram, download the library and use the sketch to control the NeoPixel. This is an easy step for we have tried it in class before and I succeed as I followed the steps.
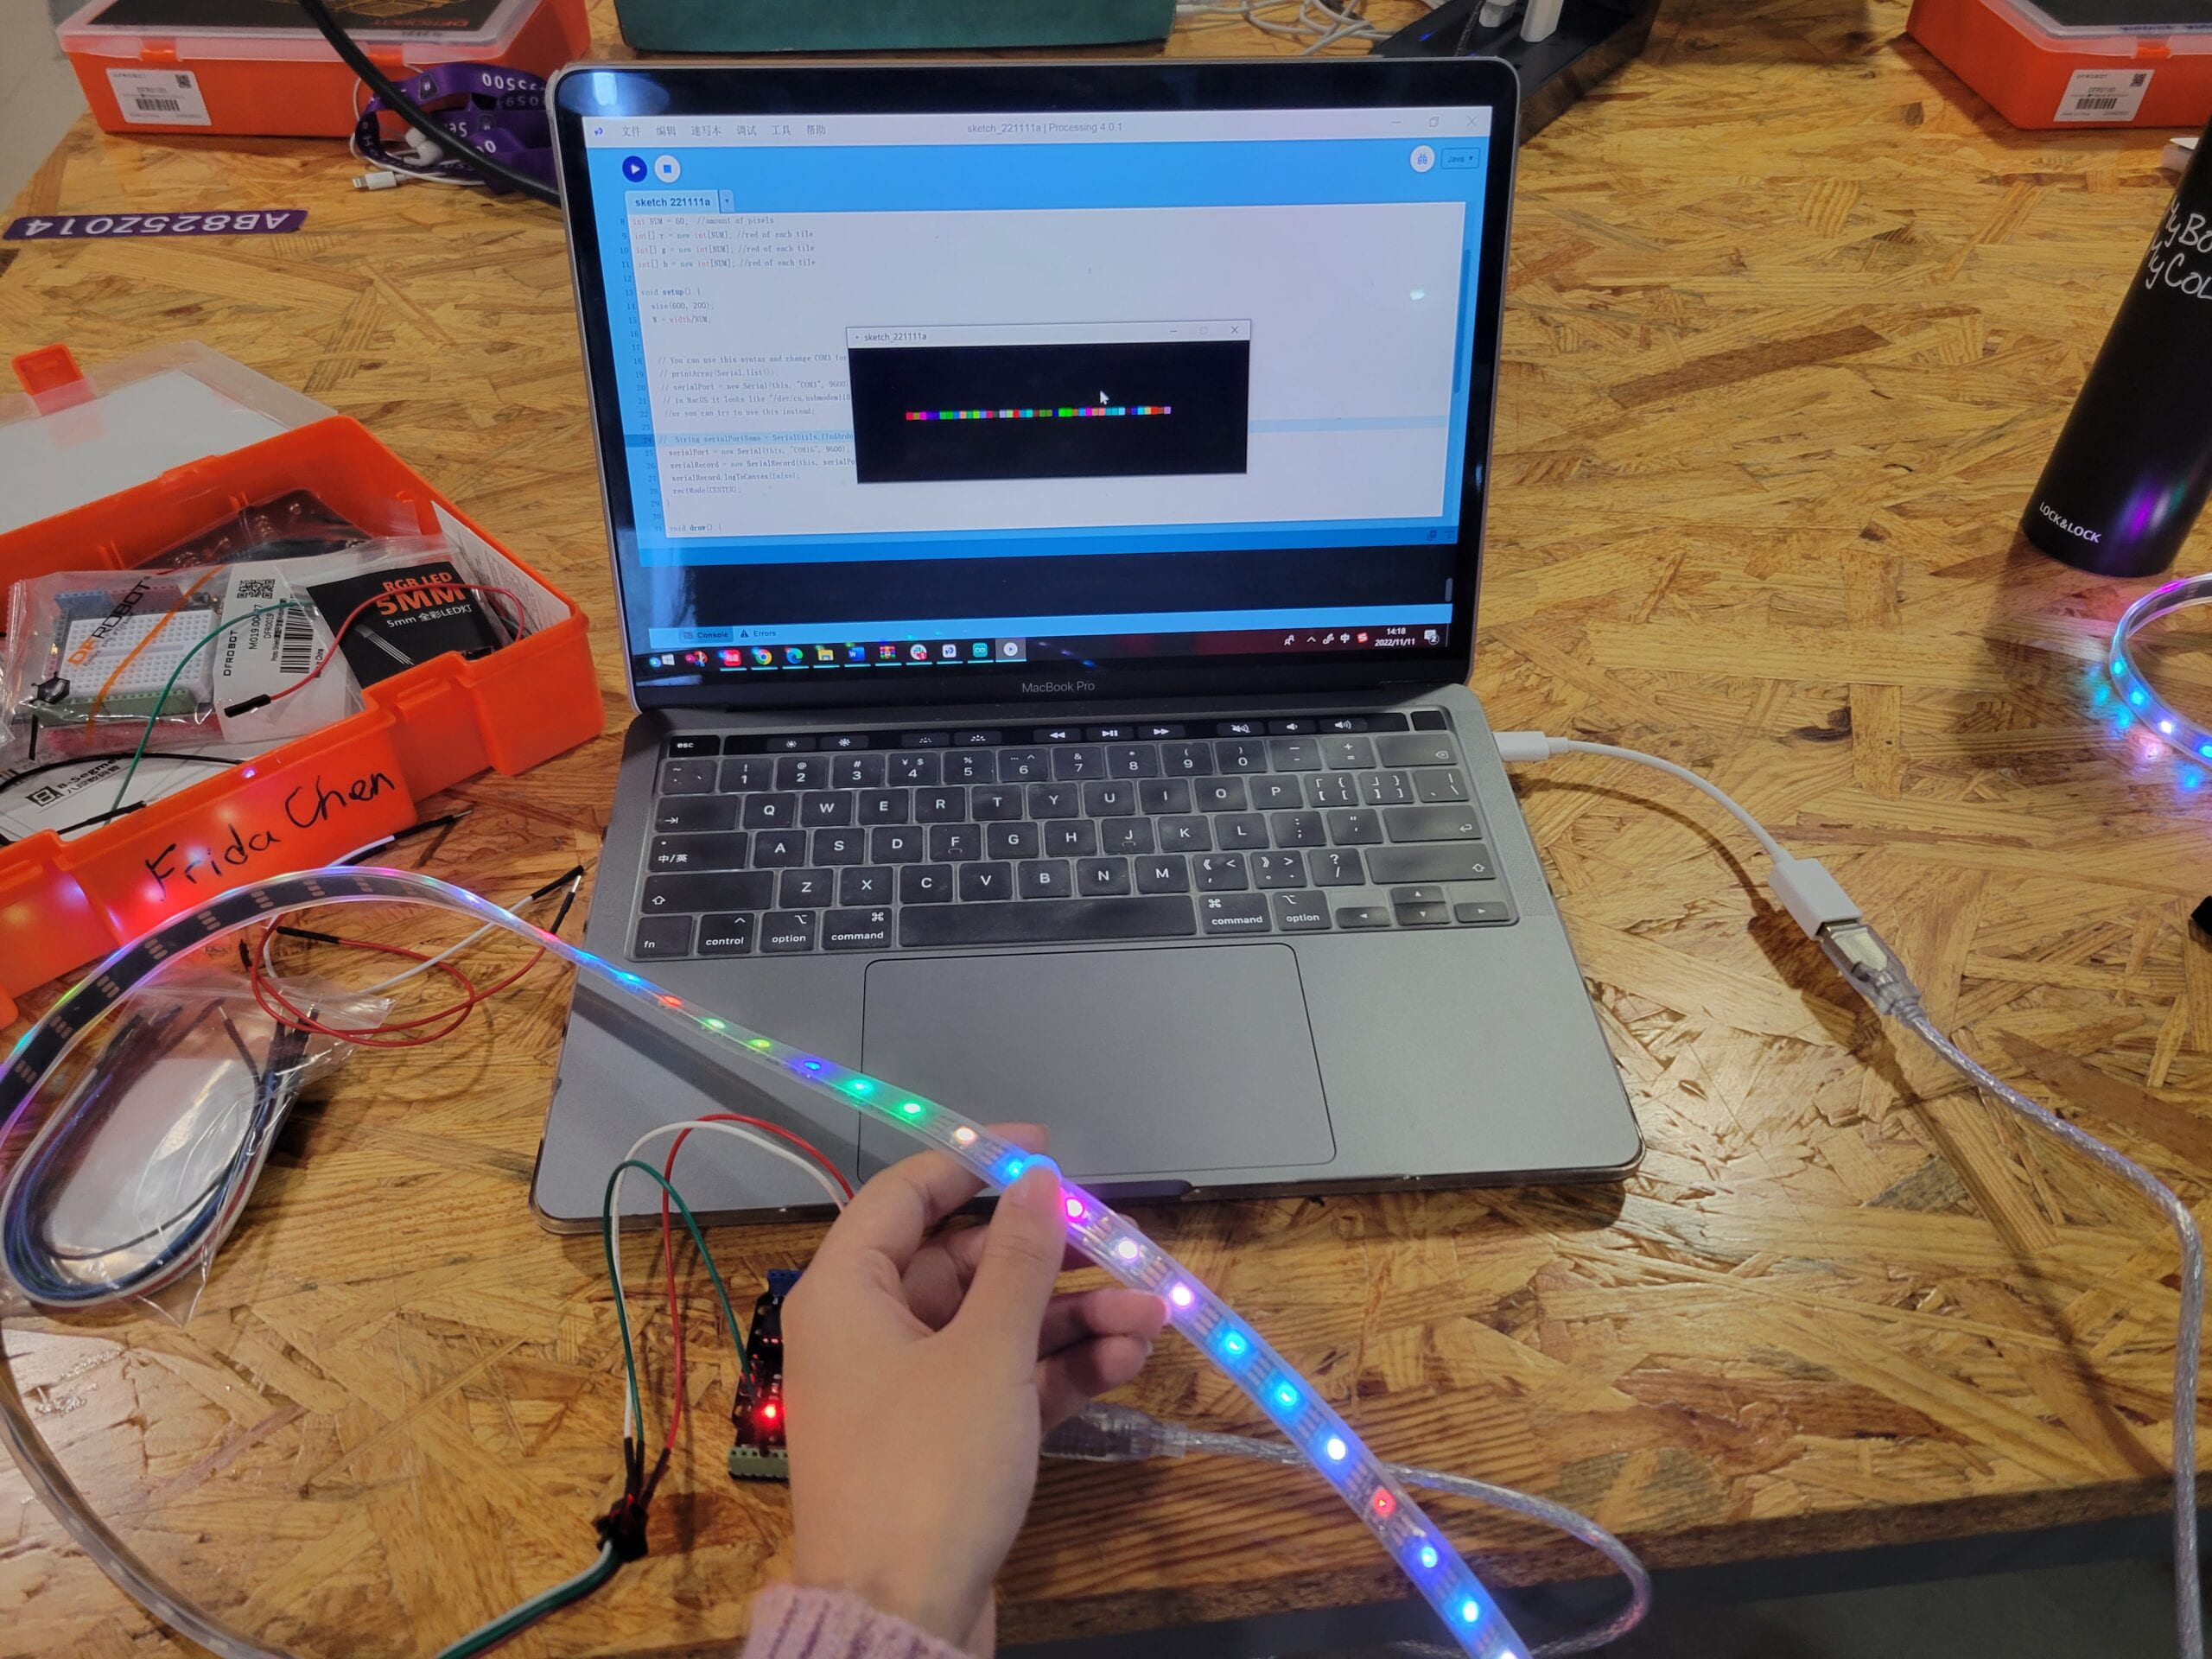
Task #2: Use your computer to light up NeoPixels
After installing the SerialRecord library as instructed and copying the code, I tested it with the serial monitor and it worked well. Then I program my Processing sketch using the code we used in class before.
Task #3: Add Music!
Step 1: Download this sketch which plays an audio file (located in the data folder) and analyzes the amplitude. Replace beat.aiff with a song you like. This is the relatively easy part
Step 2: Modify this sketch so that it creates a visualization on the screen AND on the NeoPixel strip. For this, you want to merge code from the Processing sketch from Task into #2 into the current one. I
n merging the code, I came across with a problem, which is the feedback value from the serial monitor is larger than the sequence number of led, which results in an early end of the playing of the song. With the heartful help of the learning assistants, I successfully modified the range of the values and solved this bug.
The bug:
Step 3: Add different light effects for the song you have chosen.
Final effect with the bug fixed (a certain led will change to a certain color in relation to the volume of the music):
Here’s the final code:
import processing.sound.*;

SoundFile sample;
Amplitude analysis;

import processing.serial.*;
import osteele.processing.SerialRecord.*;

Serial serialPort;
SerialRecord serialRecord;

int W;         //width of the tiles
int NUM = 60;  //amount of pixels
int[] r = new int[NUM]; //red of each tile
int[] g = new int[NUM]; //red of each tile
int[] b = new int[NUM]; //red of each tile
float x;
float a;

void setup() {
  size(640, 480);

  // load and play a sound file in a loop
  sample = new SoundFile(this, "1.mp3");
  sample.loop();

  // create the Amplitude analysis object
  analysis = new Amplitude(this);
  // analyze the playing sound file
  analysis.input(sample);

  serialPort = new Serial(this, "COM16", 9600);
  serialRecord = new SerialRecord(this, serialPort, 4);
  serialRecord.logToCanvas(false);
  rectMode(CENTER);
}

void draw() {
  println(analysis.analyze());
  background(111, 255, 242);
  noStroke();
  fill(255, 0, 150);

  float volume = analysis.analyze();
  float diameter = map(volume, 0, 1, 0, width);
  circle(width/2, height/2, diameter);


  x = volume * 100;
  a = map(x, 0, 100, 0, 60);
  int n = floor(constrain(a, 0, 255));

    r[n] = floor(random(255));
    g[n] = floor(random(255));
    b[n] = floor(random(255));

    serialRecord.values[0] = n;     // which pixel we change (0-59)
    serialRecord.values[1] = r[n];  // how much red (0-255)
    serialRecord.values[2] = g[n];  // how much green (0-255)
    serialRecord.values[3] = b[n];  // how much blue (0-255)
    serialRecord.send();            // send it!
}