Lathe Tutorial
SKILL BUILDER: SPINDLE TURNING
Overview
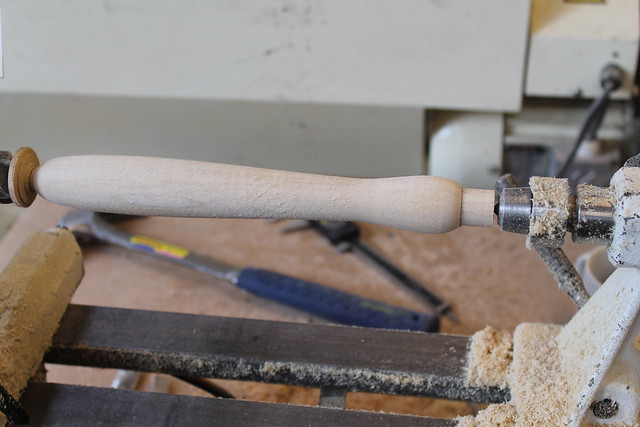
You will spindle turn an object on the wood lathe. For this skill builder, I will be forming a tool handle similar to the image below.
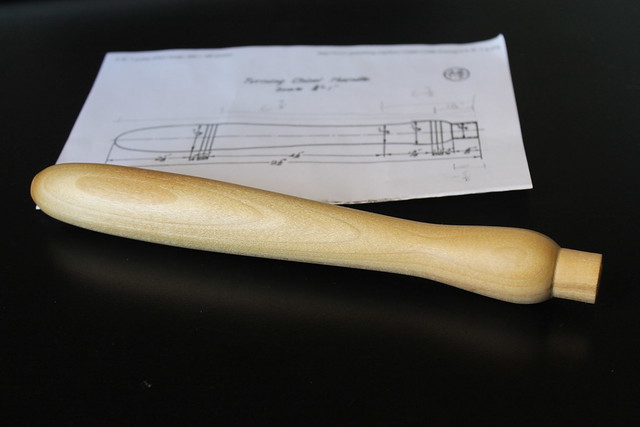
Click here for a printable copy (via Polytechnic of Namibia).

What you will need:
Hardwood – maple, cherry, walnut, or oak should work well
Lathe chisels – roughing gouge, round-nose scraper, scraper, parting tool
Drive Center
Digital Calipers
Pencil
Sandpaper – 220, 400 grit
Tung oil, gloves, rags
Dust Mask and Face Shield
Safety
Always wear a face shield and dust mask when using the lathe. Make sure hair is pulled back, sleeves are rolled up, all jewelry, necklaces, rings, ties, hoodie straps, lanyards, etc. are removed. Make sure material is firmly secured to the lathe and you are starting on the slowest speed.
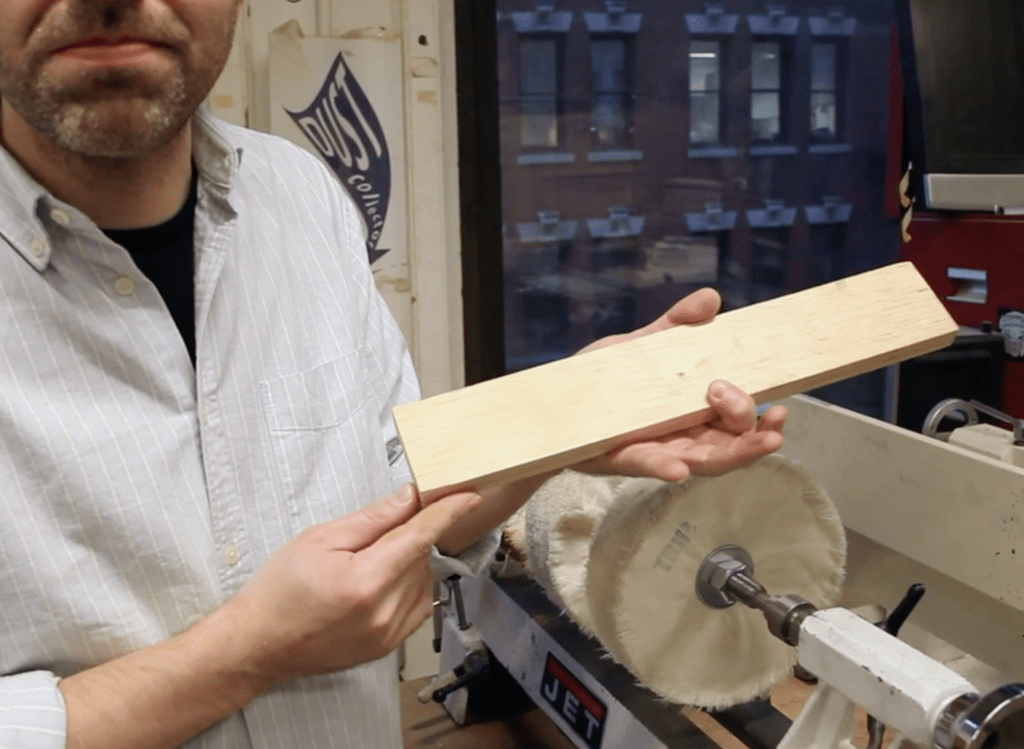
Select Your Material
For best results, your material should be a hardwood species (walnut, cherry, or maple), fairly straight, and the proper dimensions for the lathe you will be using. A rough stock of 10″ to 11″ long by 1.25″ to 1.5″ diam should be fine for our purposes. For this wxample I am using a 1.25″ diam dowel.
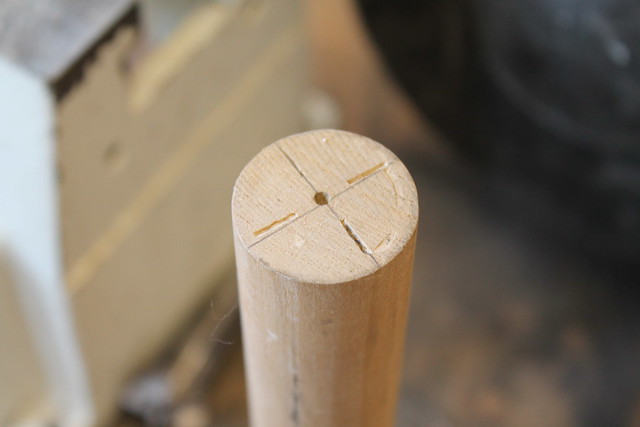
Secure Material to Lathe
Mark the centers of the ends of your material. Tap the drive center into the material until it makes a deep indentation. It should be enough for the drive center to “bite” into the material.
Mount the material between the drive center and the live center, then secure and tighten both locks on the tail stock.

Make sure the material can clear the tool rest when it is in place. Spin the material a full rotation by hand to check. Make sure the lathe speed is set to the slowest speed before turning on.
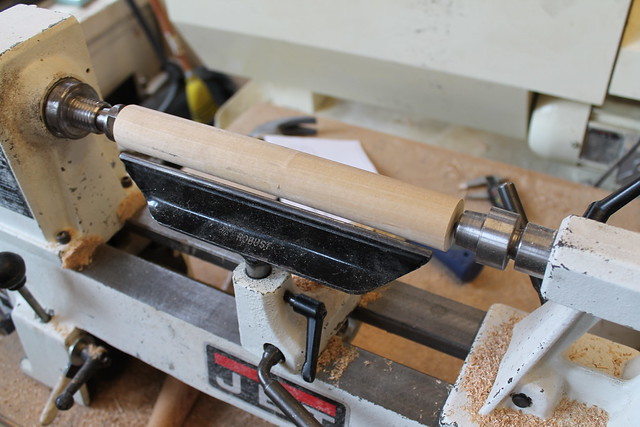
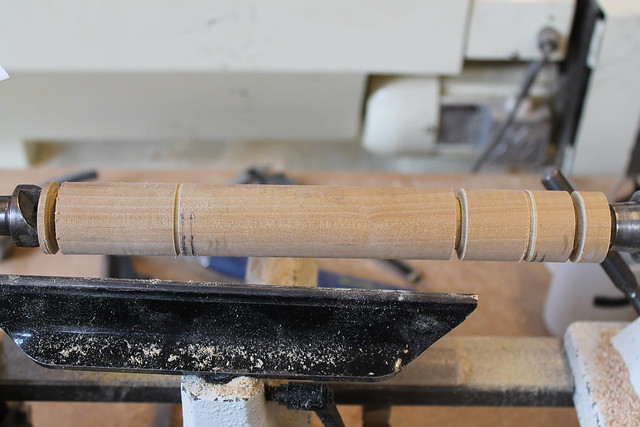
Get Your Stock to Round
In this example I am using a dowel – an already rounded piece of wood. If you are starting with an irregular shaped piece, you must first rough it out to a round cylinder. Using a gouge or round nose scraper, turn the stock material till it is roughly round.
Mark Off and Set Depths
True up the face at the live center using the parting tool. Using a pencil and calipers, mark all of the relevant dimensions.

For this example I made a line at 5/8″, 1 1/16″, 2 3/8″, 6 7/8″, and 9 1/2″ from the trued up face.
Using the parting tool, plunge into the material at the marked lines to the proper diameter: 3/4″, 1 1/8″, 7/8″, 1 1/4″, and 1/4″ respectively. Use digital calipers to measure the diameters.
Turn the Piece
Using the round nose scraper, rough out the shape of the piece. You are basically connecting the depths you created in the previous step. Use the drawing as a visual reference.
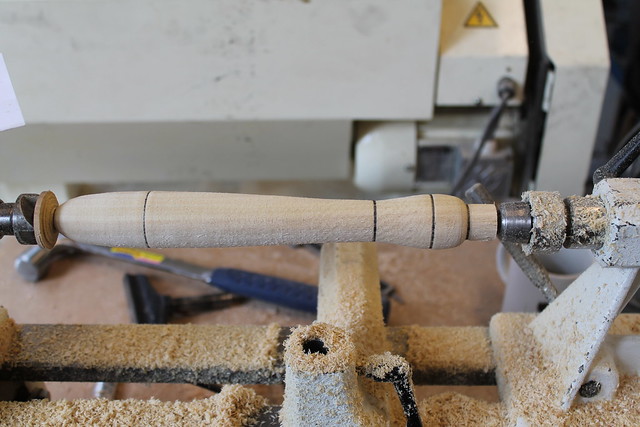
Note: I retraced the initial lines to make this step more clear.
When you are happy with the basic shape, take a few final passes to get the best surface finish you can.
Sand and Finish the Handle
When the turning is complete, remove the tool rest from the lathe and turn up the motor speed. Sand the piece starting with 220 sandpaper and then 400 grit.

Note: the material can get very hot when sanding, fold the sandpaper over a few times before using.
Blow off the dust and rub on some tung oil using a clean rag (wear disposable gloves). Turn on the lathe and buff out the oil.
Trim off the edges using a parting tool or flush cut saw.
Document
Take pictures of the process and final piece and post them to your blog. Comment on tools and techniques used. What would you change if you had to do it again?
Extra tutorial: How to apply a wax finish