3D Scanner Tutorial – Handheld Rapid Scan Mode
Guidance
| EQUIPMENT |
| INTRODUCTION |
| PREPARATION |
| SOFTWARE INSTALLATION |
| UPGRADE |
| USER TUTORIAL |
| RESOURCES |
Equipment
EinScan Pro+ Handheld Rapid Scan Pro 2X

Introduction
EinScan Pro 2X series 3D scanners are unique multi-functional 3D Digitizing devices with multiple 3D Scanning modes. They are designed to improve the efficiency in generating high-quality 3D models, which makes 3D Scanning technology accessible to either professional users or new users.
You can check the 3D Scanner from 823C Fabrication Lab.
User Tutorial – Scanner preparation
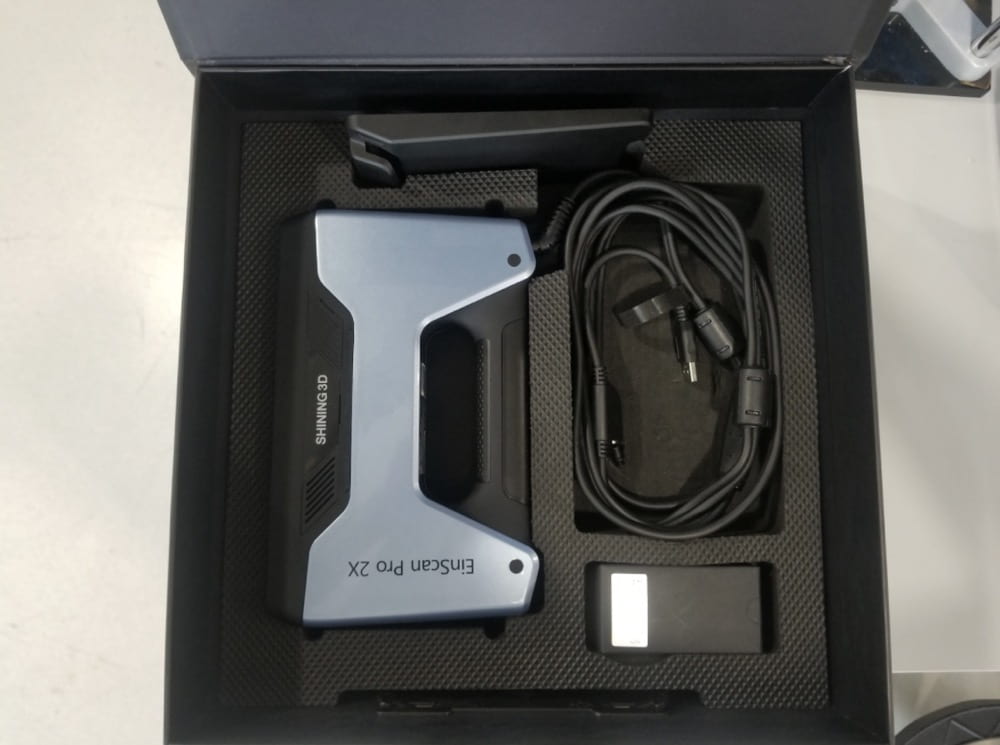
1. Open Box
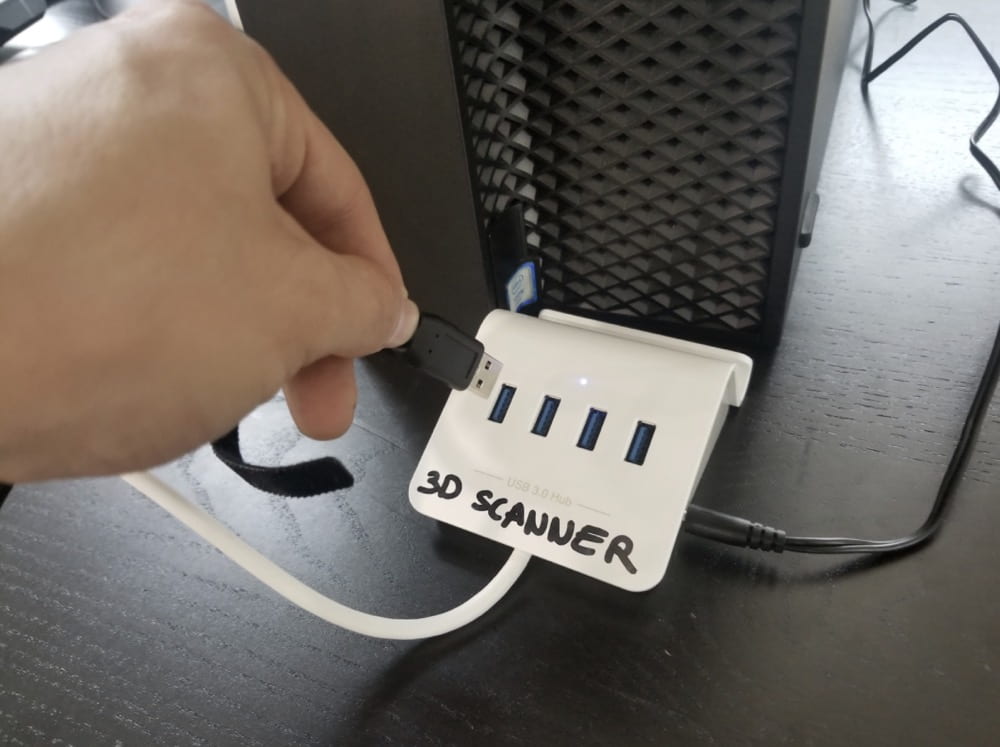
2. Plug Cable in USB Hub
Notice: Remember to charge the USB hub.
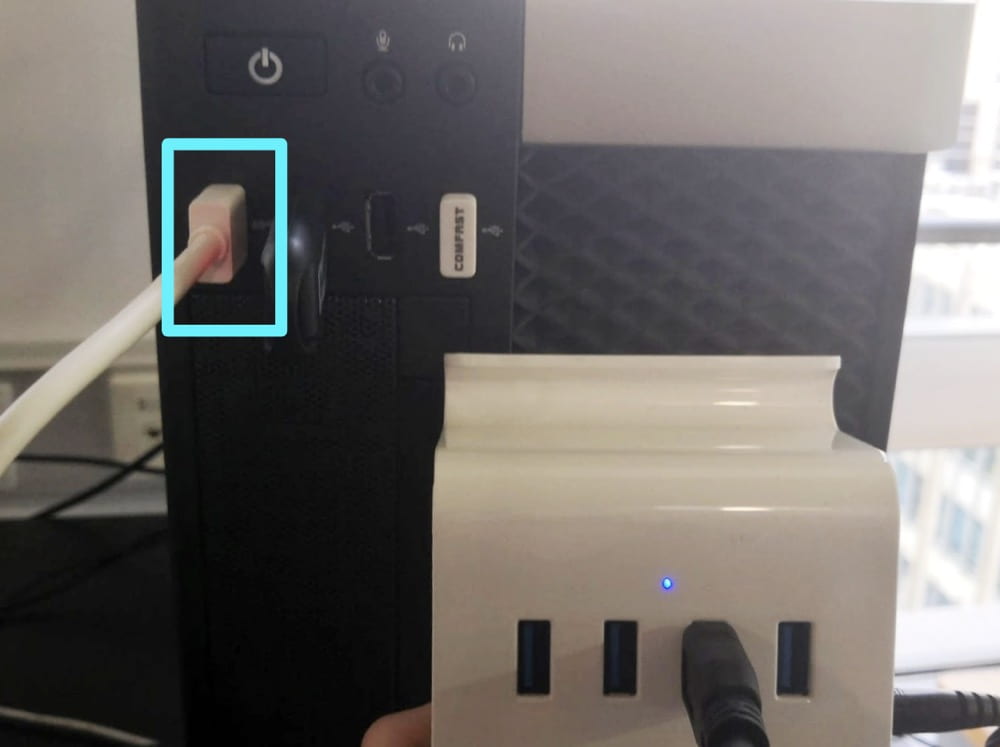
3. Plug the converter into USB 3.0
You must use USB 3.0 or the software won’t be able to run.
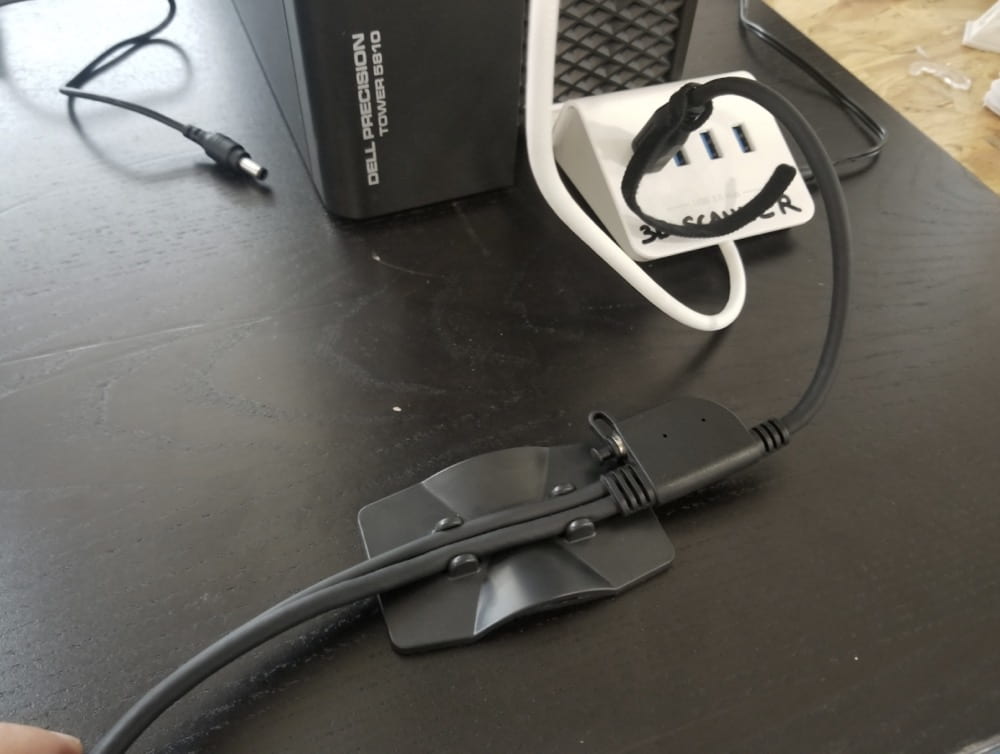
4. Secure cable in the clamp
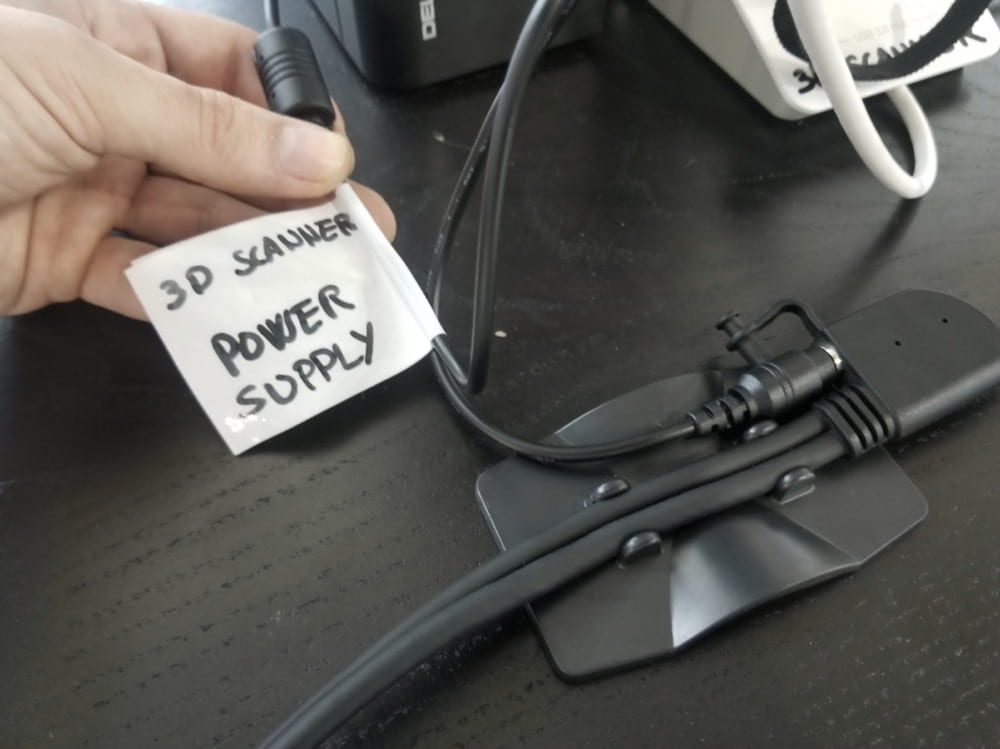
5. Power the scanner
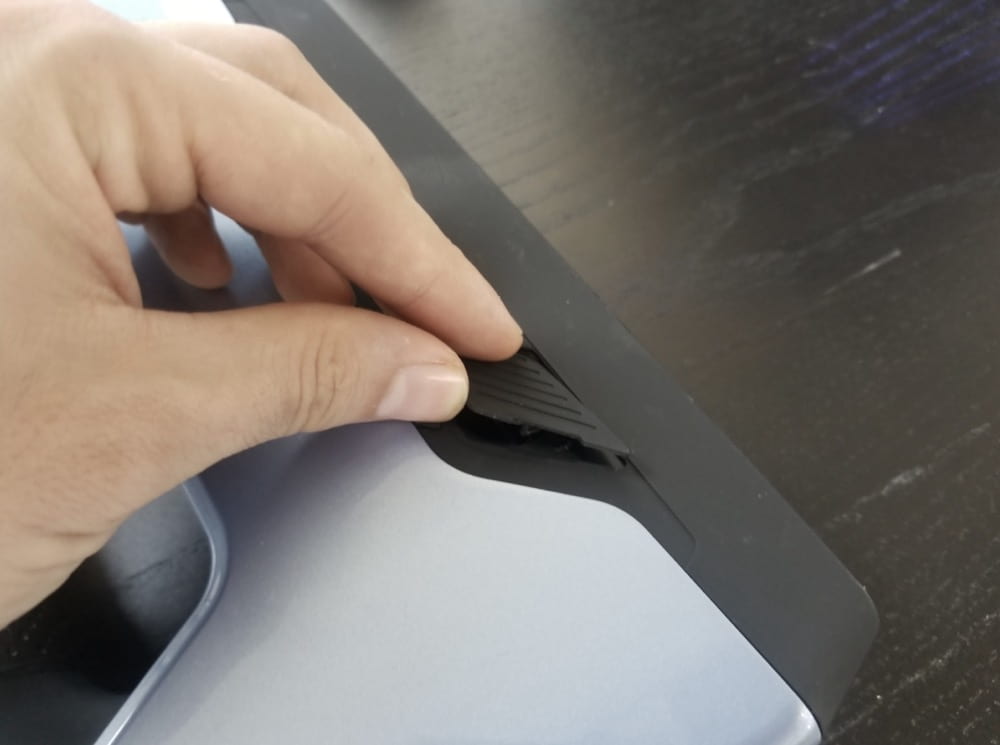
6. Open the latch
Notice: Use the color module if you want to scan colorful objects.
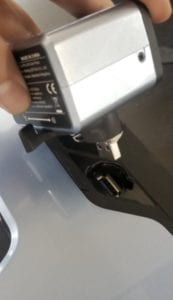
7. Connect and secure the color module
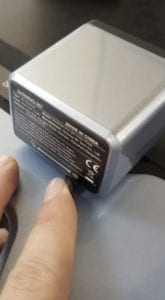
Now the scanner is ready!
SOFTWARE INSTALLATION
If the software is installed, check the official website or download the .exe from the google drive.
Software upgrade
Now you can open EXScan Pro on the desktop.
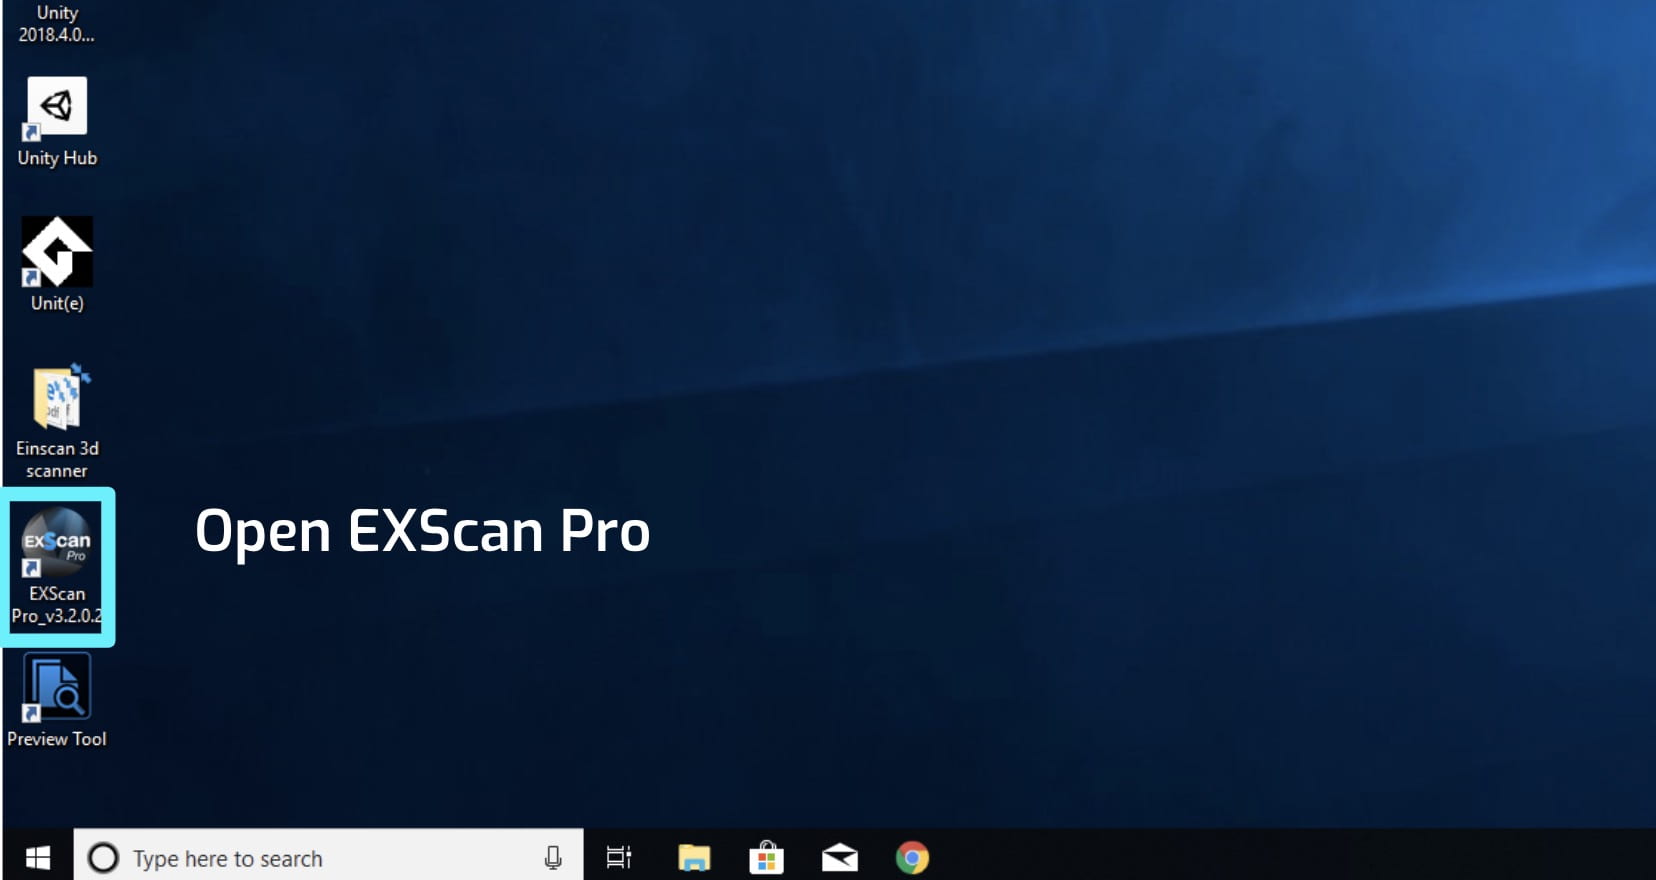
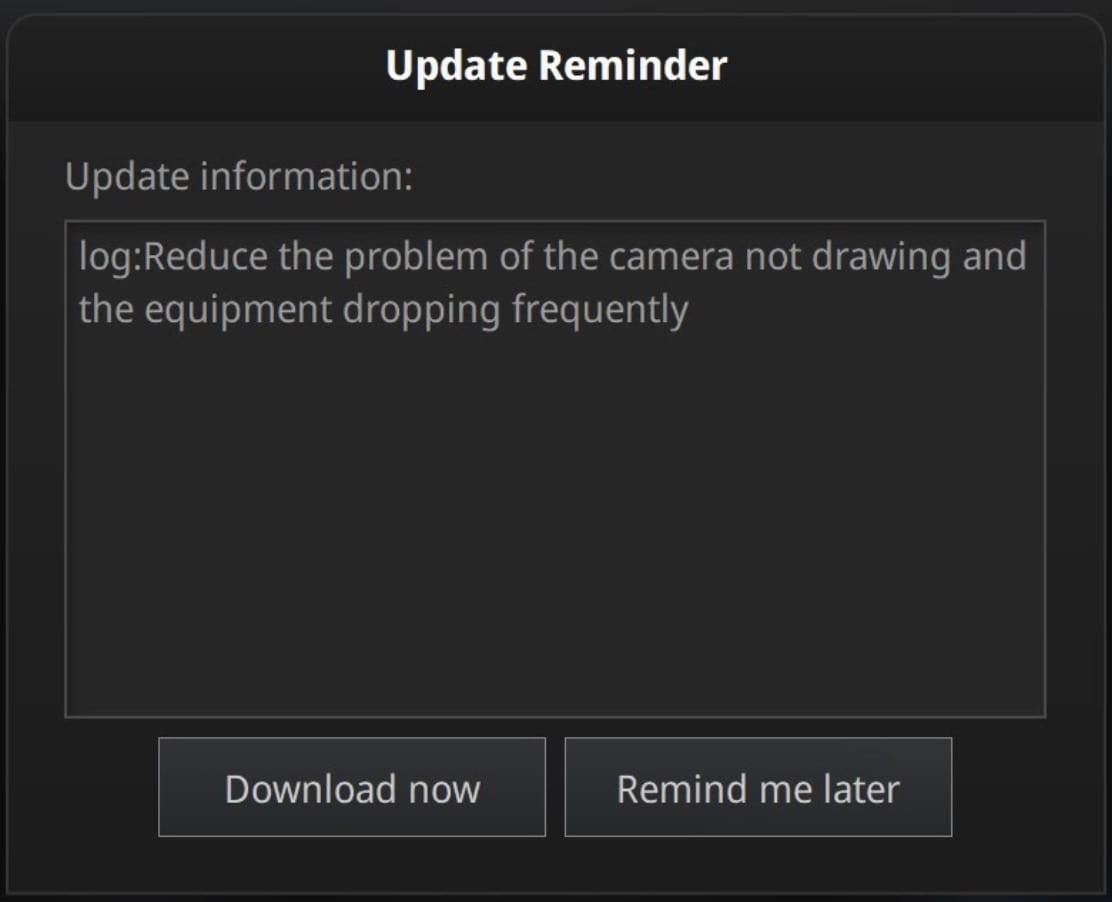
If you are a first-time user/ haven’t used it for a long time, you will probably receive an update reminder. Make sure you are running the latest version, so update it whenever you see this!
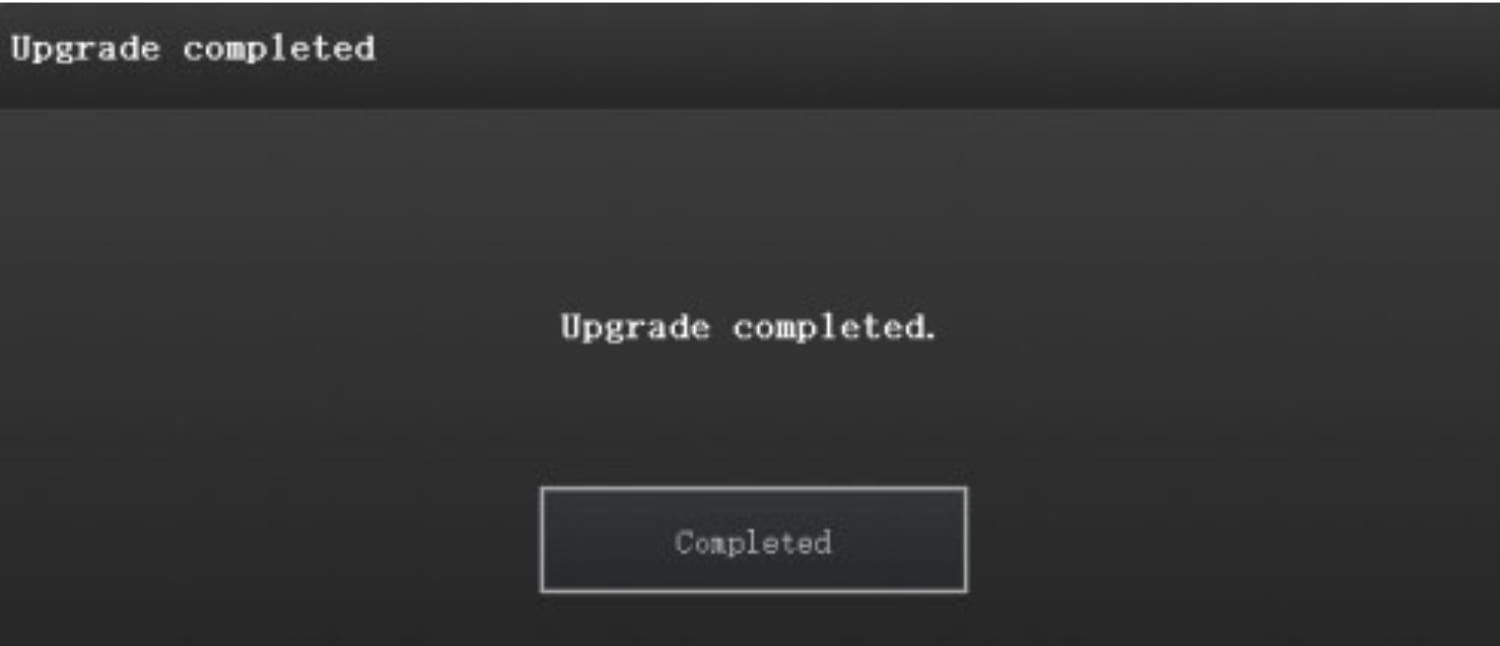
After upgrading the software, you may see a pop-up window like this. You need to upgrade it as well. Firmware upgrading is required when the hardware does not match the latest software version. Make sure a well connection (USB and power) during the upgrade, or it may cause damage on the hardware.
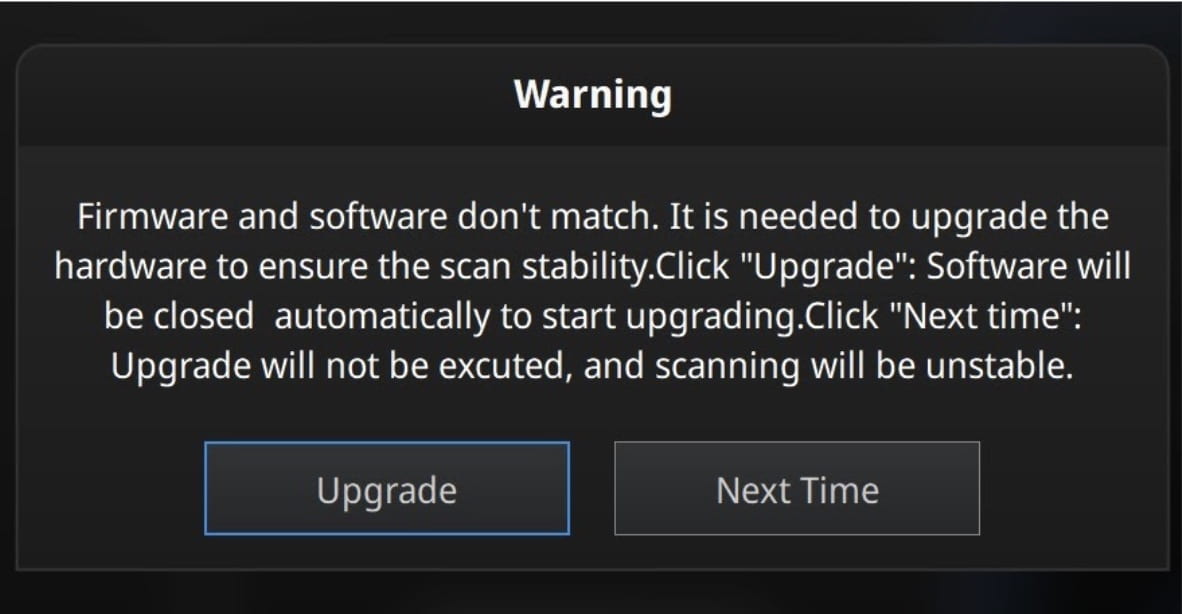
The upgrade takes around 6 mins. Power off the device after upgrading successfully. Reconnect the device, and open the software again, the device is running under the latest firmware.
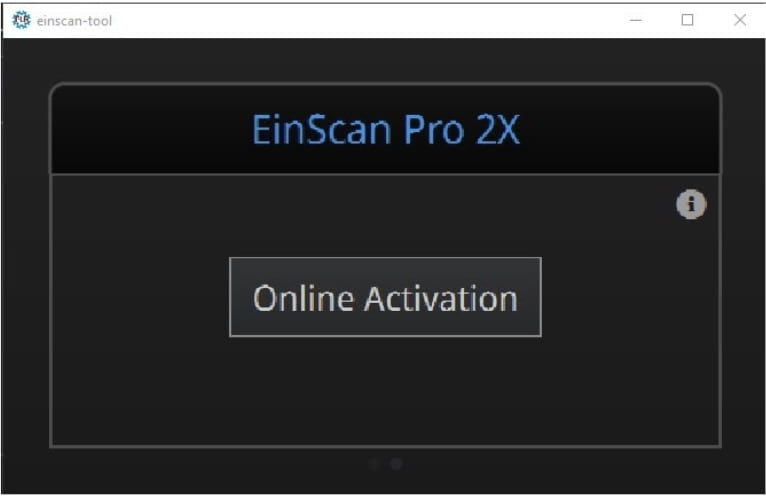
Similarly, if you are using the software for the first time, click Online Activation to verify your license.
Now you are fully prepared! Start your scanning journey from now on.
USER tutorial
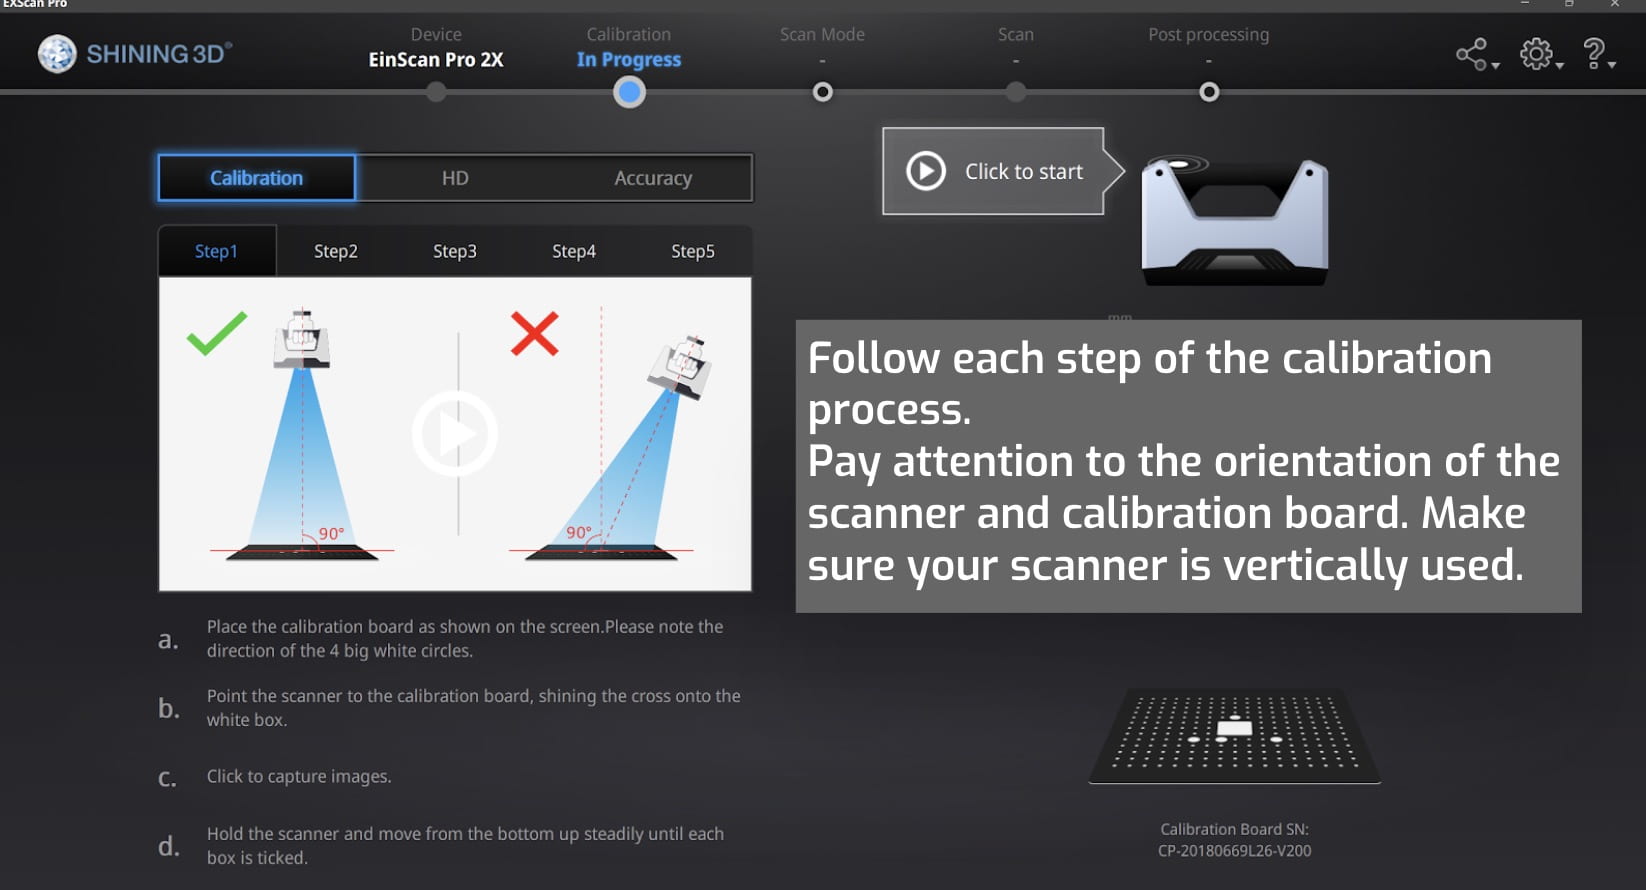
Check the calibration board inside the box, and follow each step of the calibration process. Pay attention to the orientation of the scanner and calibration board. Make sure to keep the scanner vertical to the board.
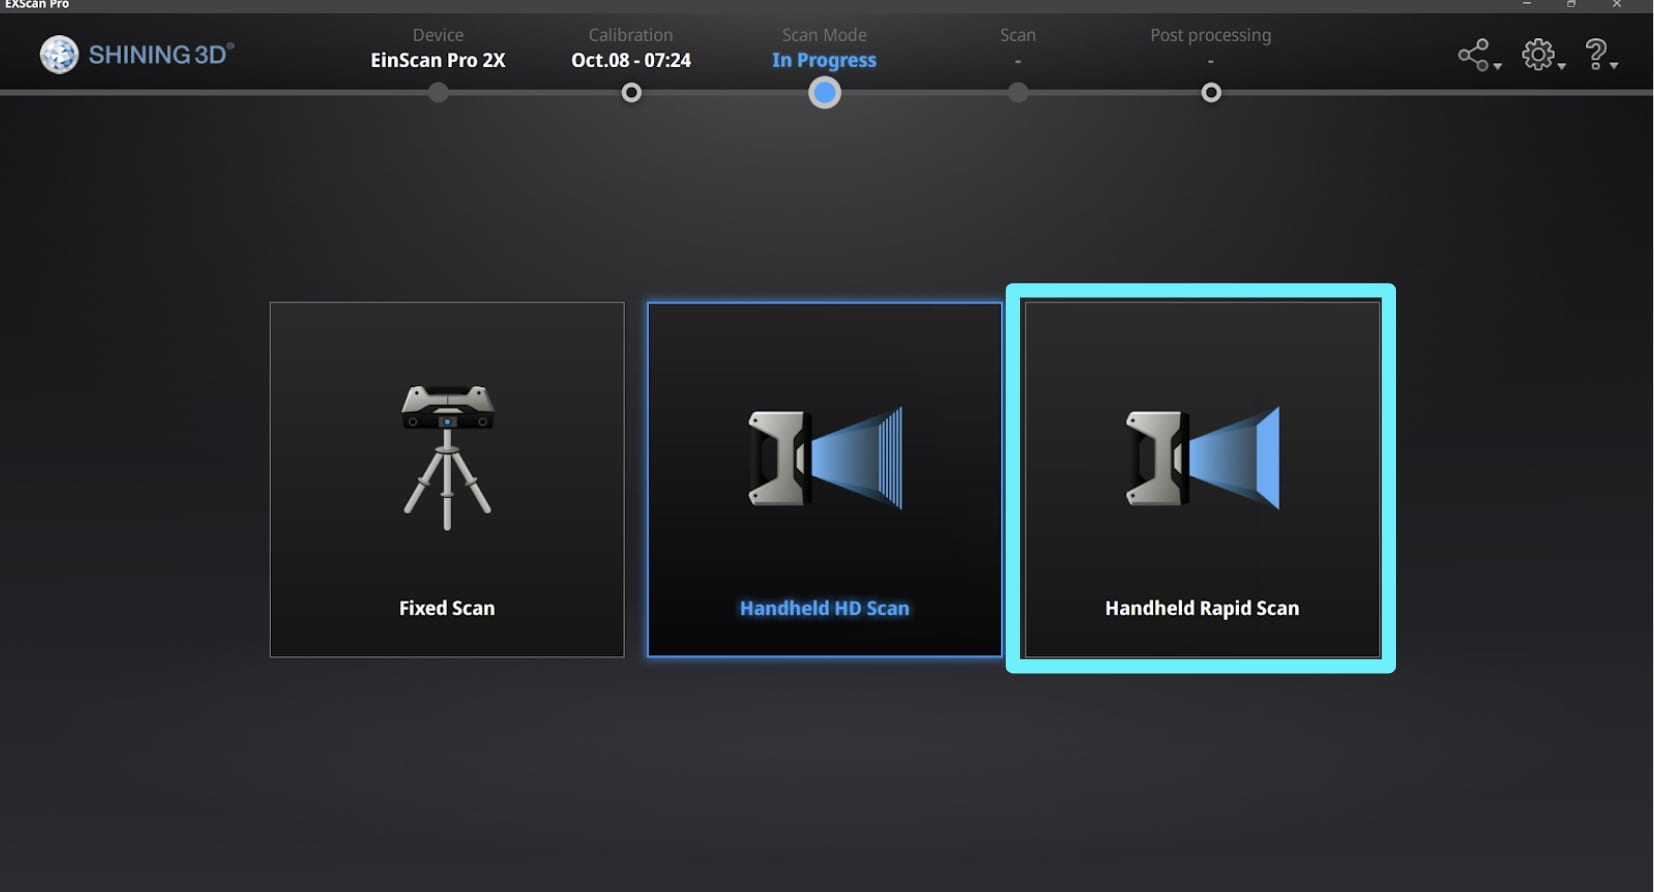
After completing the calibration, choose the Handheld Rapid Scan mode Handheld Rapid Scan. This mode works faster, but if you want a higher quality scan result rather than saving time, you can try the Handheld HD Scan.
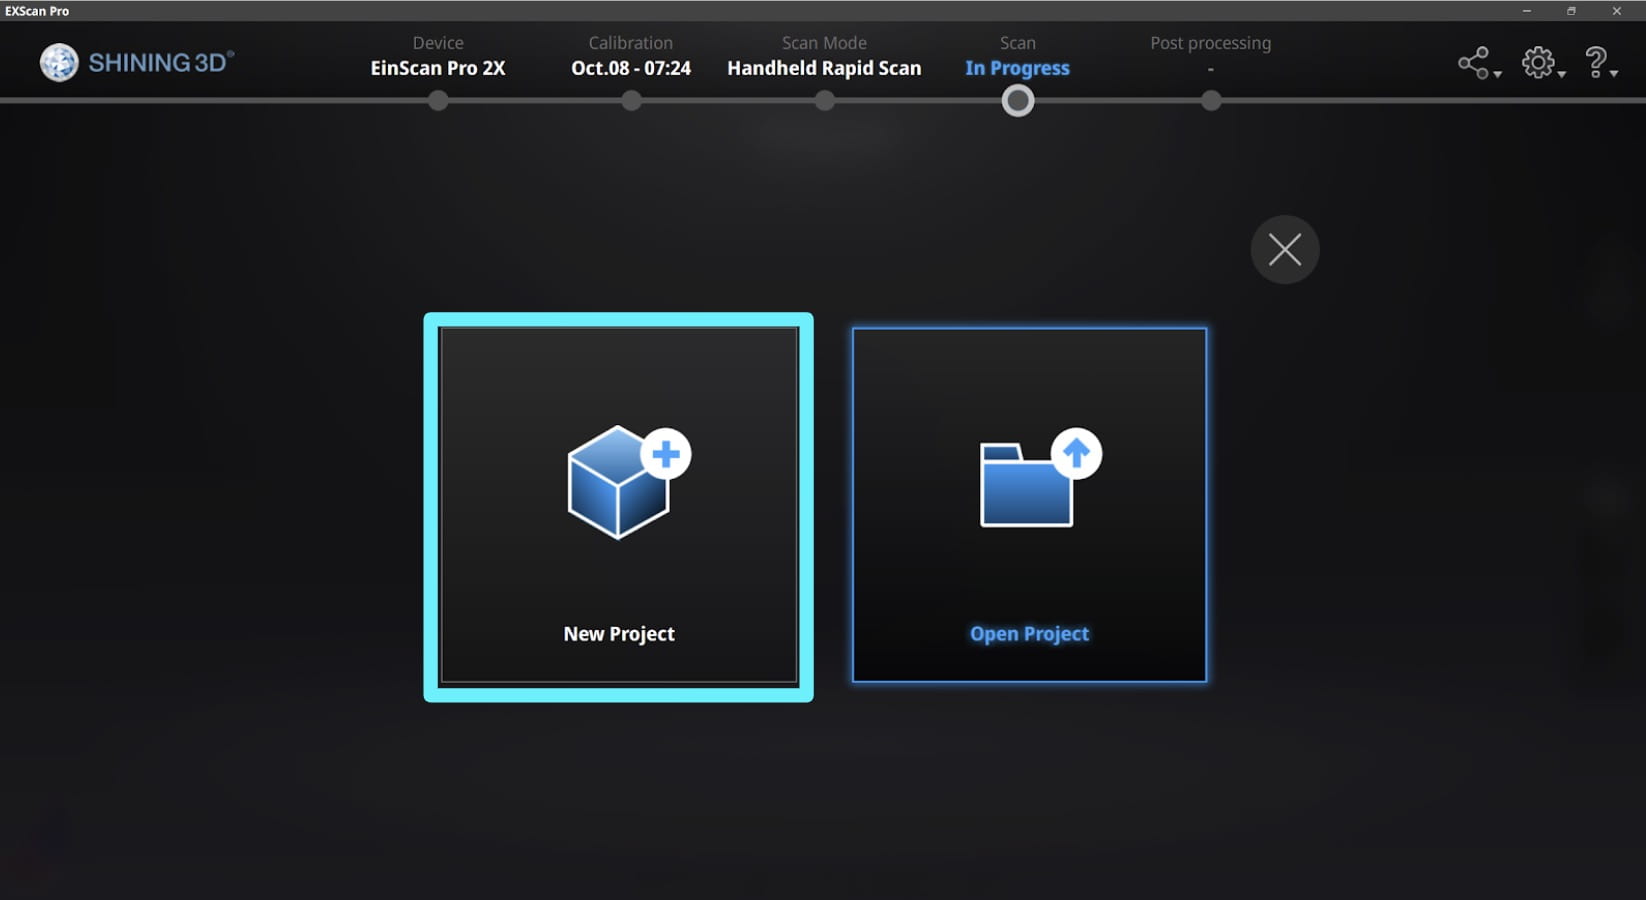
Start a new project.
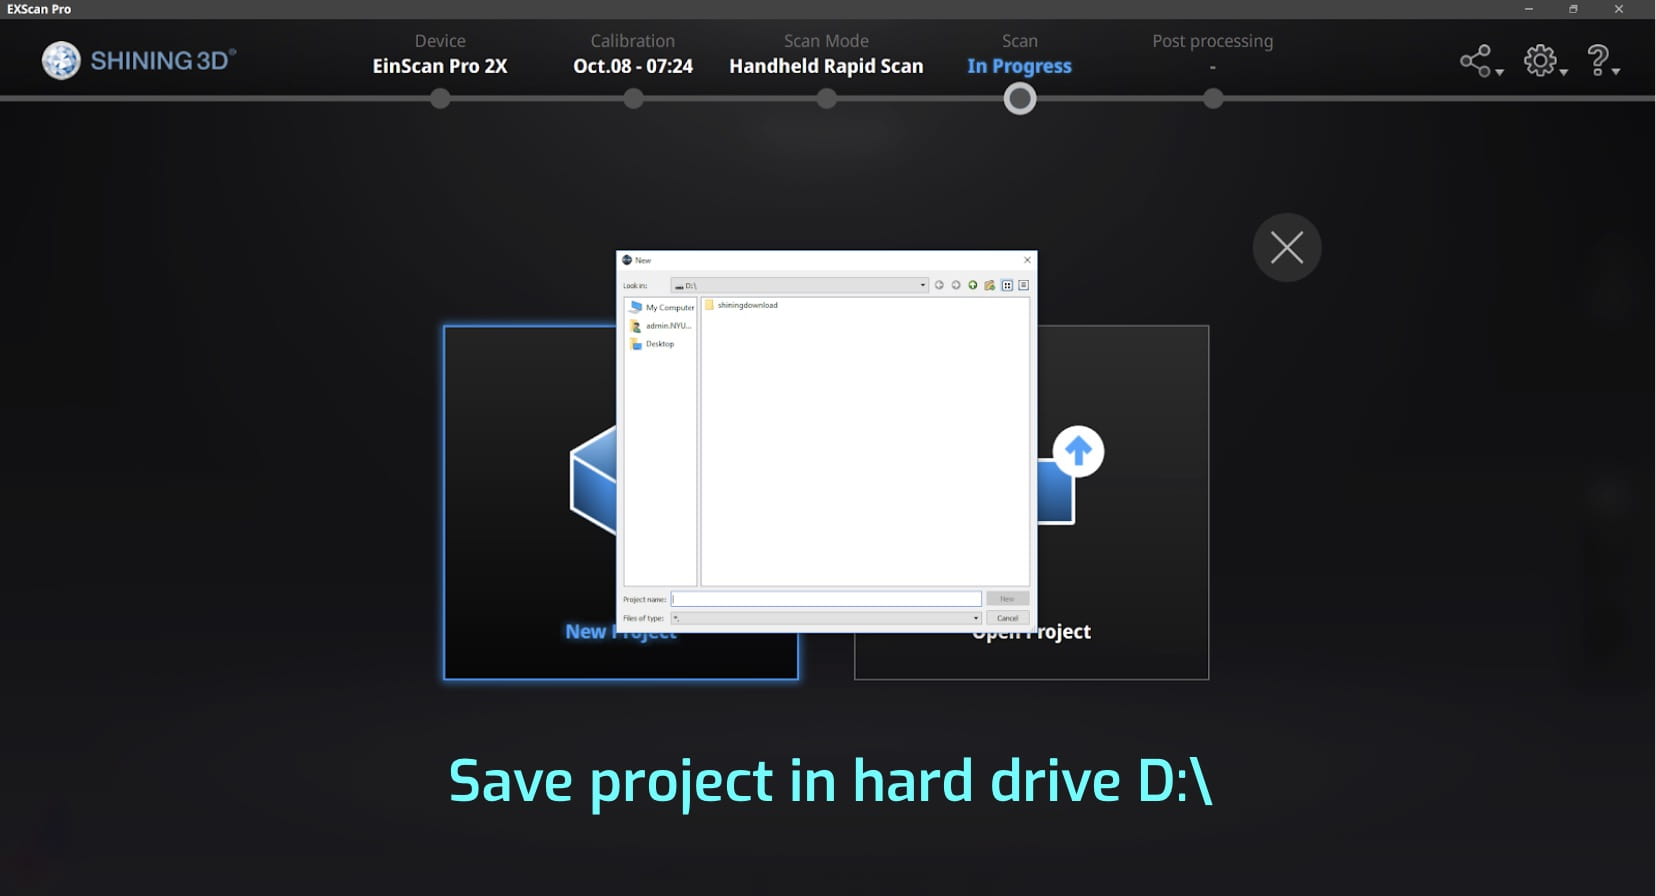
Save your project in D:\ as the project file may be pretty big.
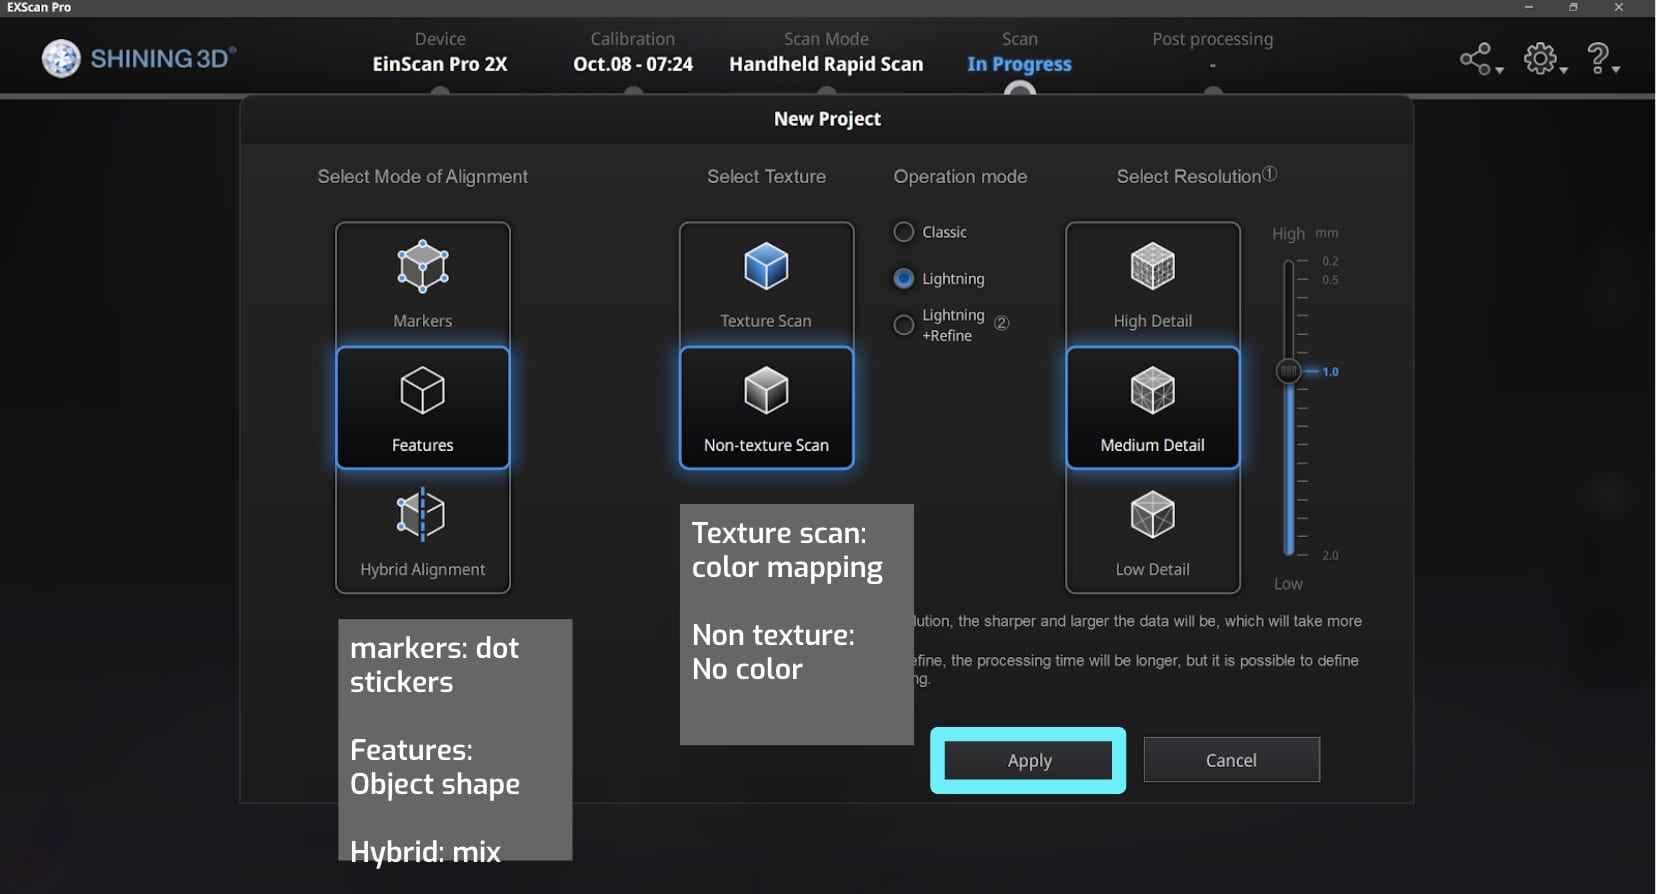
Check your project settings. If you are using the color module, choose Texture Scan.
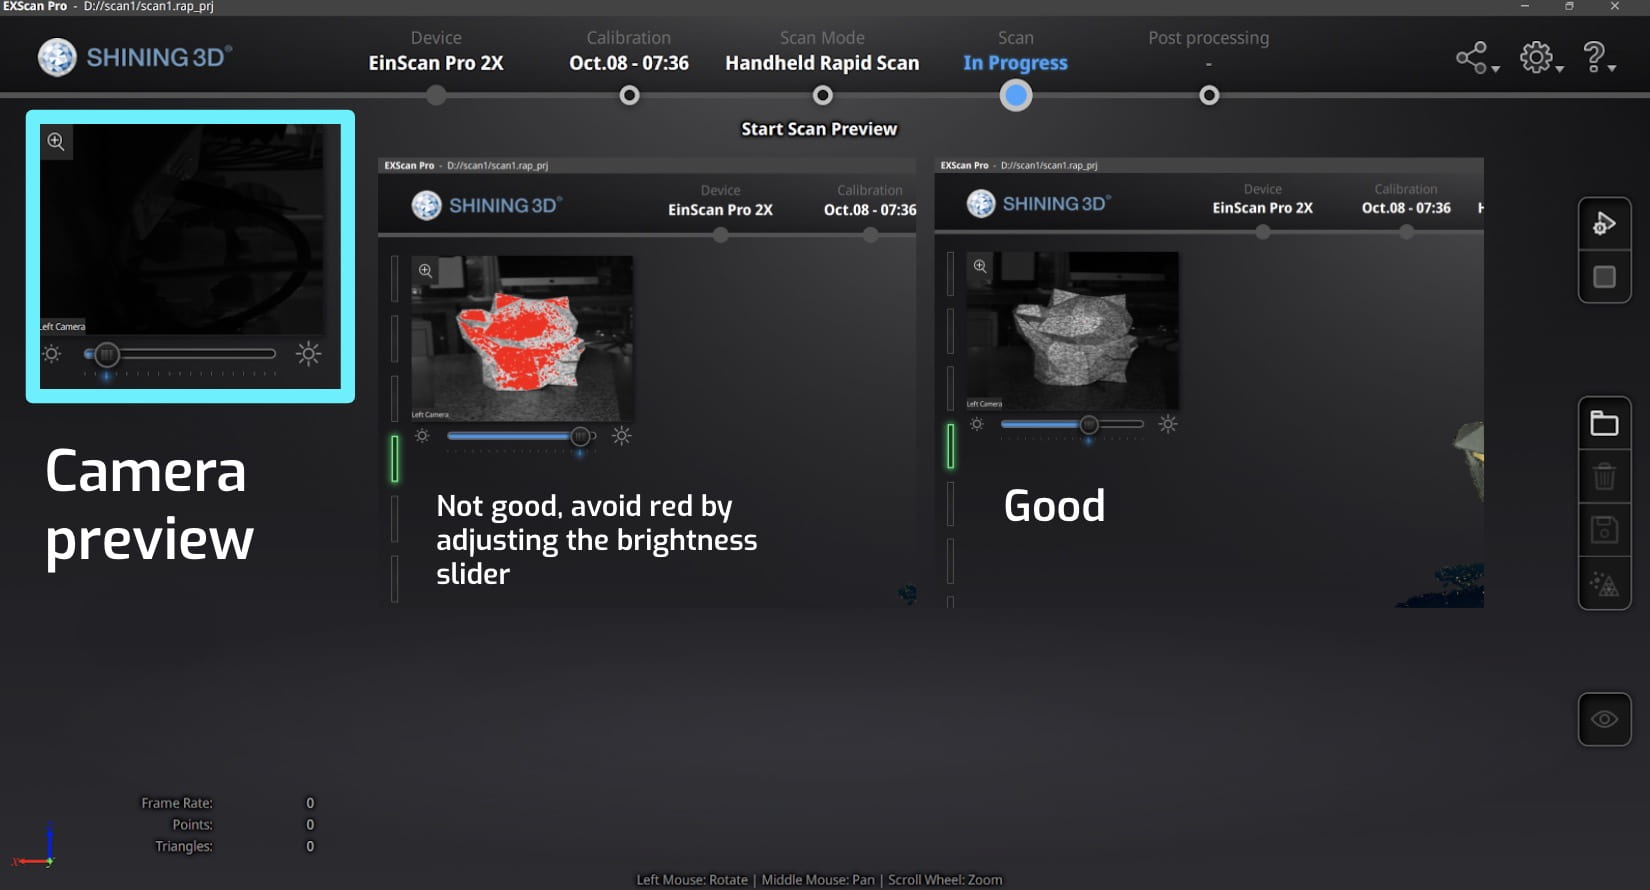
You will be able to see the preview of your scanned project during the process and press the Play button on the handle of the scanner continuously until the scan is done. You can adjust the brightness through the slider on the left side of the screen or through the + and – button on the scanner.
When you finish scanning and get enough features, stop the scan but repress the button and click Generate Point Clouds.
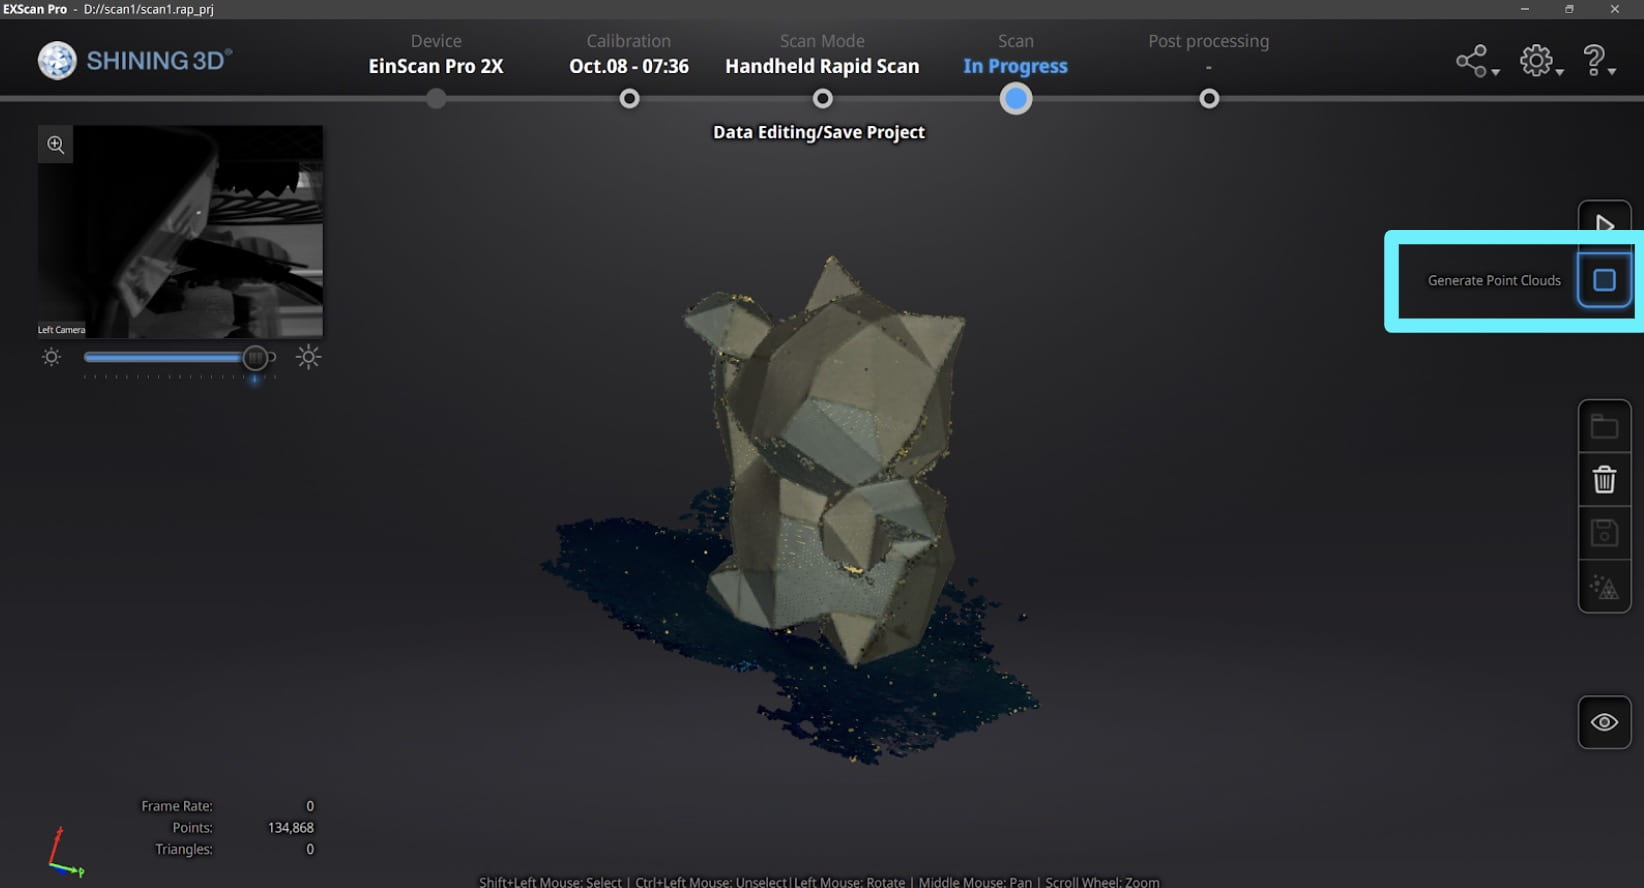
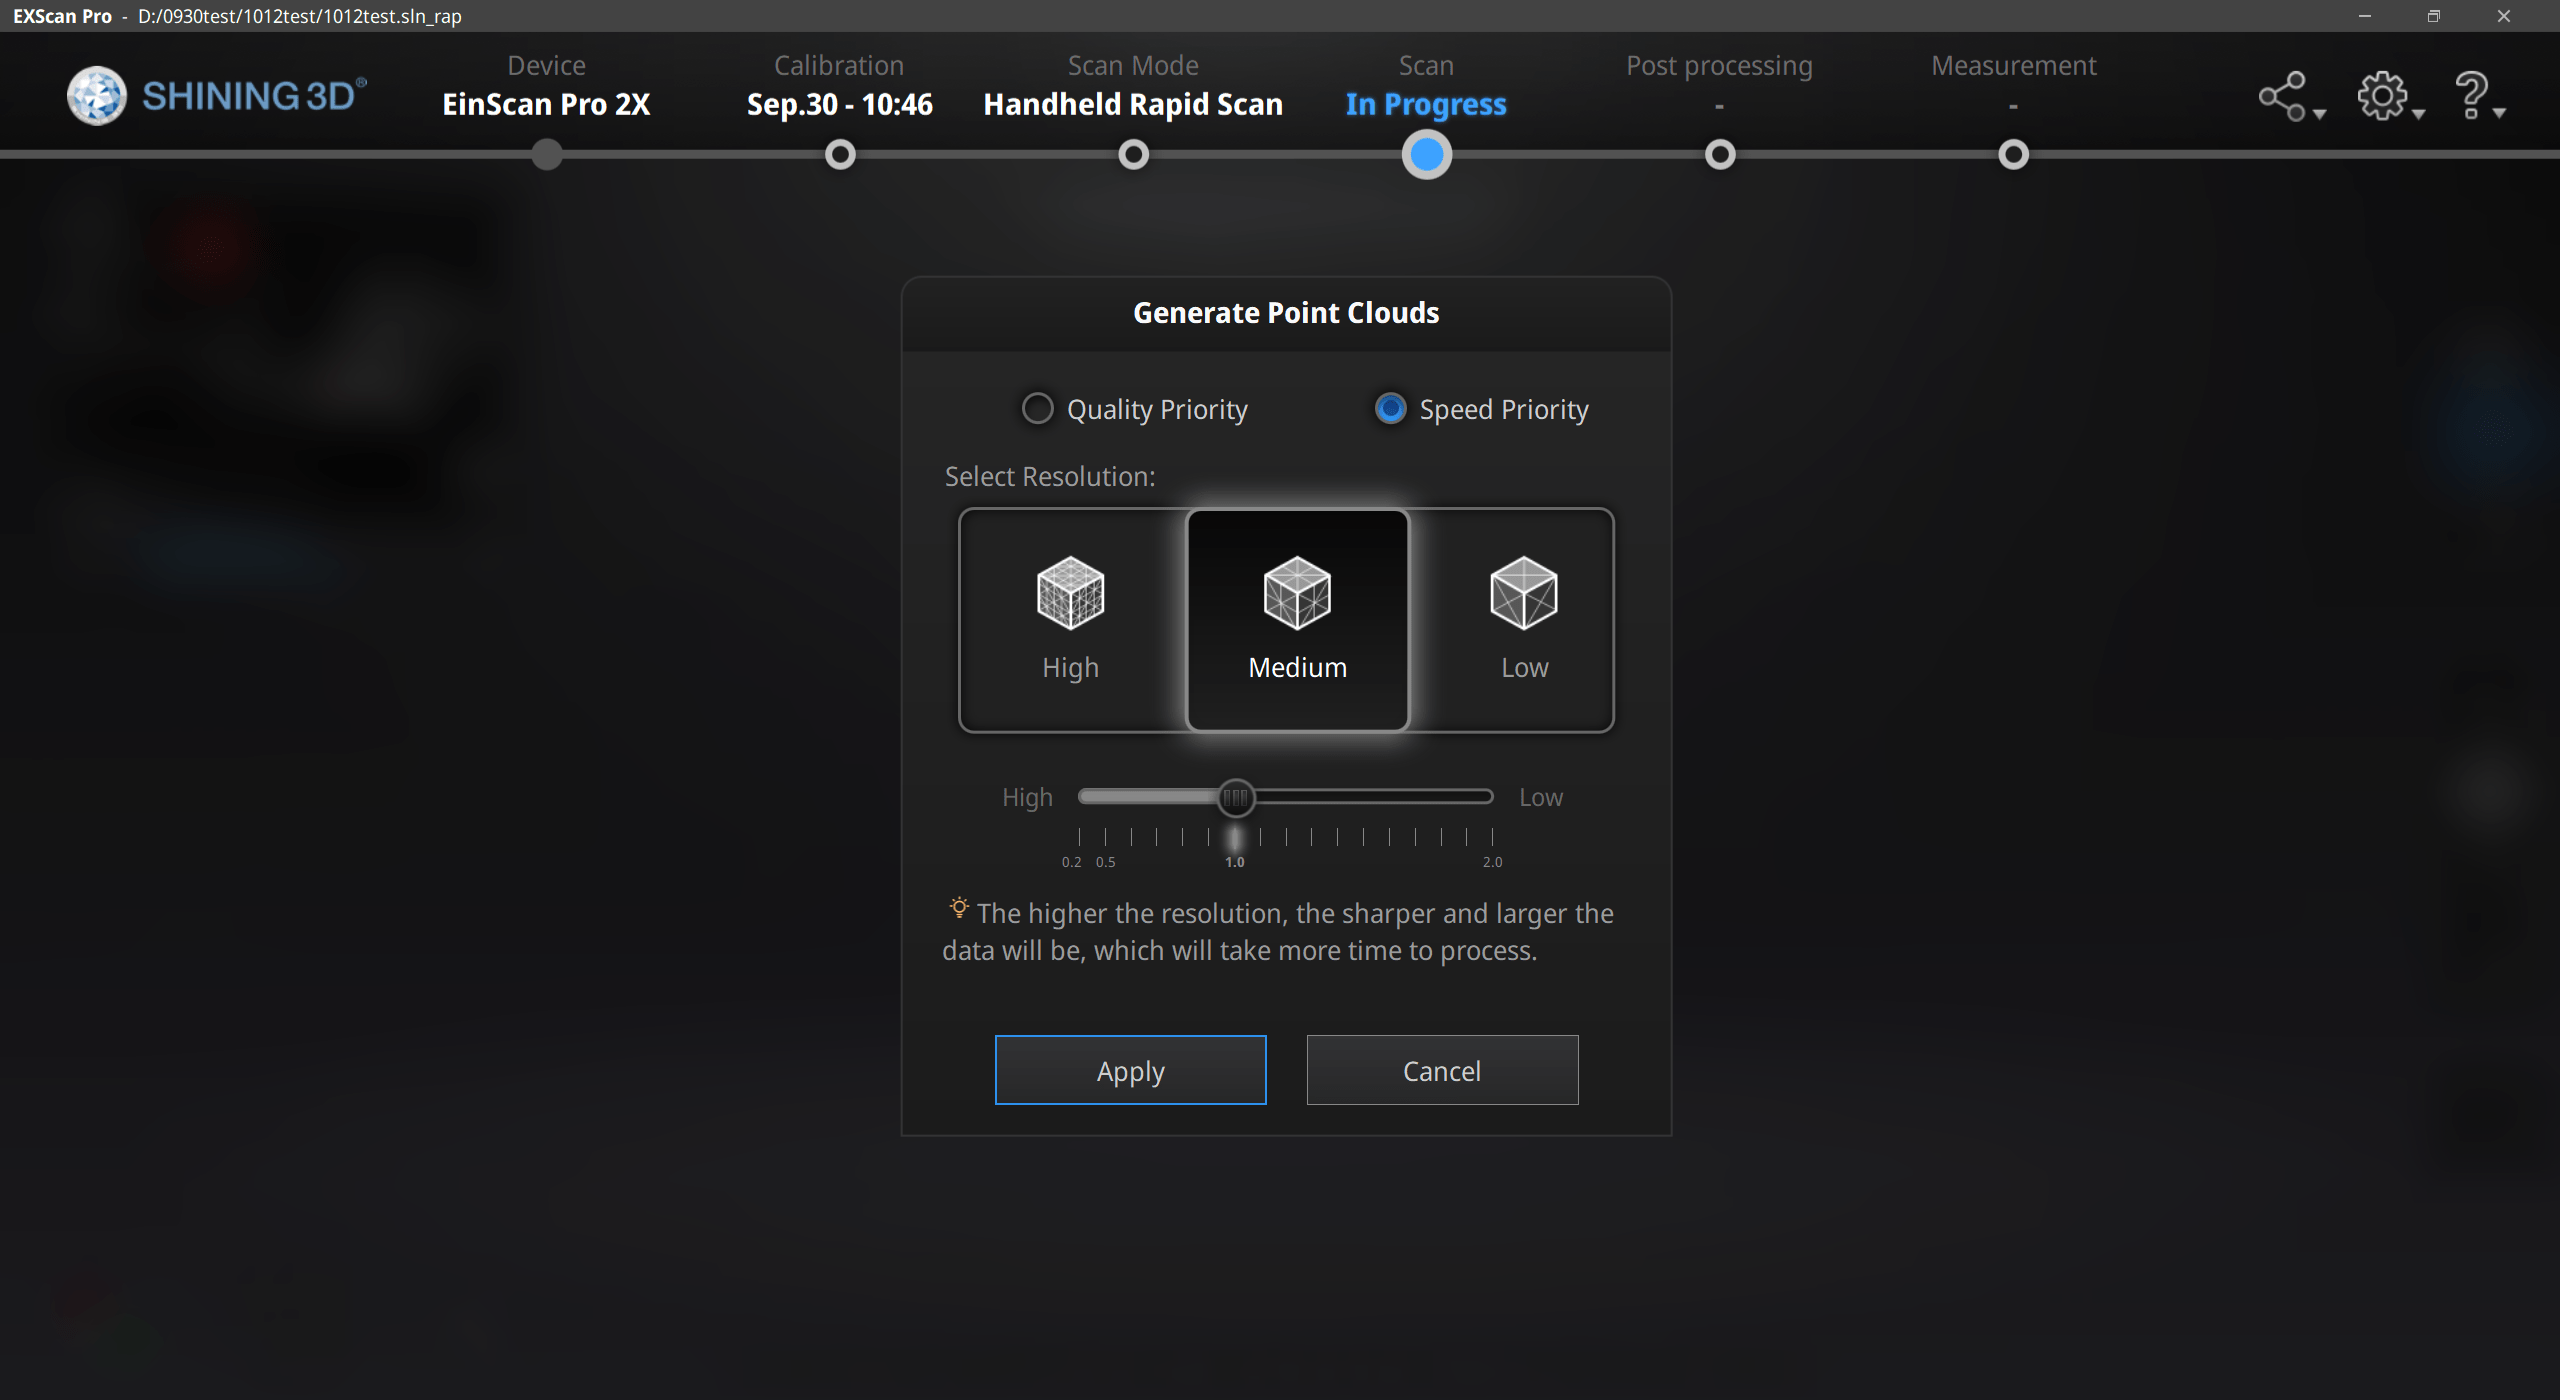
You can press shift and then left-click your mouse to edit your model. After editing, choose the priority and resolution according to your needs.
(*Note: if you are doing color mode, the markers cannot be deleted during editing/remapping)
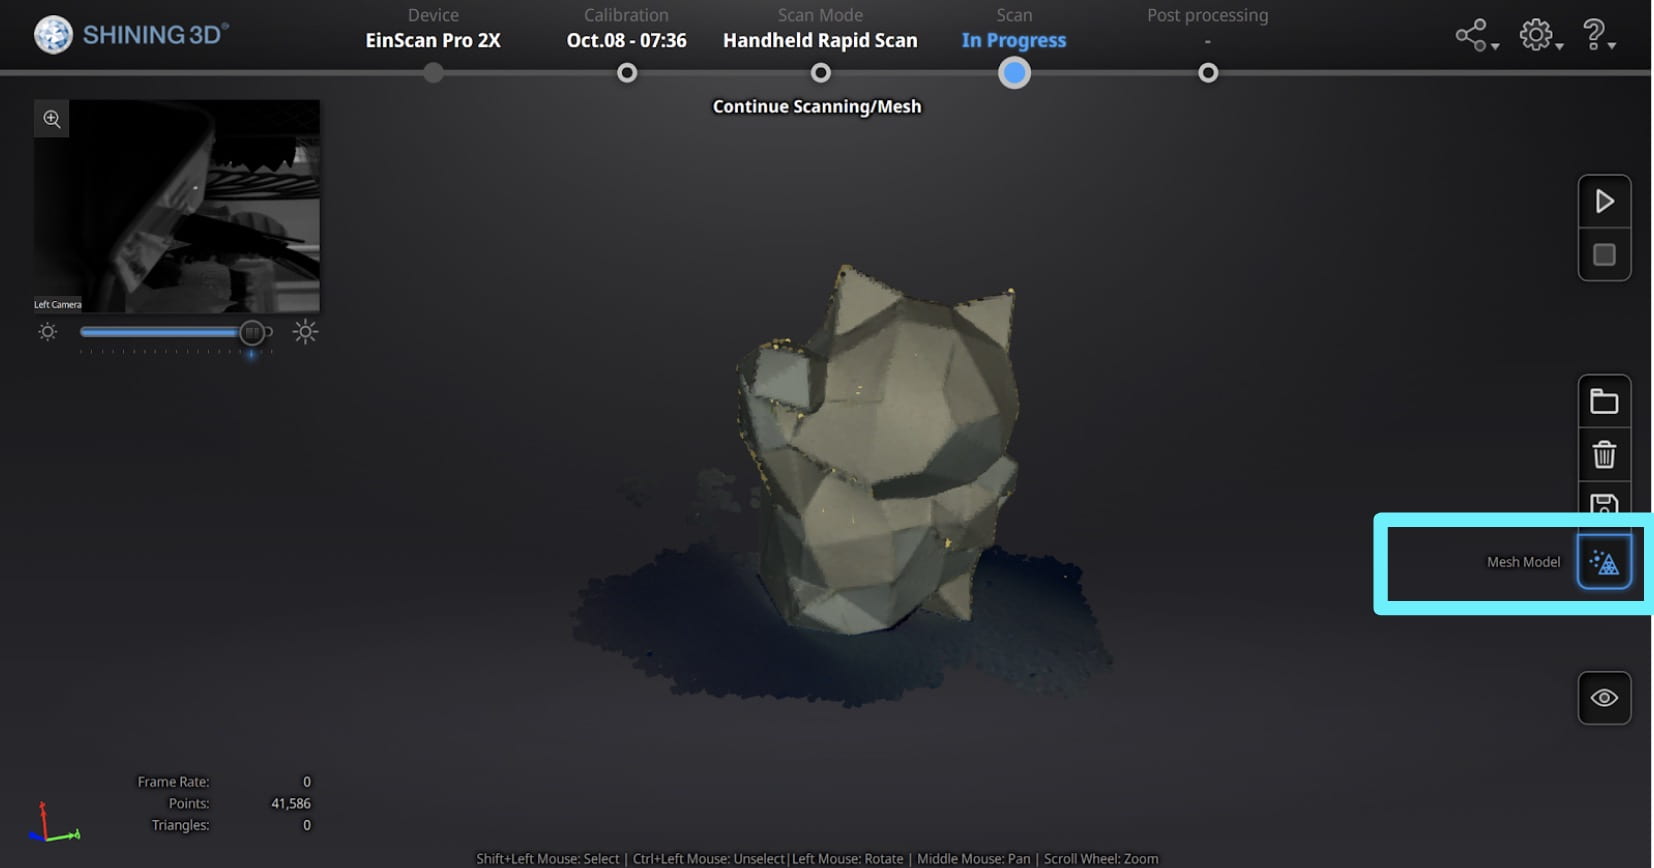
Mesh your model after generating points.
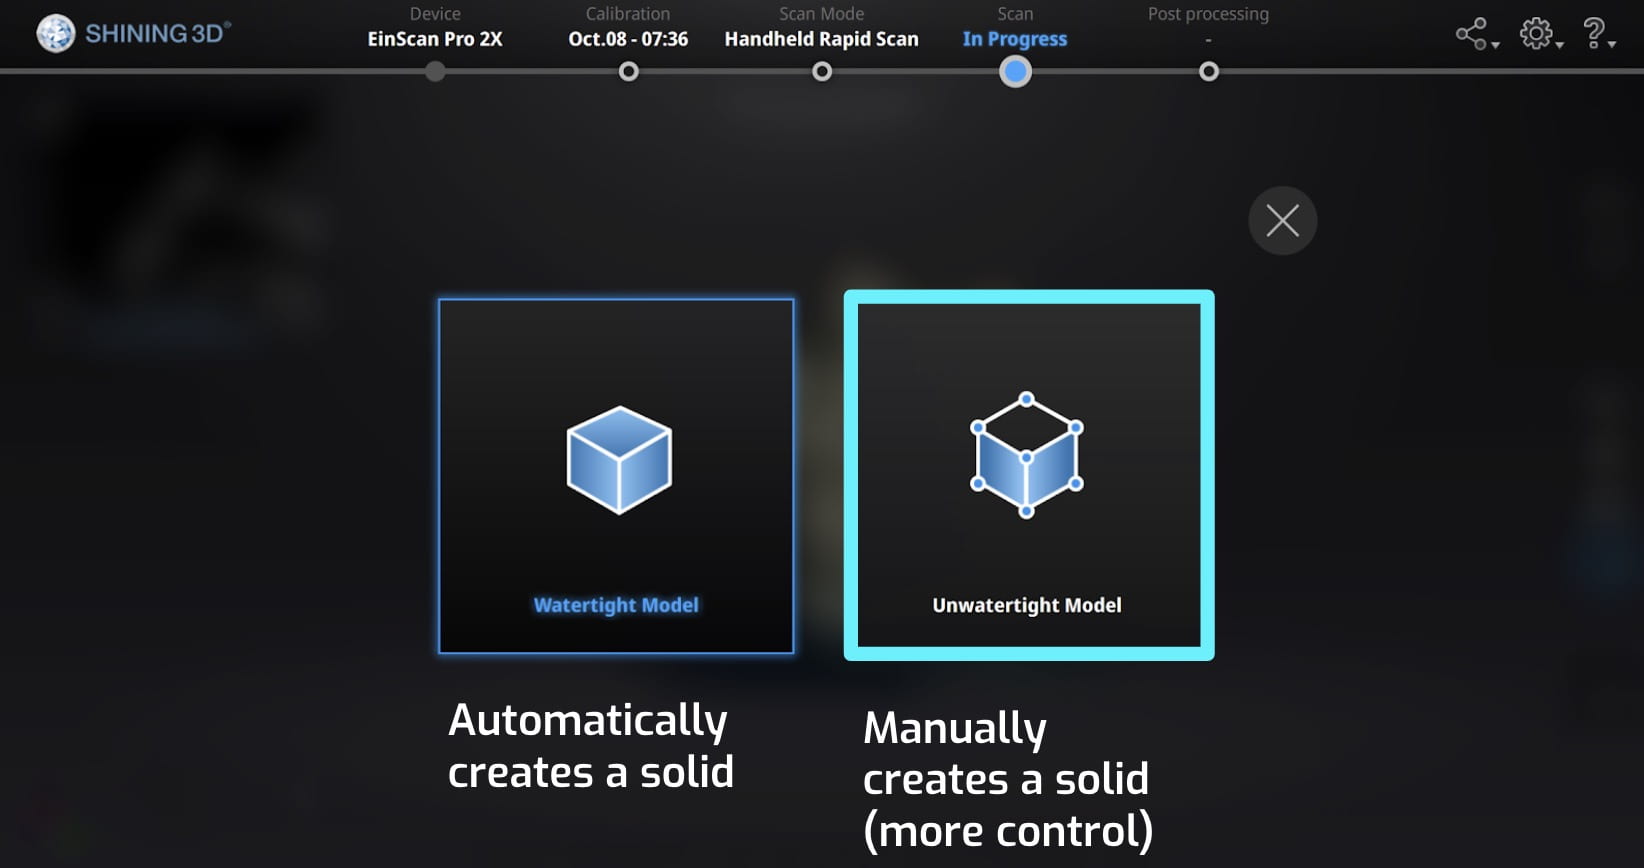
Choose the model to create a solid according to your needs.
You can choose to fill the holds or do some other adjustments through the sidebar buttons. When your model is done, save your model out.
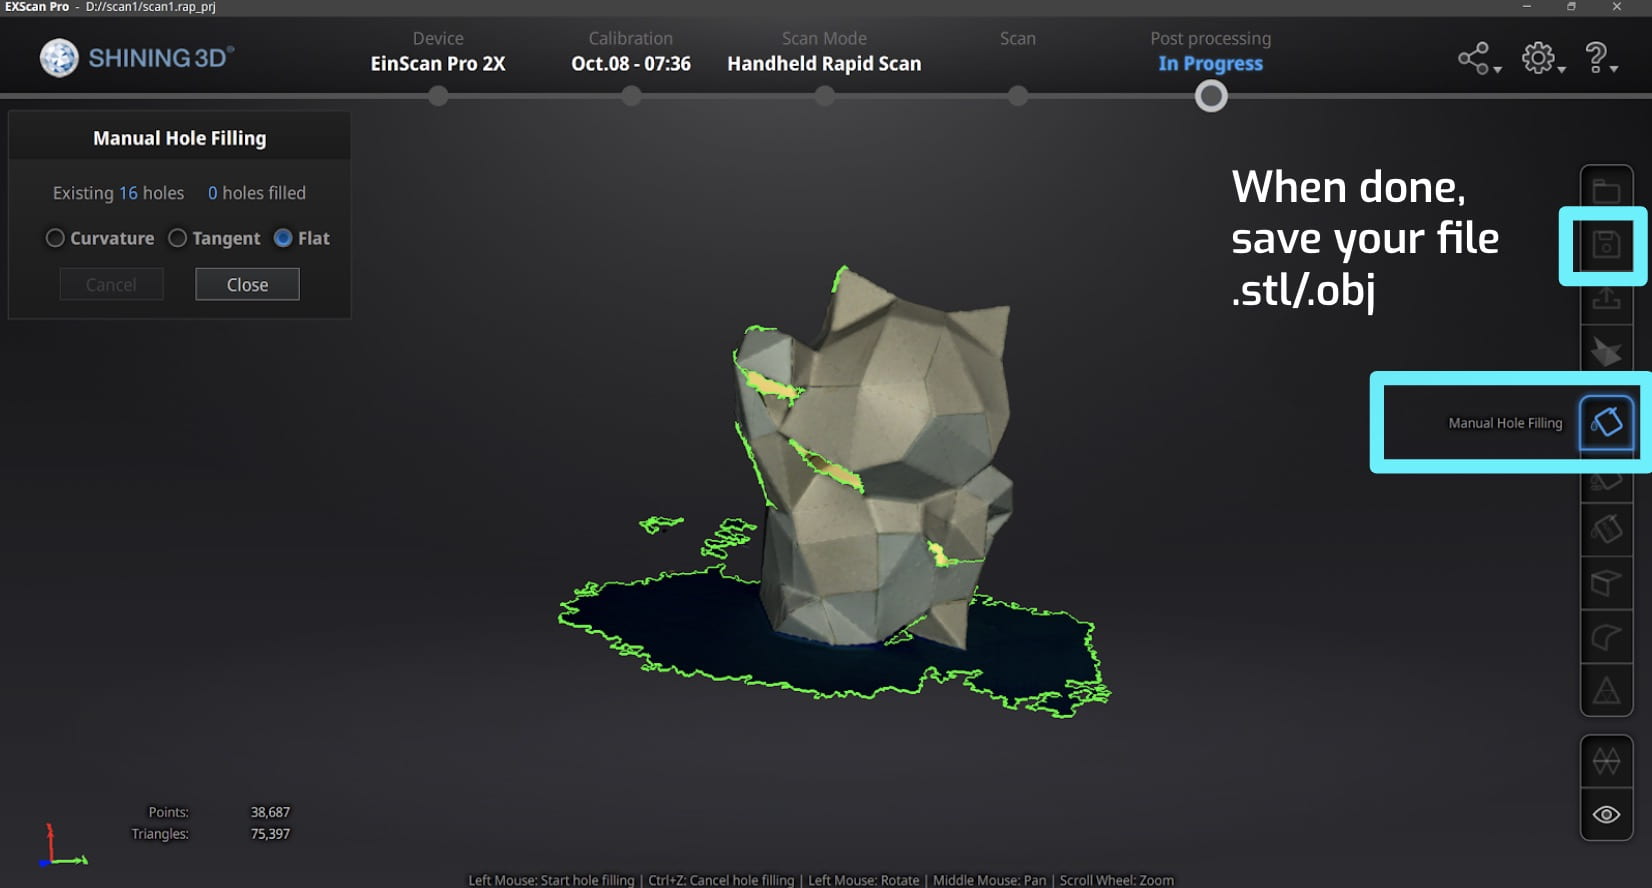
When you are done,
- Pack everything and put inside the Fabrication Lab.
- For more detailed documentation read the PDF document inside the desktop folder “3D scanner”. The PDF is also linked below in the resources.
- Trained faculty and fellows: Andy, WuWei, Linda, Young, (Kevin)
Resources
https://www.einscan.com/wp-content/uploads/2020/05/EinScan-Pro-2X-Quick-Guide-1112.pdf
If you have more questions that are not answered here, email einscan_support@shining3d.com.