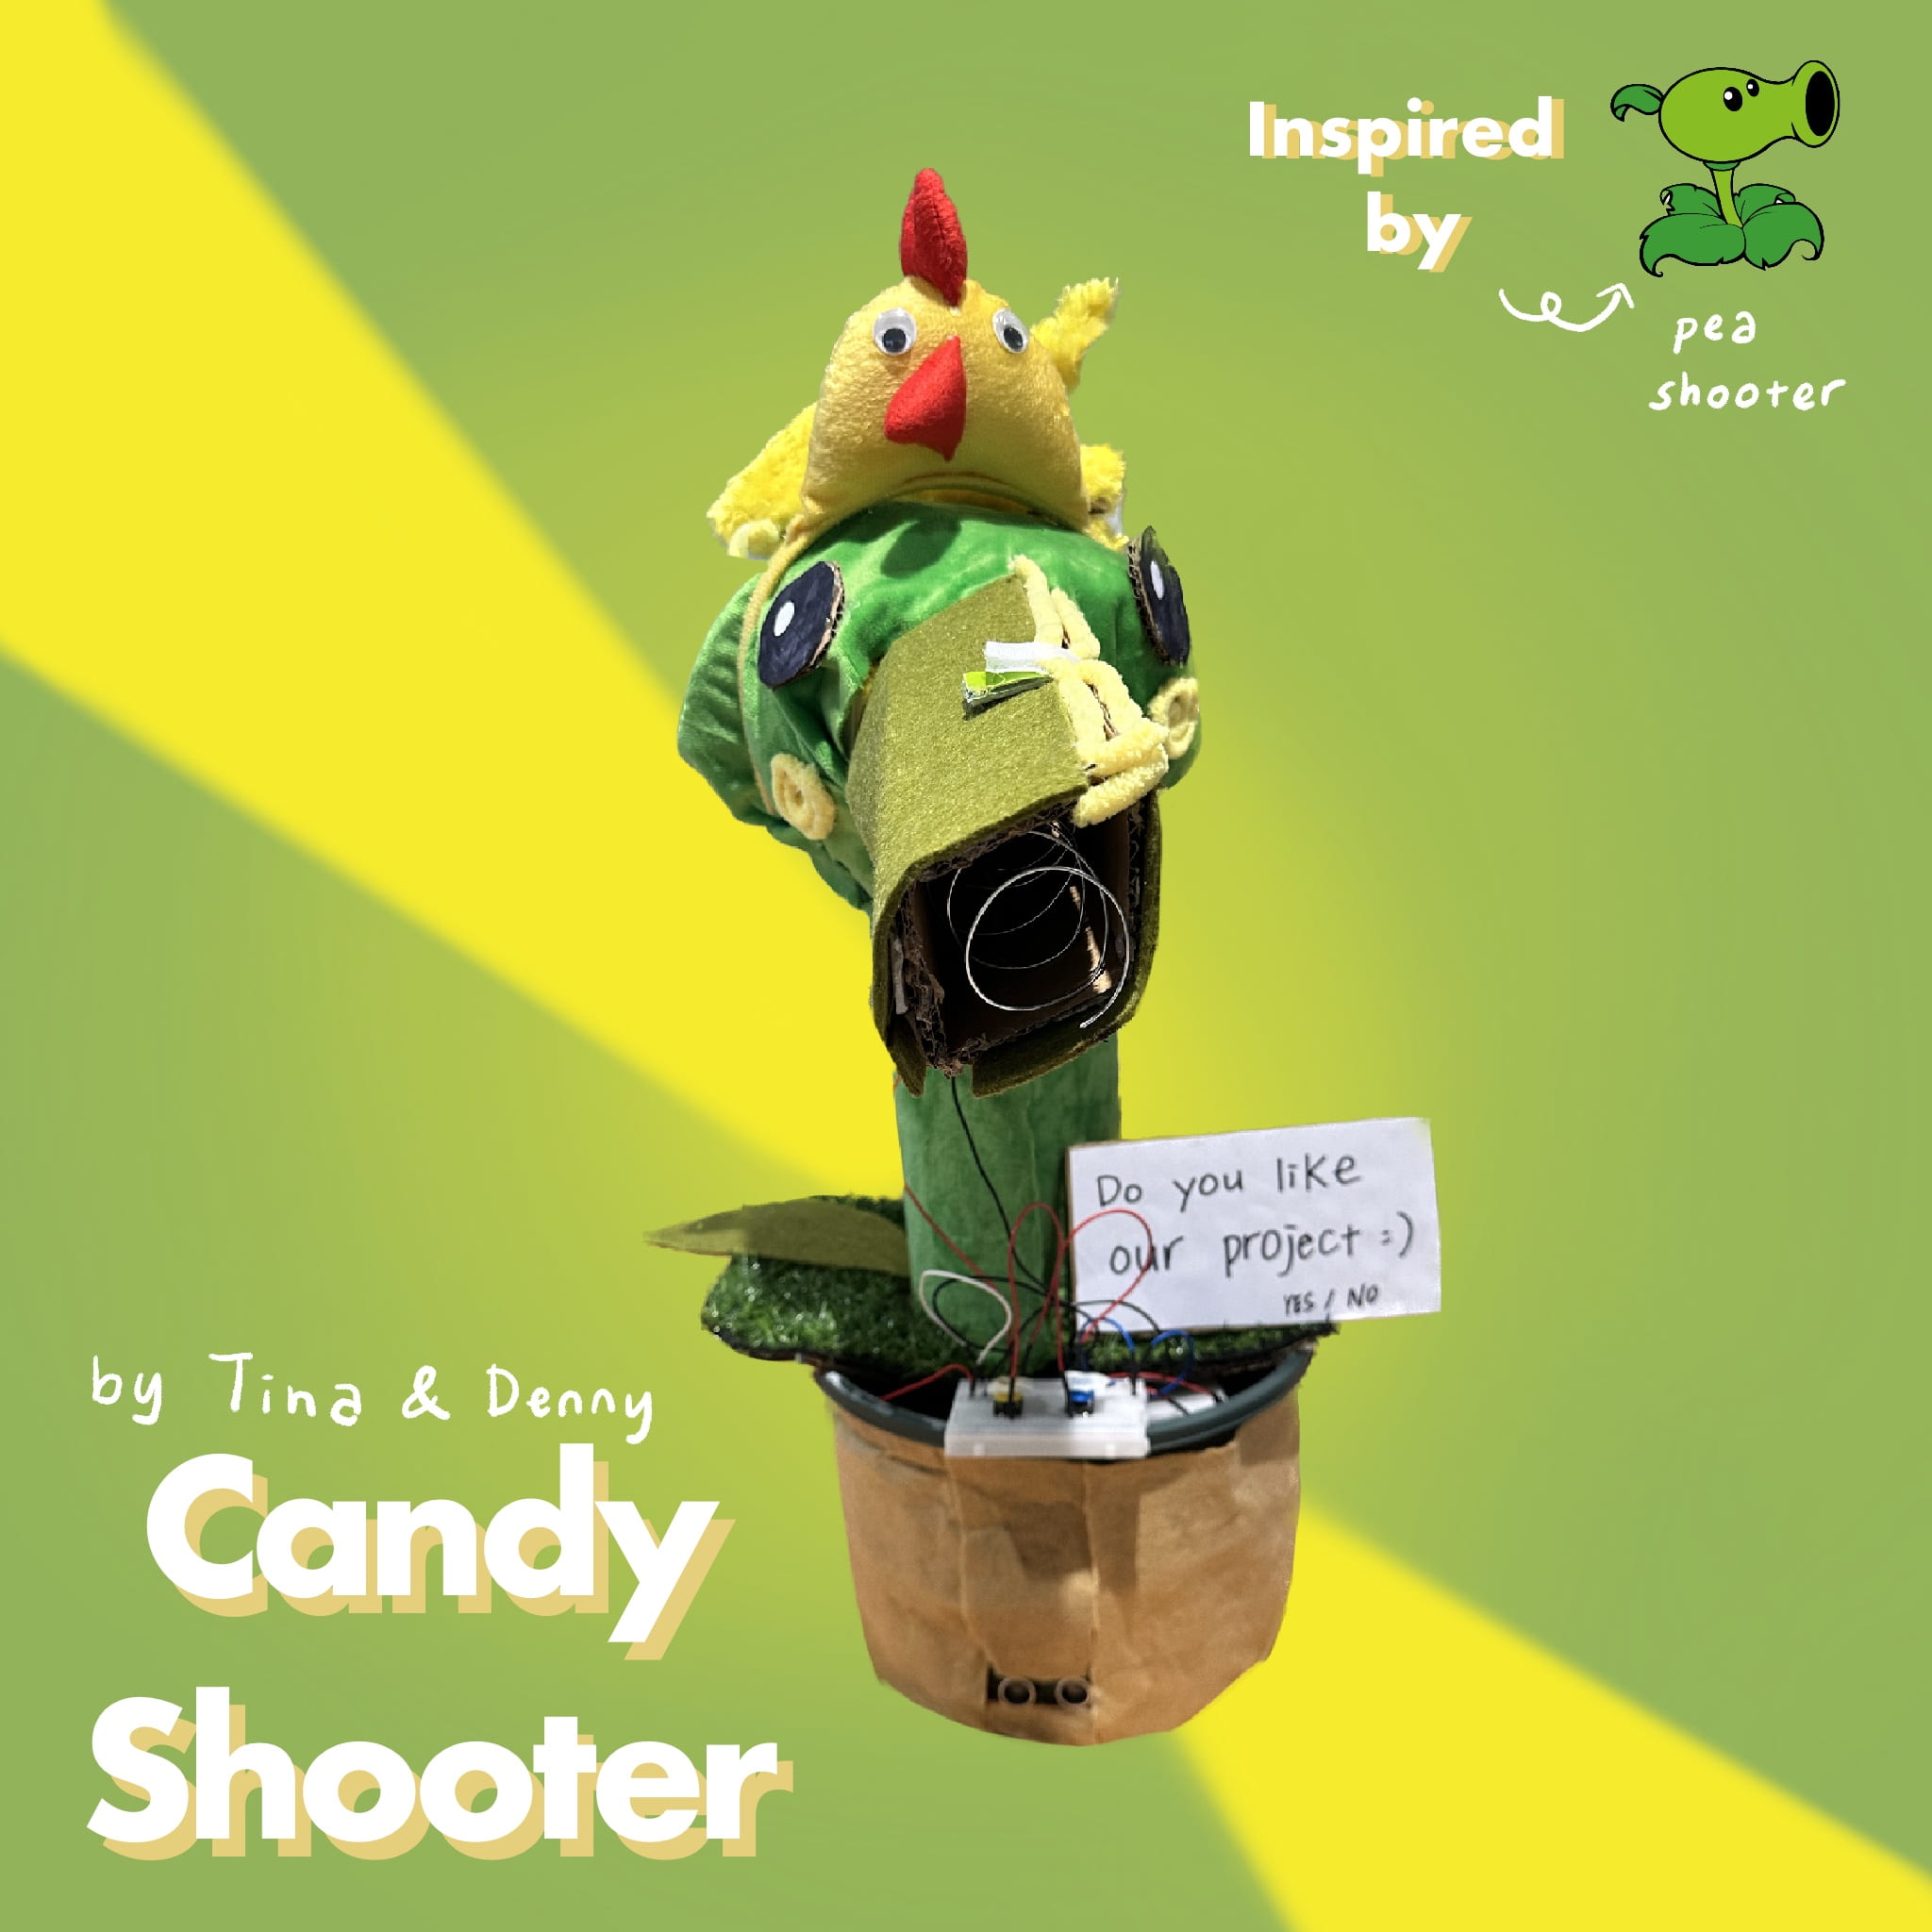
Candy Shooter – Denny Wang – Gottfried Haider
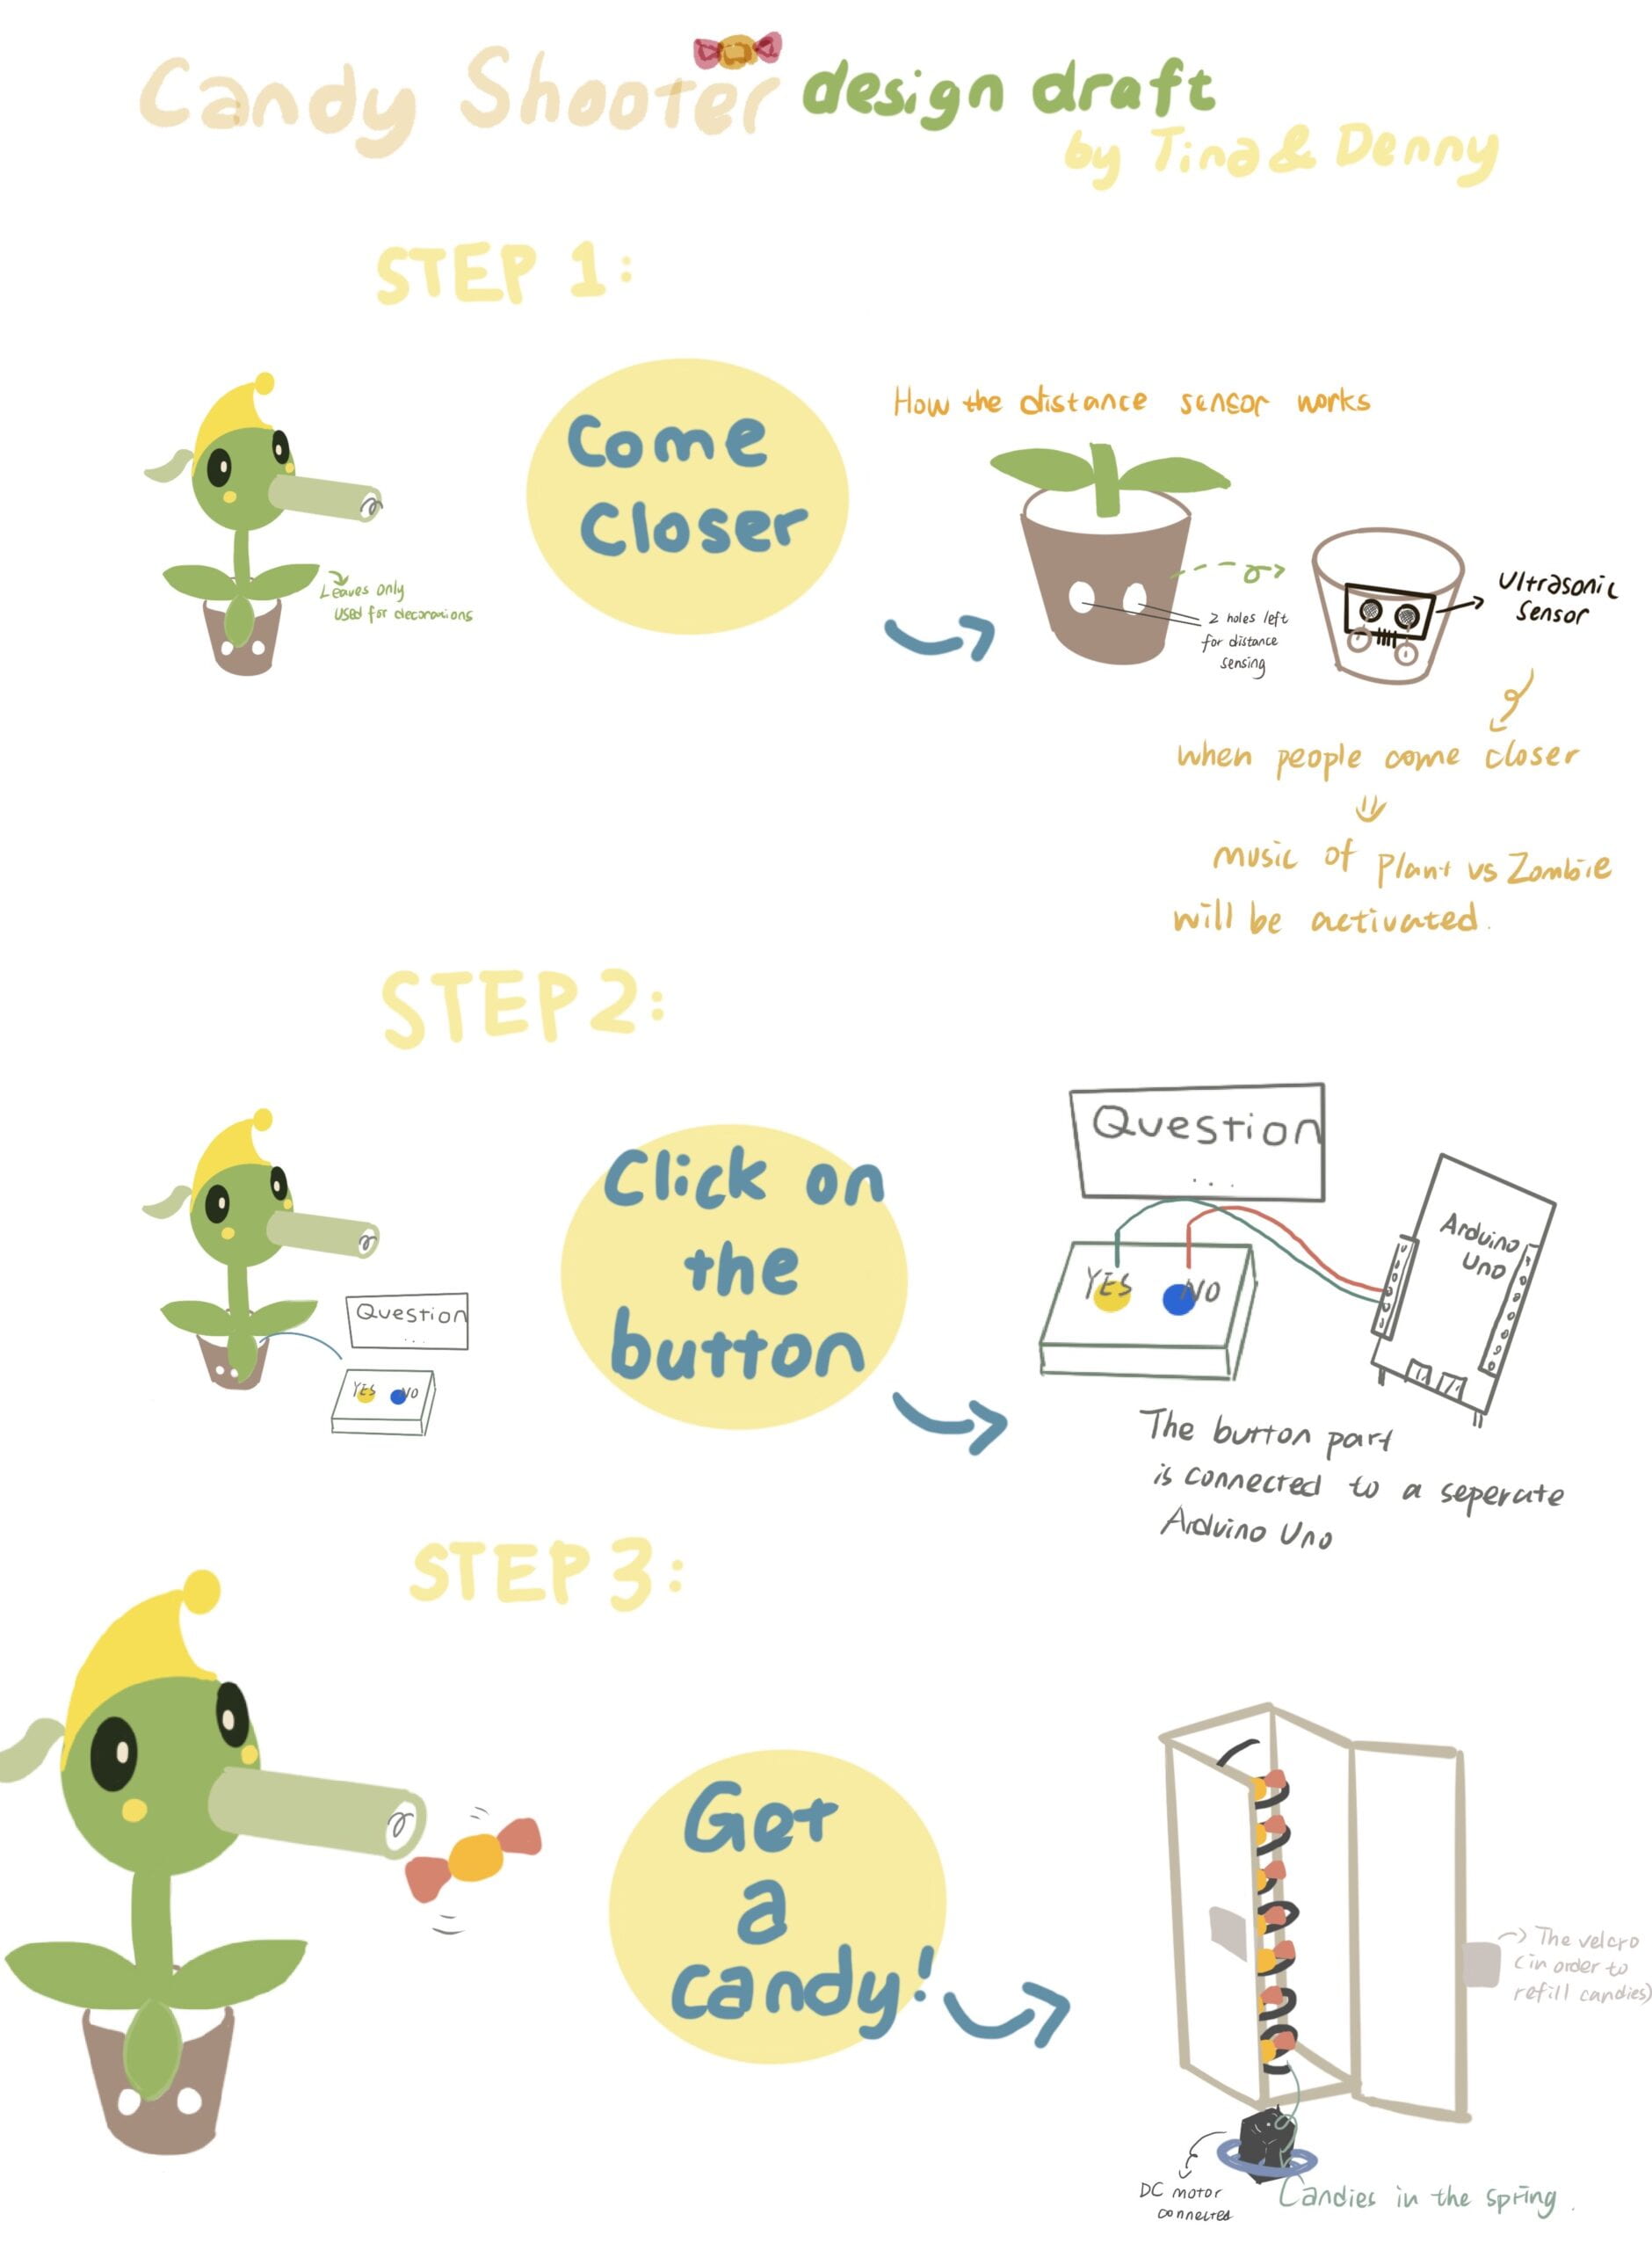
Come closer, background music of Plant vs Zombie turns on.
Click on the button to answer to question, get a candy for your response!
Context and Significance
As we discussed in class about the definition of interaction, I wrote that interaction should be defined as a conversation between the audience and the interactive artifact. My partner and I were initially inspired by the vending machines when we went out to buy a bottle of water.
But instead of a user paying for the “vending machine,” our “vending machine” will be activated after the user answers the question(no matter what answer). To be more precise, we want to hear people’s opinion about specific topics. The Candy Shooter will award the person with a candy regardless of which option they choose as an incentive for providing feedback.
Our product will be useful for event organizers and retailers who want to collect information from their attendees or consumers in the form of surveys. People often avoid submitting feedback on surveys and questionnaires because they consider it as a waste of time. But, the Candy Shooter’s appearance and rewarding features make it a good machine to attract and thus acquire information.
Concept and Design
As it is mentioned in the context, we want our project to be user-friendly and approachable. So we chose some furry fabrics to make it look cuter and more attractive. Moreover, since we get inspired by the well-known game Plant vs Zombie, our pea shooter-like project will also be helpful for drawing more attention. Furthermore, the characteristic of shooting peas from its mouth matches our idea of rewarding users through the operation of a vending machine. The project’s overall structure was to be made of cardboard since we also get more familiar with it after using cardboard in Project 1.
Our initial item list:
Petals
Inside: plastics
Outside: wrapped with cloth
Leaves
Felt paper
Stem
Inside: cardboard
Outside: wrapped with cloth
Pot
Buy it from taobao
Face
Inside: cardboard
Outside: translucent paper or plastic paper
Fabrication and Production
Our initial plan was called “Flower Coin Saver”. Basically, it is a flower-like model that will “feed” coins from the mouth and keep them until the button is pressed and the money distribution will be activated. Our first sketch is shown below:
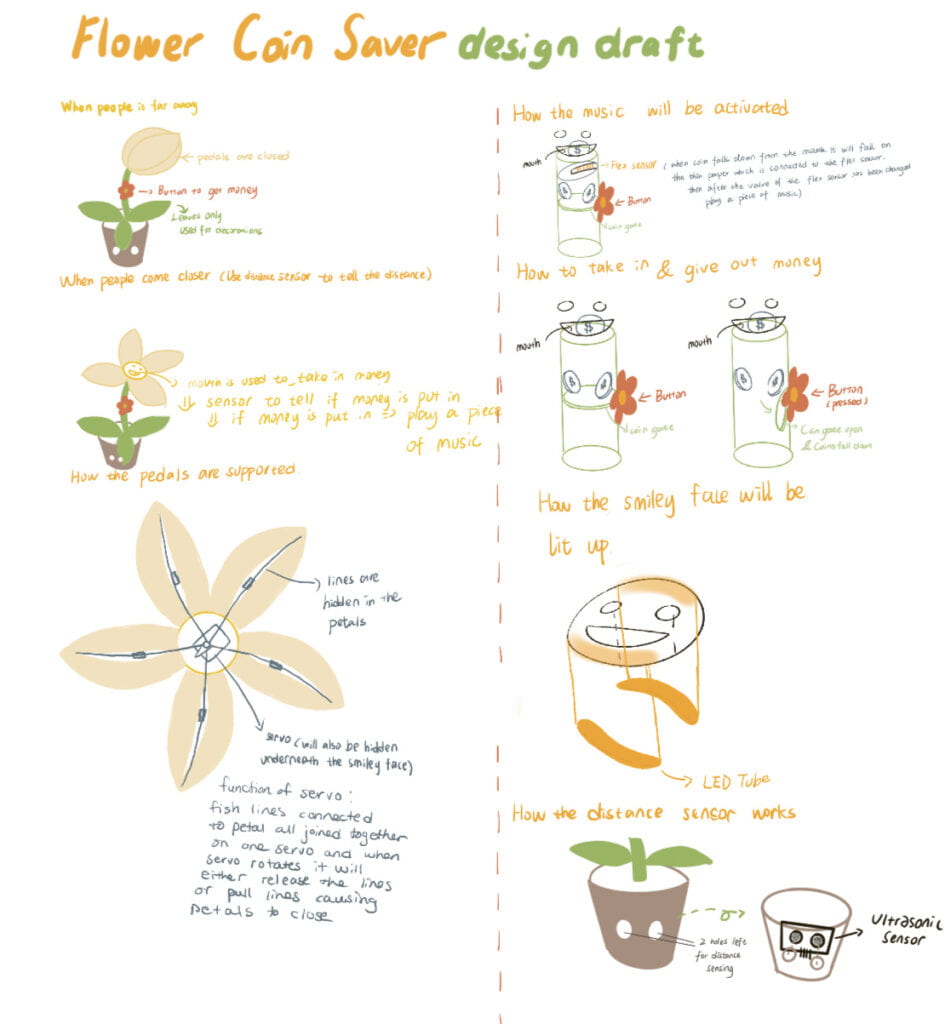
After we got feedback from our professor after submitting the midterm project proposal, he gave us a constructional idea that maybe to build something that is still useful since coin savers are not really useful nowadays. My partner and I then came up with the idea to dispense candies instead of coins when we were having chocolate candies.
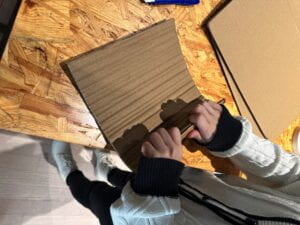
The first thing we did after sketching out the design of the project. We intended to first make the plant stem. We hot glued the plant stem at first, but then realized we’d have to work with the inside of the stem later, so we cut a new piece of cardboard and attached velcro to the two sides so it could be opened and closed in case we still need to further work on it.
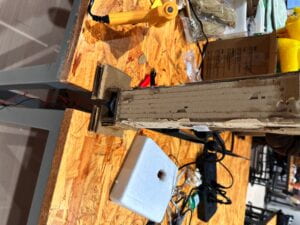
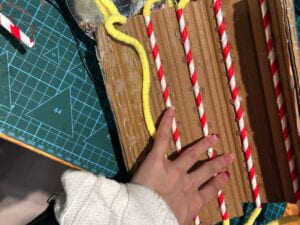
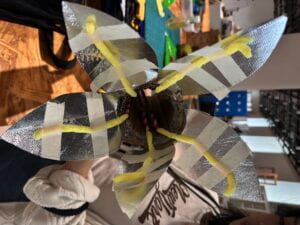
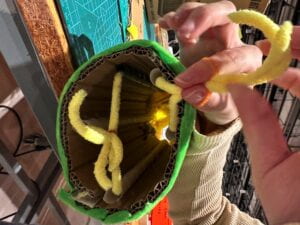
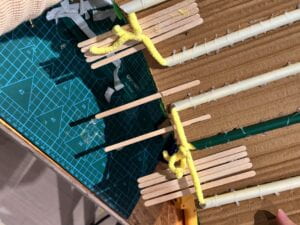
Once we had constructed the plant stem, we proceeded to cut out five flower petals from delivery bags and affix them to the top of the stem using glue. We then attached strings of yarn to each petal with tape. In order to prevent the strings from interfering with the vending machine located in the middle of the stalk, we placed five bubble tea straws inside the stem. After testing with straws of different diameters, we determined that the bubble tea straws provided sufficient space for the strings to move and return to their original positions after being pulled, while still allowing enough room for the vending machine.
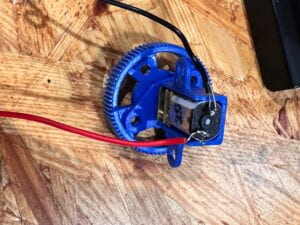
Moreover, we then built the vending machine mechanism separately through the use of a geared dc motor, cardboard, and some wire taken from the fabrication lab. We tried the motor in our own Arduino toolbox first but the power was not enough. We actually also encountered a problem that the project was supposed to dispense candy one at a time but according to the design draft the candy gate controlled by the button will pour all the candies out. So my partner and I thought that since we don’t need to store anything it is only one way giving, we could use the spring to push out candies and control the degrees of its rotation to ensure only one candy is out each time. After discussing with Professor Andy, he suggested that a geared dc motor was the best choice for recreating the vending machine mechanism and also provided us with the wheels of a toy car on which we attached the coiled wire. We added a piece of cardboard between the coiled wire and the motor to have some separation and made a little cardboard box to hold the coiled part. We left a side of the box open and attached velcro so that it would be easier to refill candies into the vending machine.
In addition, we proceeded to construct the vending machine mechanism using a geared DC motor, cardboard, and wire obtained from the fabrication lab. Initially, we tested the motor using our own Arduino toolbox, but discovered that the power output was insufficient for our needs. Additionally, we faced a challenge with the project design as the candy gate, controlled by the button, dispensed all of the candies at once rather than one at a time. To address this issue, we decided to utilize a spring to push out individual candies, and control the rotation of the mechanism to ensure that only one candy was dispensed each time. (The video which inspired us to use spring: https://www.youtube.com/watch?v=IzD6wC8MlQw)
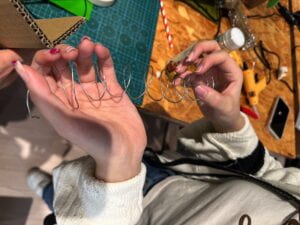
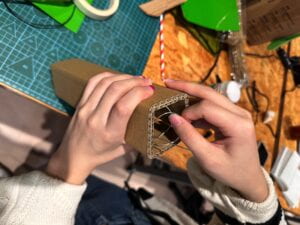
Following a consultation with Professor Andy, we determined that a geared DC motor would be the optimal choice for our needs. We then attached the coiled wire to the wheels of a toy car and placed a piece of cardboard between the wire and motor to provide separation. We also created a small cardboard box to hold the coiled wire, leaving one side open and attaching velcro to facilitate the process of refilling the vending machine.
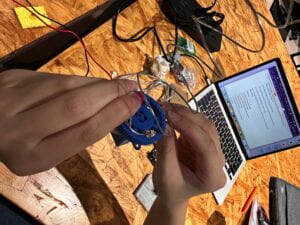
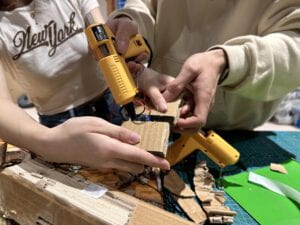
Speaking of the work distribution, my partner, a junior in computer science, did all the coding for the project, while I took charge of the sketching and documentation. Together, we worked on the entire construction process of the project, devoting much of our free time to the project at the IMA studio. Once we had successfully coded the vending machine, we turned our attention to the ultrasonic sensor and music component. We conducted online research to determine how to assemble the sensor and then developed our own code for the music. Finally, we affixed the ultrasonic sensor to the flower pot we had purchased.
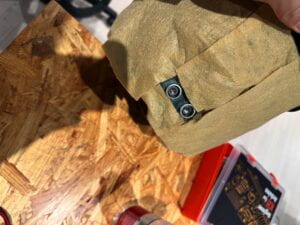
The most challenging part of the process was achieving seamless opening and closing of the petals. After attaching the strings to the petals and covering them with furry material, we encountered difficulty in pulling all the petals to the center of the plant since each petal is sort of heavy. Our initial solution was to add anchors to the side of the plant to hold up the petals, but this method proved ineffective. We then opted to curve the shape of the petals by attaching the leftover wire from the vending machine to the petals with hot glue and shaping them accordingly. To smooth the process of pulling the petals down, we attached the strings to the tips of the petals.
Gluing furry materials onto the plastics
Subsequently, we recognized that pulling all the petals from a single servo would be challenging since it is still a lot of weight, so we fused two strings of petals together and the remaining three together and utilized two servos instead. However, upon attempting to connect the strings with the servos and closing the petals, we discovered that the placement of the vending machine in the middle of the plant stalk blocked the way for the servos to pull down the strings. Thus, we realized that our decision to include the vending machine in the middle of the plant had created complications in the smooth operation of the petals. Moreover, we also need to use an extra power supply if we need two servos.
During the User Testing session, we also encountered another problem: we used delay() and millis() functions but still we weren’t able to play music and activate other functions at the same time. One of the LA came and gave us a really useful suggestion to just build these functions with two Arduino Uno boards since their functions are separate from each other.
We then attached buttons on the Arduino board that controlled the geared dc motor so that every time a button is pressed we can keep count of which buttons were pressed how many times to achieve the goal of collecting data.
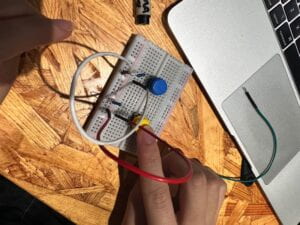
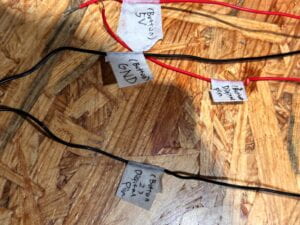
Below are the finalized codes for our project.
/*Code for Motor and Buttons
The code for the ultrasonic sensor was adapted from the
tutorial found here:
https://howtomechatronics.com/tutorials/arduino/ultrasonic-sensor-hc-sr04/
*/
int dcmotor = 6;
//blue
int button1 = 10;
//yellow
int button2 = 11;
int val1;
int val2 = 0;
int counter1 = 0;
int counter2 = 0;
int start = -1;
void setup() {
pinMode(button1, INPUT);
pinMode(button2, INPUT);
pinMode(dcmotor, OUTPUT);
Serial.begin(9600);
}
void loop() {
val1 = digitalRead(button1);
val2 = digitalRead(button2);
if(val1 == 1 || val2 == 1){
start = millis();
digitalWrite(dcmotor, HIGH);
if(val1 == 1){
counter1 ++;
Serial.println(“Button 1: “);
Serial.print(counter1);
}
if(val2 == 1){
counter2 ++;
Serial.println(“Button 2: “);
Serial.print(counter2);
}
}
if(start != -1 && millis() – start > 2000)
digitalWrite(dcmotor, LOW);
start = -1;
}
//Code for Buzzer and Sensor
int buzzer = 11;
//ultrasonic
int trigPin = 3;
int echoPin = 5;
long duration;
int dist;
bool isPerson = true;
int state = 0;
int pauseBetweenNotes;
int melody[] = {
277, 294, 277, 294, 233, 196, 233, 196, 277, 196};
int noteDur [] = {300, 300, 300, 300, 300, 900, 300, 900, 300, 900};
void setup() {
pinMode(buzzer, OUTPUT);
pinMode(trigPin, OUTPUT);
pinMode(echoPin, INPUT);
Serial.begin(9600);
}
void loop() {
if(state == 0){
state0();
}
elseif(state == 1){
state1();
}
}
void state0(){
ultra();
if(isPerson == true){
state = 1;
}
}
void state1(){
ultra();
playPvZ();
if(isPerson == false){
state = 0;
}
}
void ultra(){
digitalWrite(trigPin, LOW);
delayMicroseconds(2);
digitalWrite(trigPin, HIGH);
delayMicroseconds(10);
digitalWrite(trigPin, LOW);
duration = pulseIn(echoPin, HIGH);
dist = duration * 0.034 / 2;
Serial.print(“Distance: “);
Serial.println(dist);
if(dist < 50 && dist > 0){
isPerson = true;
}
else{
isPerson = false;
}
delay(100);
}
void playPvZ() {
for(int note = 0; note < 10; note++){
int noteDuration = noteDur[note];
tone(buzzer, melody[note], noteDuration);
pauseBetweenNotes = noteDuration * 1.30;
delay(pauseBetweenNotes);
noTone(buzzer);
}
}
We faced a time constraint and had to make a decision to change the project’s appearance from a flower with opening petals to a Peashooter from Plant vs. Zombie. The reason behind this decision was to retain all the features they had already implemented and relocate the vending machine mechanism to become the mouth of the Peashooter. As it is discussed in class before, the creation process involves brainstorming, editing, and compromise when approaching the deadline. After discussing with my partner, the vending machine mechanism was identified as the most important part, while the opening and closing flower feature was considered an interesting add-on function. As a result, we discarded the flower opening mechanism due to time limitations.
The final design draft of the Candy Shooter is attached below.
The user testing video of the project is attached below.
Conclusion:
During the first step of our group research project, I became intrigued with the concept of interaction and how to create an environment that fosters communication between the audience and the machine. To me, interaction involves mutual engagement, and I believe the Candy Shooter embodies this idea as it allows users to input through button presses and receive a candy reward, regardless of their selection.
Additionally, the project could effectively collect feedback and data on a specific topic or questionnaire by tracking button presses. When users approach the machine and activate the ultrasonic sensor, the Candy Shooter also provides interaction by playing music from Plant vs Zombies through the buzzer.
However, with more time, we would have liked to experiment with different responses to the ultrasonic sensor and offer varying rewards based on the user’s answer which could even improve the interaction. During construction, we faced several setbacks, but we overcame them through research (searching on Google and YouTube) and consulting with professors and fellows. While we were unable to fully achieve our initial goals due to time limitations, we are proud of what we accomplished and the project building process also provided us with valuable experience in programming the Arduino board and building circuits. We also gained a new understanding of the phrase, “you never know what issues will arise until you get started.”
At last, I also want to acknowledge my partner– Tina! It is so fun to work with you! WE MADE IT!