First circuit makes the sound to come out when someone presses the button. The most important thing about the button is that only diagonal connecton wil work (like A and C). The buzzer is polarized and super loud. Power is the foundation of your breadboard project. Nothing will work without it. Breadboard dots have many connections between them, and you need to know which ones are really connect and which positions won’t work. In the first step my circuit worked really well. However, I have never done something like this in my life, so this experience was completely new for me and I needed to consult the each step of the building. 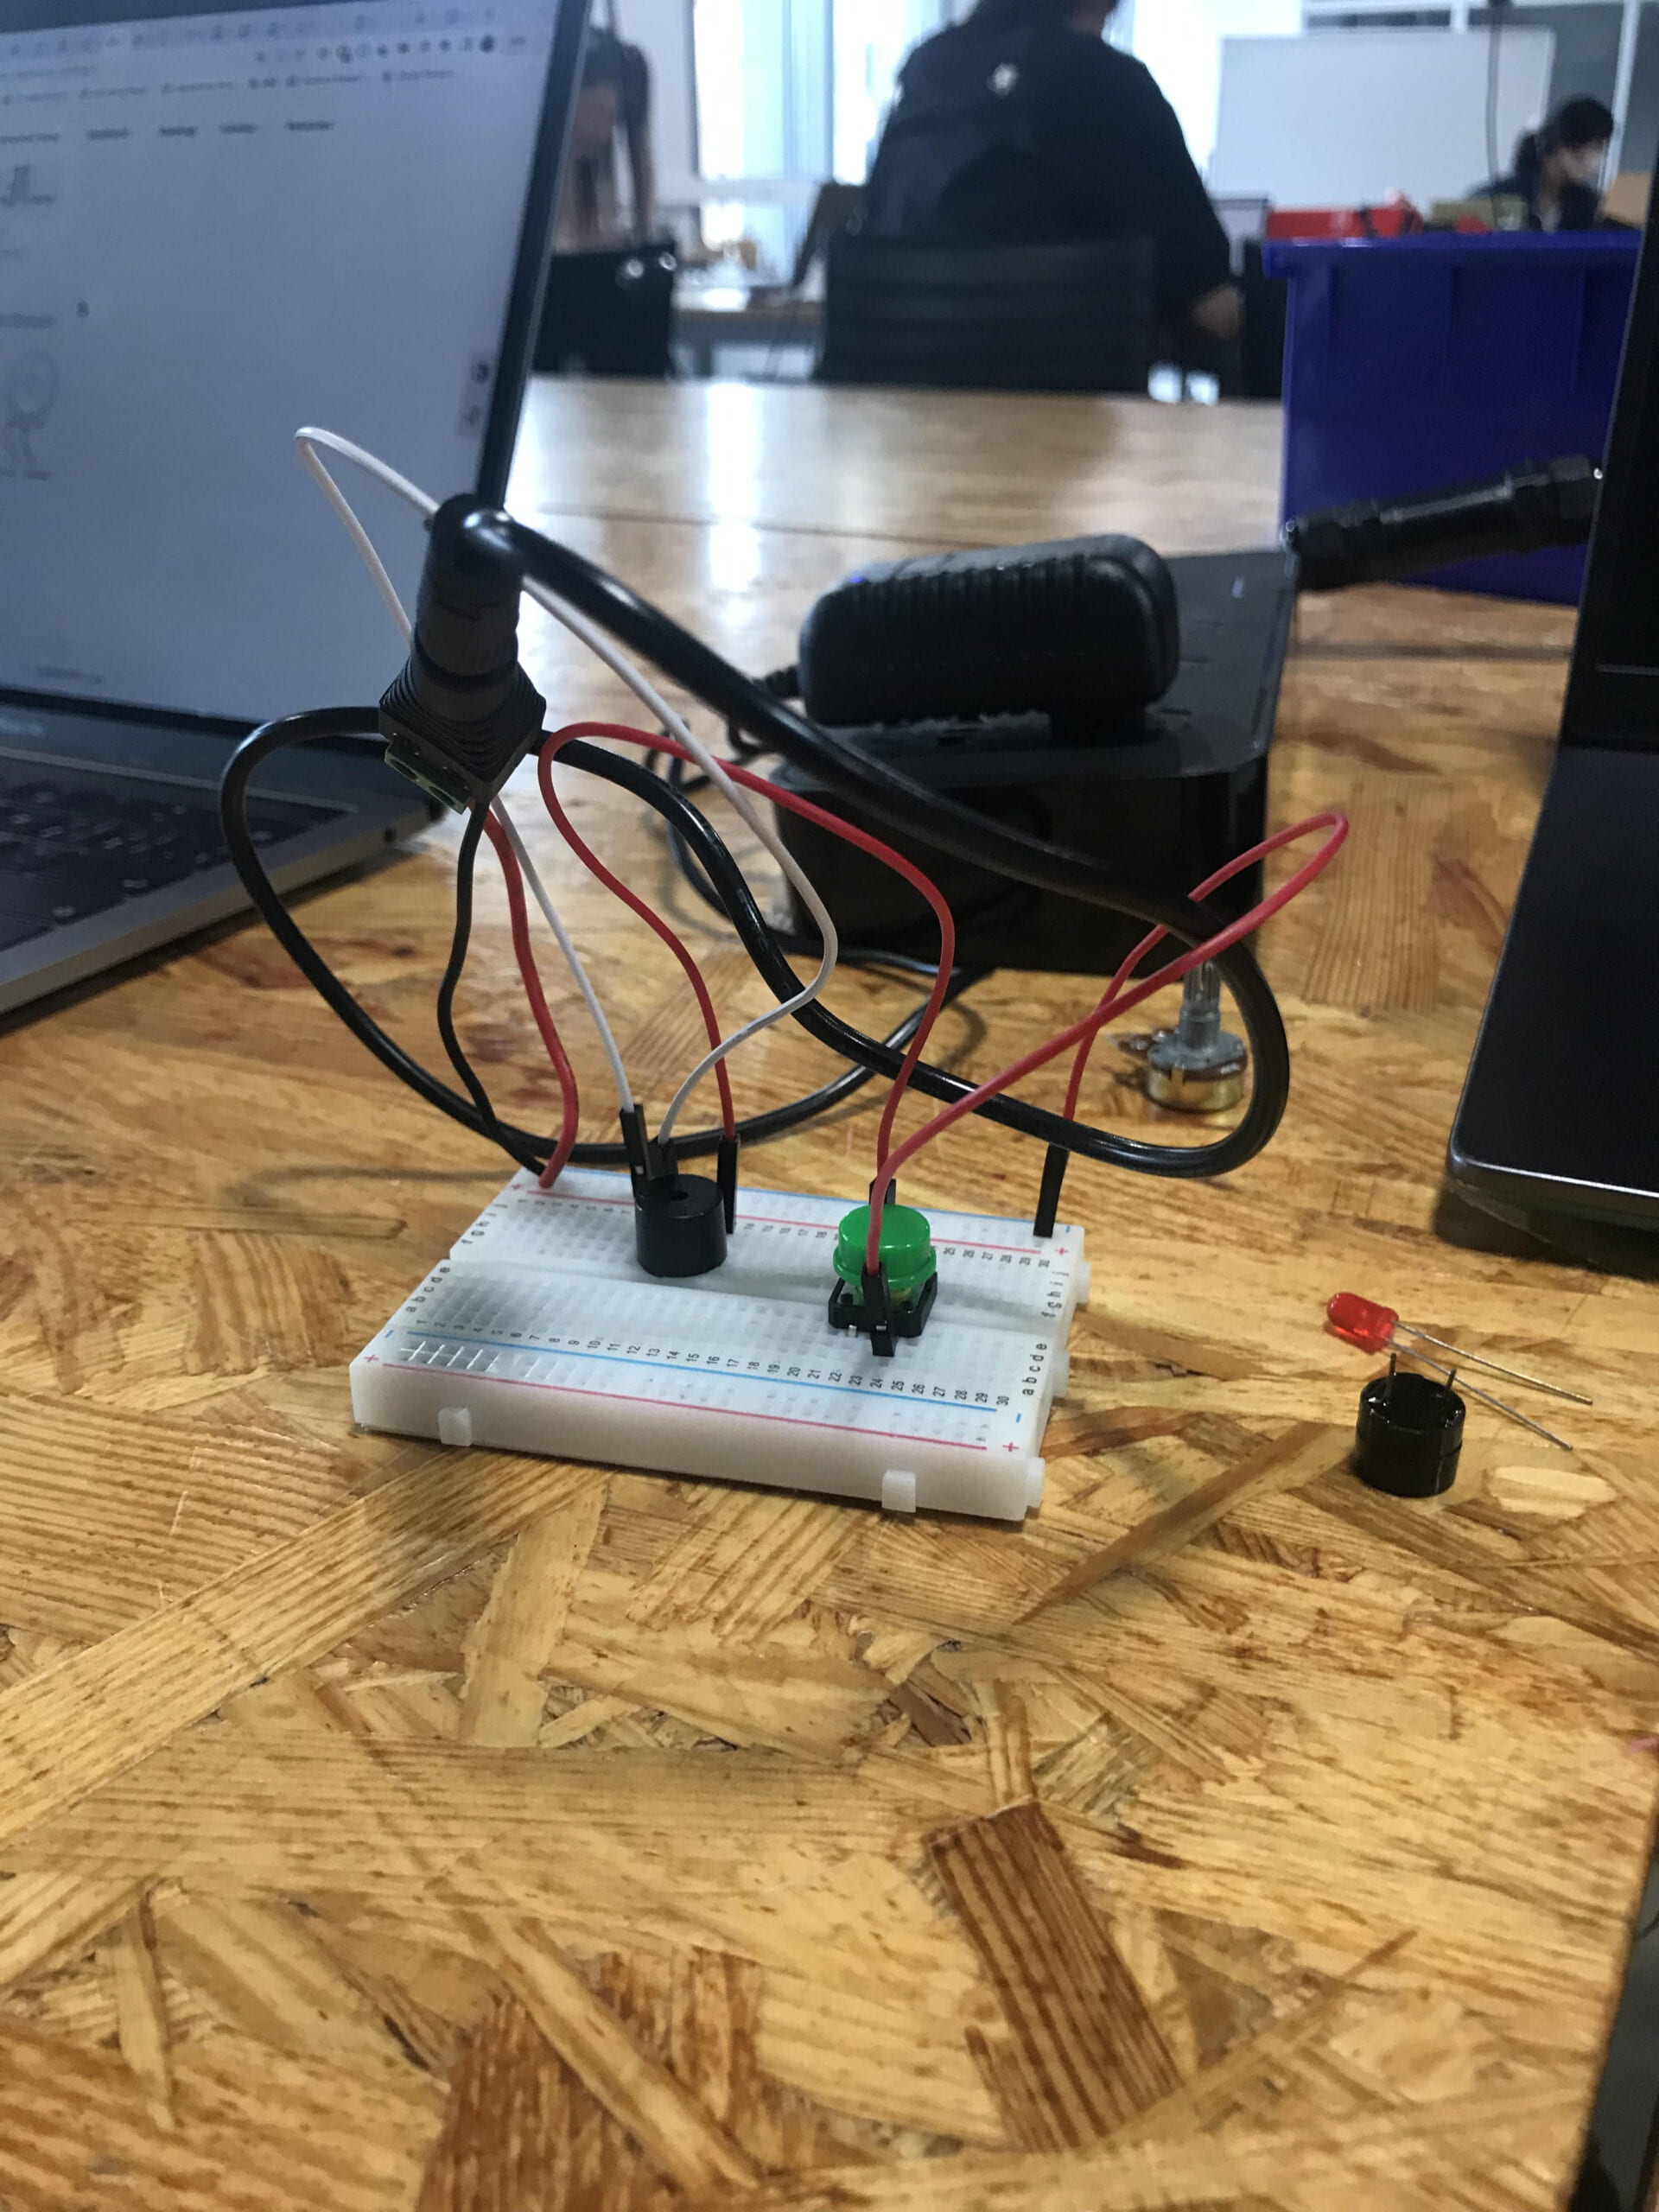
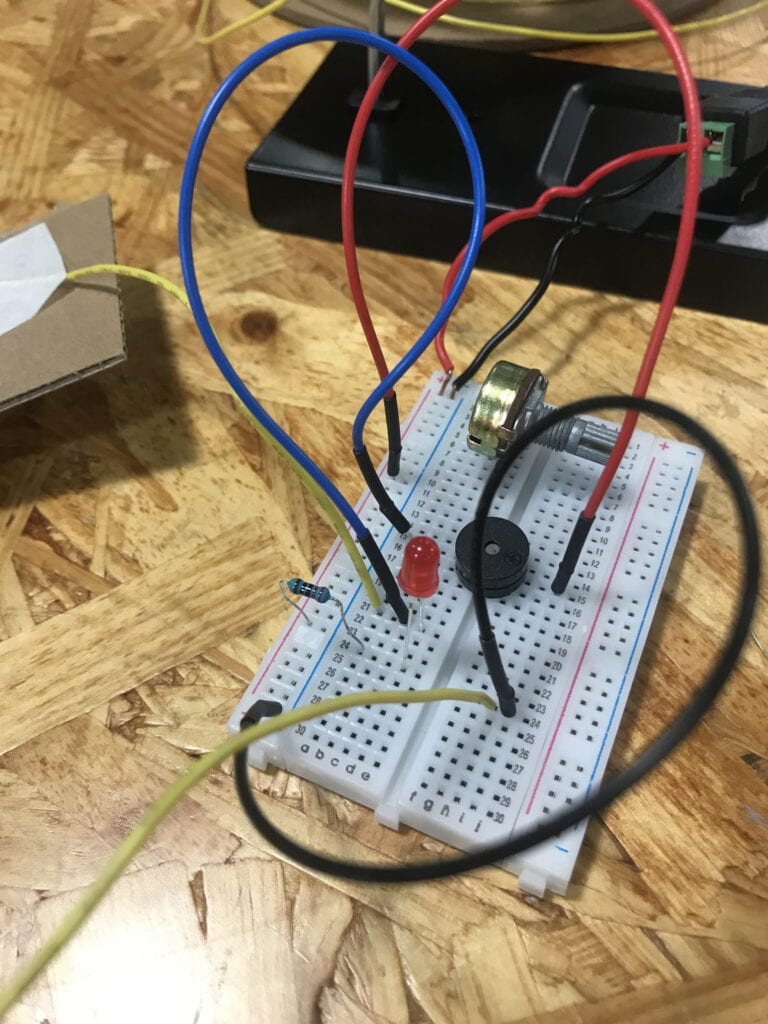
On the second circuit we added the resistor and the LED. Great thing about LED is that the longer leg is positive polarized, so you can easily distinguish between them. The resistor can be stretched by moving his ‘legs’ if you need it unlike the button for instance. Here, I became more confident in my knowledge and was trying to predict each next step. But I was mistaken when I thought that resistor’s leg location matters because of different poles.I learned that resistors are unpolarized. Often you need to use wires ( small cables ) to connect the parts of your circuit. LED produced light every time I pushed the button, and the sound continued to work the same.
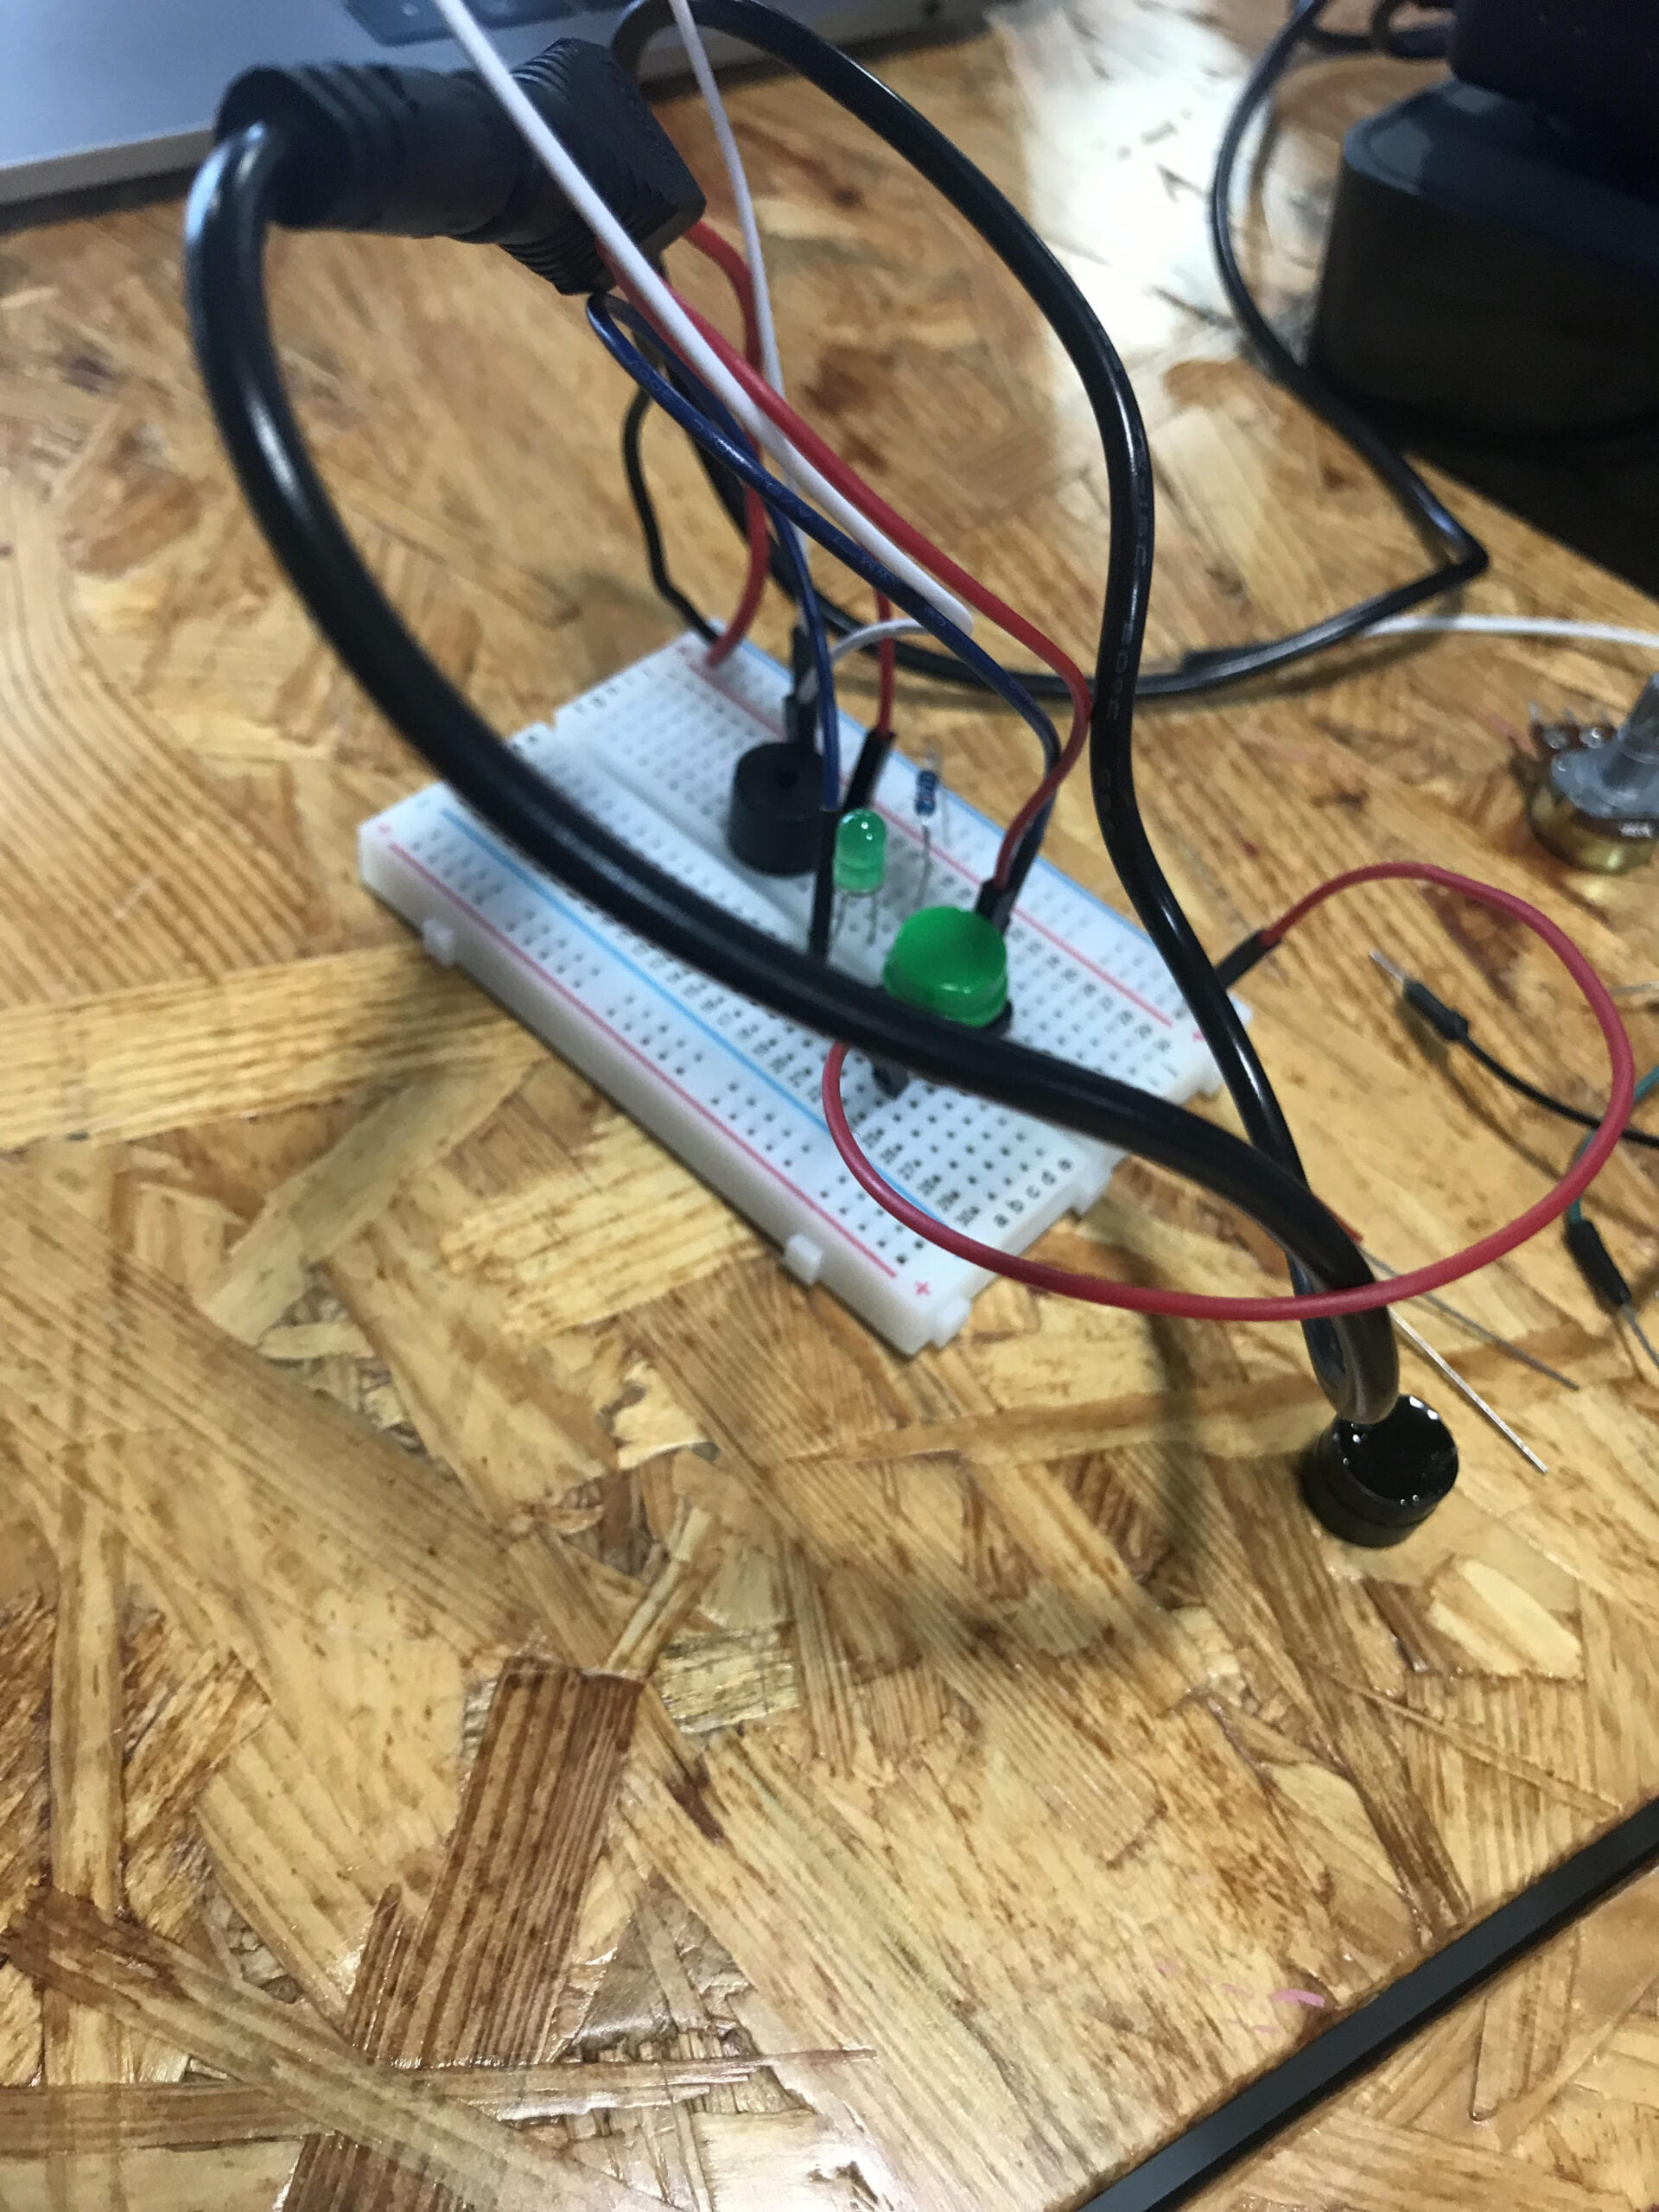
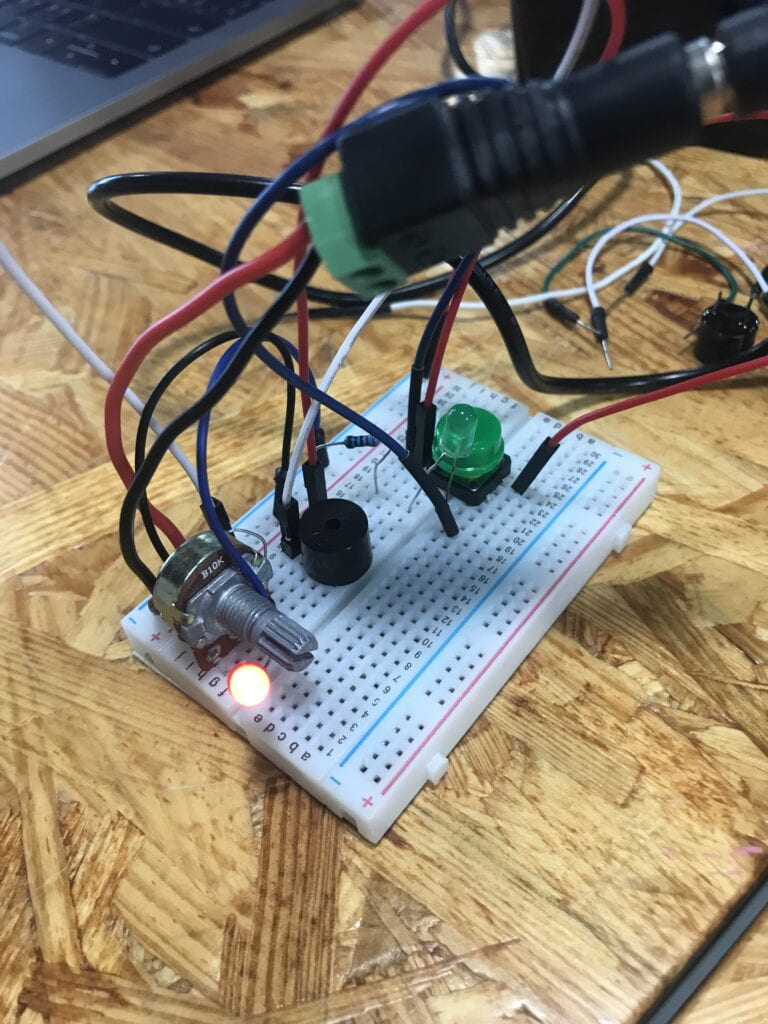
Third step was the best, because I tried to use the creative way to explore the abilities of the breadboard. In this step we added the second resistor and the second LED. Also, we added the POT. The most interesting part is that I haven’t got enough space to add them, so I needed to use my new knowledge and to edit the previous circuit. I moved some parts and find the space for new components. When you are trying to connect the many wires it feels like playing finger twister. Now we can use the button to produce the light and the sound, and use the POT to change the intensity of light of the other LED. I tried also to connect wires to the different legs of the button. In the first case, there was no action at all, on the second one LED stopped switching off when you are not pressing the button. I found this interesting. Also, I tried to remove the buzzer, and everything worked the same instead of that now it was working quite.
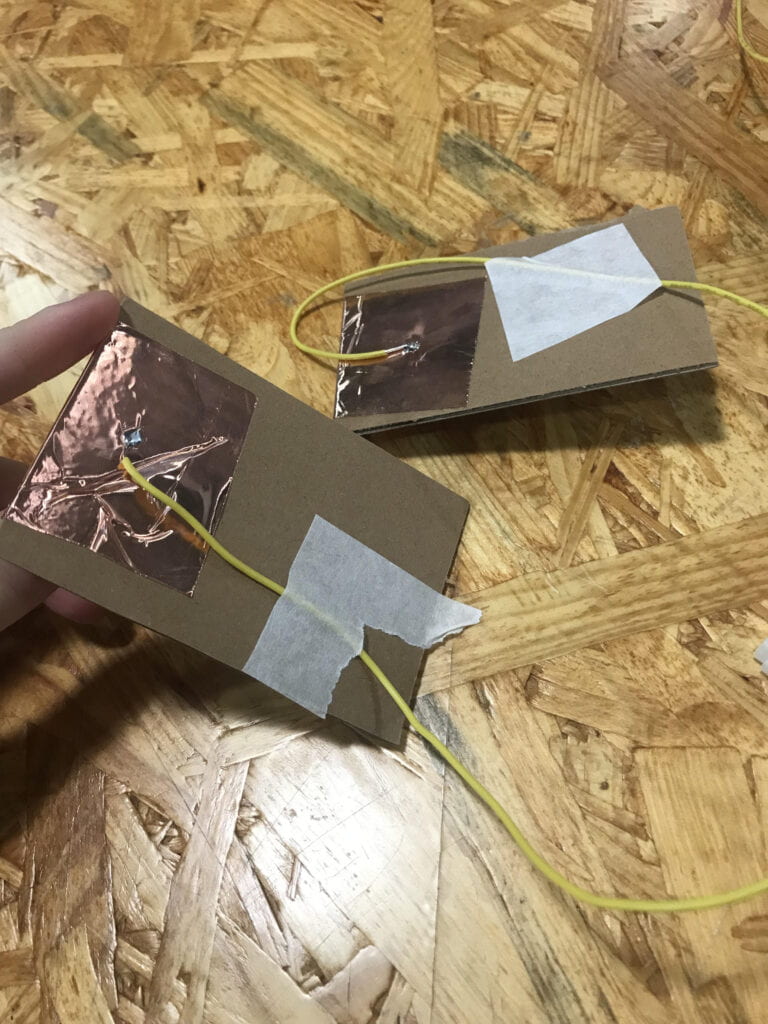
For the task two we needed to build the switches. I have never done something like this in my life, but when I got the explanitation I found this task easy. The building of circuit was a bit harder. I have done several mistakes and discovered that my buzzer was broken. But I fixed all the mistakes and decided to constantly remind myself of the foundational rules of building circuits.I also got the ability to use smaller amount of wire cables which made my circuit building more convinient.
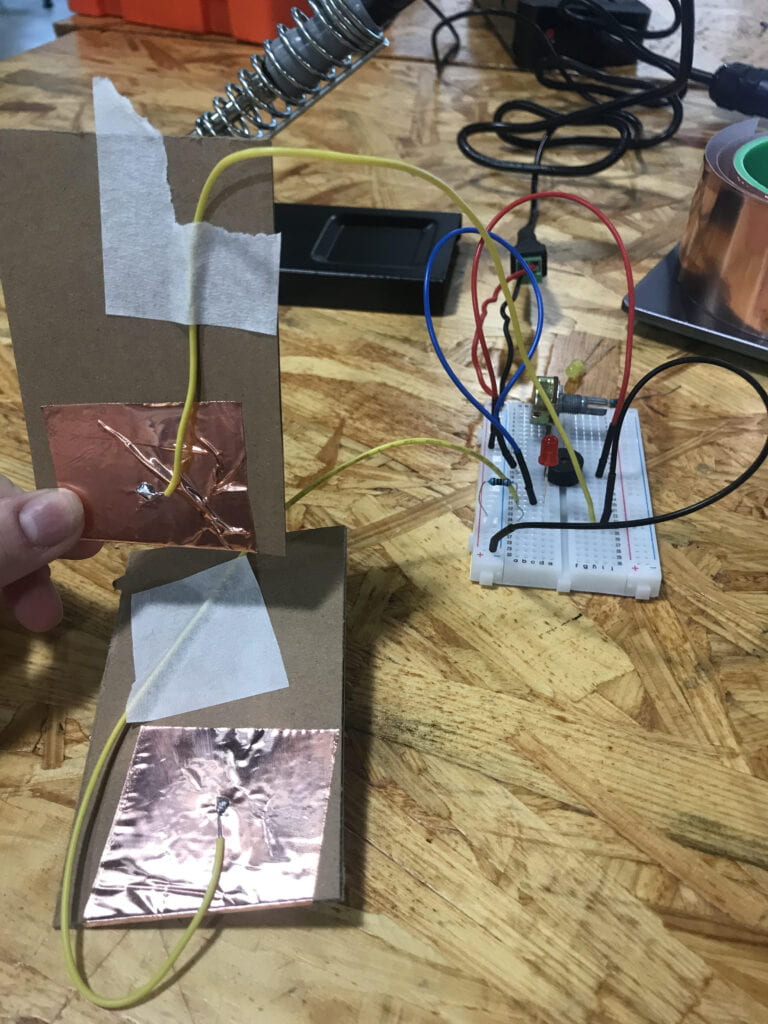
Task three was really fun! I love morse coding, and working with switches wasn’t difficult.
Q1- resister is required to protect the LED from the big amount of current. LED isn’t able to work with the current amount which is higher than the LED’s limit. And resister have the function to limit the amount of current to the needed one. So the LED can work and didn’t broke.
Q2 – 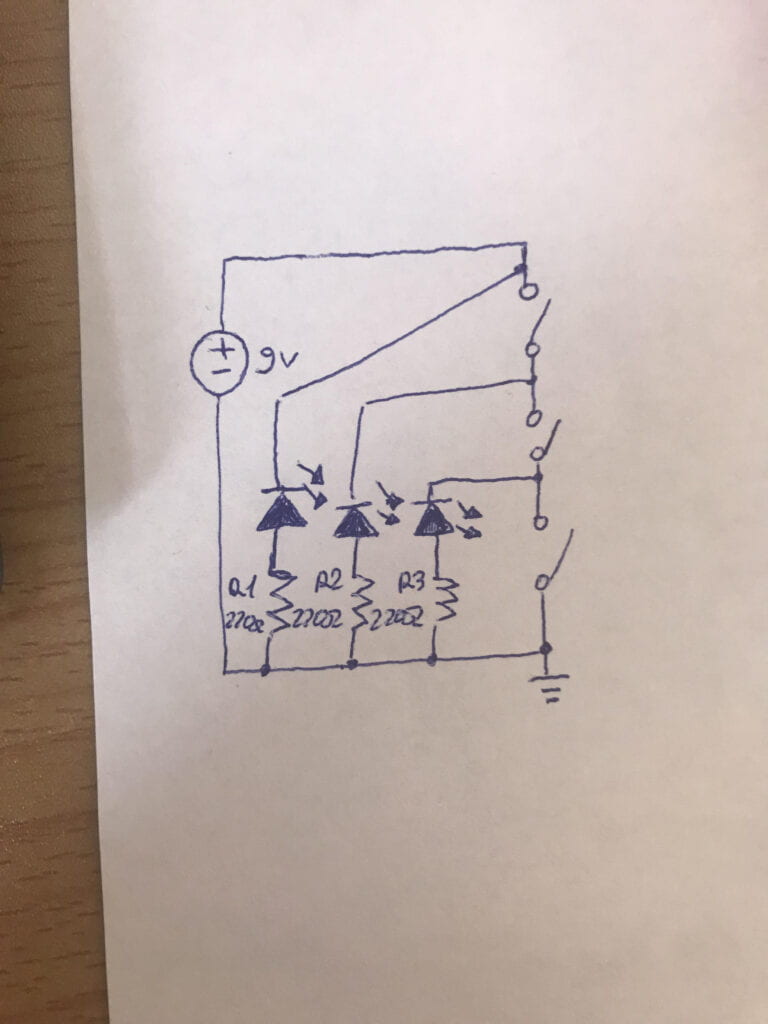
Q3- You obviously can interact with this circuit. For example – you press the button, the circuit provides you sound and light, you turn the POT, the light is changing. Also, when we are building the circuit in pairs – we are interacting with each other. I interacted with my parents too, I showed them how it works. So, the circuit reacts to your actions, and you react to its actions. I reacted like – omg, it’s working! The level of interactivity is subjective, but from my perspective I don’t think that this is high. You use your brain and finger, the breadboard uses not really many things, and the action is limited to noise and sound.
Q4- Interaction Design help artists to get the idea of what they want to do. They can make a sketch, find necessary designs, make all of the artistic part of their projects. But how to make your art alive? How to make it working? Physical Computing. That is what helping them. Also, if you know how to use the physical computing – you can become inspired or get the idea of what you can design. It is an incredible source for research too. For instance, you can draw. You got the idea of drawing a penguin. It is 2d and colored. With the physical computing knowledge you can make your penguin 3d, you can force it moving, you can make it changing colors or changing sizes, you can make it talk or follow the person by making the interactive screen. The possibilities are endless. Physical Computing is the resource and the way to connect the art with the life. It translates the designs to the softwares and control them. To make it moving or to make it interactive. So interaction design combines with physical computing into the interactive art.

