Bread Band
BY: XIAO ZHOU AND CHAOYUE YUAN
Brainstorming Prototype Ideas:
Our original idea, for the final project was to 3-D, print a piano and a drum. These two would be placed on top of boxes that would have buttons to play the sounds of these two instruments. As you can see this ideas very messy and not very put together. So then we decided to make some thing that was an easy to hold an allowed you to play the sounds of a piano. However, after talking about this idea with Professor Rudi, we realize that we would come across many problems. Given that neither, my partner and I, are good at playing the piano, we would have trouble using our own project.
This is our first try at making an easy to grab ball that allows you to play the piano. We found a template only that would allow us to fold paper into a circle. However, after trying to laser cut it with cardboard, it was hard to put the ball together.
The cardboard even started burning when we tried to laser cut designs on it.
This is the second prototype for our ball idea. However, after laser cutting it and putting it together, it no longer corresponded with our idea of having an easy to hold and press object. This was our breaking point, so we scraped that idea.
Our New Idea
After many failed attempts for our musical ball project, Professor Rudi inspired us to incorporate some fun into regular everyday activities such as making food. In specific, we chose to add musical aspects into cutting bread and adding condiments to bread. We decided to make each interaction in the processes of cutting and dressing the bread a part of out interaction project. We bought a 75cm french bread and pre-cut into 6 pieces so that there would be 5 cuts to fit our 5 buttons. These 5 buttons are used to control the different beats we created in the Garage Band app. Along with the different beats, we used the 3-d printer to print objects that represented the different condiments that you could add to you bread, which controls the volume of each beat.
Connecting the Circuits
My partner and I worked together to connect the circuits. She started off by connecting and testing the first button to make sure that it was working. Then, I continued to connect the other 4 buttons just like the first one.
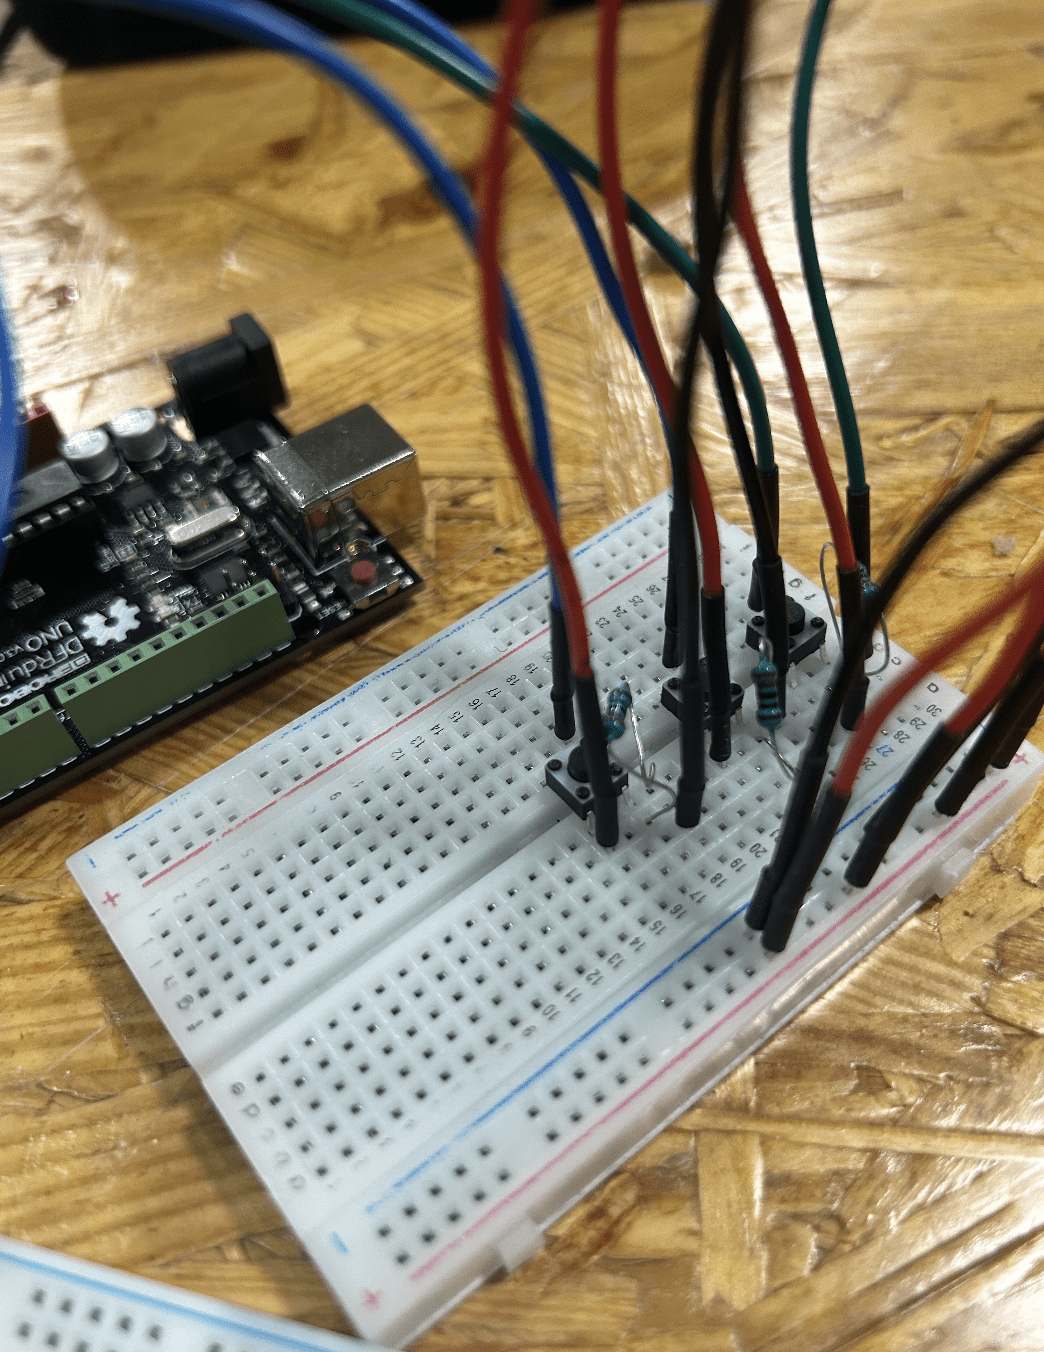
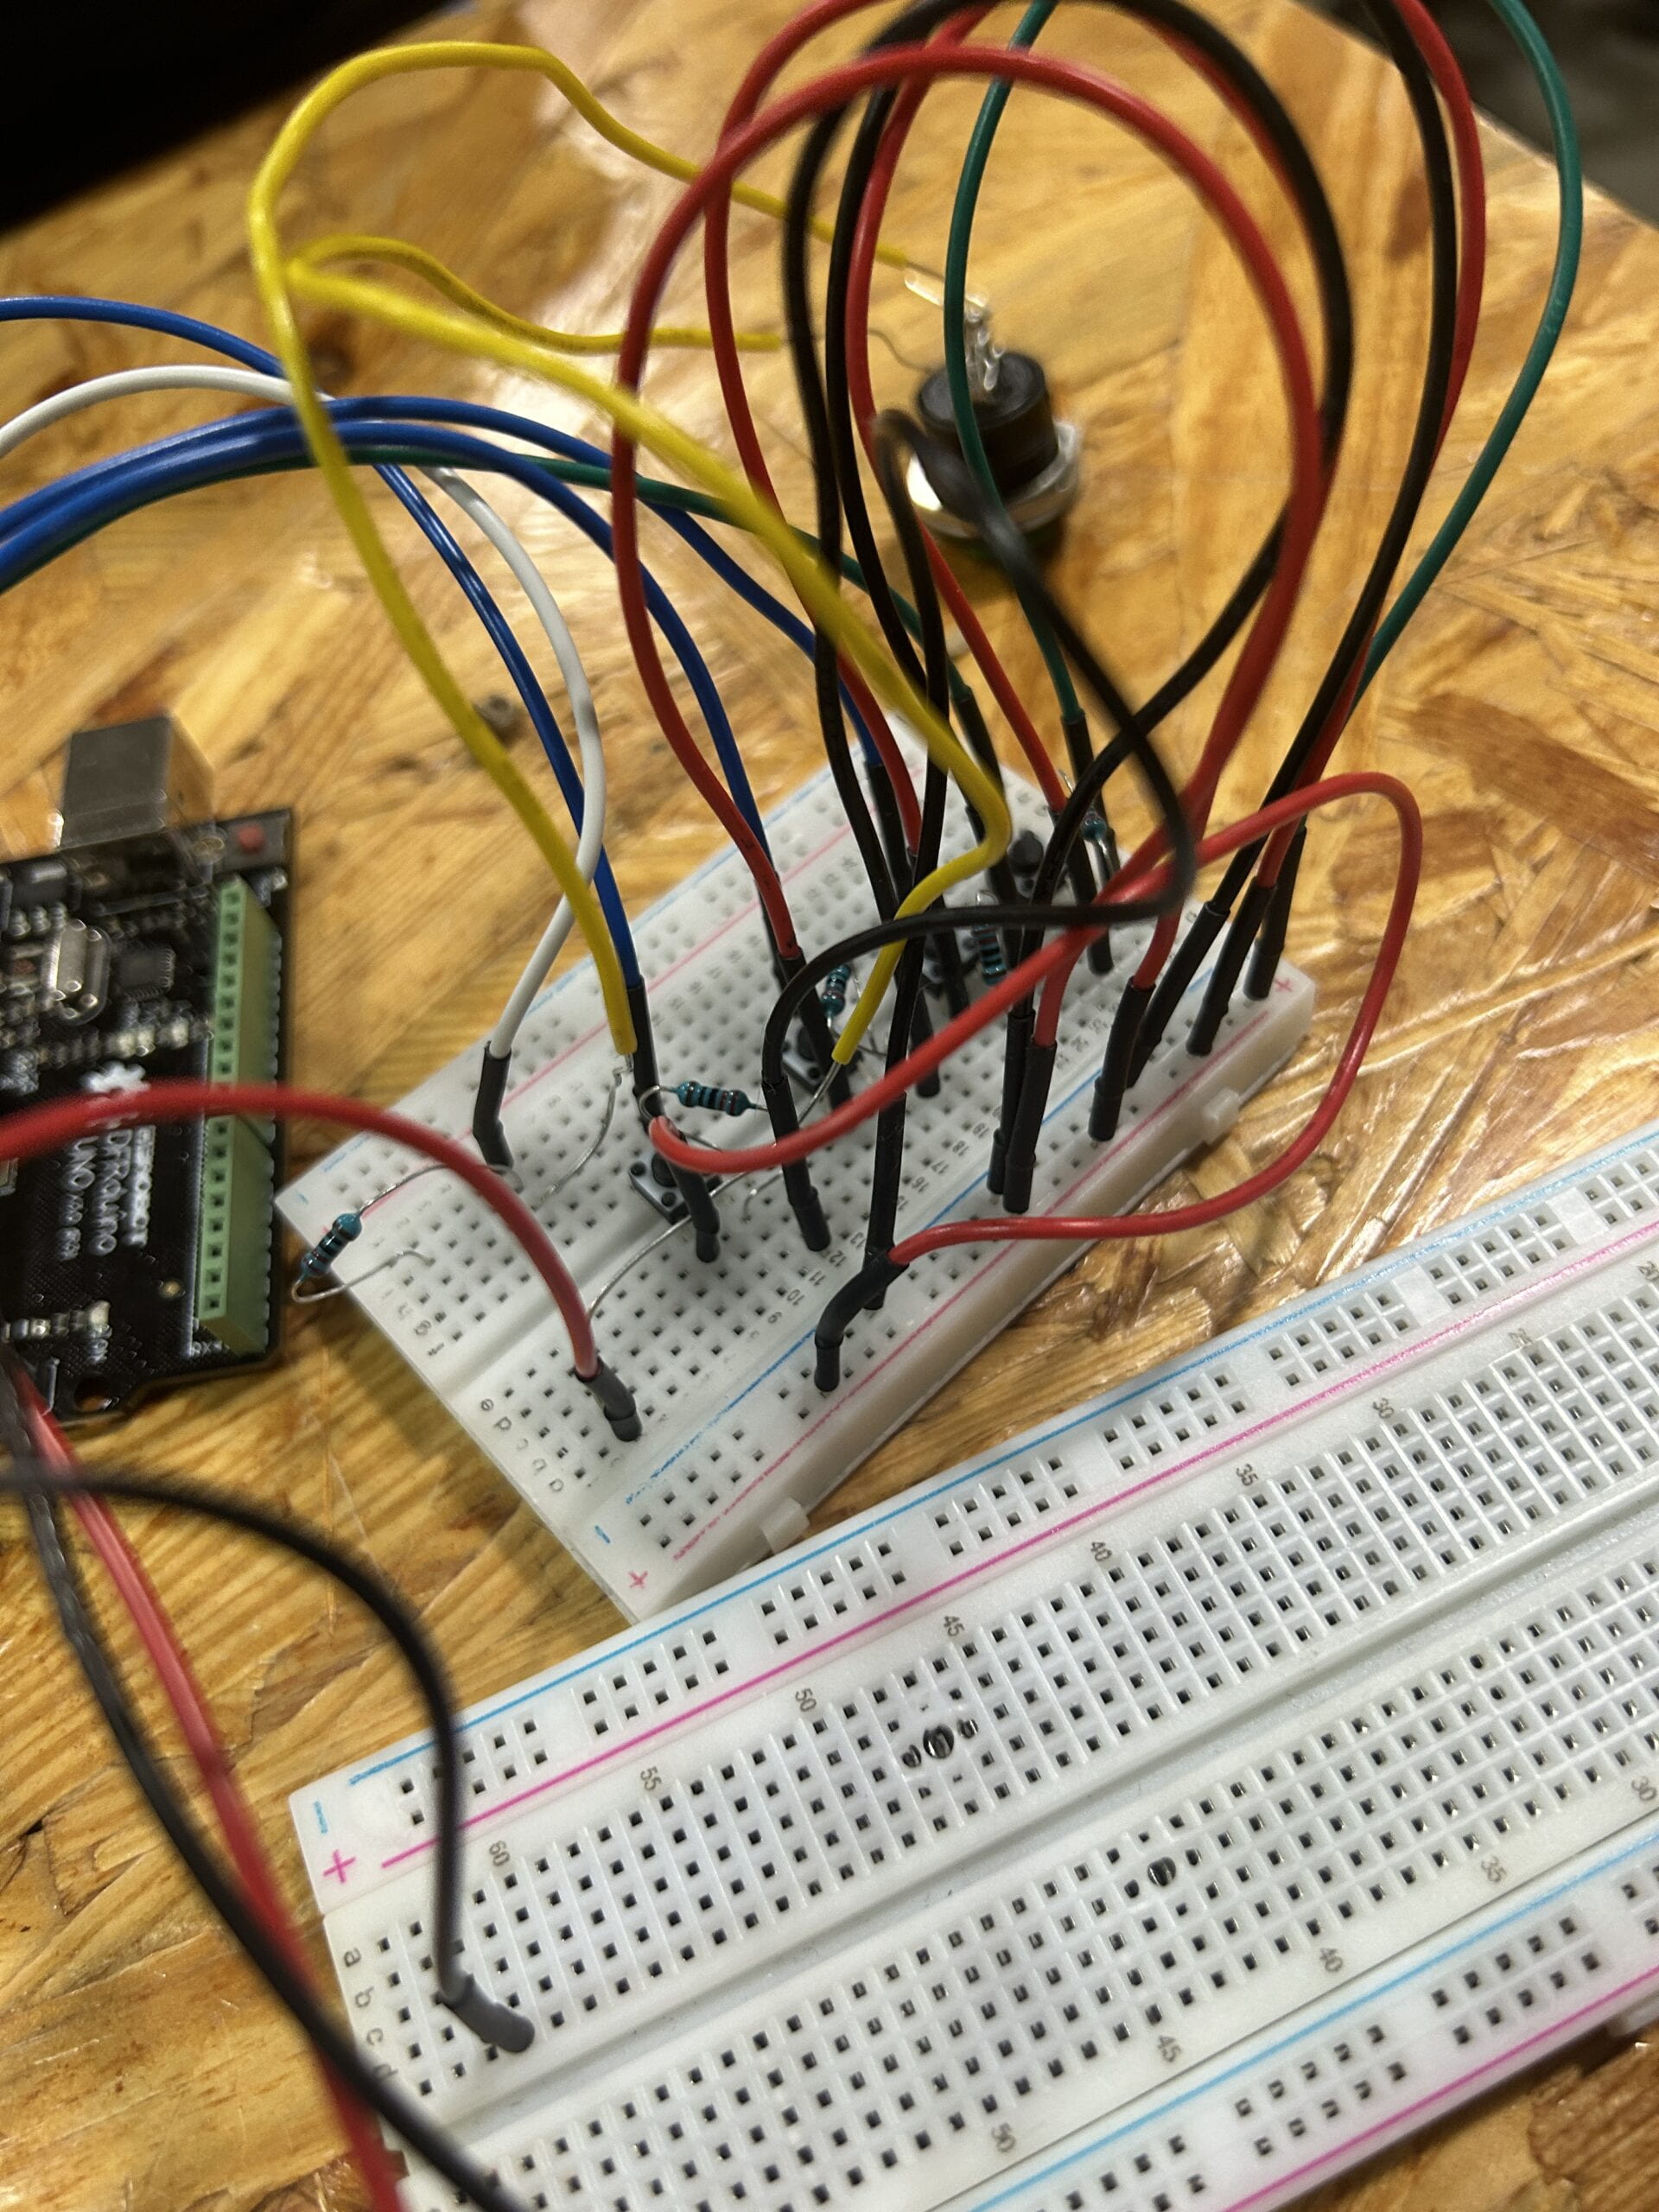
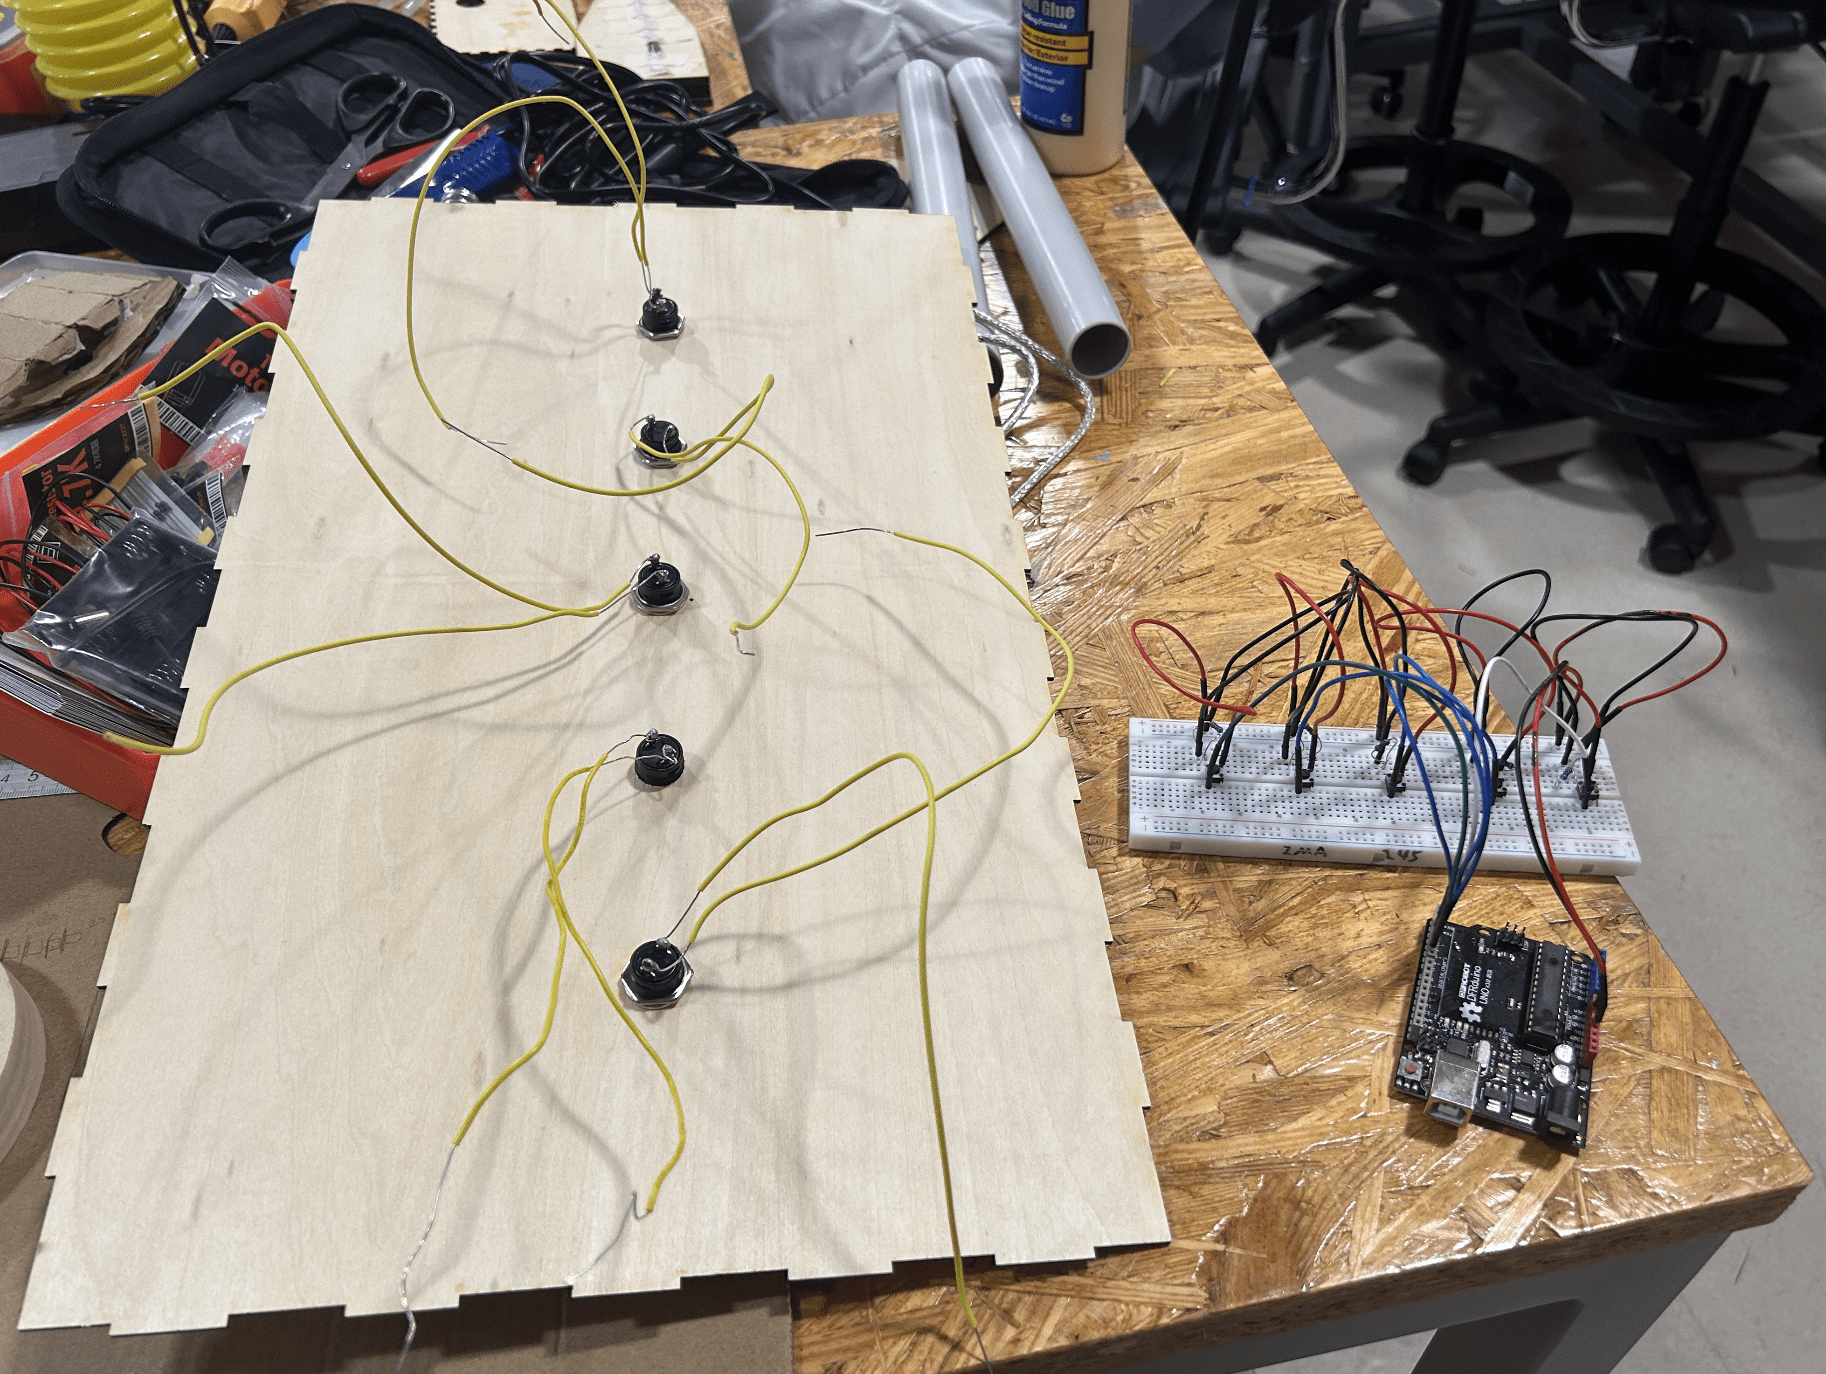
After my partner finished testing all 5 buttons on the small breadboard, I moved them to the longer bread board, so that we would have more space. I also soldered the wires to the bigger buttons, so we could connect them to the bread board.
Fabrication
To effectively distribute work, my partner worked on most of the code while I made the blueprint of our laser and 3-d printed objects.
This is an image of the original project idea. This was scraped because the cardboard was hard to fold, and the grip was awkward.
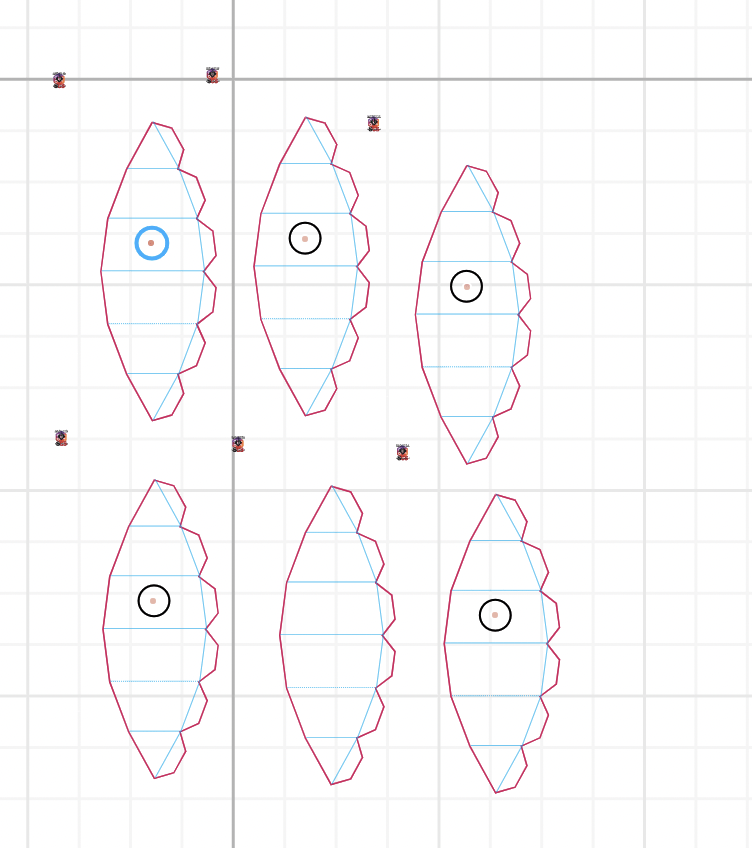
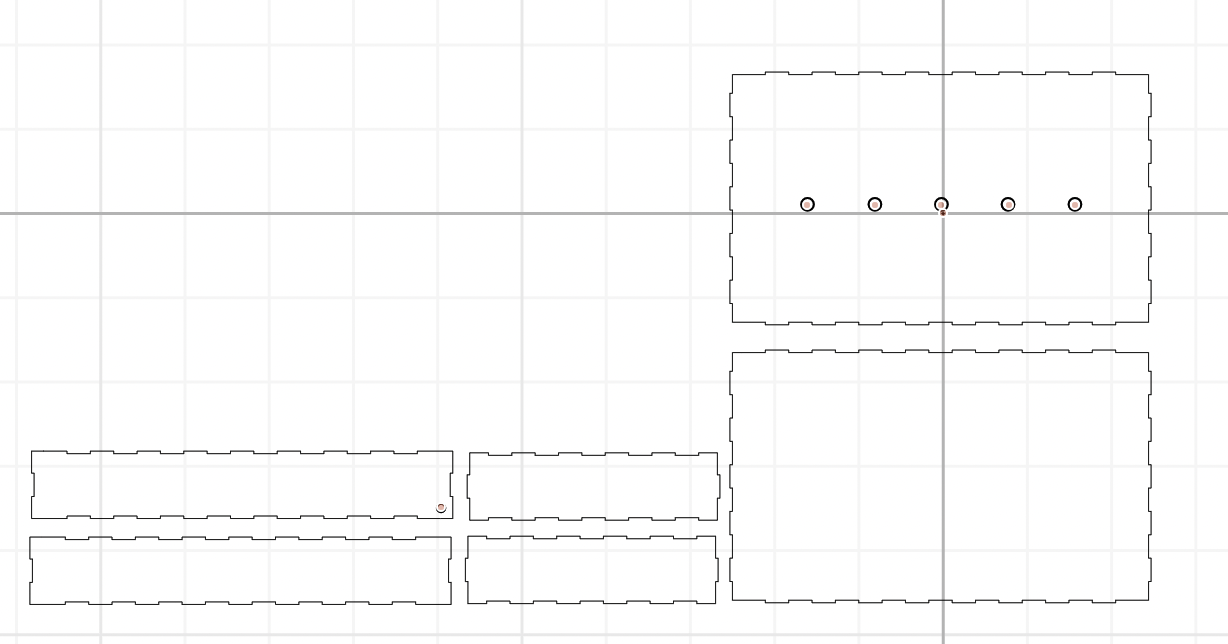
This is the blueprint of the object that we actually used for the box. I measured out the bread, so I could make sure that each circle on the cutting board could be lined up to the cuts in the bread. I also left a hole on the side of the box to allow wire connection to the computer.
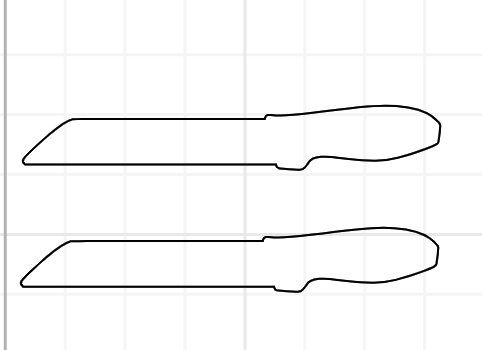
This is the sketch I imported from cuttle. This is the knife I laser cut for our project. This was used to slide the bread.
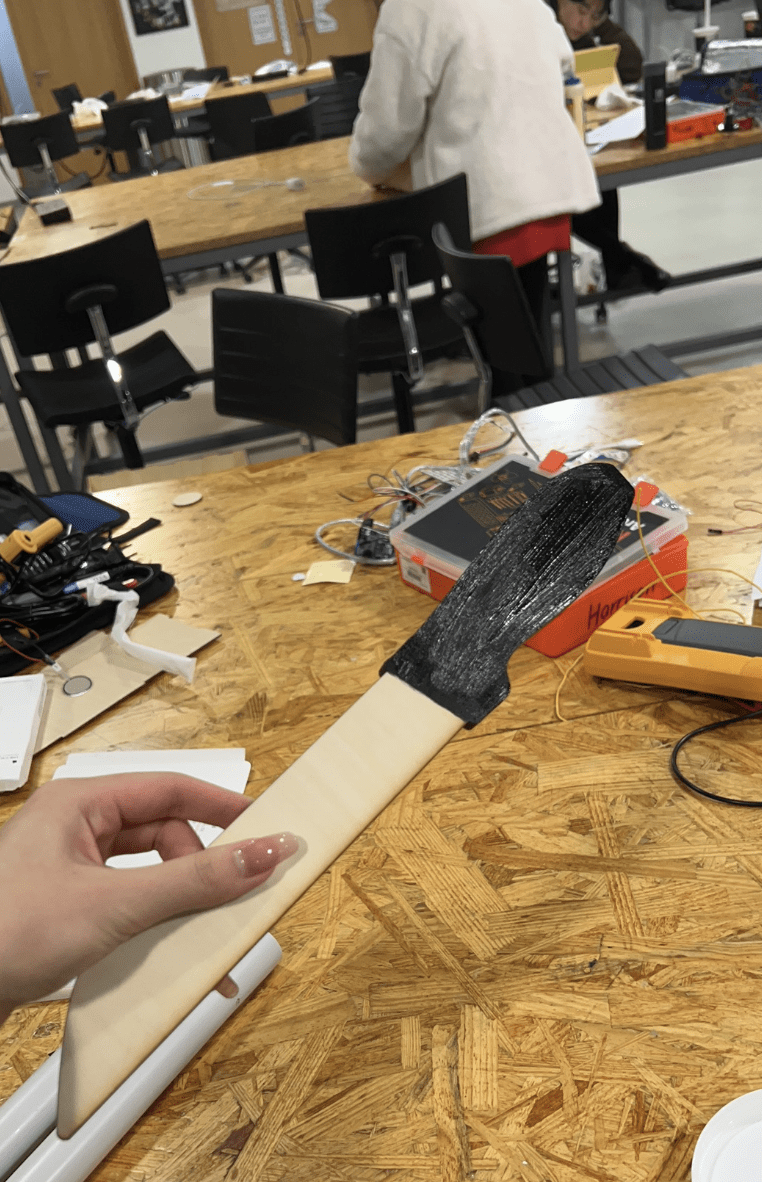
This is the knife partly painted.
This is a picture of some of the objects I worked on. I had some trouble painting my 3-d printed objects because the paint kept coming off when slightly touched. It go very messy, so I painted a super thin layer in the beginning and waited overnight for it to dry.
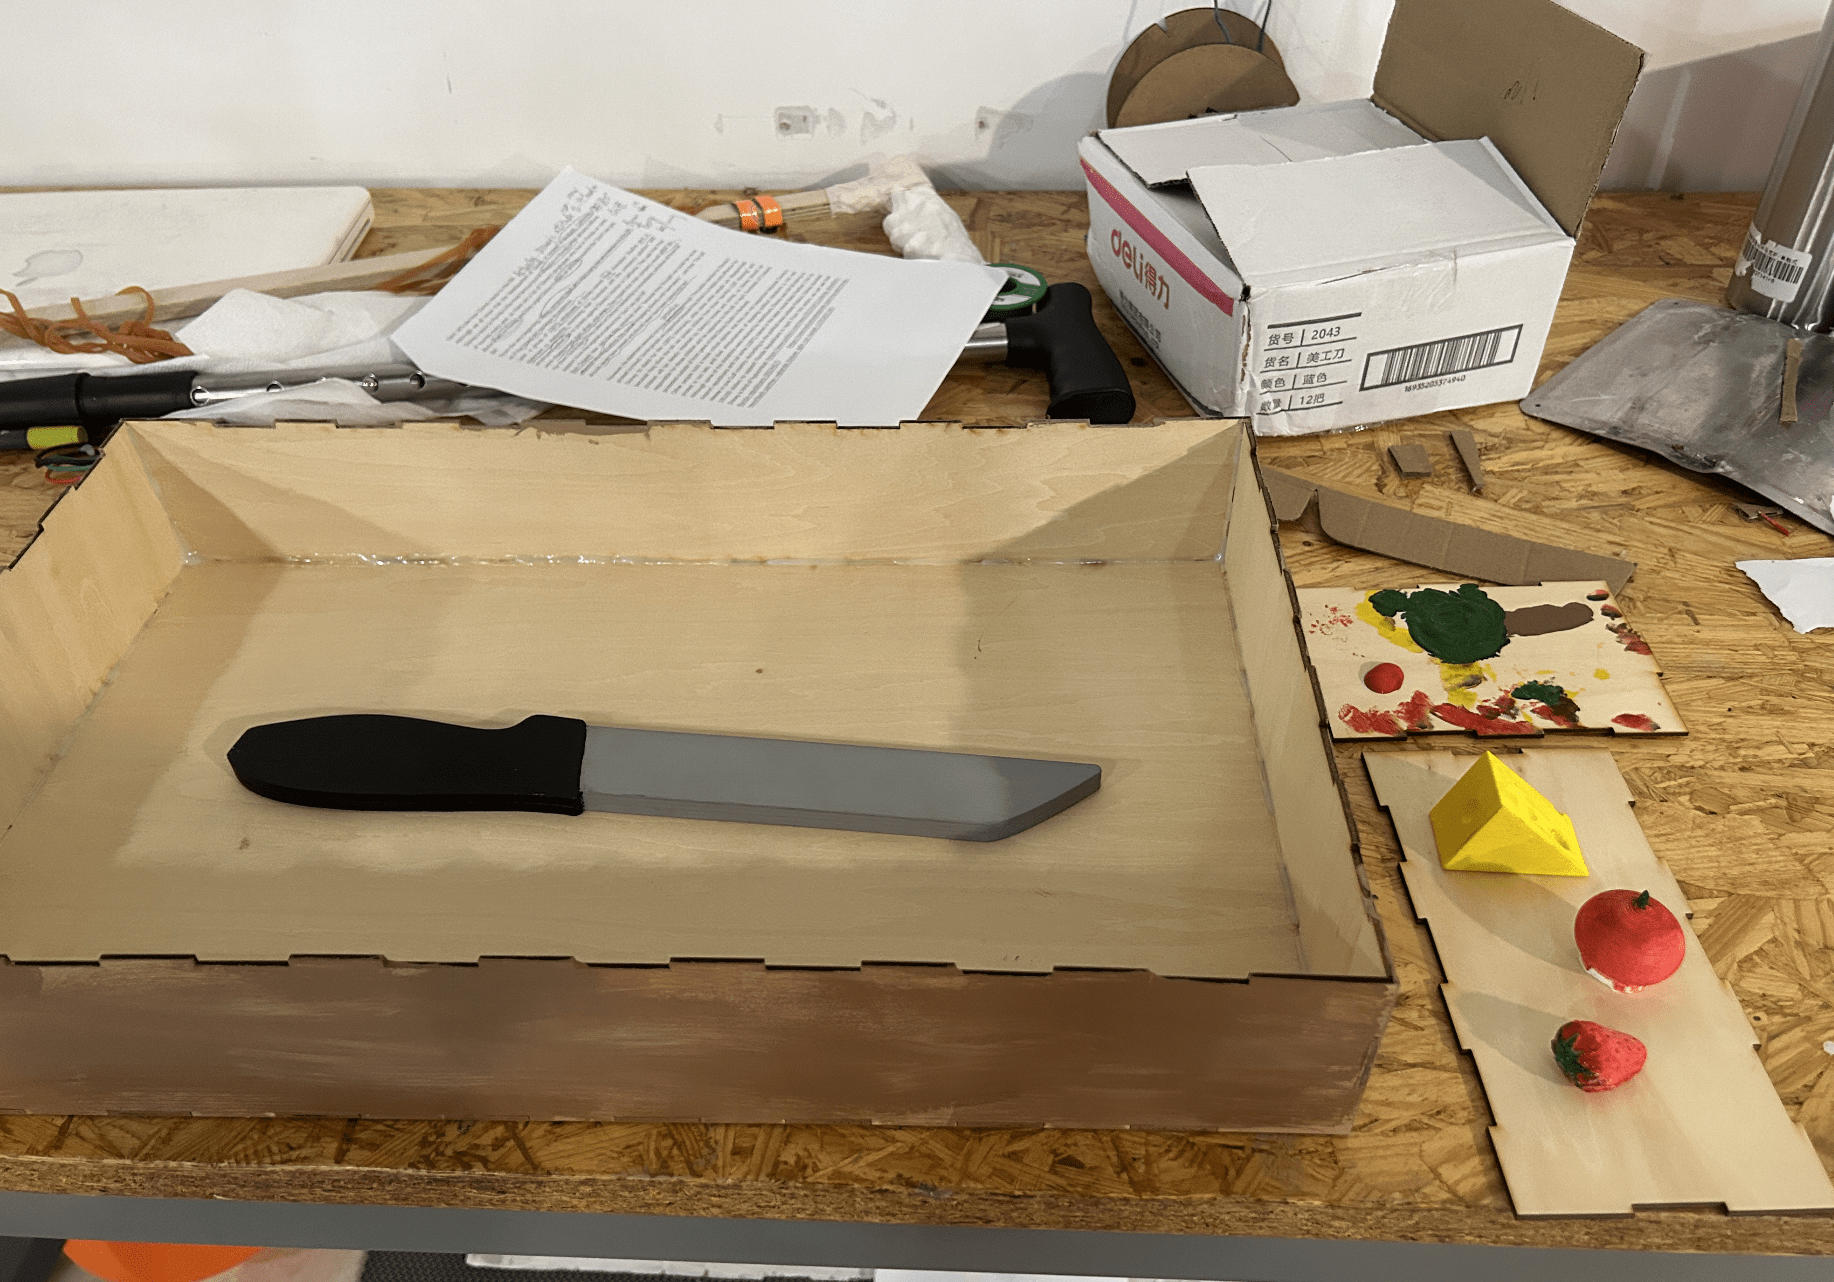
This the box I laser cut for our cutting board.
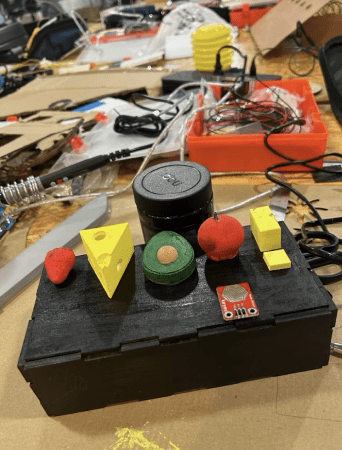
This is the condiment station. Here, we originally wanted to add pressure sensors; however, we could only find one working sensor, so we had to search for another option. We chose the touch sensor because it has relatively better reaction times and is more sensitive than the other sensor we tested. We attached 5 touch sensor to our project, each corresponding to a condiment and a musical beat on the cutting board.
User Testing
In the user testing, we received input that it was not clear on how to approach out project. Users were not aware that they should create their own beat before using the condiment section to adjust the volume, so we make two signs to indicate step 1 and step 2.
Conclusion
The goal of my project was to create some thing that allows people who enjoy music to create music without having to take years of their life to learn how to play different instruments. I think that I was able to achieve this goal because as a person that doesn’t understand music, I was able to create nice beats with my project.
Throughout the course of the semester, my definition of interaction has been the same, and it has been reflected in all of my projects, including this one. I believe in interactive project is a project that requires human activity make the project do what it is supposed to do or control how the project responds. From how the users interacted and reacted to my project, I think I created a successful interactive project. All of the users had to constantly interact with the project, whether by using the knife to cut or using their fingers to press the touch sensors.
If I had more time to work on my project, I would have created another component of interaction. I wanted to do some thing where you could lift the actual condiments using a distance sensor to sense the movement of the objects. I wanted to use this to control the volume instead. I think this idea would make the project look cleaner by eliminating the touch sensors. It would also create a sense of realness, because the lifting movement is more similar to the actual movement than just touching a touch sensor.
In the process of creating this project, I have failed too many times. However, this has taught me to keep pushing and to not give up. The result from not giving up, allowed me to successful create a project that I would have never thought I could create.
This is me using our finished project. I hope everyone enjoyed our project and the bread that we gave out. HAHAHA
Code
Arduino
#include "SerialRecord.h"

SerialRecord writer(10);
//bool sensorValue;
int myPins[] = {2,3,4,5,6};
int num[] = {0, 1, 2, 3, 4};

int buttonPin1 = 7;
int buttonPin2 = 9;
int buttonPin3 = 10;
int buttonPin4 = 11;
int buttonPin5 = 12;

int buttState[] = {0, 0, 0, 0, 0};
int drumstate[] = {0, 0, 0, 0, 0};
int prevbuttState[] = {0, 0, 0, 0, 0};

void setup() {
  Serial.begin(9600);

  pinMode(7,INPUT);
  pinMode(9,INPUT);
  pinMode(10,INPUT);
  pinMode(11,INPUT);
  pinMode(12,INPUT);

  for (int i=0;i<=4;i++) {
    pinMode(myPins[i], OUTPUT);
  }
}

void loop() {
  // sensorValue = digitalRead(8);
  writer[5]=digitalRead(7);
  writer[6]=digitalRead(9);
  writer[7]=digitalRead(10);
  writer[8]=digitalRead(11);
  writer[9]=digitalRead(12);

  for (int i=0;i<=4;i++) {
    buttCheck(i);
    writer[i] = drumstate[i];
  }


  writer.send();
  delay(100);
}

void buttCheck(int i) {
  buttState[i]= digitalRead(myPins[i]);

  if ( buttState[i] == 1 && drumstate[i] == 0 && prevbuttState[i]== 0)  {

    drumstate[i] = 1;

  }
  else if( buttState[i] == 1 && drumstate[i] == 1 && prevbuttState[i] == 0) {
    drumstate[i] = 0;
  }
  prevbuttState[i] = buttState[i];
  delay(1);

}
Processing
import processing.serial.*;
import osteele.processing.SerialRecord.*;
import processing.sound.*;

Serial serialPort;
SerialRecord serialRecord;
SoundFile sound1;
SoundFile sound2;
SoundFile sound3;
SoundFile sound4;
SoundFile sound5;
boolean playSound1=true;
boolean playSound2=true;
boolean playSound3=true;
boolean playSound4=true;
boolean playSound5=true;

int value1 ;
int value2 ;
int value3 ;
int value4 ;
int value5 ;
int value6 ;
int value7 ;
int value8 ;
int value9 ;
int value10 ;


void setup(){
  size(500, 500);
  String serialPortName = SerialUtils.findArduinoPort();
  serialPort = new Serial(this, serialPortName, 9600);
  serialRecord = new SerialRecord(this, serialPort, 10);
  sound1 = new SoundFile(this, "1.aiff");
  sound2 = new SoundFile(this, "2.aiff");
  sound3 = new SoundFile(this, "3.aiff");
  sound4 = new SoundFile(this, "4.aiff");
  sound5 = new SoundFile(this, "5.aiff");


  value1 = serialRecord.values[0];
  value2 = serialRecord.values[1];
  value3 = serialRecord.values[2];
  value4 = serialRecord.values[3];
  value5 = serialRecord.values[4];
  value6 = serialRecord.values[5];
  value7 = serialRecord.values[6];
  value8 = serialRecord.values[7];
  value9 = serialRecord.values[8];
  value10 = serialRecord.values[9];
}

void draw(){
  serialRecord.read();
  draw1();
  draw2();
  draw3();
  draw4();
  draw5();
}

void draw1() {
  value1 = serialRecord.values[0];
  value6 = serialRecord.values[5];
  if (value1 == 1) {
    if (playSound1 == true) {
      sound1.play();
      sound1.loop();
      playSound1 = false;
    }
  } else {
    playSound1 = true;
  }
  if (value1 == 0){
    sound1.stop();
  }
  if (value6 == 0){
     sound1.amp(0.7);
  }
  if (value6 == 1){
     sound1.amp(1);
  }
}

void draw2() {
  value2 = serialRecord.values[1];
  value7 = serialRecord.values[6];
  if (value2 == 1) {
    if (playSound2 == true) {
      sound2.play();
      sound2.loop();
      playSound2= false;
    }
  } else {
    playSound2= true;
  }
  if (value2 == 0){
    sound2.stop();
  }
  if (value7 == 0){
     sound2.amp(0.3);
  }
  if (value7 == 1){
     sound2.amp(1);
  }
}

void draw3() {
  value3 = serialRecord.values[2];
  value8 = serialRecord.values[7];
  if (value3 == 1) {
    if (playSound3 == true) {
      sound3.play();
      sound3.loop();
      playSound3 = false;
    }
  } else {
    playSound3= true;
  }
  if (value3 == 0){
    sound3.stop();
  }
  if (value8 == 0){
     sound3.amp(0.3);
  }
  if (value8 == 1){
     sound3.amp(1);
  }
}

void draw4() {
  value4 = serialRecord.values[3];
  value9 = serialRecord.values[8];
  if (value4 == 1) {
    if (playSound4 == true) {
      sound4.play();
      sound4.loop();
      playSound4 = false;
    }
  } else {
    playSound4= true;
  }
  if (value4 == 0){
    sound4.stop();
  }
  if (value9 == 0){
     sound4.amp(0.3);
  }
  if (value9 == 1){
     sound4.amp(1);
  }
}

void draw5() {
  value5 = serialRecord.values[4];
  value10 = serialRecord.values[9];
  if (value5 == 1) {
    if (playSound5 == true) {
      sound5.play();
      sound5.loop();
      playSound5 = false;
    }
  } else {
    playSound5= true;
  }
  if (value5 == 0){
    sound5.stop();
  }
  if (value10 == 0){
     sound5.amp(0.3);
  }
  if (value10 == 1){
     sound5.amp(1);
  }
}