This week’s recitation mainly focused on the sensors, introducing a new way for us to combine the Arduino with the actual world.
The sensor I chose was the LDR because I thought that it would be cool if something can be controlled by the light. More importantly, compared with other sensors, I think what the LDR detects, which is the intensity of the light, is more interactive than other things.
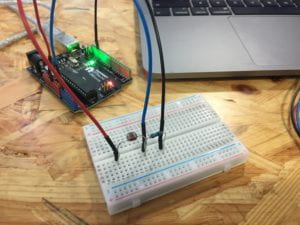
(Checking if the LDR is working)
Always remember that the red line is connected to the power, the black line is connected to the ground. (Thanks, Rudi!🤣)
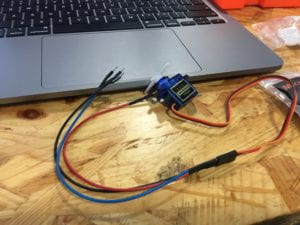
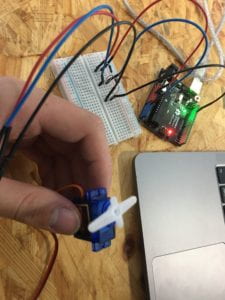
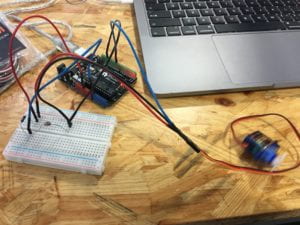
Circuit finished
The stuff which I finally built is a servo that can be controlled by light. Well, at least at this moment, I couldn’t come up with a specific idea on what this project can actually do, but this is still a thing to notice. Next time, maybe I should focus more on the practical use of the thing I build.
The code is like the tutorial for the computer. For example, Arduino can act and control in accordance with the code which I wrote in.
Actually, I think that the computer has a great influence on human behaviors. The process of coding is already a typical example. We have to translate our language into the language which the computer can understand.
Here’s the code:
/* Sweep
  by BARRAGAN <http://barraganstudio.com>
  This example code is in the public domain.

  modified 8 Nov 2013
  by Scott Fitzgerald
  http://www.arduino.cc/en/Tutorial/Sweep
*/

#include <Servo.h>

Servo myservo;  // create servo object to control a servo
// twelve servo objects can be created on most boards

int pos = 0;    // variable to store the servo position

void setup() {
  myservo.attach(9);
  Serial.begin(9600);
}

void loop() {
  int sensorValue = analogRead(A0);
  Serial.println(sensorValue);
  delay(1);
  if (sensorValue > 500) {
    // for (pos = 0; pos <= 180; pos += 1) { // goes from 0 degrees to 180 degrees
    // in steps of 1 degree
    myservo.write(1);              // tell servo to go to position in variable 'pos'
    // delay(15);                       // waits 15ms for the servo to reach the position
    // }
  }
  else {
    for (pos = 180; pos >= 0; pos -= 1) { // goes from 180 degrees to 0 degrees
      myservo.write(pos);              // tell servo to go to position in variable 'pos'
      delay(15);                       // waits 15ms for the servo to reach the position
    }
  }


}
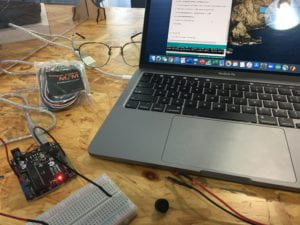
Here ‘s the extra recitation prject I did on Tuseday. I changed a littile bit and used the map function in the analogoutput to make the servo sway more precisely.

Leave a Reply