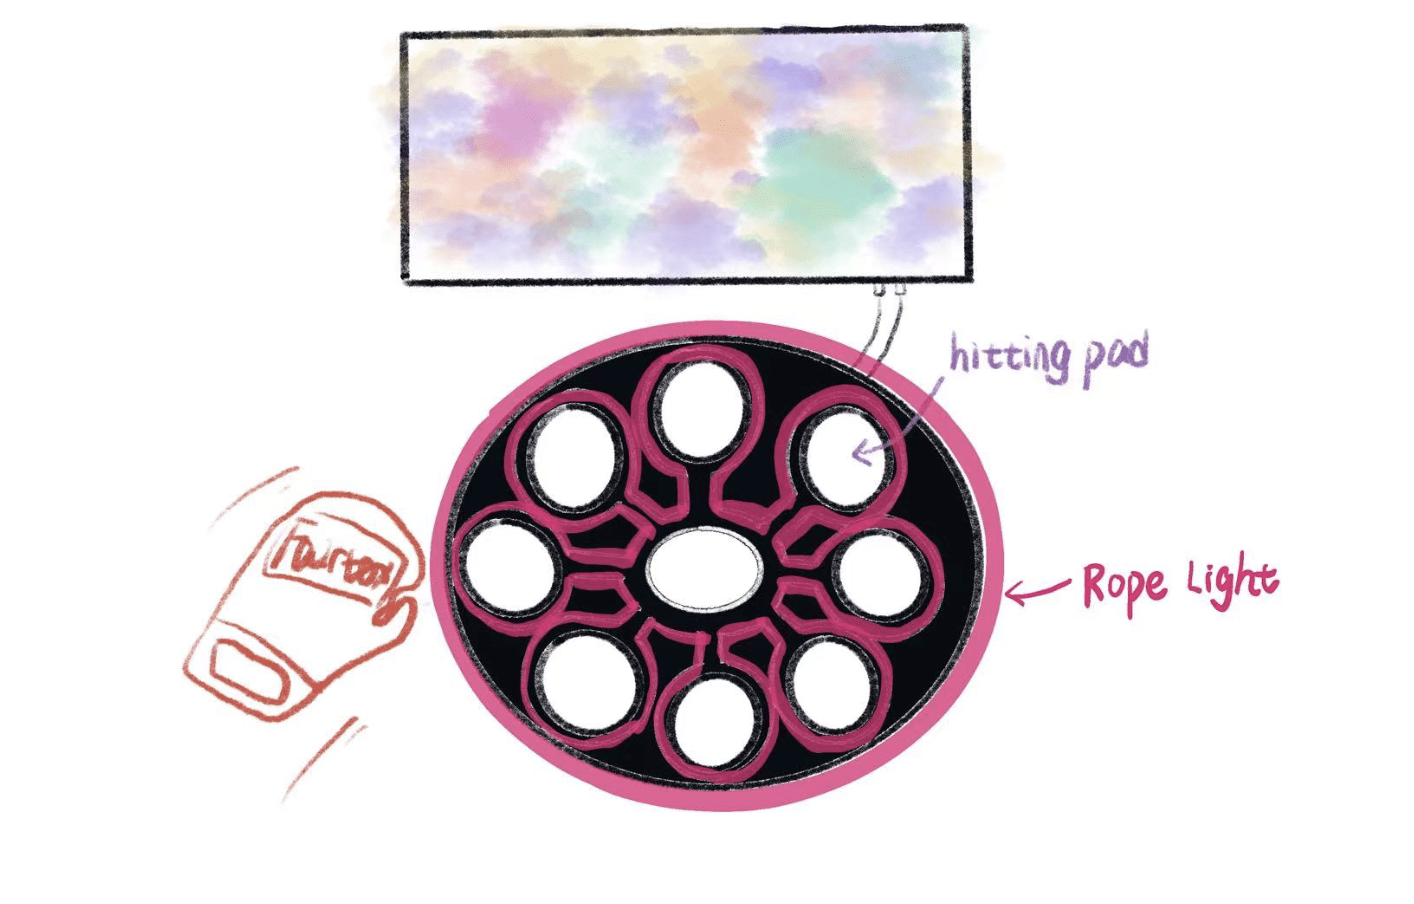
Fabrication
During the fabrication phase of our project, we encountered several challenges that proved to be more complex than initially anticipated. The first hurdle was creating a stable button capable of withstanding the force of a punch. Professor Andy provided us with a large wooden board button as a solution. The button consisted of two wooden boards with copper tape on the inside surfaces. When the board was struck, the inner copper tape would make contact, creating a pathway. To begin, we utilized laser cutting to shape our buttons according to the provided plan.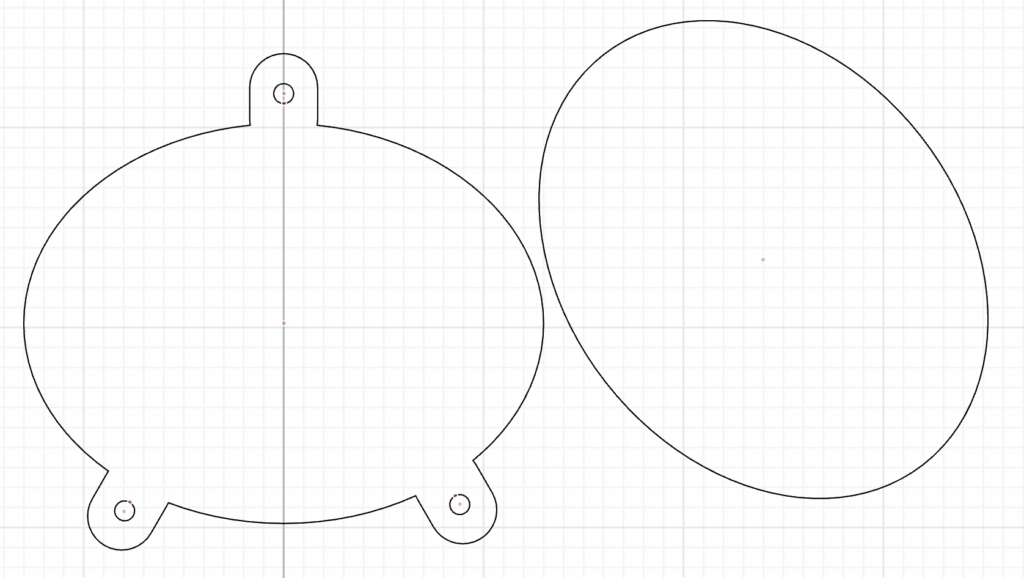
However, in the first test, we faced difficulties in controlling the height between the two pieces and noticed that the button’s effectiveness varied depending on the location of impact. Despite creating four buttons to control the direction, we found them to be highly unstable, leading us to abandon this option.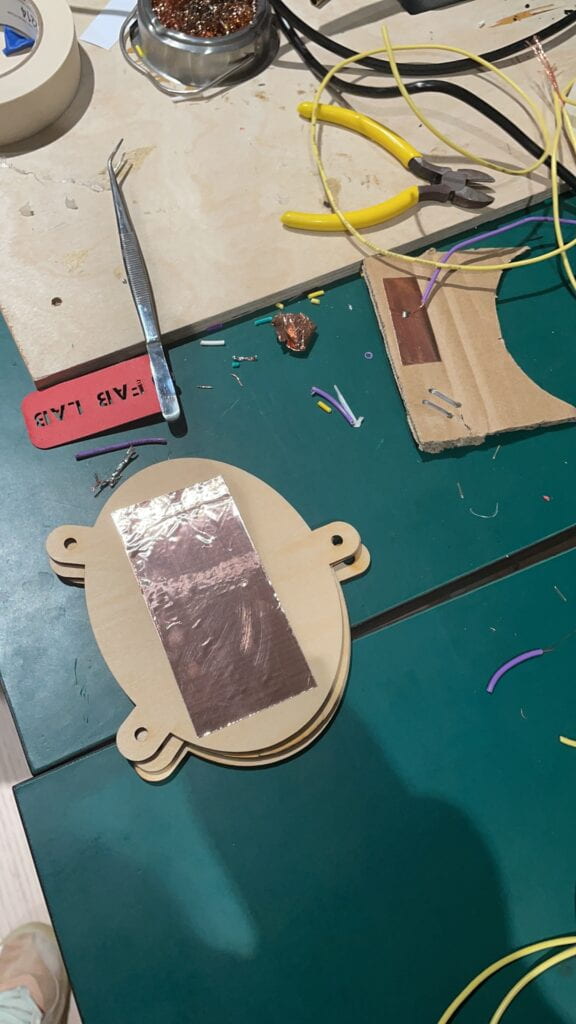
We then explored an alternative approach for our buttons. We considered using simple buttons that did not require additional resistors for protection. In our toolbox, we had three-in-one buttons that fulfilled this requirement. We created a test button using these components, and it proved to be much more stable. Consequently, we placed an order for a batch of these buttons to proceed with our project. To enhance the user’s hitting experience, I designed the hitting surface of the button by filling it with cotton and cloth. Additionally, I cut slots in the back panel to accommodate the buttons, ensuring their strength and stability. We then mass-produced the remaining four buttons and conducted successful tests, yielding improved results compared to the original design.


Next, we encountered a second challenge: deter
mining the placement and arrangement of the buttons. Initially, we envisioned a vertical board where the buttons would be fixed on one wall. However, we realized this configuration was difficult to achieve for the display. Consequently, we had to explore alternative options. With the assistance of my fellow teammate, Kevin, I devised a method to secure the buttons using thick wooden boards. This approach enabled us to complete the structure of our project, marking the successful completion of the main fabrication stage. Subsequently, we turned our attention to developing the scenario code.


In the initial version of the demo, we employed simple brushes and a single pattern for movement. A sliding rheostat controlled the colors. However, as the painting patterns increased, we encountered limitations, as the color change could only be applied overall. To address this, we redesigned the version to achieve button-controlled movement, successfully implementing the desired effect. Additionally, I created the initial versions of the brushes and covers for the replacement patterns as part of our production process.
Scenario Design and Final Demo Preparation
Following the fabrication phase, our team transitioned to working on the scenario code for our project. In the initial version of the demo, we utilized simple brushes and a single pattern for movement.
To control the colors, we employed a sliding rheostat. However, as the complexity of the painting patterns increased, we encountered limitations with the color change, as it could only be applied uniformly. To address this, Haotong redesigned the system to achieve button-controlled movement, successfully implementing the desired effect.
As part of the production process, I designed the initial versions of the brushes and covers for the replacement patterns, enhancing the visual experience.

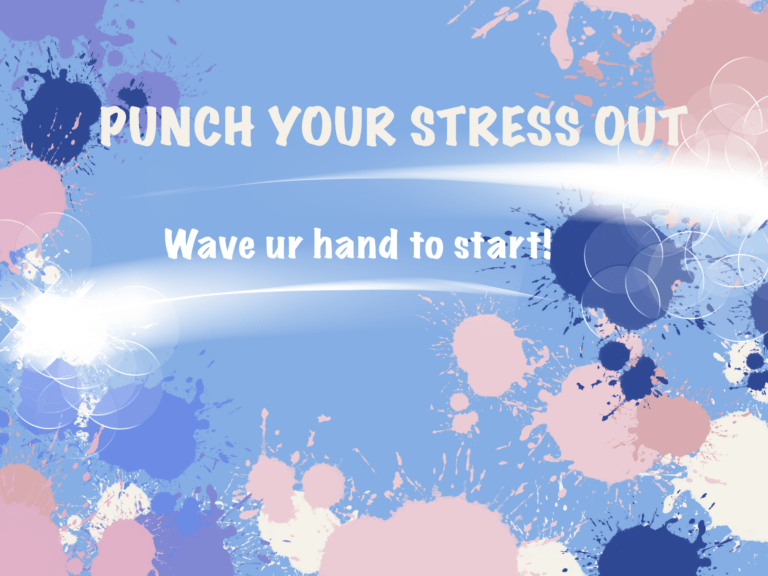
After conducting a user test of the initial version, we began the formal design process for our scenario and the development of our final demo. We initiated discussions to define the scenarios within our game and established a basic flow structure. This stage involved carefully planning the sequence of events, interactions, and visual elements to create an engaging and enjoyable experience for the users.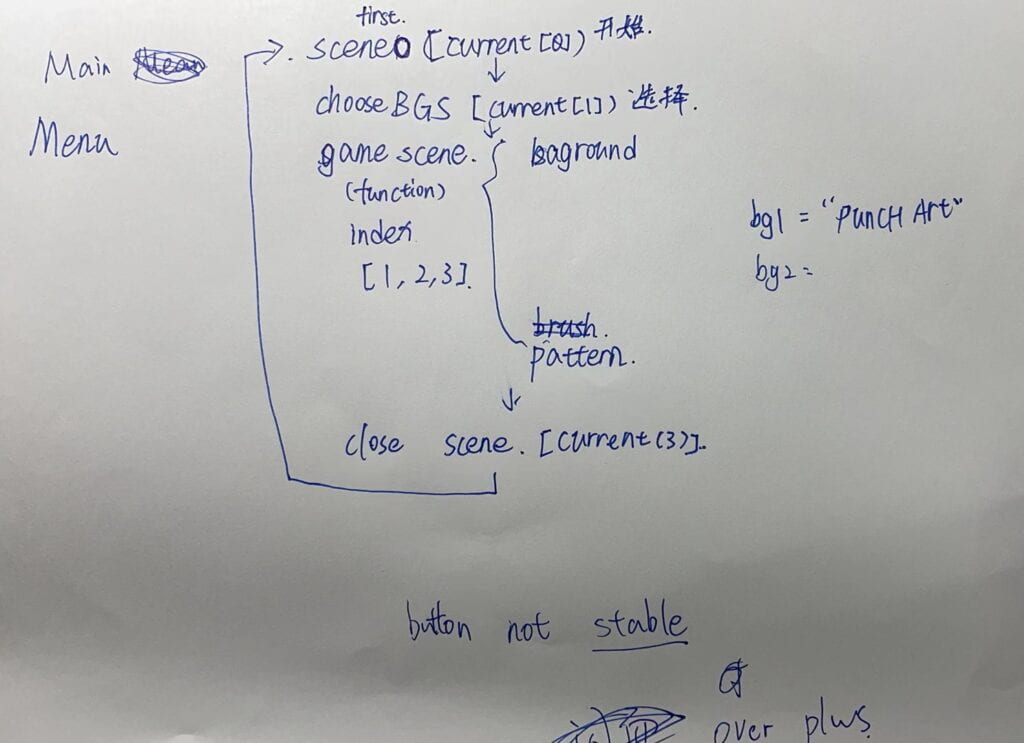
Sensor Calibration and Game Structure Development
With the assistance of Professor Andy, we conducted tests to determine the outliers and establish the appropriate range for the sensor’s values. Through this process, we ensured that the sensor functioned correctly, accurately registering a value of 1 or 0 from the Arduino, effectively emulating a button.
Once the sensor was calibrated, Haotong took the lead in developing the game structure using Processing. Haotong began by creating a state machine program that facilitated smooth transitions between different scenarios, aligning with the predetermined process established at the project’s outset. This state machine program formed the foundation of the game, providing a dynamic and engaging experience for the users as they interacted with various scenarios and gameplay elements.
void draw() {
  getSerialData();


  if (currentScene == 0) {
    scene0();
  } else if (currentScene == 1) {
    chooseBGS();
  } else if (currentScene == 2) {
    gameScene(bgidx);
  } else if (currentScene == 3) {
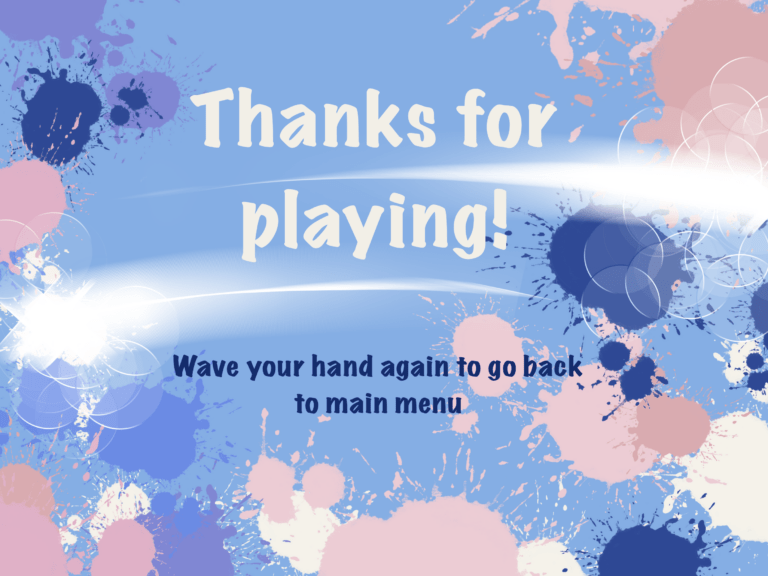
    closescene();
  }

  for (int i=0; i < NUM_OF_VALUES_FROM_ARDUINO; i++) {
    prev_arduino_values[i] = arduino_values[i];
  }
}
I helped with the functions for scene 0 and the ending scene.
void scene0() {
  getSerialData();
  int button = arduino_values[6];
  background(images[0]);
  //image(images[0], 0, 0, 1366, 1024);
  if (button != p_b && button ==1)  {
  currentScene = 1;
  delay(500);
  //lastTriggered = millis();
  }
    p_b = button;

  //if (lastTriggered != 0 && millis()-lastTriggered > 1000) {
  //  currentScene = 1;
  //}
}
Haotong, in collaboration with Professor Andy, conducted thorough tests to calibrate the sensor and establish the appropriate range for its values. By carefully analyzing the data and identifying outliers, we ensured the sensor’s accurate performance. With these adjustments in place, the sensor effectively functioned as a button, transmitting either a value of 1 or 0 from the Arduino.
Moving on to the development of the game structure, Haotong took the lead in utilizing Processing. The first step involved constructing a state machine program designed to seamlessly switch between different scenarios. This program, based on the initial process design, formed the core framework of the game. Its implementation allowed for dynamic and interactive gameplay experiences, providing users with an immersive and engaging environment to explore.
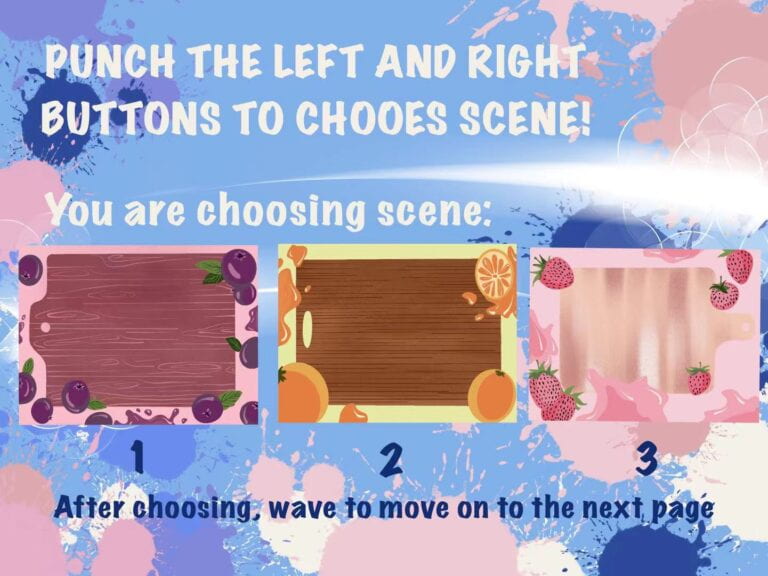
void chooseBGS() {
  getSerialData();
  int left6 = arduino_values[3];
  int right7 = arduino_values[4];
  int startv = arduino_values[6];
  background(images[1]);

  textSize(64);
  text(bgidx, 900, 330);
  fill(255, 0, 0);

  if (startv != 1) {
    if (arduino_values[3] == 1 && prev_arduino_values[3] == 0) {
    }
    if (left6 == 1 && pleft6 == 0) {
      bgidx  = bgidx - 1;
    }
    if (right7 == 1 && pright7 == 0) {
      bgidx = bgidx + 1;
    }
    if (bgidx >3) {
      bgidx = 1;
    }
    if (bgidx <1) {
      bgidx = 3;
    }
    pleft6 = left6;
    pright7 = right7;
  } else if (startv == 1 && p_b == 0) {
    currentScene = 2;
    delay(500);
  }
  p_b = startv;
}
Scene 2 presents the game content, where Haotong goes through the index obtained in Scene 1 to control the various backgrounds, brushes, and patterns. These elements serve the same purpose, but their mappings differ. The images follow an array data structure, allowing Haotong to organize them sequentially and implement a function to complete different scenes.
In the subsequent steps, Haotong retained the brush movement from the initial demo while addressing the issue of going out of bounds. Whenever the brush coordinates exceed the canvas size, they automatically adjust to fit within the canvas limits. Additionally, based on user testing suggestions, Haotong increased the step length for each brush movement, resulting in a smoother and easier gameplay experience.
Rather than altering the color of each hit, Haotong decided to modify their size. Consequently, the pattern left by each hit is stored in the corresponding array based on its coordinates and size. A for loop is utilized to iterate through the array’s data, which captures the contents of each drawing round on the current screen. When the screen switches to the next scene, the stored index resets to 0. Consequently, when the user engages in the next game, the new data automatically overwrites the previous one, enabling the program to continue without a restart.
void gameScene(int bgidx) {

  getSerialData();

  int color1 = arduino_values[0];
  int up4 = arduino_values[1];
  int down5 = arduino_values[2];
  int left6 = arduino_values[3];
  int right7 = arduino_values[4];
  int center8 = arduino_values[5];
  int startv = arduino_values[6];


  size1 = map(color1, 0, 1023, 50, 250);
  //color c1 = color(255, 0, 0); // 红色
  //color c2 = color(0, 0, 255); // 紫色


  background(images[bgidx+1]);
  penbrush(x, y, bgidx, size1+10);
  println(cidx);

  if (center8 == 1) {
    if (cidx < xs.length) {
      xs[cidx] = x;
      ys[cidx] = y;
      sizes[cidx] = size1;
      cidx++;
    }
  }


  for (int i = 0; i < cidx; i++) {
    pattern(xs[i], ys[i], sizes[i], bgidx);
  }

  if (x < 0){
    x = 0;
  }
  if (x > 1360){
    x = 1360;
  }
  if (y<0){
    y = 0;
  }
  if (y> 850){
    y= 850;
  }


  if (up4 == 1) {
    y -= 15;
  }
  if (down5 == 1) {
    y += 15;
  }
  if (left6 == 1) {
    x -= 15;
  }
  if (right7 == 1) {
    x += 15;
  }
  if (startv == 1 && p_b ==0) {
    currentScene = 3;
    cidx = 0;
    delay(500);
  }
  p_b = startv;
}
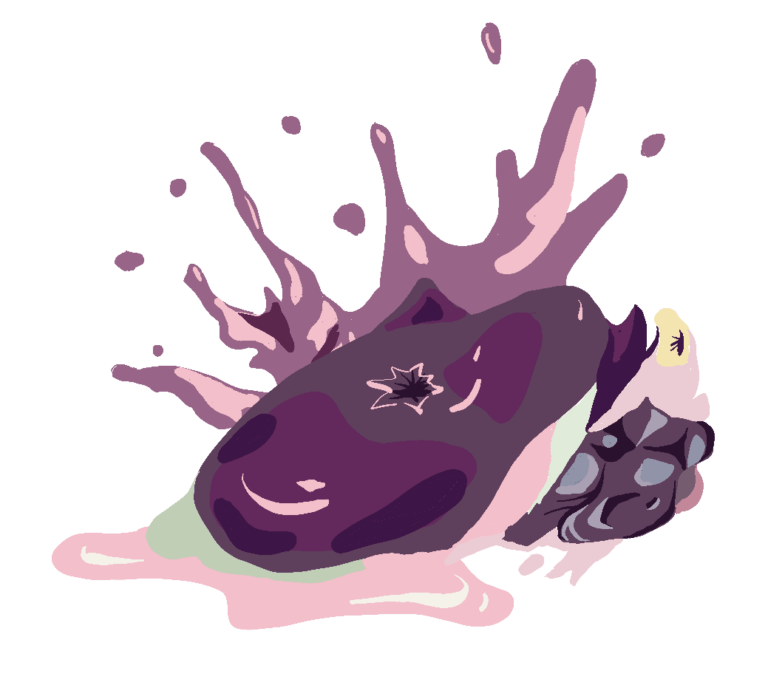
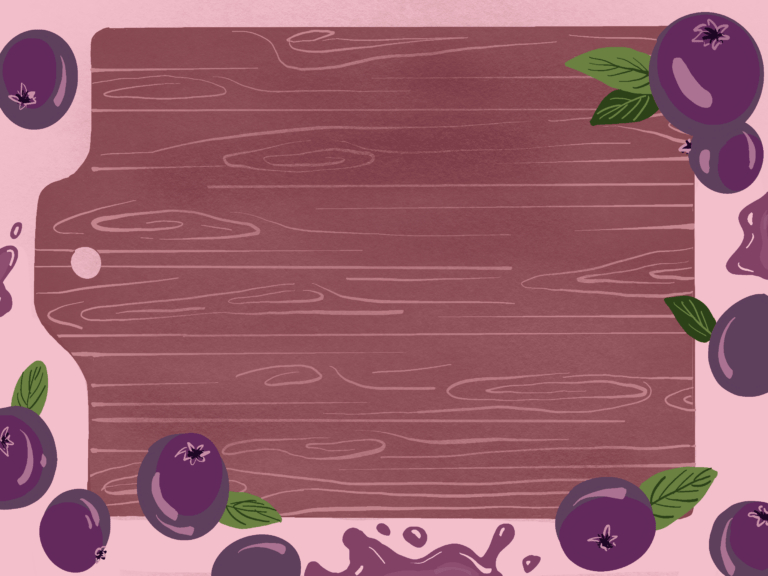
Here are the original paintings I drew for the blueberry scene:

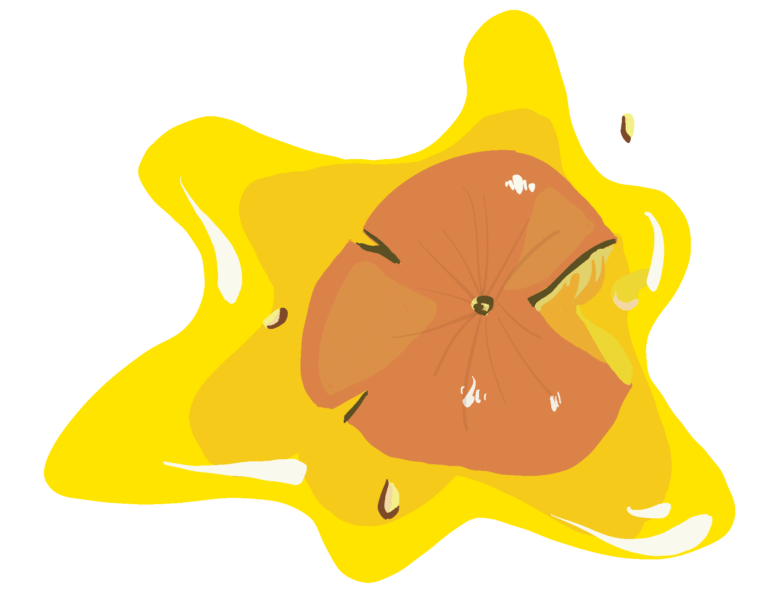
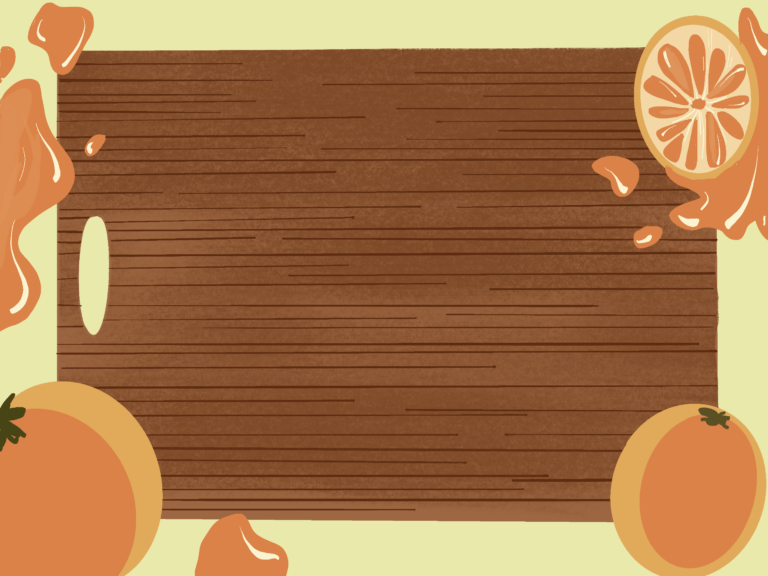
For the orange scene:

Strawberry scene:
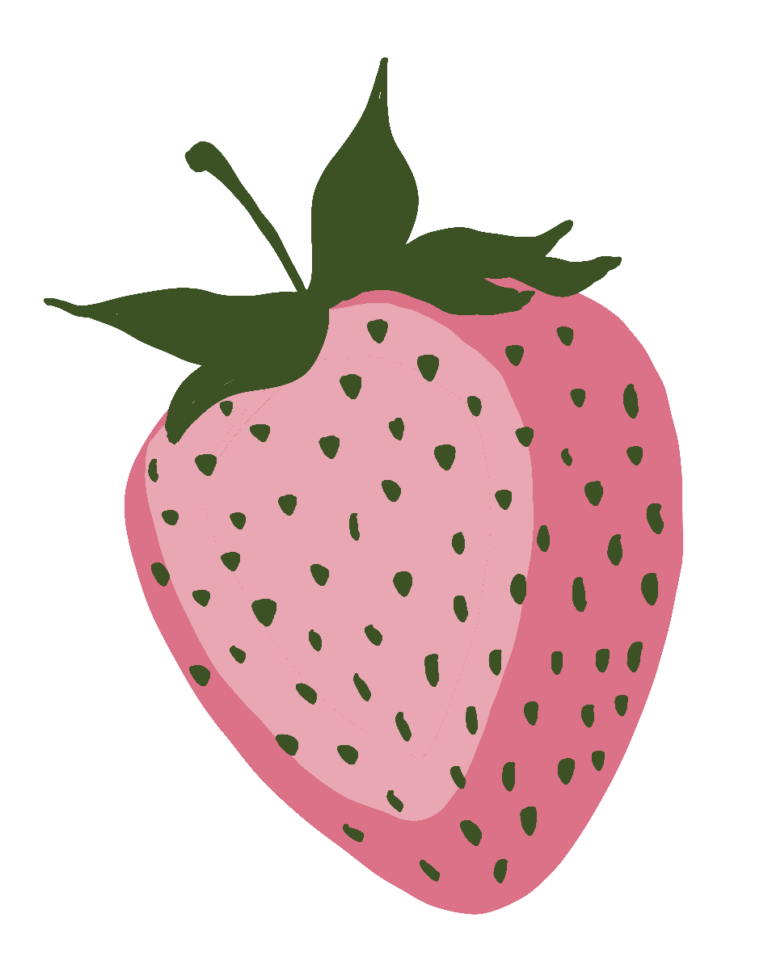

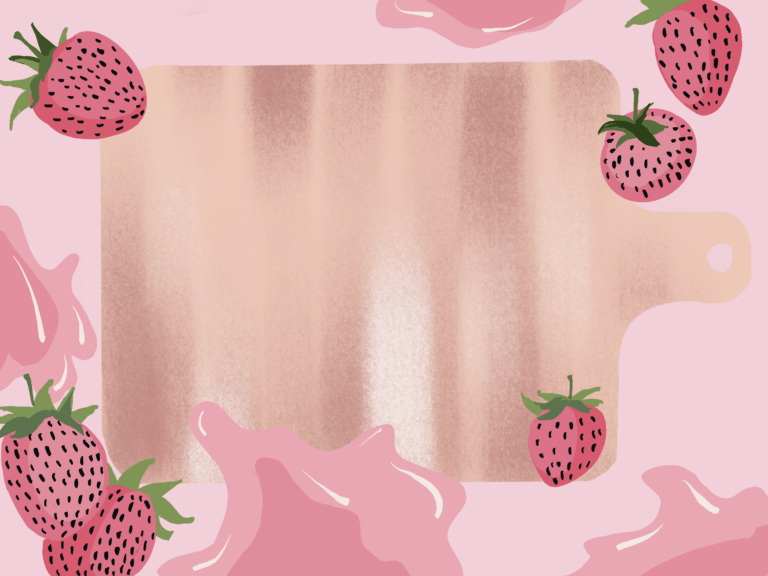
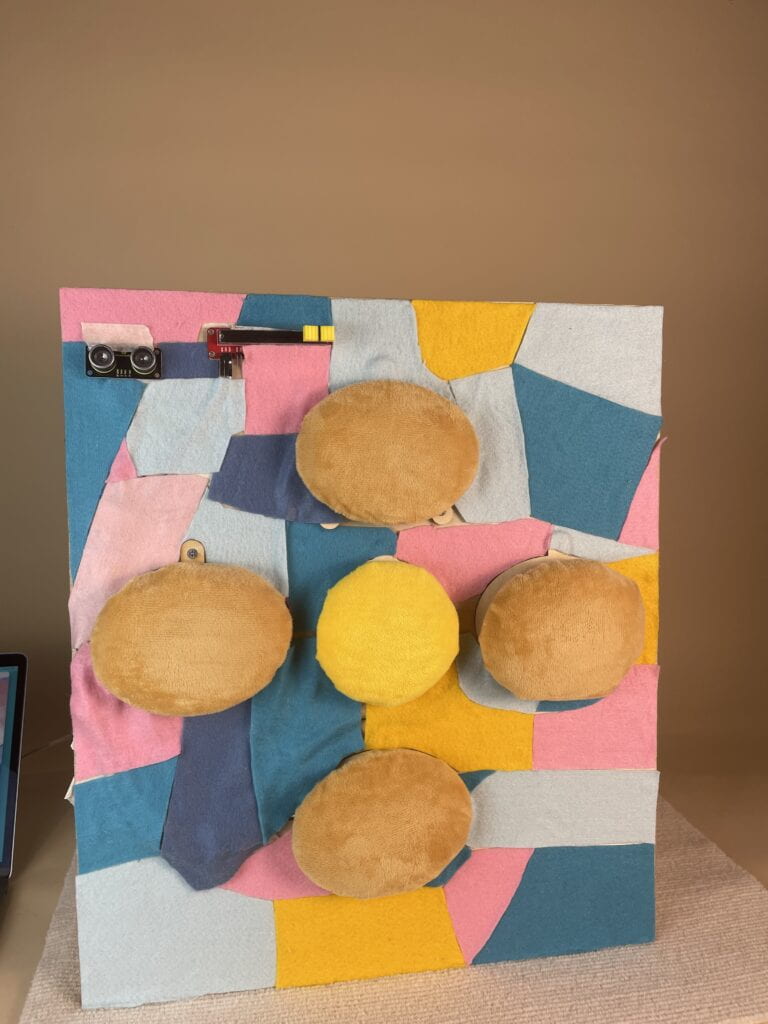
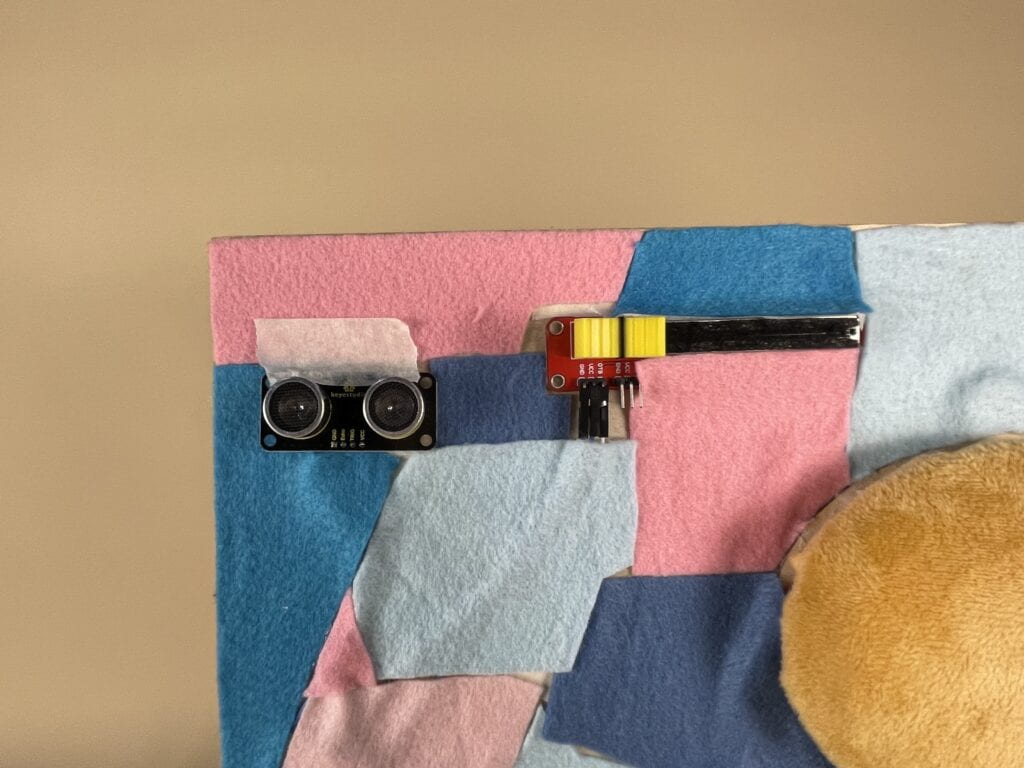
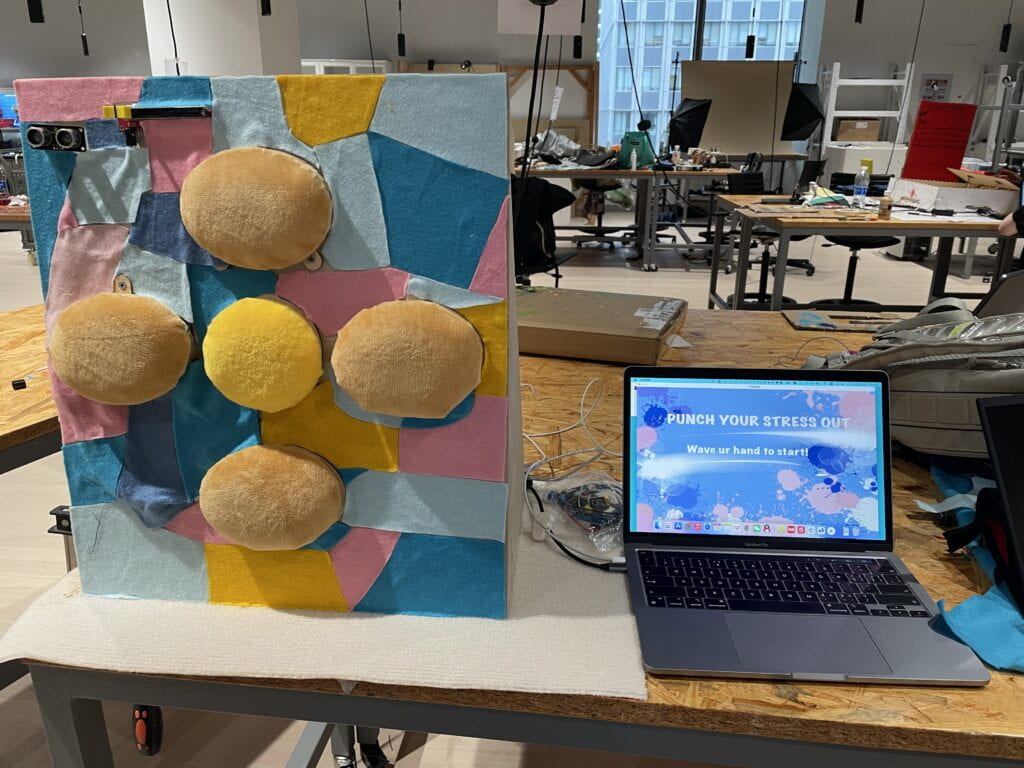
And after I decorated the appearance and hided all the wires, it looked quite good.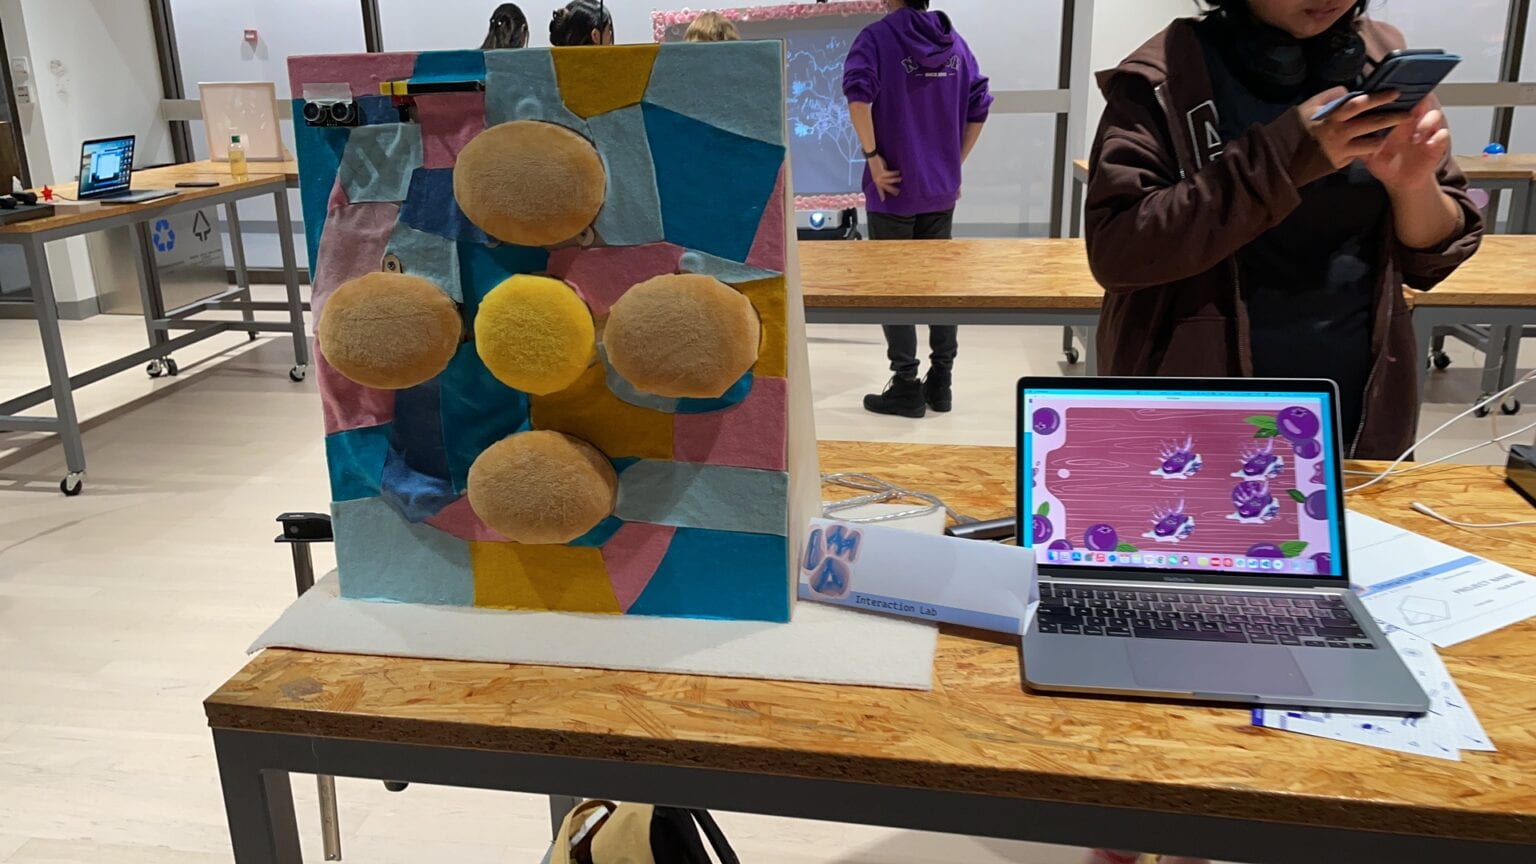
Conclusion
Our project was a resounding success, achieving the desired functionality and providing a seamless and engaging experience for users. The transitions between different scenes were smooth, capturing the interest and excitement of players. We received positive feedback on the main decompression aspect of the game, which was both interesting and enjoyable.
One of the key highlights of our project was the design of original canvases and patterns, which added a unique and visually appealing touch to the gameplay. These images were created exclusively for our project and required a significant amount of time and effort to develop. Their originality contributed to the overall quality and distinctiveness of our installation.
During the final IMA show, our installation attracted a lot of attention and generated a buzz among attendees. We were particularly delighted to see children lining up to play our game. The simplicity of the operation and the engaging percussion-based gameplay resonated well with the younger audience, providing them with a fun and interactive experience.
Throughout the production process, we encountered valuable lessons that will inform our future endeavors. We learned the importance of prototyping and thoroughly testing a product before proceeding with full-scale production. This approach ensures that any flaws or issues can be addressed early on, avoiding the need to start from scratch.
In terms of coding, we discovered the benefits of breaking down complex tasks into smaller, manageable components. This approach facilitated the debugging process and allowed us to focus on specific aspects individually. Additionally, having a well-defined project flow and structure greatly enhanced efficiency and fostered clear communication and collaboration among team members.
Looking ahead, given the opportunity, we have plans to further expand the functionality of our device by designing additional games. One exciting prospect is to develop a punch controller that can be used to control a wide range of games, offering users a diverse and immersive gaming experience. This expansion would enrich the versatility and appeal of our device, attracting a broader audience.
In conclusion, our project not only met but exceeded our expectations. The combination of original designs, smooth gameplay, positive user feedback, and valuable lessons learned positions us for continued success in future endeavors.
Team work
Our project was a resounding success, thanks to the diligent coding efforts of Haotong. She skillfully implemented the desired functionality, resulting in a seamless and engaging experience for users. The transitions between different scenes were smooth, capturing the interest and excitement of players. Haotong’s expertise and attention to detail ensured that the game operated flawlessly.
Appendix
Code:
Arduino
int x = 0;
int y = 0;
int c = 0;
int button = 0;

const int Trig = 13;
const int Echo = 7;
int distance,time;

void setup() {
  // put your setup code here, to run once:
  Serial.begin(9600);
  pinMode(Trig, OUTPUT);
  pinMode(Echo, INPUT);
}

void loop() {
  // put your main code here, to run repeatedly:

  int sensor0 = analogRead(A0);  //滑动变阻器
  int up = digitalRead(8);
  int down = digitalRead(9);
  int left = digitalRead(10);
  int right = digitalRead(11);
  int center = digitalRead(12);


  digitalWrite(Trig, LOW);
  delayMicroseconds(2);
  digitalWrite(Trig, HIGH);
  delayMicroseconds(10);
  digitalWrite(Trig, LOW);
  time = pulseIn(Echo, HIGH);
  distance = time / 58-2;

  if (distance > 15){
    button = 0;
    //Serial.print("11111");
    //Serial.print(distance);

  }
  else if (distance <= 15 && distance > 0){
    button = 1;
  }

//Serial.println(distance);
  Serial.print(sensor0);
  Serial.print(",");  // put comma between sensor values
  Serial.print(up);
  Serial.print(",");  // add linefeed after sending the last sensor value
  Serial.print(down);
  Serial.print(",");  // put comma between sensor values
  Serial.print(left);
  Serial.print(",");  // add linefeed after sending the last sensor value
  Serial.print(right);
  Serial.print(",");  // put comma between sensor values
  Serial.print(center);
  Serial.print(",");  // add linefeed after sending the last sensor value
  Serial.print(button);
  Serial.println();


  delay(30);
}
Processing 4
import processing.serial.*;
Serial serialPort;
import processing.video.*;
import processing.sound.*;

SoundFile sound;
int NUM_OF_VALUES_FROM_ARDUINO = 7;
int arduino_values[] = new int[NUM_OF_VALUES_FROM_ARDUINO];
int prev_arduino_values[] = new int[NUM_OF_VALUES_FROM_ARDUINO];
int x=600;
int y=300;
float size1 = 0;

float[] xs = new float[10000];
float[] ys = new float[10000];
float[] sizes = new float[10000];

int cidx = 0;

int currentScene = 0;

PImage[] images = new PImage[12];
int currentIndex = 0;
float imageSize = 0;
int bgidx = 1;
int p_S = 0;


void setup() {
  size(1366, 850);
  printArray(Serial.list());

  sound = new SoundFile(this, "song.mp3");
  sound.loop();


  images[0] = loadImage("mainpage.png");
  images[1] = loadImage("p1.jpeg");//zhuomian\

  images[2] = loadImage("p2.png");//lanmeizhuomian
  images[3] = loadImage("p3.png");//juzizhuomian
  images[4] = loadImage("p4.png");// caomeizhuomian

  images[5] = loadImage("p5.png");// lanmei bishua
  images[6] = loadImage("p6.png");//juzi bishua
  images[7] = loadImage("p7.png");// caomei bishua

  images[8] = loadImage("pa1.png"); //lanmei pattern
  images[9] = loadImage("pa2.png"); //juzi pattern
  images[10] = loadImage("pa3.png"); // caomei patterm

  images[11] = loadImage("last.png"); //jiewei
  for (int i = 0; i < 12; i++) {
    images[i].resize(1366, 850);
  }


  serialPort = new Serial(this, "/dev/cu.usbmodem11101", 9600);
}


void draw() {
  getSerialData();


  if (currentScene == 0) {
    scene0();
  } else if (currentScene == 1) {
    chooseBGS();
  } else if (currentScene == 2) {
    gameScene(bgidx);
  } else if (currentScene == 3) {
    closescene();
  }

  for (int i=0; i < NUM_OF_VALUES_FROM_ARDUINO; i++) {
    prev_arduino_values[i] = arduino_values[i];
  }
}

int lastTriggered = 0;
int p_b = 0;

void scene0() {
  getSerialData();
  int button = arduino_values[6];
  background(images[0]);
  //image(images[0], 0, 0, 1366, 1024);
  if (button != p_b && button ==1)  {
  currentScene = 1;
  delay(500);
  //lastTriggered = millis();
  }
    p_b = button;

  //if (lastTriggered != 0 && millis()-lastTriggered > 1000) {
  //  currentScene = 1;
  //}
}

int pleft6 = 0;
int pright7 = 0;

void chooseBGS() {
  getSerialData();
  int left6 = arduino_values[3];
  int right7 = arduino_values[4];
  int startv = arduino_values[6];
  background(images[1]);


  textSize(64);
  text(bgidx, 900, 330);
  fill(255, 0, 0);


  if (startv != 1) {
    if (arduino_values[3] == 1 && prev_arduino_values[3] == 0) {
    }
    if (left6 == 1 && pleft6 == 0) {
      bgidx  = bgidx - 1;
    }
    if (right7 == 1 && pright7 == 0) {
      bgidx = bgidx + 1;
    }
    if (bgidx >3) {
      bgidx = 1;
    }
    if (bgidx <1) {
      bgidx = 3;
    }
    pleft6 = left6;
    pright7 = right7;
  } else if (startv == 1 && p_b == 0) {
    currentScene = 2;
    delay(500);
  }
  p_b = startv;
}


void gameScene(int bgidx) {

  getSerialData();

  int color1 = arduino_values[0];
  int up4 = arduino_values[1];
  int down5 = arduino_values[2];
  int left6 = arduino_values[3];
  int right7 = arduino_values[4];
  int center8 = arduino_values[5];
  int startv = arduino_values[6];


  size1 = map(color1, 0, 1023, 50, 250);
  //color c1 = color(255, 0, 0); // 红色
  //color c2 = color(0, 0, 255); // 紫色


  background(images[bgidx+1]);
  penbrush(x, y, bgidx, size1+10);
  println(cidx);

  if (center8 == 1) {
    if (cidx < xs.length) {
      xs[cidx] = x;
      ys[cidx] = y;
      sizes[cidx] = size1;
      cidx++;
    }
  }


  for (int i = 0; i < cidx; i++) {
    pattern(xs[i], ys[i], sizes[i], bgidx);
  }

  if (x < 0){
    x = 0;
  }
  if (x > 1360){
    x = 1360;
  }
  if (y<0){
    y = 0;
  }
  if (y> 850){
    y= 850;
  }


  if (up4 == 1) {
    y -= 15;
  }
  if (down5 == 1) {
    y += 15;
  }
  if (left6 == 1) {
    x -= 15;
  }
  if (right7 == 1) {
    x += 15;
  }
  if (startv == 1 && p_b ==0) {
    currentScene = 3;
    /*
    for (int i = 0; i < cidx; i++) {

     sizes[cidx]=0;
     xs[i]=-100;
     ys[i]=-100;
     }
     */
    cidx = 0;
    delay(500);
  }
  p_b = startv;
}


void closescene() {
  getSerialData();
  int startv = arduino_values[6];

  //image(images[3], 0, 0, 1366, 1024);
  background(images[11]);
  if (startv == 1 && p_b == 0) {

    currentScene = 0;
    //p_b = 0;
    delay(300);
  }
  p_b = startv;
}


void penbrush(int cx, int cy, int idx, float size1) {
  imageMode(CENTER);
  image(images[idx+4], cx, cy, size1, size1);
}


void pattern(float cx, float cy, float size1, int idx) {
  imageMode(CENTER);
  image(images[idx+7], cx, cy, size1+30, size1+30);
}


void getSerialData() {
  while (serialPort.available() > 0) {
    String in = serialPort.readStringUntil( 10 );  // 10 = '\n'  Linefeed in ASCII
    if (in != null) {
      print("From Arduino: " + in);
      String[] serialInArray = split(trim(in), ",");
      if (serialInArray.length == NUM_OF_VALUES_FROM_ARDUINO) {
        for (int i=0; i<serialInArray.length; i++) {
          arduino_values[i] = int(serialInArray[i]);
        }
      }
    }
  }
}
