Project title: New J planet
Project link: https://github.com/AislynnLi/cclab/tree/master/J-planet
Project live version:https://aislynnli.github.io/cclab/J-planet/
This project is based on J planet, using <input> to reflect the interactivity of J planet on the web page, to achieve easier interaction.
The first feature I added was to choose the color of the planet, using <input type="color">:

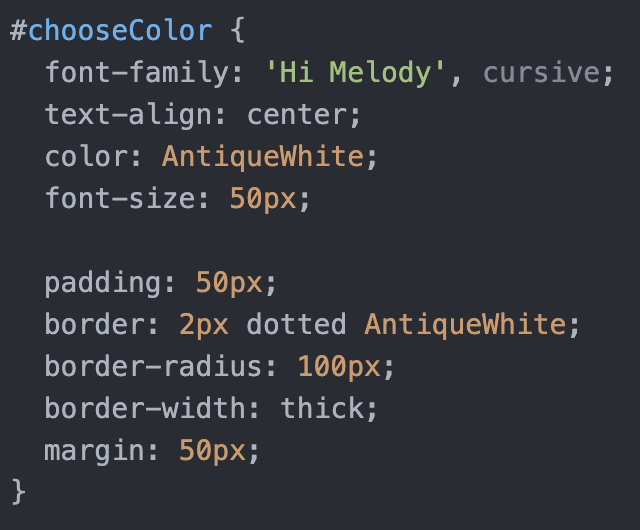
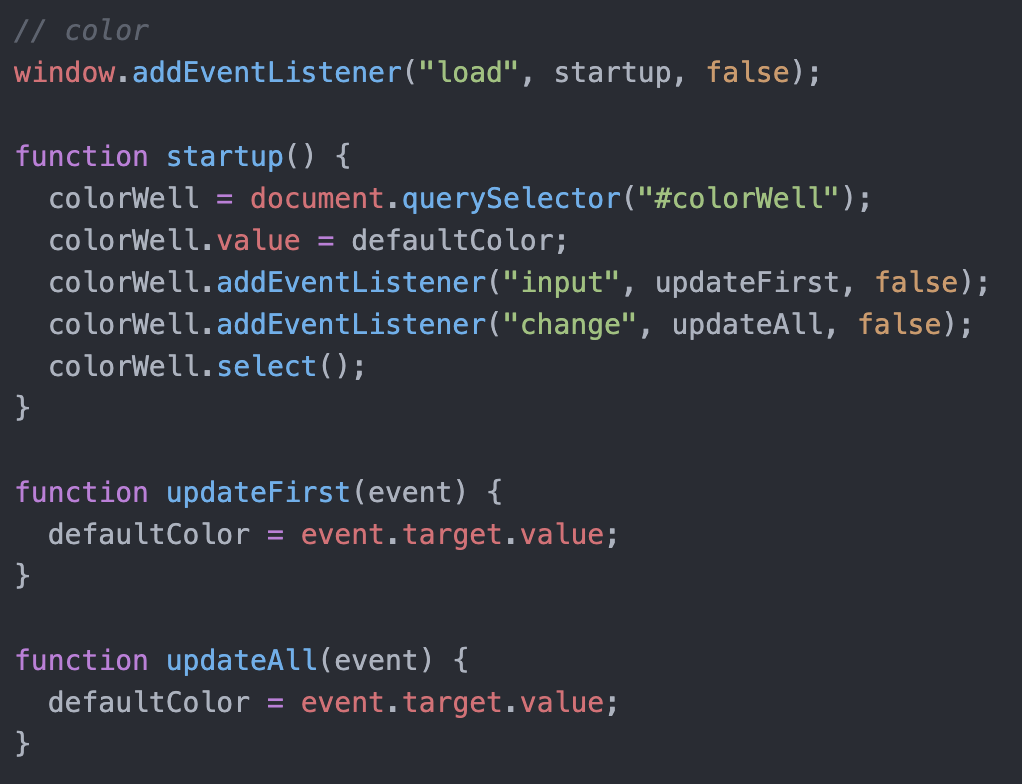

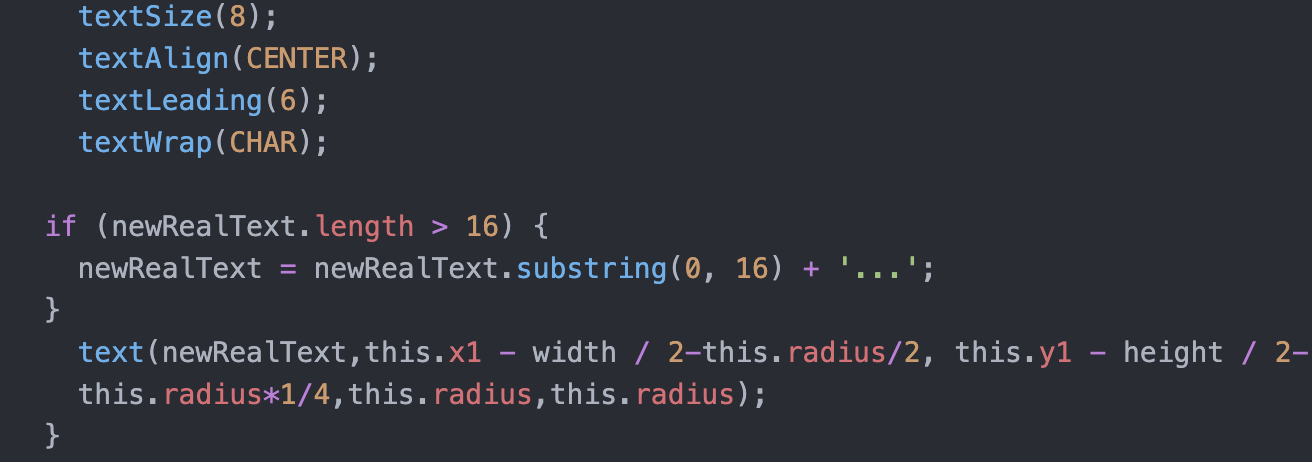
The second feature is that the user can name the particles, in almost the same way as choosing color. But while typing I found that too many words would spill over the edges of the particles. With the help of Professor Haider, I used textWrap(CHAR); and .substring() to control the layout and number of words.
The third feature is that users can upload their own images to change the look of the particles. Thanks to professor Haider, I used createFileInput to achieve this.

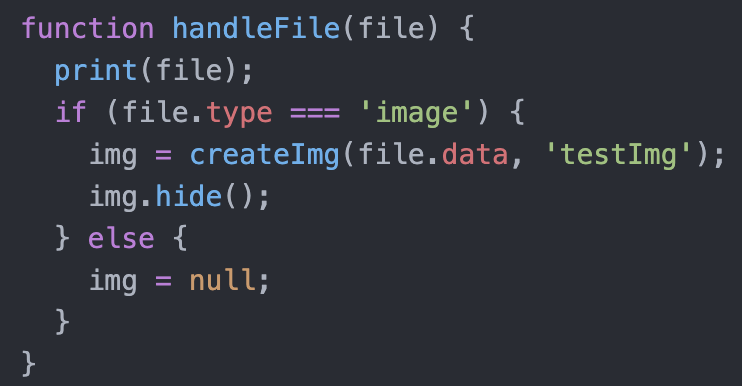
Then I realized that when I change the image, all my other particles will also change their appearance, but I only wanted the new particles to change. Thanks again to professor Haider, I used this.image to lock the image to solve this problem.
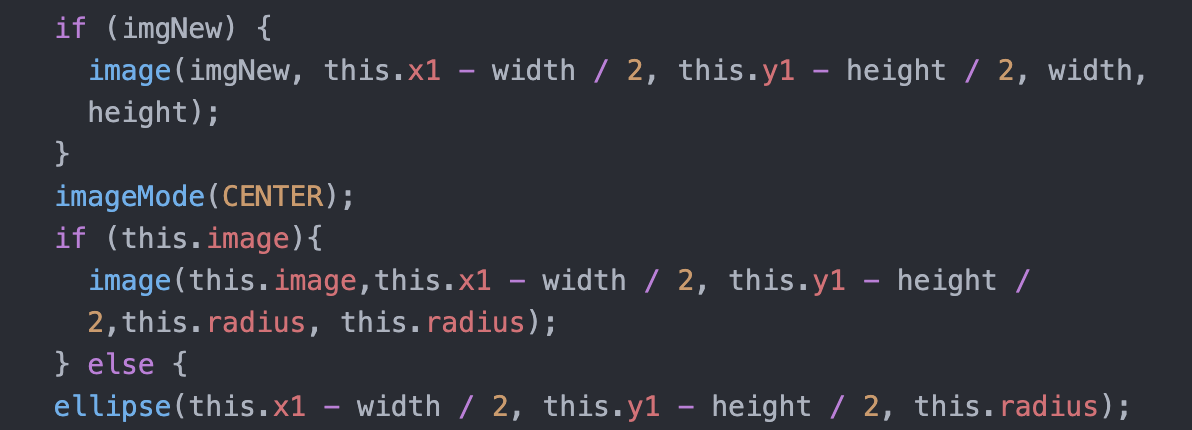
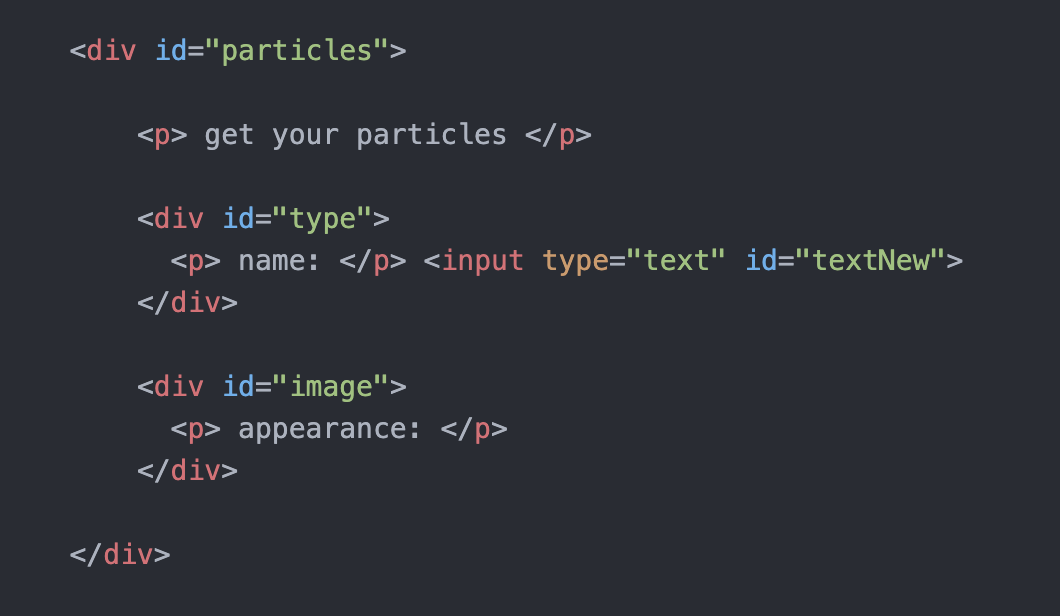
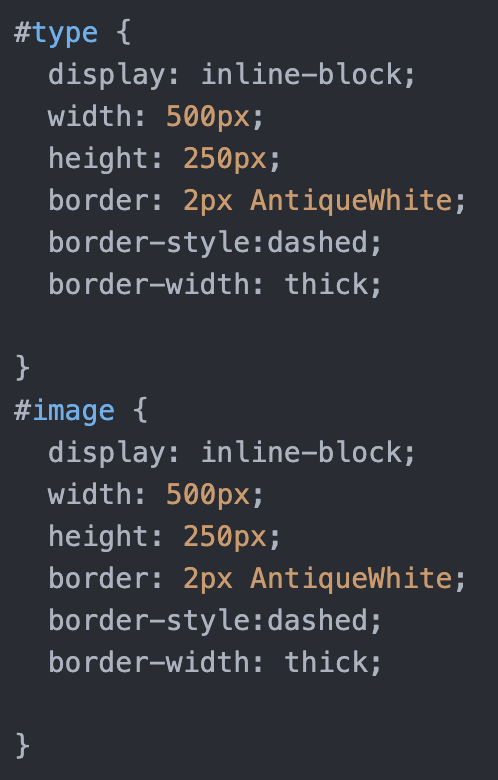
Because both of these are related to changing particles, I used display: inline-block; to make them side-by-side. There is a little misalignment for reasons I don’t know, but I think it looks pretty good so I didn’t change it.
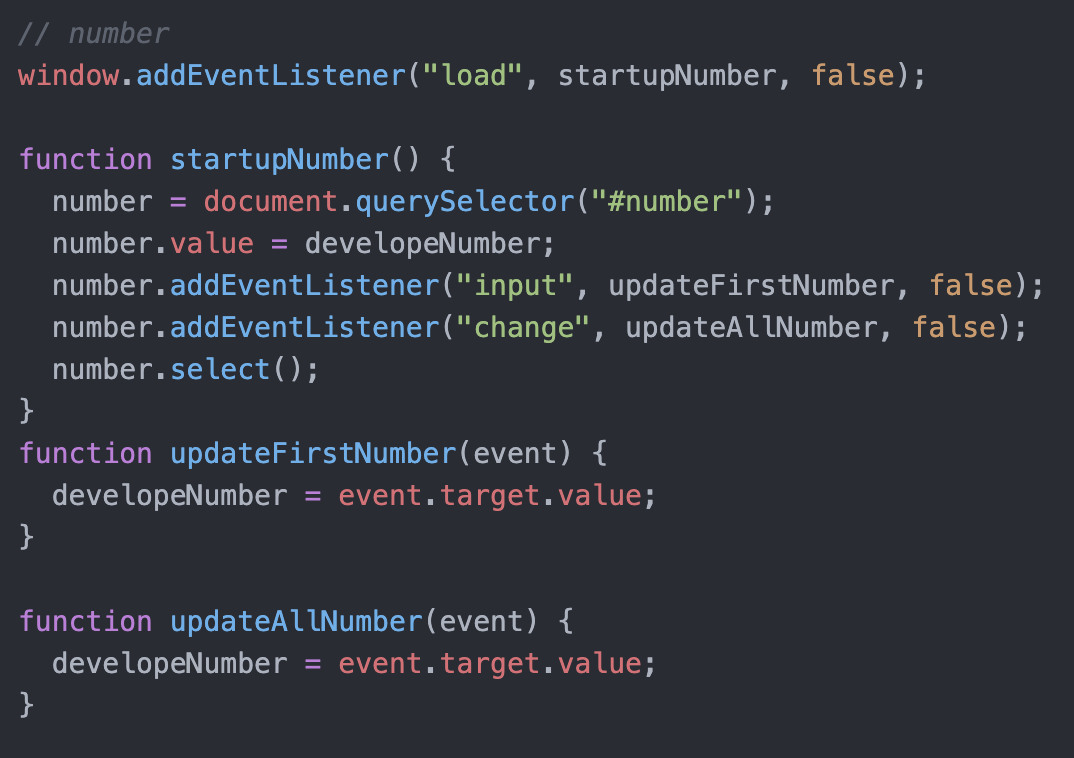
The fourth one I changed is to control the number of particles by entering a number.

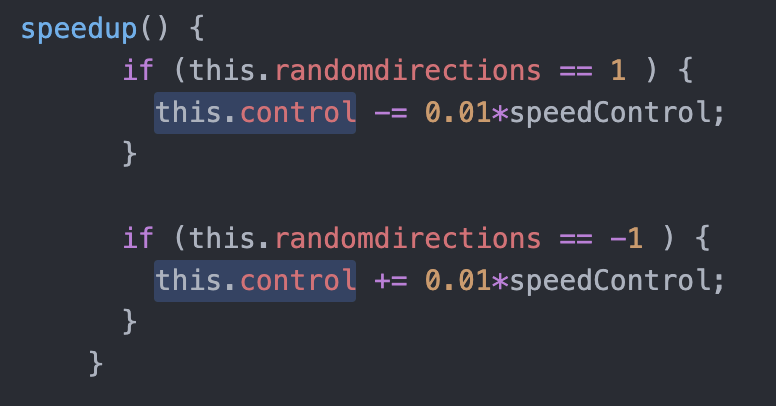
The fifth is to change the speed of the collector by range, I once again deeply realize that the speed of the collector is based on the changing speed of this.control rather than this.control itself.
![]()
![]()

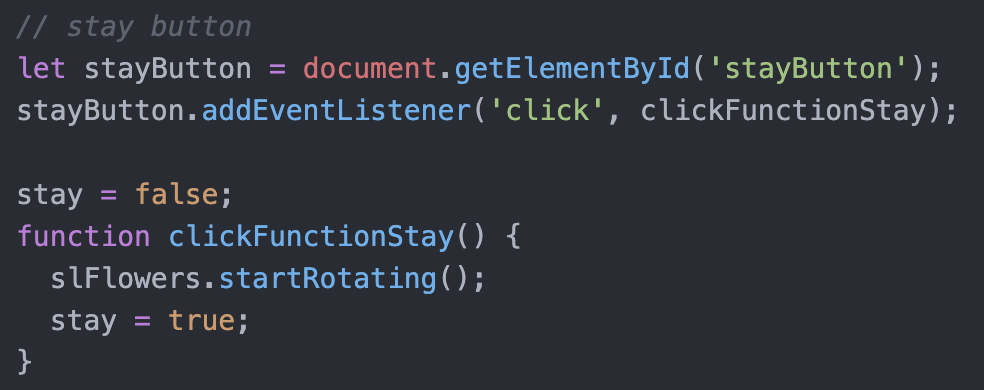
Finally, I made two buttons to reload and let SL Flower stay.


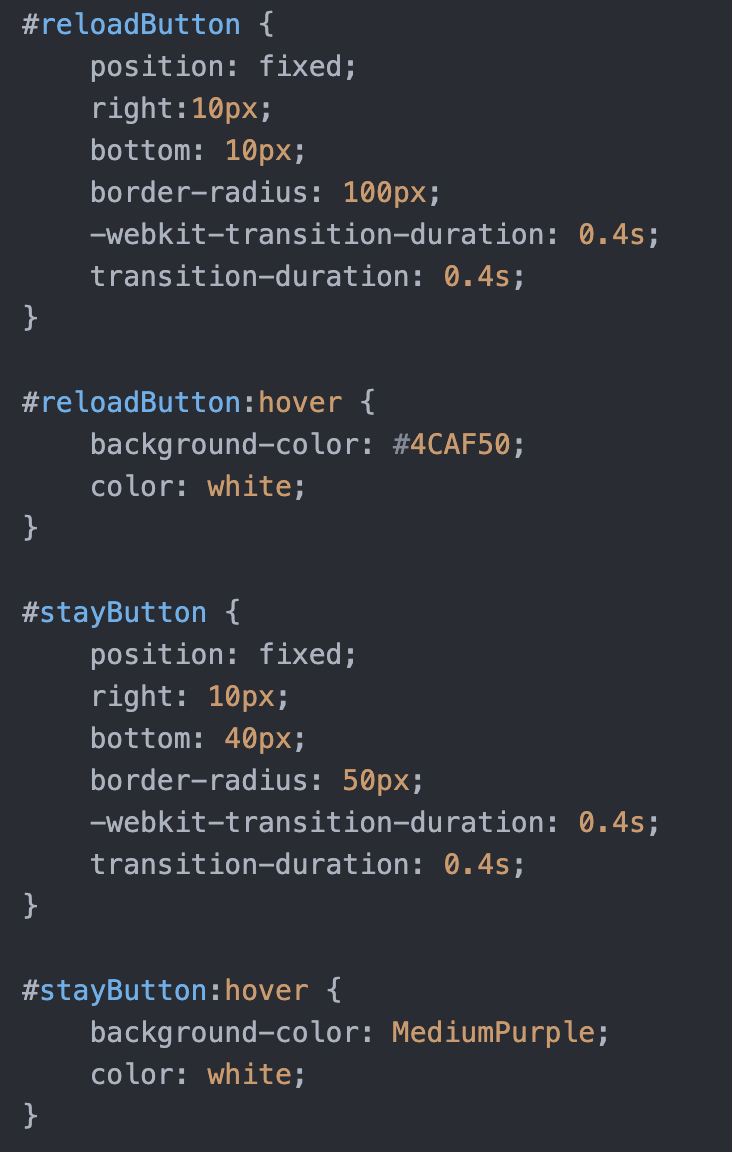
I used position: fixed; to keep them in the lower right corner and hover to make them change color when the mouse passes over them.
Reflections:
1. There is no need to add redundant instructions while users can still easily understand how to interact.
2. Put images in alert(). Small drawing boards and turn what users draw into files in real-time?
3. It’s in the body part of my blog. My main struggle was to get the value of variables that users put in and to adjust and use it in my script. I encountered another problem in that I didn’t find the way to name the input file or put it into my div. At last, I just used position function to let it looks like it’s in the div.
4. How they come together in my webpage is in the body part of this blog. The first difference I noticed is that to change a part in HTML or CSS, I can find it by its name. While changing a part in JavaScript is changing everything. The second difference is that I have to be careful about whether I’m in the right function(I mean the big ones such as setup() or draw() ) when writing in JavaScript, but I don’t need to think about that in HTML or CSS.