Project title: Blinking
Project link: https://editor.p5js.org/AislynnLi/sketches/ZZjaLfmIt
Here is the demo of my project:
Blinking is an interactive portraiture. It is called Blinking because every time it changes feels like you blink and focus again. And somehow, you can see the inner version or the ghost version of yourself.
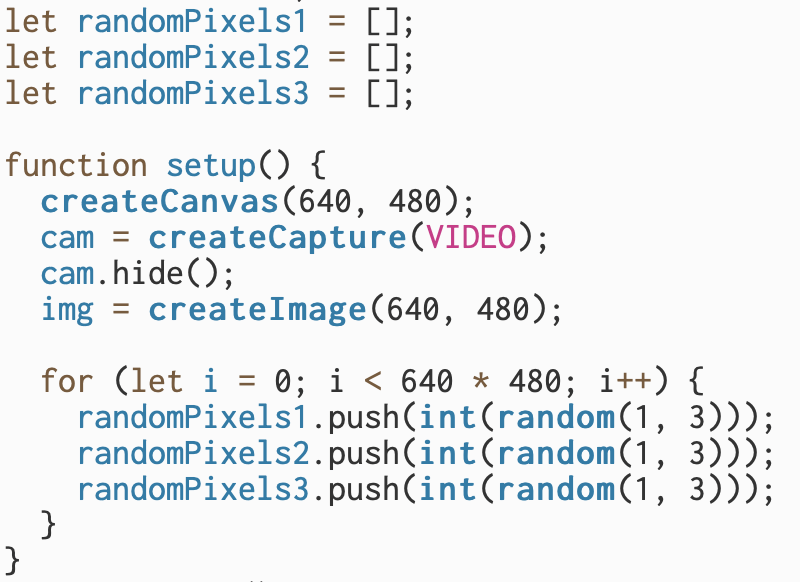
To start, I filled the screen with triangles (everyone loves triangles). I used sin() and cos() in order to make the color repeatedly change. I switched the order of RGB and used 255 minus the value to make the color discomforting.
Here’s my code:
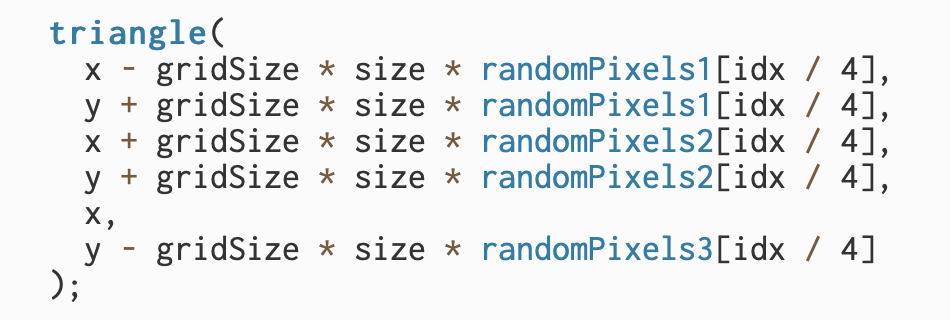
I also wanted to make the triangles less regular. I used the variable size to change the size of triangles. But then triangles still look the same in shape, thanks to professor Gottfried, I used global variables to generate the length of every side of triangles.
Here’s my code:
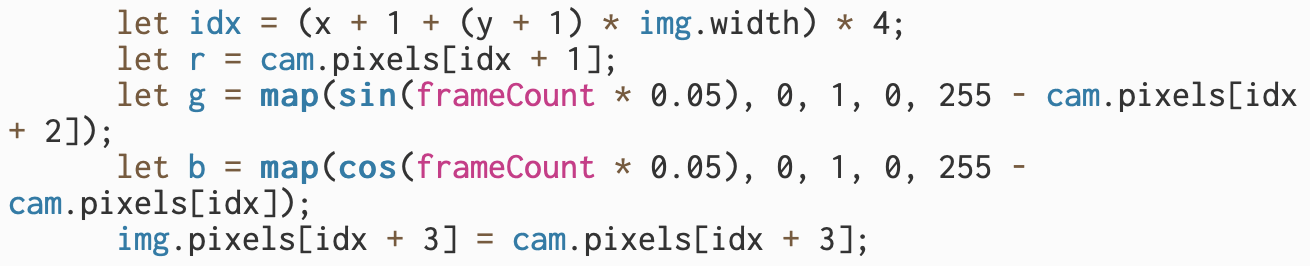
After that, I wanted to try something else. So I filled the screen with lines. But it was pretty difficult to recognize the shape if I change color. So I changed the color back to the camera color.
Here’s my code and the effect:

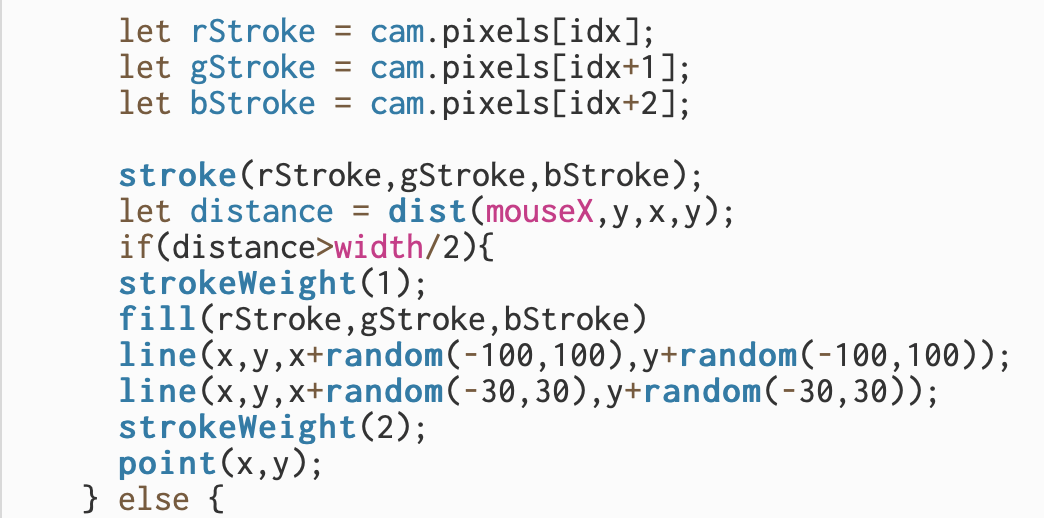
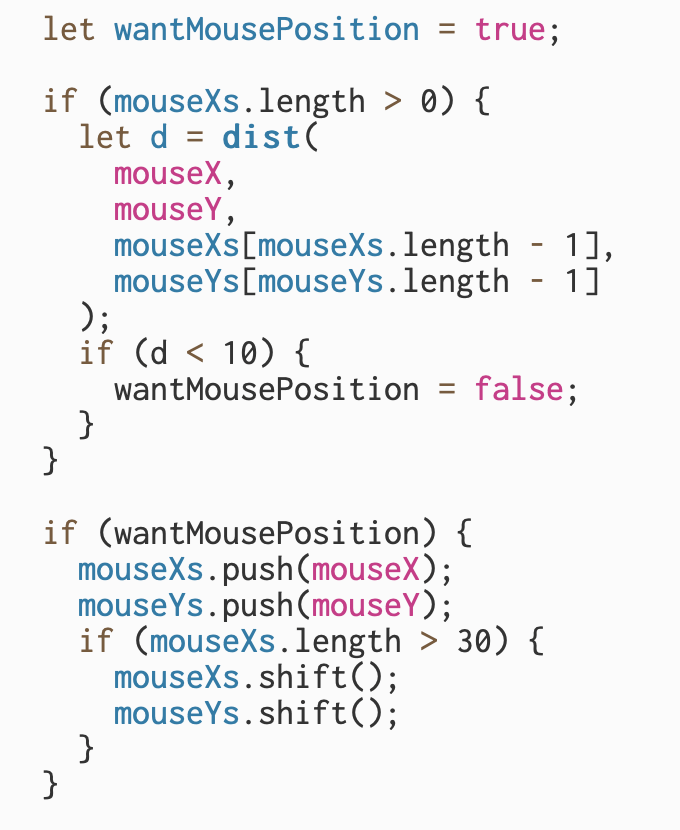
Then I wanted to combine these two modes or versions smoothly. So I learned from professor Gottfried again about how to record the places where the mouse passed, in order to achieve the effect that where my mouse pass the mode switch.
Here’s the code:
But the effect was not that great…(I drew circles only to better see where the lines were):

The lines were so loose that I couldn’t see the shape at all, and it’s intermittent. Through console.log() I found that the mouse passing position was recorded, but probably because it was too stuck, it didn’t correspond to drawing the line.
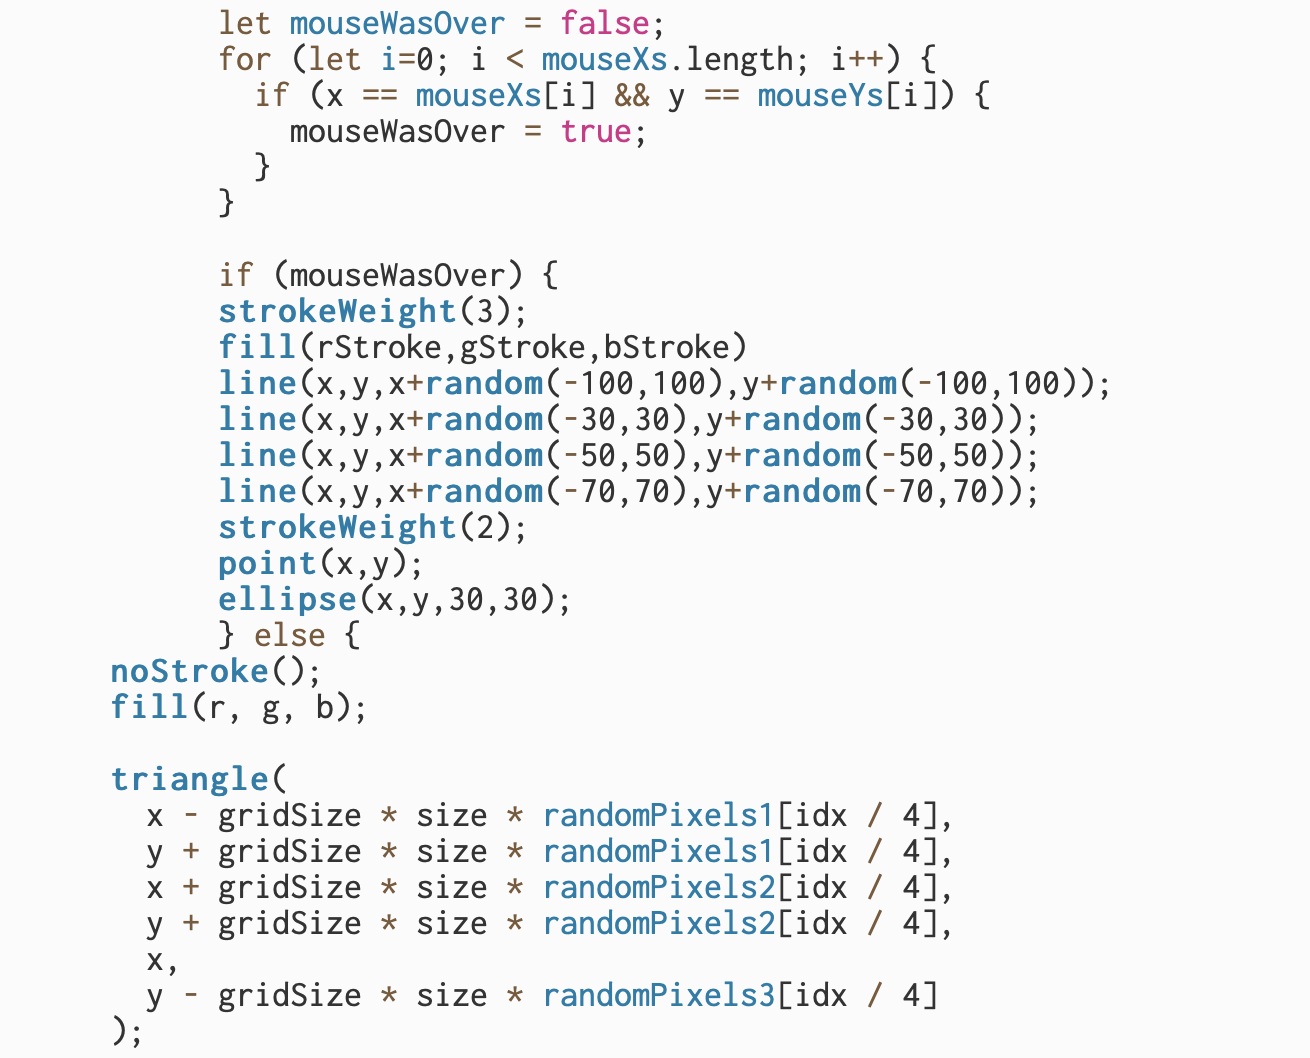
Therefore, I decided to change to something else. I tried drawing ellipses. And I used another loop with stable “gridSize” to stop it from “blinking”.
Here’s the effect:
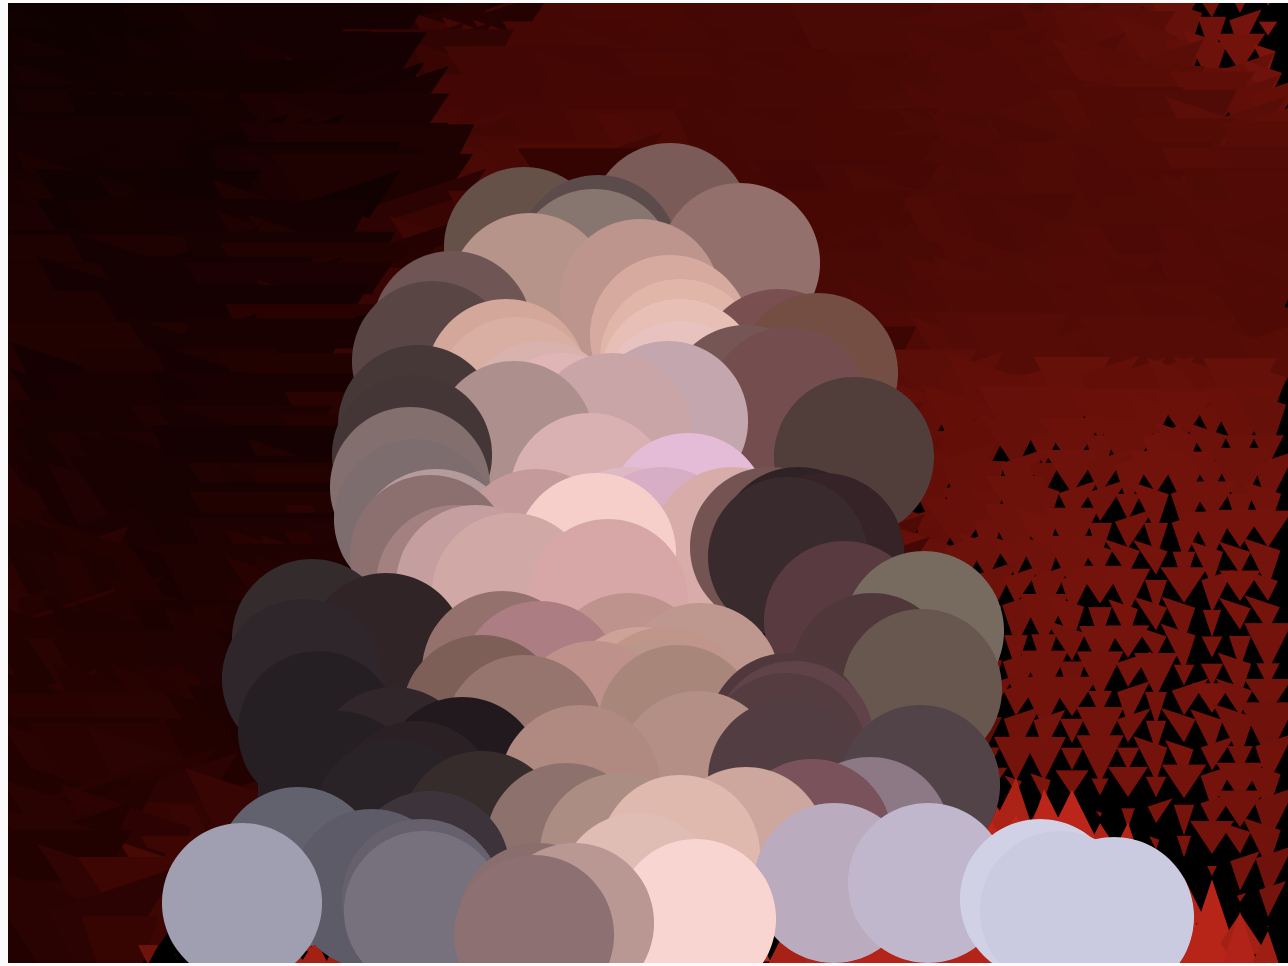
It’s still super difficult to see what’s on the screen.
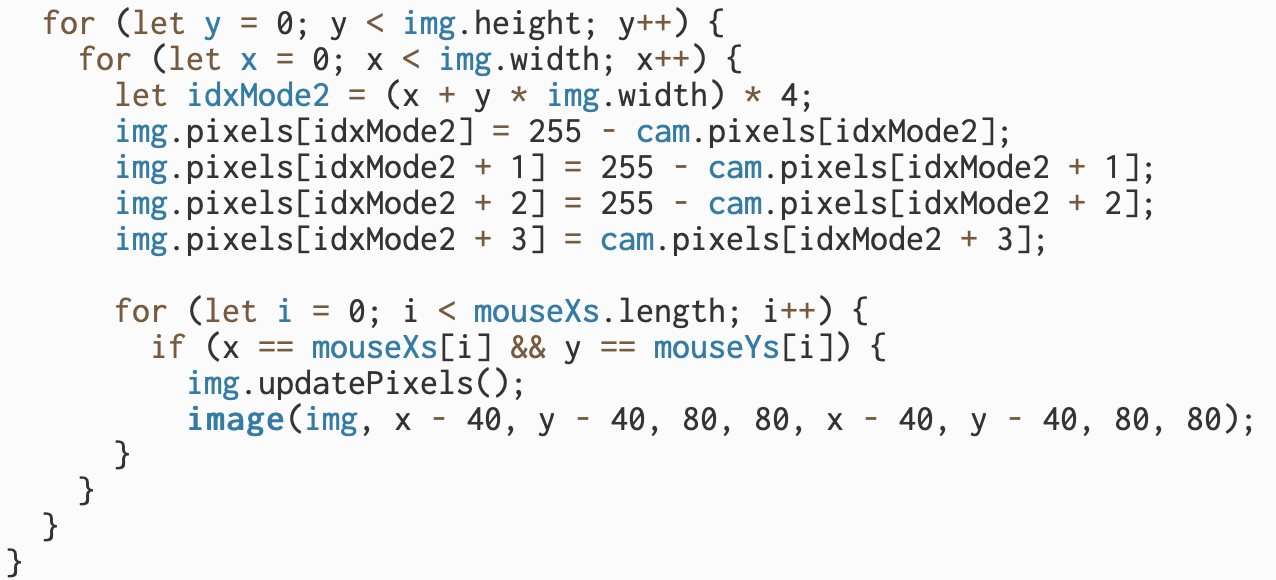
Finally, I tried to use img.updatePixels() . According to the p5.js reference, I load the specific part of the image in the specific spot.
Here’s my code: