Step ON Tune – Adriana Giménez Romera – Inmi Lee
CONTEXT AND SIGNIFICANCE
Interaction is a dynamic process characterized by the reciprocal exchange of information and/or behavior between two or more agents that mutually influence each other toward the production of an output or response. The outcomes of the interaction process are not predetermined but instead highly variable as they are dependent on the actions, decisions, and behaviors of the interacting agents as well as on their particular perception of the environment where the interaction takes place.
As a creator, you can lead the user through a good design and intuitive interface, but you can never restrict how they will choose to interact with your creation. Having this in mind, I wanted to make our project as intuitive as possible and reduce the Gulf of Execution that Don Norman talks about.
Step ON Tune has a clear understandable mission, creating music through physical movement. It is easy to interact and learn how to play with our project because it provides instant feedback to the user, either by playing a tone, a continuation of a beat, or by the absence of all sound.
There are many projects revolving around sound and music creation, the special value of ours is in its interesting setup, using feet instead of hands to play notes. It can be played either by one person, a couple, or a larger group of people, because of its 360-degree design. Its target audience is quite broad, it can be used as a fun instrument for kids, an exercise motivator since moving from step to step can feel like a workout after a while, or just for someone who wants to improve their foot coordination and musical skill.
CONCEPTION AND DESIGN
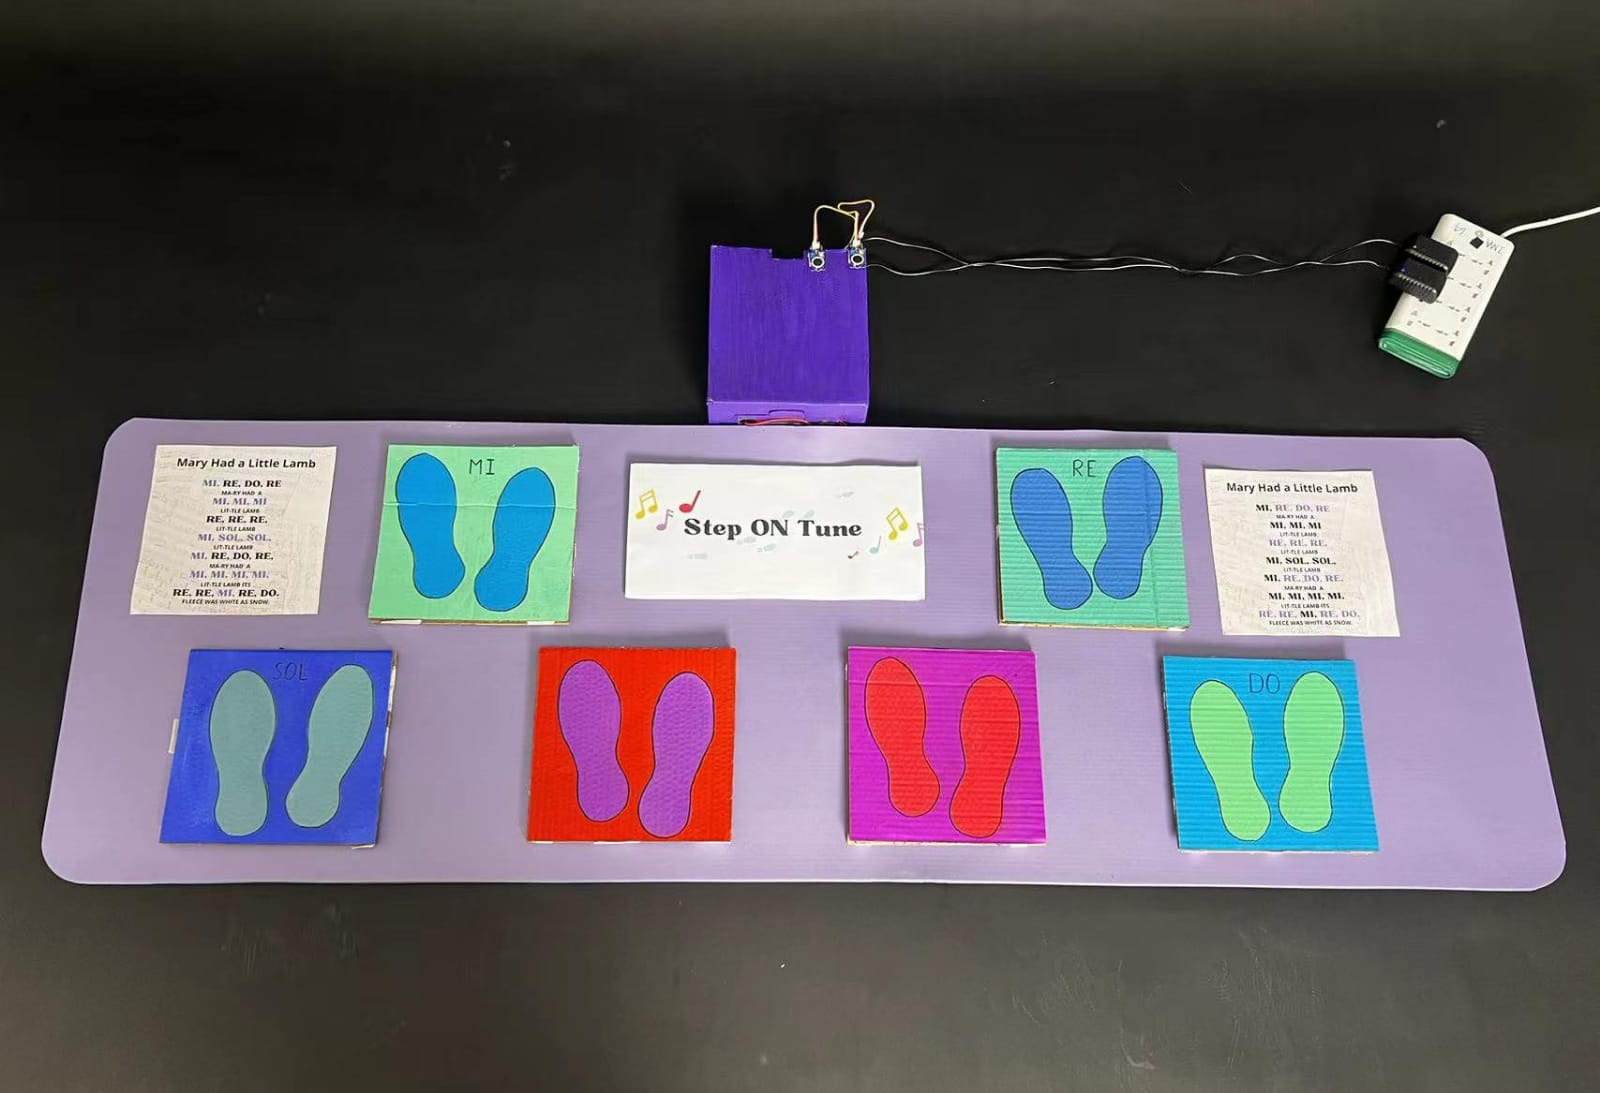
Step ON Tune was conceived as a seamless and intuitive project that would allow users to create music through the movement of their feet. Careful consideration was given to the selection of materials, prioritizing durability, flexibility, and affordability. The choice of a yoga mat as the canvas for our project not only provided a comfortable and familiar surface but also ensured safety during movement, a lesson learned from our user testing experience.
The design incorporated six color-coded cardboard squares embedded within the mat, each accompanied by footprints to guide user interaction. This thoughtful layout aimed to encourage multi-user engagement while facilitating ease of use and creativity. When pressed, the vibration sensors would act as inputs for a speaker (output) that would play the note or beat corresponding to that particular cardboard step.
FABRICATION AND PRODUCTION
Throughout the production process, we encountered both challenges and successes and collaboratively worked to support each other throughout all of them, especially through the many challenges. While I ended up focusing more on the code and the external interface of the project, and my partner more on the internal skeleton, i.e. sensors, we both found ourselves helping each other and working on the same steps for the most part.
To more clearly define our fabrication and production process: I will divide the steps we followed into building the code, assembling the internal skeleton, and decorating and putting together the external interface of the project.
But before I jump into that, I must mention how pivotal the User Testing session was in terms of redefining our design. You will see that as I explain each of the following parts, there is a clear distinction between the “before” and the “after” of User Testing.
1. Building the Code
Initially, we developed a basic program that mapped each sensor to a specific tone, allowing users to trigger sounds by stepping on the cardboard squares. We received valuable feedback regarding the responsiveness of the triggers, the overall flow of the interaction, note duration, and melody.
This resulted in us making significant adaptations to the code. Many testers reflected to us that they would prefer it if they could have a pattern or a song to follow, an aim to the interaction itself and that instead of random pitches they would prefer it if they could identify notes with which to either play a song, or create one themselves. Following this, we fine-tuned our code as follows:
First, I gave users the option to turn on a beat. This was the most complex part of the programming section of our project. Leveraging a series of if statements and boolean variables, and with the help of Professor Gottfried, we devised a system where users could initiate a beat, which would persist in a continuous loop until deactivated by stepping on the same square, much like a metronome. We introduced an additional element by integrating a secondary pedal square that when activated in tandem with the primary beat pedal, would elevate the tempo, adding a dynamic layer to the user’s musical experience.
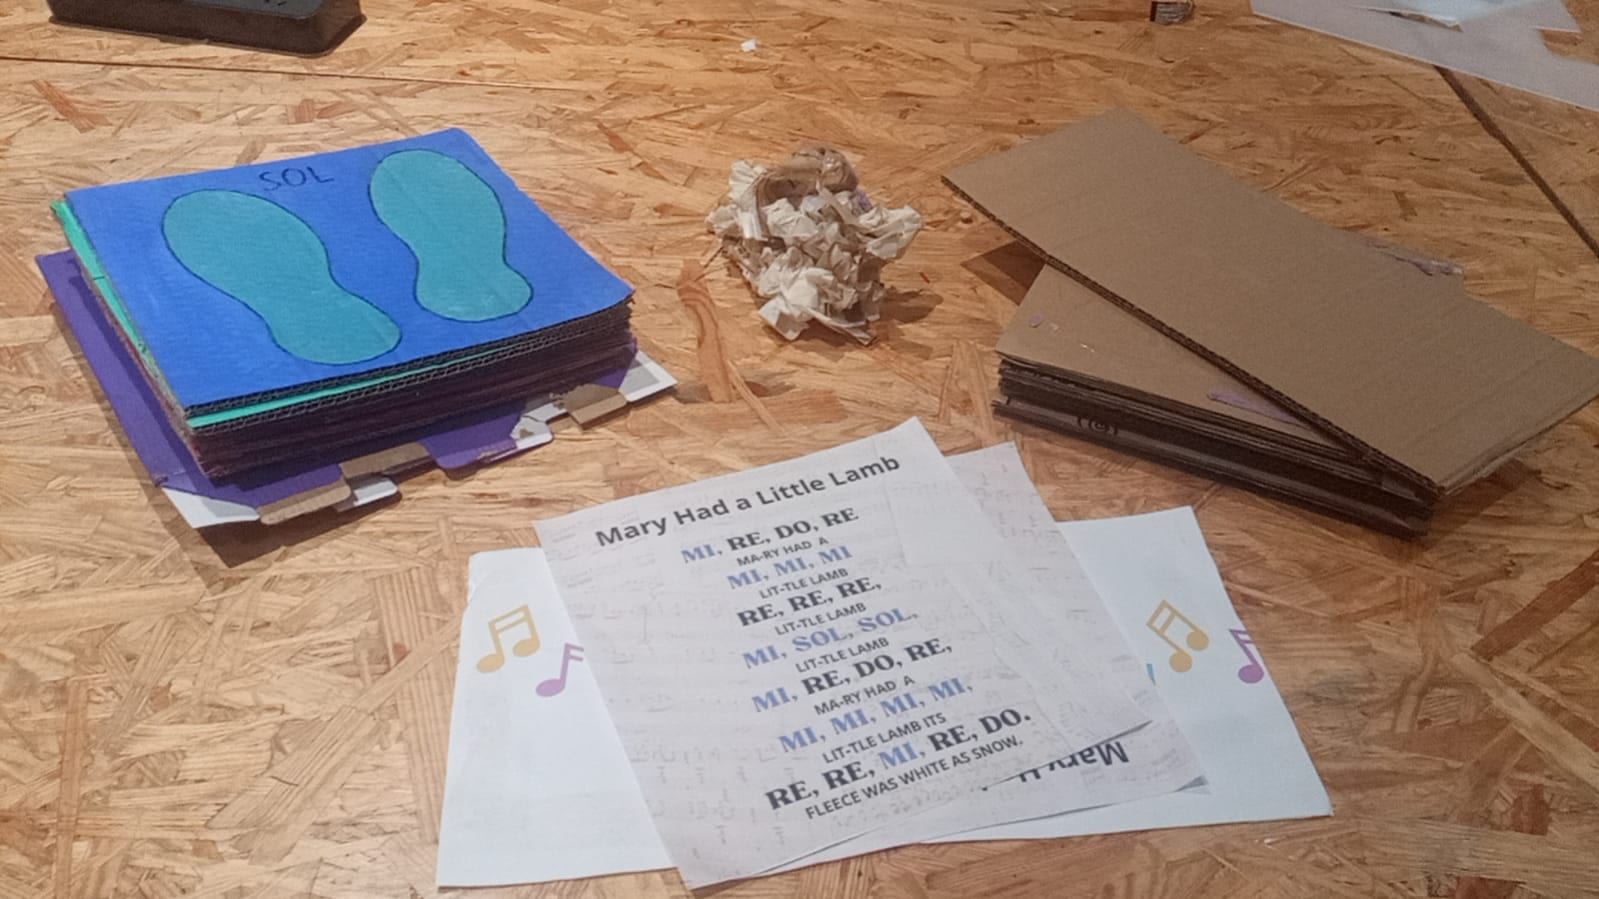
Second, we switched the tones from randomly selected pitches to the notes DO, RE, MI, and SOL (with which you can play a variety of songs, among which is “Mary Had A Little Lamb) the one we used as an example.
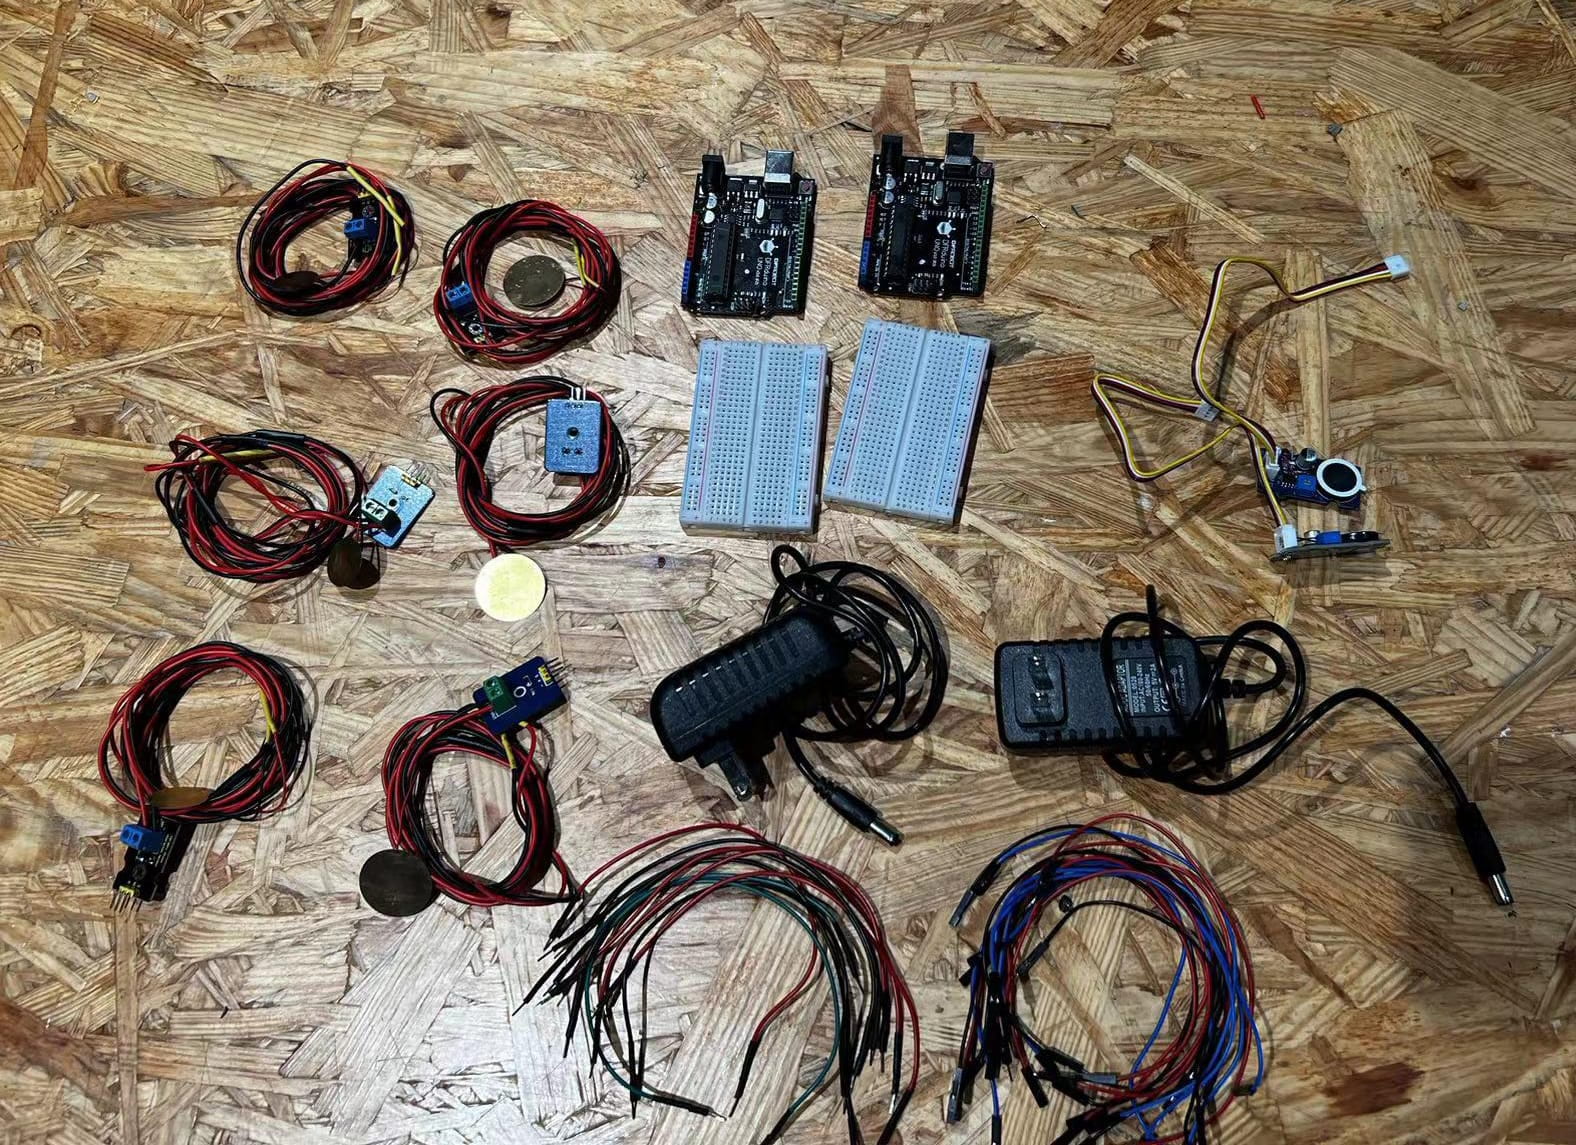
2. Assembling the Internal Skeleton (Sensors + Wiring)
On a first basis, we approached this step with optimism and a sense of readiness, eager to bring our vision to life. However, as we delved deeper into the intricacies of sensor integration, we encountered a series of challenges that tested our patience and perseverance.
Despite our careful planning and attention to detail, we soon discovered that sensor integration was far more delicate than anticipated. The slightest misalignment or faulty connection could disrupt the entire system, requiring meticulous troubleshooting and re-soldering. Not to mention how easy it was for a wire to suddenly detach when moving our project.
Despite our diligent efforts, we faced setbacks during the process, particularly concerning intermittent connectivity issues and sensor malfunctions.
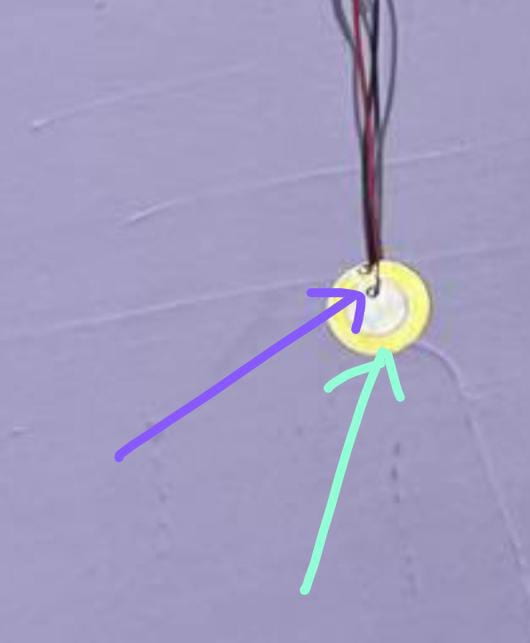 It wasn’t until later stages of the project that we made a crucial discovery regarding the vibration sensors we utilized. We learned that the positive and negative wires couldn’t be connected to the same circle on the sensor; they needed to be attached to different circles.
To improve the aesthetics of our project, and make sure no sensors were damaged by unintentionally being stepped on, we had to elongate the wires like so:
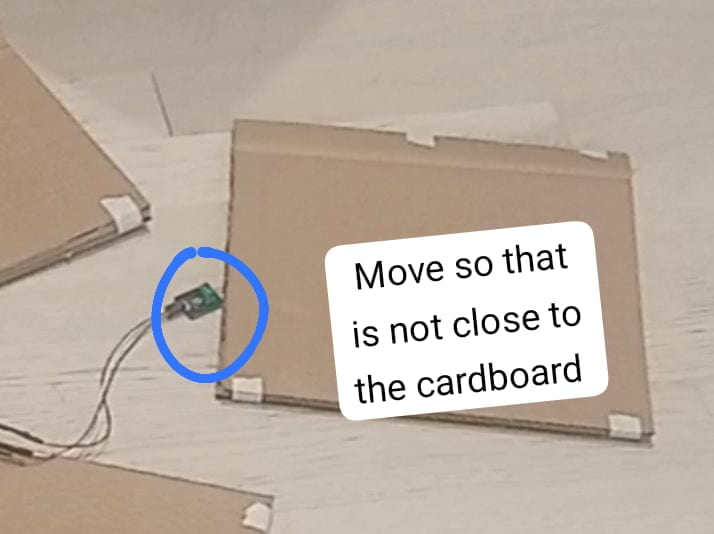
This was a sort of easy fix, (although it was not that easy in hindsight), but it made a huge difference.
Ultimately, the assembly of the internal skeleton proved to be a labor-intensive but rewarding endeavor. Plus, my partner truly became a soldering guru by the end of our project.
3. External Interface and Decoration
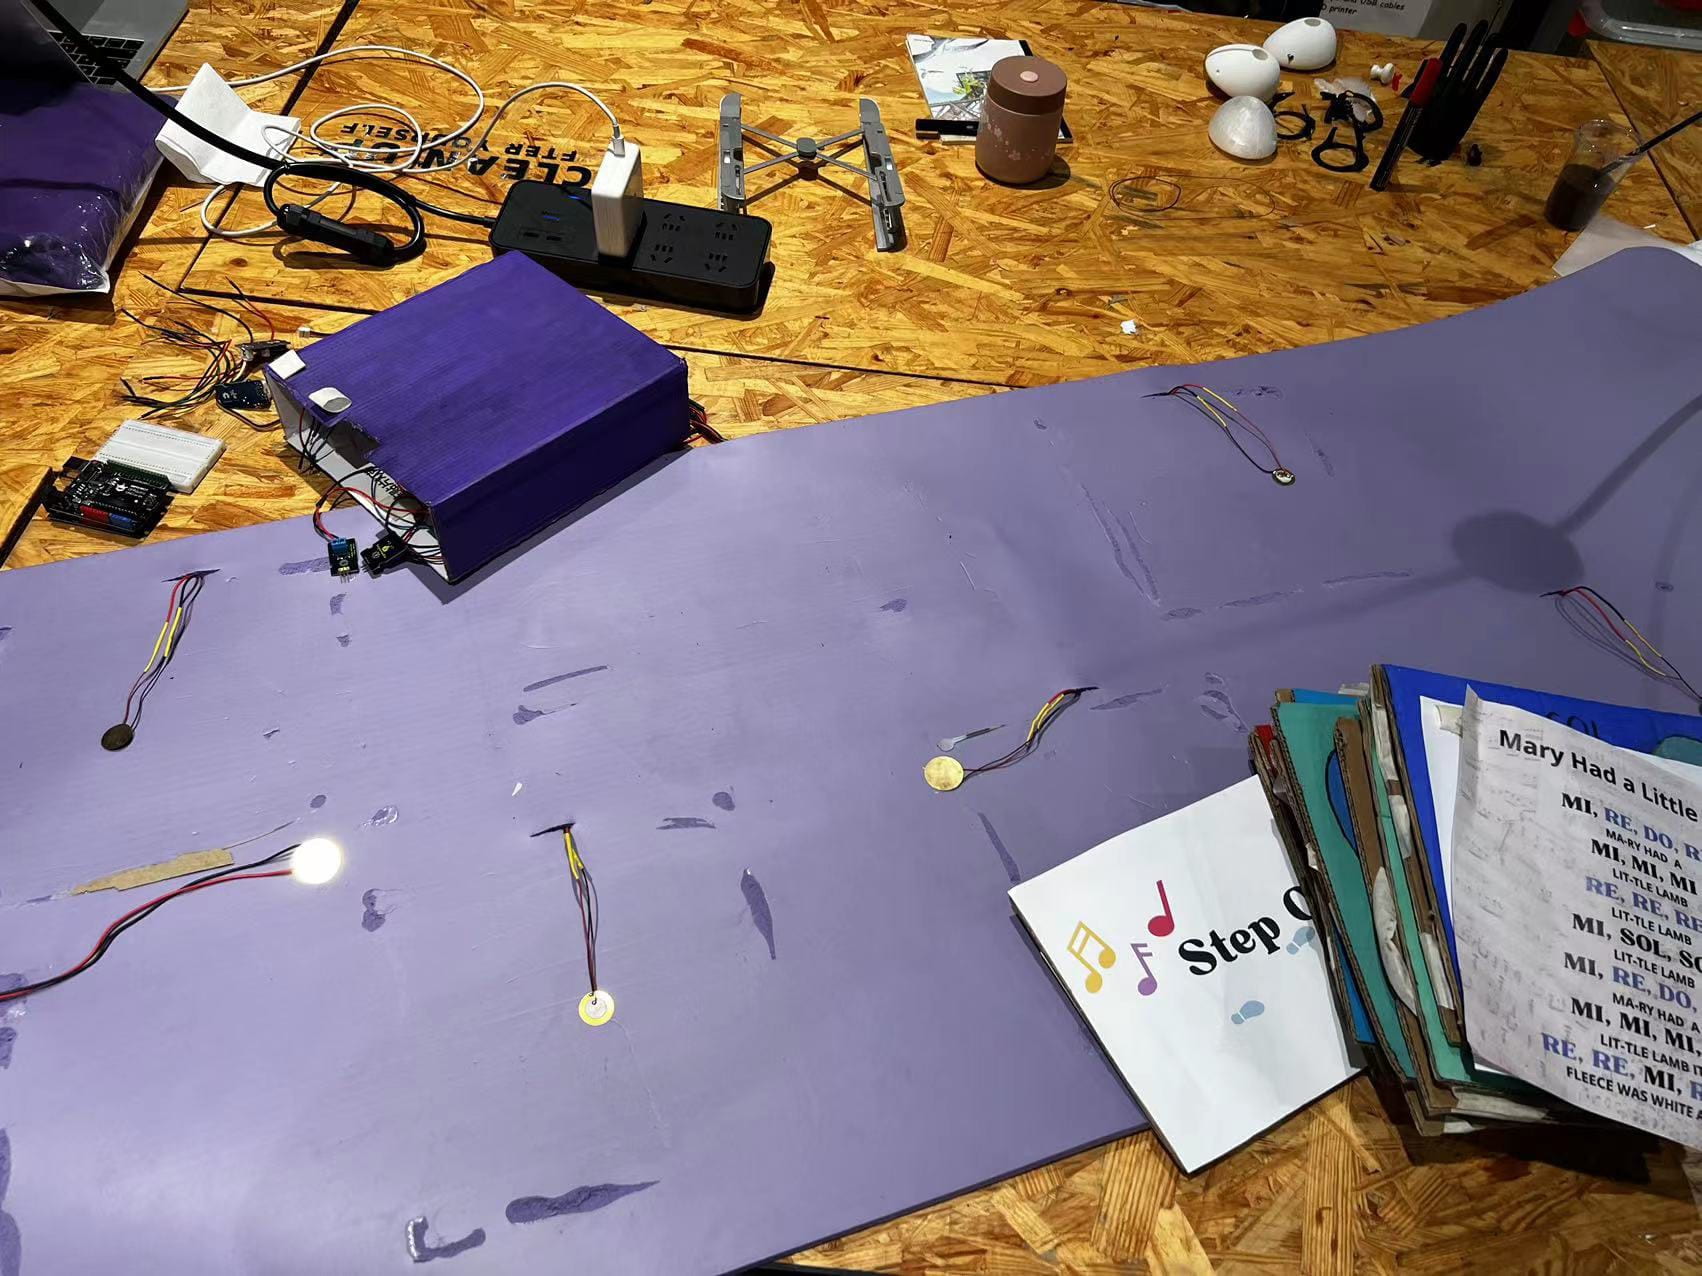
With the sensors securely attached to the wires and connected to our breadboard, the next step was to assemble the external interface of our project. I cut 12 cardboard squares, utilizing two for each step on the mat. Placing each sensor in between the two cardboard pieces, I then taped them together to form sturdy units.
Each external cardboard piece featured a footstep drawing, complemented by subtle color coding. The squares denoting beats were distinguished in purple and red, while those representing notes were differentiated in blue and green tones, facilitating easy identification of sounds. The layout was meticulously designed to encourage multi-user interaction, with the squares strategically spaced to ensure each player had ample room to engage with the project.
After coloring and attaching the squares and sensors, I hot-glued them to the yoga mat. To maintain a clean and seamless design, I made small incisions to conceal the cables, ensuring a tidy appearance. Passing the cables through these incisions, I gathered them neatly into a box, further enhancing the aesthetic appeal of our project.
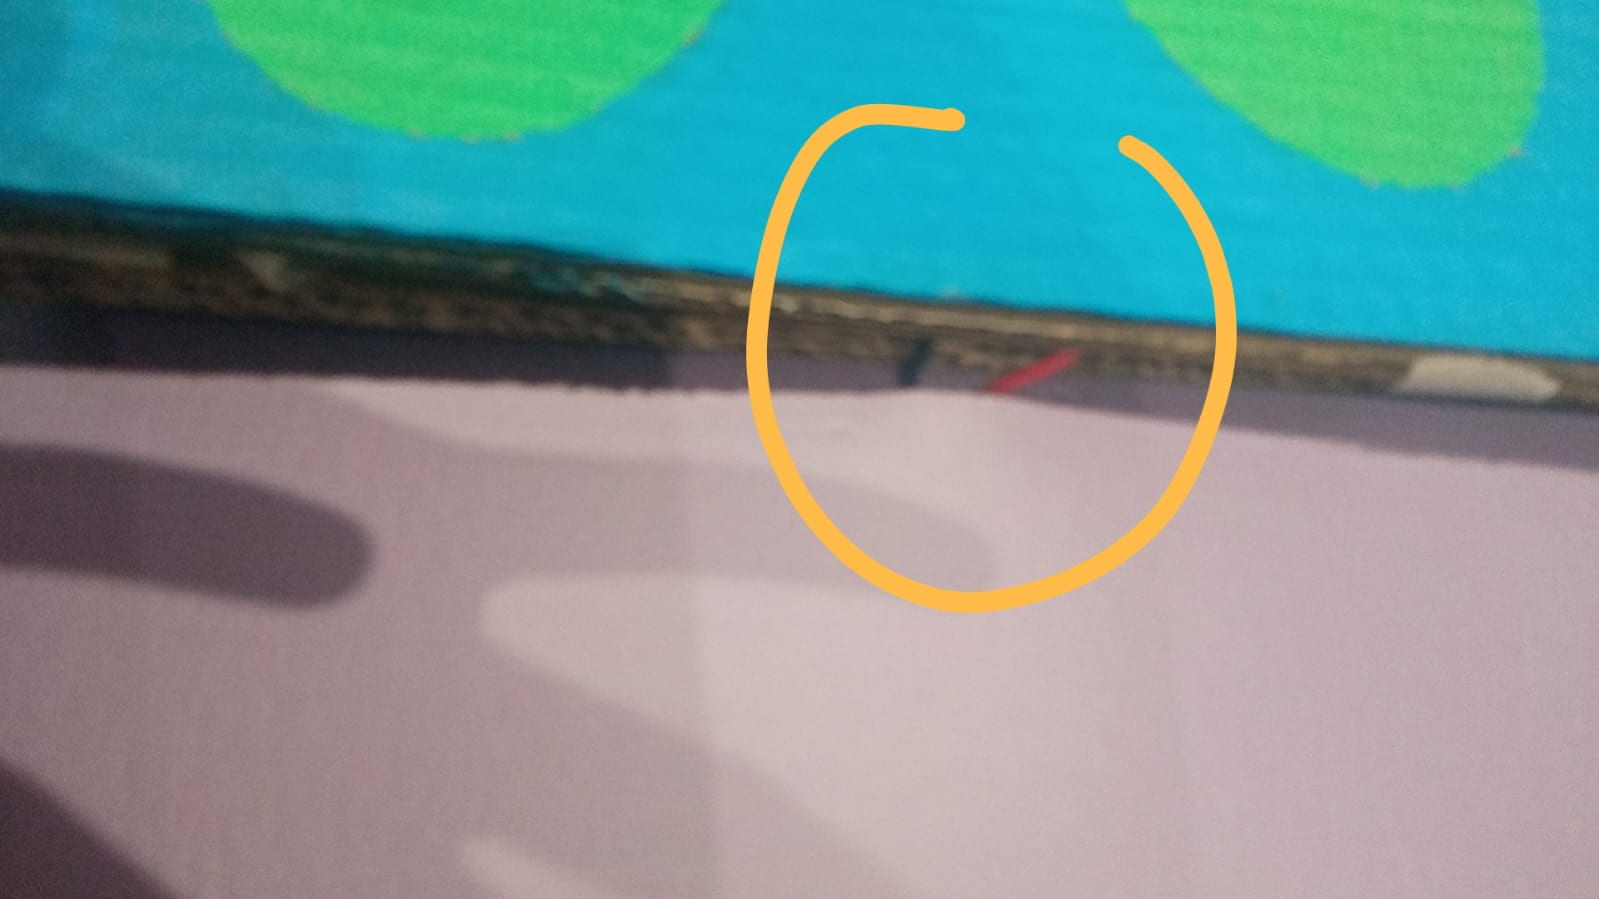
There was a huge change in the appearance of our project during user testing and the final presentation, and despite it not being 100% perfect, both my partner and I were quite satisfied with the visual appeal of our project.
CONCLUSIONS
The primary goal of Step ON Tune was to create a user-friendly and engaging platform for music creation through physical movement. Our project sought to embody the essence of interaction by facilitating a reciprocal exchange between users and the interface, where actions and responses converge to produce a harmonious musical experience.
In retrospect, our project’s results align closely with our definition of interaction. Step ON Tune succeeded in providing users with a seamless and intuitive interface, enabling them to express themselves creatively through music. The instant feedback provided by the project allowed users to easily understand and engage with the interface, bridging the “Gulf of Execution” identified by Don Norman.
However, while Step ON Tune effectively facilitated interaction, there were areas where our project fell short of our expectations. Despite our efforts to streamline the user experience, some testers found certain aspects of the interaction less intuitive than anticipated, e.g the BEAT 1 and 2 pedals. This highlights the inherent challenge of designing for diverse user preferences and skill levels, underscoring the importance of continuous iteration and refinement.
Throughout the testing process, we gained valuable insights into user behavior and preferences (some users even contradicted other users’ preferences), which informed us of the diversity of user desires and ways of interacting. Given more time, we would prioritize further simplification of the interface and enhance feedback mechanisms to address user concerns, improve the sensor sensitivity, and add more interesting functions to the project like for example a pressure sensor that changes the pitch of notes, etc.
Despite the setbacks and challenges encountered along the way, the journey of creating Step ON Tune has been a rewarding learning experience. From mastering soldering techniques to refining code and design elements, each obstacle presented an opportunity for growth and improvement. Ultimately, I take away from this project a deeper understanding of the complexities of interaction design.
Step ON Tune may be a modest project in scope, but its impact lies in its ability to inspire creativity, foster engagement, and spark joy in its users. At least, our experience building this project was one of solving problems creatively and staying committed to our mission of making music more accessible and enjoyable for all.
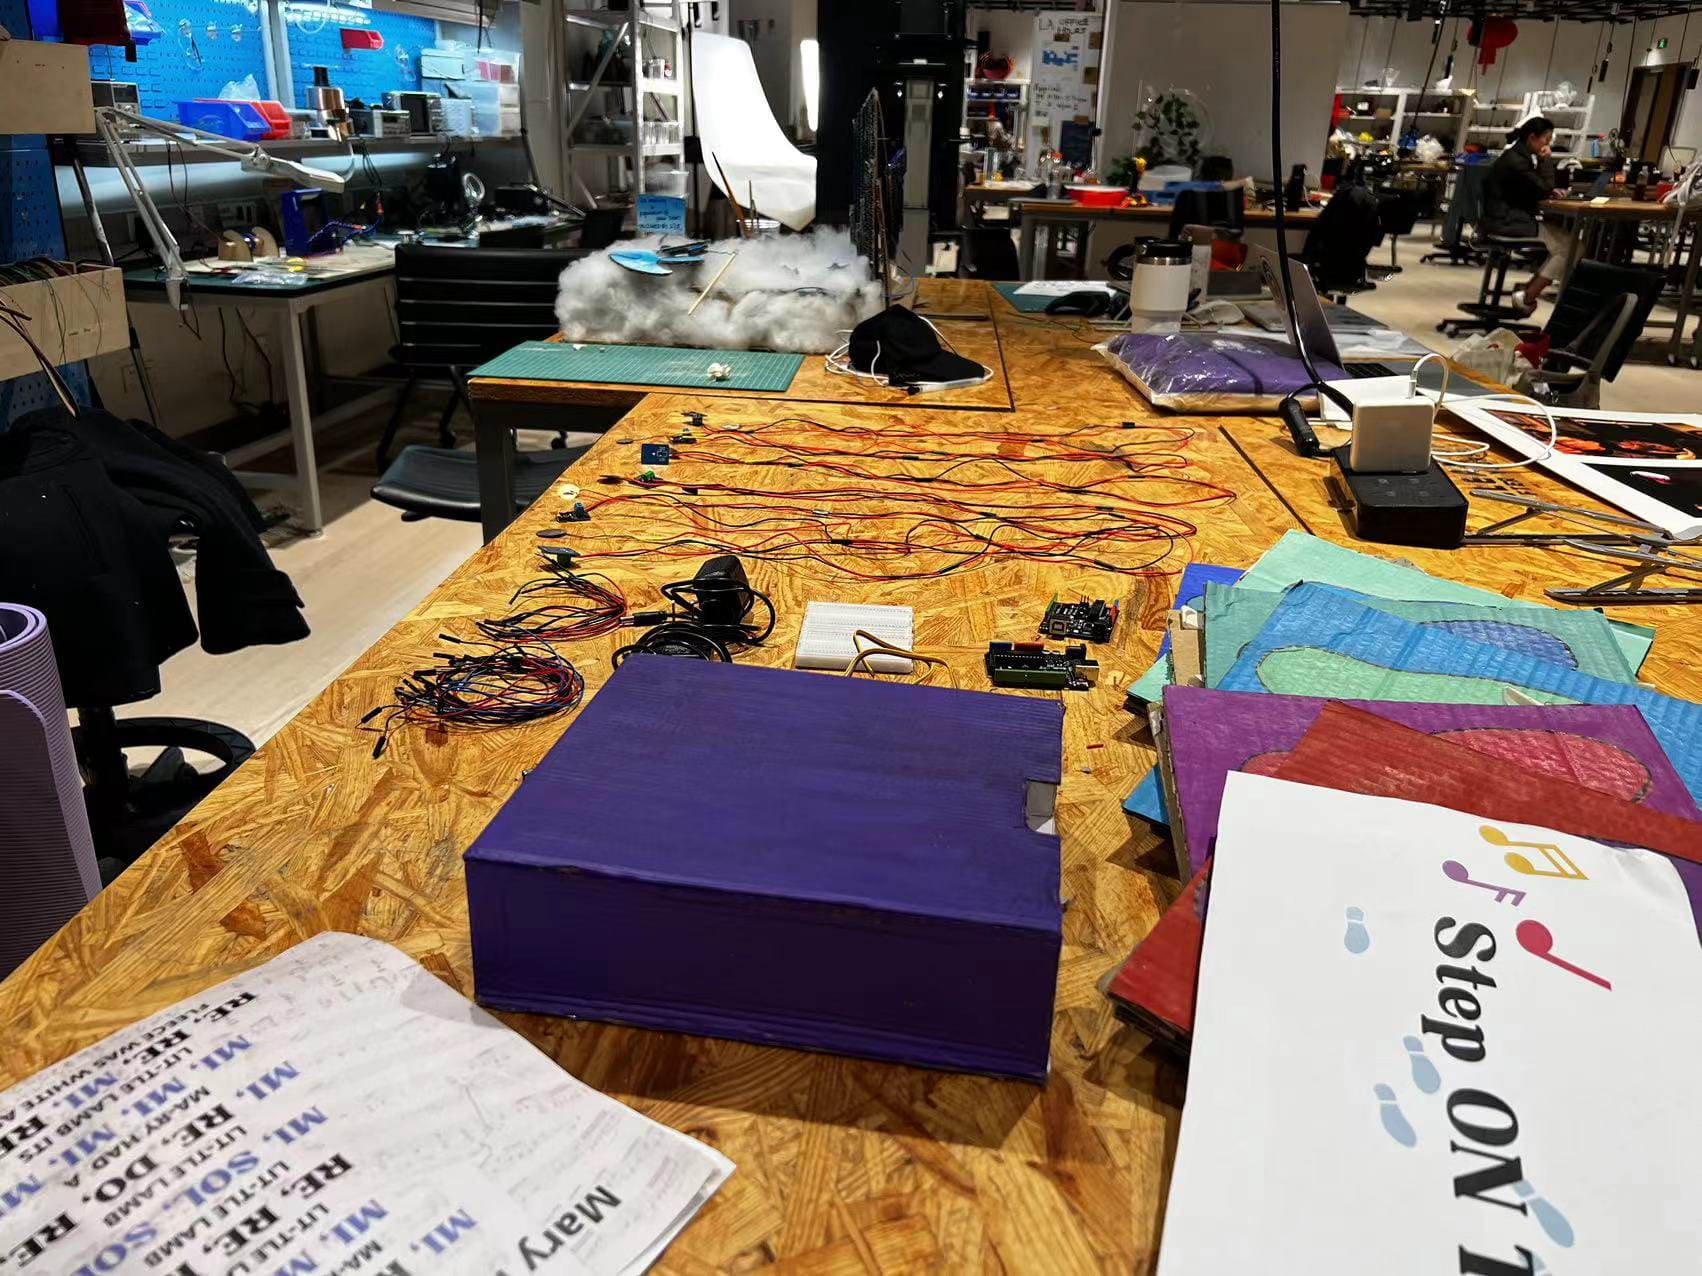
DISASSEMBLY
APPENDIX
[FULL CODE_BEAT 1 & 2]#include "pitches.h" const int vibrationSensorPin1 = A0; // Pin connected to vibration sensor 1, plays beat 1 const int vibrationSensorPin2 = A1;// Pin connected to vibration sensor 2, plays beat 2 const int buzzer2 = 7; bool isPlaying = false; int melody[] = { NOTE_GS3, NOTE_GS3, NOTE_GS3, NOTE_GS3, NOTE_G6, 0, NOTE_G6, NOTE_GS3 }; // note durations: 4 = quarter note, 8 = eighth note, etc.: int noteDurations[] = { 4, 4, 8, 4, 8, 4, 4, 4 }; /*int note[] = { NOTE_C4 }; int noteDuration[] = { 8 }; */ void setup() { pinMode(vibrationSensorPin1, INPUT); pinMode(vibrationSensorPin2, INPUT); pinMode(buzzer2, OUTPUT); Serial.begin(9600); } bool isPlayingBeat1 = false; bool isPlayingBeat2 = false; void loop() { if (analogRead(vibrationSensorPin1) > 515) { if (isPlayingBeat1 == true) { isPlayingBeat1 = false; //Serial.println("turning off beat 1"); delay(100); } else { isPlayingBeat1 = true; //Serial.println("turning on beat 1"); delay(100); } } //int test = analogRead(vibrationSensorPin1); //Serial.println (test); bool wantSound = false; if (isPlayingBeat1 == true) { if (millis() % 1000 < 100) { tone(8, 200); wantSound = true; } } if (isPlayingBeat2 == true) { if (millis() % 1000 > 500 && millis() % 1000 < 600) { tone(8, 400); wantSound = true; } } if (wantSound == false) { noTone(8); } if (digitalRead(vibrationSensorPin2) == HIGH) { if (isPlayingBeat2 == true) { isPlayingBeat2 = false; Serial.println("turning off beat 2"); delay(100); } else { isPlayingBeat2 = true; Serial.println("turning on beat 2"); delay(100); } } } void playMelody() { // iterate over the notes of the melody: for (int thisNote = 0; thisNote < 8; thisNote++) { int noteDuration = 1000 / noteDurations[thisNote]; tone(8, melody[thisNote], noteDuration); int pauseBetweenNotes = noteDuration * 1.30; delay(pauseBetweenNotes); // stop the tone playing: noTone(8); } }
/**
* Professor Gottfried helped me with the code, especially creating and understanding how to apply boolean variables.
*/
[FULL CODE_TONES]#include "pitches.h" /** * Some excerpts taken from Examples > ToneMelody and Race The Led project: https://www.tinkercad.com/things/5XFxx8ry9Ck-race-the-led-interaction-lab-ima */ // Define the pin numbers for the vibration sensor, speaker, and the threshold value // Analog pin for the vibration sensor const int vibrationSensorPin3 = A2; const int vibrationSensorPin4 = A3; const int vibrationSensorPin5 = A4; const int vibrationSensorPin6 = A5; const int speakerPin = 8; // Digital pin for the speaker const int threshold = 100; // Adjust this value based on sensor sensitivity const int noteFrequencies[] = {262, 294, 330, 392}; void setup() { pinMode(vibrationSensorPin3, INPUT); pinMode(vibrationSensorPin4, INPUT); pinMode(vibrationSensorPin5, INPUT); pinMode(vibrationSensorPin6, INPUT); pinMode(speakerPin, OUTPUT); Serial.begin(9600); } void loop() { int sensorValue3 = analogRead(vibrationSensorPin3); int sensorValue4 = analogRead(vibrationSensorPin4); int sensorValue5 = analogRead(vibrationSensorPin5); int sensorValue6 = analogRead(vibrationSensorPin6); if (sensorValue3 > threshold) { tone(speakerPin, NOTE_C4, 262); // Play a tone at 1000 Hz } else if (sensorValue4 > threshold) { tone(speakerPin, NOTE_D4, 294); } else if (sensorValue5 > threshold) { tone(speakerPin, NOTE_E4, 330); } else if (sensorValue6 > threshold) { tone(speakerPin, NOTE_G4, 392); } else { noTone(speakerPin); } delay(100); // Adjust delay based on your needs }