Potion’s Class – Melanie – Gottfried Haider
The title of our project is “Potion Class” which is inspired from the potion class from Harry Potter. We want to give muggles who failed to get into Hogwarts an opportunity to experience what it’s like to make potions with a cauldron like a wizard. To get the full magic experience, the muggle needs to use the wand to add potions into the cauldron by tapping the top of the bottles.
CONCEPTION AND DESIGN:
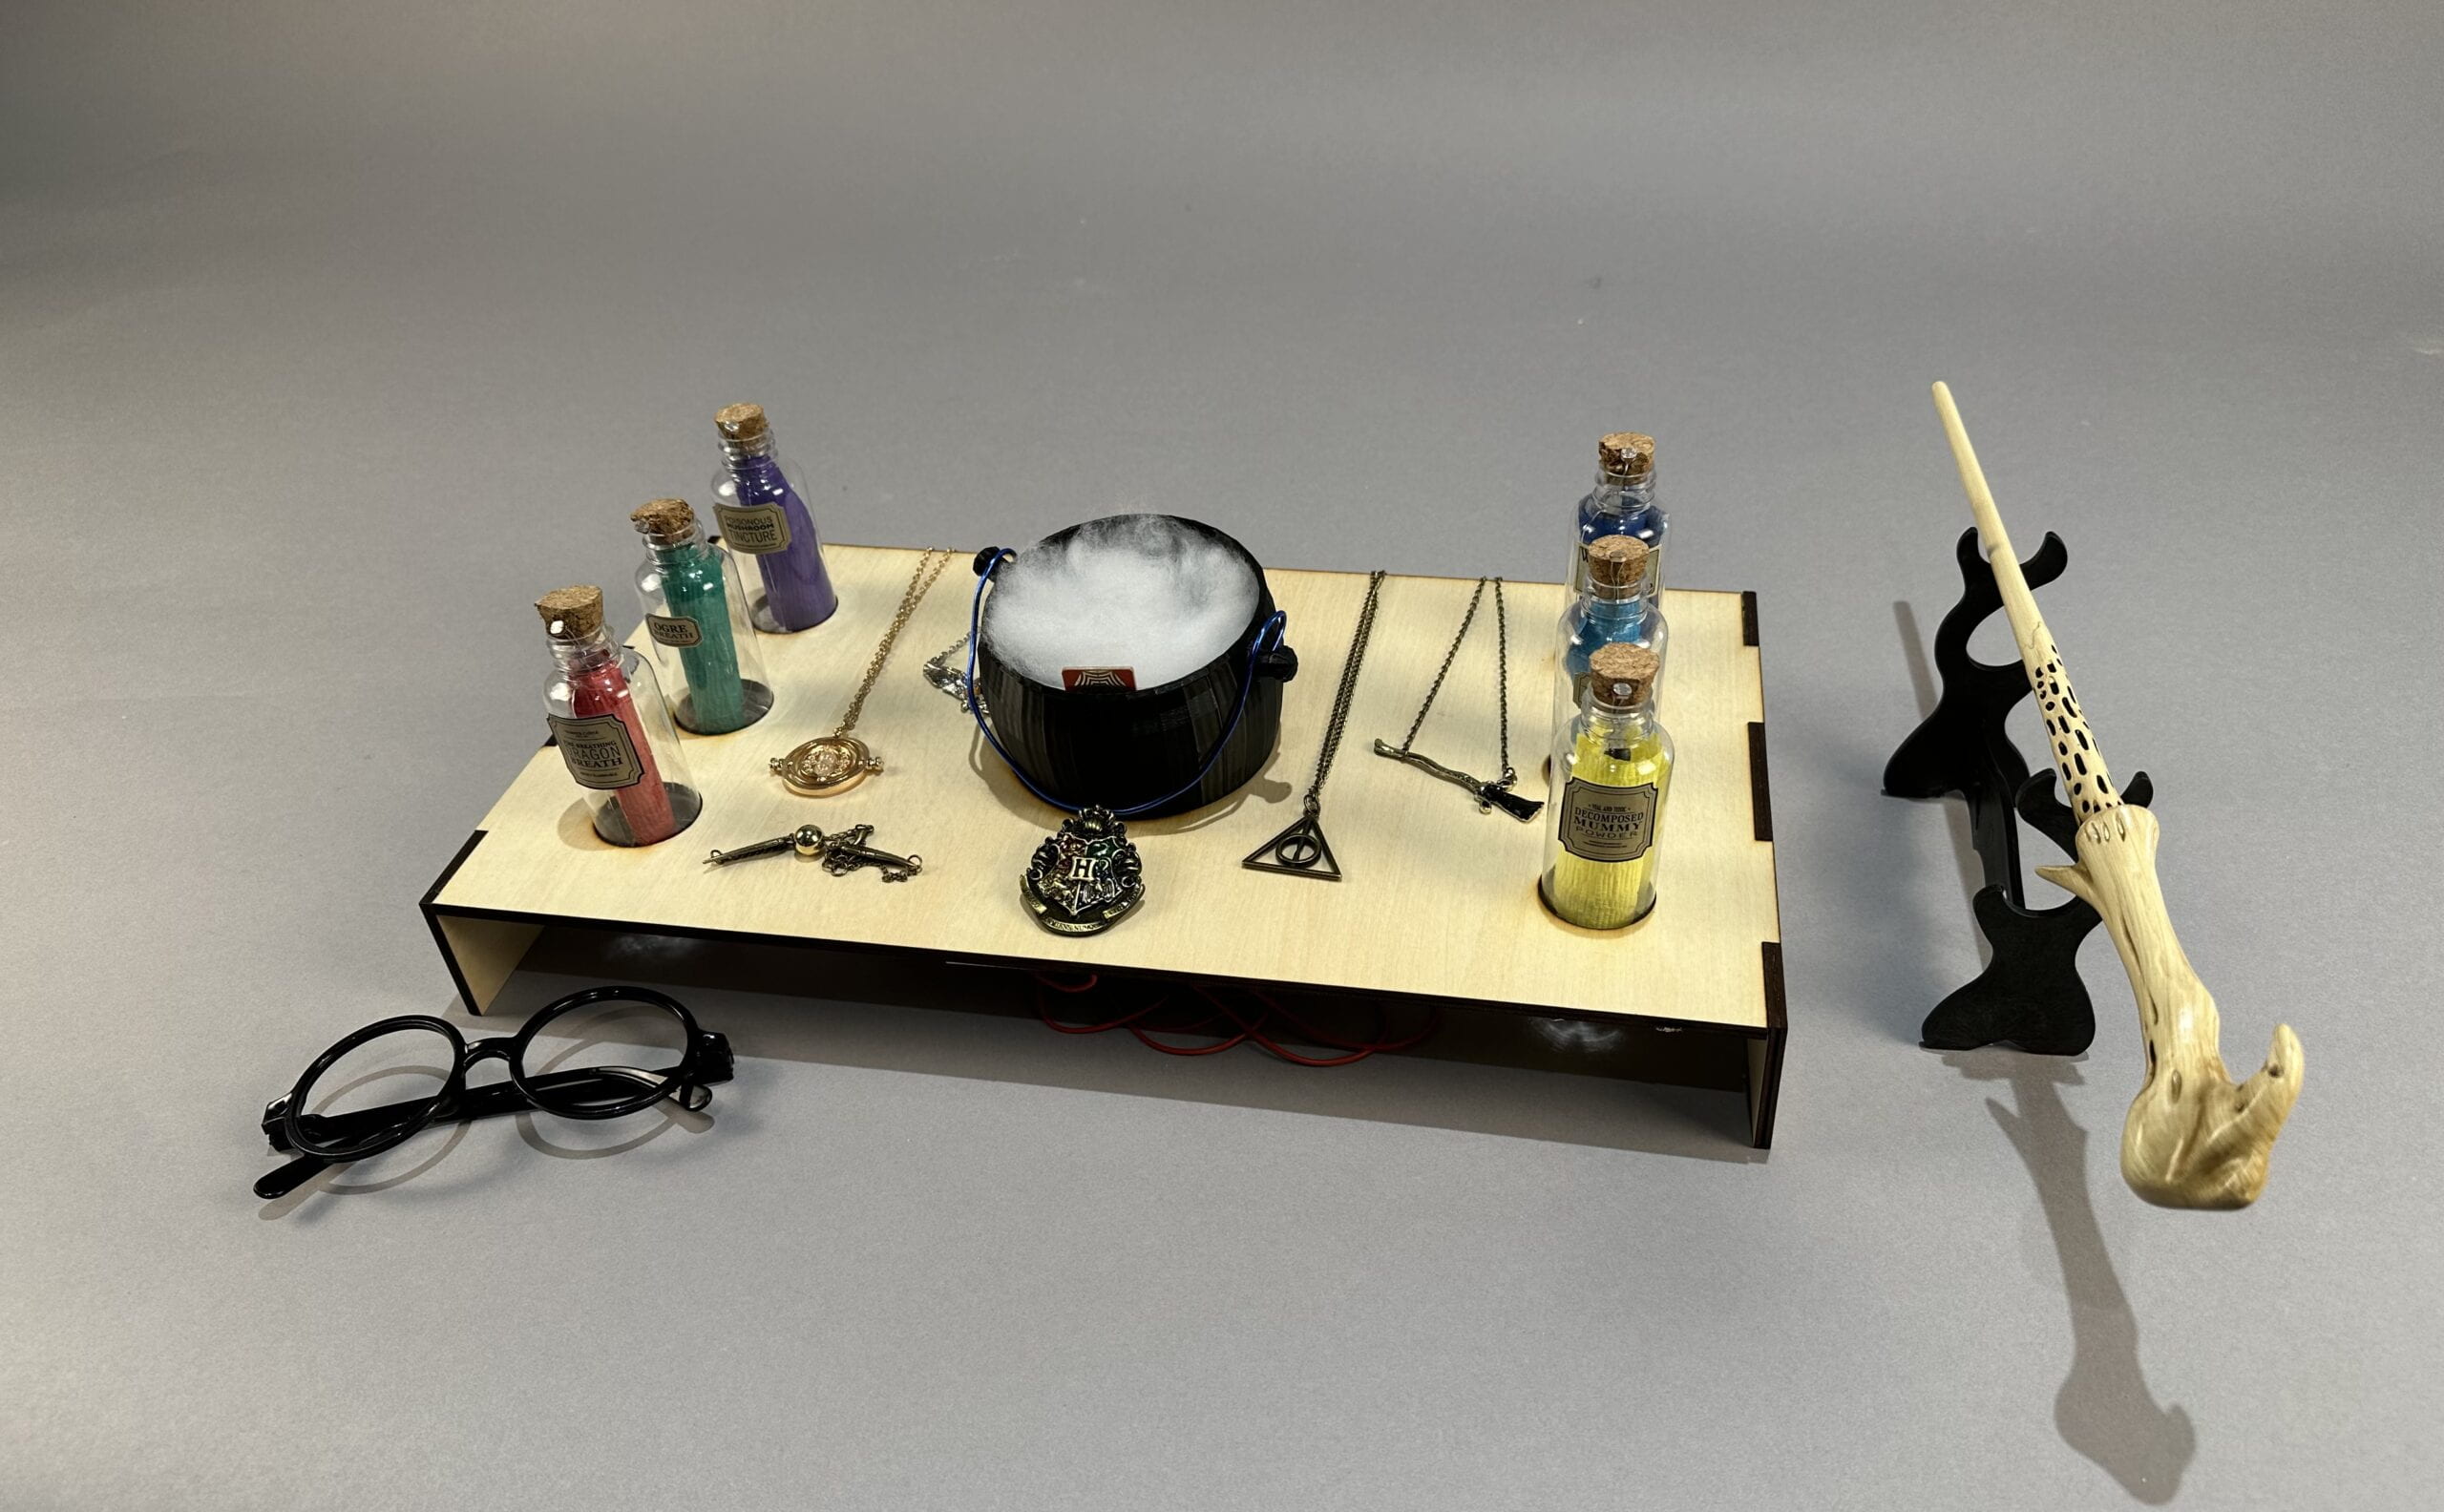
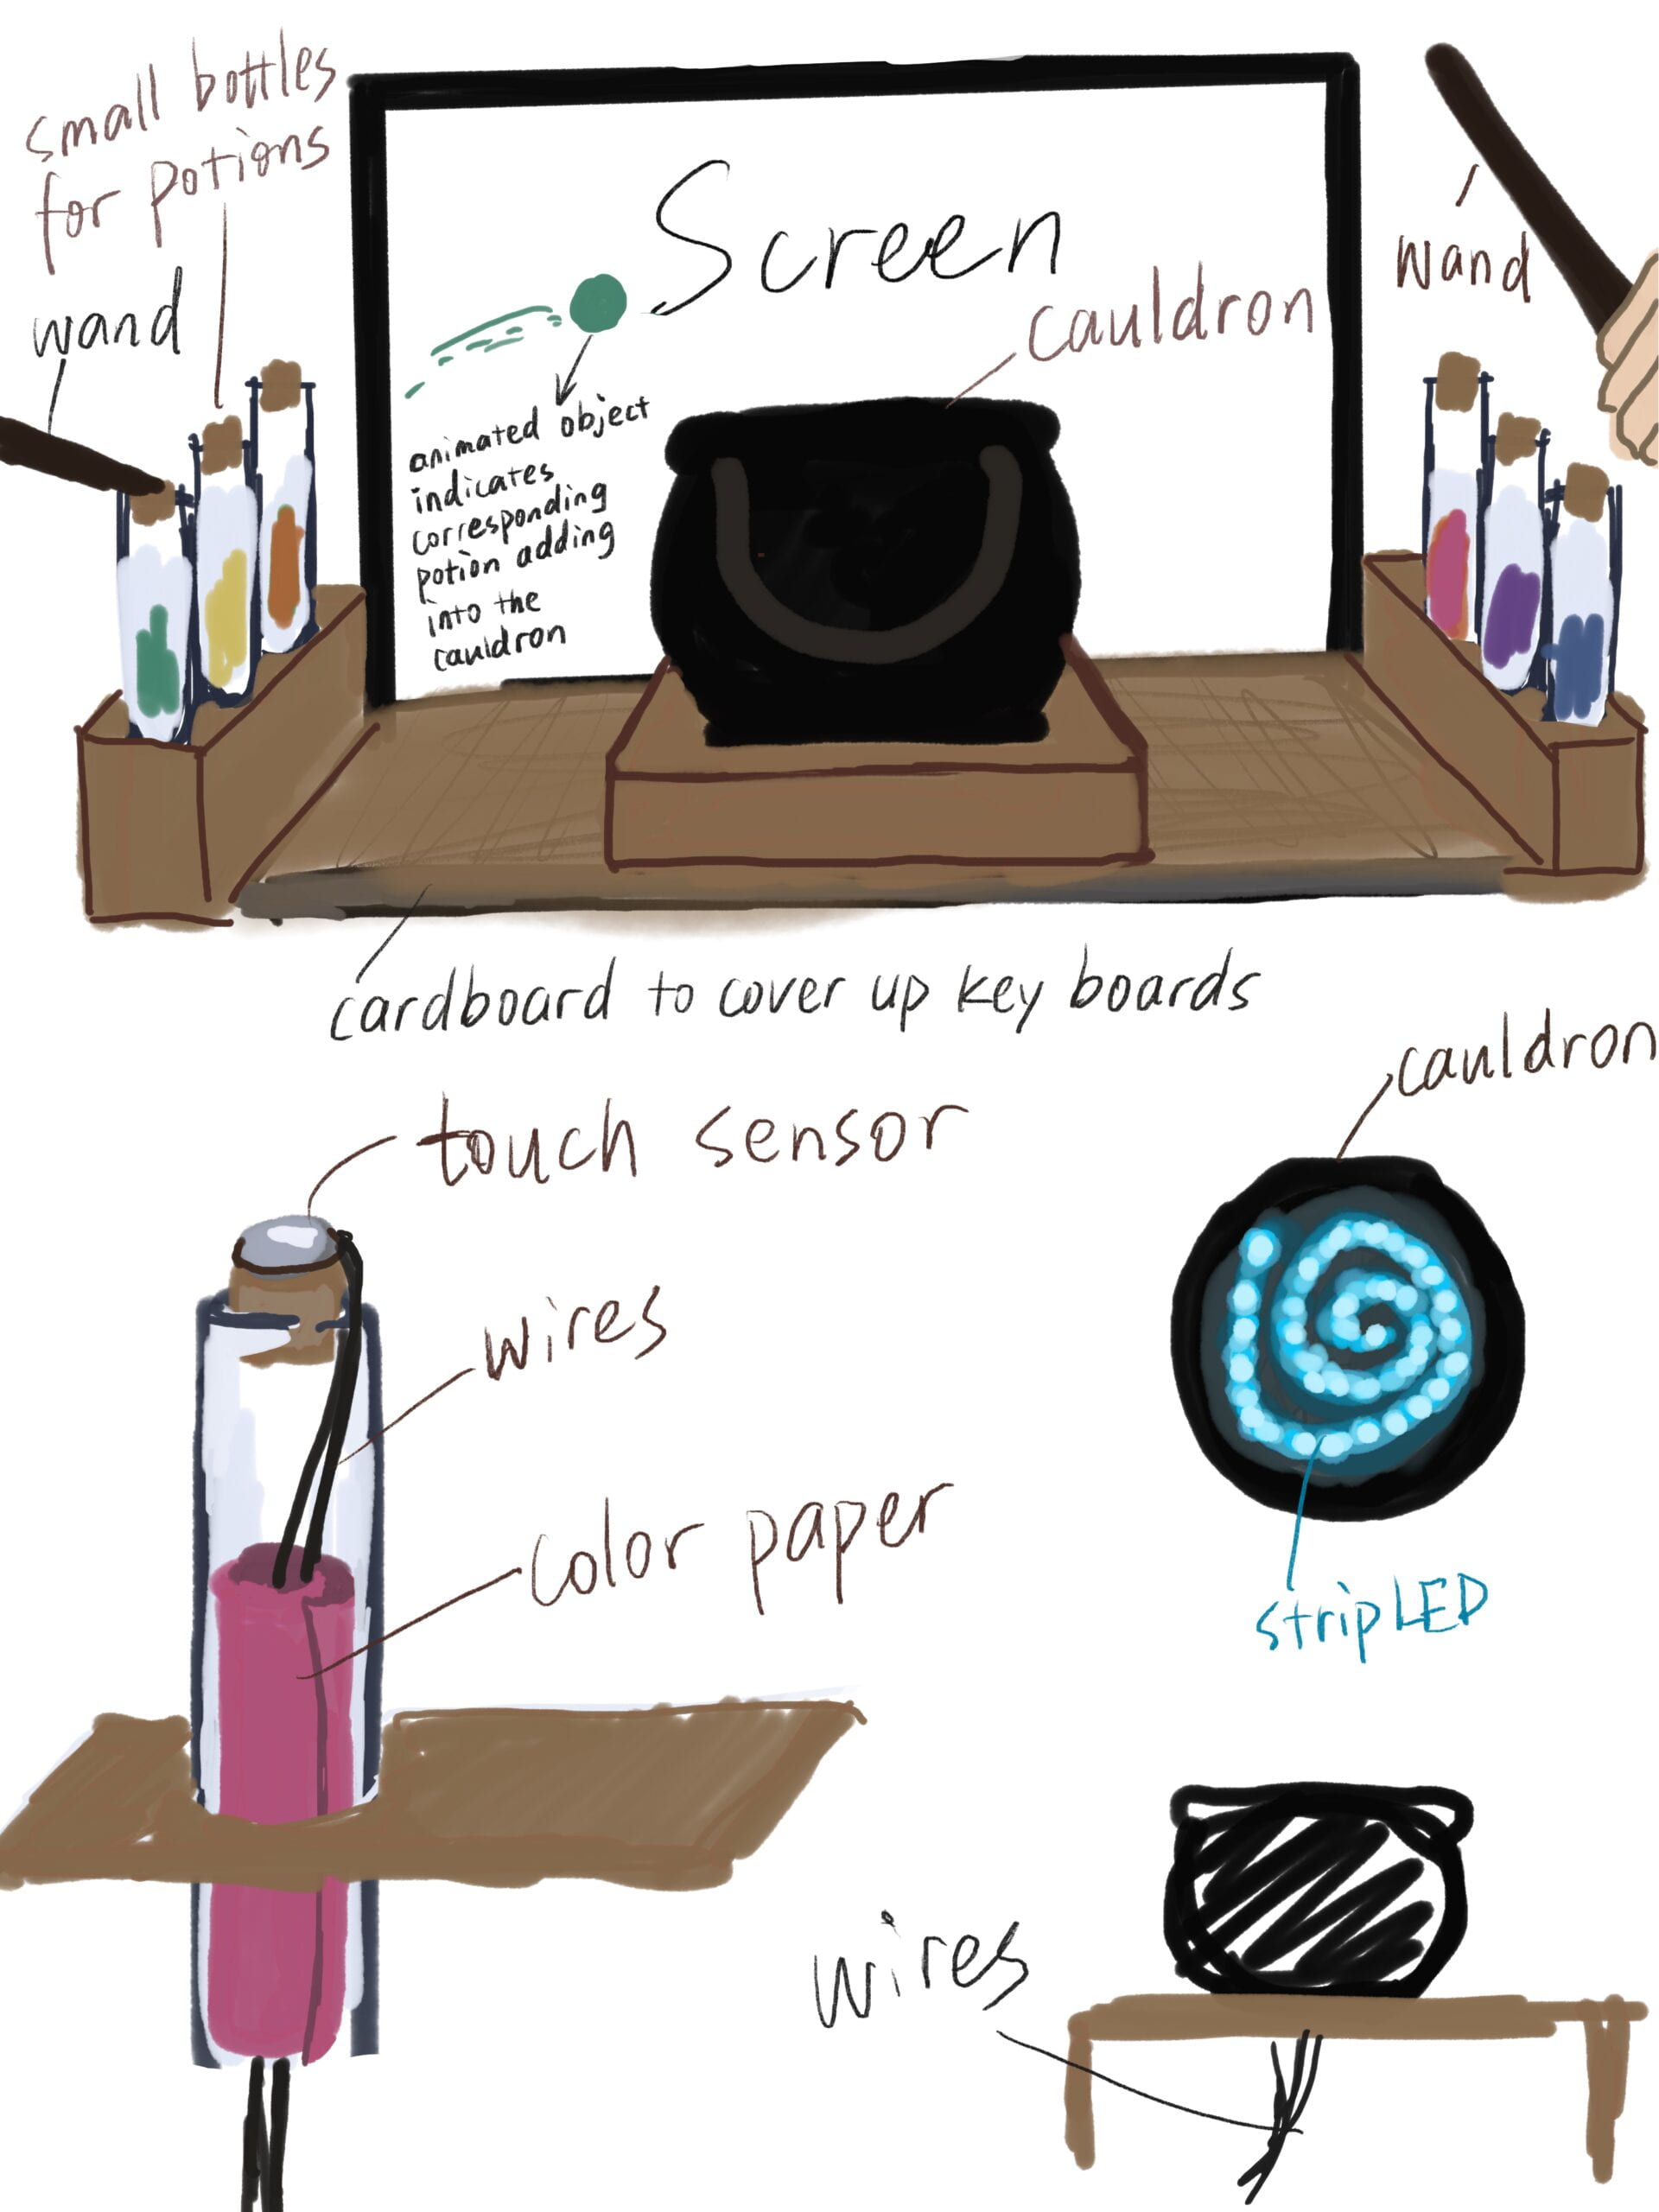
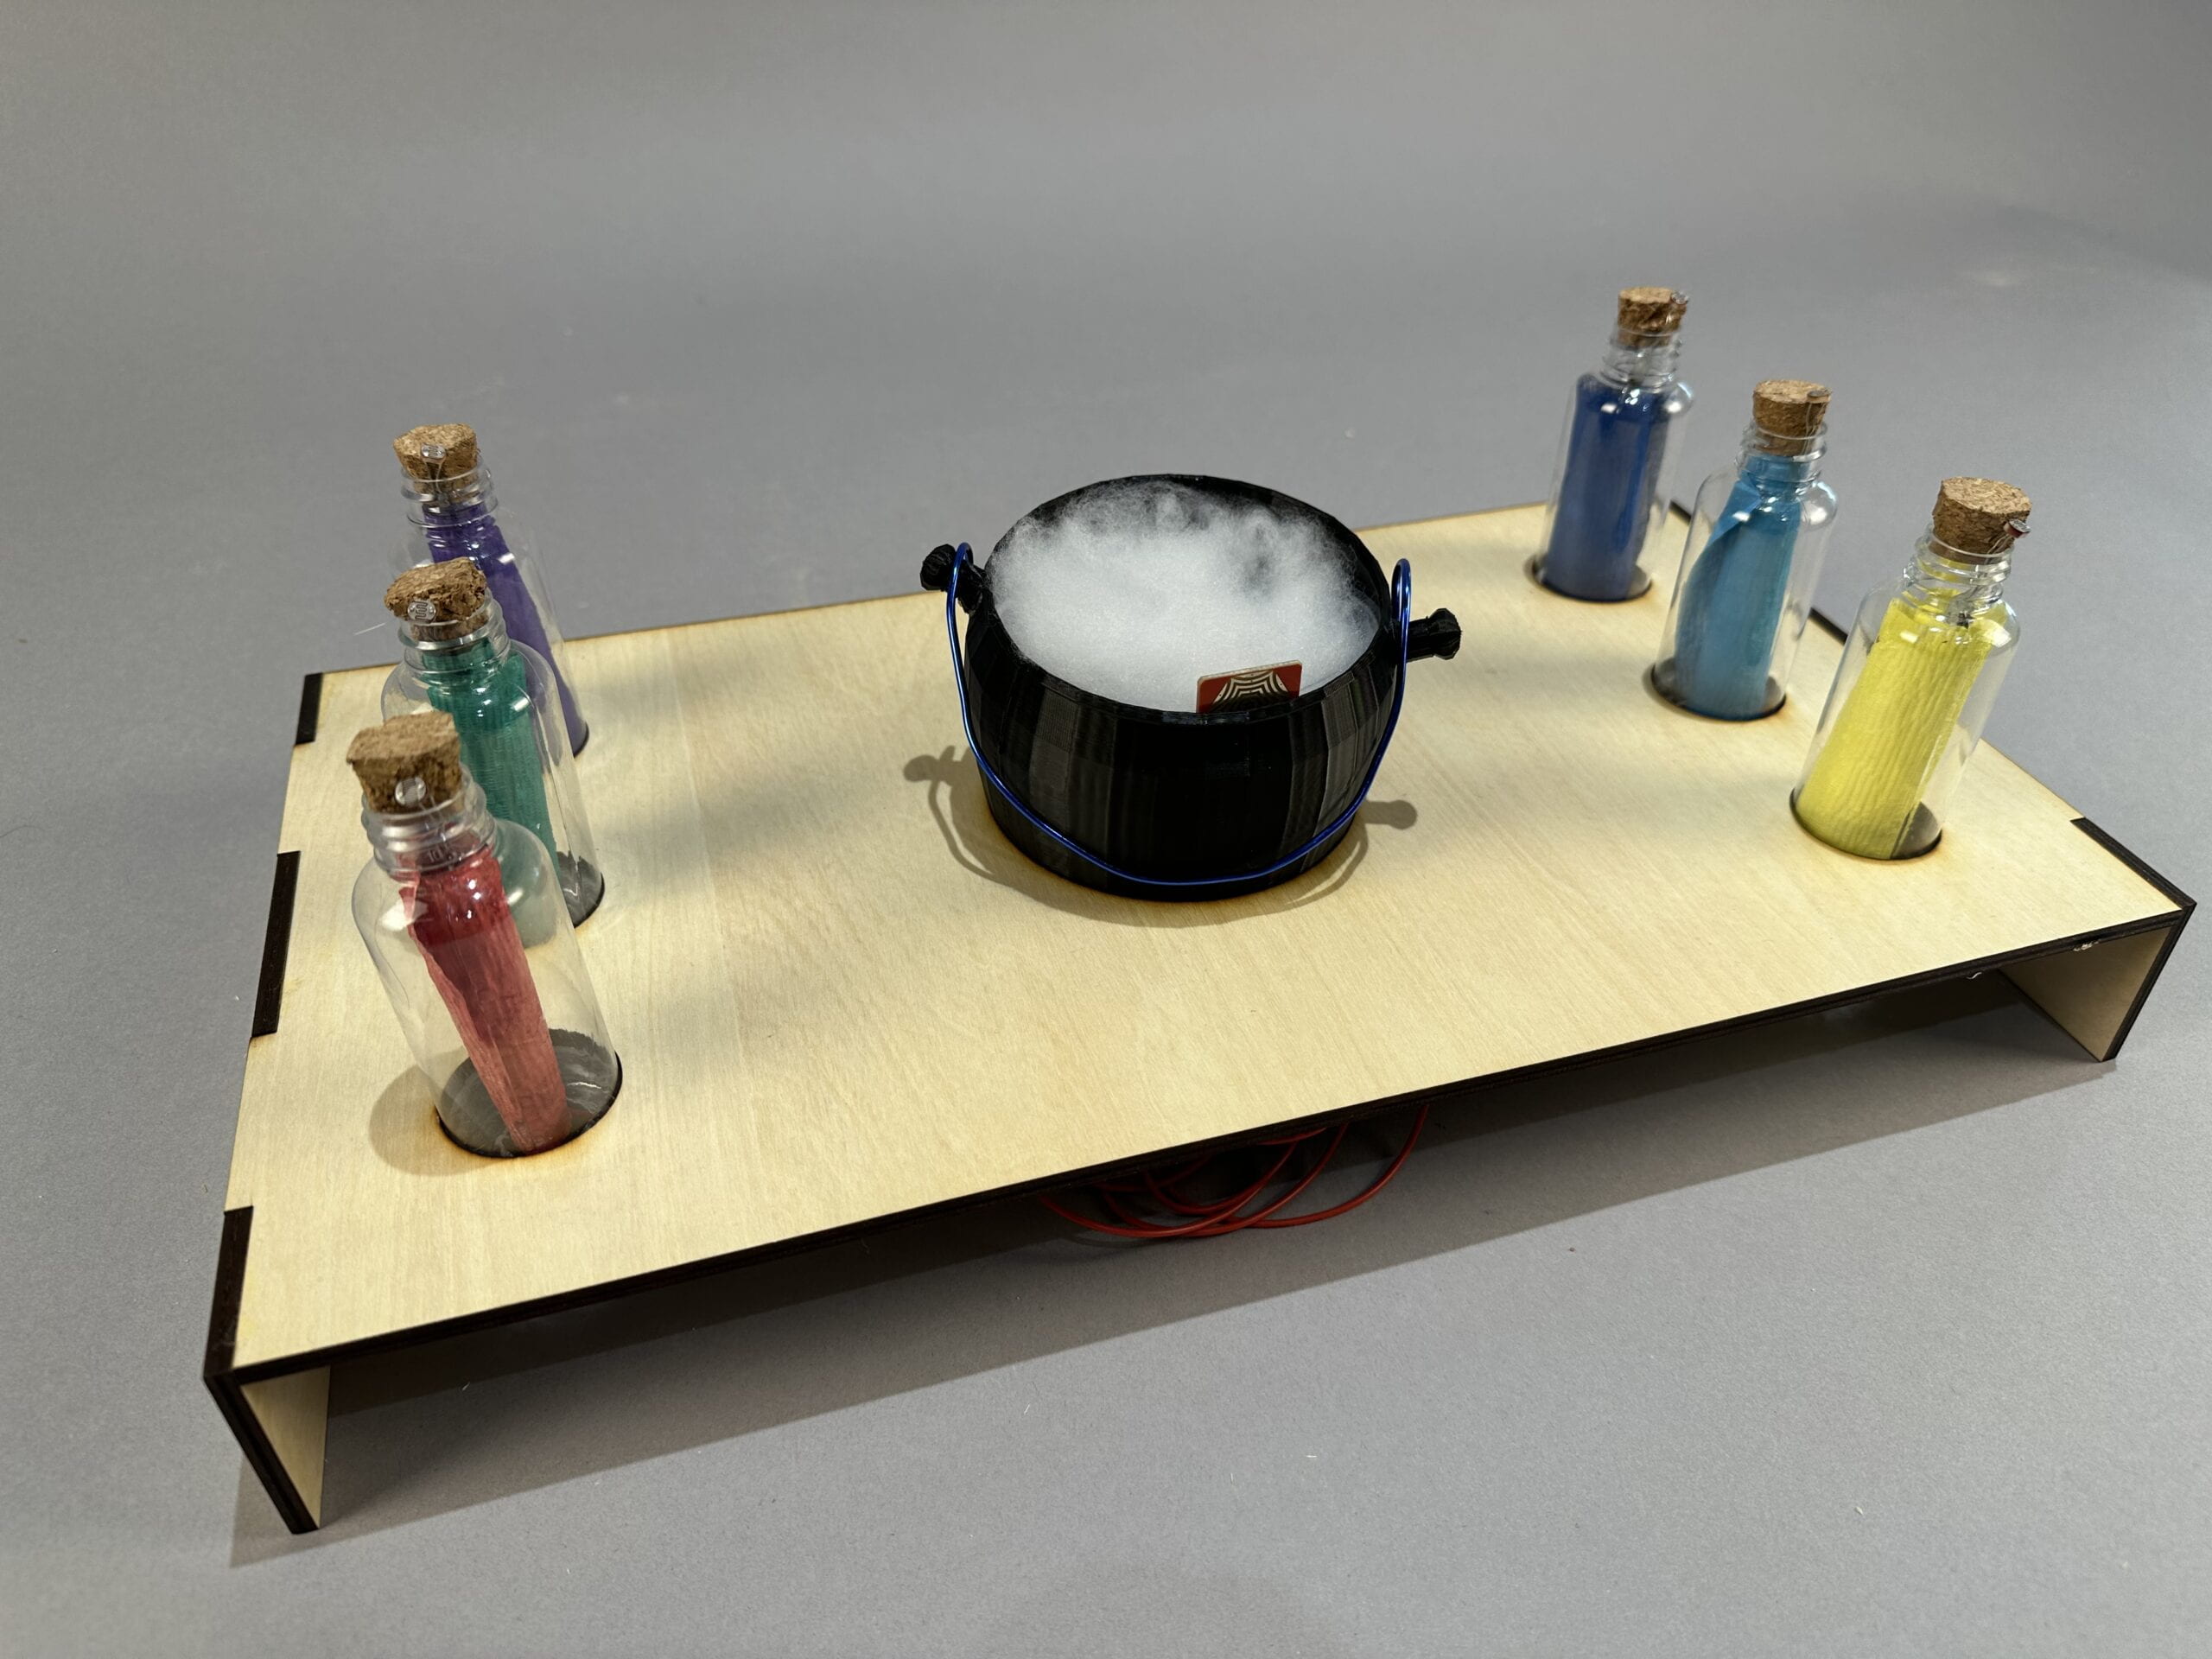
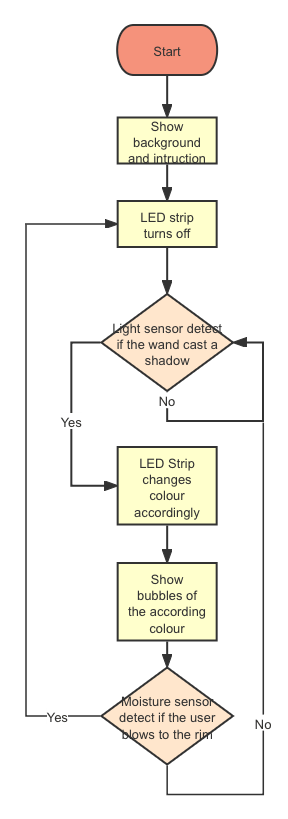 The project is a combination of a screen (computer), an Arduino, a breadboard, a black cauldron, six bottled potions, six light sensors, a wand, and a lot of wires. The screen provides the visual effects of adding potions into the cauldron, and the physical components are to give muggles a more authentic experience. The six different potions are marked with different colors, each with a touch sensor on top of the cork, and a strip LED is hidden inside the cauldron which will light up when potion is added. To add potion into the cauldron, muggles could hover the wand on the cork to cast a shadow on the light sensor, and the according color will be added into the cauldron mixing with the previous added colors. When adding potions, there will be bobbles appearing on the screen behind the cauldron along with the sound of bubbles that you would only hear in a magical cauldron. The bubbles are in the same color as that in the cauldron, which changes depending on which color and how much a color is added.
FABRICATION AND PRODUCTION:
Sensors
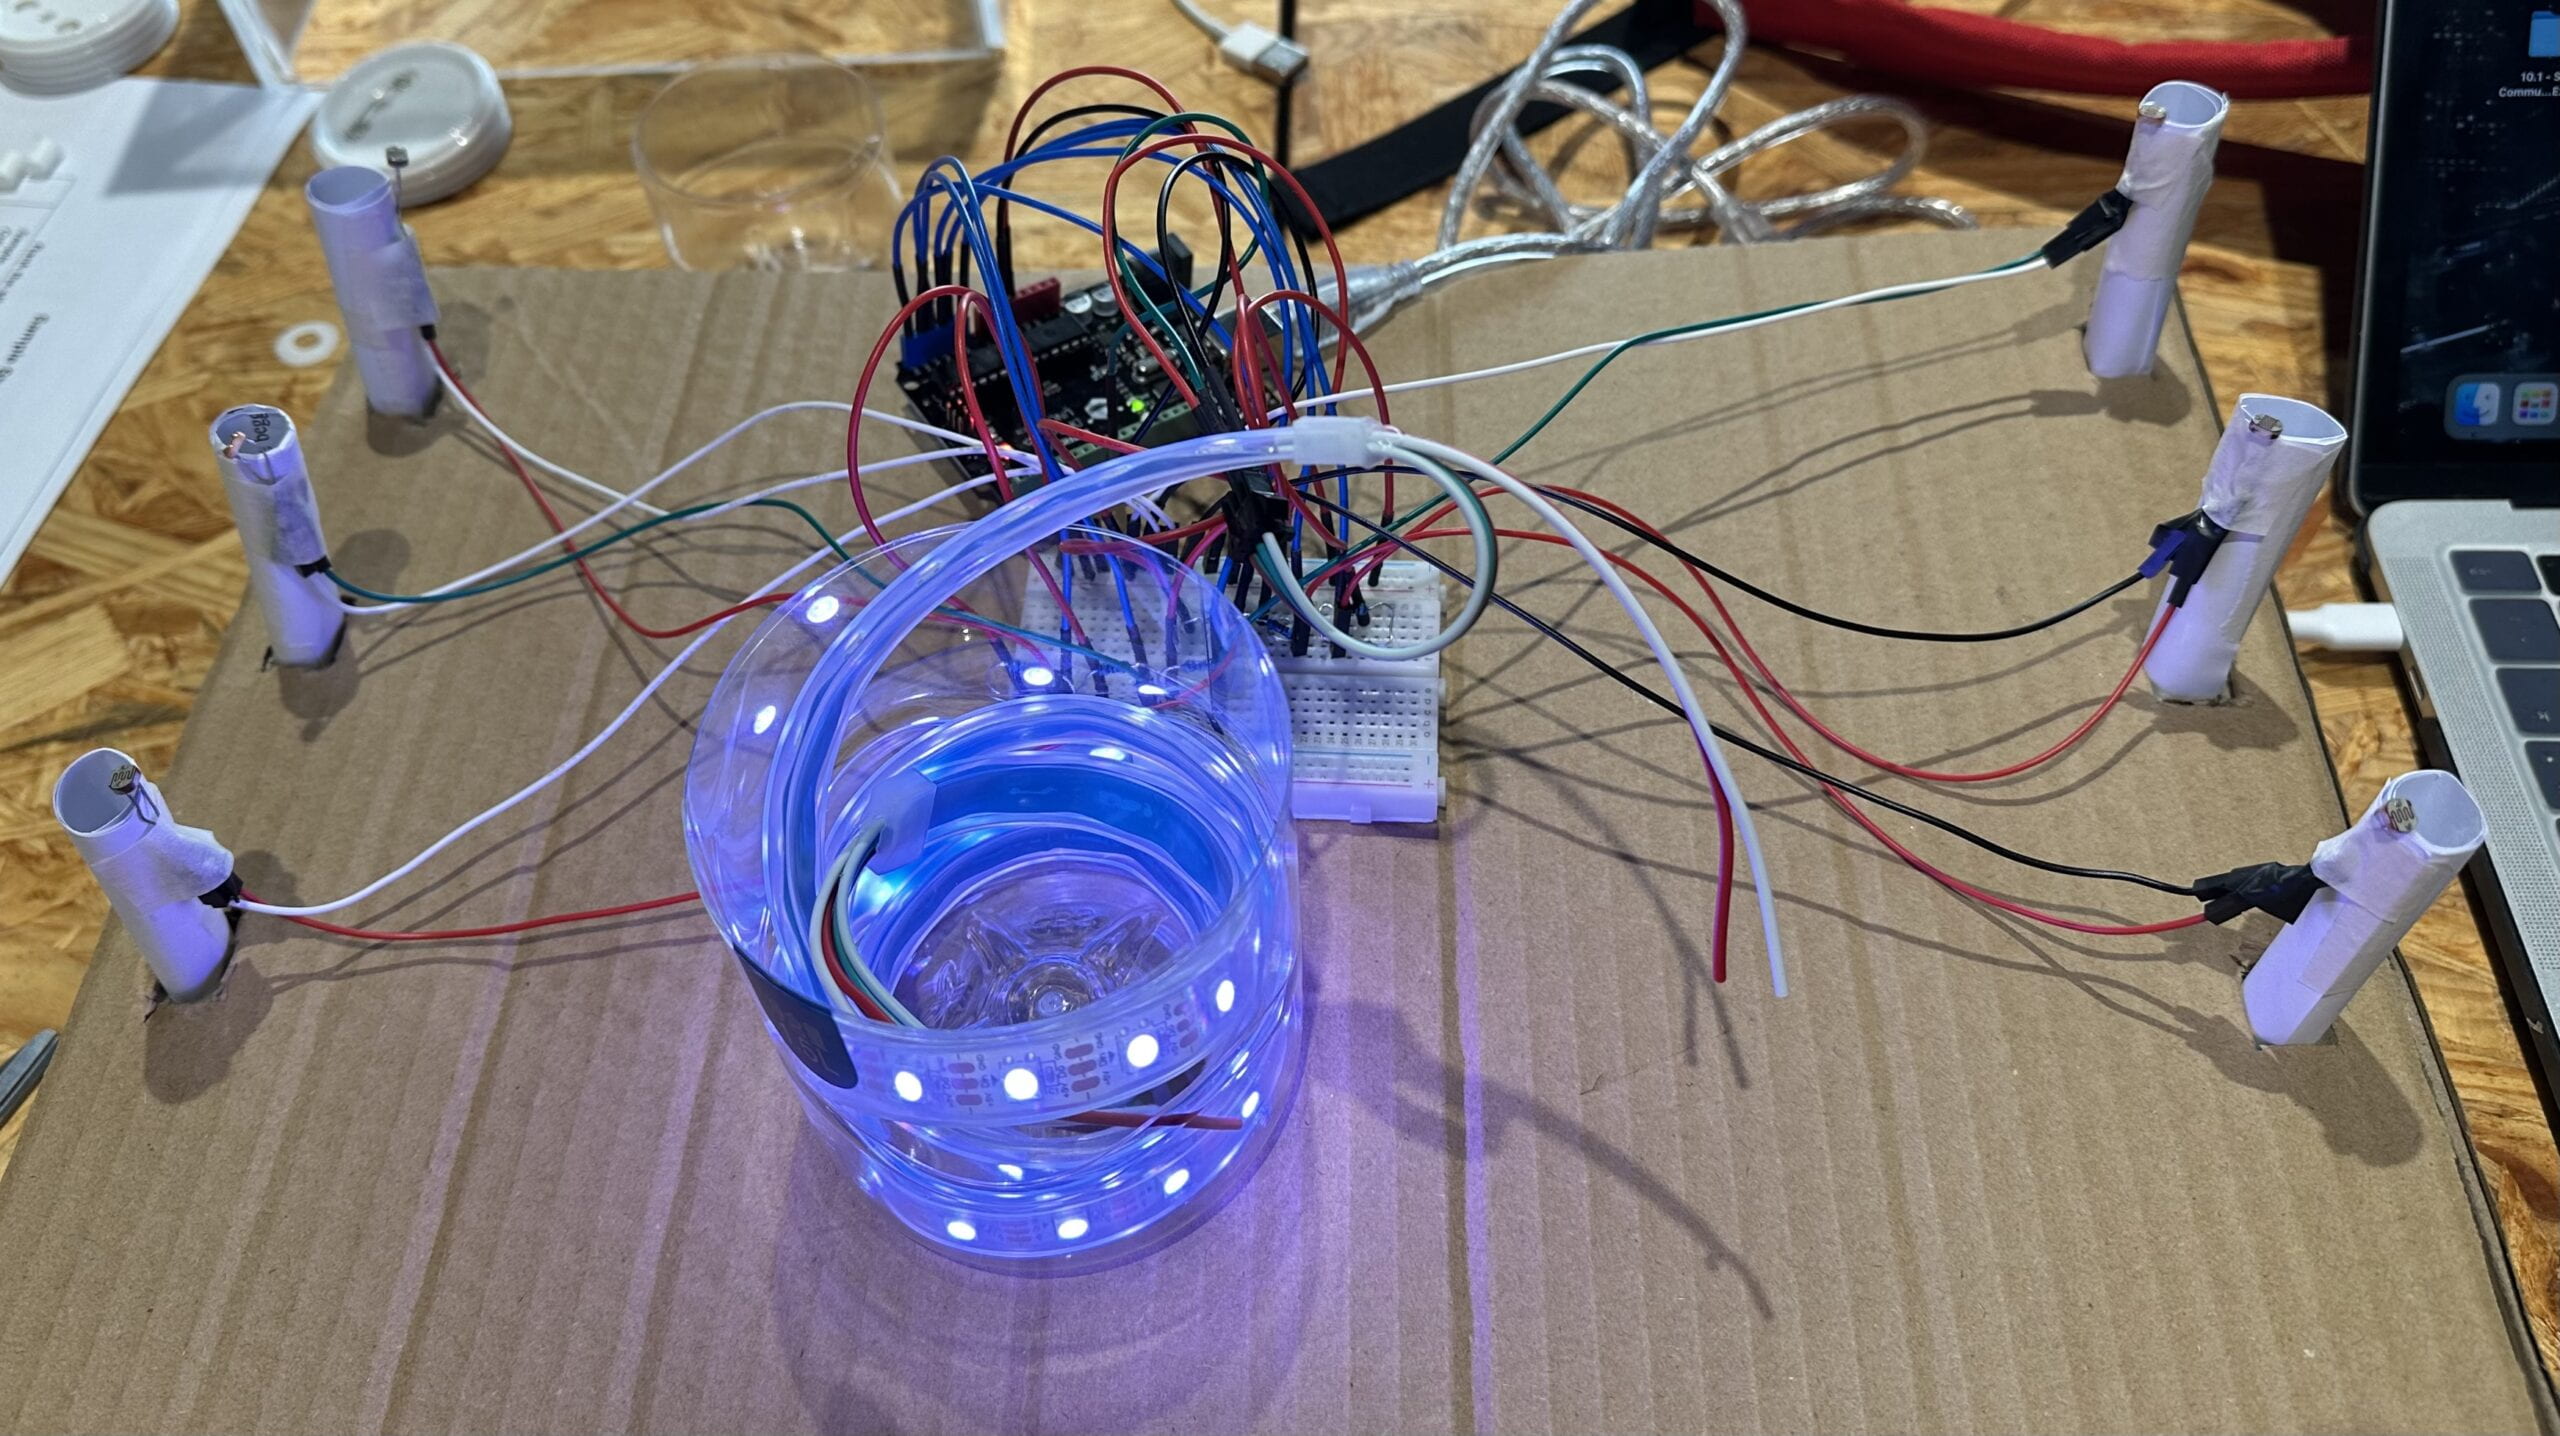
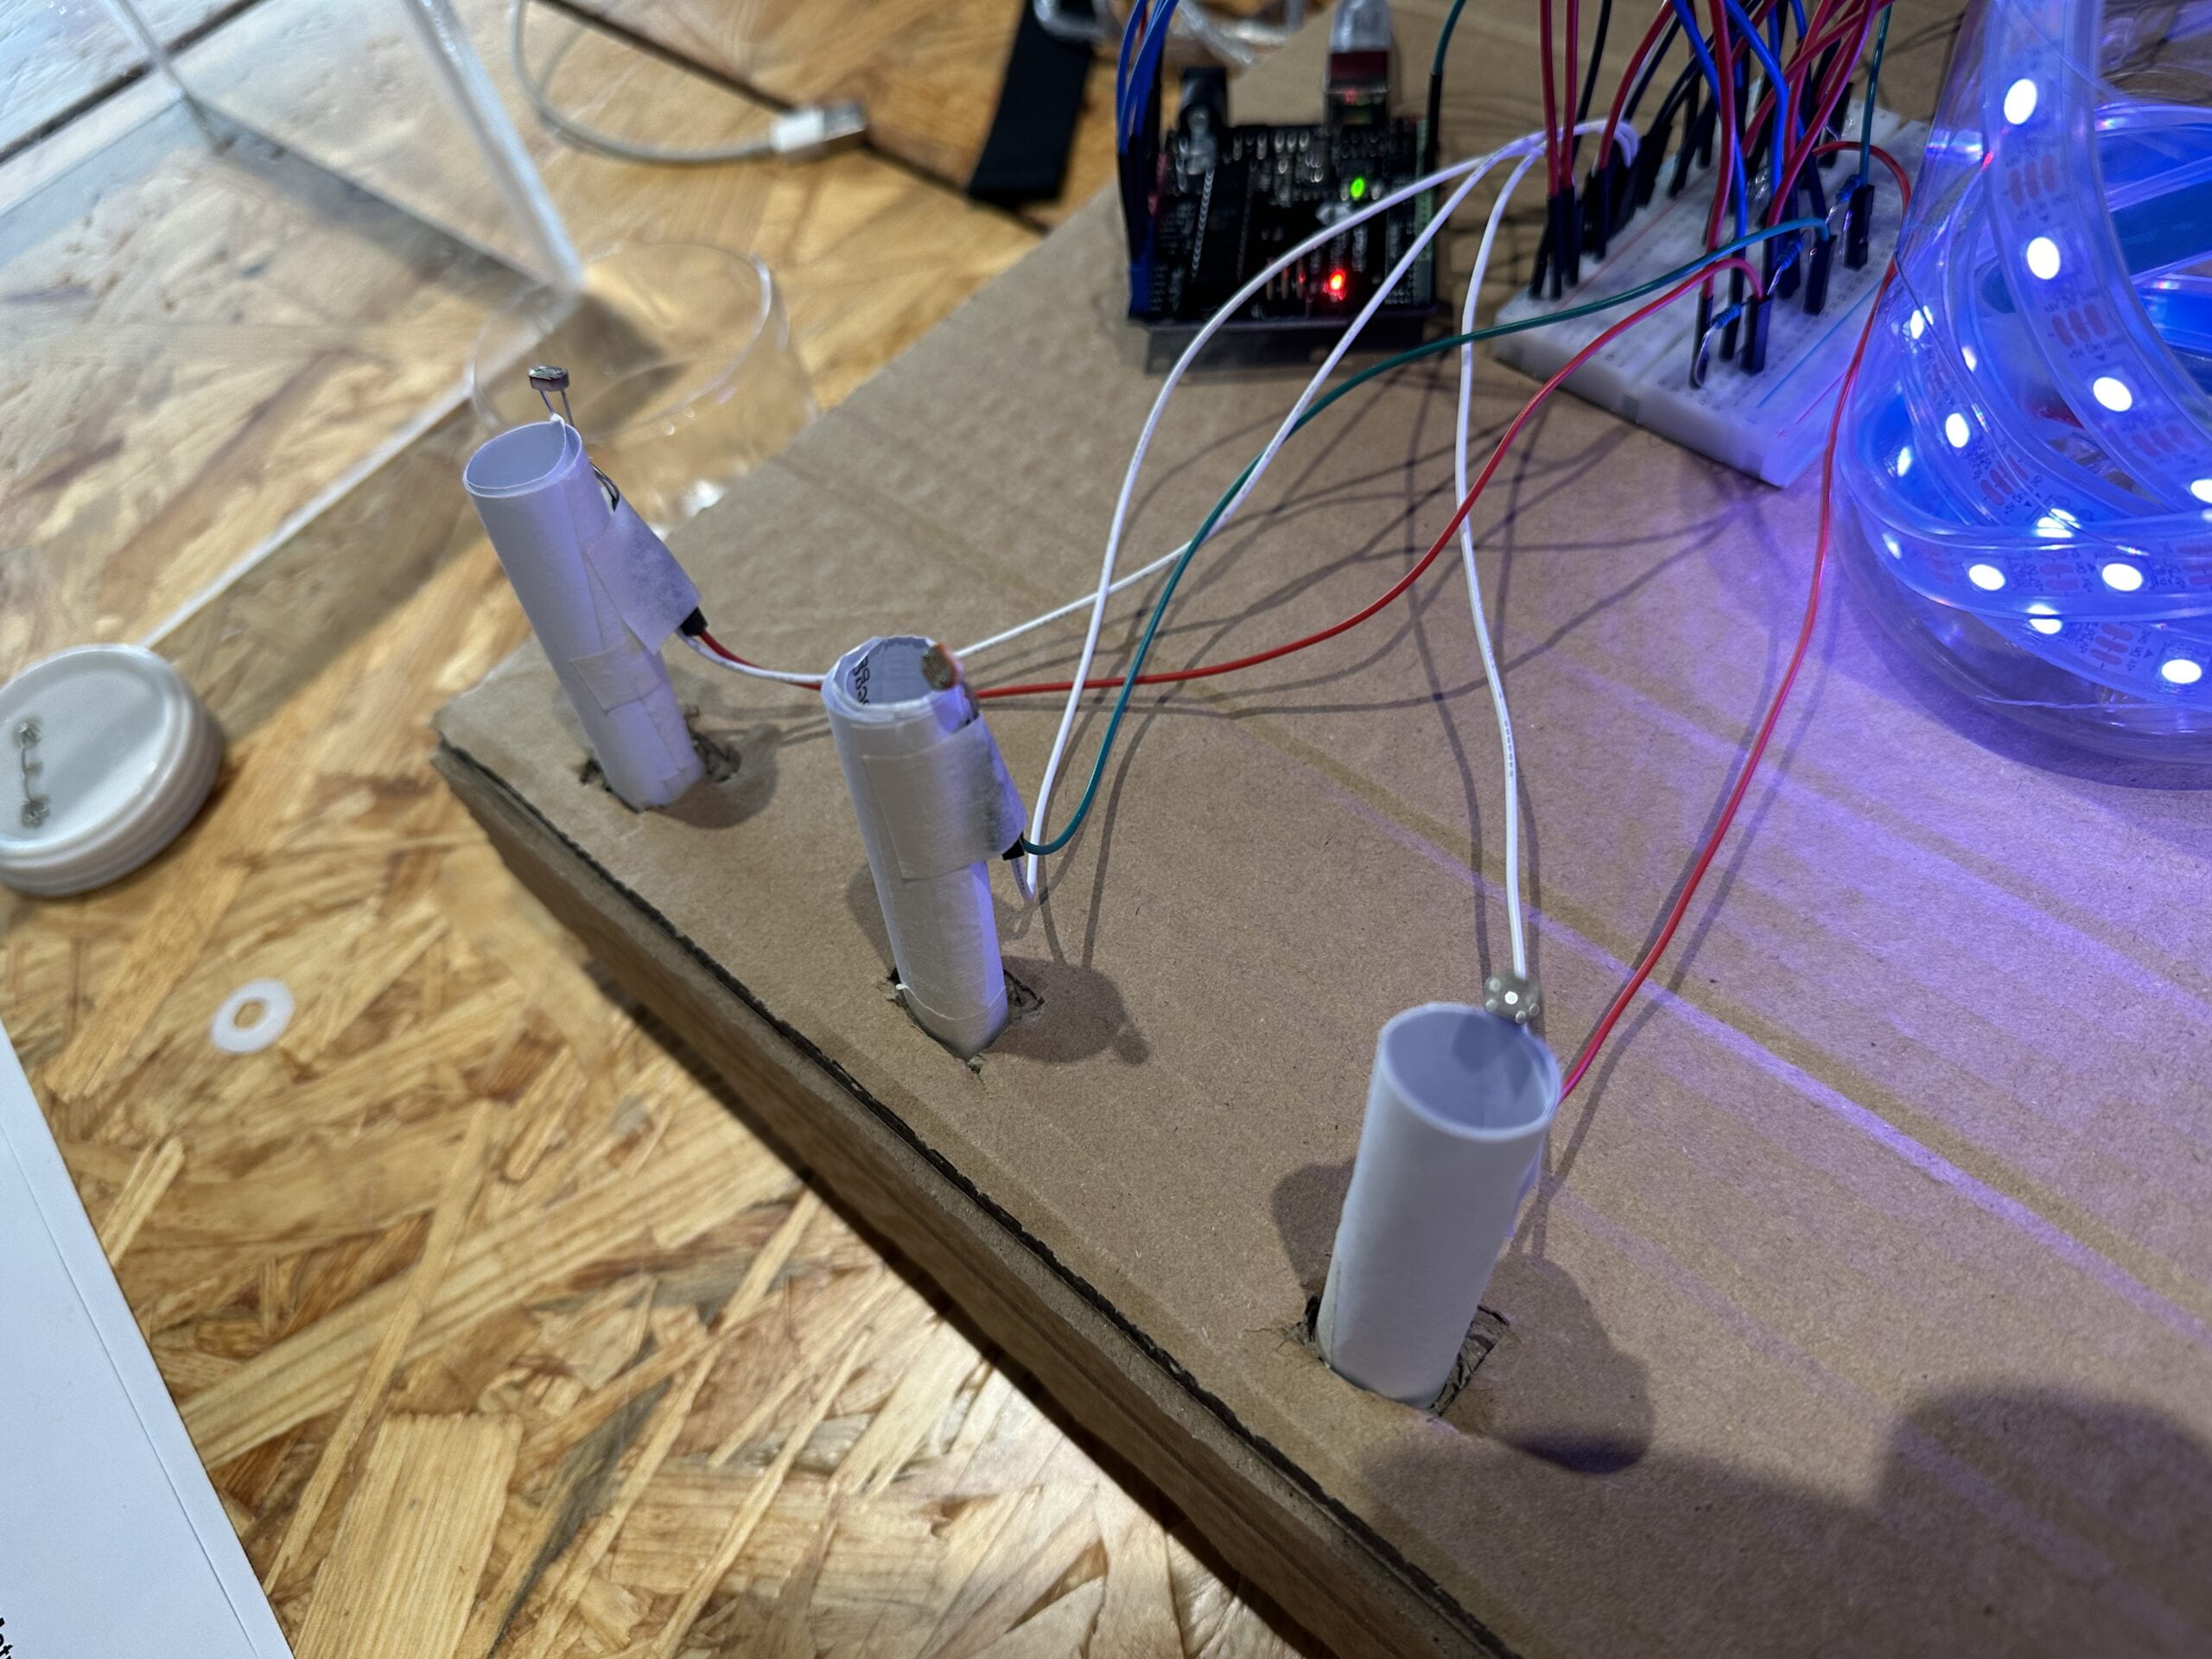
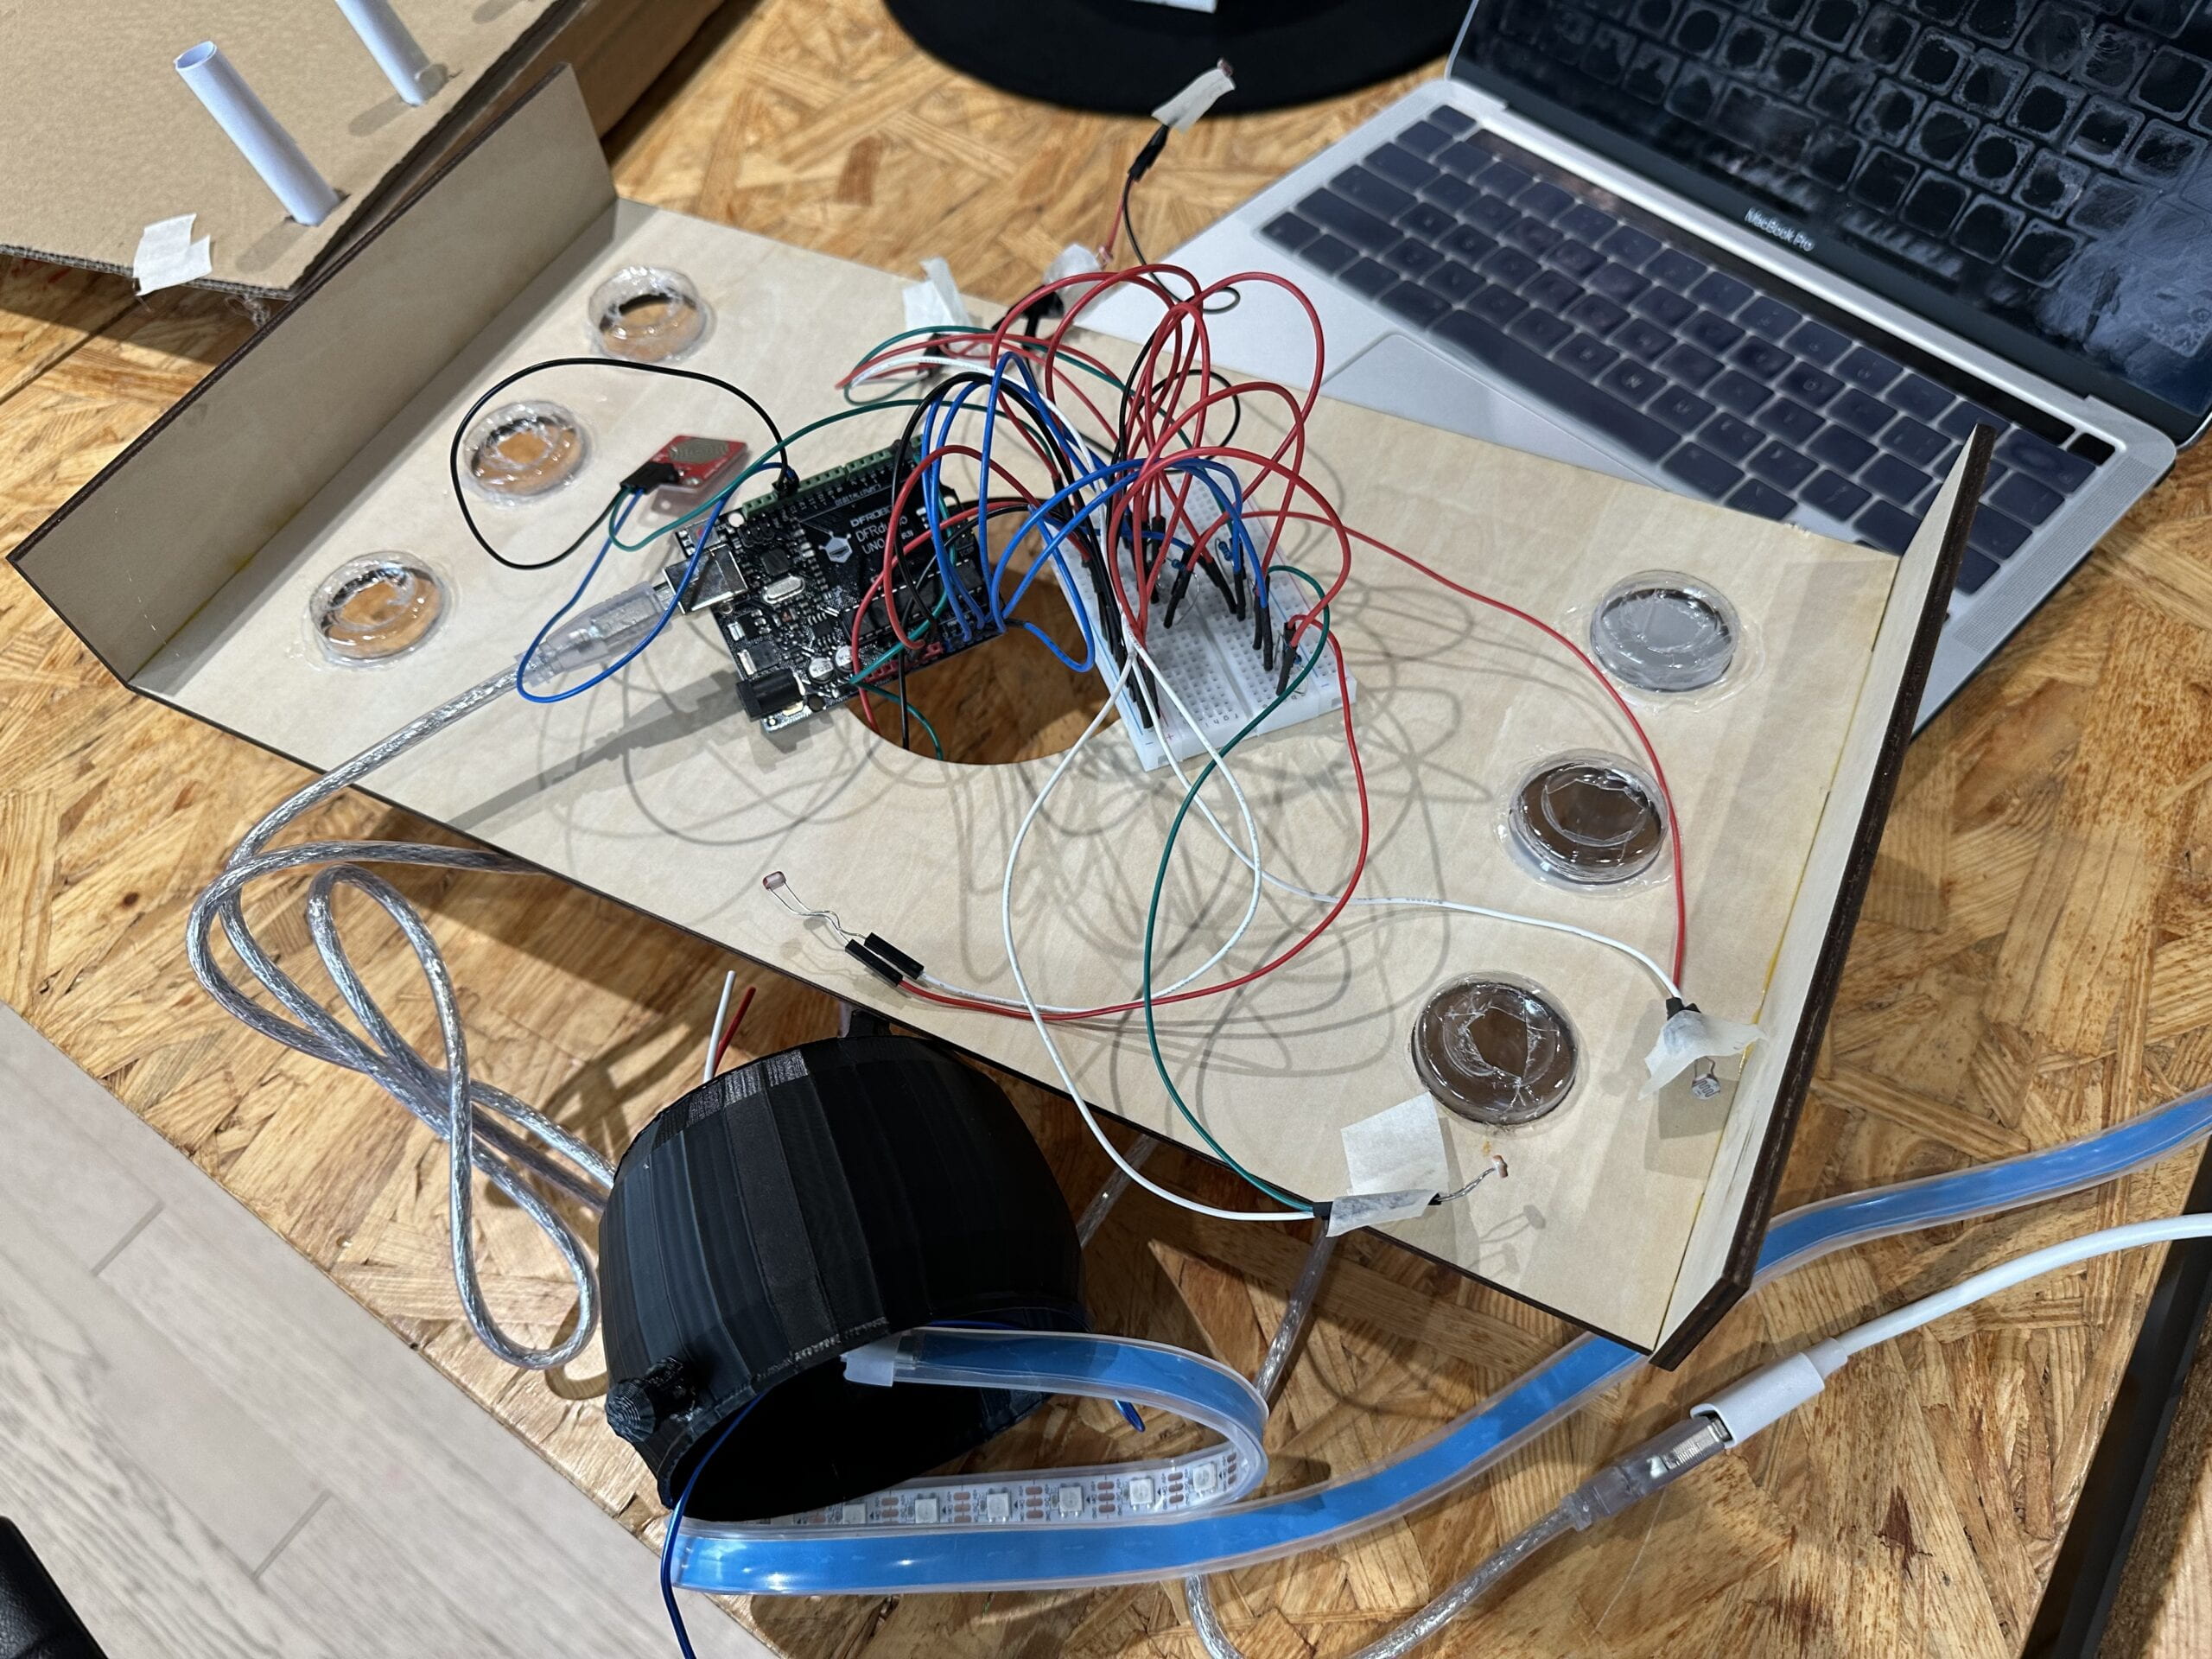
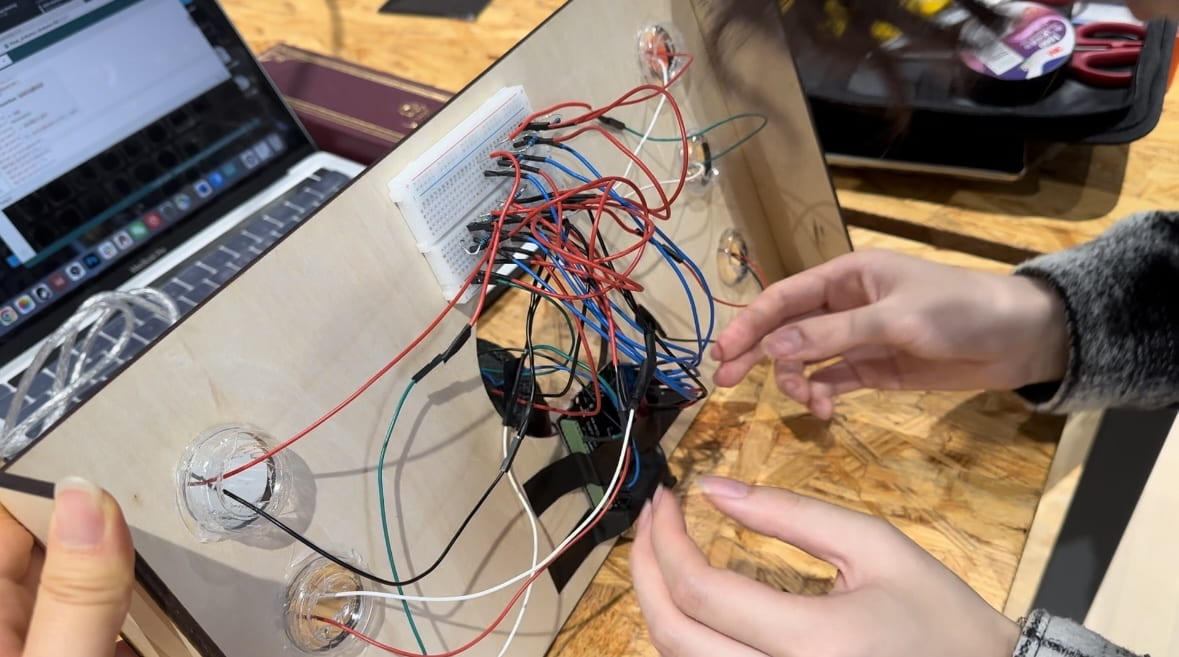
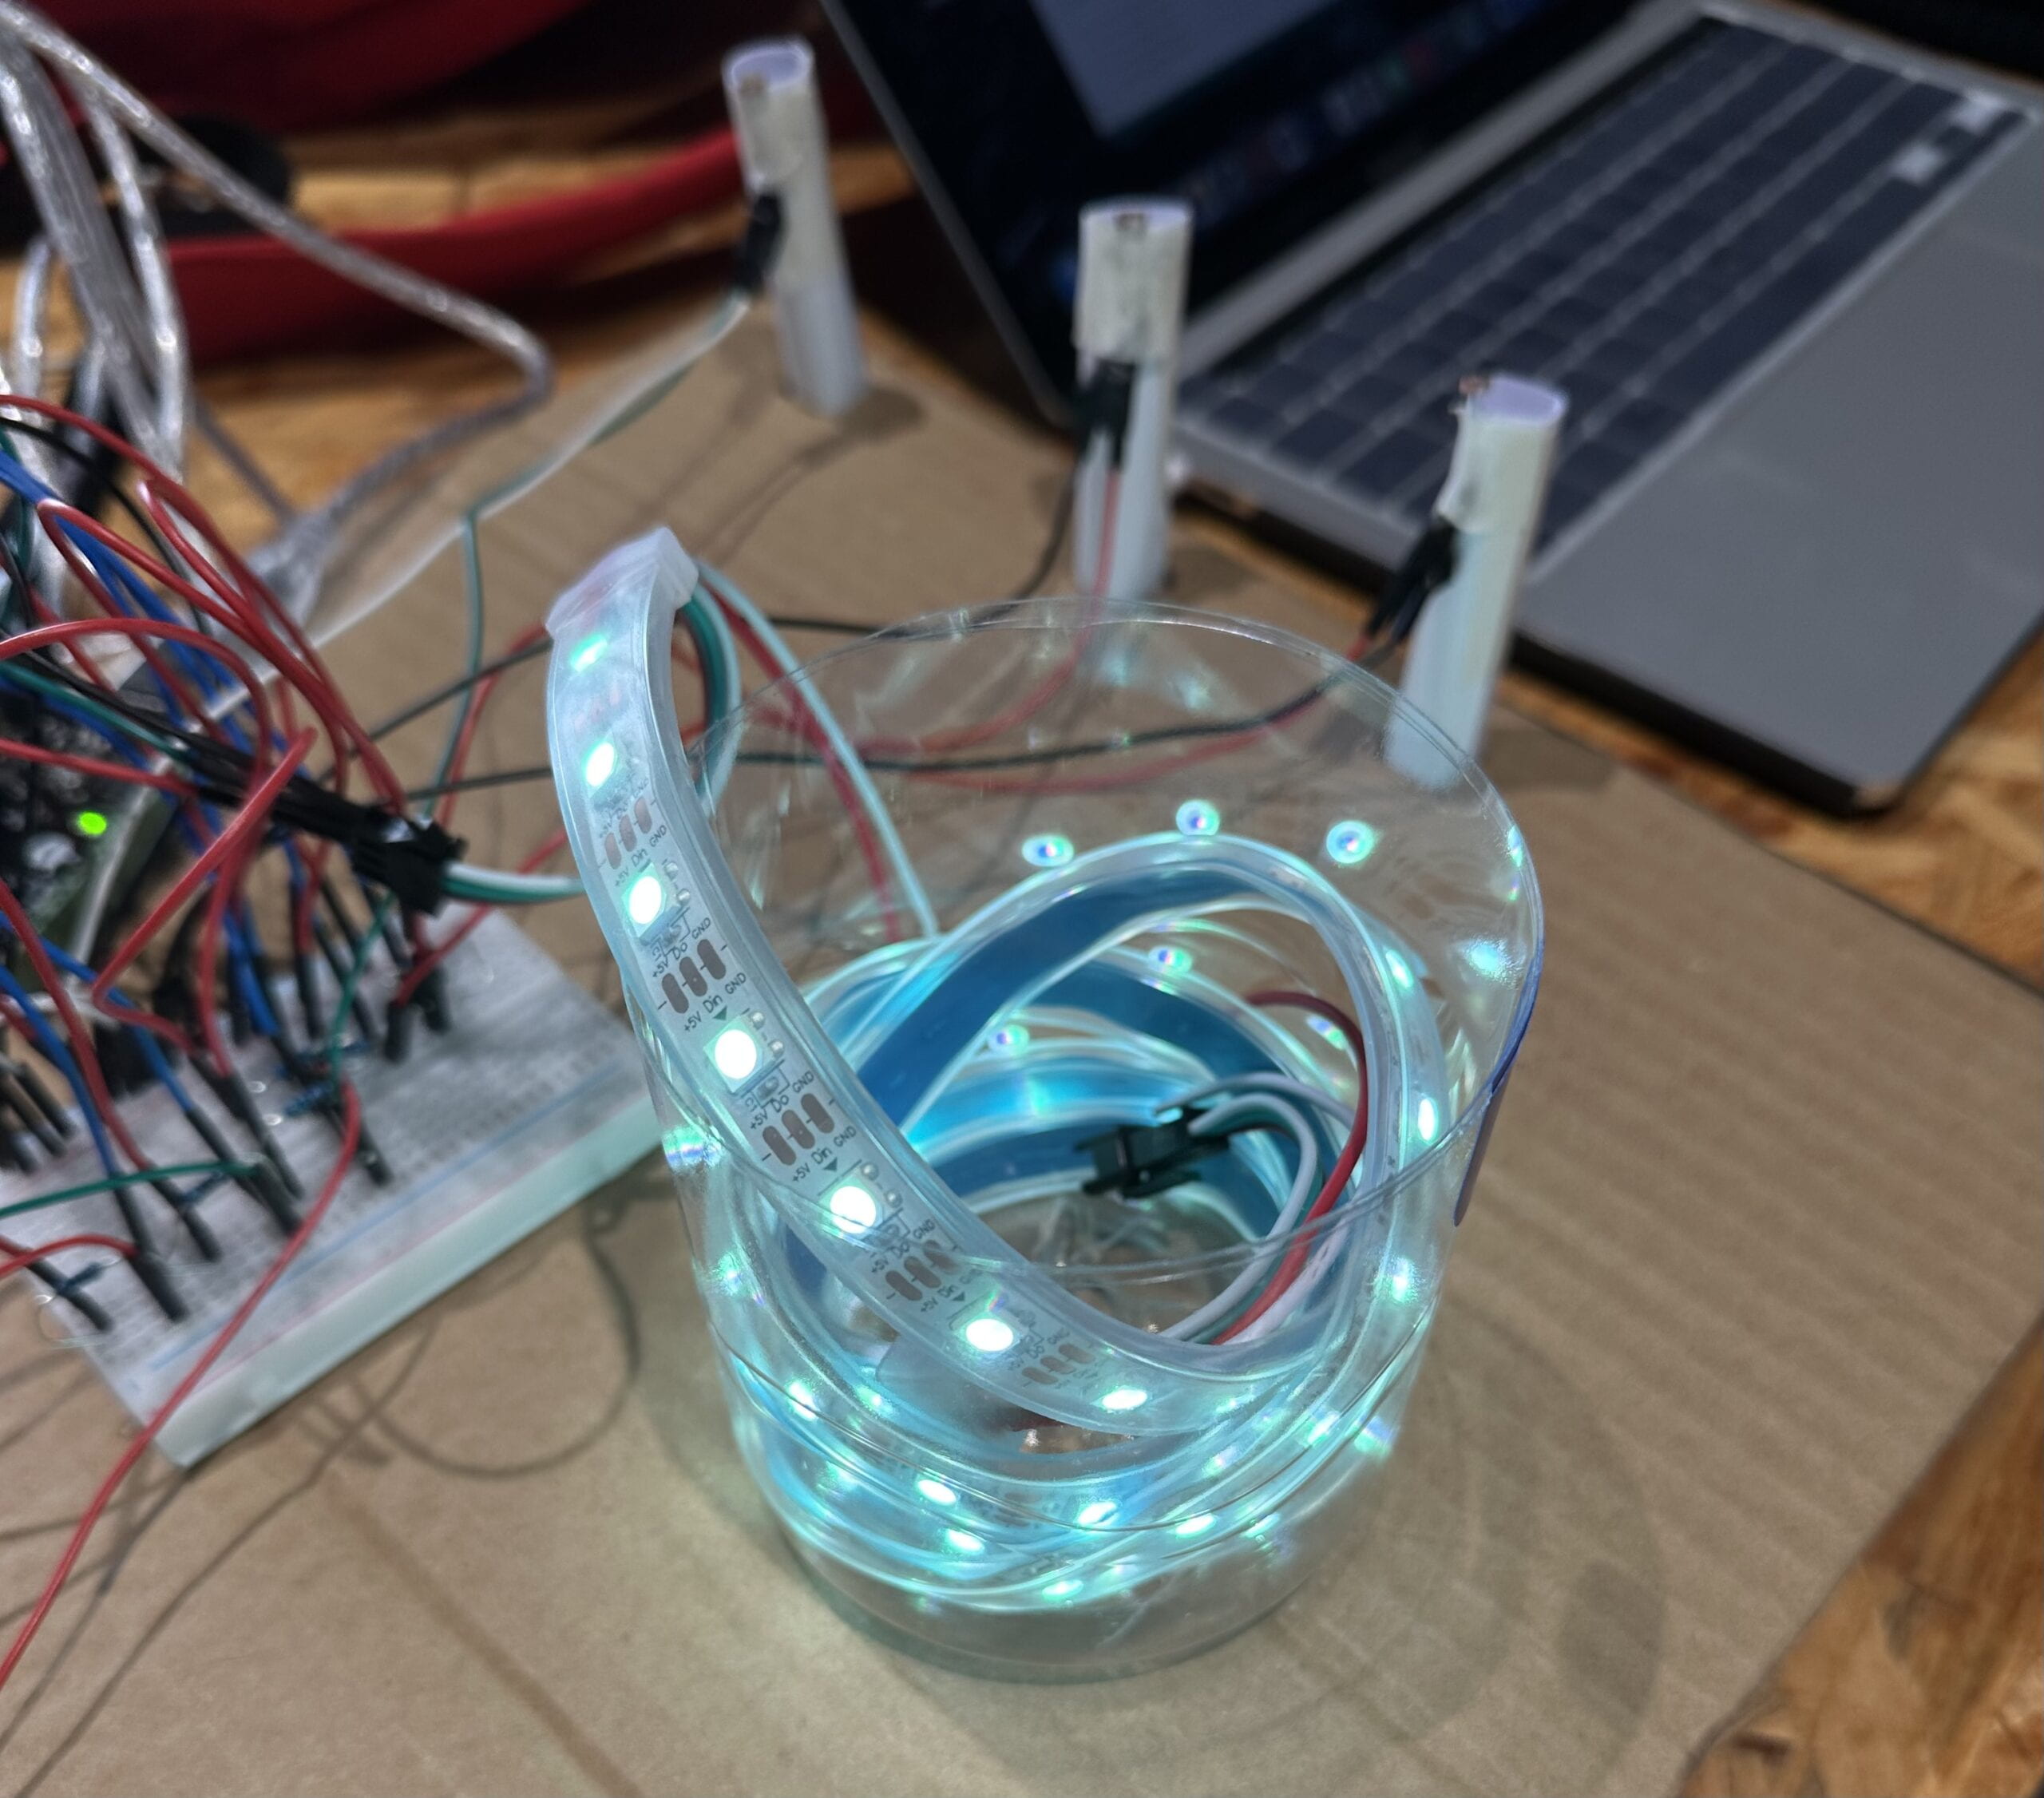
We first wanted to use distance sensor or touch sensor to achieve adding potion with a wand, but we later realized both of these two sensor are too big to attach to the bottles or to the wand, so we switched to using light sensors. And as you might see, or, hardly see in the picture of the finished project, the light sensor blends in with the corks so well that it’s hard to tell if there are sensors attached to it. And unless looking really up close, it really looks like magic. We also thought we needed a reset mechanism, and we used a moist sensor and put it on the rim of the cauldron, so that whenever the muggle wants to make another batch they could blow at the cauldron and the light will go out and they could start again.
Here is a picture of the sensors and the video of resetting the lights using moisture sensor.
Base, Cauldron & Wires
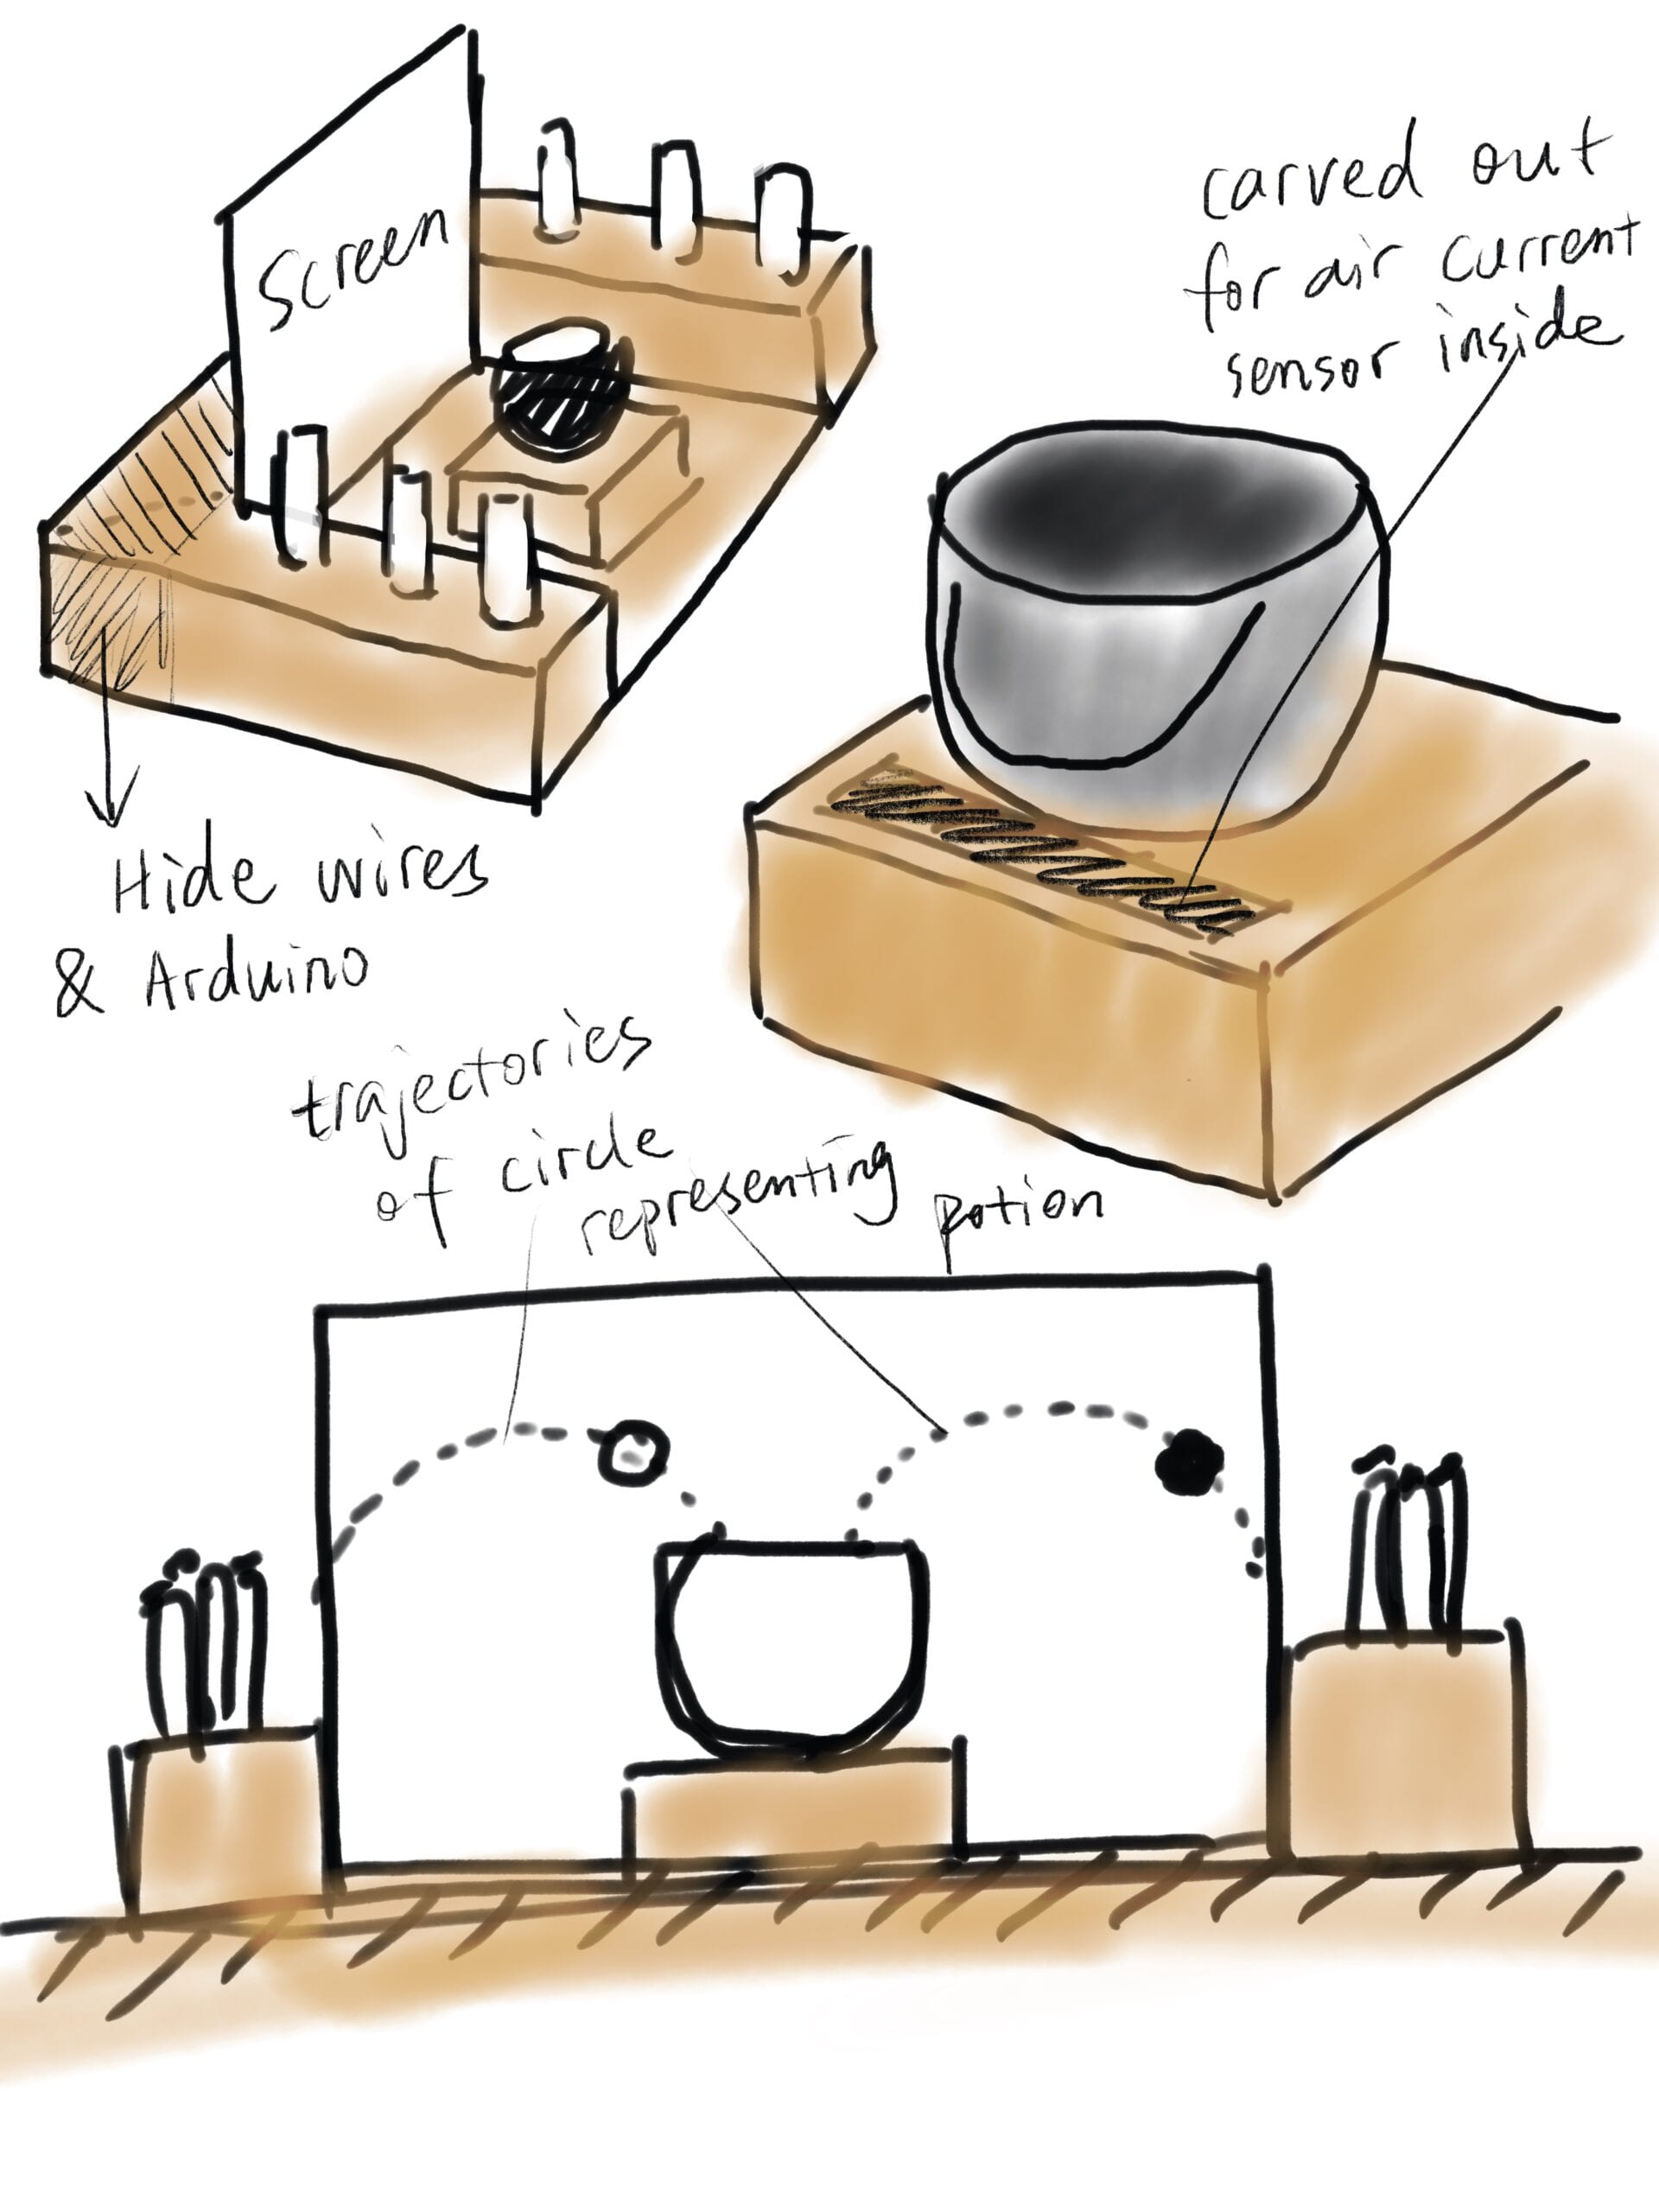
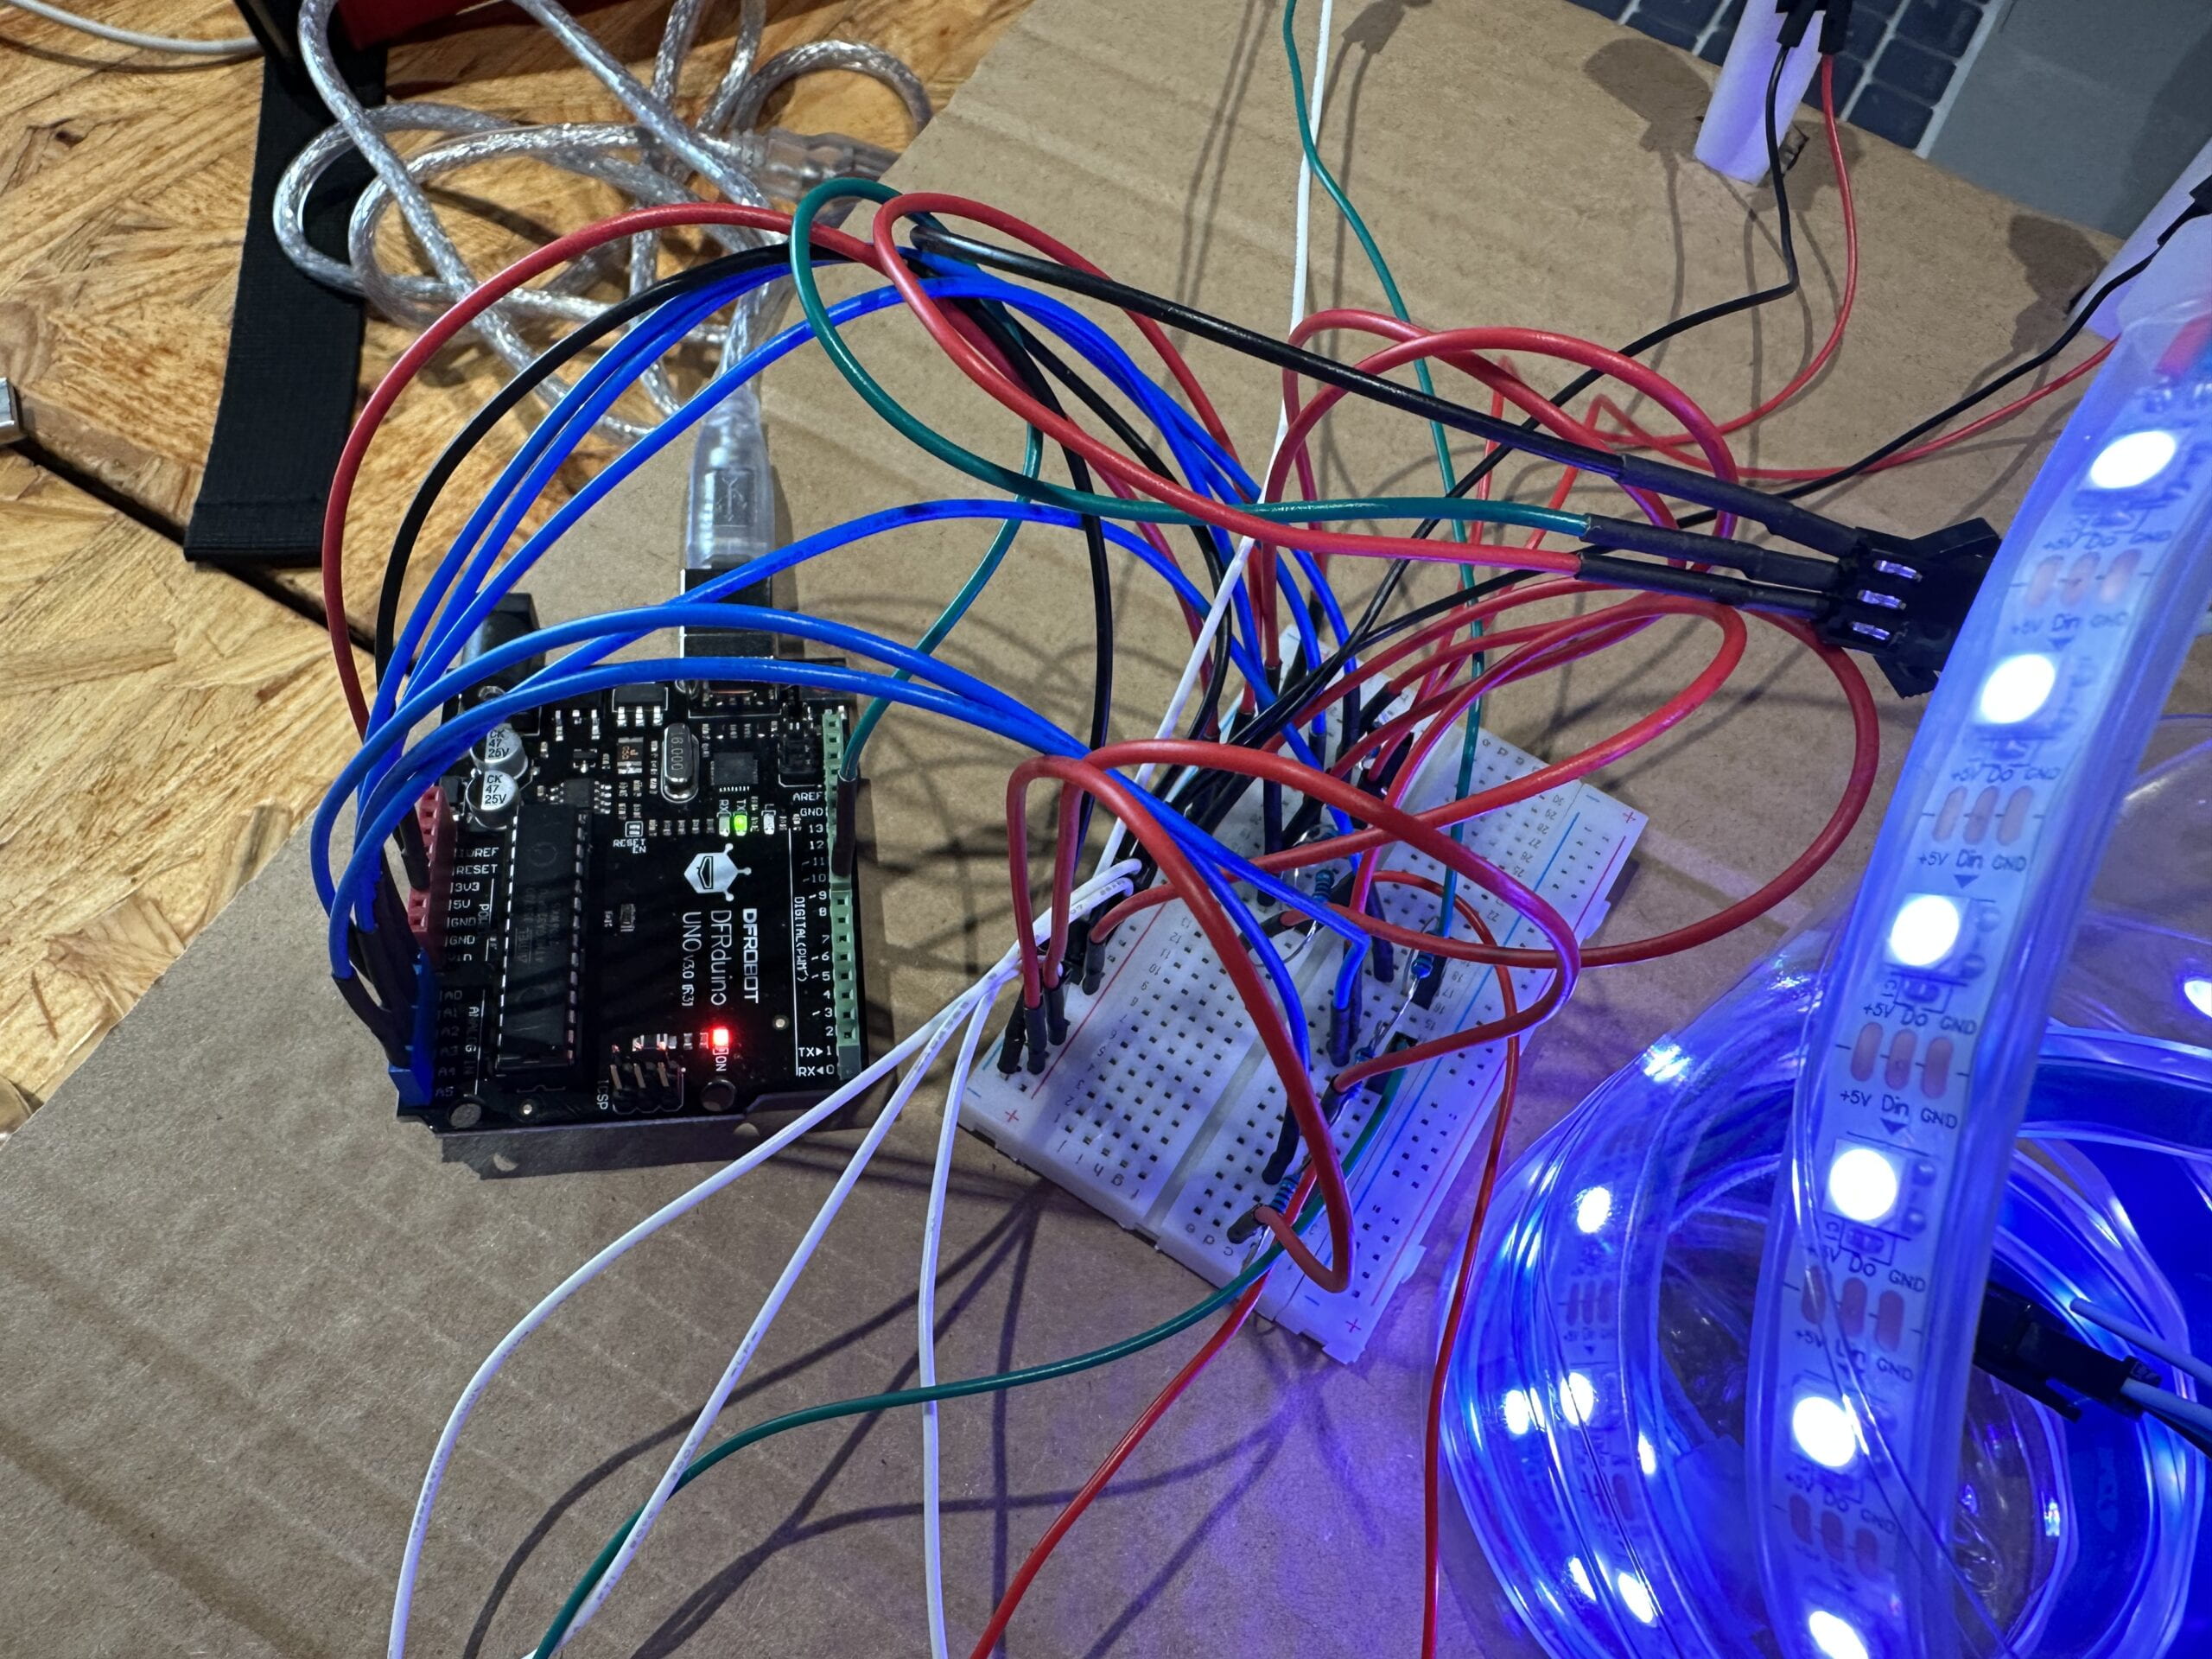
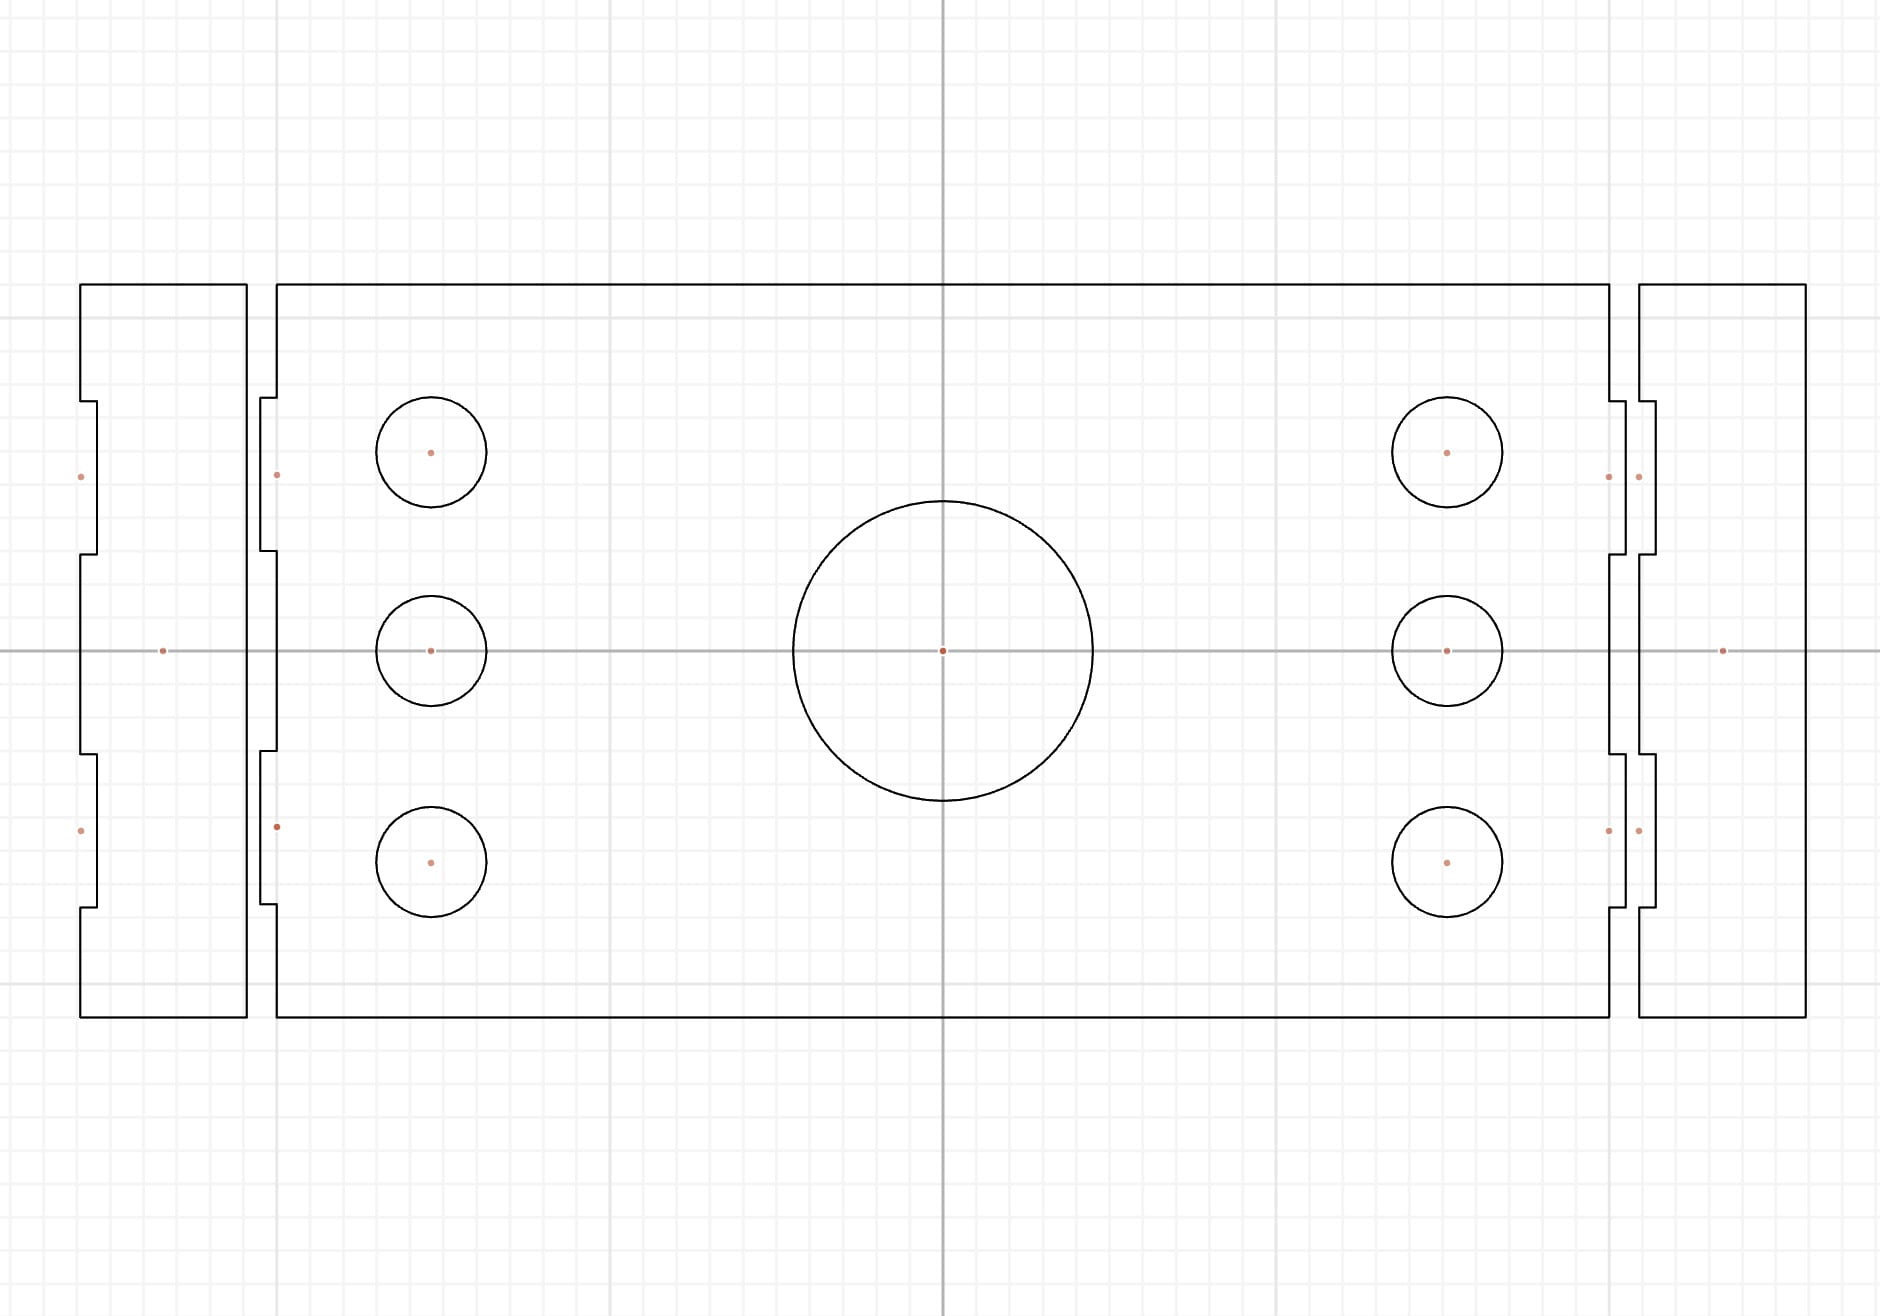
We used laser cut for the plywood base and attached the Arduino and the breadboard under it. We cut holes for each bottle on the base on two sides and one big one for the cauldron. The cauldron is 3D printed from a free model my partner found on line and we added a hole on the bottom of the cauldron for the wires to connect the strip LED and the light sensor inside it. The wires connecting the sensors go through the holes on the base and the bottoms of the bottles where we carved out holes manually (which requires a lot more strength that we thought) and is secured by the corks. The wires almost drove us crazy because they fall out of the socket so easily and the connections are not very stable, and we had to test which sensor is which over and over again, and we have to change the values for the input of each sensor from time to time depending on how the lighting was at the moment. We tried to use wire tapes to stick the sensors to the wires but had little effect, so we ultimately used glue guns. And when we were transferring the electronic components form the prototyped to the official physical components, we needed longer wires for connecting the sensors and my awesome partner took an hour to solder 11 wires to extend them.
Potion bottles
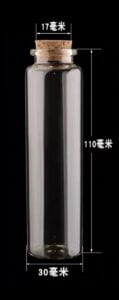
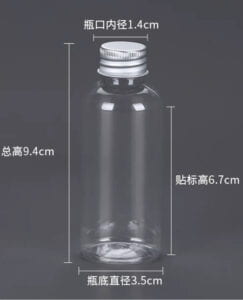 We initially wanted to have more than six different bottles but because there are only six sockets for analog sensors so we later decided to have six since muggles are clearly beginners to potion making anyway. For the bottles, we fist bought glass bottles with corks because we feel like this material and style of bottles resembles most like a potion bottle, but after we’ve bought the glass bottles we realized we couldn’t cut a hole in the bottom to get the wires through so we had to buy plastic bottles instead. The plastic bottles had smaller mouths and came with tin lids, so we kept the corks from the glass ones and cut them smaller so it still resembles a potion bottle.
Colors of potions
It was a big headache when we tried to achieve the effect of mixing designated colors with the LEDs. We fist used the method of adding the RGBs together then divide them by two, but the visual effect of this was that the color changes immediately when the sensor is activated and it doesn’t look very magical. And with this method we somehow could only have each potion added once and it won’t afterwards if trying to add the same color, So during user testing people were confused wether the sensors are working or not and we had to explain to them each time. We turned to our professor for help and suggested us to use fadeSpeed and multiplies the added color with previous colors, and it can even change the velocity of adding colors, and the longer the shadow stays on the sensor, the closer the color of the LEDs which represent the potion in the cauldron will get to the color of the added potion.
Here is a video of us color testing.
Here is a video of me testing the colors mixing after we’ve made it smoother and can be added multiple times. Also, in the video are posture to get the sensors working was a bit awkward, so we later pulled all the sensors out a bit and adjusted them to a platter positions so it’s easier to cast shadows with a wand. And we also add a layer of cotton to cover up the LED to diffuse the light and mimic the smoke/bubbles on the surface of the cauldron.
Bubbles
We first wanted to do have small balls jumping into the cauldron on the screen when adding potion, but it took us two days and neither of us could get the effect that we wanted. We tried to make it move in a parabola trajectory, and we tied to use the cosine graph for it, but the circles either keeps continue to move to the other side of the screen after passing where the cauldron is or doesn’t start in the place we wanted, and sometimes the circles don’t show up at all. Then our professor suggested us that we could have bubbles on the screen the mimics the effect of floating out of the cauldron, and that’s when we realized we don’t even need to have the moving circles, and bubbles would actually look a lot prettier and more like magic. So we worked based on the bubbles code our profesor gave us and turned it from having random colored bubbles coming out from where to mouse click on the screen to bubbles coming out when a sensor is activated and in the according color of the sensor. But we later noticed the bubbles will start anew from the center of the screen again whenever a sensor is working and the previous bubbles that were still in midair would disappear. We turned to our professor again and fixed it using if and multiplied the number of bubbles 0.9 so that there would still be some “left over” bubbles floating above the cauldron even if new ones appear.
Here are two videos of me struggling with the circles’ animation.
And here’s a video of us testing processing after we’ve made them bubbles and fixed the disappearing problems.
Sound
We looked for all types of sound files, some were too long, some didn’t sound like potion bubbles, or some didn’t have a good sound quality or has a background music that we didn’t want. And when we finally found a suitable one and put in the code, the bubbles won’t show up or the image background won’t appear. Turns out it was because the file we had. Was downloaded from a virtual computer so even it was an mp3 file it couldn’t be decoded by processing. Luckily we found another sound file that it short and suitable for potion bubbles. While me and my partner were working on the bubbles sound, I suggested that we could have Hedwig’s Theme playing when muggles are interacting, and we did during the final presentation. Personally I think it worked very well because I noticed when people are testing for other projects there tend to be some awkward silence when people are still figuring out how the project works, and when the Harry Potter music is playing it felt a lot different and it gives a more immersive felling to it.
Wand & Decoration
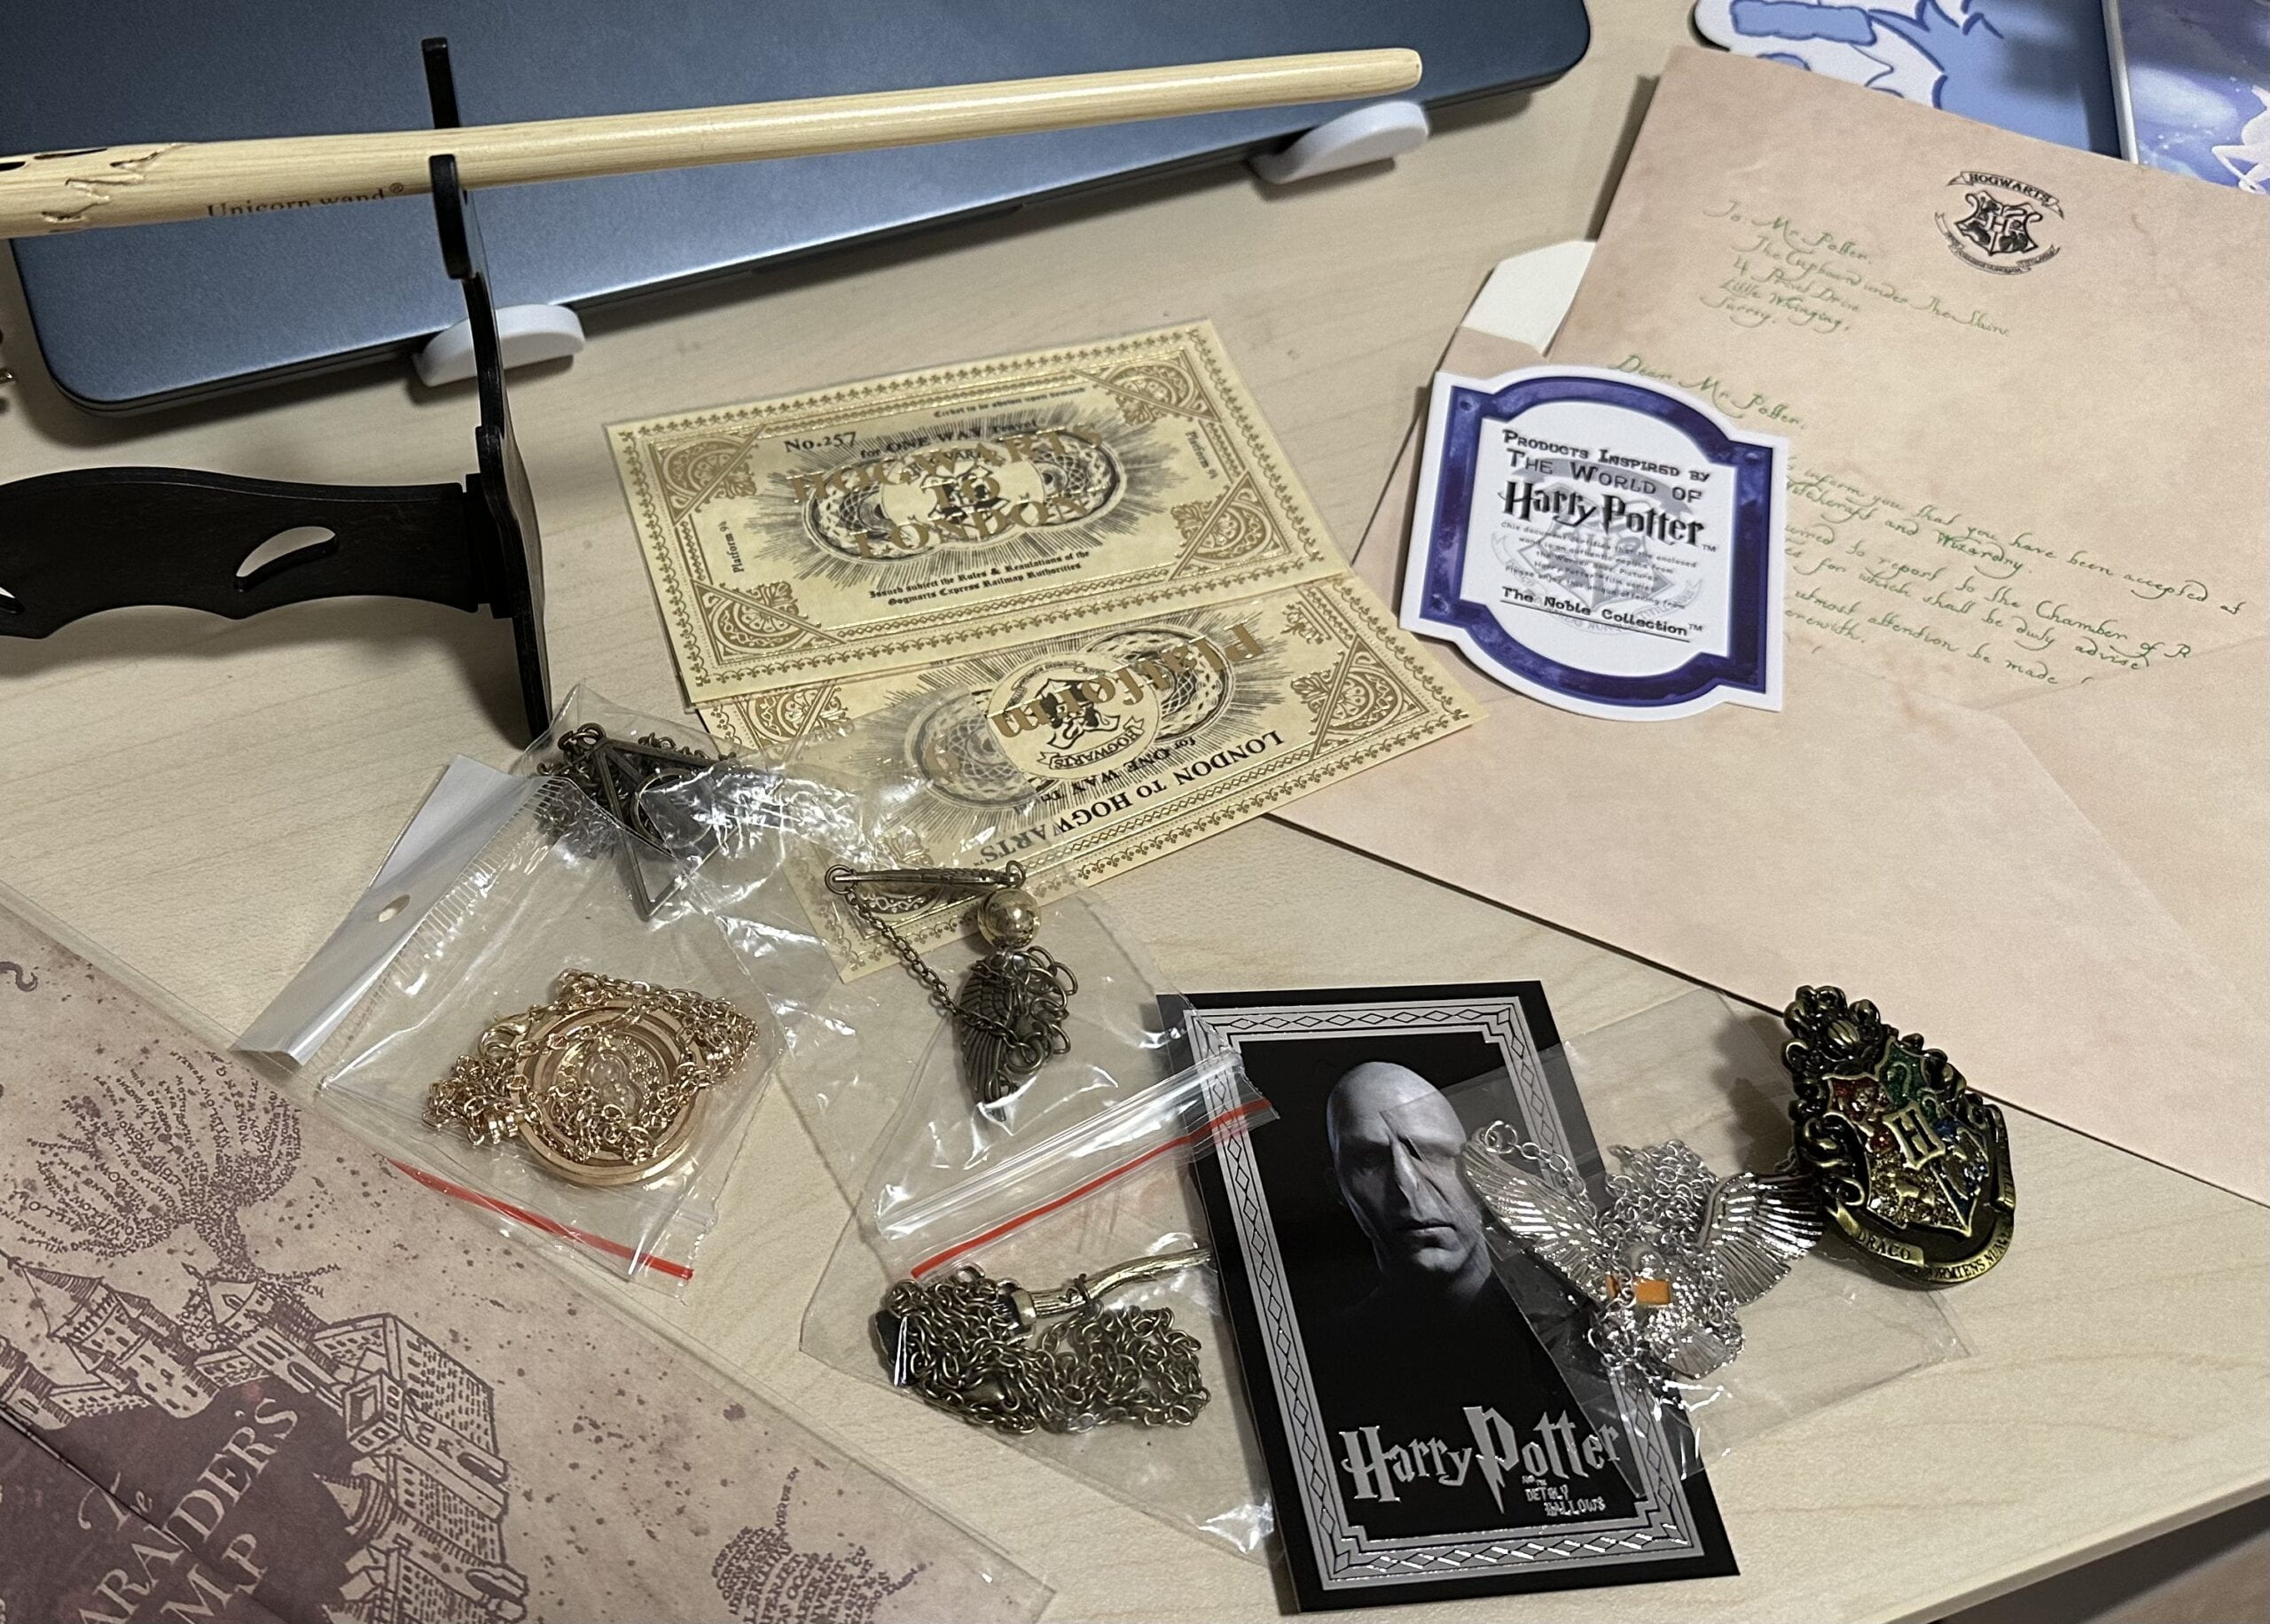
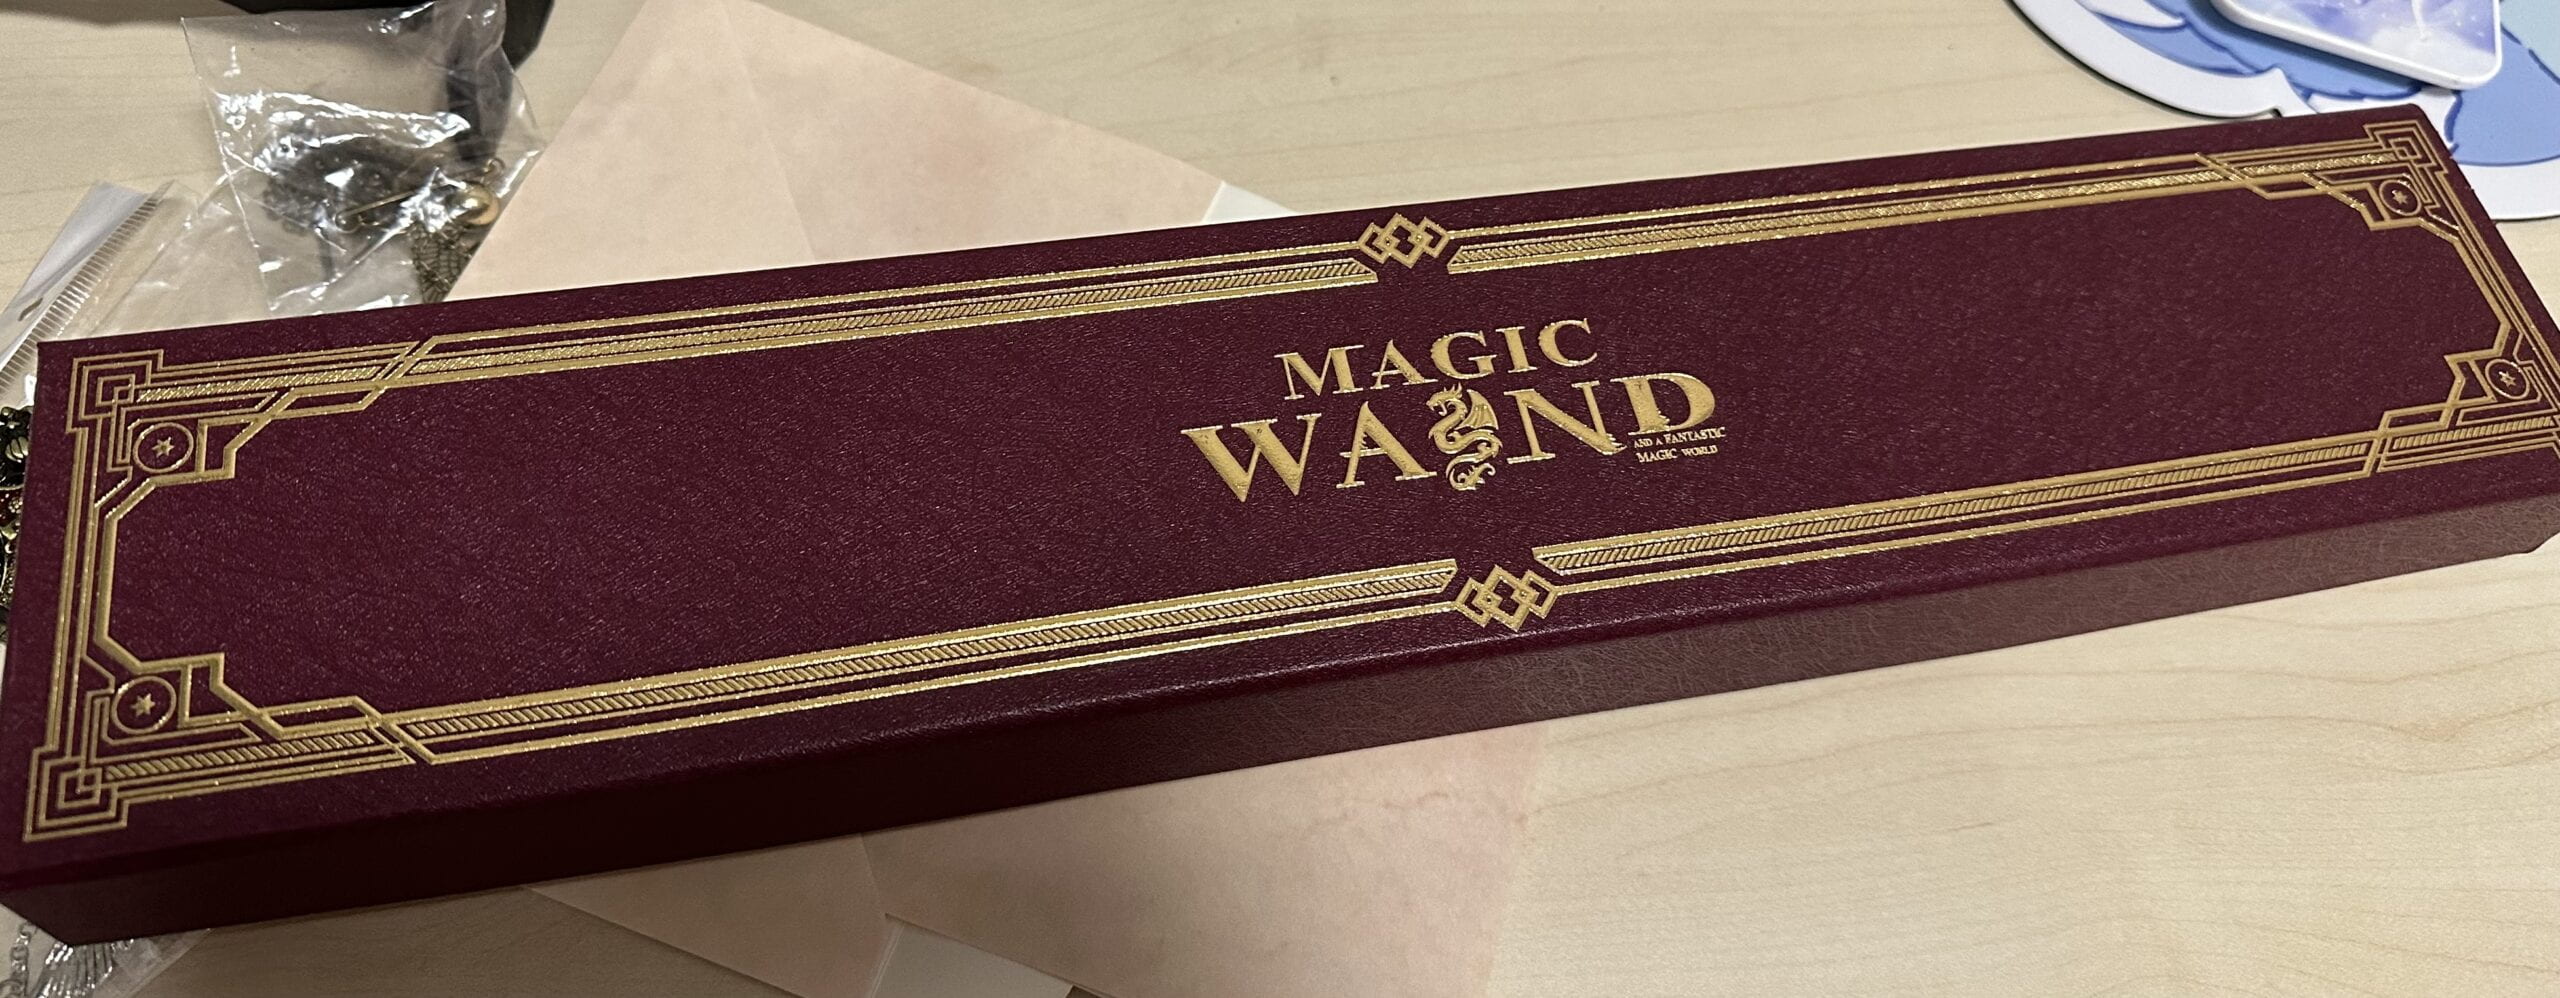
For user testing we had a pair of chopsticks for muggles to use which isn’t quite professional nor magical. So I bought a wand online that replicate the wand use by Voldemort in the movie. I could’ve bought Harry’s but I thought Voldemort’s is prettier. And because the wand came with a lot of accessories so me and my partner thought, “why not just put them all on the plywood base?” Though during user test we had different opinion on whether it’s better to have or without the decorations, but most liked them and we also thought it would make the project visually more intriguing and attract more people to try it, so we also had them during the IMA show, and it was fun to see people interacting with it wearing the Harry Potter glasses. Though we did not have more decorations on the bottles for the final presentation, but we later bought some stickers for potion labels before the IMA show.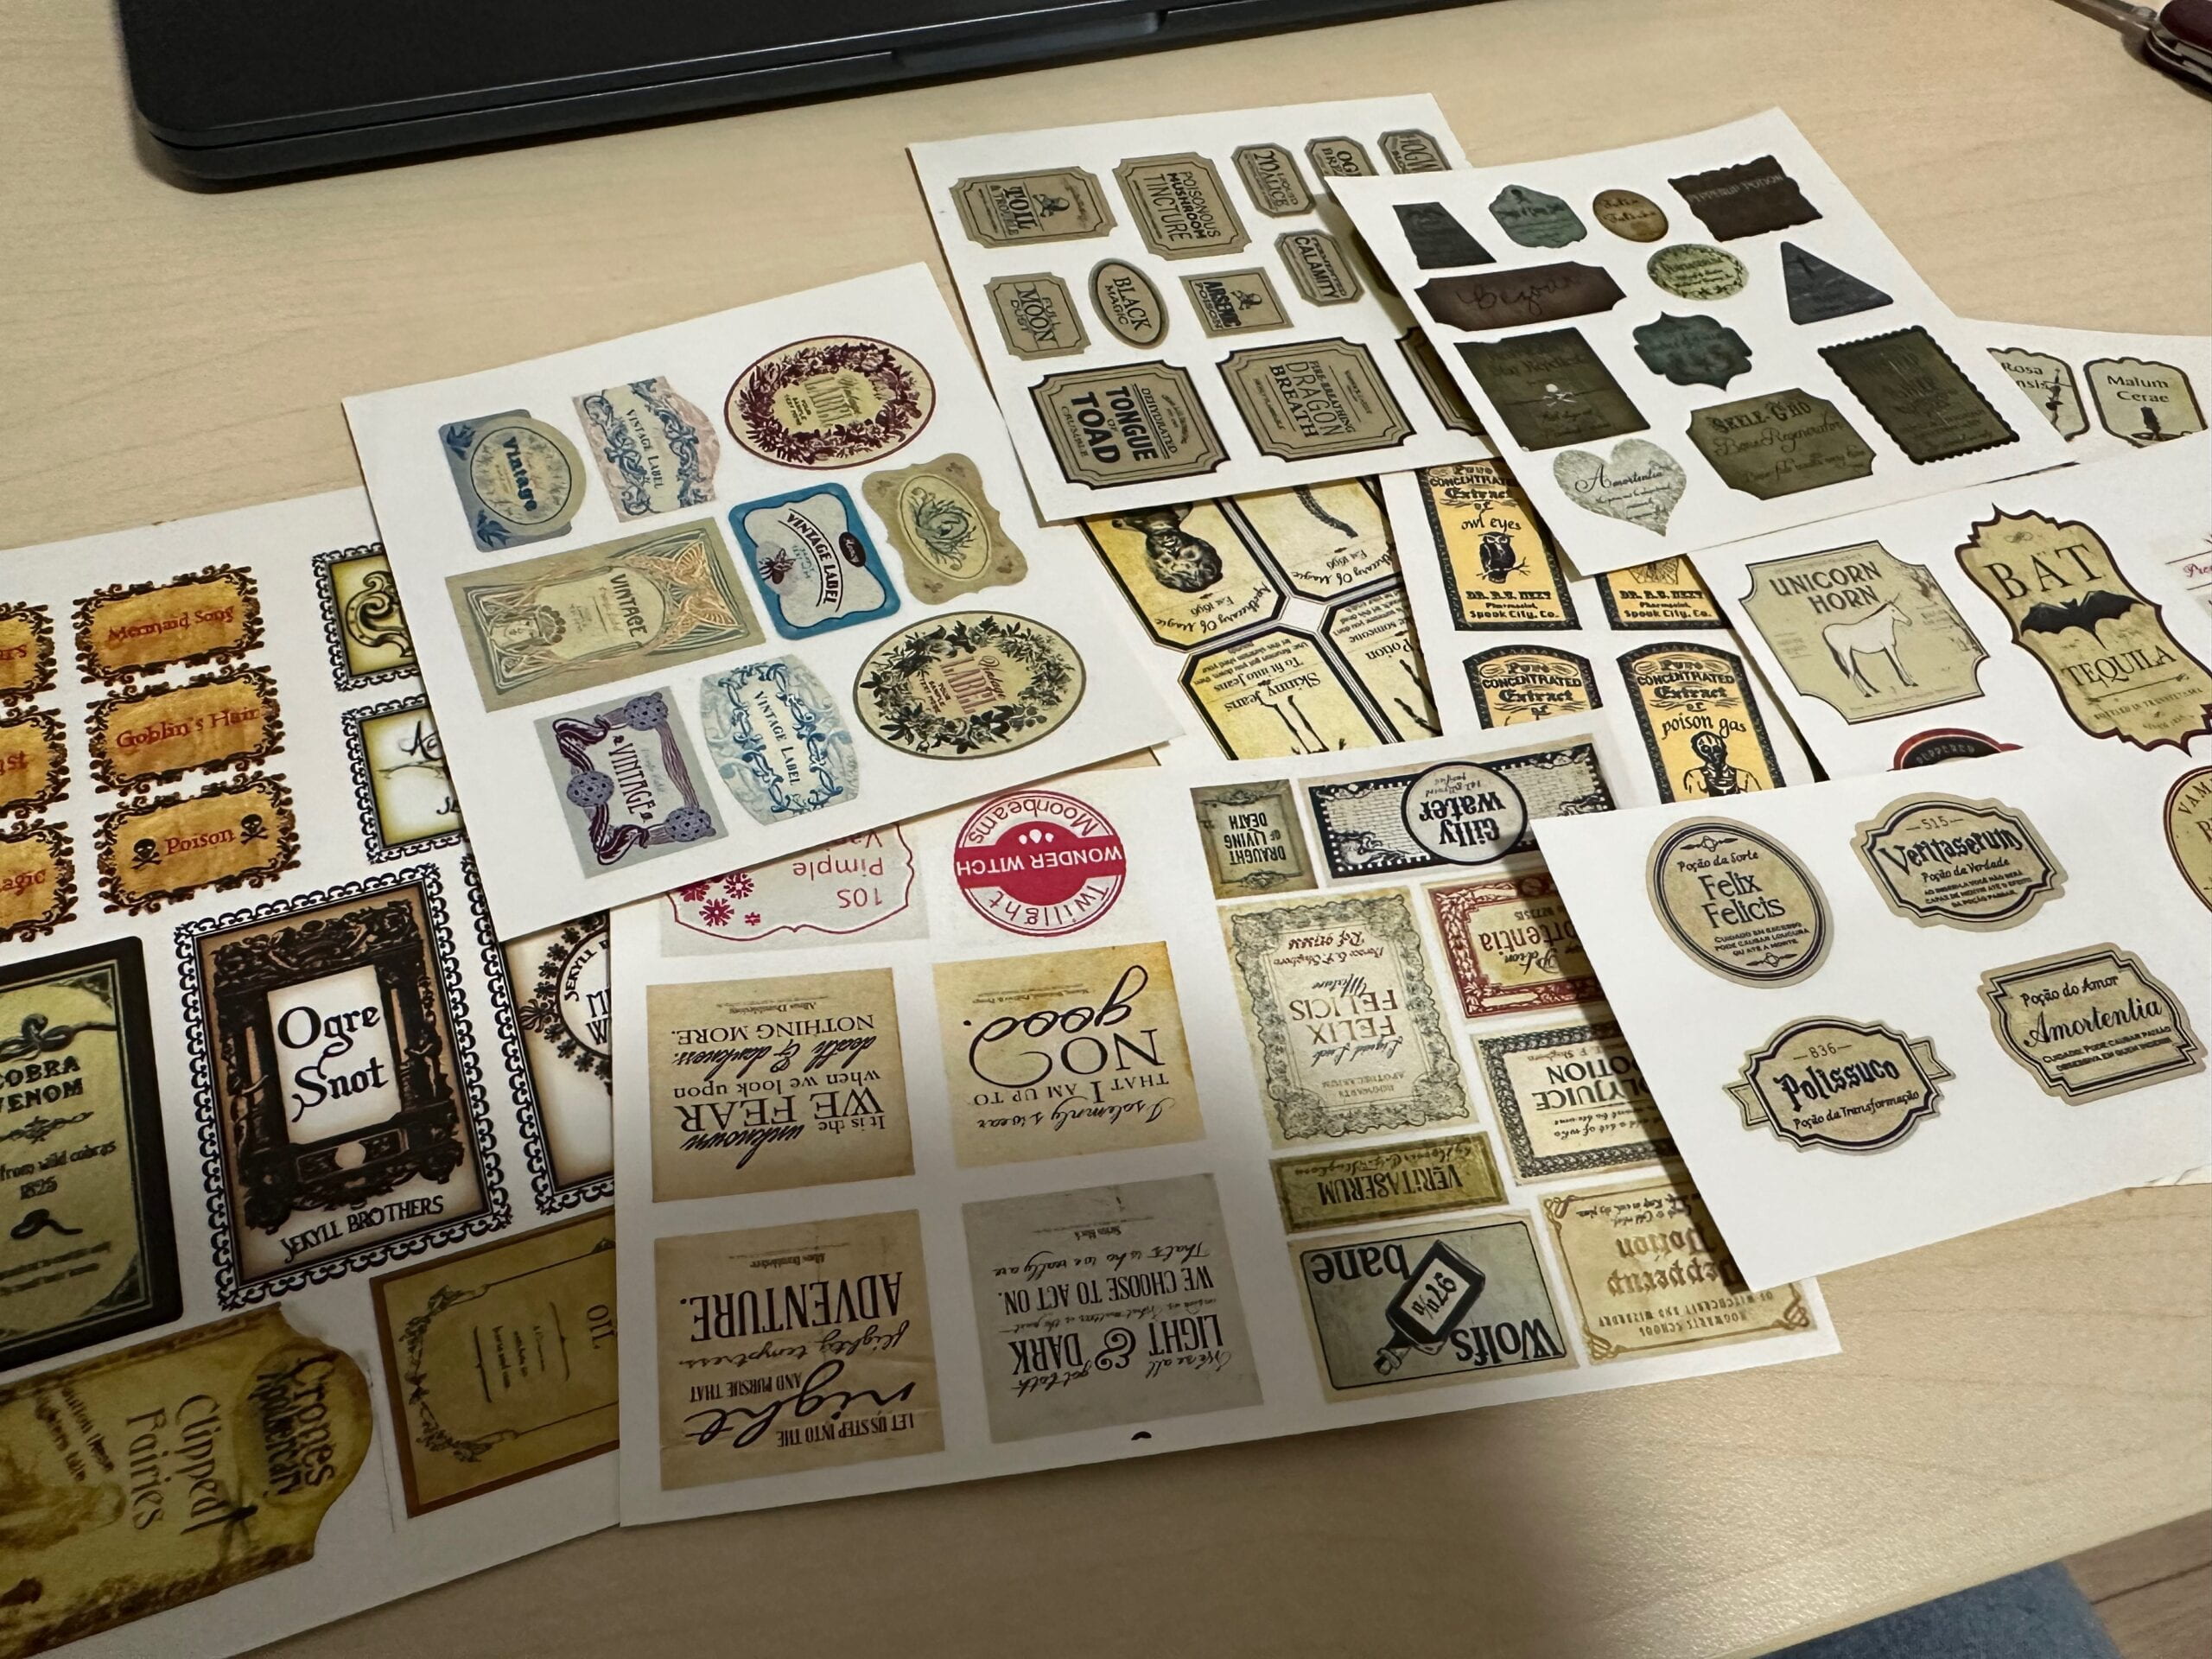
CONCLUSION
Overall I our project looked pretty nice. Personally I think the vidual effect we achieved was even better than we visioned in out proposal and during both the final presentation and IMA show people seemed to be intrigued, entertained and had fun. This project allowed me to hand craft things on my own and experience using materials I’ve never used before such as 3D print plastics and plywood board. It was also very fun and useful to gain new skills such as coding, 3D modeling and laser cut designing. It is very rewarding to see your idea turned into reality.
DISASSEMBLY
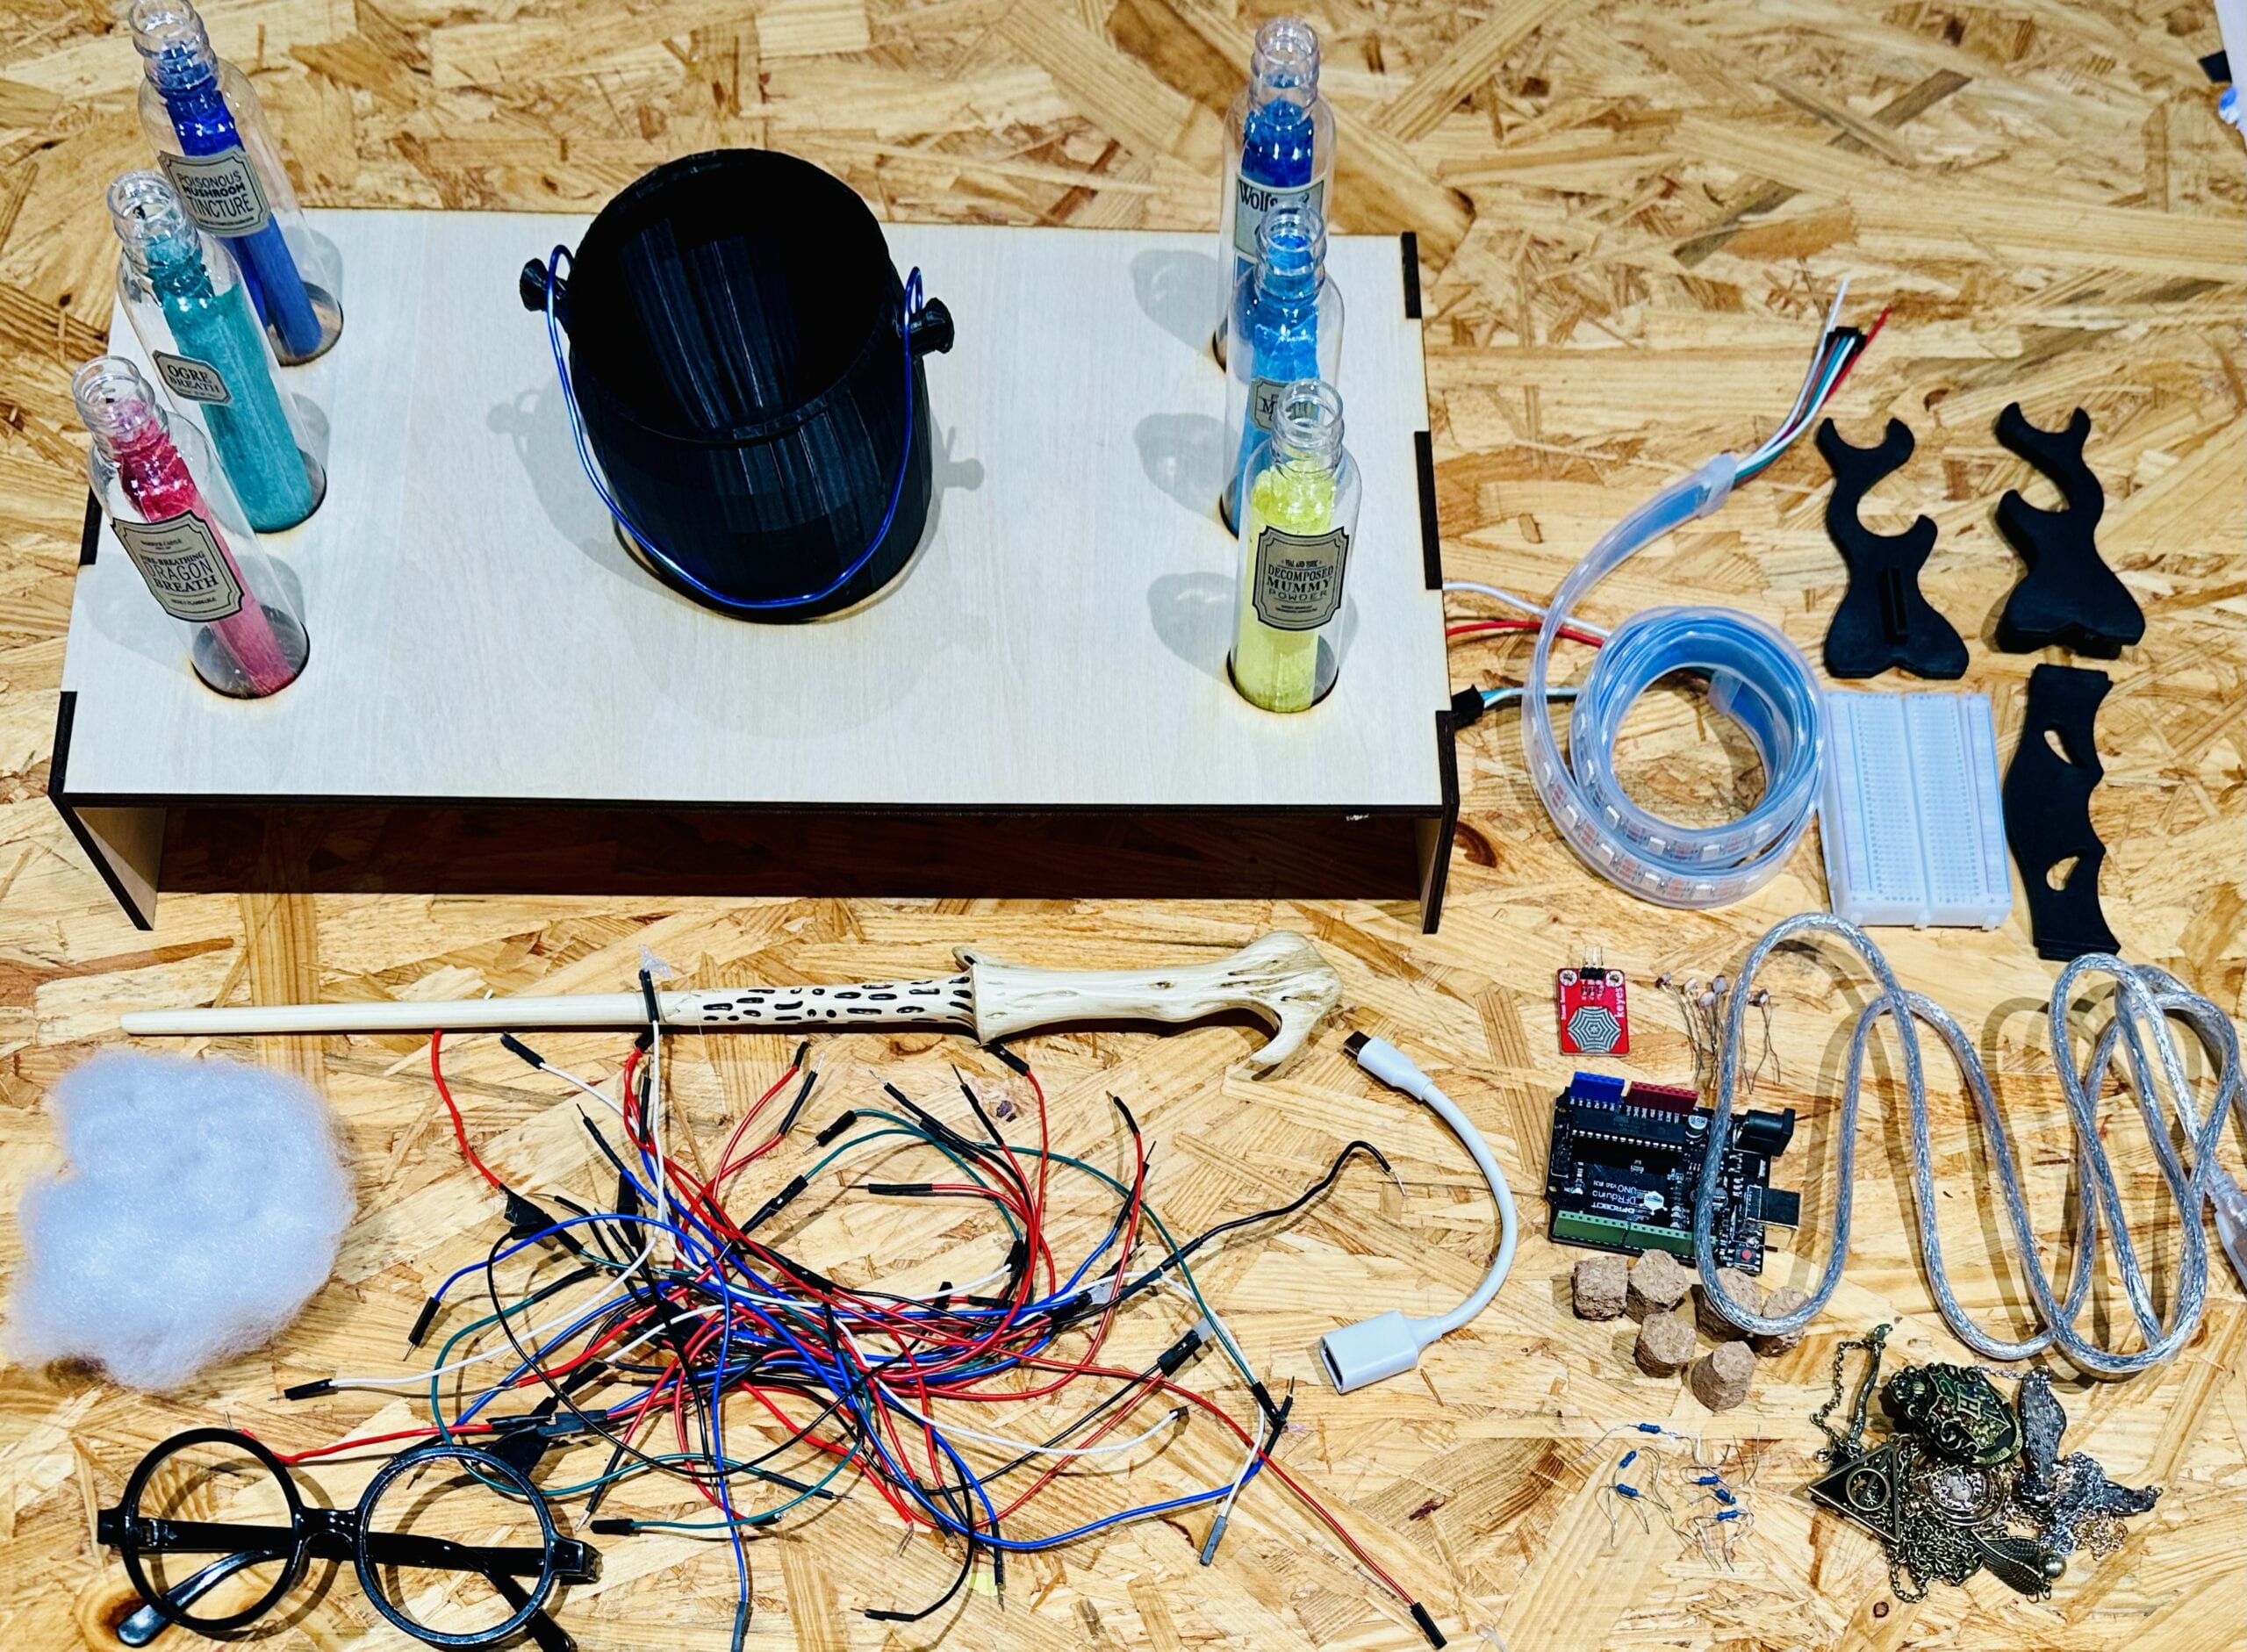
May I present the corpse of the project
APPENDIX
Arduino
#include
#define NUM_LEDS 60  // How many leds on your strip?
#define DATA_PIN 3
CRGB leds[NUM_LEDS];
float r;
float g;
float b;
float s0 = 400;
float s1 = 600;
float s2 = 800;
float s3 = 800;
float s4 = 500;
float s5 = 500;
float fadeSpeed = 0.05;

int timesofblow;


void setup() {
  Serial.begin(57600);
  FastLED.addLeds<NEOPIXEL, DATA_PIN>(leds, NUM_LEDS);
  FastLED.setBrightness(50);
}
void loop() {
  bool value = digitalRead(13);

  int sensor0 = analogRead(A0);
  int sensor1 = analogRead(A1);
  int sensor2 = analogRead(A2);
  int sensor3 = analogRead(A3);
  int sensor4 = analogRead(A4);
  int sensor5 = analogRead(A5);
  Serial.print(sensor0);
  Serial.print(",");
  Serial.print(sensor1);
  Serial.print(",");
  Serial.print(sensor2);
  Serial.print(",");
  Serial.print(sensor3);
  Serial.print(",");
  Serial.print(sensor4);
  Serial.print(",");
  Serial.print(sensor5);
  Serial.print(",");
  Serial.print((int)r);
  Serial.print(",");
  Serial.print((int)g);
  Serial.print(",");
  Serial.print((int)b);
  Serial.print(",");
  Serial.print(value);
  Serial.print(",");
  Serial.print(timesofblow);
  Serial.println();
  delay(20);

  /*
  Serial.print((int)r);
  Serial.print(",");
  Serial.print((int)g);
  Serial.print(",");
  Serial.println((int)b);
  */

  for (int i = 0; i < NUM_LEDS; i++) { //leds[i] = CRGB(255, 255, 255); leds[i] = CRGB((int)r, (int)g, (int)b); } FastLED.show(); if (sensor0 >= s0) {
    r = r * (1.0 - fadeSpeed) + 255 * fadeSpeed;
    g = g * (1.0 - fadeSpeed) + 0 * fadeSpeed;
    b = b * (1.0 - fadeSpeed) + 0 * fadeSpeed;
  }
  if (sensor1 >= s1) {
    r = r * (1.0 - fadeSpeed) + 0 * fadeSpeed;
    g = g * (1.0 - fadeSpeed) + 0 * fadeSpeed;
    b = b * (1.0 - fadeSpeed) + 255 * fadeSpeed;
  }
  if (sensor2 >= s2) {
    r = r * (1.0 - fadeSpeed) + 0 * fadeSpeed;
    g = g * (1.0 - fadeSpeed) + 255 * fadeSpeed;
    b = b * (1.0 - fadeSpeed) + 0 * fadeSpeed;
  }
  if (sensor3 >= s3) {
    r = r * (1.0 - fadeSpeed) + 255 * fadeSpeed;
    g = g * (1.0 - fadeSpeed) + 255 * fadeSpeed;
    b = b * (1.0 - fadeSpeed) + 0 * fadeSpeed;
  }
  if (sensor4 >= s4) {
    r = r * (1.0 - fadeSpeed) + 0 * fadeSpeed;
    g = g * (1.0 - fadeSpeed) + 255 * fadeSpeed;
    b = b * (1.0 - fadeSpeed) + 255 * fadeSpeed;
  }
  if (sensor5 >= s5) {
    r = r * (1.0 - fadeSpeed) + 255 * fadeSpeed;
    g = g * (1.0 - fadeSpeed) + 0 * fadeSpeed;
    b = b * (1.0 - fadeSpeed) + 255 * fadeSpeed;
  }

  if (value == 1) {
    r = g = b = 0;
    timesofblow += 1;
  }
}
Processing
import processing.serial.*;
import processing.sound.*;

Serial serialPort;

int NUM_OF_VALUES_FROM_ARDUINO = 11;
int arduino_values[] = new int[NUM_OF_VALUES_FROM_ARDUINO];

SoundFile se;

PImage bg;
PImage reset;
PImage instruction0;

float s0=400;
float s1=600;
float s2=800;
float s3=800;
float s4=500;
float s5=500;

float[] bubbleXs = new float[200];
float[] bubbleYs = new float[200];
float[] bubbleSizes = new float[200];
color[] bubbleColors = new color[200];
int nextBubble = 0;
int numBubblesToRelease = 50;

int duration = 7000;
int starttime;

void setup() {
  size(1450, 980);

  bg = loadImage("background.jpeg");
  reset = loadImage("Resetting.jpg");
  instruction0 = loadImage("0.png");

  printArray(Serial.list());
  serialPort = new Serial(this, "/dev/cu.usbmodem101", 57600);

  se = new SoundFile(this, "bubbles.MP3");
}

void draw() {
  noCursor();
  image(bg, 0, 0, width, height);
  image(instruction0, width/2-250, height/2-350);

  getSerialData();

  for (int i=0; i < bubbleXs.length; i++) {
    // move bubble up
    bubbleXs[i] = bubbleXs[i] + random(-50, 50);
    bubbleYs[i] = bubbleYs[i] + random(-50, 0);
    bubbleSizes[i] = bubbleSizes[i] + 0.1;

    // draw bubble
    fill(bubbleColors[i]);
    noStroke();
    ellipse(bubbleXs[i], bubbleYs[i], bubbleSizes[i], bubbleSizes[i]);
  }

  if (arduino_values[0]>=s0||arduino_values[1]>=s1||arduino_values[2]>=s2||arduino_values[3]>=s3||arduino_values[4]>=s4||arduino_values[5]>=s5) {
    color c = color(arduino_values[6]*1.5, arduino_values[7]*1.5, arduino_values[8]*1.5, random(0, 100));

    // release a bunch of bubbles at once
    for (int i=0; i < numBubblesToRelease; i++) {
      bubbleXs[nextBubble] = random(width/2-200, width/2+200);
      bubbleYs[nextBubble] = random(height/2-50, height/2+50);
      bubbleSizes[nextBubble] = random(25, 50);
      bubbleColors[nextBubble] = c;

      // increase the index of nextBubble, so that
      // we'll creating a new bubble in a subsequent
      // entry in the array next
      nextBubble = nextBubble+1;
      // loop around when we're at 100
      if (nextBubble >= bubbleXs.length) {
        nextBubble = 0;
      }
    }

    numBubblesToRelease = (int)(numBubblesToRelease * 0.9);
    if (numBubblesToRelease < 1) {
      numBubblesToRelease = 1;
    }

    if (se.isPlaying() == false) {
      se.play();
    }
  } else {
    numBubblesToRelease = numBubblesToRelease + 1;
    if (numBubblesToRelease > 50) {
      numBubblesToRelease = 50;
    }
  }

  if (arduino_values[9]==1) {
    image(reset, 0, 0, width, height);
  }
}

void getSerialData() {
  while (serialPort.available() > 0) {
    String in = serialPort.readStringUntil( 10 );
    if (in != null) {
      print("From Arduino: " + in);
      String[] serialInArray = split(trim(in), ",");
      if (serialInArray.length == NUM_OF_VALUES_FROM_ARDUINO) {
        for (int i=0; i<serialInArray.length; i++) {
          arduino_values[i] = int(serialInArray[i]);
        }
      }
    }
  }
}