This week the lab was a review of serial communication, since we had a lot of asynchronous communication in the midterm (extended blog coming soon). There were still a few useful things that I picked up in this lab:
-
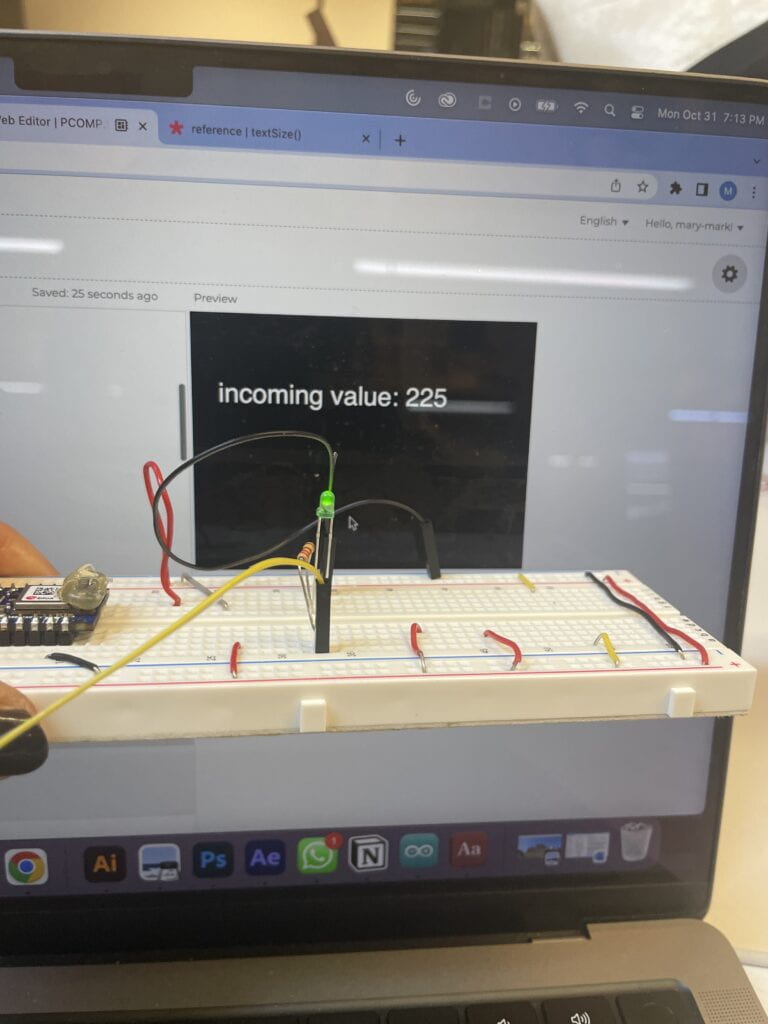
- When we were doing two-way communication for the midterm we implemented the ‘handshake’ communication protocol. However, it was very difficult to debug what Arduino was seeing since we couldn’t use the Serial Monitor. In this lab I learned a useful trick, where you send the read Byte directly back to p5 and print it using either console.log or canvas. This is where command byte() was very useful. In Arduino, as soon as you read the byte, you can send it back:
int inByte = Serial.read();
Serial.write(inByte); Question: in p5 reference for byte() it says “Converts a number, string representation of a number, or boolean to its byte representation. A byte can be only a whole number between -128 and 127”. However, we were printing 255 on the screen using byte(). How does that work?
- When we were doing two-way communication for the midterm we implemented the ‘handshake’ communication protocol. However, it was very difficult to debug what Arduino was seeing since we couldn’t use the Serial Monitor. In this lab I learned a useful trick, where you send the read Byte directly back to p5 and print it using either console.log or canvas. This is where command byte() was very useful. In Arduino, as soon as you read the byte, you can send it back:
-
- The graphing function was pretty cool and useful to monitor the signal. I will save that for later. Below is an example of potentiometer output:

- The graphing function was pretty cool and useful to monitor the signal. I will save that for later. Below is an example of potentiometer output:
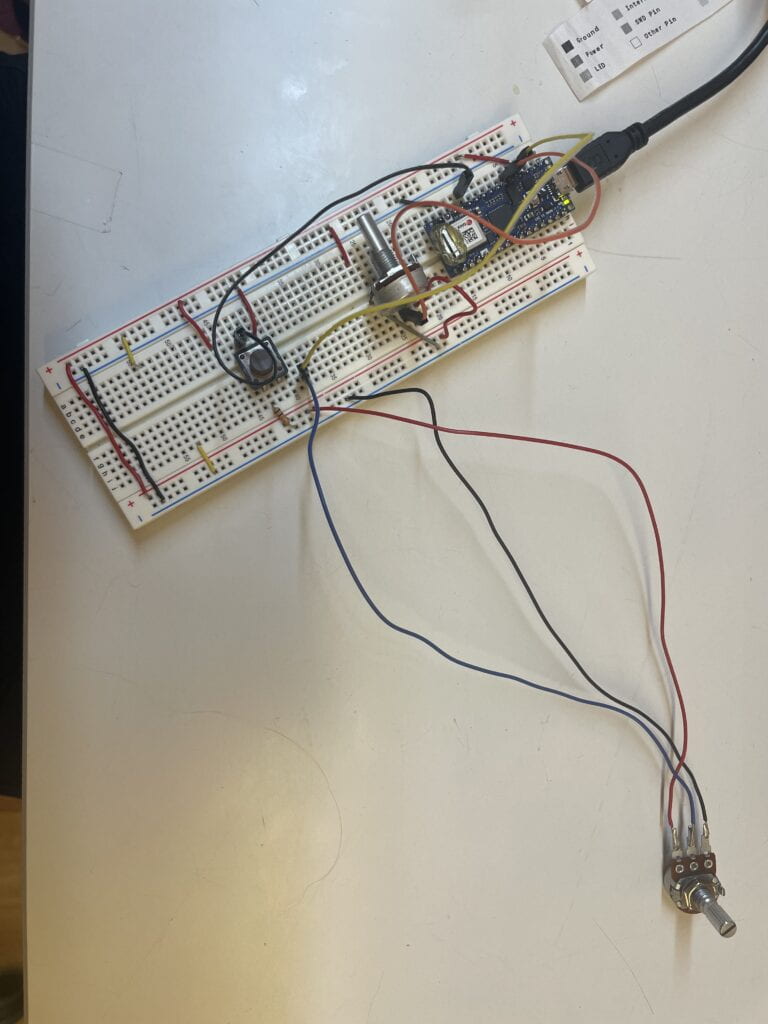
Here are some of the pictures of the circuits I built in this lab.
