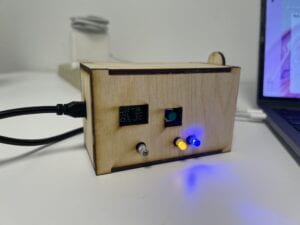
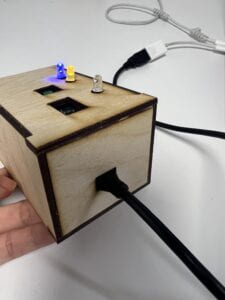
Since I have an almost finished circuit for the midterm of another class “connected device”, which also needs to make an enclosure for the device. So this assignment could be my prototyping for the midterm.
First, I made the circuit and Arduino as small as possible. Since I may iterate the circuit, I use the solderless board. And I haven’t soldered the button and led, I tried to put all the windows on a flat surface.
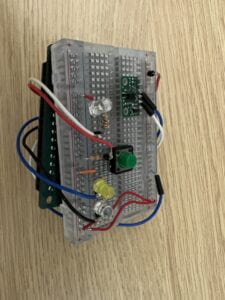
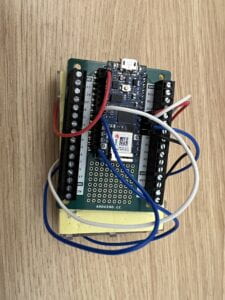
the inside circuit and Arduino
I draw and cut the outline of each piece first, verifying the size of the enclosure. And then put the circuit inside to estimate the position of each output and input. The reason to do these separately is I use the solderless board. The positions don’t need to be precise if I soldered each component on a soldering board.
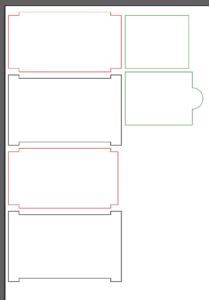
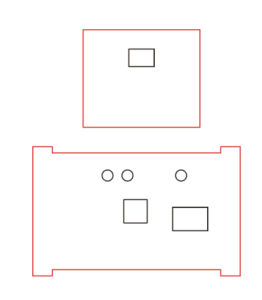
I keep the right side to be a door and stick a doorsill. But the doorsill occupies the space the circuit cannot take out. So I change it to a small square doorsill which also works well.
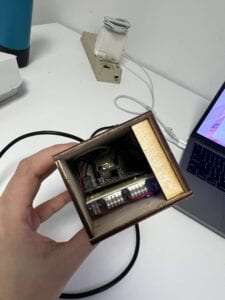
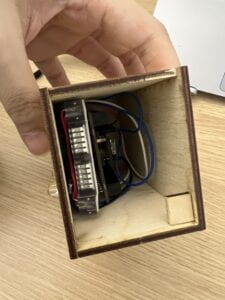
I give a relatively larger space for the thickness of the circuit since the solderless wire needs space. But putting protective films to stabilize the position of the circuit and make sure the button could be pressed from outside.
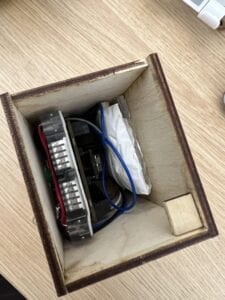
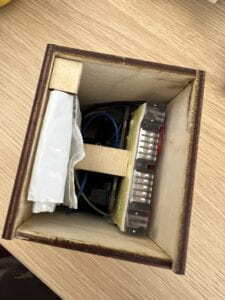
Here is the final piece!
