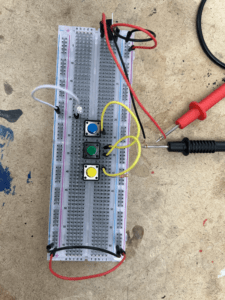
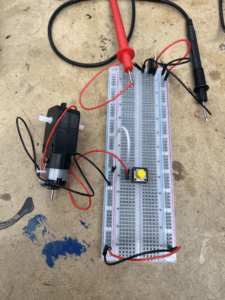
After I reviewed the list of components, I try to find these components and remember the work they do. But it’s hard, the most effective may be doing the labs.
Setting up a breadboard & Using Multimeter
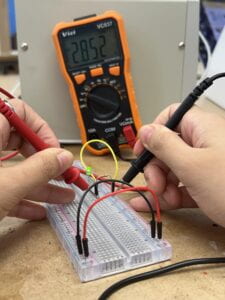
1.1 Because I found all the components except the alligator clamps, I have no idea how to connect the DC power to the breadboard. Thus, I used Nano 33 IoT to set up the breadboard at the beginning.
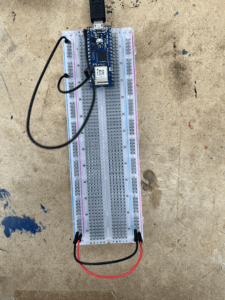
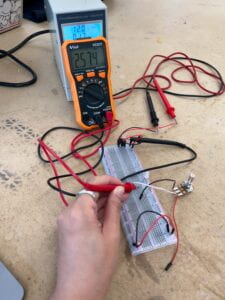
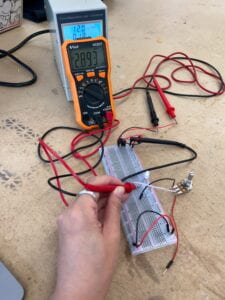
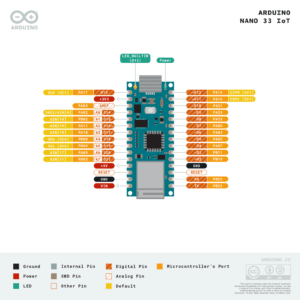
1.2 I measured the voltage between pin 2 of the Nano (3.3V out) and pin 14 (ground). I got a number close to 3.3V. And here I put the pin diagram which helps me a lot.
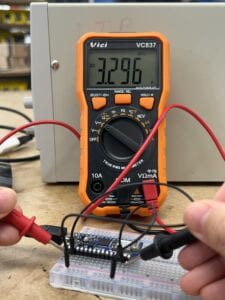
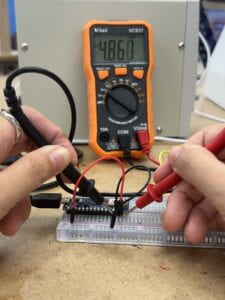
1.3 After that I add a 5V regulator and measure the voltage across Nano and across the 5V regulator. I got numbers close to 3.3V and 5V.
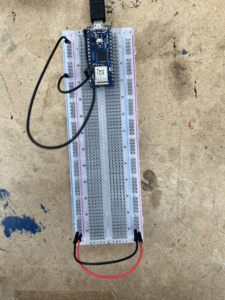
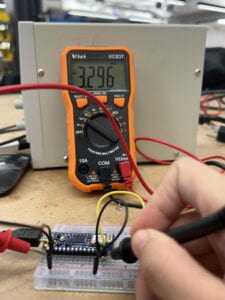
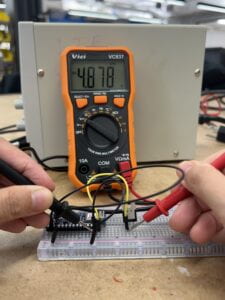
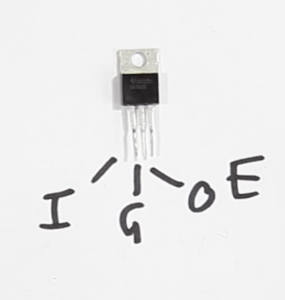
5V Voltage Regulator (7805). Note: Please remember IGO(E)
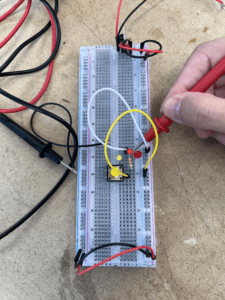
1.4 Adding a pushbutton and measuring the voltage across the pushbutton.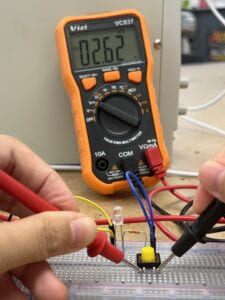
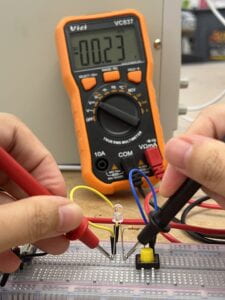
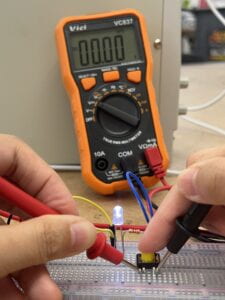
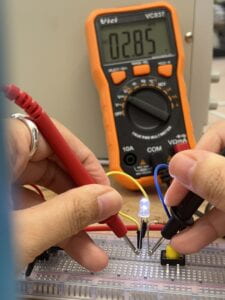
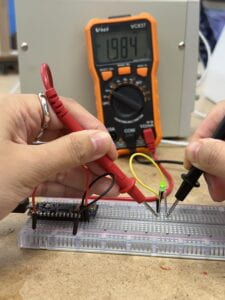
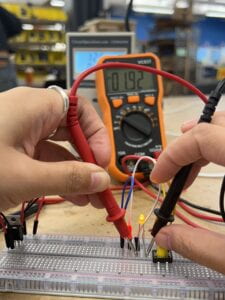
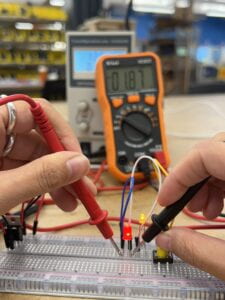
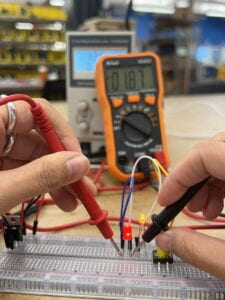
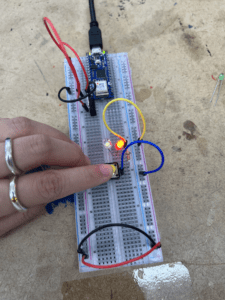
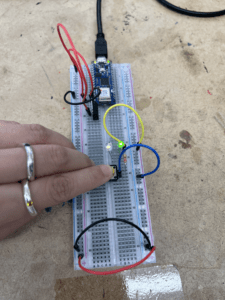
When the pushbutton is not pressed, the voltage across the button and across LED is 2.62V and 0.23V, after the button is pressed the voltage across the pushbutton is 0, and the voltage across the LED becomes 2.85v from 0.23V.
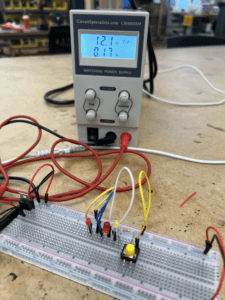
1.5 Suddenly I realize I can strip the core wire and wrap it to connect to DC power. So, there is the lab that powers the breadboard without a microcontroller.
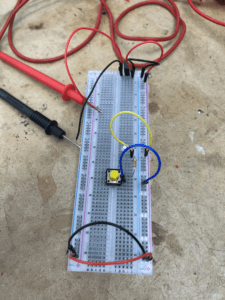
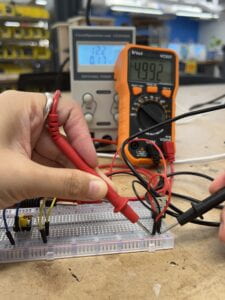
Lighting LEDs
In this part of labs, I adjust Nano to supply 5V for components.
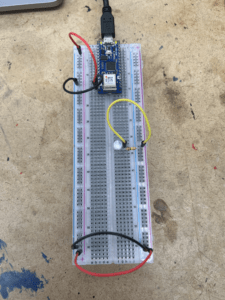
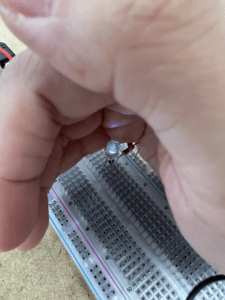
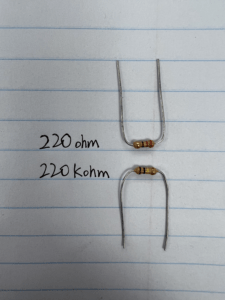
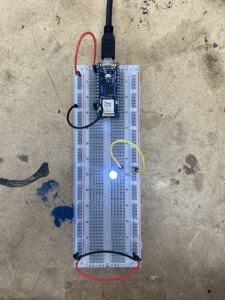
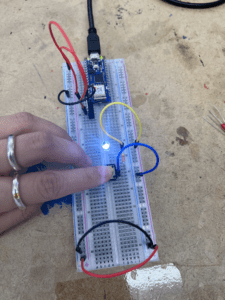
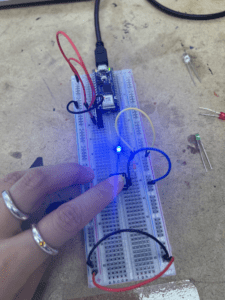
1.1 Lighting 1 LED in a close circuit. The LED brightness is too low at the beginning so I think it does not work. But there is no problem after I double-checked the circuit. After a while, I found it is lighting so I realize I get the wrong resistor (it’s too large). Taking resistors should be careful.
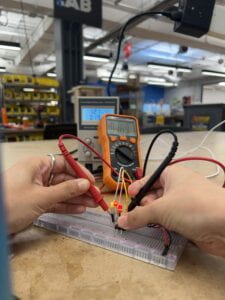
1.2 Measuring the voltage across the LED and the resistor, verify whether the sum of them is equal to the voltage measured between the Vin and GND. My measurement is almost as expected.
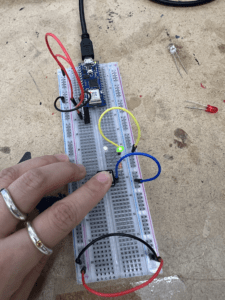
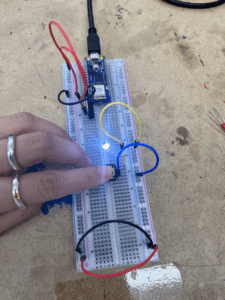
1.3 Adding a pushbutton in the circuit to control the LED.
1.4 Adding the 2ed LED in the series circuit.
1.4.1 Adding the Third LED in Series. Add the third LED in series with the other two. Unexpectedly, they did light up, very low.
1.4.2 Adding Up Voltage. The total voltage adds up is 4.96V, near to 5V. The remaining energy is lost as heat is generated from the components.
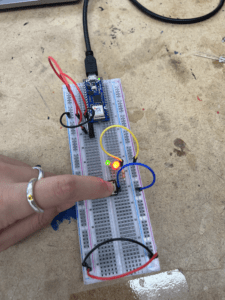
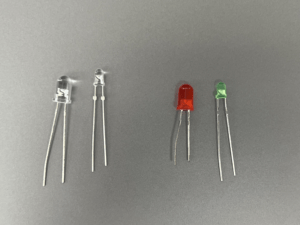
1.5 Changing the 2ed LED in a parallel circuit. The most interesting thing I found here is that the different combinations of LEDs would have different results. All transparent LEDs can be lit when they are alone if add another LED into the parallel circuit. The transparent LED will not light and the other one will be light. I guess different LEDs require various amounts of voltage, maybe the transparent one requires the highest voltage than other LEDs?
Transparent LED cannot light when it is in a parallel circuit with another one. But they can be lit when they are the only ones in the circuit. At last, I connect a green LED and a red LED, both are light.
And I measure the voltage across each LED, indeed it gets the same across each one.
1.6 In the parallel circuits, I measure the amperage through LEDs. The amperage drawn by the LEDs is tiny, about 20 milliamps.
1.7 Generating a Variable Voltage with a Potentiometer. I verify that as the voltage feeding the LED goes up or down, the LED gets brighter or dimmer.
Switches
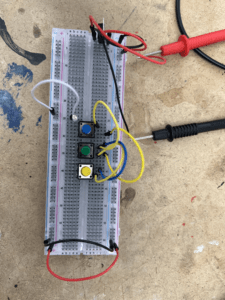
1 3 switches in parallel
2 3 switches in series
3 switching a motor
Make your Own Switch
I made a “sit down” switch at home using tin foil and plastic wrap.
