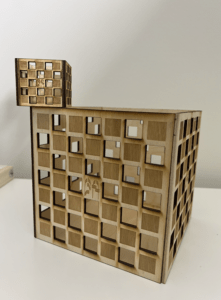
For the laser cut assignment, I decide to make a 3d organizer. Since I learned some laser skills last semester for my pcomp final and I found it hard to make 3d objects with perfect size since the cutting surface is not straight which Phil also mentioned in class. Another reason is that the loss of laser cutting will bring size errors.
I think about 2 solutions for the imperfect size. One is to use a sander to smooth the edge. Another way is to take the loss into account when drawing, and appropriately increase the length, in 0.01mm; In addition, wood glue is used to make up the gaps caused by irregular edges when sticking. This time I choose the second method, not using the sander, because the sander also easy to leads to imprecision.
The sketches in Illustrator were as below.
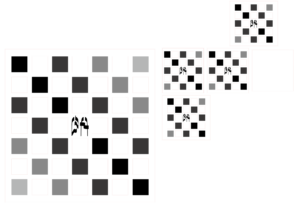
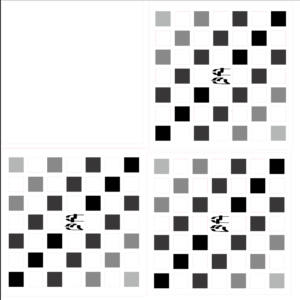
I am going to make a hollow-carved storage box, and my personal logo is also printed on it. The hollow-carved effect is chosen to be a checkerboard grid so that it can contain raster and vector. And I try to give different gray scales to the grid. There are TWO problems I met in the process.
- Apparently, when rastering the grids, the different gray scales are hard to notice, I have to say there is no difference.
- When cutting the grids, most of them work well but some of them are not cut through. I checked it and found that there were a lot of rough fibers in all the places that were not cut through, which might be the reason.
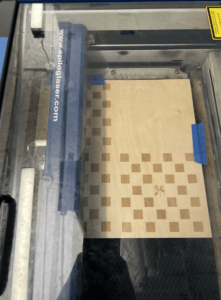
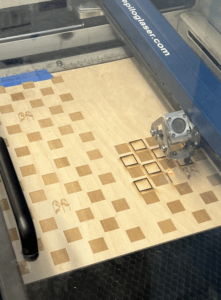
Actually, I made the small box first to verify my sketch and structure, but I forgot to take photos. Anyway, the small version works well. So I continue the plan to make the large one. But, there was a mistake in one piece when drawing the sketch of the big box, and I didn’t realize it until the laser cutting was done. As a result, the size of that piece is not perfect, but the connection of the other four pieces was still in my plan.
