Final Project Documentation — The Reverse Vending Machine
The Reverse Vending Machine 

My Name: Kitty Chen

Instructor: Professor Inmi Lee

  • CONCEPTION & DESIGN

In the reading The Design of Everyday Things, Don Norman stated that “the information in the feedback loop of evaluation confirms or disconfirms the expectations, resulting in satisfaction or relief, disappointment or frustration.” In this project, we want to explore more about the concept of interaction, and try to figure out how feedback which disconfirms the users’ expectations might impact the interaction process, and whether users will rely on their own exploration or the given instructions.

Before making our project, we did some research on intuitive design, counter-intuitive design and useless conceptual designs. Intuitive Design by Interaction Design Foundation reminded us that users will feel that a design is intuitive when it is based on principles from other domains that are well known to them. Counter-intuitive Ideas in Design by Aksu Ayberk inspired us that to chase counter-intuitive ideas, designers have to demolish the old way of doing things. Katerina Kamprani’s useless conceptual designs prove that designs do not have to be usable in a daily basis, but can also expresses concepts and attitudes.
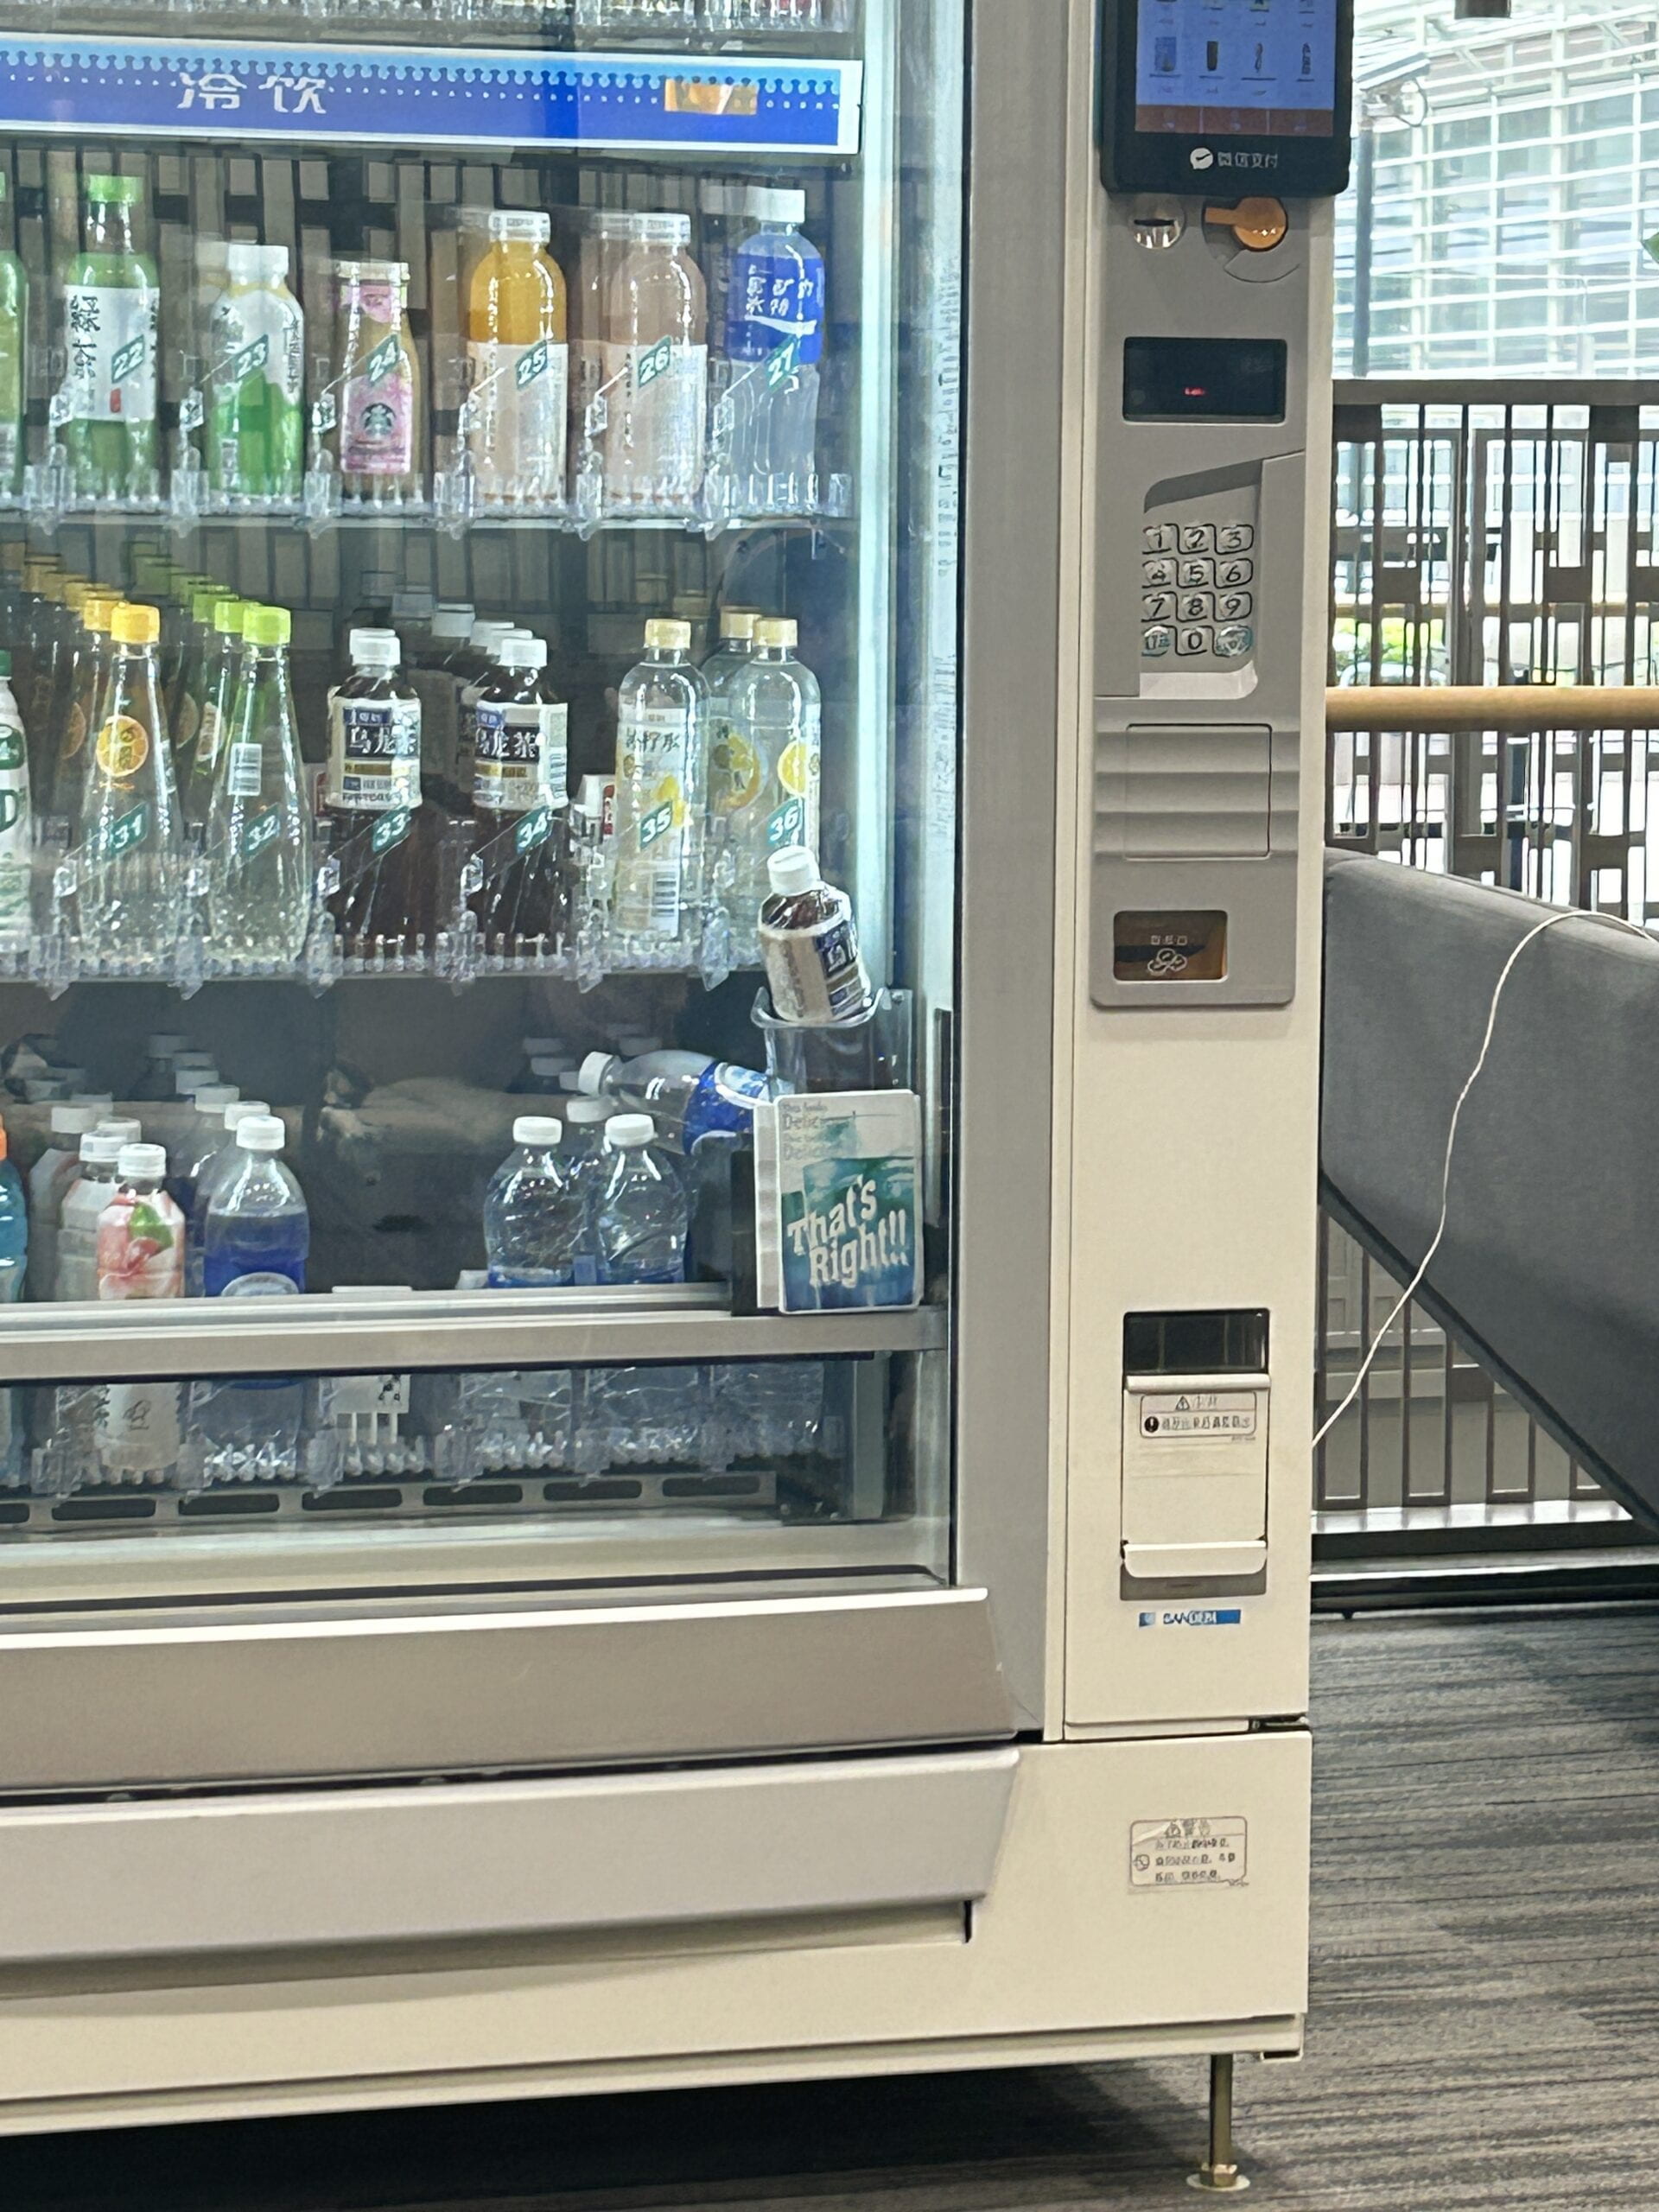
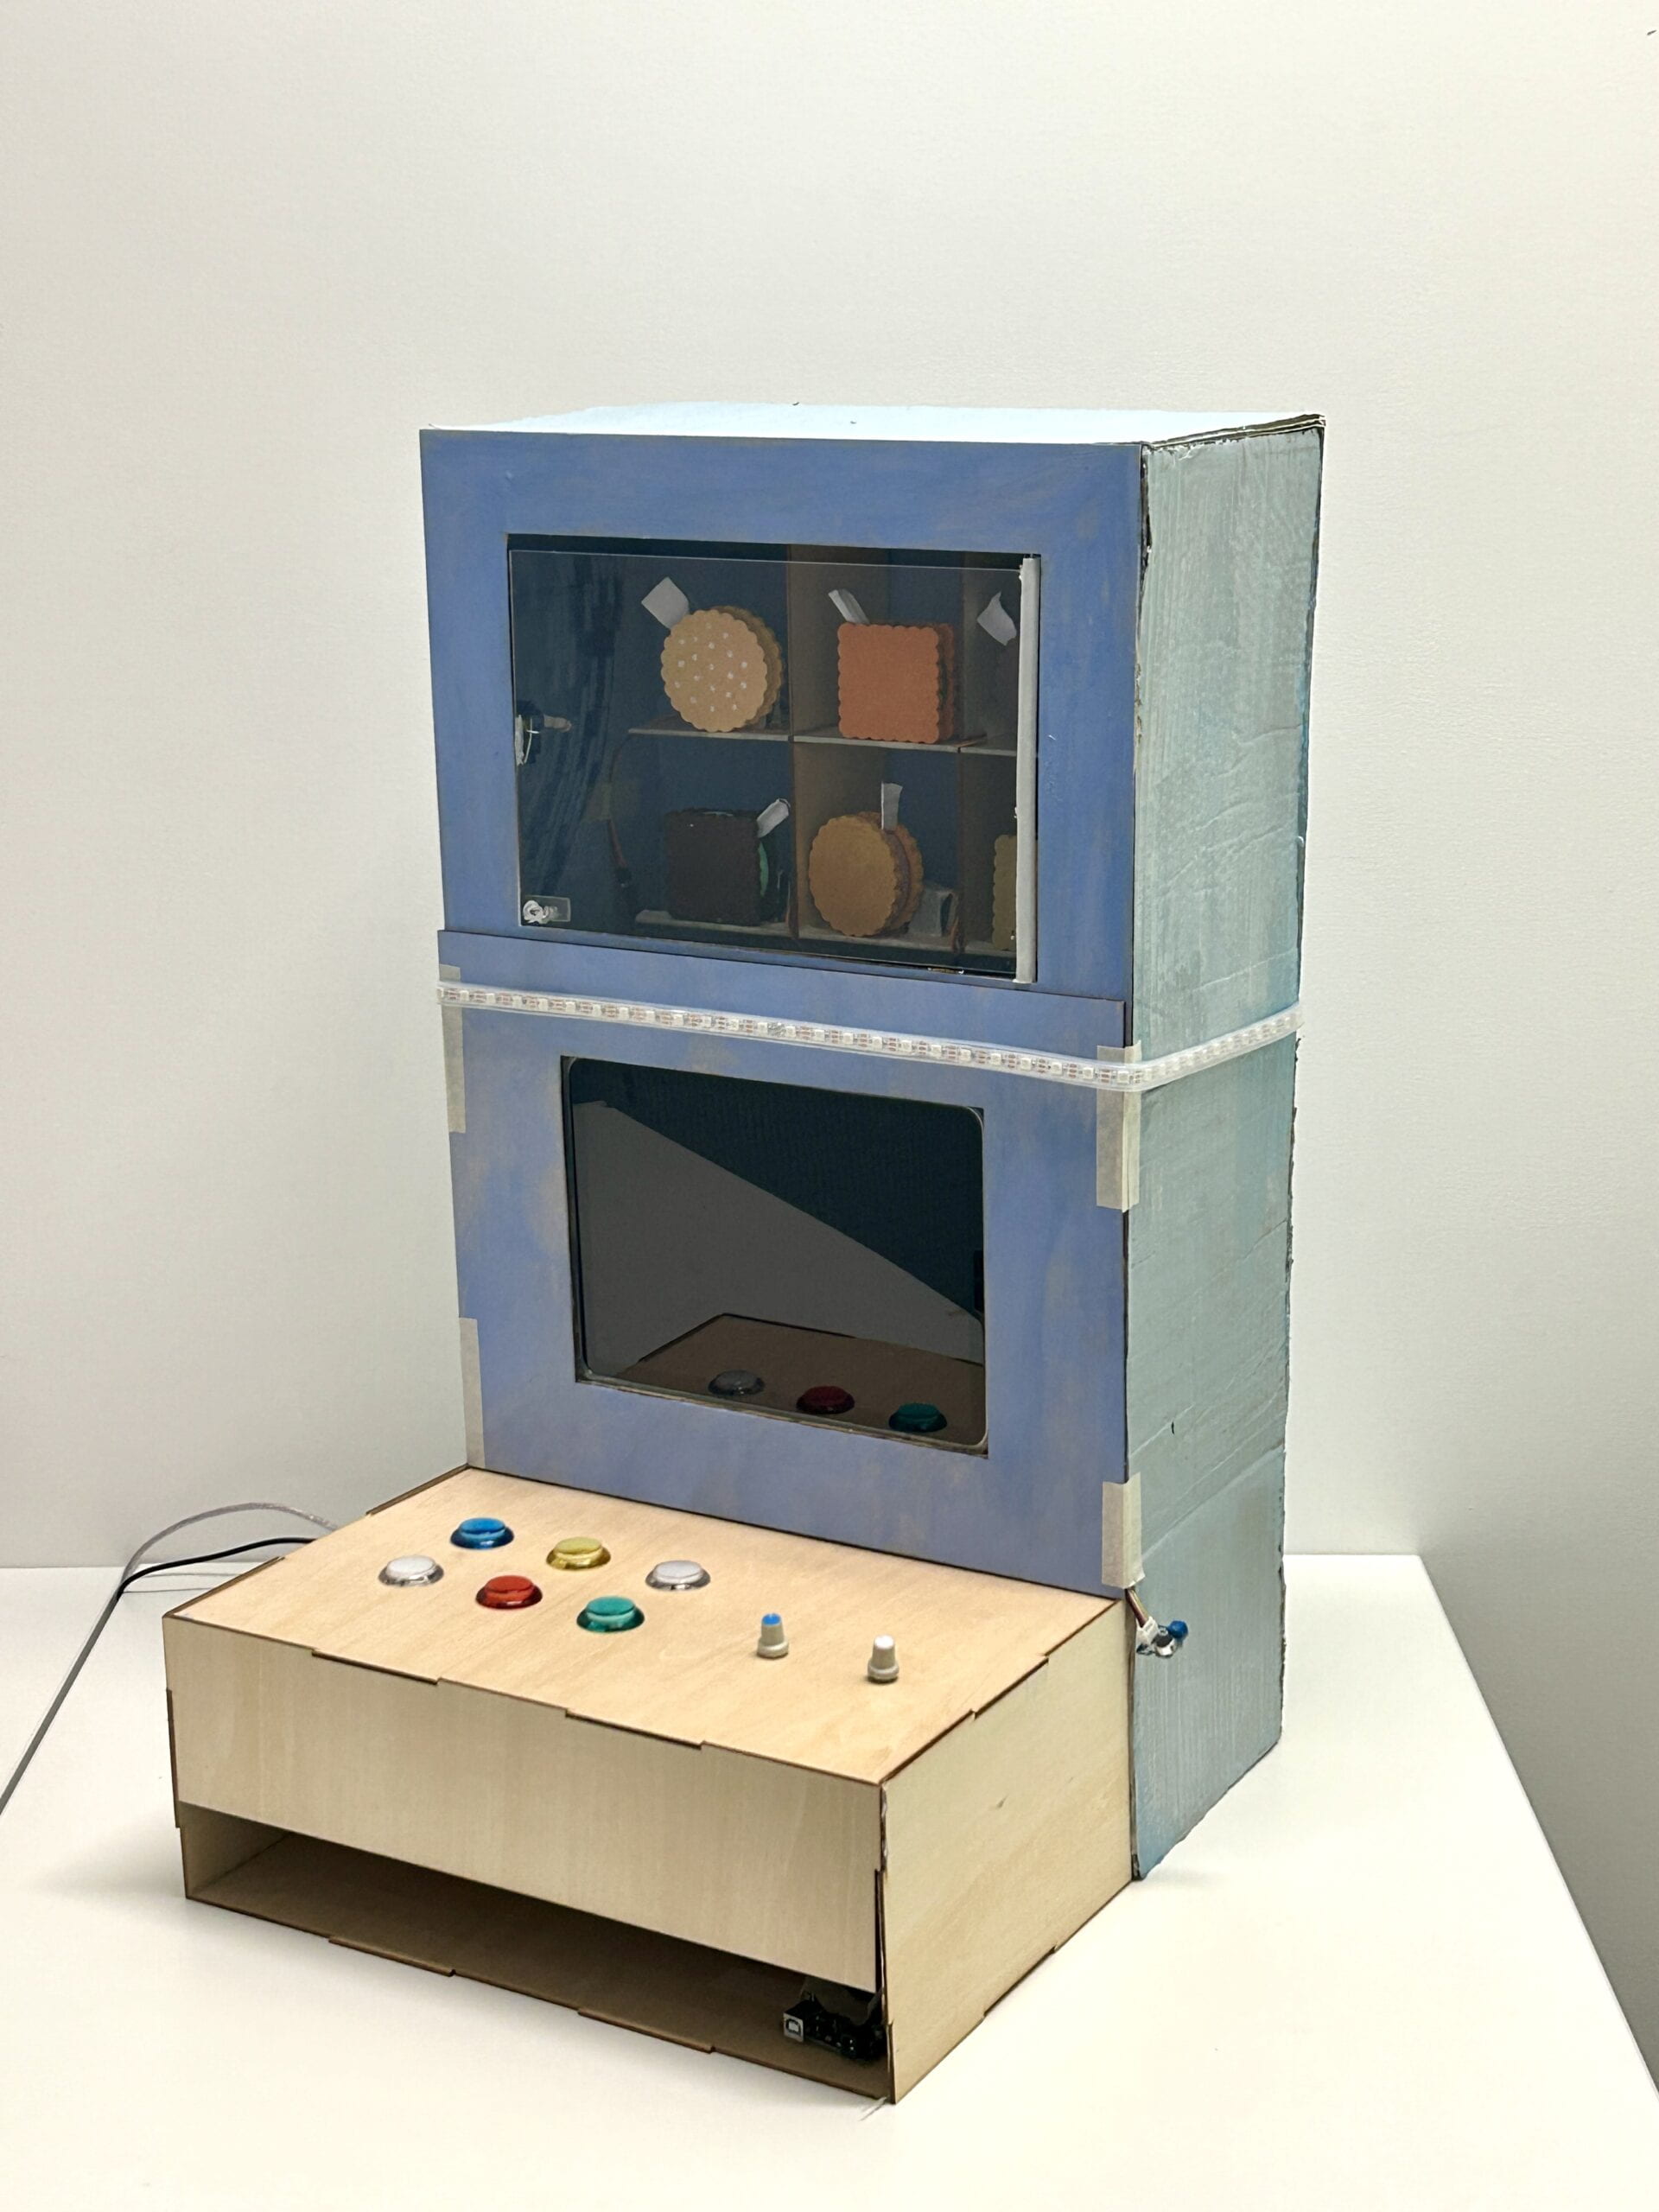
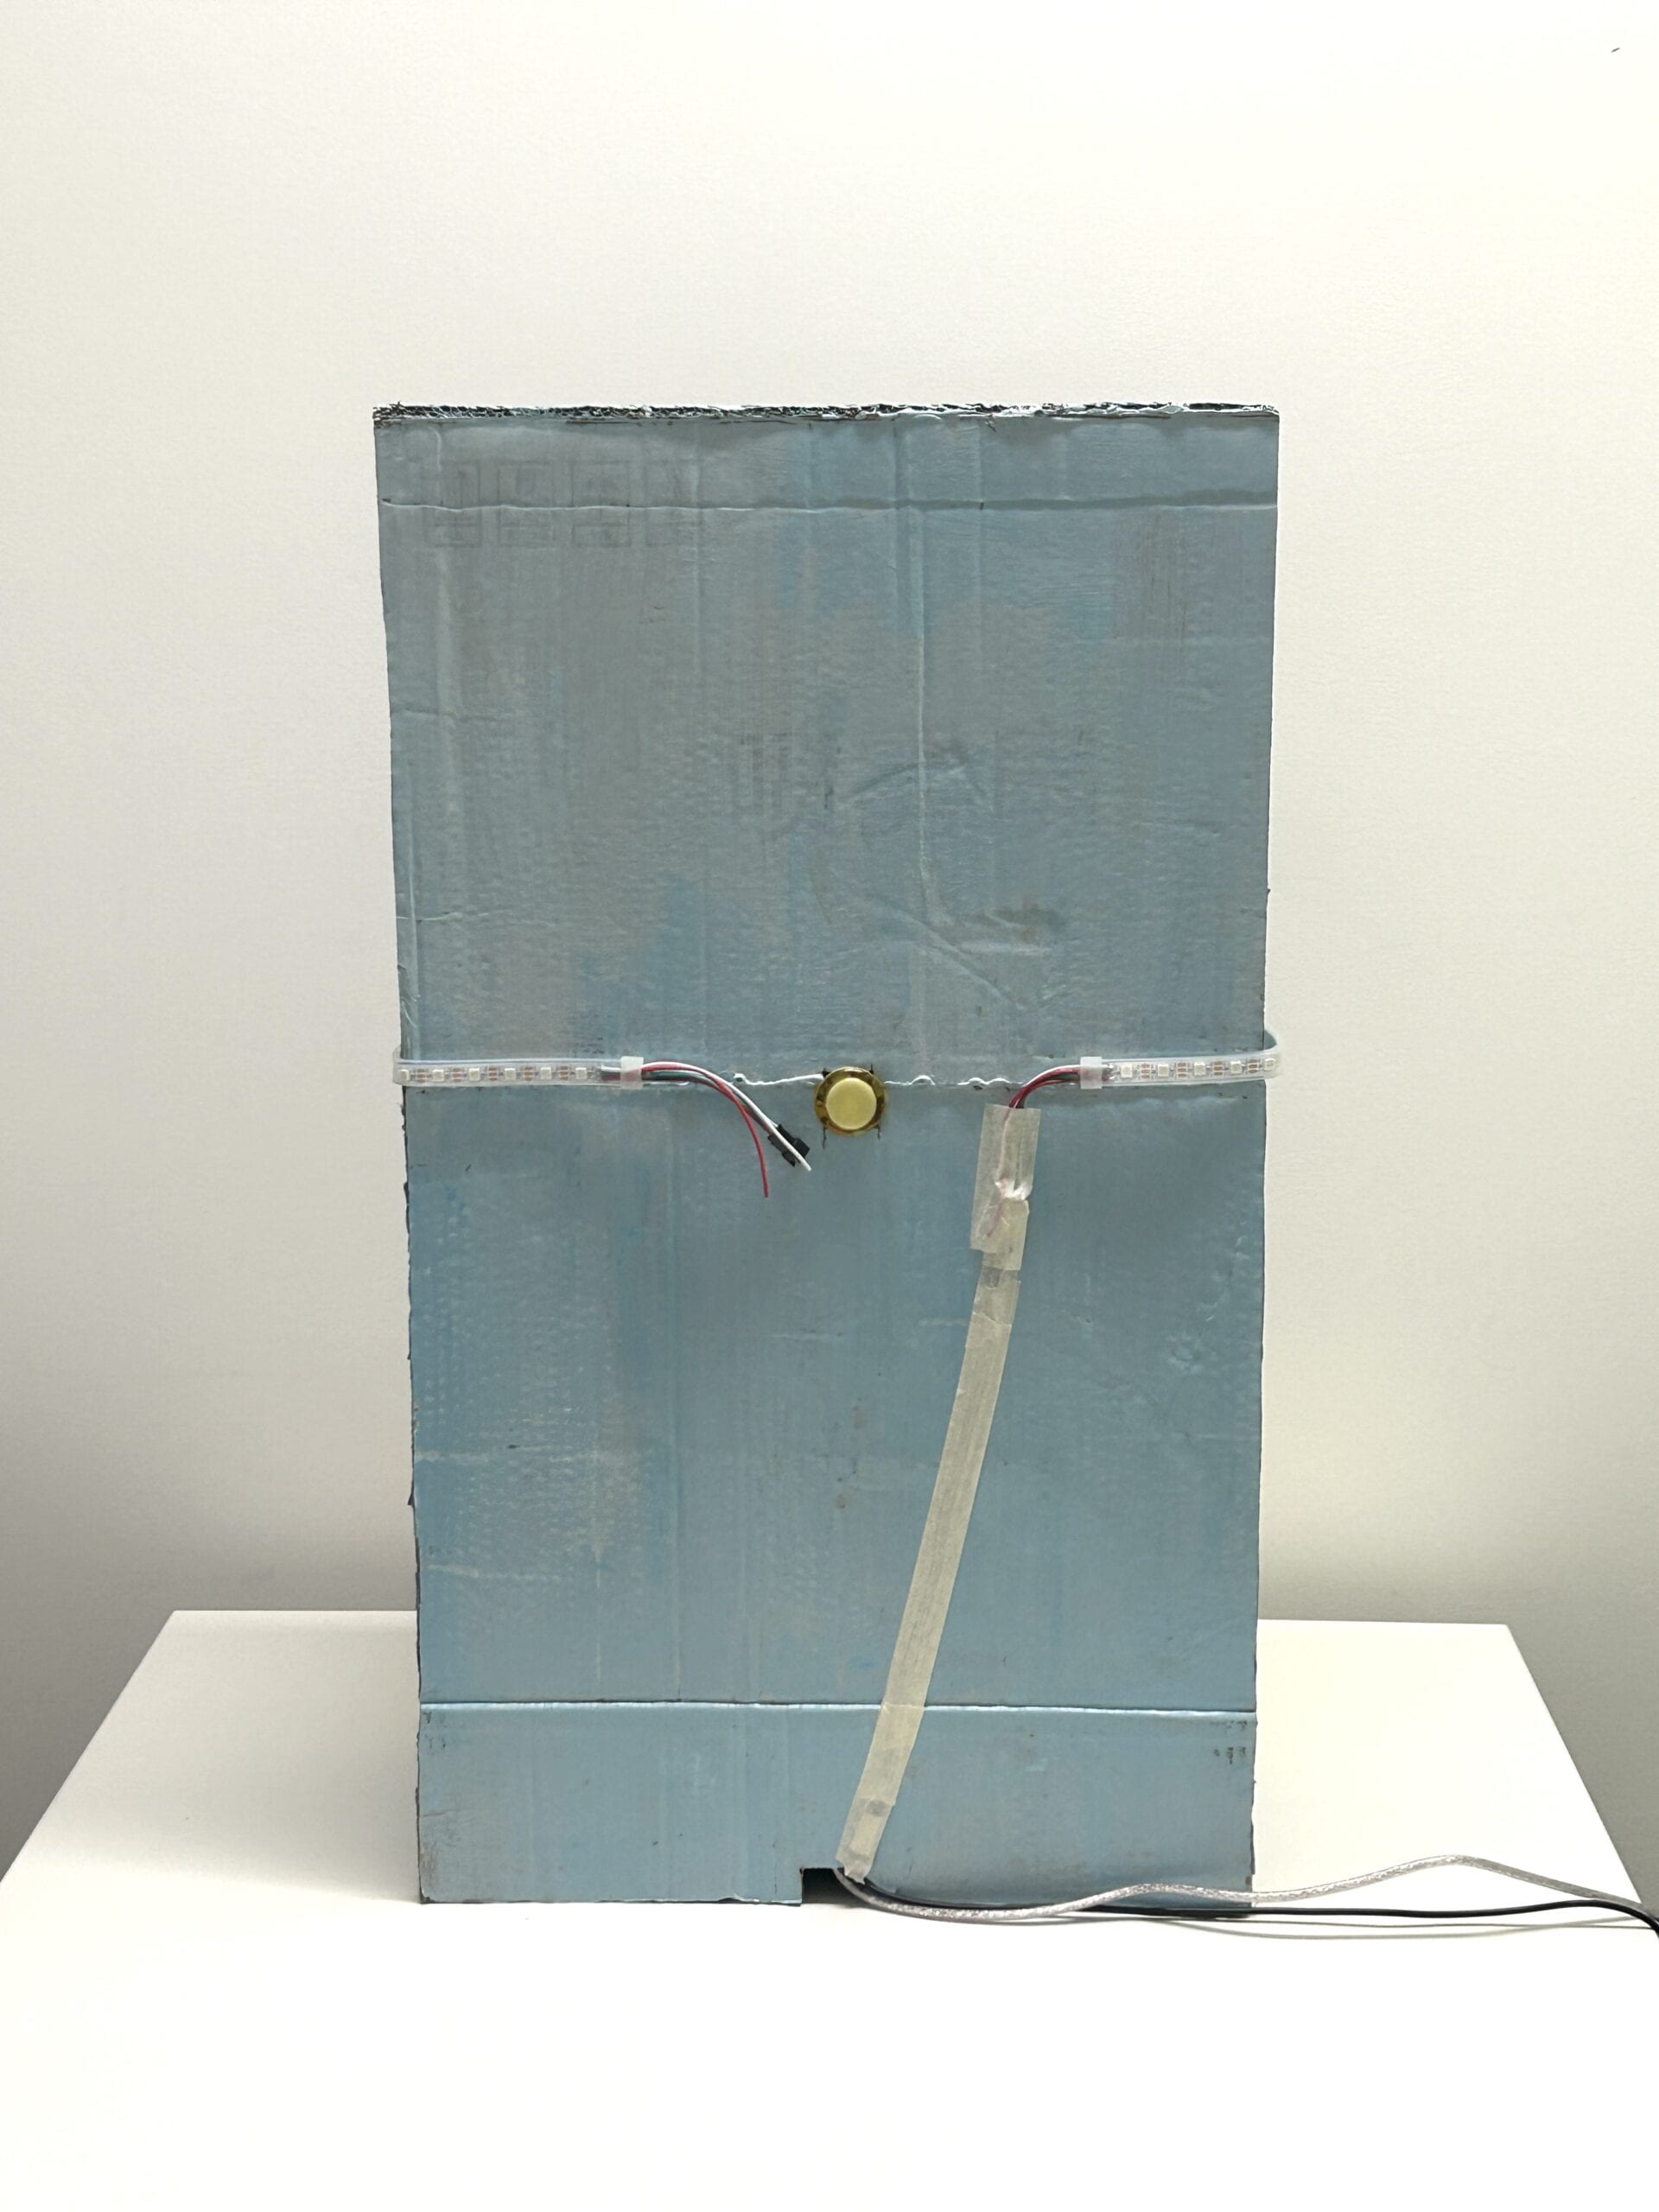
Our inspiration came from the vending machines in the campus, which always functioned abnormally. We designed a reverse vending machine selling fortune cookies. Unlike a usual vending machine, when the user chose the fortune cookie they wanted, all the cookies would be pushed down by servos, except the one they want. Then, some games would appear to help the users get the cookie they wanted. On the screen, there will be a puzzle game, in which users could use two potentiometers to control the puzzle; after that there will be a screaming game, in which a balloon will appeared and its size was according to volume. After the user reached a certain volume, the screen would show two arrows pointing left and right, and the LED light strip attached on the vending machine will light up one by one iteratively, encouraging people to go to the back side and check. On the back side, there was a button which controlled the glass window of the vending machine. Once the button was pushed, the window would open and users could grab the cookie and get their fortune. Importantly, the back button could potentially be pressed at any stage of the interaction process; and once it is pressed, the glass window will open to let the user get the item they want. We designed some hints to show this, like the emphasized word “back” during the instructions. As part of the design, we wanted to find out if users could figure out that pressing the back button can help skip the previous tedious games, no matter by exploring the project or interacting with it for multiple times.

The whole counter-intuitive project was more like an experiment. As designers, we observed users’ behavior when they faced feedback that was not aligned with their expectations (e.g. the falling cookies) and how they explore our project, in order to reflect the concept of “interaction”. This project was not focusing on users’ own experience, but our experimental observations on users’ interaction behaviors. The goal was never about intending to make users happy or confused, but conveying a reflection on the interaction process.

In the user testing session, we received some suggestions and made some changes on the technical parts and the appearance. Initially, the puzzle showed up when the users were choosing the cookies they want, which was not in order. Thus, we used Processing to control two Arduino to make sure that only when the choosing part finished can the puzzle part started. Also, the users thought that we could improve its appearance, so we changed the cardboard shelves into wooden ones, organized the wires and painted the cookie detailedly. I think the adaptations were effective, because they gave the project a nicer look and a clearer instruction. There were also some comments that our project was not clear enough and made the users confused. However, we insisted not to make too many directional instructions because this was not aligned with our goal – again, we wanted to observe what the user would choose to do in this situation, but not giving them a clear instruction and telling them what to do next.

  • FABRICATION & PRODUCTION

The production process can generally be divided into four parts – the appearance, the fortune cookies, the puzzle game and the shouting game, and the glass window.

1) Appearance

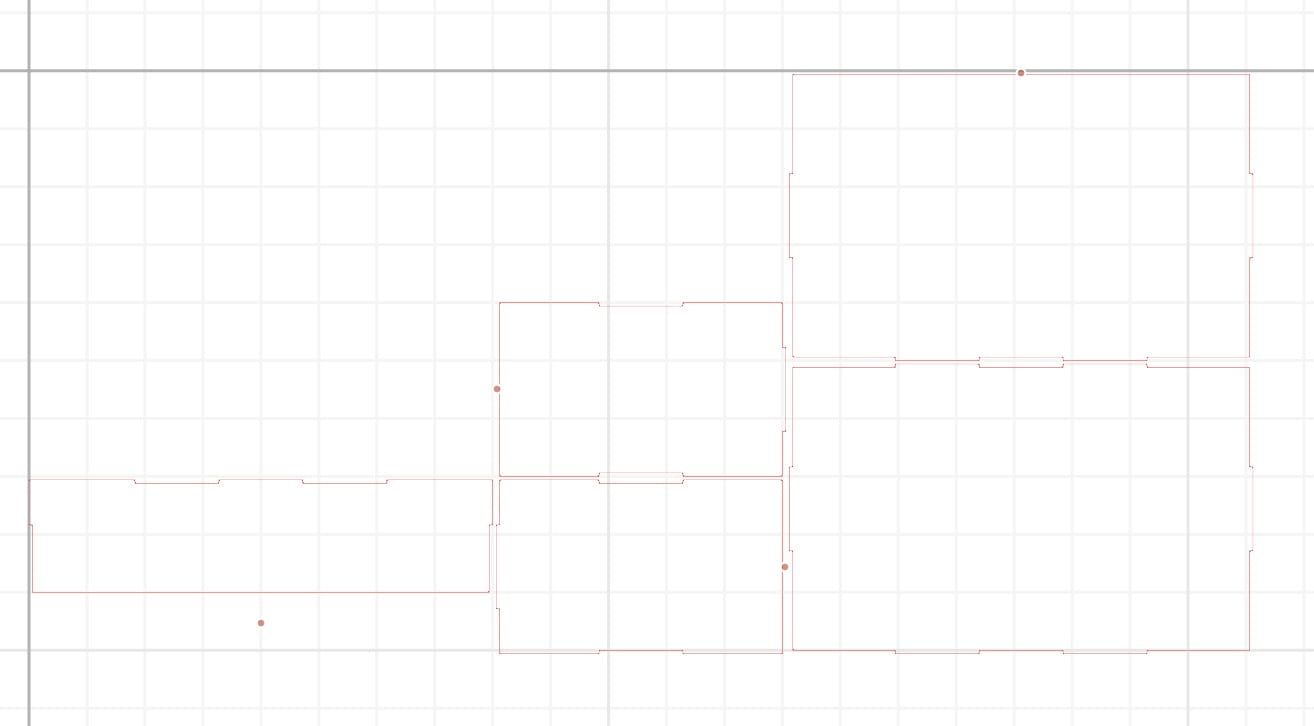
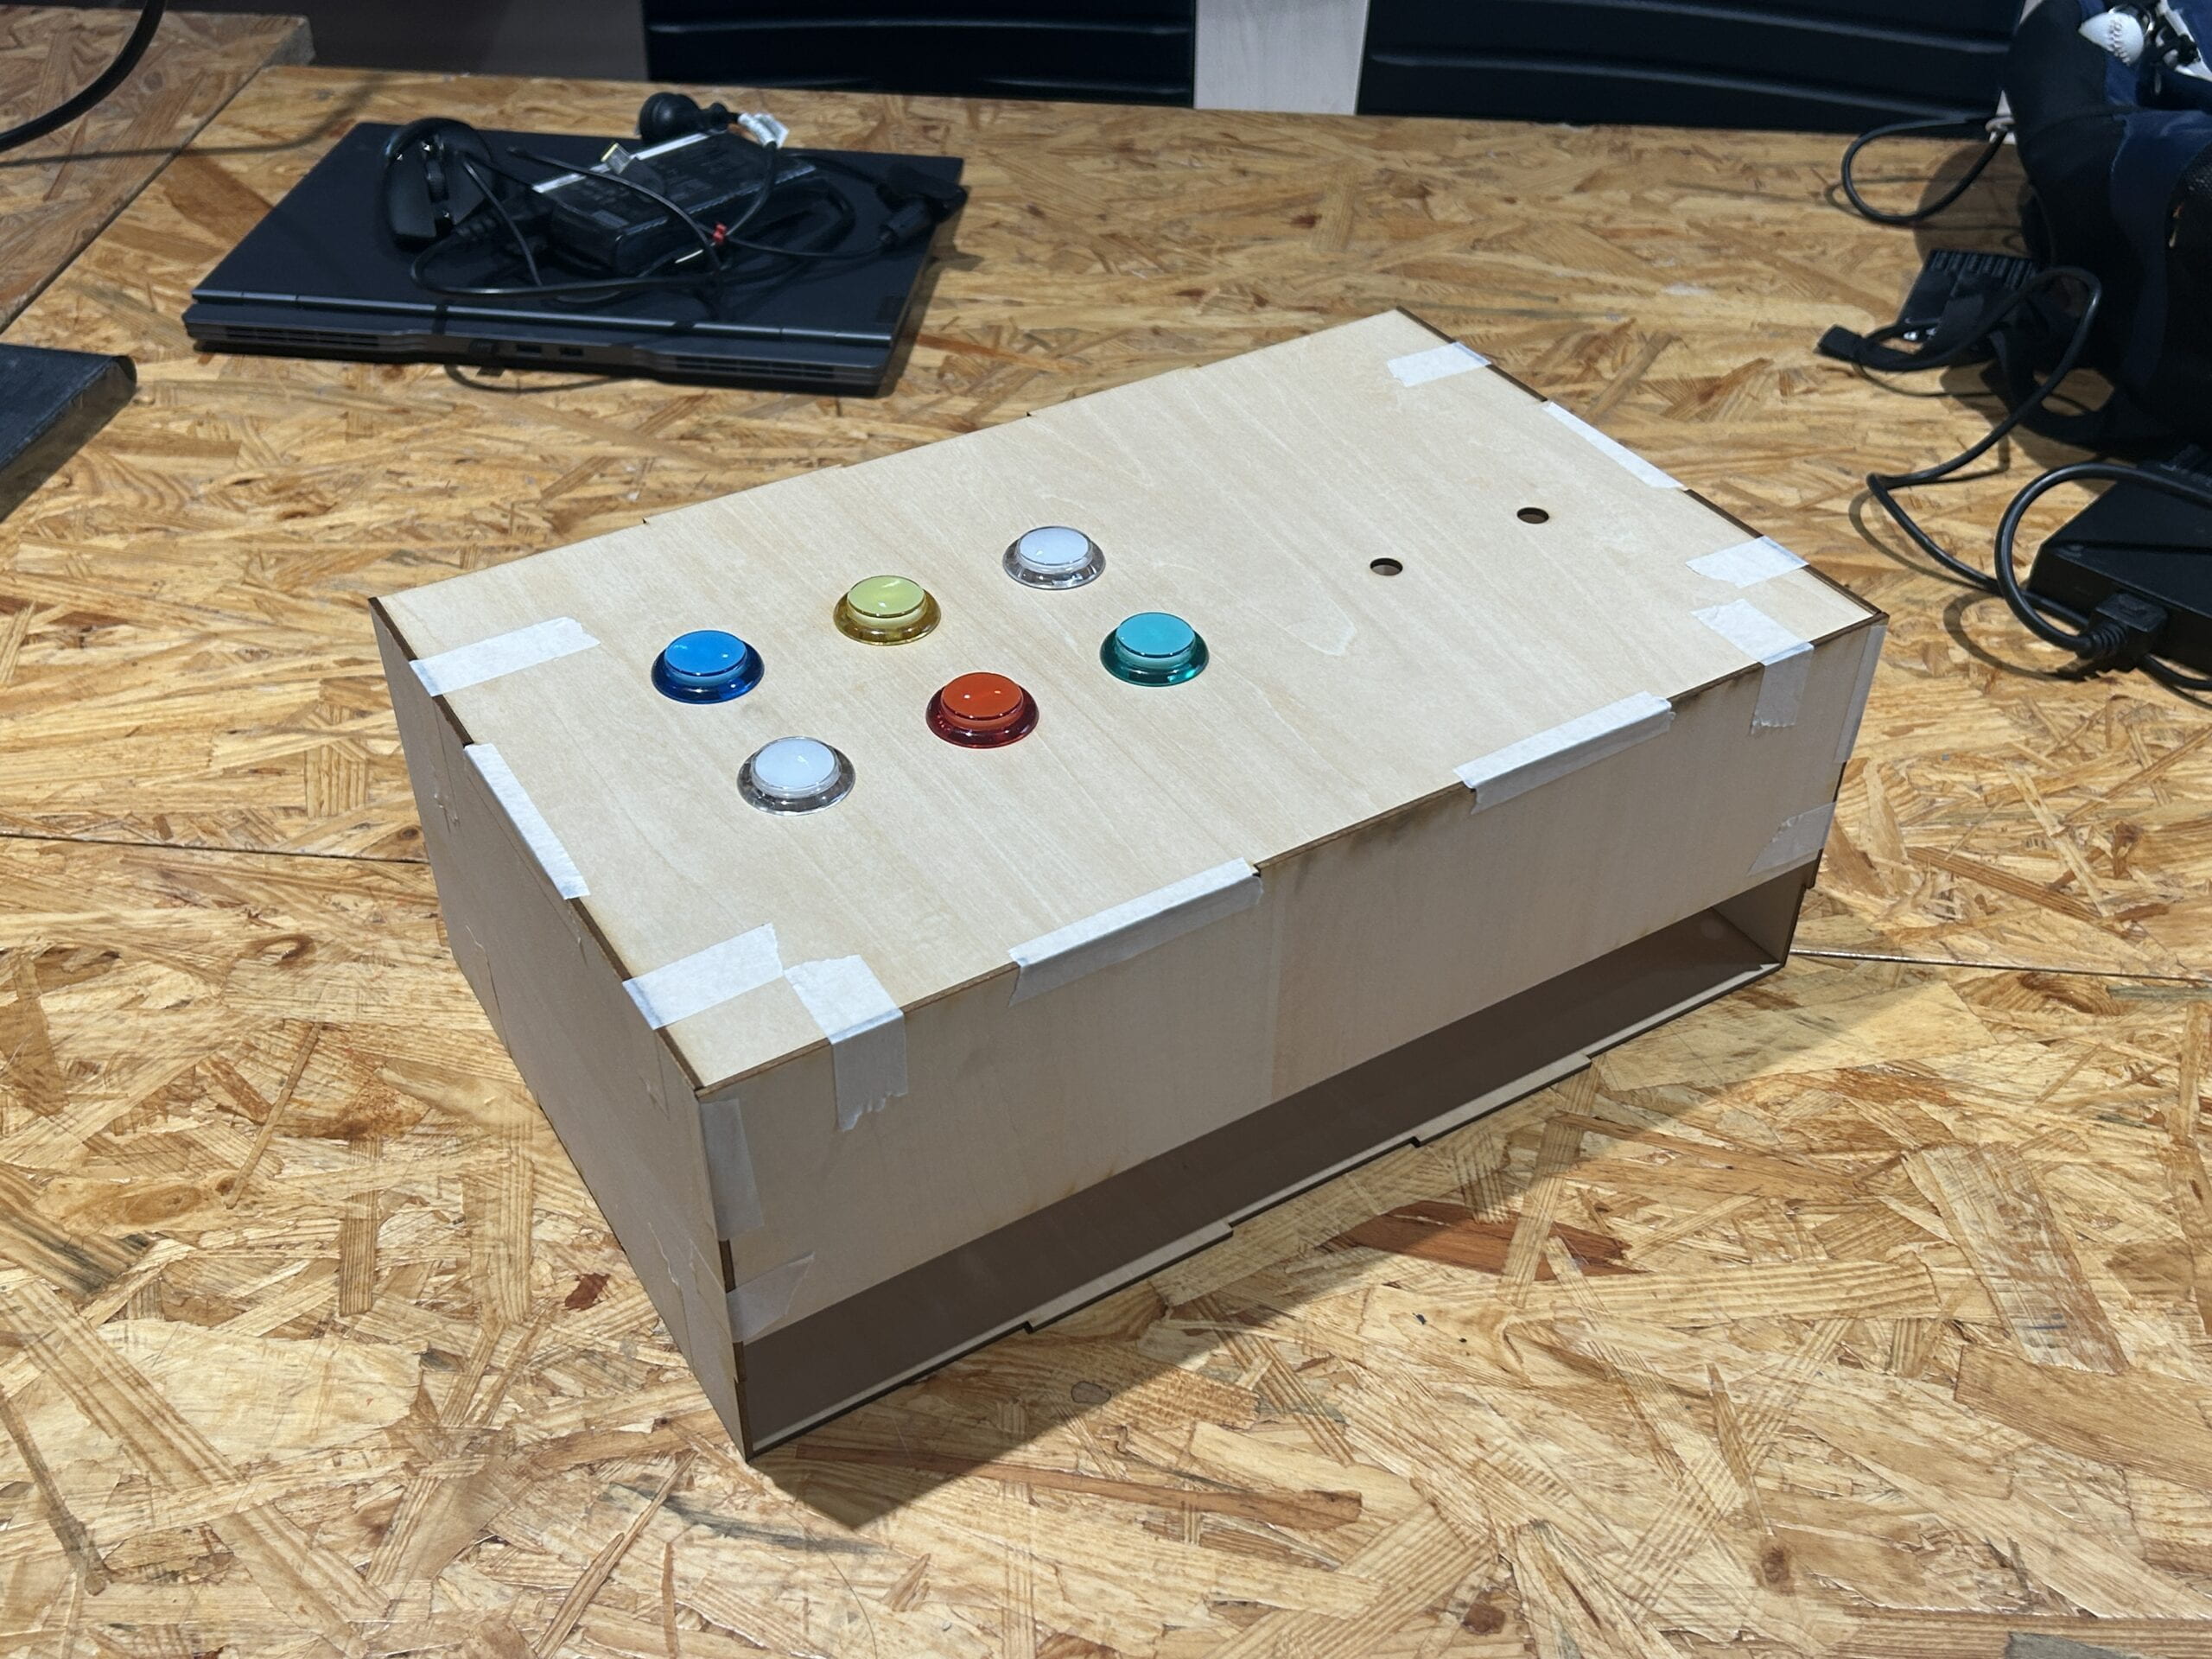
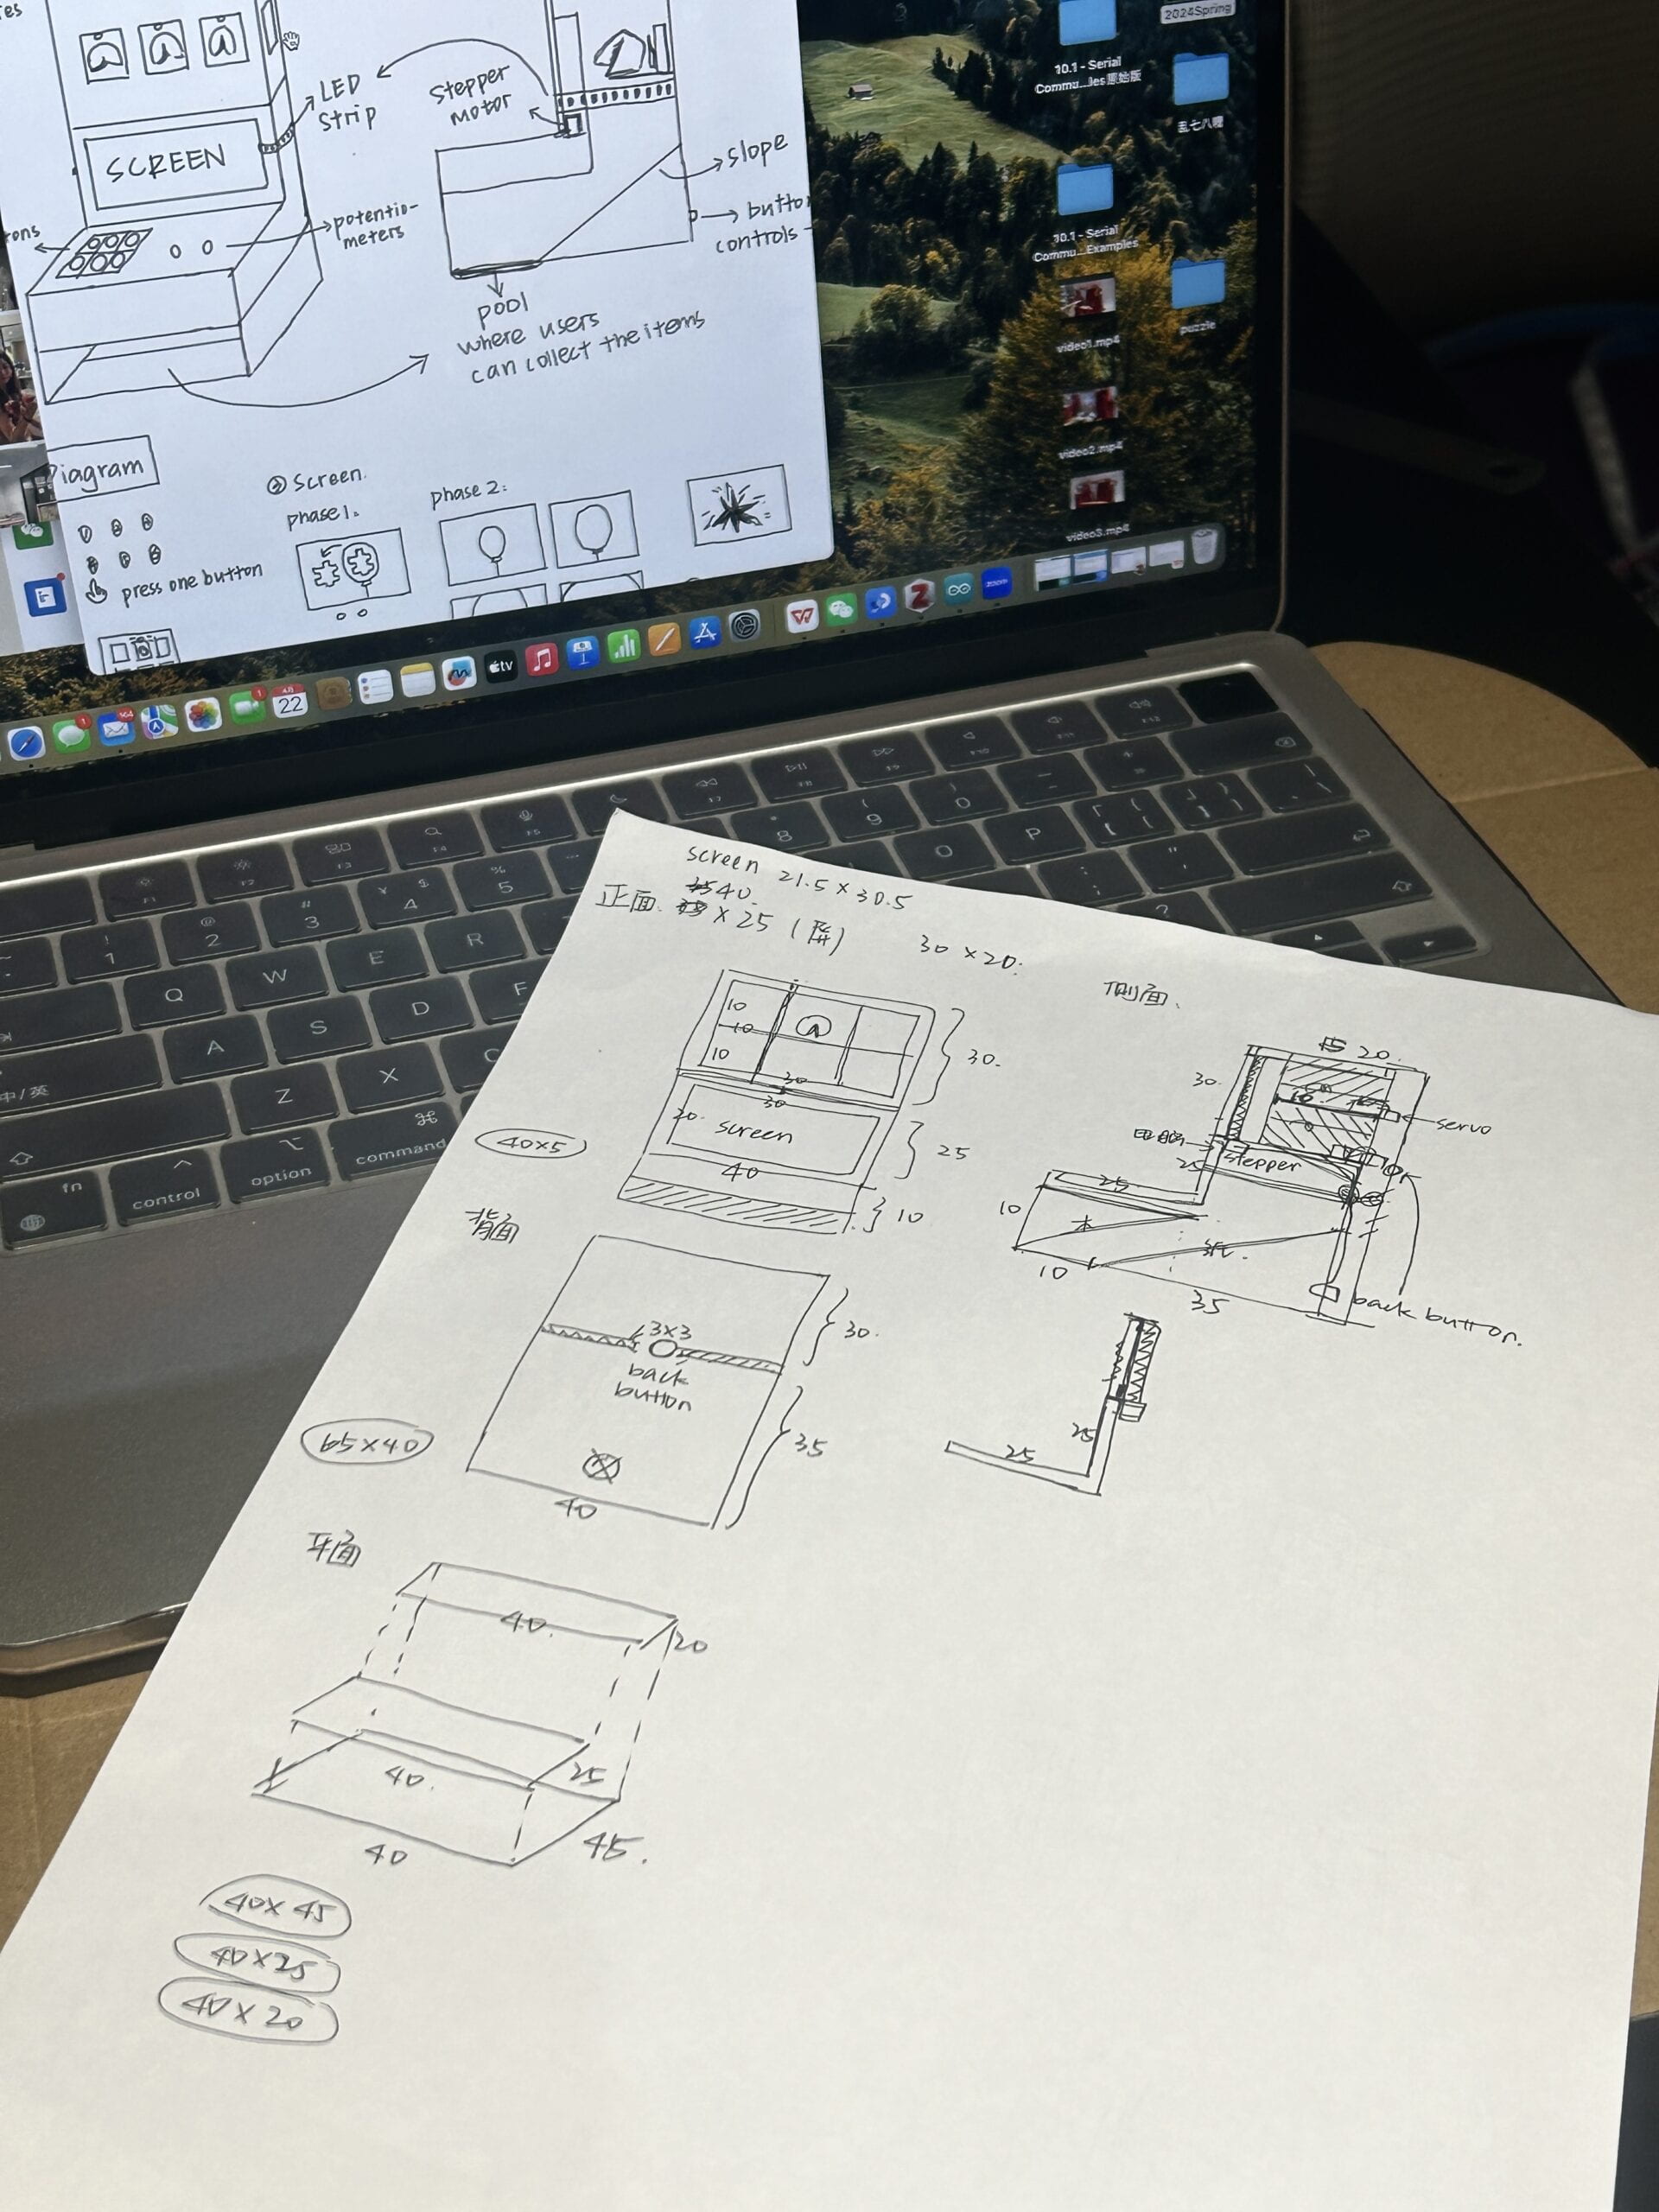
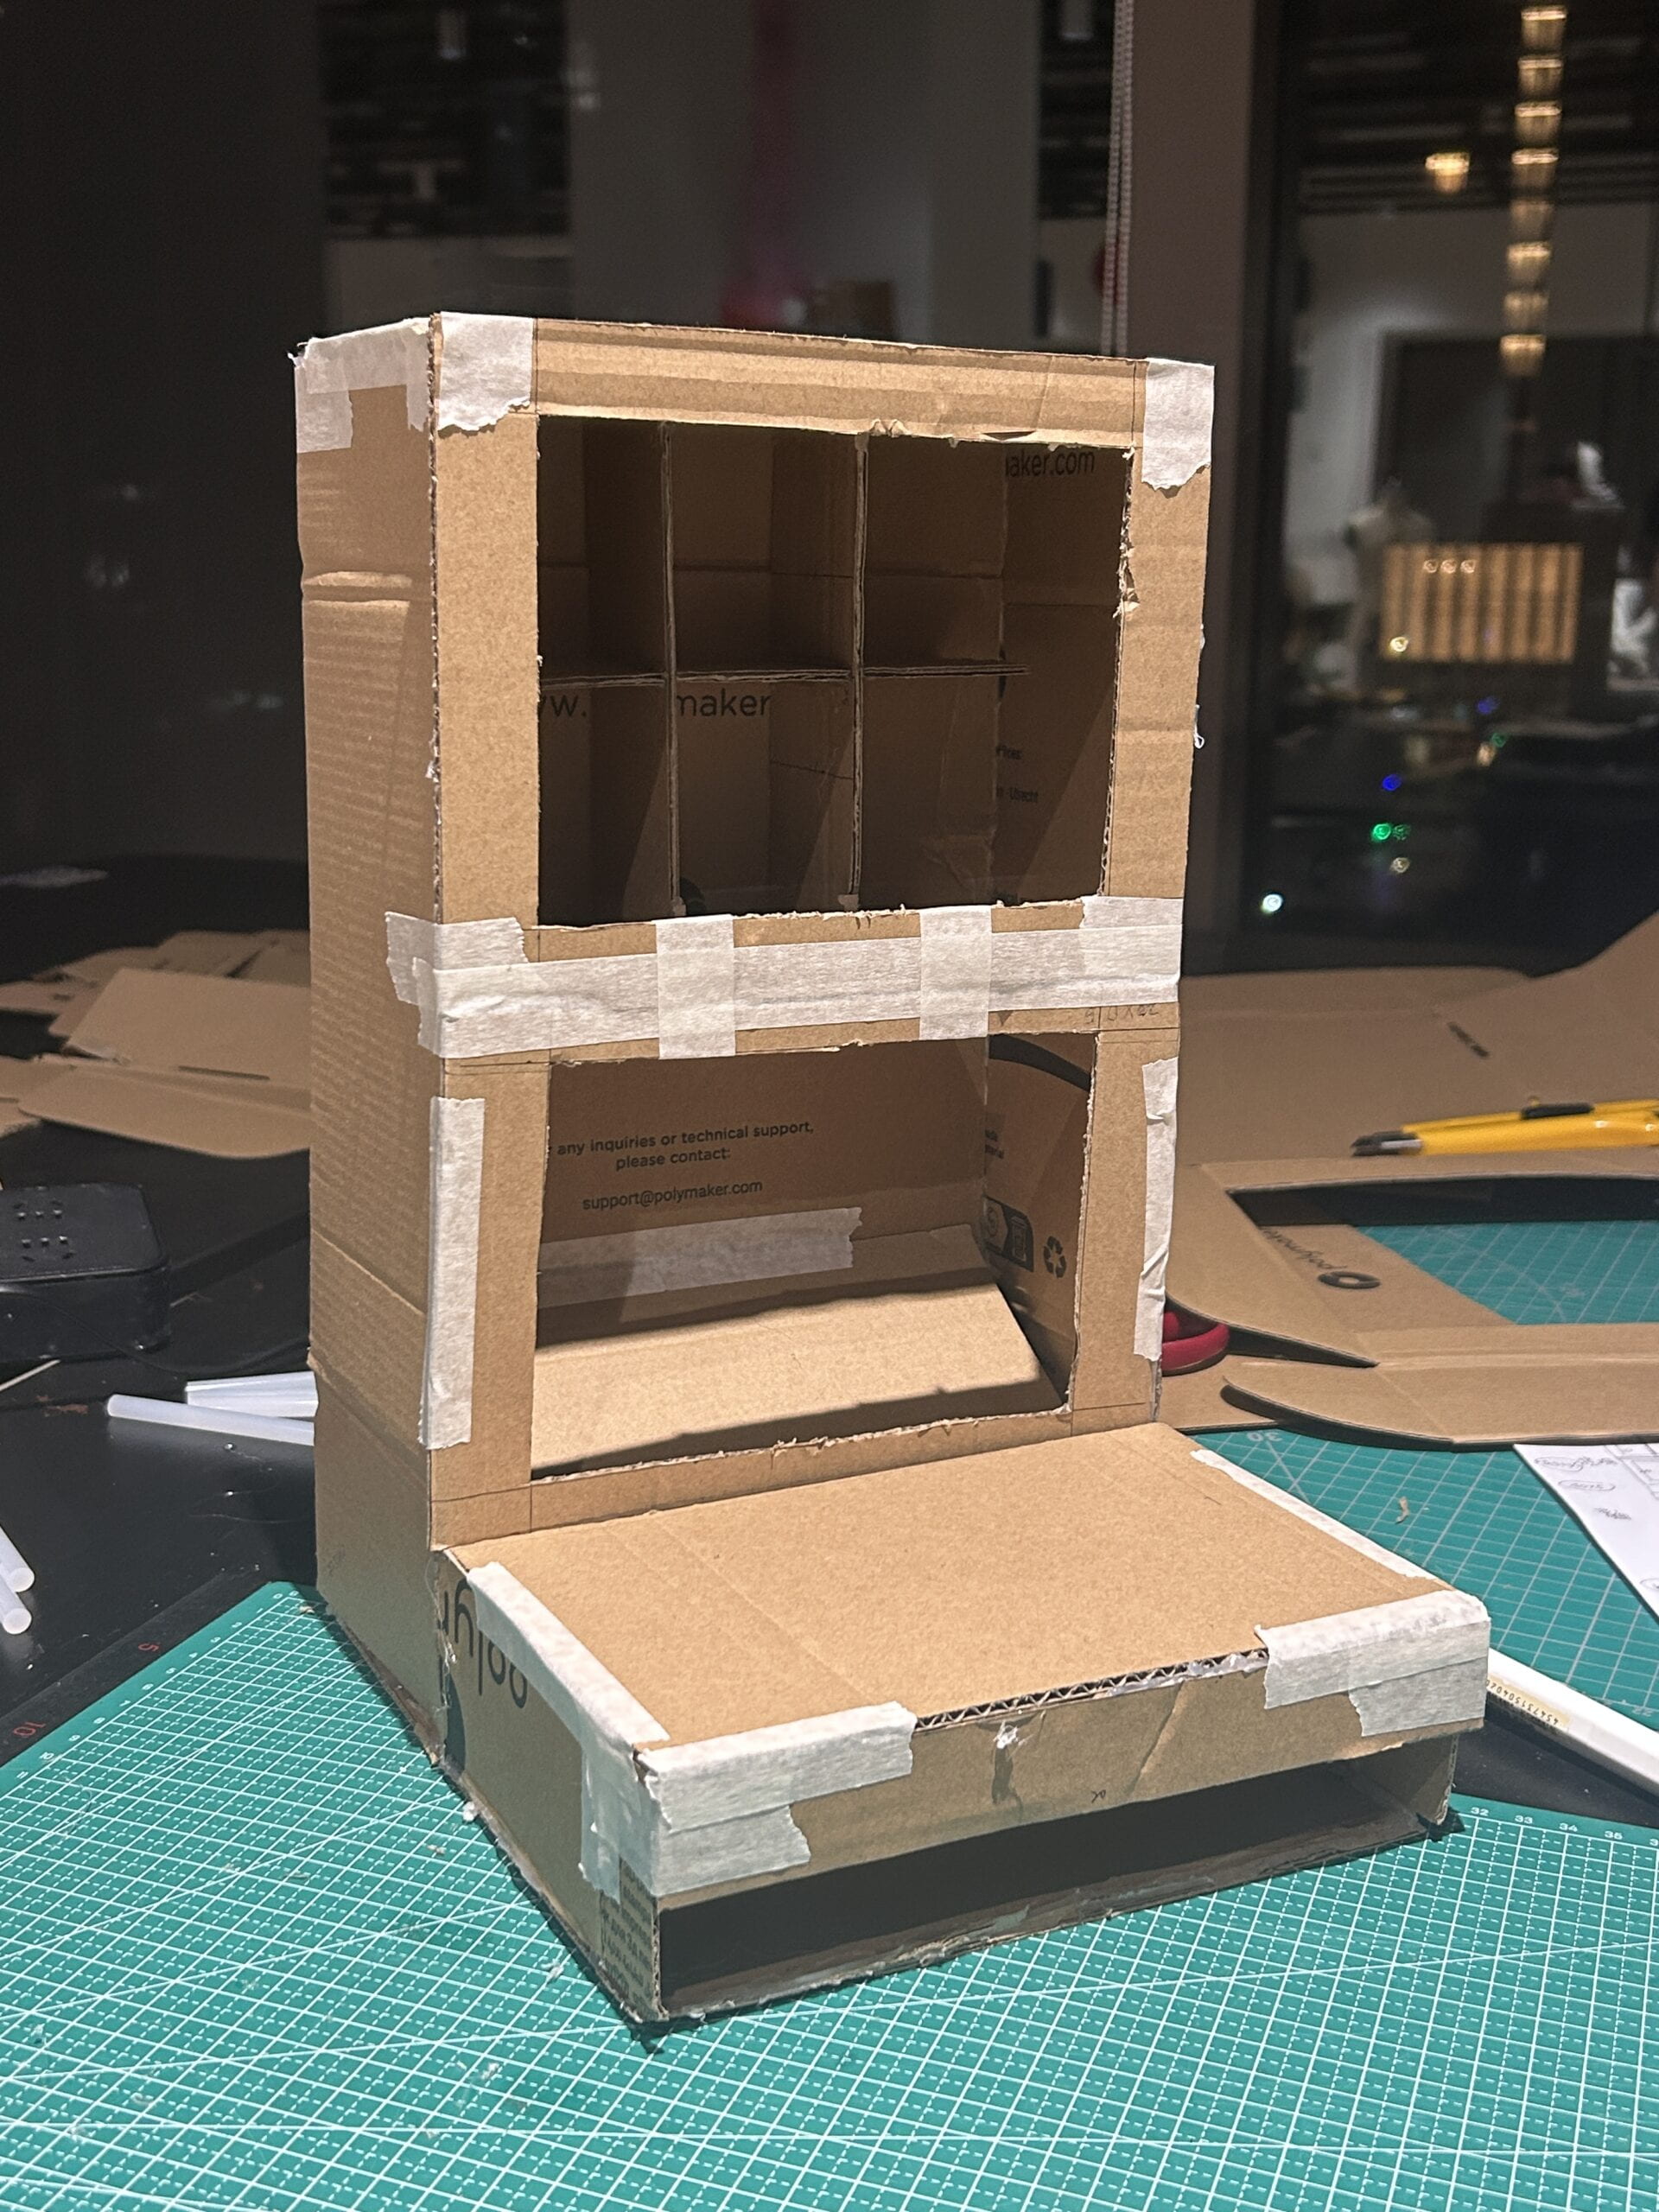
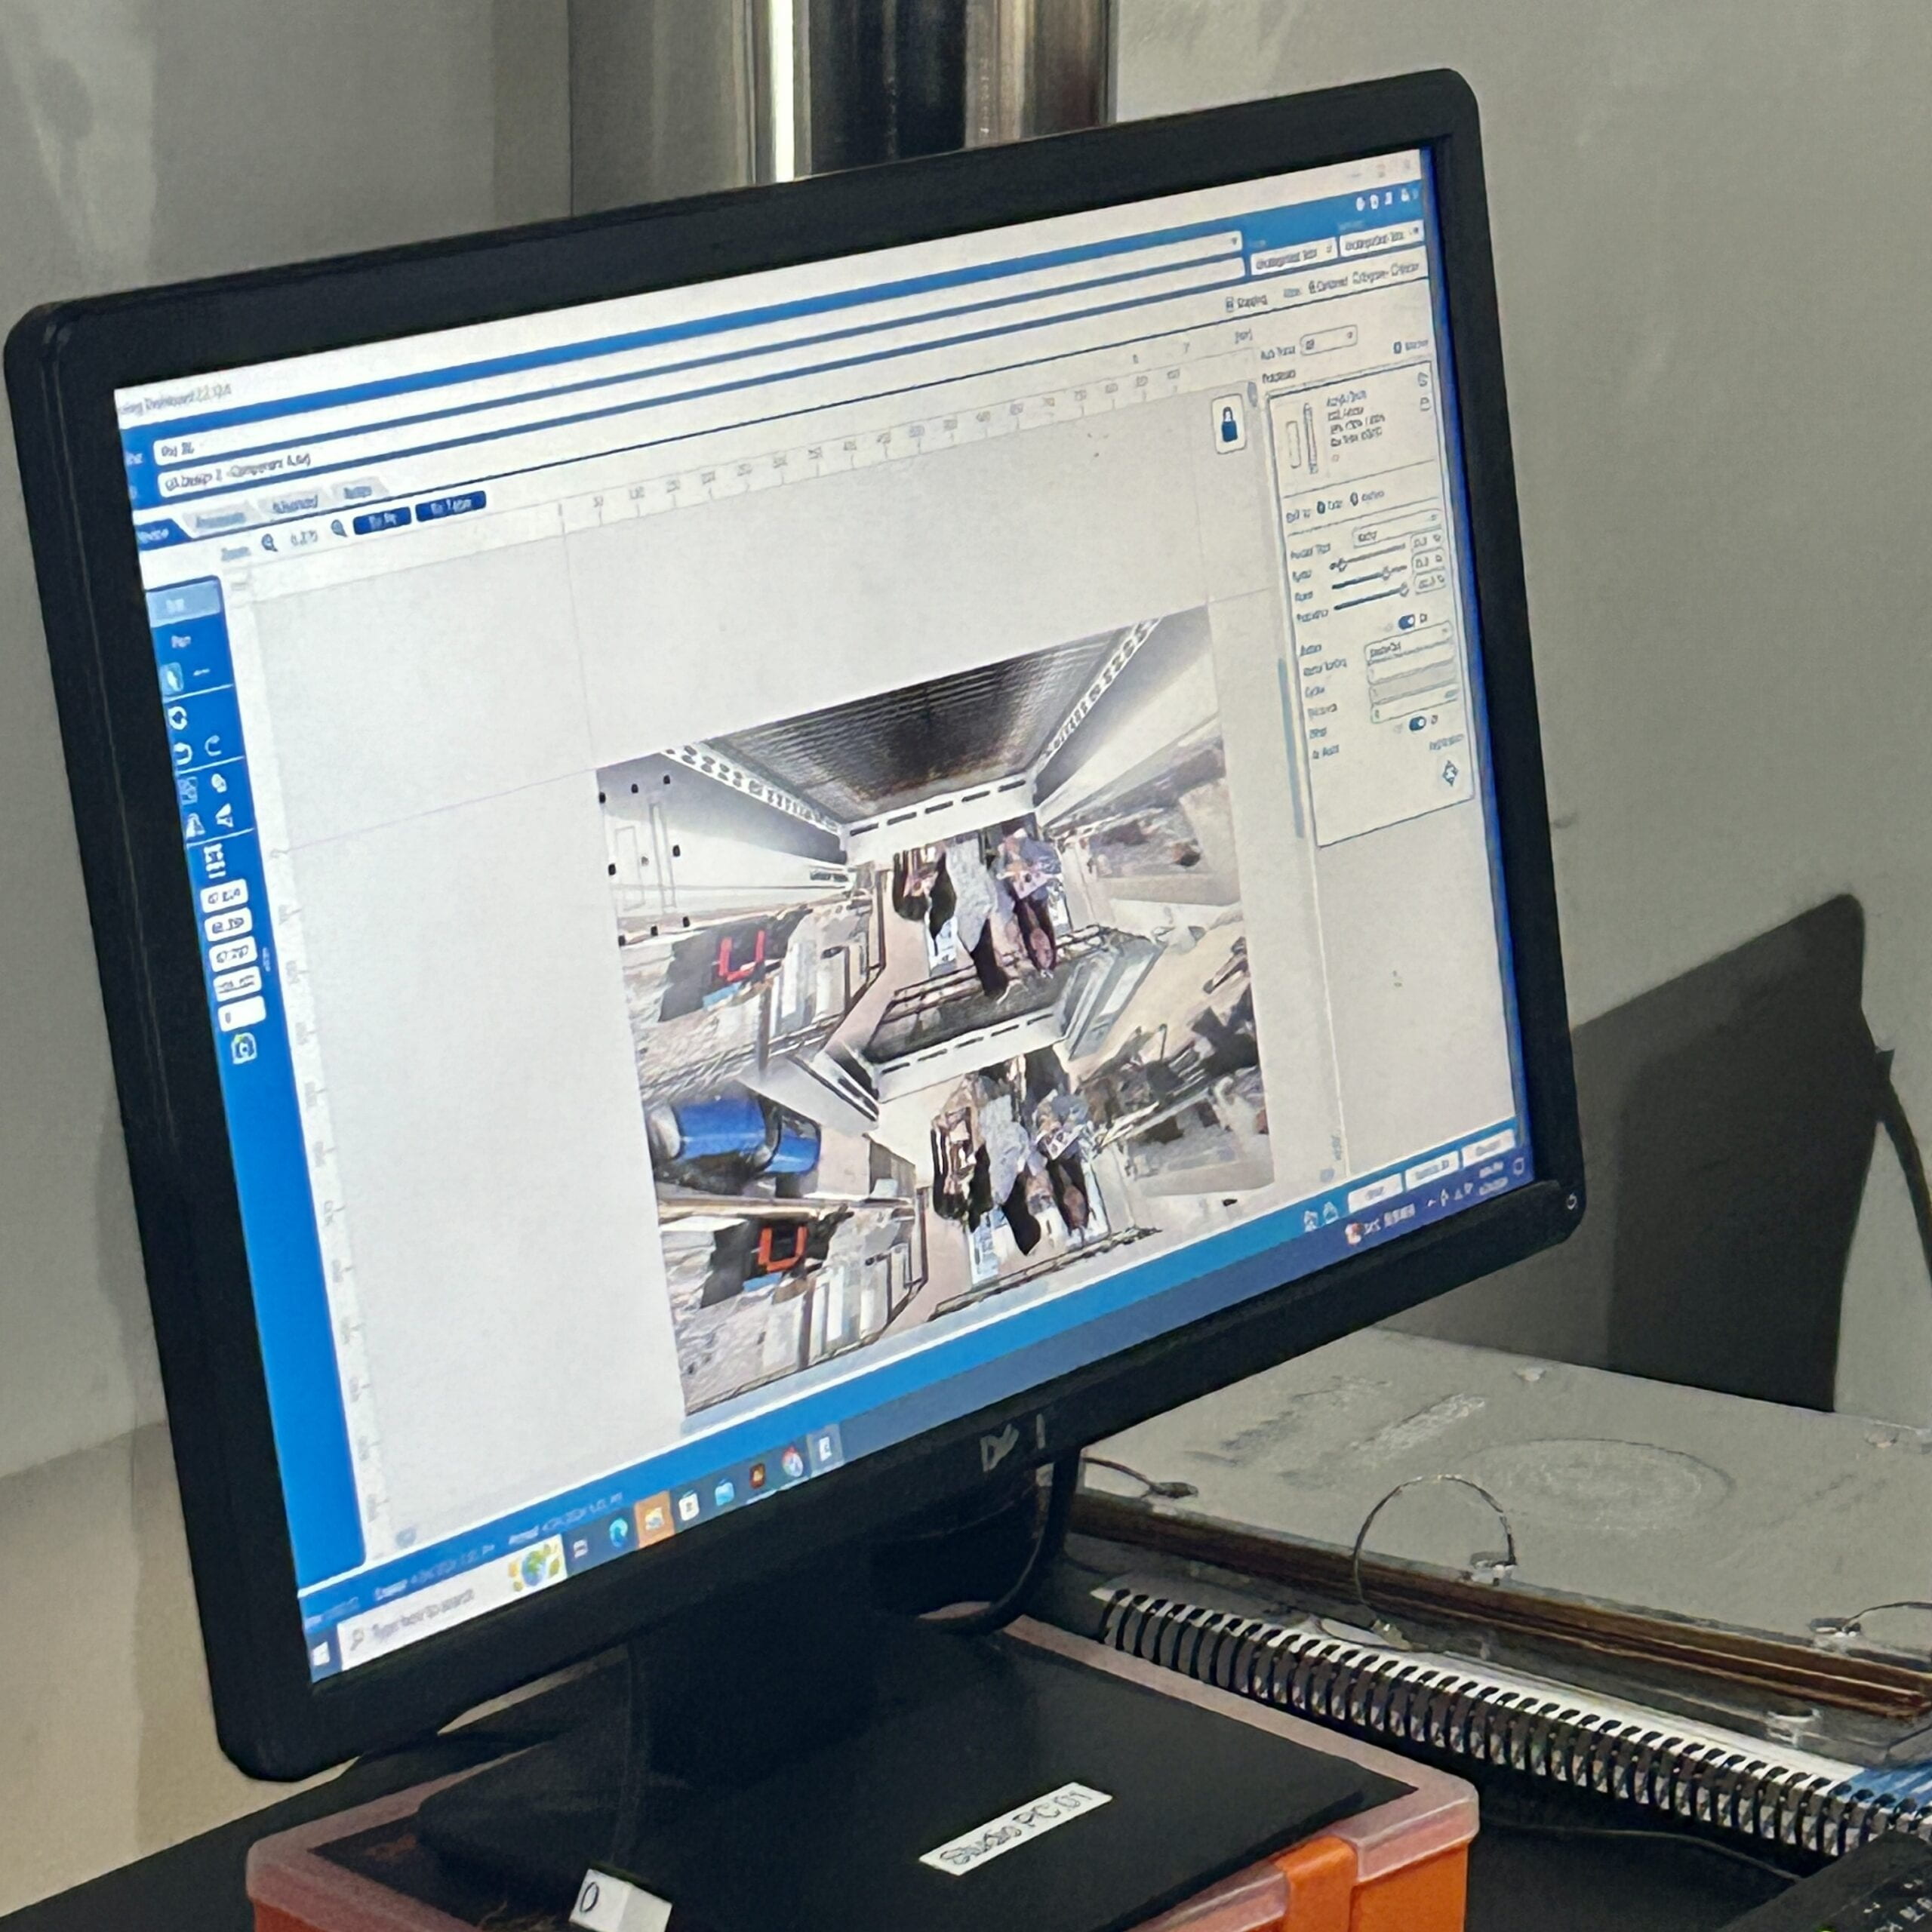
We first drew a sketch to clarify our thoughts. We first made a prototype out of cardboard to see if it could work. We planned to laser cut wooden board to build the whole appearance, however, the vending machine is too big for the wooden board. Therefore, we decided to use wooden board for the front part, and use cardboard for the bigger back part.


2) Fortune Cookies (Arduino1)

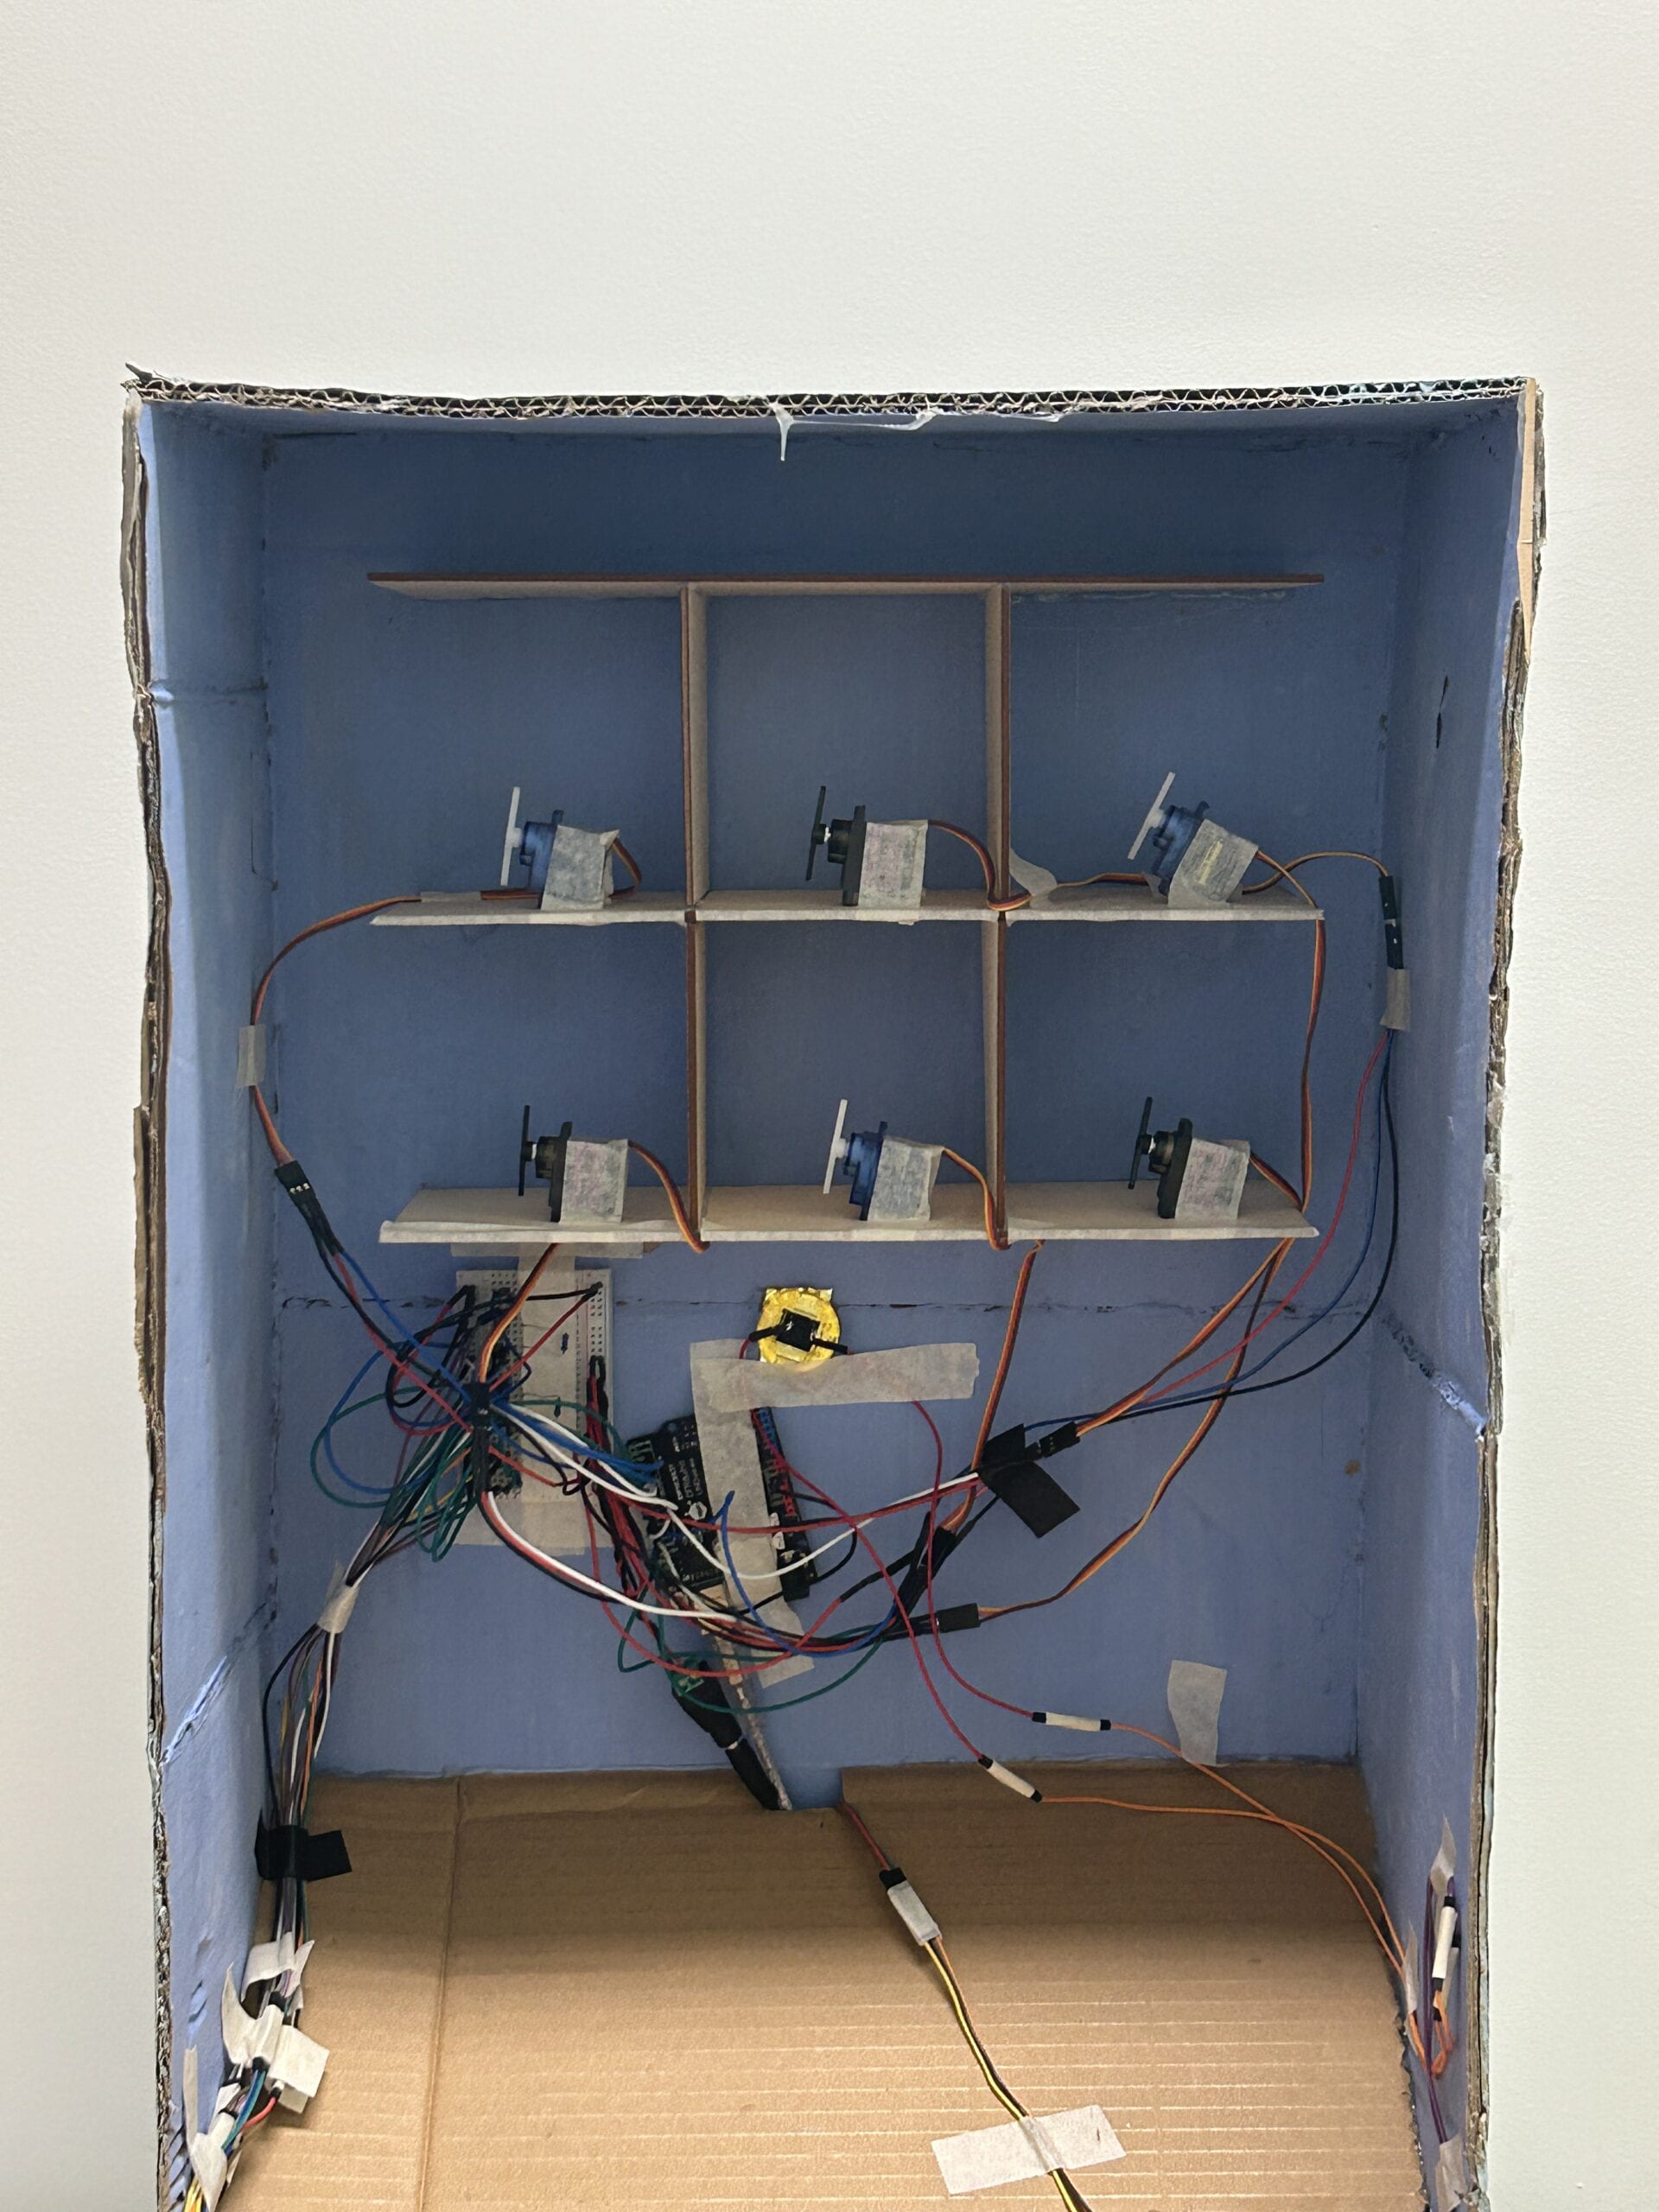
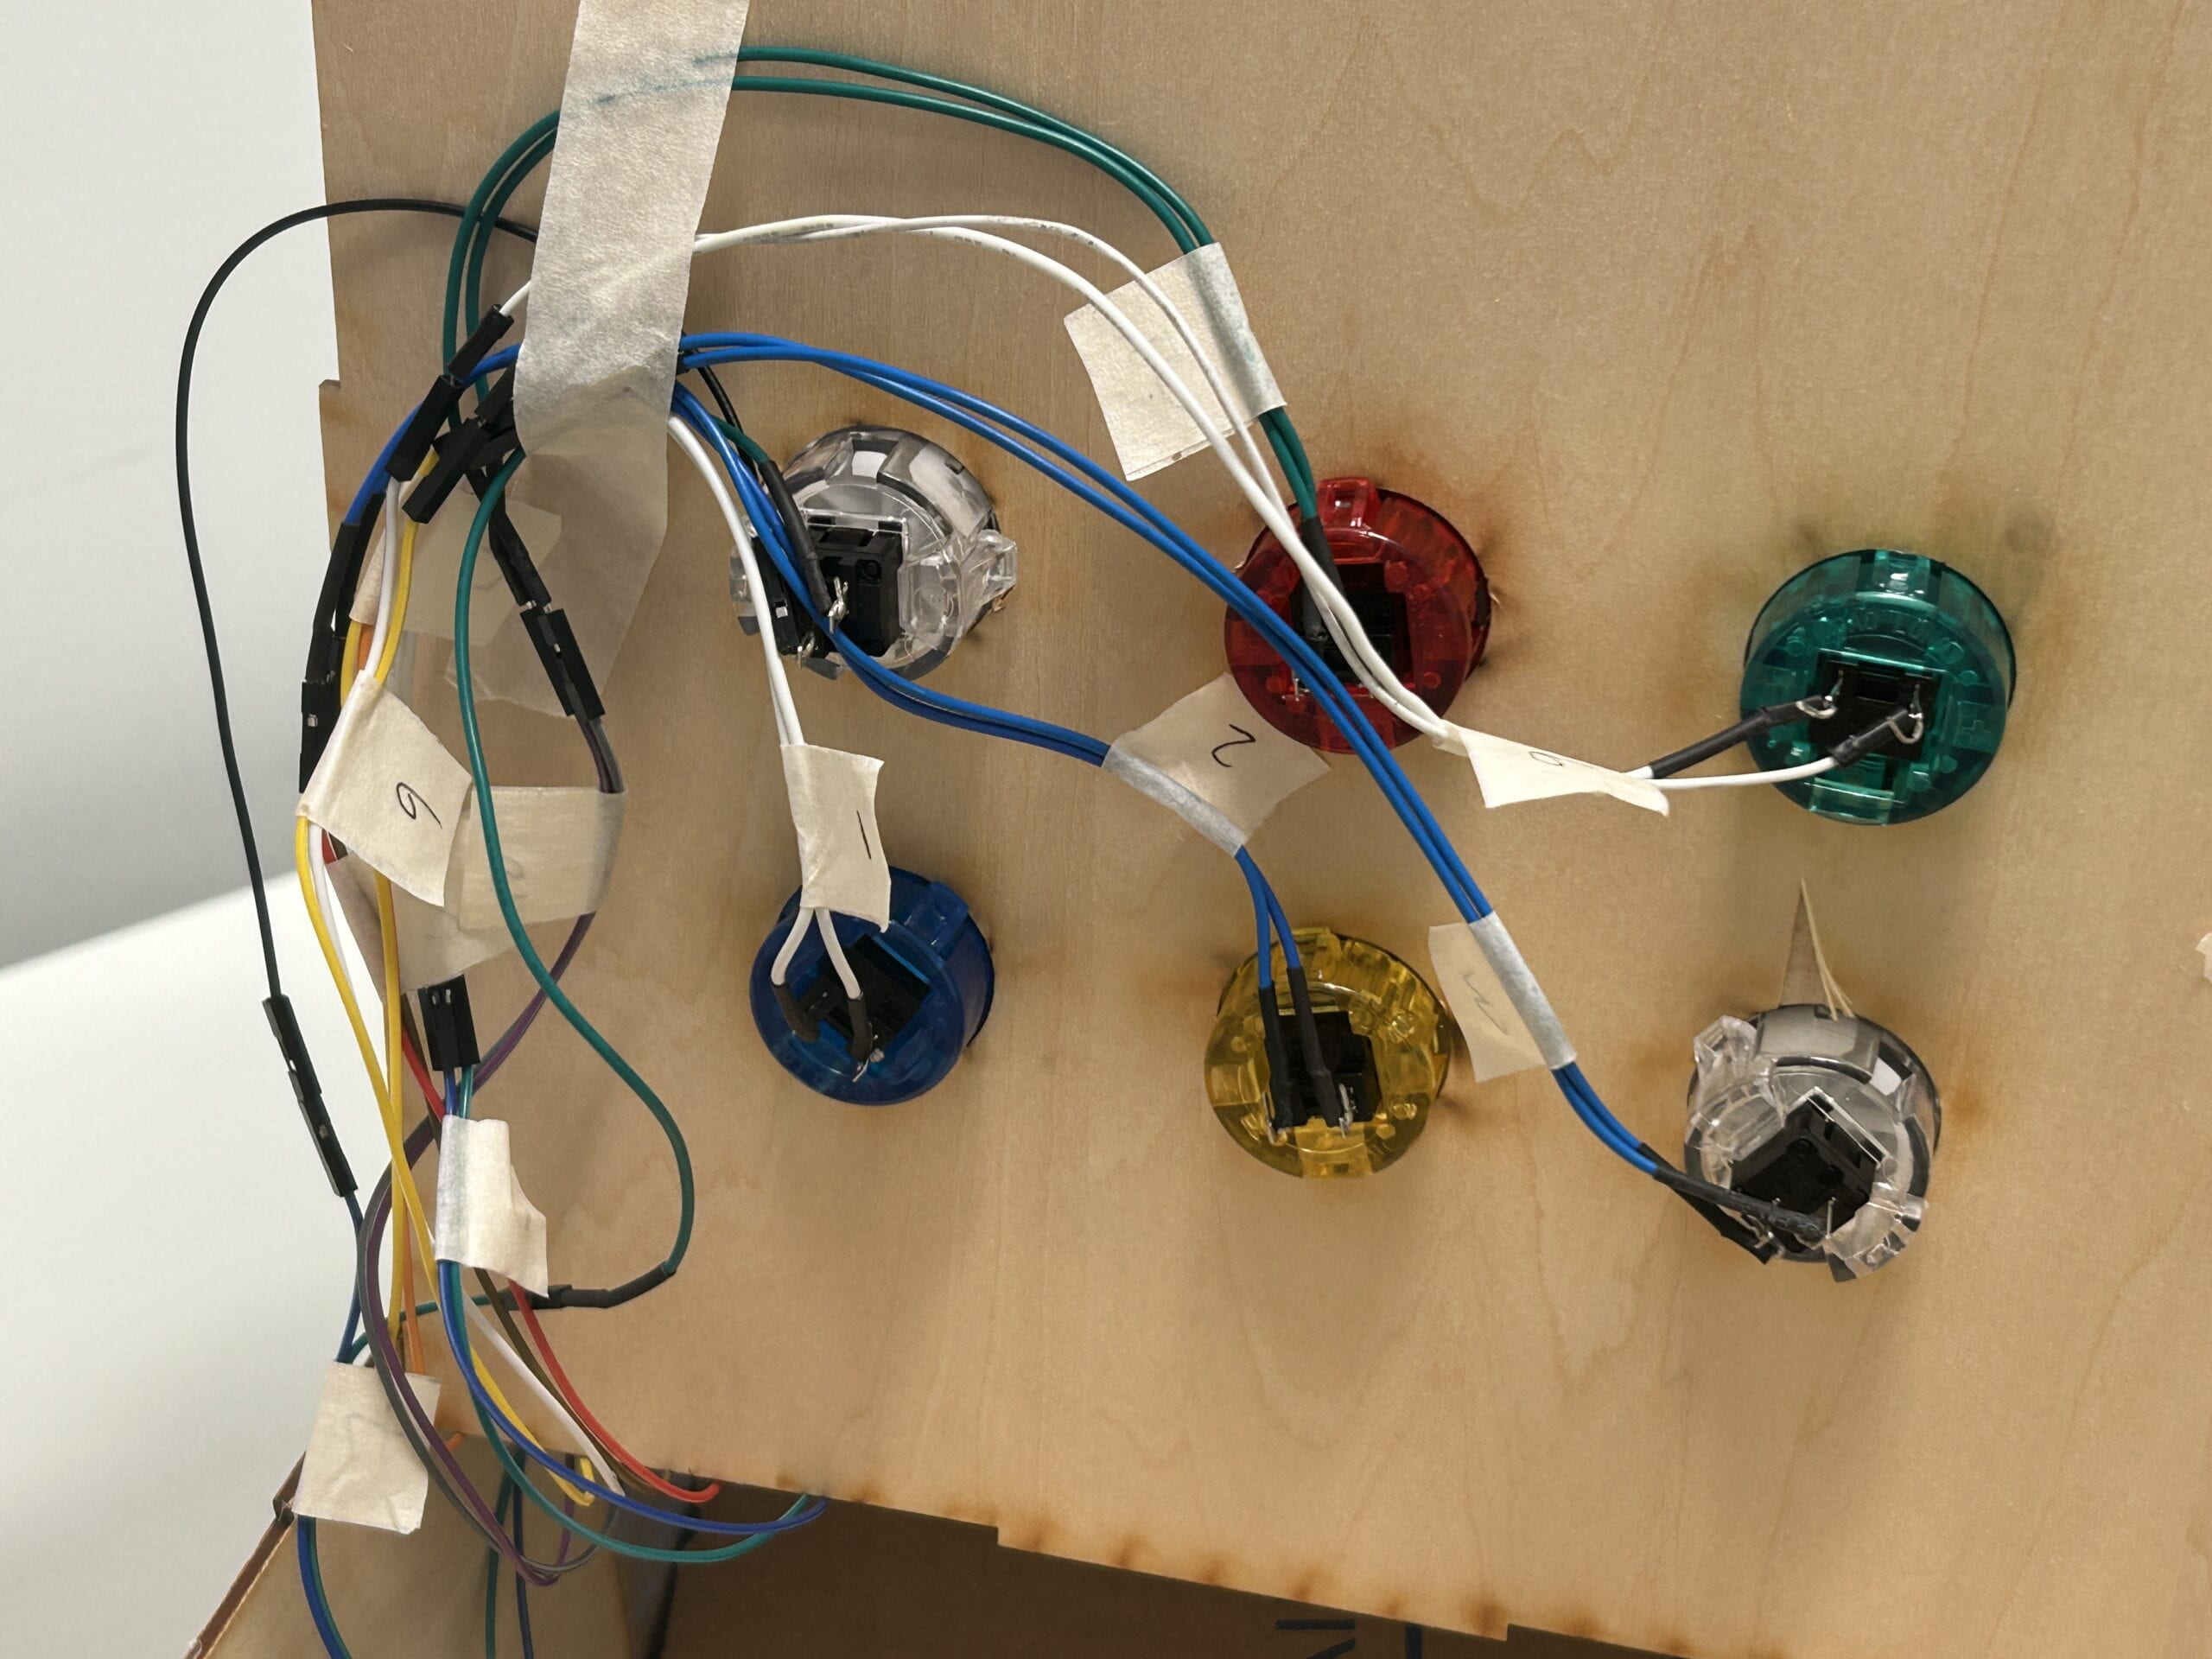
In this part, the user would choose a cookie, and all the cookies would fall down, except for the one they chose. In order to achieve this effect, we used six buttons (for the users to choose) and six servos (to push the cookies down), marked them with numbers, and connected them to the same Arduino. As for the coding, we initially used several “if” statements to make the other five servos turn 150 degrees when one button was pressed. However, this caused the servo to rotate only when the button was pressed, it would return to its original position after the button was released, so the servo could not push the cookie down. To address this problem, we then tried to used “while” statement inside of “if” statement, which means that if the button was pressed, only when the button was released could the servo start to rotate.
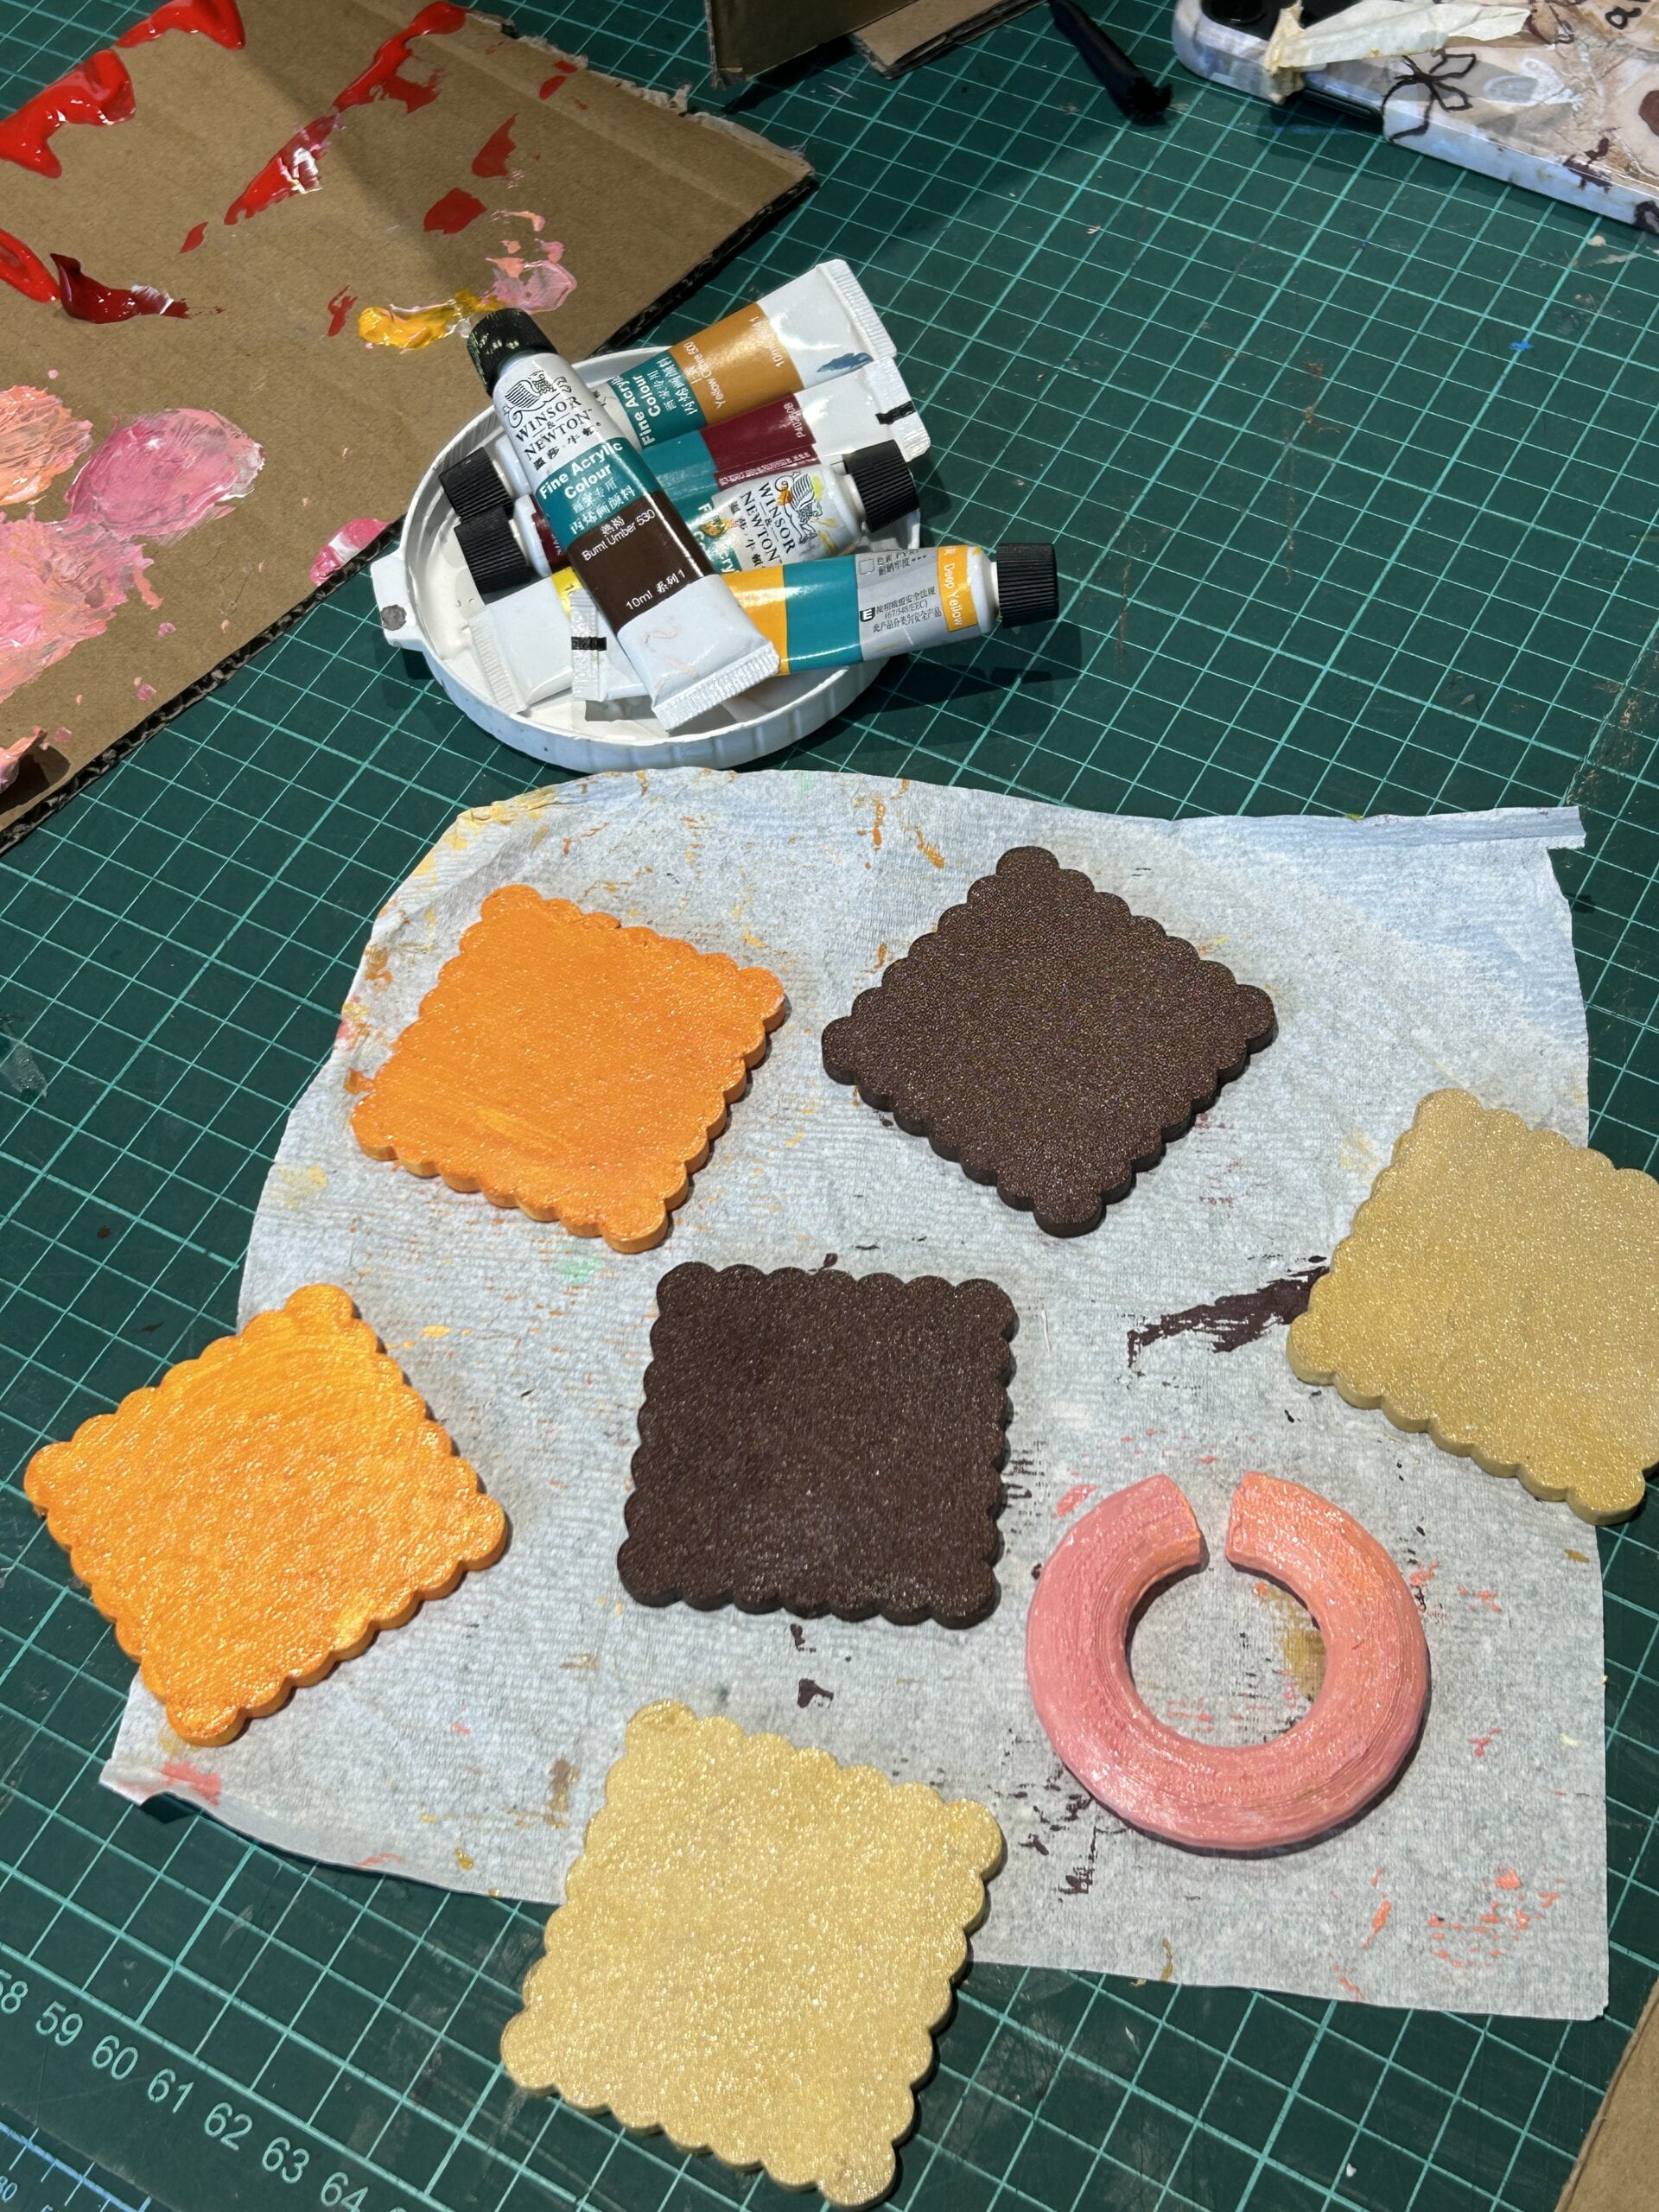
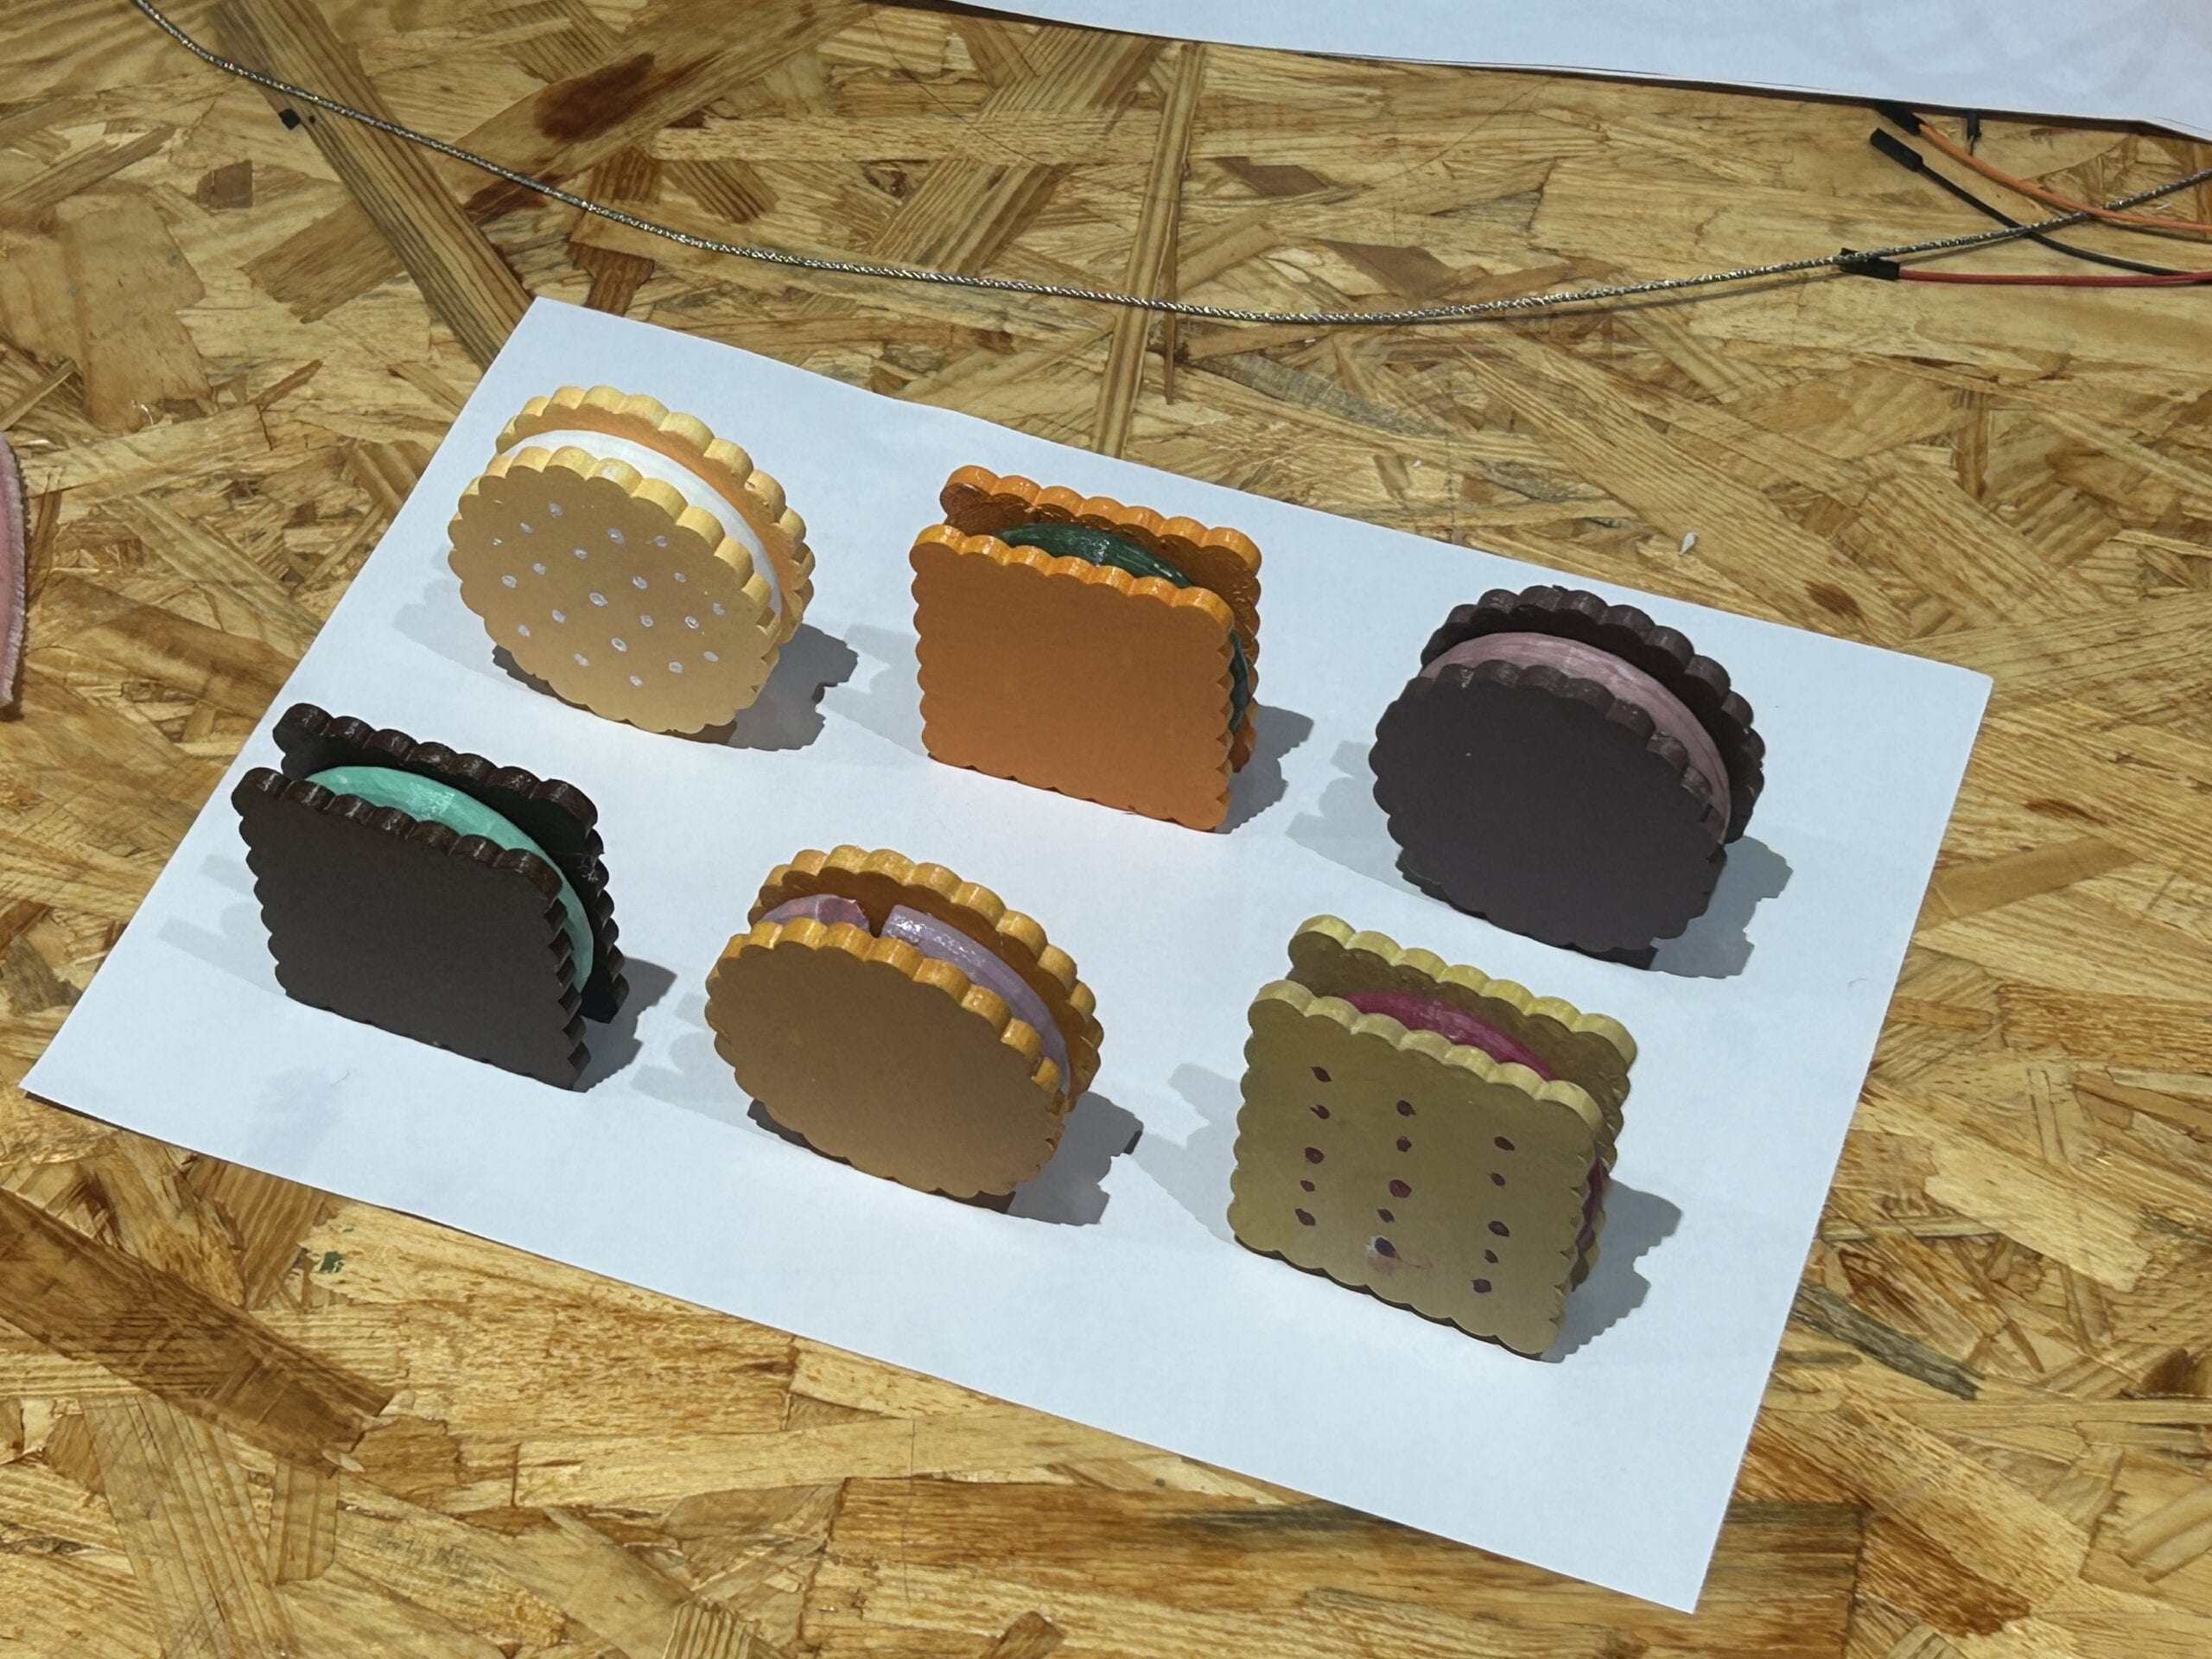
The fortune cookies were 3D printed. The fillings inside were made by a torus minus a cone, so that we had spaces to stuff fortune notes. The cookies outside were consisted of a large circle/square and multiple small circles. We then painted them into different colors.
 

3) Puzzle Game and Shouting Game (Arduino2, Arduino3)

The puzzle game appeared only after the cookies fell down. To achieve this order, we added an “if” statement in Arduino to make the serial port print “1” if a button was pressed. Then after receiving the “1”, Processing would run stage1, which was the puzzle game. In the puzzle game, we drew the pictures of the puzzle and connected two potentiometers. We soldered the potentiometers and the wires so that the analog read could be more stable. Then, we used the “map” function to translate the potentiometer analog read to the height and width in the frame to control the puzzle. After the puzzle was put in the right place, we wrote a “playMelody()” loop so that the buzzer can play a small piece of celebrating music.
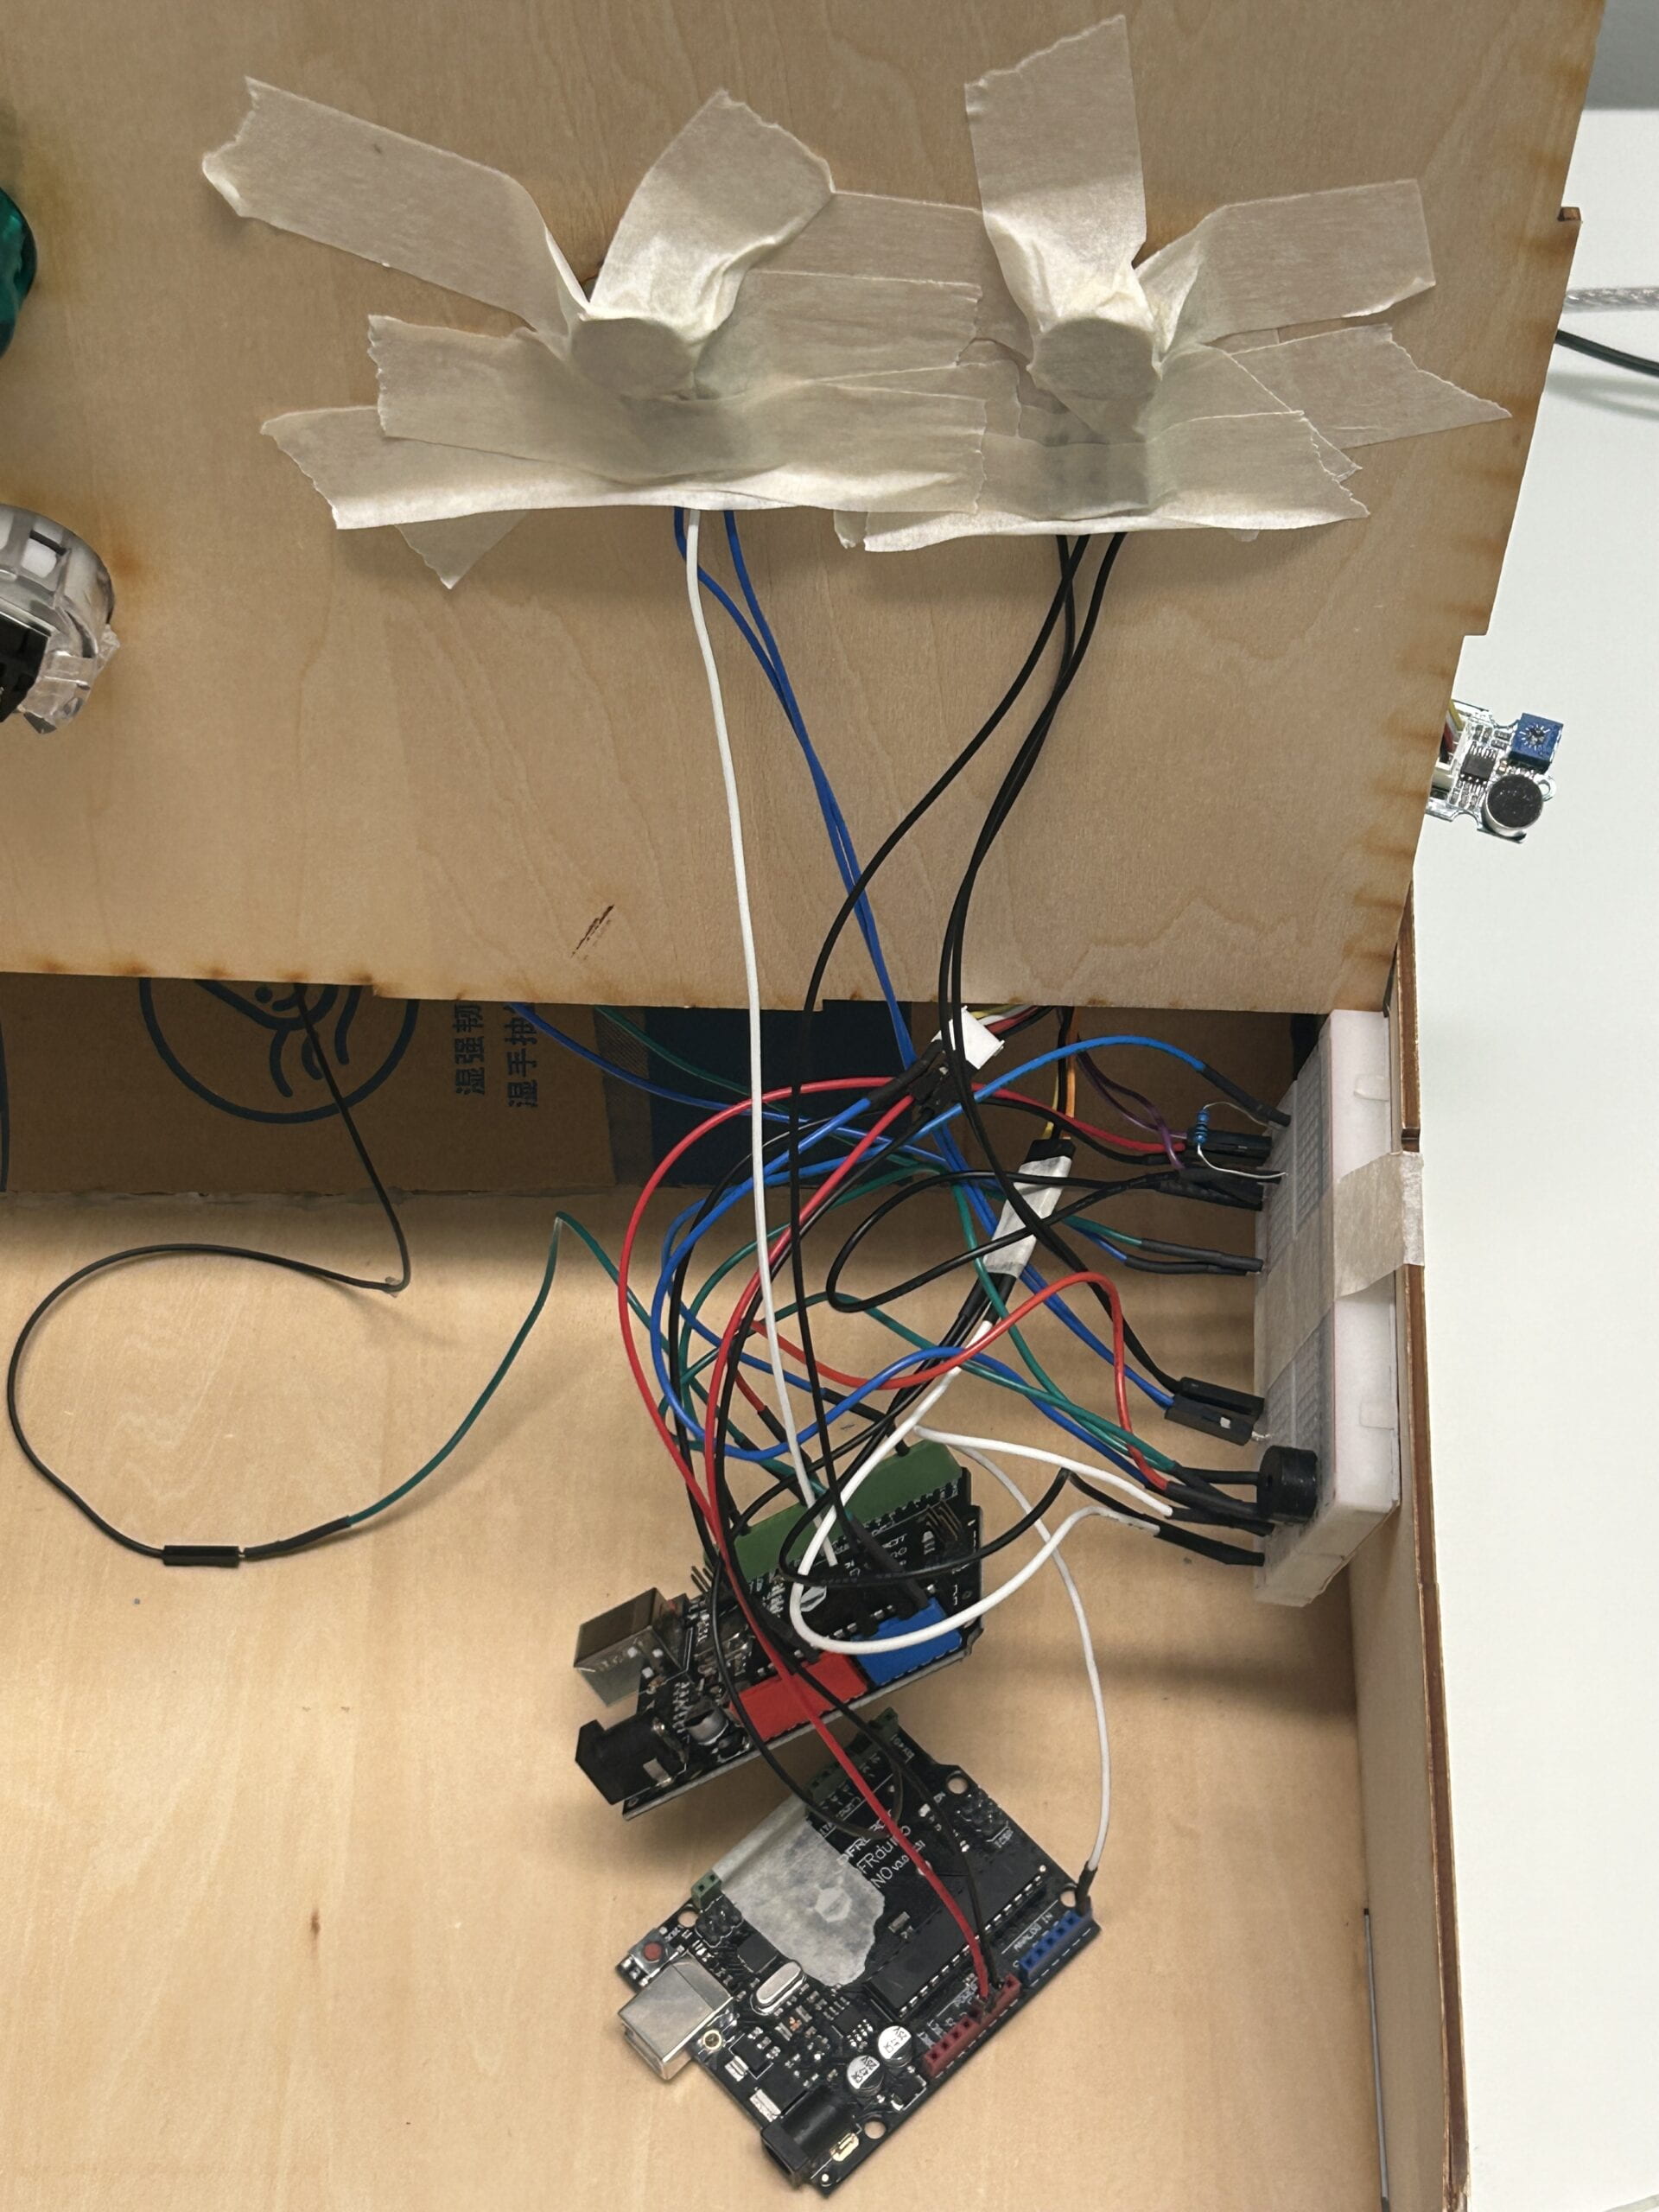
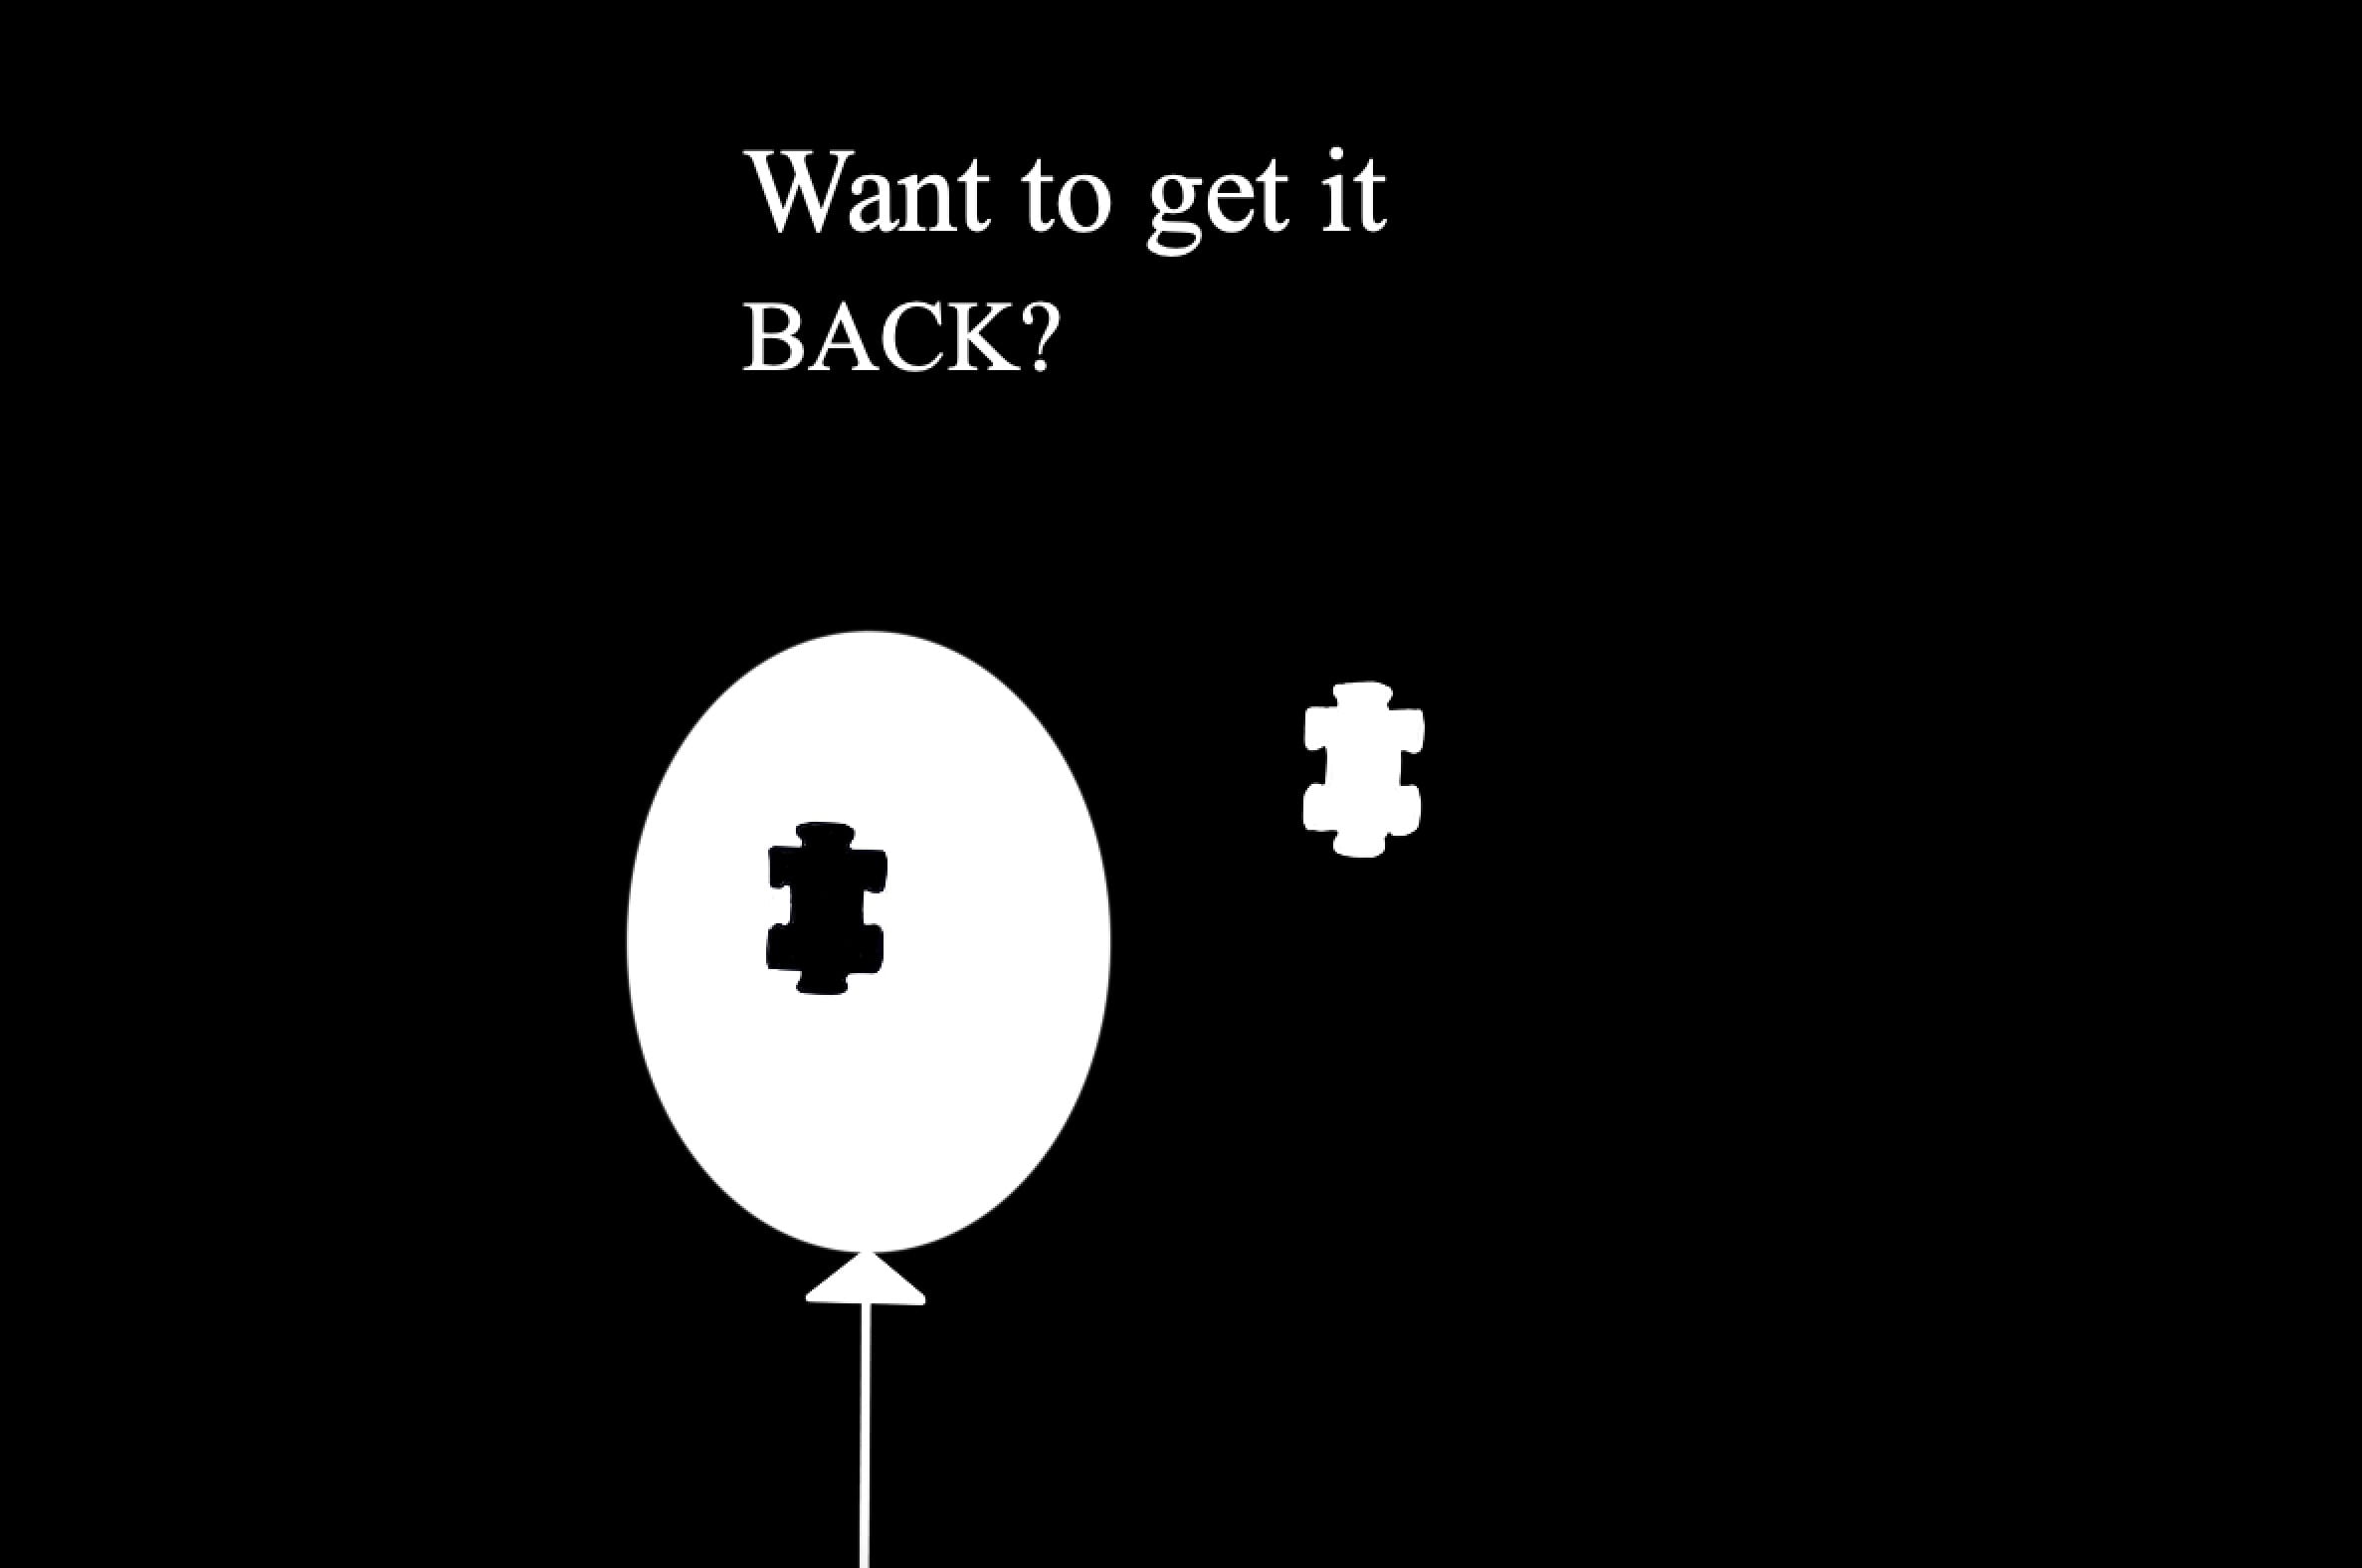
 

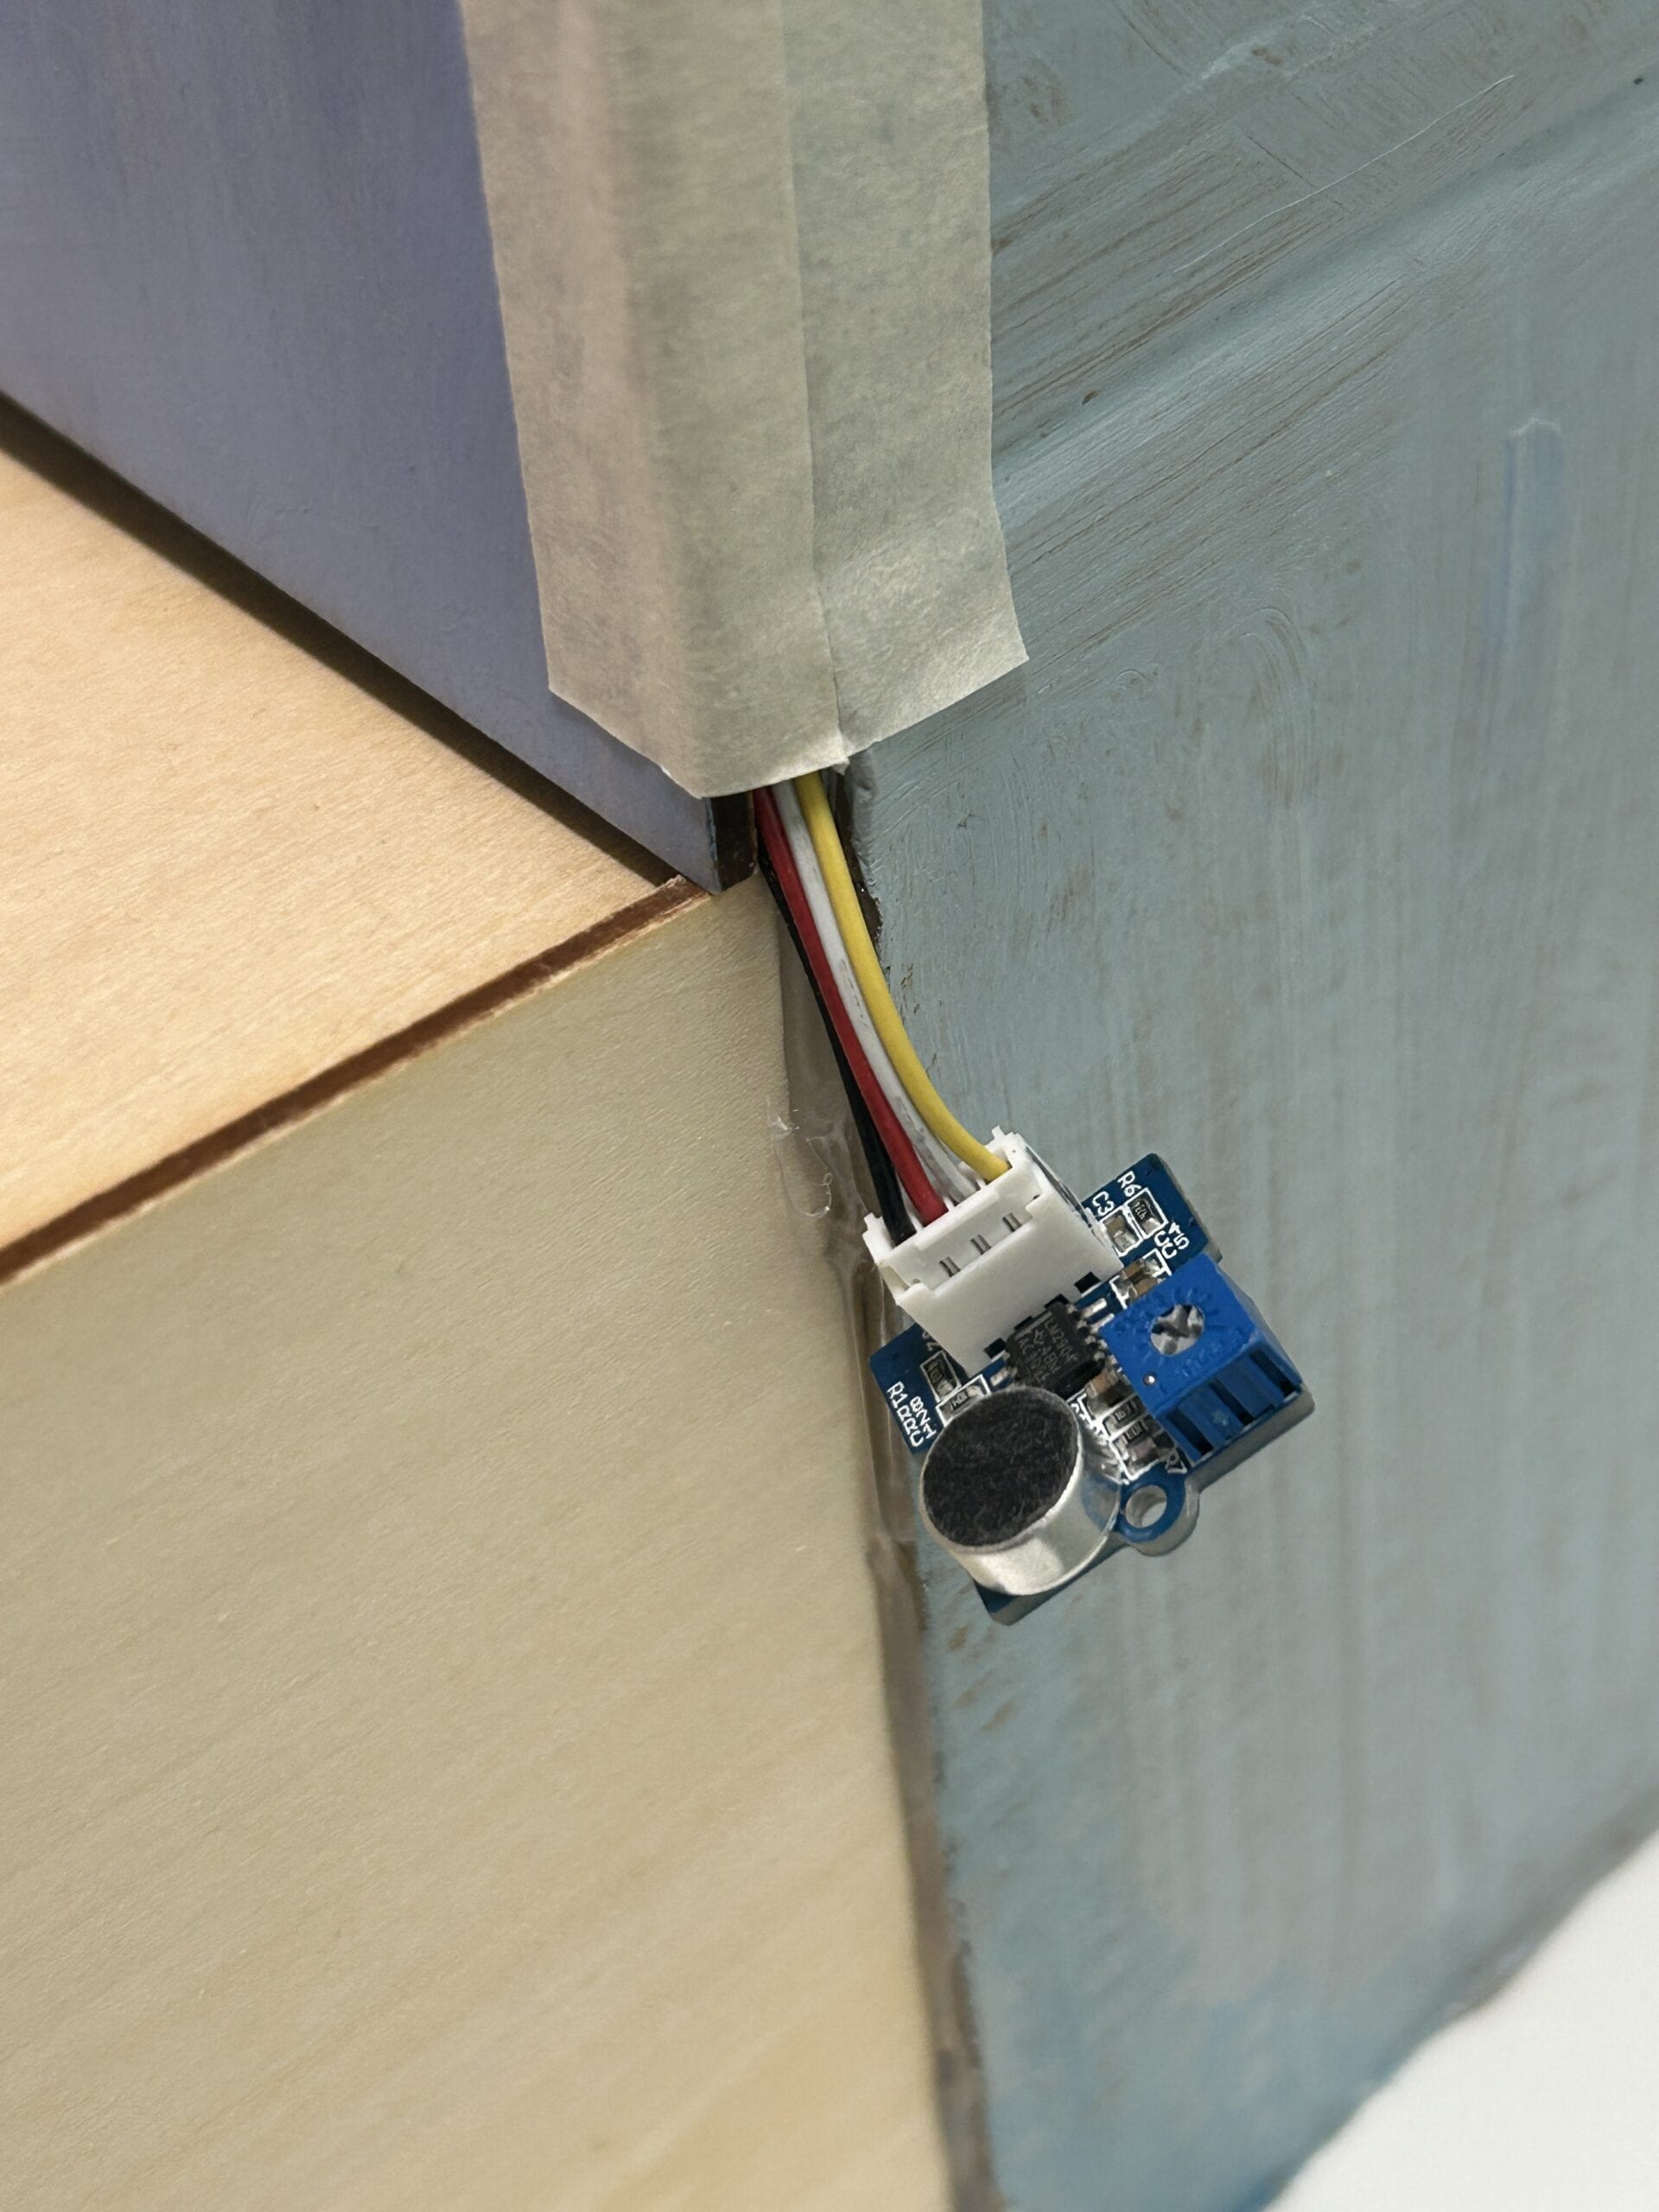
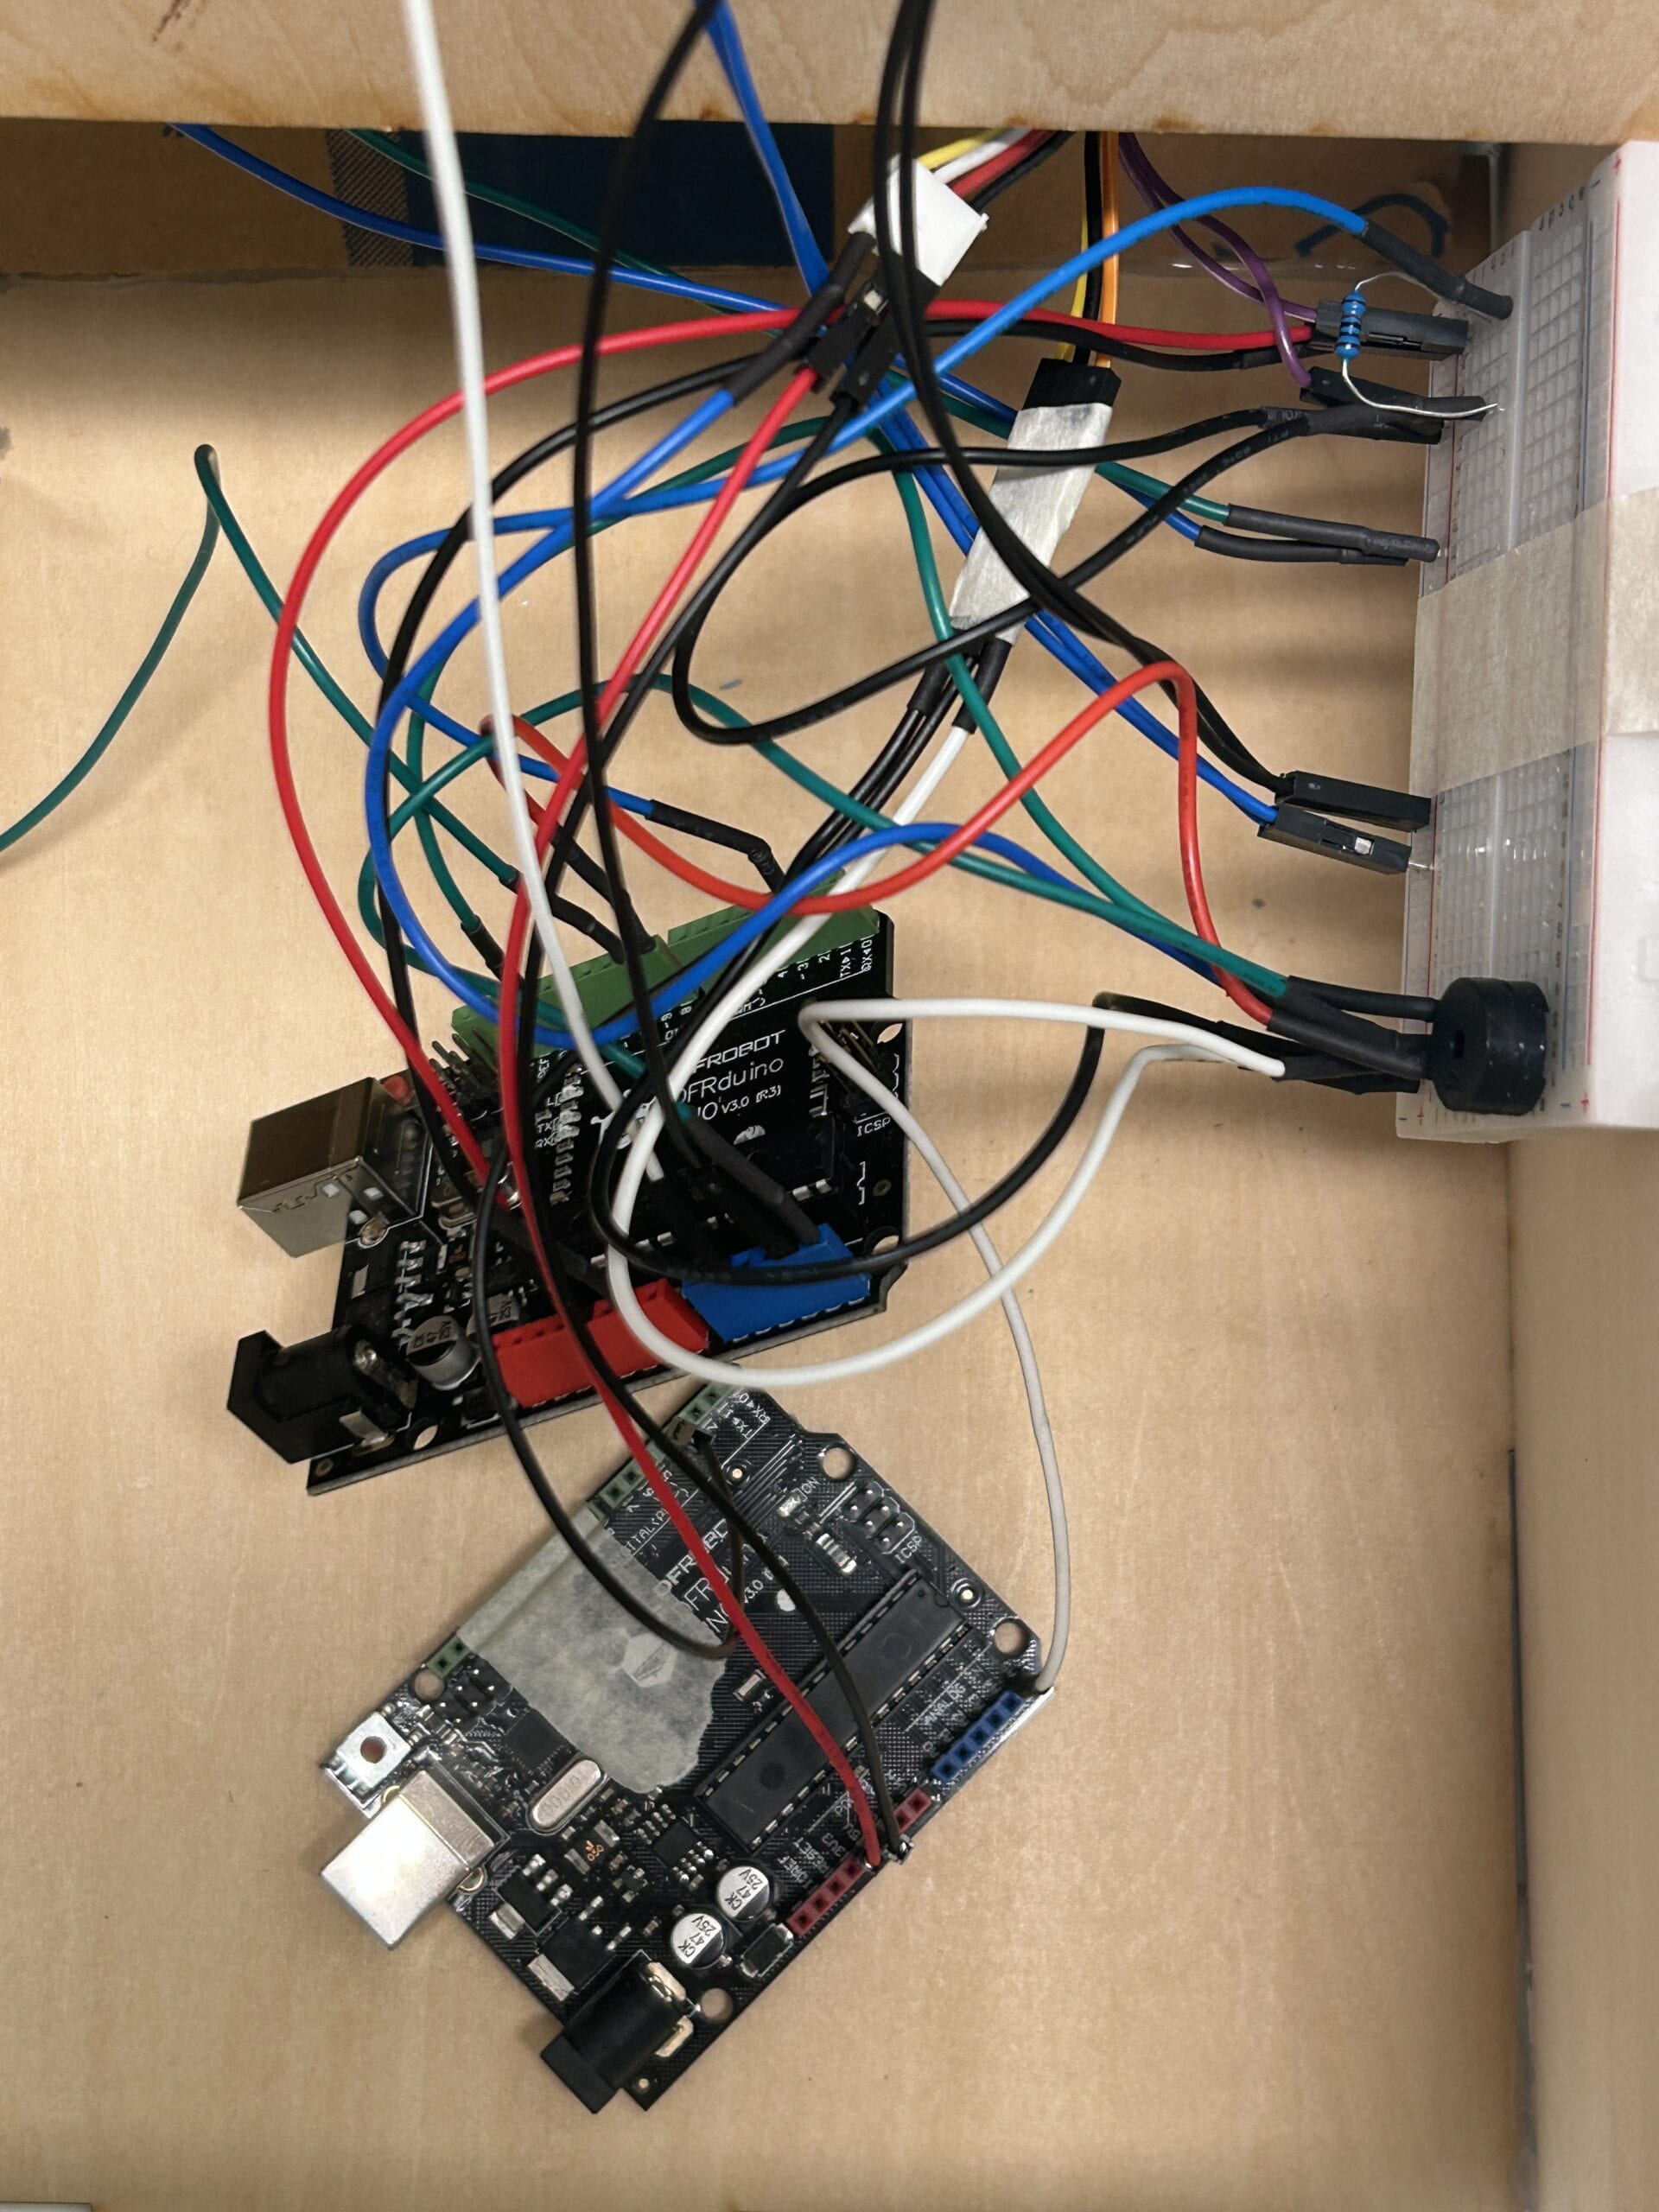
After that, it came to stage2, which was the shouting game. We used a microphone sensor to detect how loud the user shouted. We used the “map” function again to draw a balloon which consisted of an ellipse, a triangle and a line. In this way, the size of the balloon would change according to the volume. If their volume were loud enough, the LED strip would light up one by one, and two arrows would show up, directing people to go to the back side. This part was tricky, we initially intended to set up a stage3 to control the LED strips. However, the codes got too complicated, and the LED strip became unstable (it kept lighting or lit up random color). Therefore, we used another Arduino board and connected the microphone sensor to both the two Arduinos. We used the boolean function, “if” statements and “else if” statements to make sure that once the volume achieve the standard value, the LED strip would keep lighting up and would not stop even when the volume went low afterwards.
4) Glass Window

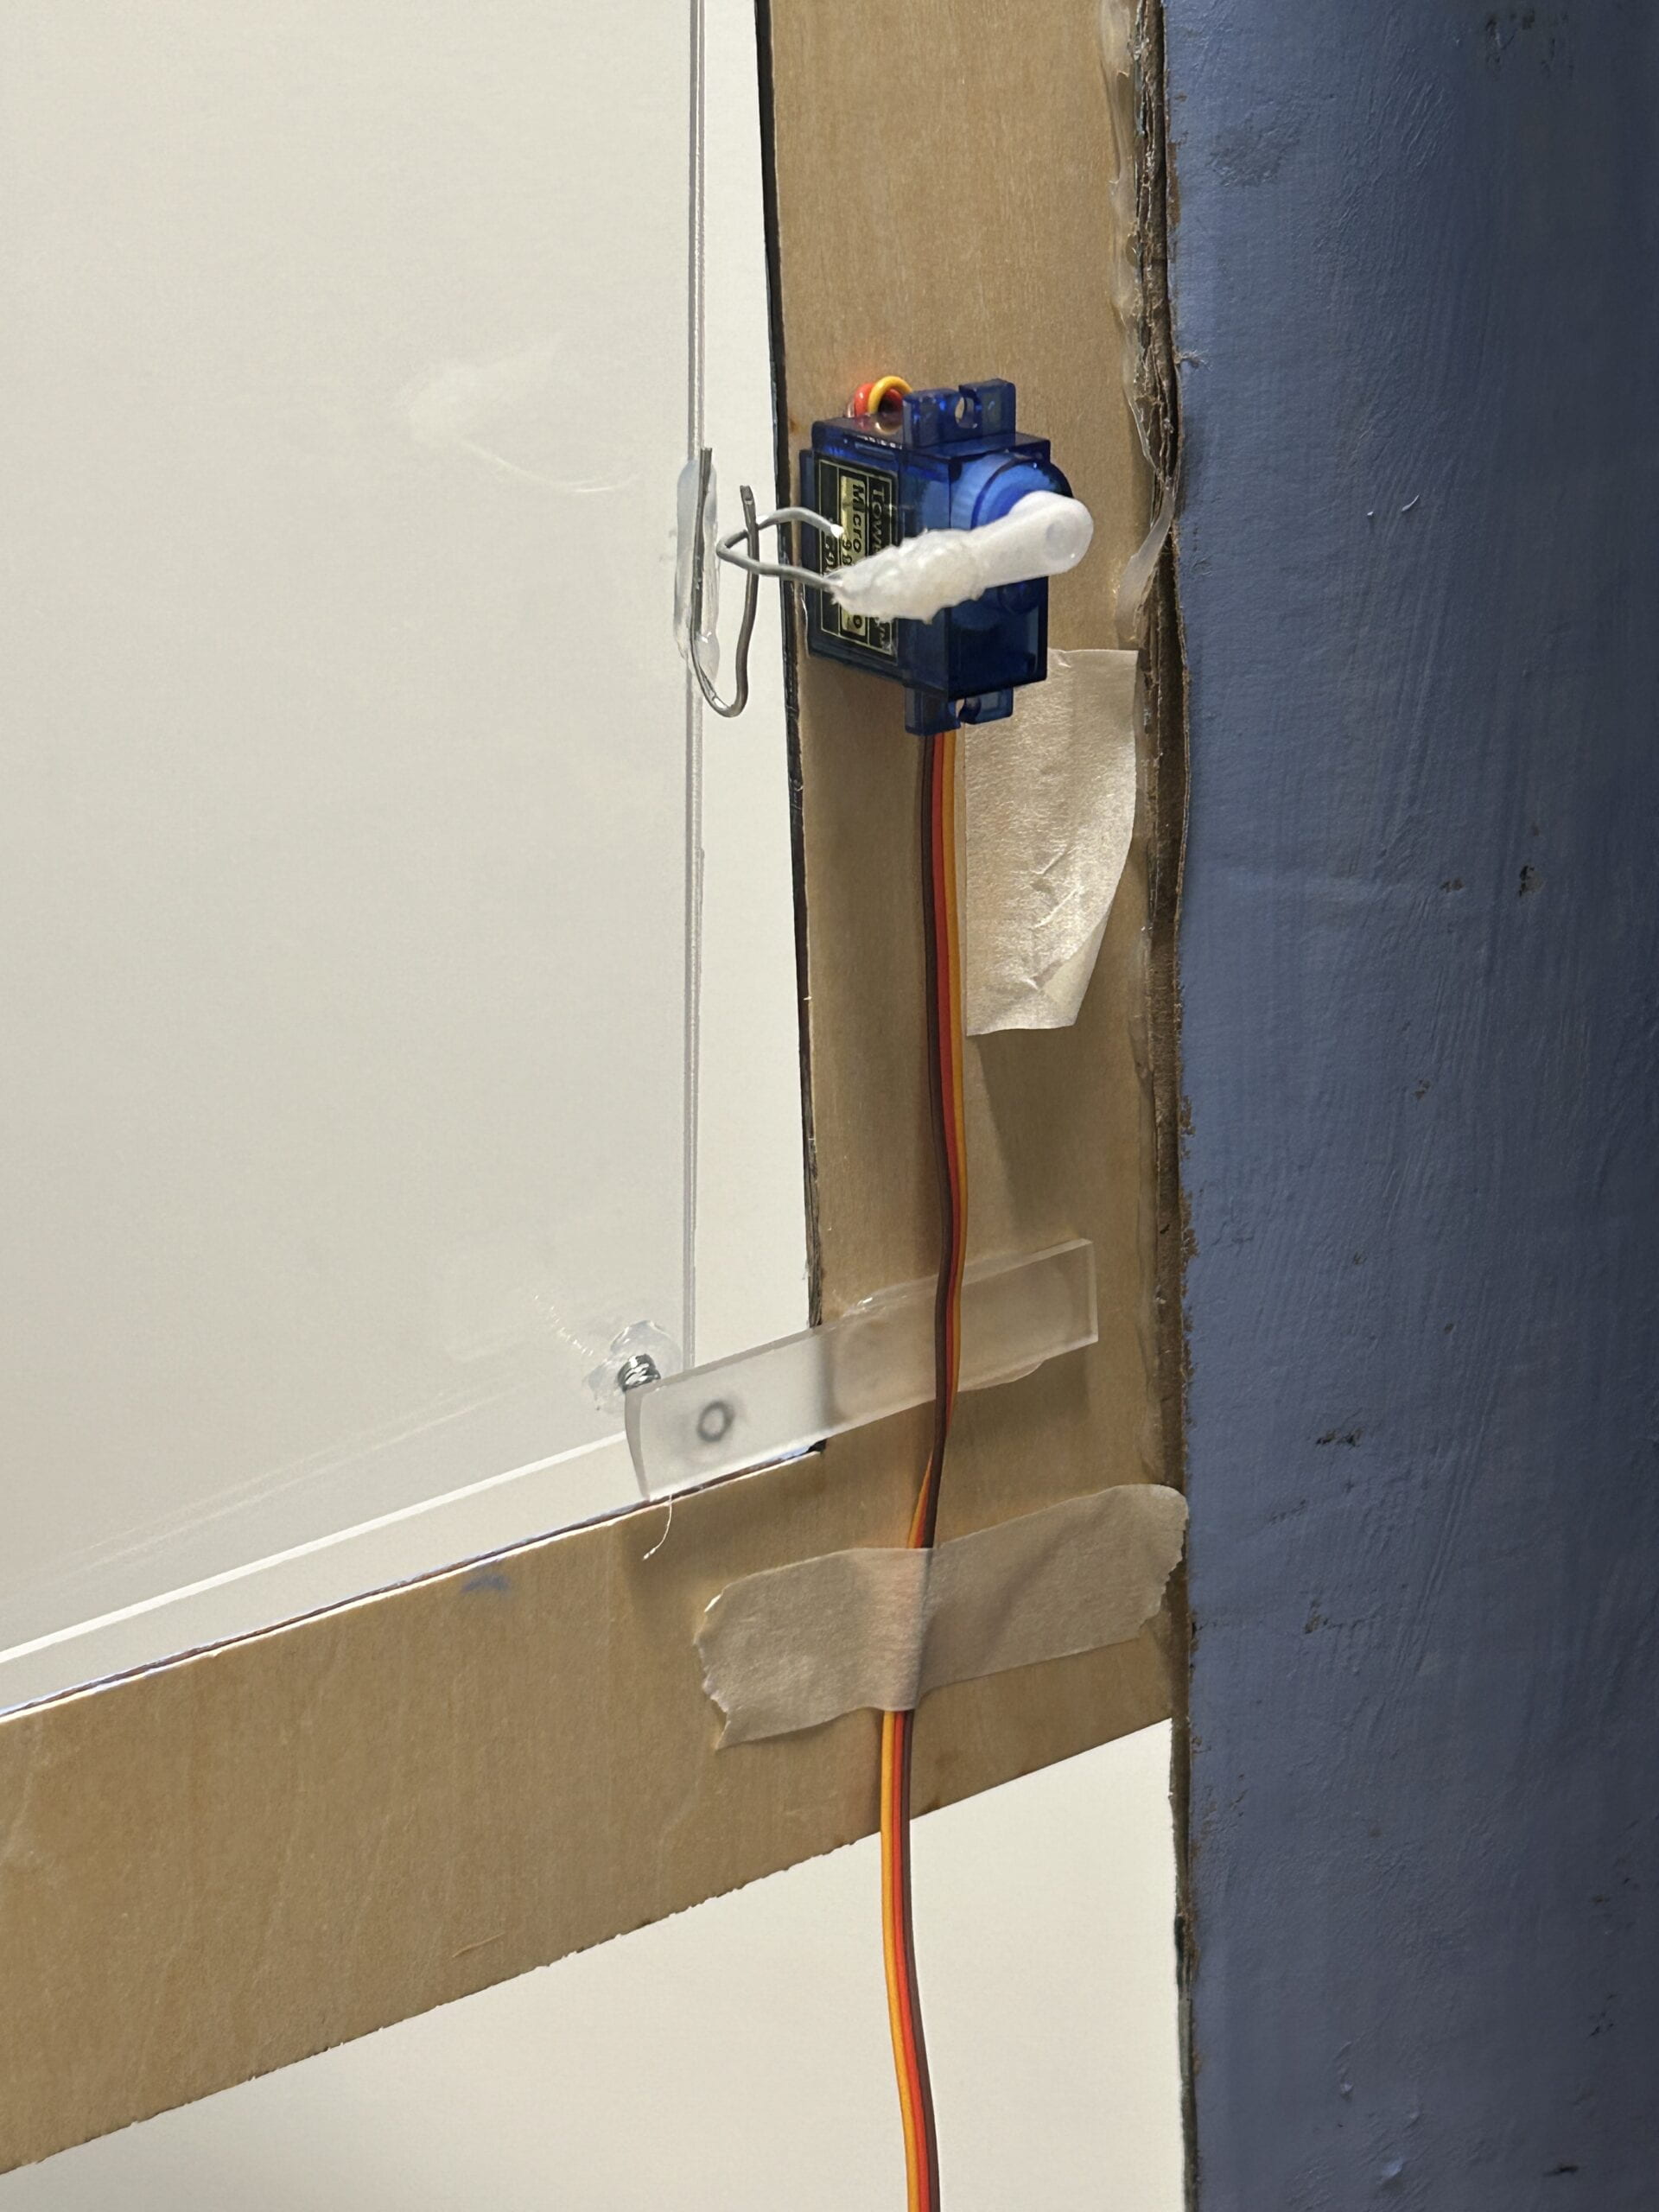
In this part, whenever the users pressed the back button, the glass window would open. To make a window that could be opened and closed, we first laser cut a transparent acrylic board. Then, we glued the sides of the acrylic board to a thick wire, cut a straw and wrapped it around the glued area to make it stronger. Next, we tapped the wire to the wooden frame so that the window could rotate. To lock and unlock the window, we bent the wires and made two little hooks. One was pasted with the glass window, and the other was pasted with a servo. When the servo rotated 90 degrees, the window could be unlocked. We also added a spring to make the glass window pop open. For the code, we again used the “if” statement and “while” statement to make sure that only after the button was released could the window be unlocked.
 

  • CONCLUSIONS

Again, the goal of our project was to explore counter-intuitive interaction and get an insight into how feedback that not aligned with expectations can affect the interaction process. The project was aligned with the definition of interaction (including action and reaction), though our instructions led to a more complicated path. I think the project achieved its goal. During the final presentation, the IMA show and other interaction processes, we found that users have different reactions. Generally, their reactions can be divided into two kinds: (1) (relying on given instructions) read our instructions carefully, pressed a button and found that the one they wanted did not come out, played the games step by step to get the fortune cookie; 2) (probably did not read the instructions and wanted to explore the project by themselves) randomly choose a button and got confused, started to grab the cookies that fell down or pressing other buttons or kept asking or felt that the project did not work. Interestingly, nobody looked around the project before interacting, and nobody found out the button could directly open the door in their first interaction, but when we encouraged users to interact with it again, with some hints most of them would realize the shortcut. From the users’ behaviors, we learned many things about the interaction processes. Some of the users tended to explore the project by themselves first (though we have clear instructions on what to do in the first step), but they would not explore the project comprehensively (e.g. looking around before started), they would start from things in front of them (e.g. the six buttons at the front). And when unexpected happened, the users who tended to explore by themselves could be more flustered than the ones who tended to follow the instructions (e.g. they started to ask what to do next). This made me reflect our daily interactive designs. Though most of them are intuitive, the products must be intuitive enough to let users (either following the instructions or exploring by themselves) figure out the correct interactive process.

If we had more time, I think we could make some improvements by adding some light on to the shelves to make it look nicer. Also, LED lights can be added on the top of the shelves to indicate more clearly that the cookie user chose did not fell down. (We initially built the LEDs but finally got rid of them, because when the circuit was put into the vending machine, it did not work and we did not have time to fix it.) The LED light strip could also shine colorfully after the user pressed the back button. The microphone sensor could be built inside something shaped like a real microphone. Also, adding a camera to capture users’ facial expressions could help learn more about users’ behaviors.

The process of making our final project was also a process of consolidating what we’ve learnt throughout the semester as well as learning new practicable stuffs that the course did not cover. Our projects faced a lot of difficulties. Technically, we knew more about how to code and debug. Apart from that, I learned that when encountering difficulties that are really hard to overcome, sometimes take a break can help come up with new ideas to solve the problem. From our accomplishments, I found that we actually have lots of possibilities; sometimes we always feel that we can’t accomplish something, but after being pushed, we find that it can actually be done.

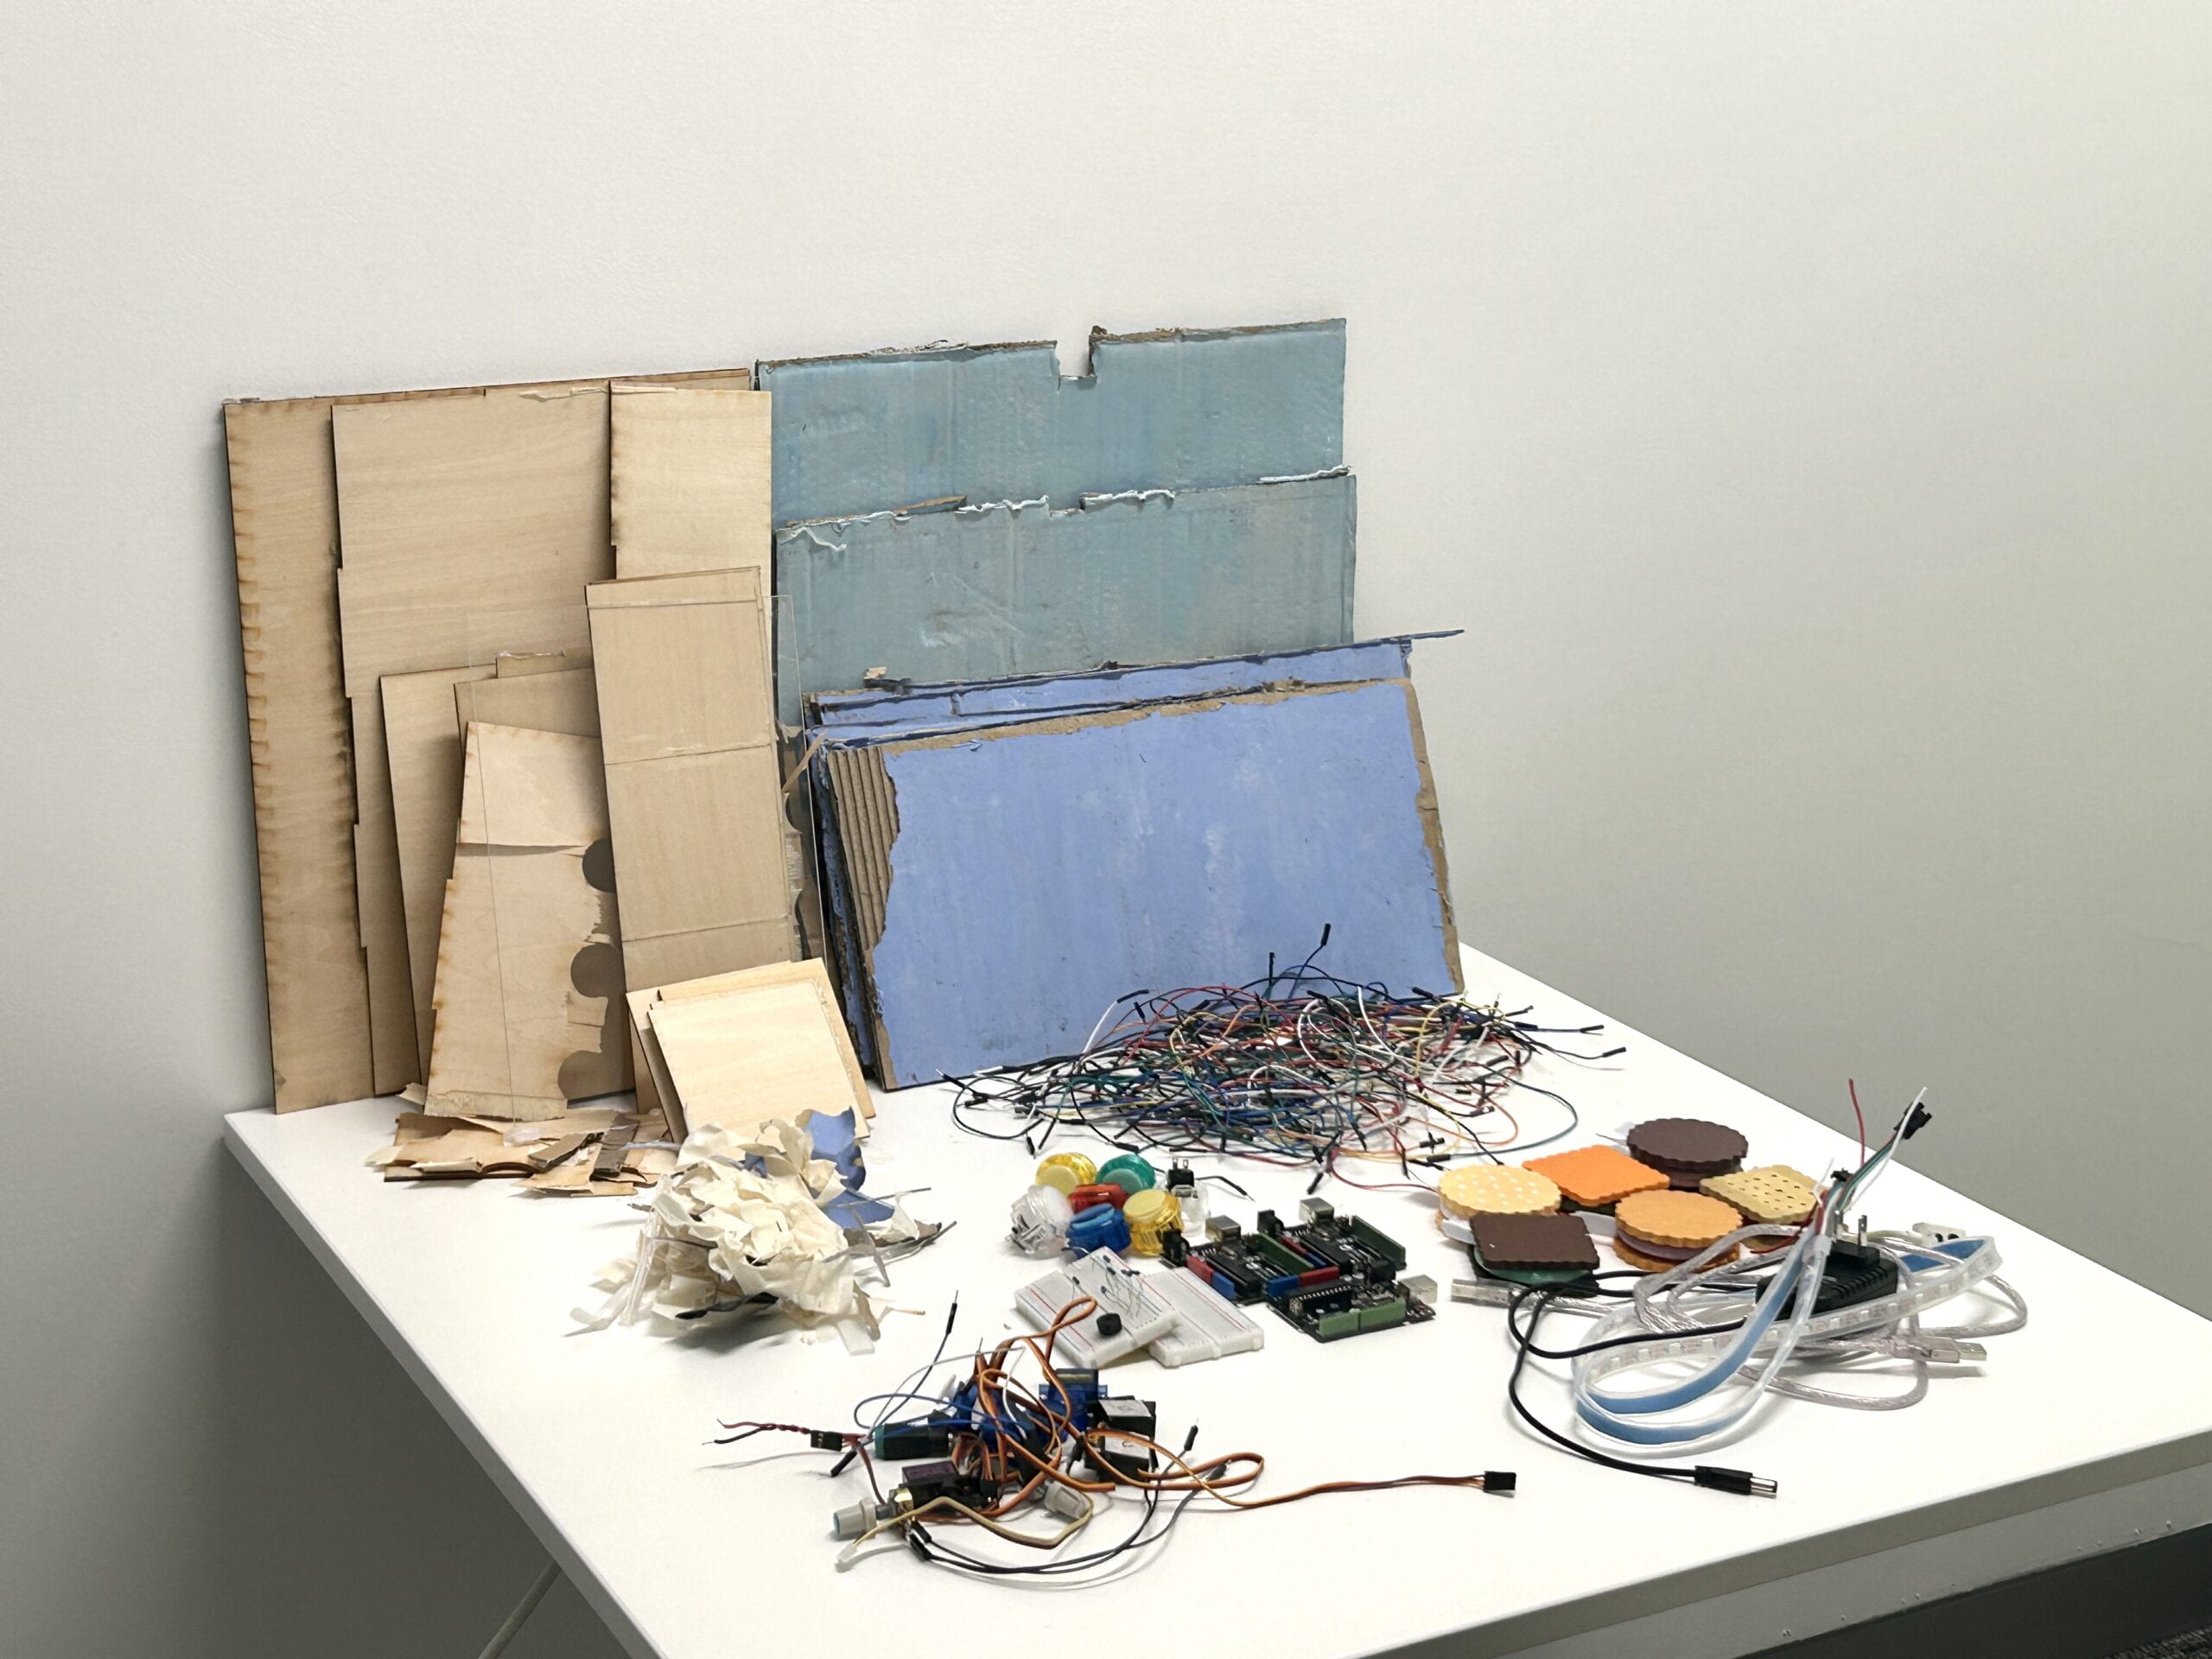
The project took us three weeks. I would like to express my sincere gratitude to Professor Inmi, Professor Gottfried, Professor Andy and Professor Rudi for their guidance and support. I would also like to thank Amelia, Kevin and Shengli for their warm help. Many thanks for my partner Emily, we laughed together, broke down together, stayed up for seven nights together, persisted together and overcame all those difficulties together. I am grateful for everyone who has supported and helped us over the past three weeks. I also appreciate the Matcha custard mochi and the whiskey ice cream in Drunk Baker that accompanied us for many desperate nights and ended up in our stomachs.
 (a selfie of me & Emily)

  • DISASSEMBLY

  • APPENDIX

1) Video


Link: https://drive.google.com/file/d/1n0MD6sKq5rwg1RHBHYAmHTSuq6b82moZ/view?usp=sharing

2)Codes

// Processing

import processing.serial.*;
Serial serialPort1; //first Arduino (servo motors, buttons)
Serial serialPort2; //second Arduino (potentiometers)
int NUM_OF_VALUES_FROM_ARDUINO1 = 1;
int NUM_OF_VALUES_FROM_ARDUINO2 = 5; /* CHANGE THIS ACCORDING TO YOUR PROJECT /

/ This array stores values from Arduino */
int arduino_values1[] = new int[NUM_OF_VALUES_FROM_ARDUINO1];
int arduino_values2[] = new int[NUM_OF_VALUES_FROM_ARDUINO2];

int state1;
int state2;
float a;
float b;
PImage photo1, photo2;
PFont myFont;
boolean shoutDetected = false;
int oldFrameCount;

void setup() {
size(1200, 800);
printArray(Serial.list());
// put the name of the serial port your Arduino is connected
// to in the line below – this should be the same as you’re
// using in the “Port” menu in the Arduino IDE
serialPort1 = new Serial(this, “/dev/cu.usbmodem1101”, 9600);
serialPort2 = new Serial(this, “/dev/cu.usbmodem1401”, 9600);

photo1 = loadImage(“balloon.png”);
photo2 = loadImage(“puzzle1.png”);
myFont = createFont(“Times New Roman”, 110);
}

void draw() {
getSerialData();
getSerialData2();
if(arduino_values1[0] == 0){
//interaction with the first Arduino is ongoing
background(0);
stroke(255);
textFont(myFont);
//textSize(50);
textAlign(CENTER, CENTER);
text(“Get your fortune”, width/2, height/2 – 65);
text(“by pressing ONE button”, width/2, height/2 + 65);
} else {
state2 = arduino_values2[3];
if (state2 == 1) {
background(0);
state1 = arduino_values2[0];
float x = map(arduino_values2[1], 0, 1023, 100, 620);
float y = map(arduino_values2[2], 0, 1023, -400, 250);
image(photo1, x, y);
image(photo2, 370, -50);
stroke(255);
textFont(myFont);
textSize(60);
text(“Want to get it”, 380, 120);
textSize(map(sin(frameCount/3), -1, 1, 30, 80));
text(“BACK?”, 380, 190);
oldFrameCount = frameCount;
} else if (state2 ==2) {
background(0);
stroke(255);
textFont(myFont);
text(“shout out loud to”, width/2, 170);
text(“get the one you chose”, width/2, 260);
if (frameCount >= oldFrameCount + 120) {
//sound visualization
float a = map(arduino_values2[4], 0, 70, 170, 1000);
float b = a + 70;
ellipse(width/2, height/2, a, b);
triangle(width/2, 400+ b/2, width/2 – 30, 430+ b/2, width/2 + 30, 430+ b/2);
stroke(255);
strokeWeight(2);
line(width/2, 430+ b/2, width/2, height);
if (arduino_values2[4] >= 120) {
shoutDetected = true;
}
if (shoutDetected == true) {
background(255);
fill(0);
noStroke();
triangle(350, 250, 200, 400, 350, 550);
triangle(850, 250, 1000, 400, 850, 550);
rect(350, 325, 150, 150);
rect(700, 325, 150, 150);
}
}
}
}
}

void getSerialData() {
while (serialPort1.available() > 0) {
String in = serialPort1.readStringUntil(10); // 10 = ‘\n’ Linefeed in ASCII
if (in != null) {
print(“From Arduino: ” + in);
String[] serialInArray = split(trim(in), “,”);
if (serialInArray.length == NUM_OF_VALUES_FROM_ARDUINO1) {
for (int i = 0; i < serialInArray.length; i++) {
arduino_values1[i] = int(serialInArray[i]);
}
}
}
}
}

void getSerialData2() {
while (serialPort2.available() > 0) {
String in = serialPort2.readStringUntil(10); // 10 = ‘\n’ Linefeed in ASCII
if (in != null) {
print(“From Arduino: ” + in);
String[] serialInArray = split(trim(in), “,”);
if (serialInArray.length == NUM_OF_VALUES_FROM_ARDUINO2) {
for (int i=0; i<serialInArray.length; i++) {
arduino_values2[i] = int(serialInArray[i]);
}
}
}
}
}

// Arduino1

#include <Servo.h>

// servos
Servo servo1;
Servo servo2;
Servo servo3;
Servo servo4;
Servo servo5;
Servo servo6;

// buttons
int pushButton1 = 2;
int pushButton2 = 3;
int pushButton3 = 4;
int pushButton4 = 5;
int pushButton5 = 6;
int pushButton6 = 7;
int buttonState1 = 0;
int buttonState2 = 0;
int buttonState3 = 0;
int buttonState4 = 0;
int buttonState5 = 0;
int buttonState6 = 0;

void setup() {
//buttons
pinMode(pushButton1, INPUT);
pinMode(pushButton2, INPUT);
pinMode(pushButton3, INPUT);
pinMode(pushButton4,INPUT);
pinMode(pushButton5,INPUT);
pinMode(pushButton6,INPUT);
// servos
servo1.attach(8);
servo2.attach(9);
servo3.attach(10);
servo4.attach(11);
servo5.attach(12);
servo6.attach(13);
servo1.write(5);
servo2.write(5);
servo3.write(5);
servo4.write(5);
servo5.write(5);
servo6.write(5);
Serial.begin(9600);
}

void loop() {
// read buttonState
buttonState1 = digitalRead(pushButton1);
buttonState2 = digitalRead(pushButton2);
buttonState3 = digitalRead(pushButton3);
buttonState4 = digitalRead(pushButton4);
buttonState5 = digitalRead(pushButton5);
buttonState6 = digitalRead(pushButton6);
// Serial.println(buttonState1);
// Serial.println(buttonState2);
// Serial.println(buttonState3);
// Serial.println(buttonState4);
// Serial.println(buttonState5);
// Serial.println(buttonState6);

if (buttonState1 == 1) {
while (buttonState1 == 0) {
delay(10);
}
delay(1000);
servo1.write(5);
servo2.write(150);
servo3.write(150);
servo4.write(150);
servo5.write(150);
servo6.write(150);
} else if (buttonState2 == 1) {
while (buttonState2 == 0) {
delay(10);
}
delay(1000);
servo1.write(150);
servo2.write(5);
servo3.write(150);
servo4.write(150);
servo5.write(150);
servo6.write(150);
} else if (buttonState3 == 1) {
while (buttonState3 == 0) {
delay(10);
}
delay(1000);
servo1.write(150);
servo2.write(150);
servo3.write(5);
servo4.write(150);
servo5.write(150);
servo6.write(150);
} else if (buttonState4 == 1) {
while (buttonState4 == 0) {
delay(10);
}
delay(1000);
servo1.write(150);
servo2.write(150);
servo3.write(150);
servo4.write(5);
servo5.write(150);
servo6.write(150);
} else if (buttonState5 == 1) {
while (buttonState5 == 0) {
delay(10);
}
delay(1000);
servo1.write(150);
servo2.write(150);
servo3.write(150);
servo4.write(150);
servo5.write(5);
servo6.write(150);
} else if (buttonState6 == 1) {
while (buttonState6 == 0) {
delay(10);
}
delay(1000);
servo1.write(150);
servo2.write(150);
servo3.write(150);
servo4.write(150);
servo5.write(150);
servo6.write(5);
}

if (buttonState1 == 1 || buttonState2 == 1 || buttonState3 == 1 || buttonState4 == 1 || buttonState5 == 1 || buttonState6 == 1){
Serial.print(“1”);
Serial.println();
}
}

// Arduino2

#include <Servo.h>
#include <FastLED.h>
#define NUM_LEDS 60
#define DATA_PIN 3 // the pin connected to the strip’s DIN
CRGB leds[NUM_LEDS];
//back button
int pushButton0 = 2;
//microphone sensor
int microphone;
int middle = NUM_LEDS/2;
int buttonState0;
//servo
Servo myservo;

#define NOTE_G4 392
#define NOTE_E4 330
#define NOTE_C4 262
// Notes in the melody:
int melody[] = {
NOTE_G4, NOTE_E4, NOTE_C4, NOTE_E4, NOTE_G4
};
// Note durations: 4 = quarter note, 8 = eighth note, etc.:
int noteDurations[] = {
8, 8, 8, 8, 2
};
int state1 = 1;
int state2 = 1;
bool playMelodyOnce = false; // Flag to play the melody once

void setup() {
Serial.begin(9600);
//LED strip
FastLED.addLeds<NEOPIXEL, DATA_PIN>(leds, NUM_LEDS);
//back button
pinMode(pushButton0, INPUT);
//servo
myservo.attach(9);
myservo.write(90);

}

void loop() {
if (state1 == 1){
state11();
}
if(state2 == 2){
state22();
}
//LED strip
fill_solid(leds, NUM_LEDS, CRGB::Black);
FastLED.show();
//back button
delay(1);
buttonState0 = digitalRead(2);
Serial.println(buttonState0);
//when the back button is pressed, the door opens
if (buttonState0 == 1) {
while (buttonState0 == 0) {
delay(10);
}
myservo.write(5);
}
}

void state11(){
// Read sensor values
int sensor0 = analogRead(A4);
int sensor1 = analogRead(A1);
microphone = analogRead(A5);

// Send values to Processing
Serial.print(state1);
Serial.print(“,”);
Serial.print(sensor0);
Serial.print(“,”); // Put a comma between sensor values
Serial.print(sensor1);
Serial.print(“,”);
Serial.print(state2);
Serial.print(“,”);
Serial.print(microphone);

Serial.println(); // Add linefeed after sending the last sensor value
// Delay to avoid communication latency
delay(100);
if (!playMelodyOnce && sensor0 >= 526 && sensor0 <= 536 && sensor1 >= 544 && sensor1 <= 556) {
playMelodyOnce = true; // Set the flag to play the melody once
playMelody();
state2 = 2;
}
}

void playMelody() {
// Iterate over the notes of the melody
for (int thisNote = 0; thisNote < 5; thisNote++) {
// Calculate the note duration
int noteDuration = 1000 / noteDurations[thisNote];
tone(8, melody[thisNote], noteDuration);
// Set a pause between notes
int pauseBetweenNotes = noteDuration * 1.30;
delay(pauseBetweenNotes);

// Stop the tone playing
noTone(8);
}
}

// Arduino3

#include <FastLED.h>
#define NUM_LEDS 60
#define DATA_PIN 3 // the pin connected to the strip’s DIN
CRGB leds[NUM_LEDS];
int middle = NUM_LEDS / 2;
int microphone;
bool ledState = false;
//int pushButton0 = 2;
//int buttonState0;

void setup() {
Serial.begin(9600);
FastLED.addLeds<NEOPIXEL, DATA_PIN>(leds, NUM_LEDS);
fill_solid(leds, NUM_LEDS, CRGB::Black);
FastLED.show();
// pinMode(pushButton0, INPUT);
}

void loop() {
// buttonState0 = digitalRead(2);
//Serial.println(buttonState0);
microphone = analogRead(A5);
Serial.println(microphone);

if (microphone >= 160 && ledState == false) {
lightUpLED();
ledState = true;
} else if (microphone >= 160 && ledState == true) {
lightUpLED();
} else if (microphone < 160 && ledState == true) {
lightUpLED();
}
}

void lightUpLED() {
ledState = true;
for (int i = 0; i <= middle; i = i + 1) {
leds[middle – i] = CRGB(241, 247, 75);
leds[middle + i] = CRGB(241, 247, 75);
FastLED.show();
delay(250);
}
fill_solid(leds, NUM_LEDS, CRGB::Black);
FastLED.show();
delay(300);
}

Midterm Project Documentation — Theatre of Shadows

  • PROJECT TITLE – YOUR NAME – YOUR INSTRUCTOR’S NAME

Project title: Theatre of Shadows

My name: Wanyu (Kitty) Chen

Instructor name: Inmi Lee

  • CONTEXT AND SIGNIFICANCE

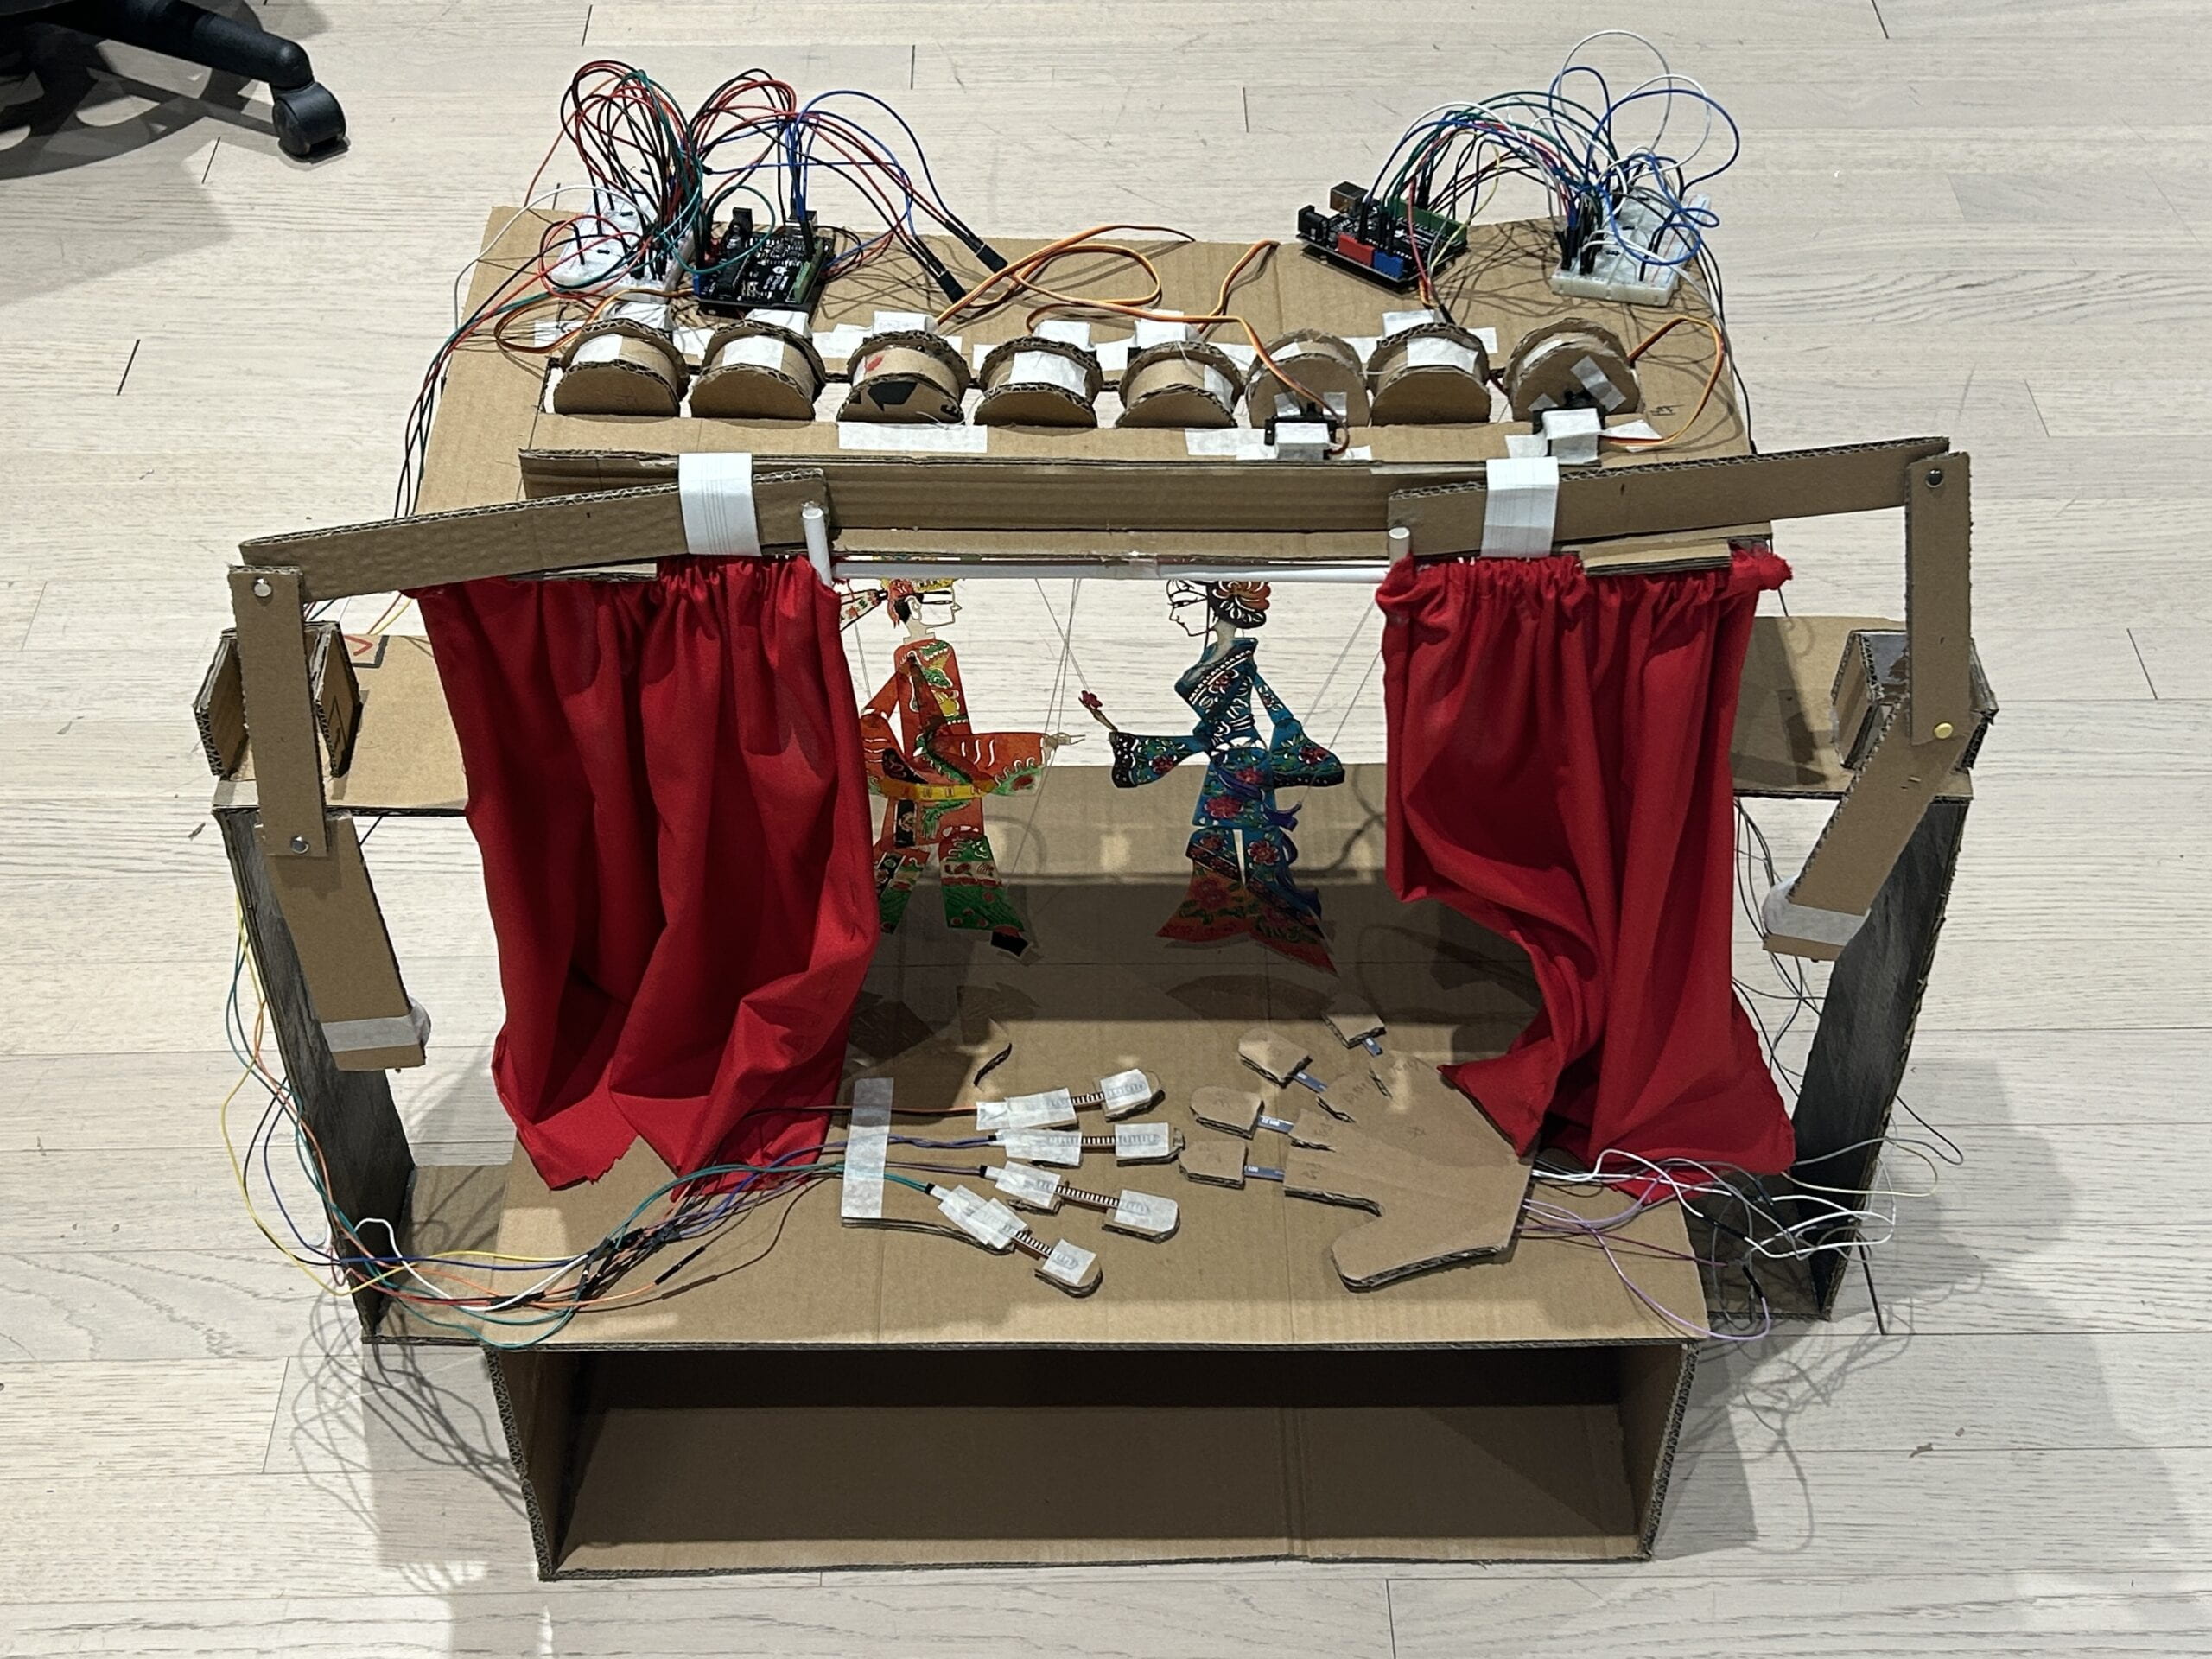
Our inspiration of this project comes from shadow plays, a kind of Chinese traditional performing art. In the traditional shadow plays, professional actors hide behind the screen and use wooden sticks to control the movement of the shadow puppets. This is usually not very approachable to our lives. Therefore, we decided to do a project to let people experience shadow plays by themselves. Some previous research and group projects inspired our midterm project. For instance, the sensor exploration in Recitation 3 inspired the choice of our sensors, and the mechanism in Recitation 5 inspired the curtain system of our project (will be mentioned in the “FABRICATION AND PRODUCTION” section). We also found a project similar to our idea: Quanzhou Puppet Interactive Robot by Chao Gao. It included a robotic arm, which could manipulate Quanzhou traditional puppets under human instructions, and realize the interaction between humans and robots. This example confirmed the feasibility of our idea and deepened our understanding of interaction. We agreed that interaction refers to the influence between two or more entities, where they engage with and affect each other. Interaction emphasizes action and reaction – this common understanding constantly reminded us that our projects should give users strong feedback. What makes our project unique was that it gave users a large degree of autonomy. Users could freely personalize the puppet’s posture, the color of the light, and the stories behind their shadow play. They could also experience performing shadow plays and appreciating shadow plays at the same time. The intended user of our project was everyone, no matter whether they have a deep understanding on shadow play or not. This project provided them with a new insight to this kind of Chinese traditional play as well as Chinese traditional culture.

  • CONCEPTION AND DESIGN

We hoped the users could interact with our projects in various ways: by pushing a slider they could open and close the curtains; by pressing a button they could change the color of the light; by moving their fingers they could move the puppets. Therefore, we designed a pair of gloves with flex sensors to read their finger movements (this also implied the users to wear gloves to interact). We placed the slider on the left-hand side, and posted “open” and “close” signs to remind users. We also placed the button just beside the slider, because this allowed users to discover it more intuitively. However, for the button, we did not post a sign to instruct users its functions, because we wanted the users to try it by themselves. Overall, we planned to build a stage. The criteria we used to select the materials were functional, accessible, and (if this material was used on the surface) good-looking. We built the structure out of cardboard because it is a plentiful, easy-to-divide material that has some stiffness. We used red cloth to decorate the surface because we wanted our project to have the feel of a traditional Chinese theater. We could have used cardboard painted with red color, but we felt that red cloth was better because its soft properties gave the project a sense of fluidity. At the same time, it could completely cover the messy wires. For the screen, we used translucent rice paper. Its translucent feature allowed the shadow of the puppet to be reflected on the screen when the light was illuminated from behind, while other debris could not be seen. We used colorful transparent plastic pieces to achieve the conversion of different colors of the light.

  • FABRICATION AND PRODUCTION

We basically did everything together, while I was responsible more for  coding and Emily was responsible more for  handwork. The production process of our project can mainly be divided into several steps: framing the stage, building the curtain system, the puppet system, and the light system. To frame the stage, we carefully decided the size of the whole project, and determined the size of each piece of cardboard. Then, we started cutting cardboard and stuck them together to form the structure of the stage.

After we framed the stage, we started to build the curtain system. To make the curtain move, we made it a track using paper straws. The idea of driving the curtains actually came from the mechanism in Recitation 5. In Recitation 5 we used two long cardboard strips to connect the rotating stepper motor and the object, and made the object move linearly. We planned to use stepper motors to linearly drive the curtains as well. Initially, we used the same mechanism as in Recitation 5. After many attempts, we found that the mechanism in recitation 5 could only move a short distance, which was not enough for the curtains to fully open. Then we discovered that the main things to realize the linear movement were the cardboard strips with rivets, not the cardboards on the sides. Therefore, we stuck a long cardboard strip (the first strip) on to a stepper motor, and used a rivet to connect it with another cardboard strips (the second strip), and finally used another rivet to connect the second strip with the third strip (which made sure the curtains stayed on their tracks). We did so on the other side of the curtain. In order to make the third cardboard strips drive the curtains, we tried cardboards and strings, and finally found that using paper straws to connect them was the best way. Then we wrote two separate codes for the two stepper motors, but in this case we found that the two sides of the curtain could not open at the same time (the left side opened first, and the right side opened next.) This was not the effect we wanted. Thus, we asked the professors for help. After a code that could make the stepper motors rotate in opposite directions simultaneously, we found that the curtain could opened effectively but could not be closed in the way we want. Ultimately, we decided to have both stepper motors execute the same code and rotate in the same direction, and have the left stepper motor face the back to ensure the curtains open to both sides at the same time. (The code will be mentioned later with the light system.)

Then, we came to the puppet system. We planned to connect the puppet with servos using strings, and made a pair of gloves with flex sensors which could control the servos and the puppets’ movements. Considering that the servo’s own rotation could not pull the strings significantly, we cut cardboards to make some wheels and stuck them onto the servo. In this way, a simple pulley structure was formed. When the servo rotated, the strings could be rolled up by the wheel, pulling the puppets’ limbs at the same time. Next, we hung the puppet using a small piece of string suspended from the puppet’s head. Then we fastened one end of a string to the wheel and the other end to the puppet’s limbs. After that we connected the circuit and simulated reading the flex sensor to roughly write the code. According to the puppet’s movements, we gradually adjusted the length of the string and the specific values in the code.


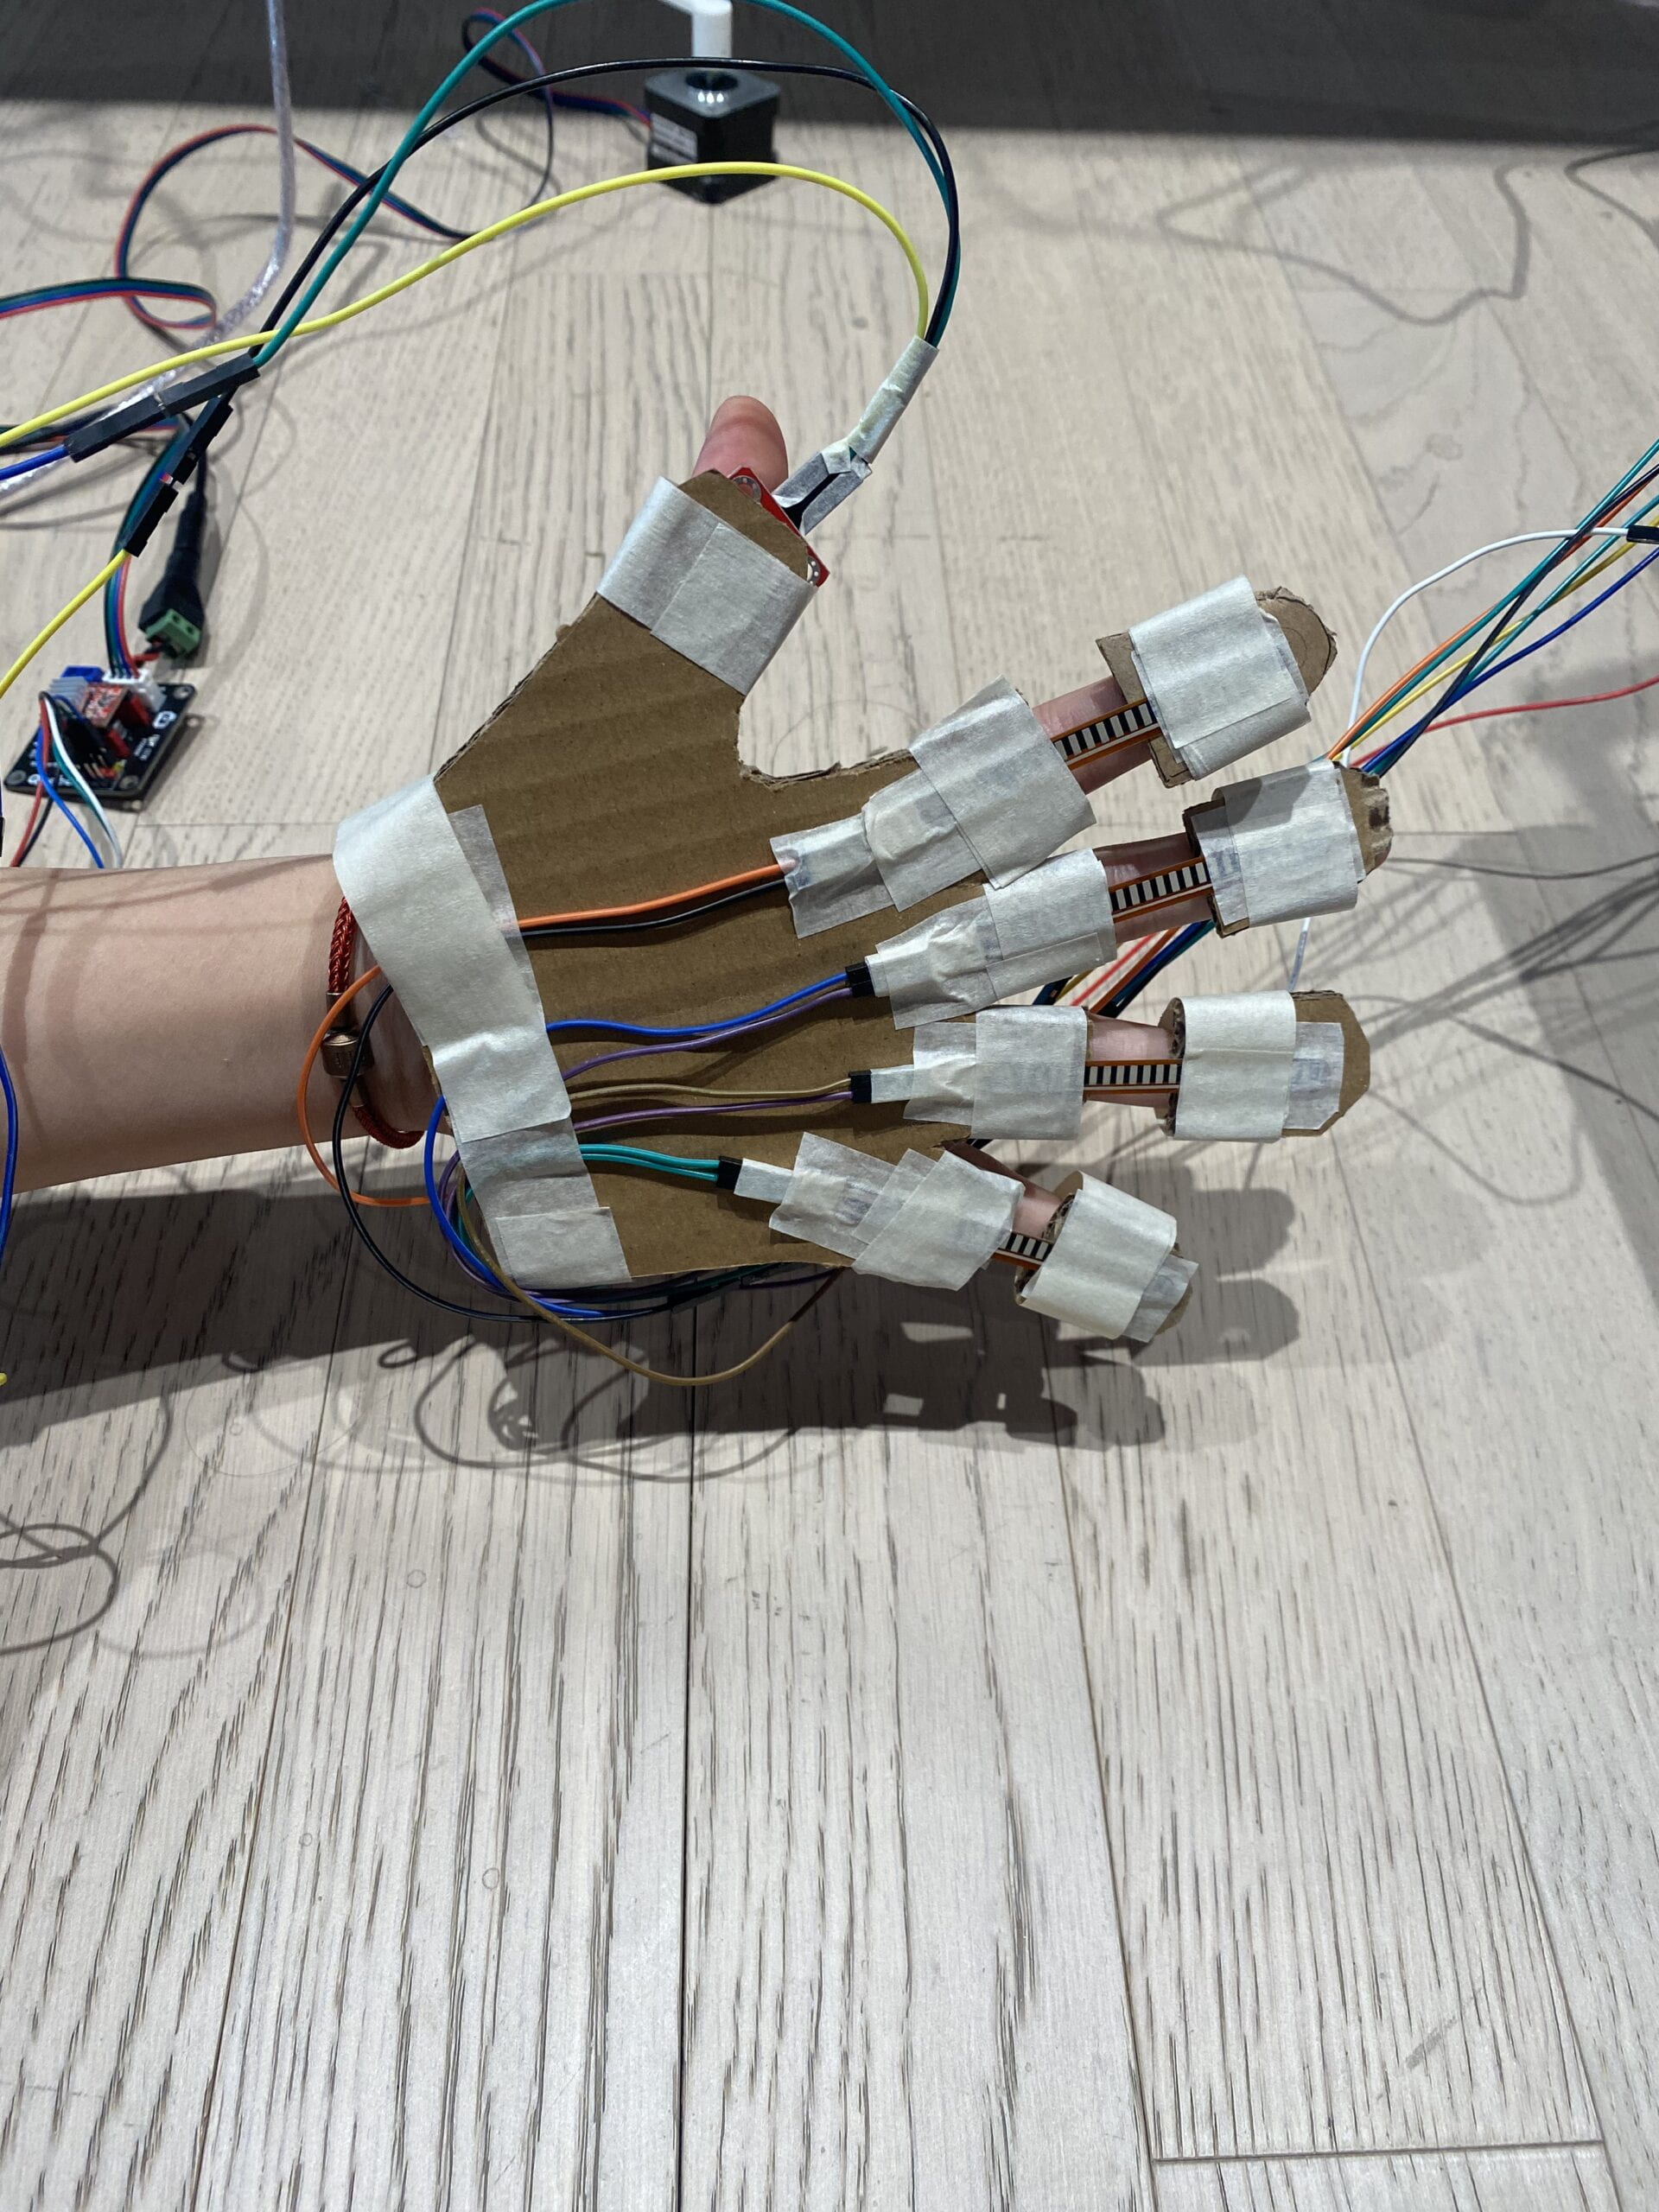
As for the gloves, we cut cardboard into the shape of a hand, with the fingertips separated from the palm and connected by bend sensors. In this way, when the users bent their finger, the flex sensor value would change. We also pasted a touch sensor that controlled the curtain to the inside of the gloves, which created the effect of opening the curtain as soon as the user puts on the glove.

// code for the male puppet

#include <Servo.h>

Servo servo1;
Servo servo2;
Servo servo3;
Servo servo4;
int val1;
int val2;
int val3;
int val4;

void setup() {
  servo1.attach(9);
  servo2.attach(10);
  servo3.attach(11);
  servo4.attach(12);
  Serial.begin(9600);
}
void loop() {
val1 = analogRead(A0);
  delay(10);
  val1 = map(val1, 50, 100, 0, 180);
  val1 = constrain(val1, 0, 180);
  servo1.write(val1);
  Serial.println(val1);
val2 = analogRead(A1);
  delay(10);
  val2 = map(val2, 170, 230, 0, 90);
  val2 = constrain(val2, 0, 90);
  servo2.write(val2);
  Serial.println(val2);
val3 = analogRead(A2);
  delay(10);
  val3 = map(val3, 30, 40, 0, 90);
  val3 = constrain(val3, 0, 90);
  servo3.write(val3);
  Serial.println(val3);
val4 = analogRead(A3);
  delay(10);
  val4 = map(val4, 130, 190, 0, 180);
  val4 = constrain(val4, 0, 180);
  servo4.write(val4);
  Serial.println(val4);
}

// code for the female puppet

#include <Servo.h>

Servo servo1;

Servo servo2;

Servo servo3;

Servo servo4;

int val1;

int val2;

int val3;

int val4;


void setup() {

  servo1.attach(9);

  servo2.attach(10);

  servo3.attach(11);

  servo4.attach(12);

  Serial.begin(9600);

}
 

void loop() {

val1 = analogRead(A0);

  delay(10);

  val1 = map(val1, 170, 300, 0, 180);

  val1 = constrain(val1, 0, 180);

  servo1.write(val1);

  Serial.println(val1);

val2 = analogRead(A1);

  delay(10);

  val2 = map(val2, 270, 310, 0, 180);

  val2 = constrain(val2, 0, 180);

  servo2.write(val2);

  Serial.println(val2);

val3 = analogRead(A2);

  delay(10);

  val3 = map(val3, 230, 290 , 0, 180);

  val3 = constrain(val3, 0, 180);

  servo3.write(val3);

  Serial.println(val3);

val4 = analogRead(A3);

  delay(10);

  val4 = map(val4, 260, 300, 0, 180);

  val4 = constrain(val4, 0, 180);

  servo4.write(val4);

  Serial.println(val4);

}
Finally, we built the light system. We cut some colorful transparent plastic sheets into pieces, and pasted them overlappingly onto a stepper motor. Thus, the three colors (red, yellow, and blue) could create a colorful effect. We set the stepper motor under the stage to ensure that the light can pass through these colorful plastic pieces. Then, we connected the circuit and wrote a code for the stepper motor to rotate 90 degrees when the button is pressed. Then, we attached the screen and adjust it. Last but not least, we checked the connection of all circuits once again, and organized the wires. We taped red cloth to the surface as decoration (and to cover up the wires). 

// based on ConstantSpeed example
// stepper 1 controls the light
// stepper 2 and stepper 3 control the curtain

#include <AccelStepper.h>

// Stepper motor 1
int DIR_PIN1 = 2;
int STEP_PIN1 = 3;
int EN_PIN1 = 4;
int val1; //big button
int pos;
AccelStepper stepper1(AccelStepper::DRIVER, STEP_PIN1, DIR_PIN1);

// Stepper motor 2 (left)
int DIR_PIN2 = 8;
int STEP_PIN2 = 9;
int EN_PIN2 = 10;
AccelStepper stepper2(AccelStepper::DRIVER, STEP_PIN2, DIR_PIN2);
 

void setup() {
  Serial.begin(9600);

  // Stepper motor 1
  pinMode(EN_PIN1, OUTPUT);
  digitalWrite(EN_PIN1, LOW);
  stepper1.setMaxSpeed(10000);
  stepper1.setAcceleration(5000);
  // Stepper Motor 2
  pinMode(EN_PIN2, OUTPUT);
  digitalWrite(EN_PIN2, LOW);
  stepper2.setMaxSpeed(1000);
  stepper2.setAcceleration(5000);
}
void loop() {
  // read the big button
  val1 = digitalRead(7);
 Serial.println(val1);
 // Stepper Motor 1
  if (val1 == 1) {
    pos+=50;
stepper1.runToNewPosition(pos);
delay(10);
  }
int val2 = analogRead(A0);
Serial.println(val2);
  // Stepper Motor 2 & 3
if (0< val2 && val2 < 400) {
   stepper2.runToNewPosition(800);
  } else {
   stepper2.runToNewPosition(0);
 }
}

During the user testing session, users found difficulties in moving and bending their fingers in cardboard gloves. The flex sensors under the gloves were not sensitive enough to make the puppets move freely; but the touch sensors in the gloves were so sensitive that they kept making the curtains open and closed. Also, the users tended to press the big red button for light changing at first because it was so obvious that they thought it was an “on” button. In order to deal with these problems, we changed our cardboard gloves into real fabric gloves, and placed the flex sensors on the gloves. In this way, the elasticity of the fabric allowed everyone to put on the gloves properly, and the flex sensors were bent to a greater extent, allowing for larger readings, making the movement of the puppet more obvious. We replaced the touch sensors with a slider, which made the curtains more stable. In addition, we changed the big red button into a small white one and placed it next to the slider, making it less noticeable and misleading. In general, I think the adaptions were quite effective. The gloves and the curtains functioned well, and the users tended to notice the button after they opened the curtain.

The goal of our project is to let the users experience shadow play freely, and the production choices contributed to reaching our goal. The opening of the curtains on the stage (as a sign of starting shadow play) gave users the immersive feeling of a theater. The changing colors of the lights add diversity and dramatic atmosphere to the experience. The fabric gloves allow users to comfortably move their fingers and freely control the puppets.

  • CONCLUSIONS

The goal of our project was to let everybody experience shadow plays freely, and make Chinese traditional shadow plays approachable to our lives. I think the project generally align with our definition of interaction. We provided users with feedbacks like the opening and closing of the curtains, the changing of lights, and the movements of the puppets. Ultimately, the users interacted with our projects by pushing the slider to open the curtains, exploring the colors of the lights, moving their fingers to control the puppet, trying to figure out which finger controls which puppet’s limb and creating some stories. However, there were aspects that were not fully align with our definition of interaction — sometimes the feedback may create confusion and affect the engagement. For example, the puppets may jitter due to unstable readings. If we had more time, we will improve our project by making the puppets’ movements more stable and adjusting the curtain system to make it open wider and close more smoothly. We will also play some music to create an immersive atmosphere as well as covering the noise of the servos. In addition, we will draw a guide about some common puppet poses in shadow plays, and add a buzzer which can play a short piece of celebratory music after the user successfully moves the puppet into those poses. These improvements can make our project more entertaining and interactive. We learned a lot from the failures and accomplishments of this project. We encountered countless setbacks when we were doing this project. Technically, we learned that it is always a right decision to check the connection of the circuits when it does not work; and solving problems requires constant attempts. In mentality, don’t despair immediately when encountering a major difficulty, because one never knows how many such difficulties will be waiting in the future. After repeated failures, our mind states became calmer and we gained more courage to solve all the difficulties. From our accomplishments, we have become more proficient in skills such as coding, connecting circuits, cutting cardboard and so on. We also found that a project needs continuous improvement to achieve its goals, and it is meaningful to persevere in a right direction. 

videos:


  • DISASSEMBLY

  • APPENDIX

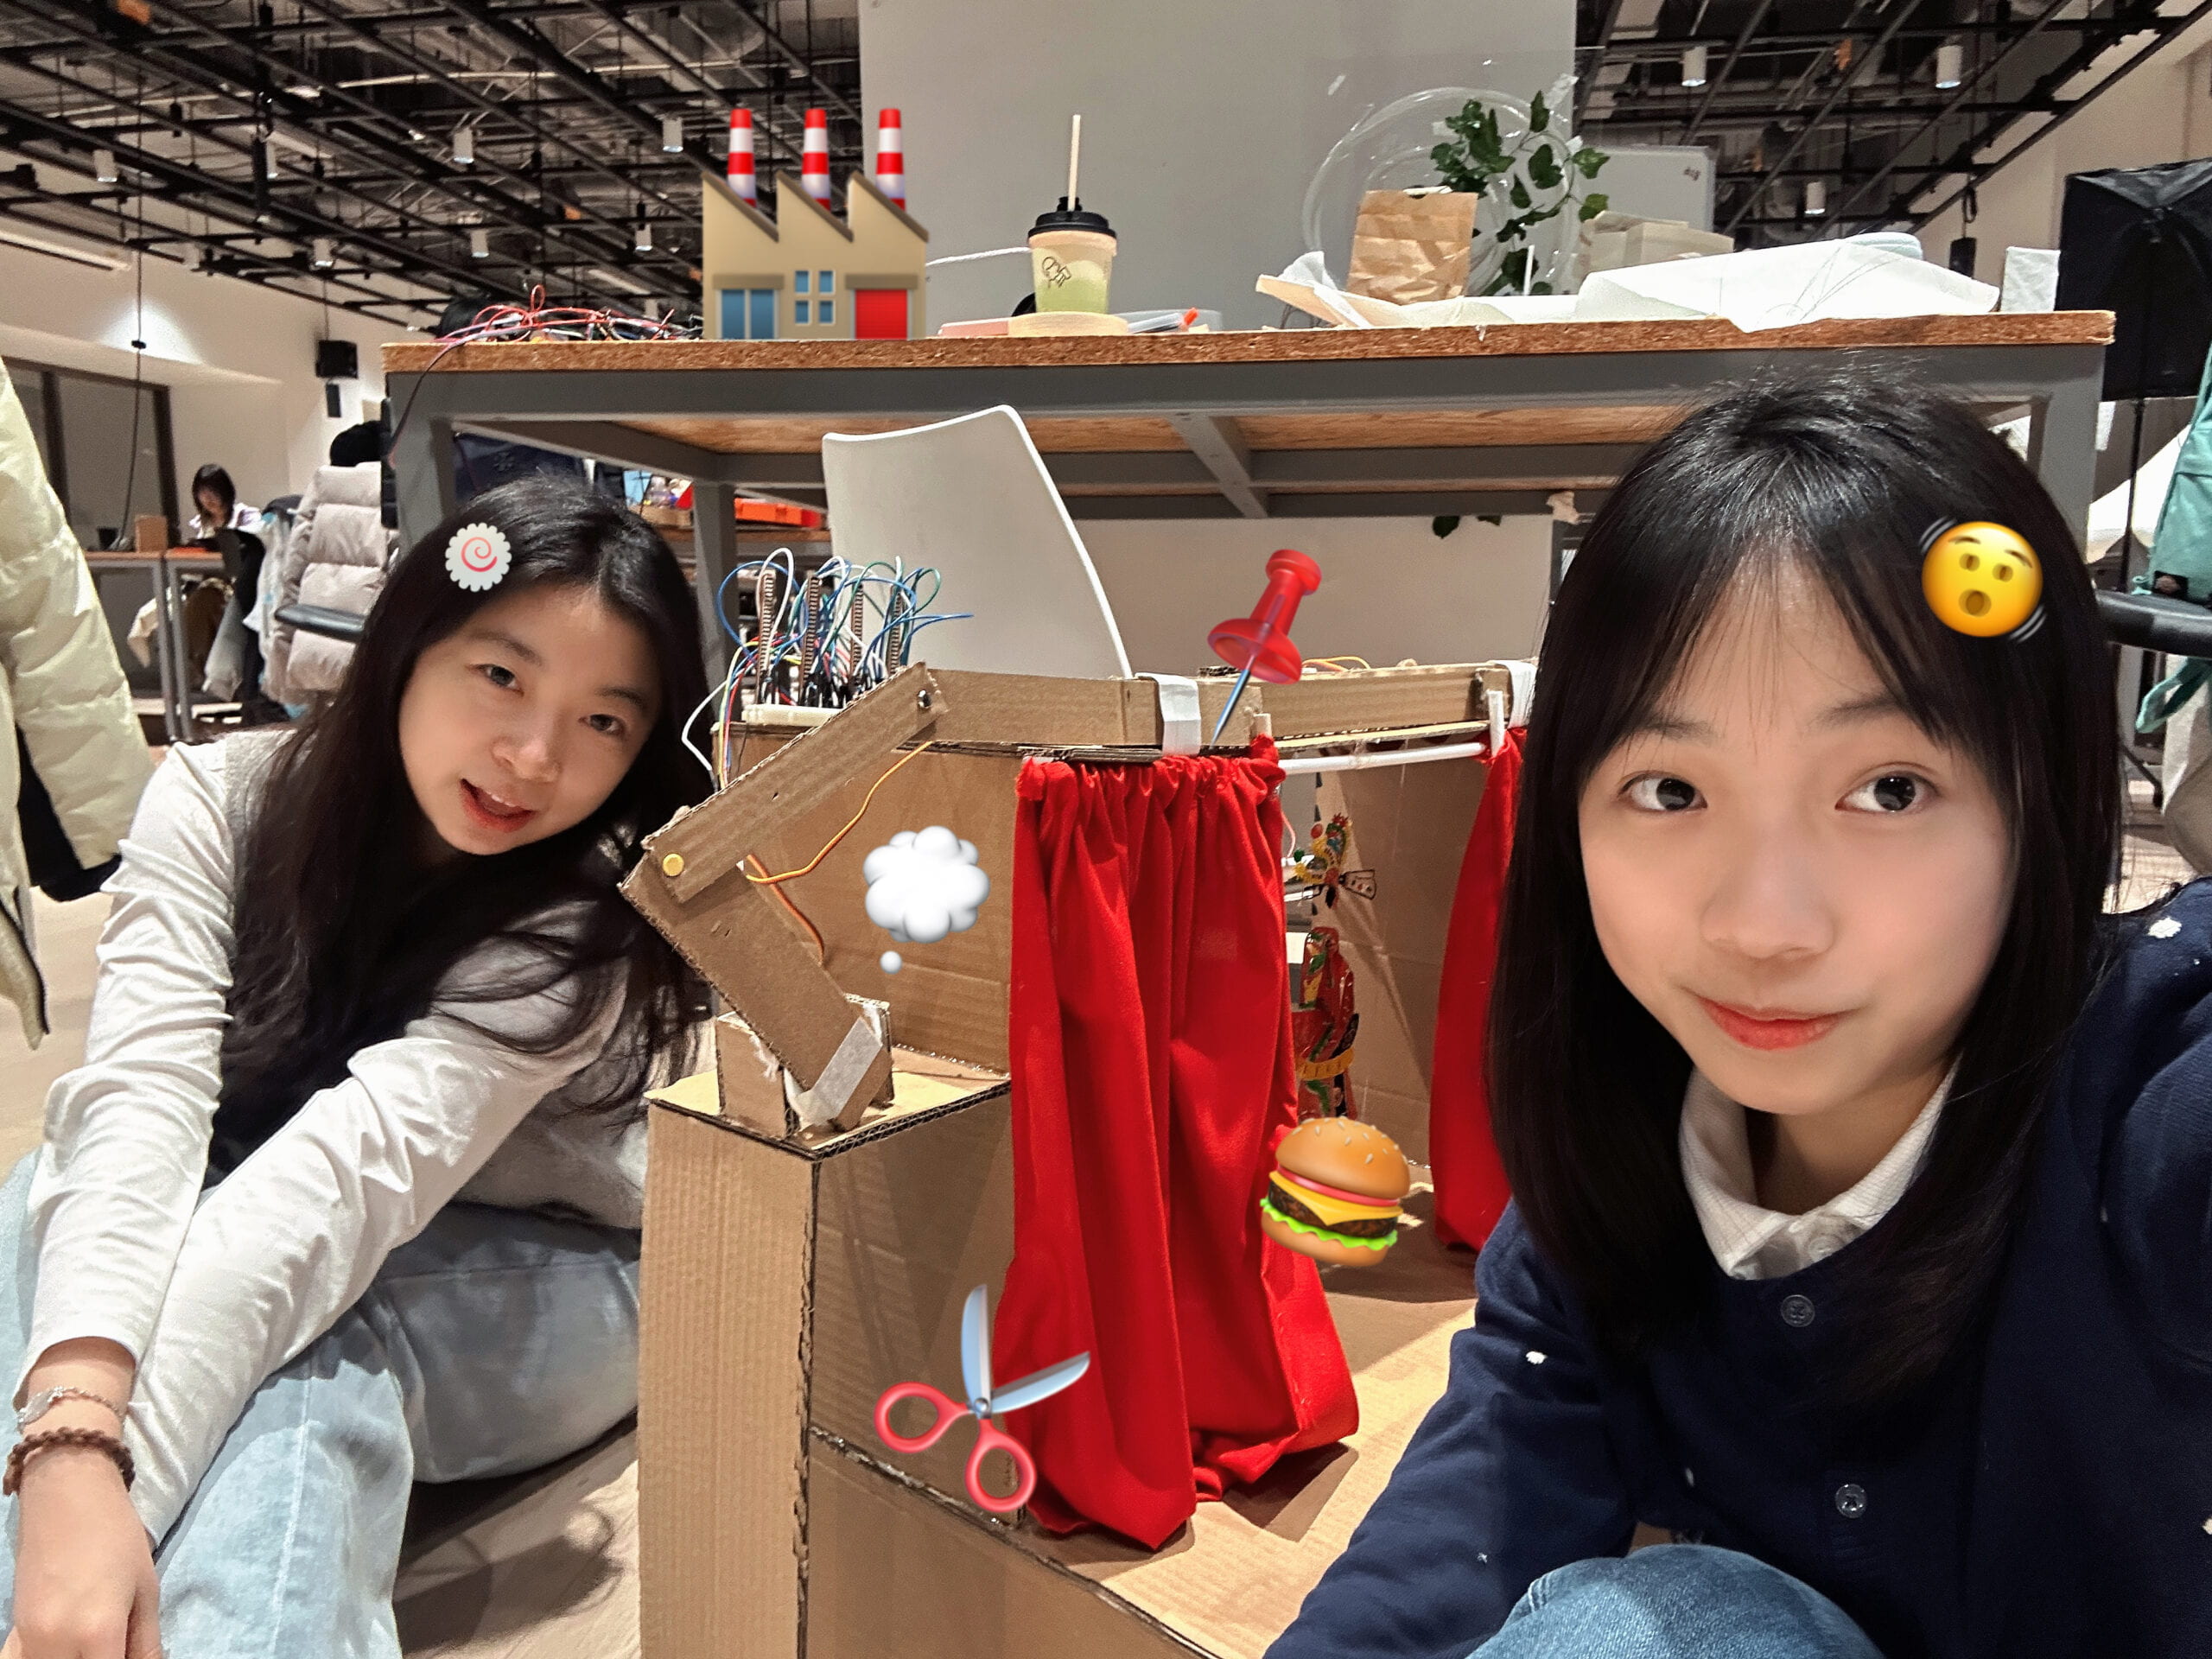
Last but not least, I would like to express my most sincere thanks to Professor Inmi, Professor Andy, Professor Gottfried, and Professor Rodolfo for their great help. Many thanks for the LAs and fellows in Interaction Lab for their support. A special thanks to Emily for being the best and most supportive partner, who encouraged me and helped me for countless times. I am also grateful for our friends who stayed with us over night, Chenhan, Jenny and Ariel; and everyone who helped and encouraged us.


Visual Metaphor Documentation

The concept of our project is about our original sins. The development of human civilization must be accompanied by sins, but this natural sin is ignored by people in modern society because it is the basis of our daily life. From a child’s perspective, these sins are also blessings that accompany him to grow up. The mutual conversion of sin and blessing runs through people’s growth. The story is about a middle-aged man who reflected his life and found that living is a kind of sin, so he tried to atone his sin. The inspiration and ideation process of this project is quite complicated. At first, I would like to make a detective or criminal video, while Silas would also like to create something deep that reflects the society or our lives. Therefore, we combined the two ideas together and came across the idea of sin and atoning for sin. To show the concept of sin, we set up three scenarios, which were killing for food, going against nature, and creating rules to judge. As for the part of atoning for sin, we use the incenses for worshiping Buddha and the candles on the birthday cake as visual metaphors. We chose this topic because we wanted to explore the different meanings of our lives and offer a unique perspective.

Although we did not completely refer to the storyboard when we are shooting, the storyboard gave us a basic idea and allowed us to complete the project in a more organized manner. We are grateful that Silas’s friend and Professor Ian’s little son can be our actors. In order to shoot the scenes, we went to temples, fish shops, markets, restaurants and so on. We used a tripod to stabilize the image and used a mobile phone flashlight to supplement the lighting when needed. There are Buddhist elements in this video, so we sourced the sound of ringing bells as the background music. The biggest challenge was the incense. We initially wanted to shoot the scene of the incense gradually burning out in the temple. However, when we got to the temple, we found that there was no place to put incense. Therefore, we changed our plan and completed these scenes in a relatively dark outdoor environment. As for the editing & post-production process, we used dissolve effect and introduced juxtaposition in some scenes. We carefully adjust each scene about the incenses and candles so that they aligned and the audience can feel their connection.

In this project, Silas and I did the filming together. I edited the video scenes, and Silas edited the voice-over and the background music for the video. I am very thankful to Silas for working together with me, tolerating our differences and offering unique ideas. Our differing styles—my preference for cheerful works and his preference for slow-paced, deep-thinking works—led to some disagreements. However, this diversity has also given me a more inclusive mindset and more mature thinking. This was also my first time trying this style of video and stepped out of my comfort zone. The project turned out to combine his style with the editing and color tones I like.

In our project, we mainly introduced medium shot. We usually kept the camera still to capture changes in objects, while sometimes we use different camera angles to capture the same movement, such as the scene of worshiping the Buddha. We also introduce stop motion animations to capture movements. We made some scenes featuring a centered subject for a symmetrical look. In order to reflect a mysterious and pious feeling, we adjusted the scenes mainly to yellow and brown tones, and added noise. It involved using filters and manually adjusting contrast, color temperature, sharpening and other parameters. The video’s theme is relatively heavy with a slow pace. To match the theme, the narrator’s voice is quite deep, sharing a heavy and reflective feeling the audience.


Memory Soundscape Documentation

The memory I have chosen for the project was about hanging out randomly with my Grandma when I was in a young age. We visited the market, play swings and caught fishes together. The sound of water, steps and wind are the actual sounds in the memory. I wanted to not only share these actual sounds, but also share a feeling of joy and relax. Therefore, I intended to record some bright and crisp sounds to composite my soundscape.

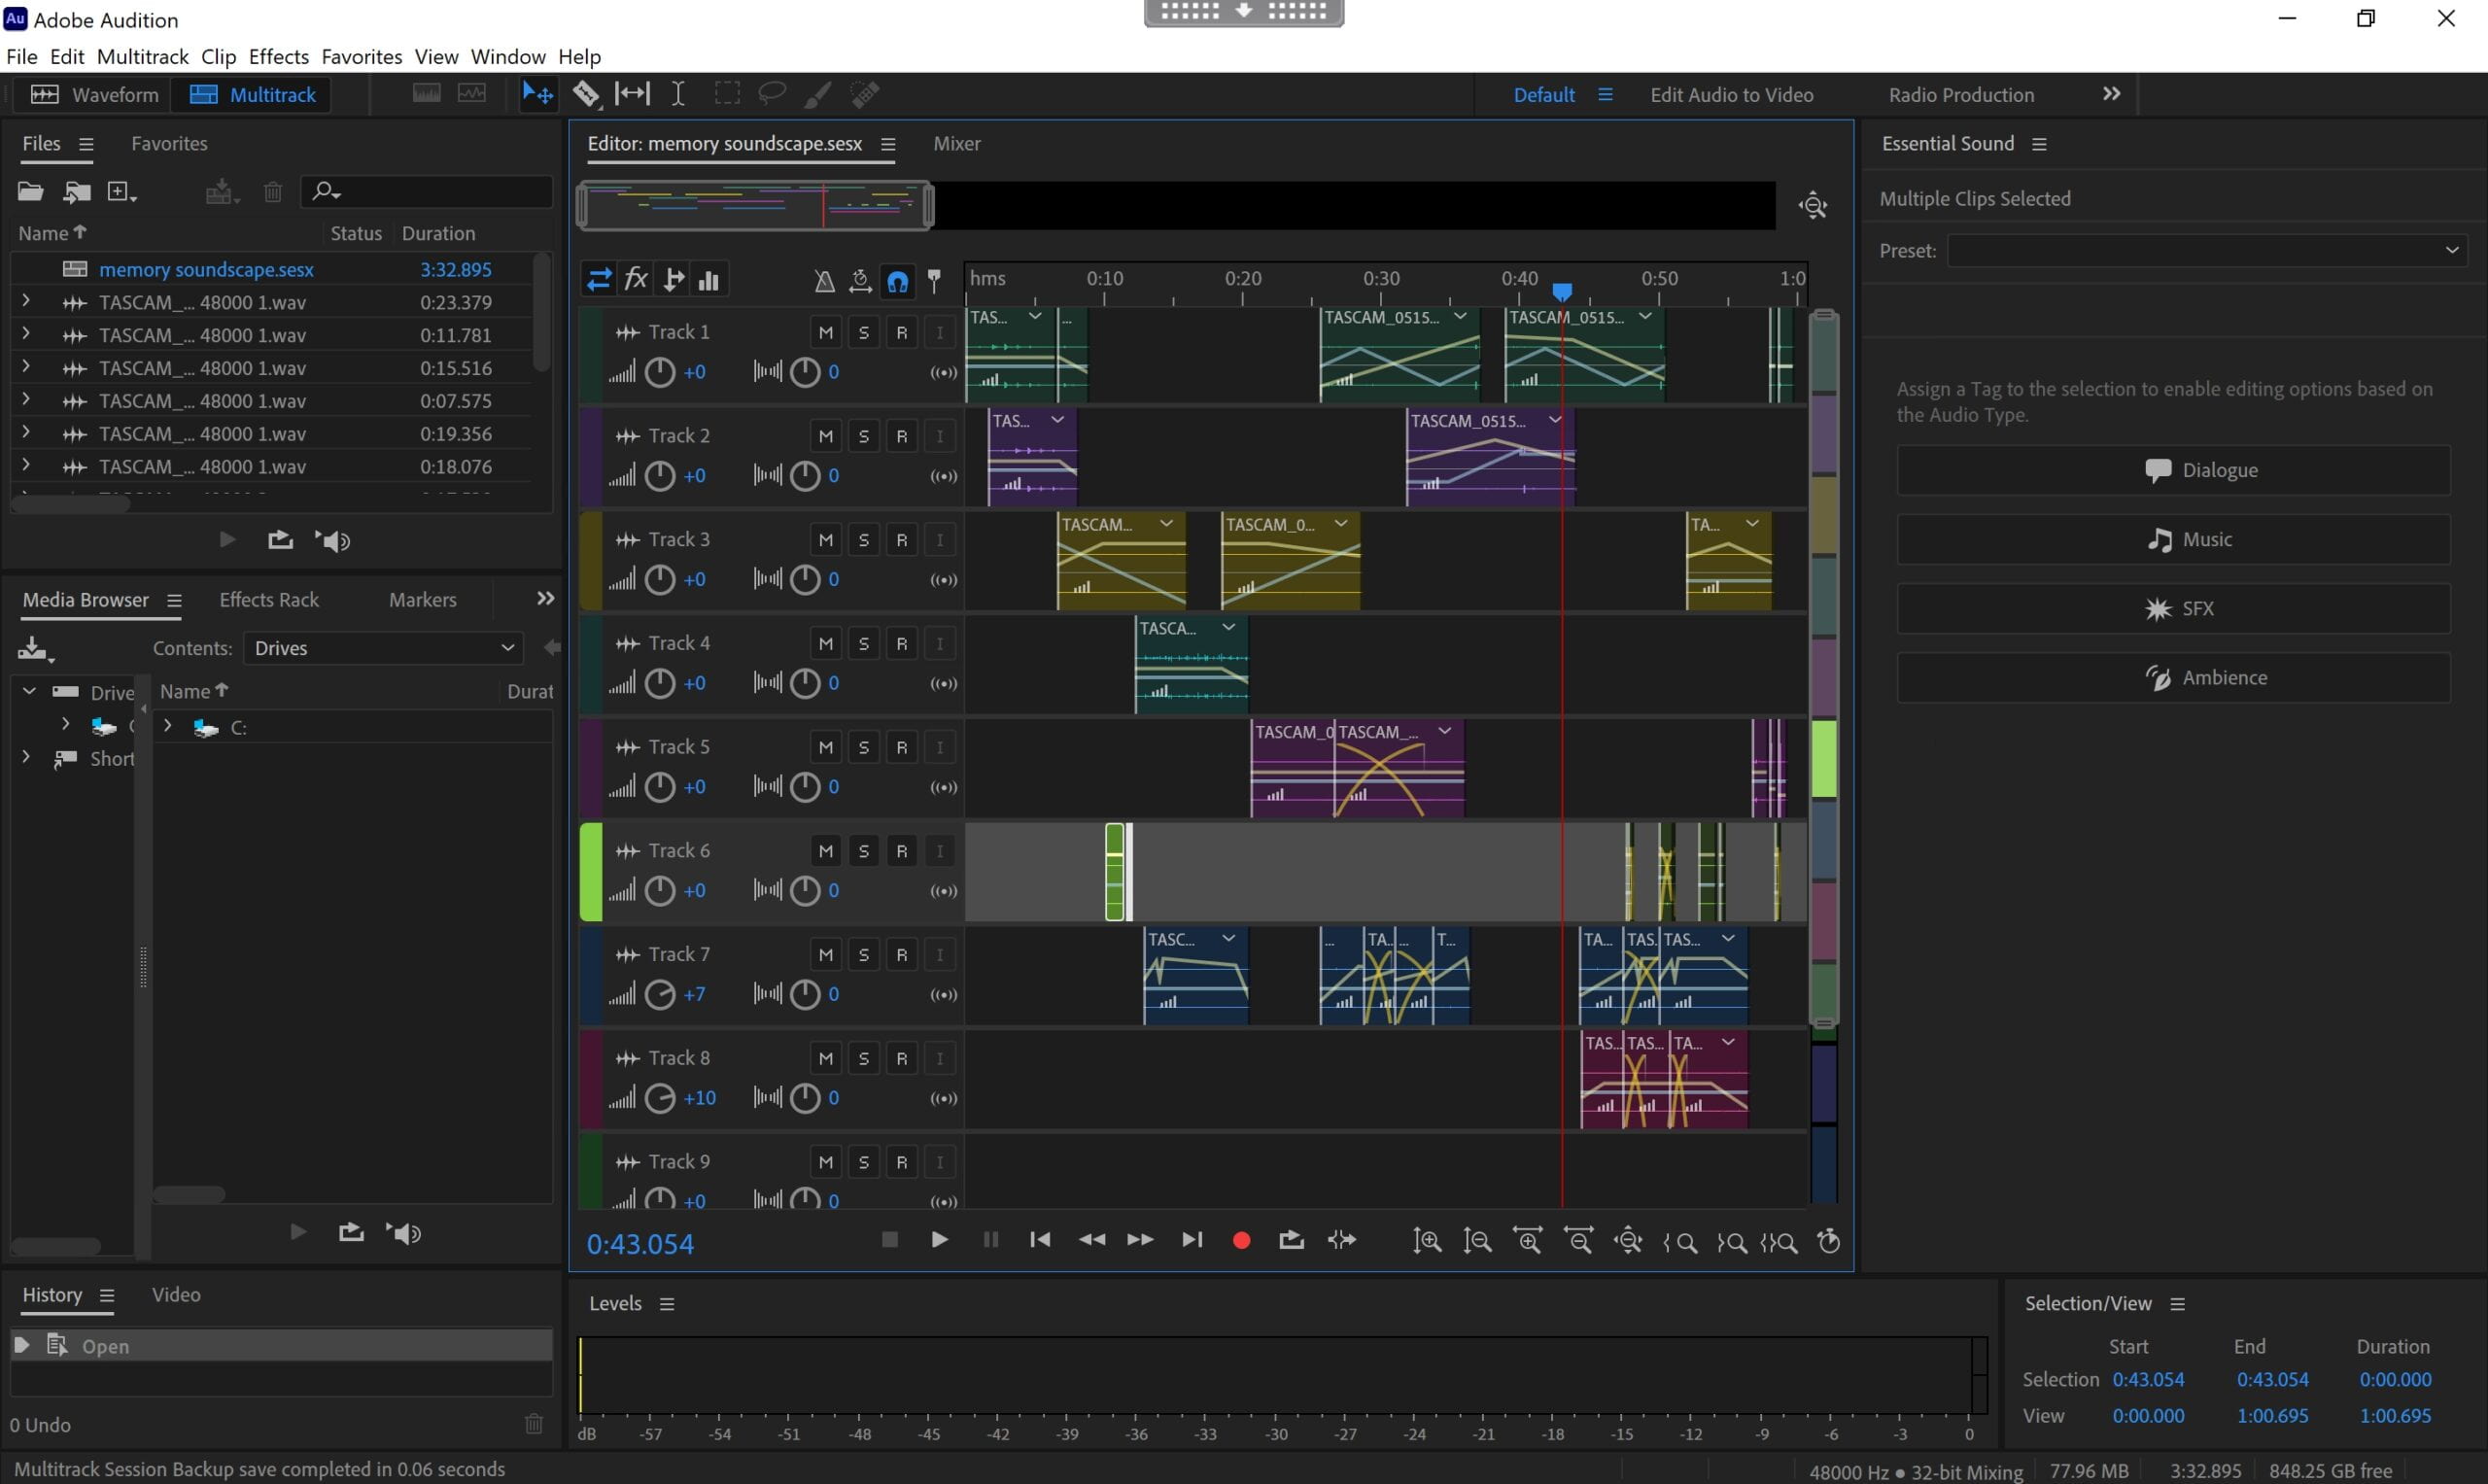
The sounds I have used for my projects are sounds of water, piano, wind chimes, steps, door, switch, pen, wind and so on. I used the echo techniques on the piano sounds and wind chimes sounds, and the delay and reverb techniques for the water sound. By using these techniques, I wanted to create a dreamy and distant feeling.

Initially, I edited the soundscape in chronological order as the walking took place. But I found that the connection between different parts was not very coherent when I edited this way. The whole soundscape was like a journal. Then I discovered that I needed to simulate the feeling of this memory, rather than editing the exact sound effect of this memory. Therefore, in order to make the soundscape more integrated, I took the sound of water as a main element and made the sound of water appear throughout the sound. Also, I added more layers to my audio to make the sound more complicated. For example, I also added short duration sounds into long duration sounds to make a contrast. Moreover, I tried to adjust the balance and the volume of each sound to make a sense of space. From editing, I learned that although the  project came from inspirations in real life, it should be the refinement and beautification of life.

If I had more time, I would pay more attention to the balance between left and right ears, because I think changes in the direction of sound was not as clear as I expected at the presentation day. Also, some classmates thought that my soundscape mainly focused on water, so I think I can add more various water sounds to improve richness.

Watching Response — The Five Obstructions

The Rules of each Obstructions:

For Obstruction#1, no single edit may be longer than 12 frames. The actors should answer the questions in the film. The film would be shoot in Cuba. The scenery was not set. For Obstruction#2, the film would be shoot in a most miserable place. Jorgen should go close to a few really narrowing things that he refrained from filming. Jorgen would be the actor in the film. The meal should be filmed. For Obtruction#3, there was no rule. Jorgen had complete freedom. For Obtruction#4, the film needed to be a cartoon. For Obstruction#5, Jorgen would do nothing at all apart from being credited as the director and reading a script.

How does Jorgen cope with the obstructions?

For Obstruction#1, Jorgen repeated the same actions of the actor to meet the twelve-frame scene. For Obstruction#2, Jorgen used Bombay people as background and he himself acted as “the perfect human”, which broke the rules. For Obstruction#3, Jorgen invited actors and actress, and shoot two storyboards to tell the story. For Obstruction#4, in the cartoon, Jorgen mainly uses color blocks and lines with different light and dark colors to depict characters. He portrayed characters by showing the representative actions and shots in “The Perfect Human”. For Obstruction#5, Jorgen edited the behind-the-scenes footage from previous shoots, read the scripts and dubbed them.

The Effect on the Movies:

For Obstruction#1, the repeating made a feeling of lag, which has an artistic effect and can deepen the audience’s understanding of details. For Obstruction#2, The crowd in the background has a chaotic feeling, which contrasts with the delicate and quiet feeling of Jorgen when he was having meals. For Obstruction#3, the two storyboards complemented each other and allowed the audience to understand the story more comprehensively. For Obstrction#4, the light and dark contrast of colors and changes in lines give the audience visual impact and make the audience feel very novel. For Obstruction#5, the behind-the-scenes footage gave out a relaxed and everyday feeling. The black and white scenes made the audience more focus on the scripts and the feelings, making them think and image.

Other thoughts:

I personally like how this movie combines documentary with Jorgen’s films and “The Perfect Human” film. Especially in the documentary part, the camera shook unsteadily, giving people an immersive feeling. The films Jorgen shoot were originated from the “The Perfect Human” but had different innovations. This gave the original film new understandings and interpretations.

Reading Response — The Uncertainty of Documentarism

Steyerl meant that the uncertainty caused by documentary truth becomes increasingly intense. Documentary form has huge emotional potentials and gives out strong feelings. In this way, the documentary function of documentary forms has been weakened, and the ability to convey emotions has been strengthened. Therefore, documentary forms can create false intimacy and false presence. The truth informs fiction by providing inspirations. Some of the plots come from true stories in real life. The fiction can show part of the truth because it is originated from the truth. It might also cover the truth if people blindly believe without discerning.

In my opinion, the significance of the authenticity and representation of the truth in the media depends on what I am consuming. If I watch news, the truth is definitely important because it helps me know what happens around the world and gain different perspectives of thoughts. But if I am watching video clips or TV series or movies, then the authenticity of truth is not that important. They come from our real lives but do not have to be completely true because they are just for entertaining. Live broadcast is a way to let the audience see what is happening in real time. Formal live broadcasts like news can show the audience what is truly happening, while some entertaining live broadcasts can be performed and may not be true.

Photo Diptych — The Other Side

Wanyu Chen (Kitty) 

The Other Side

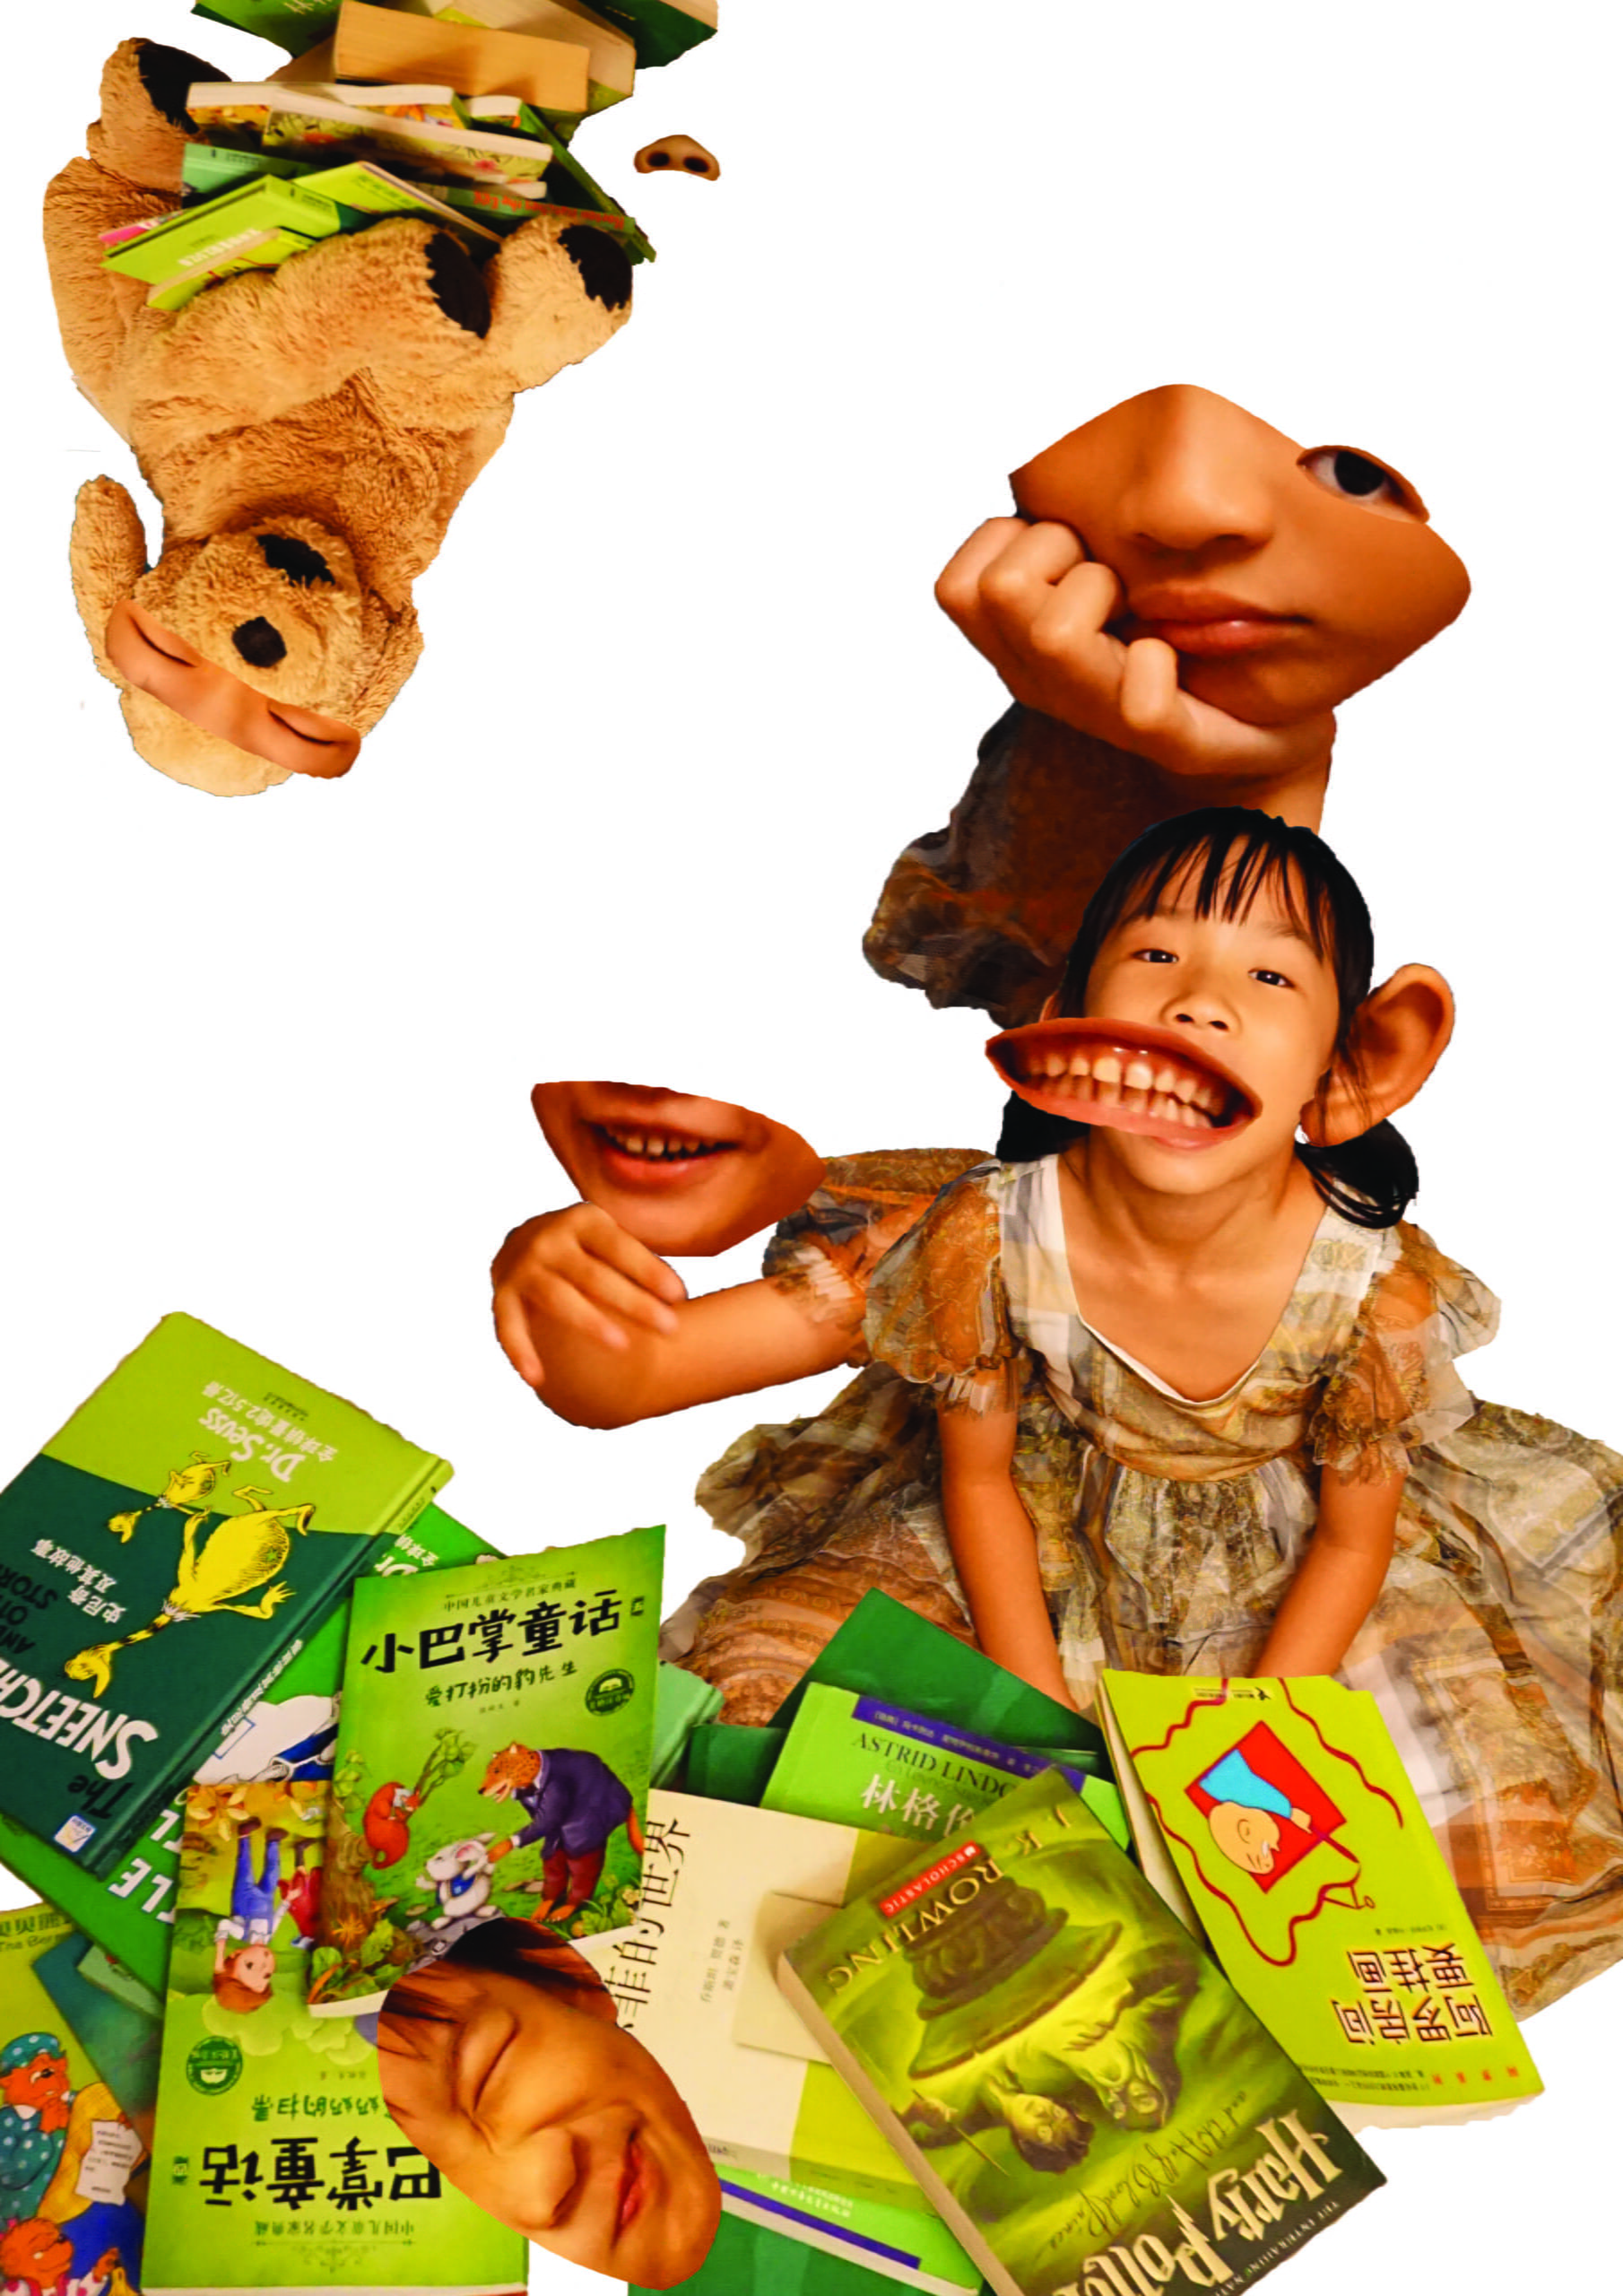
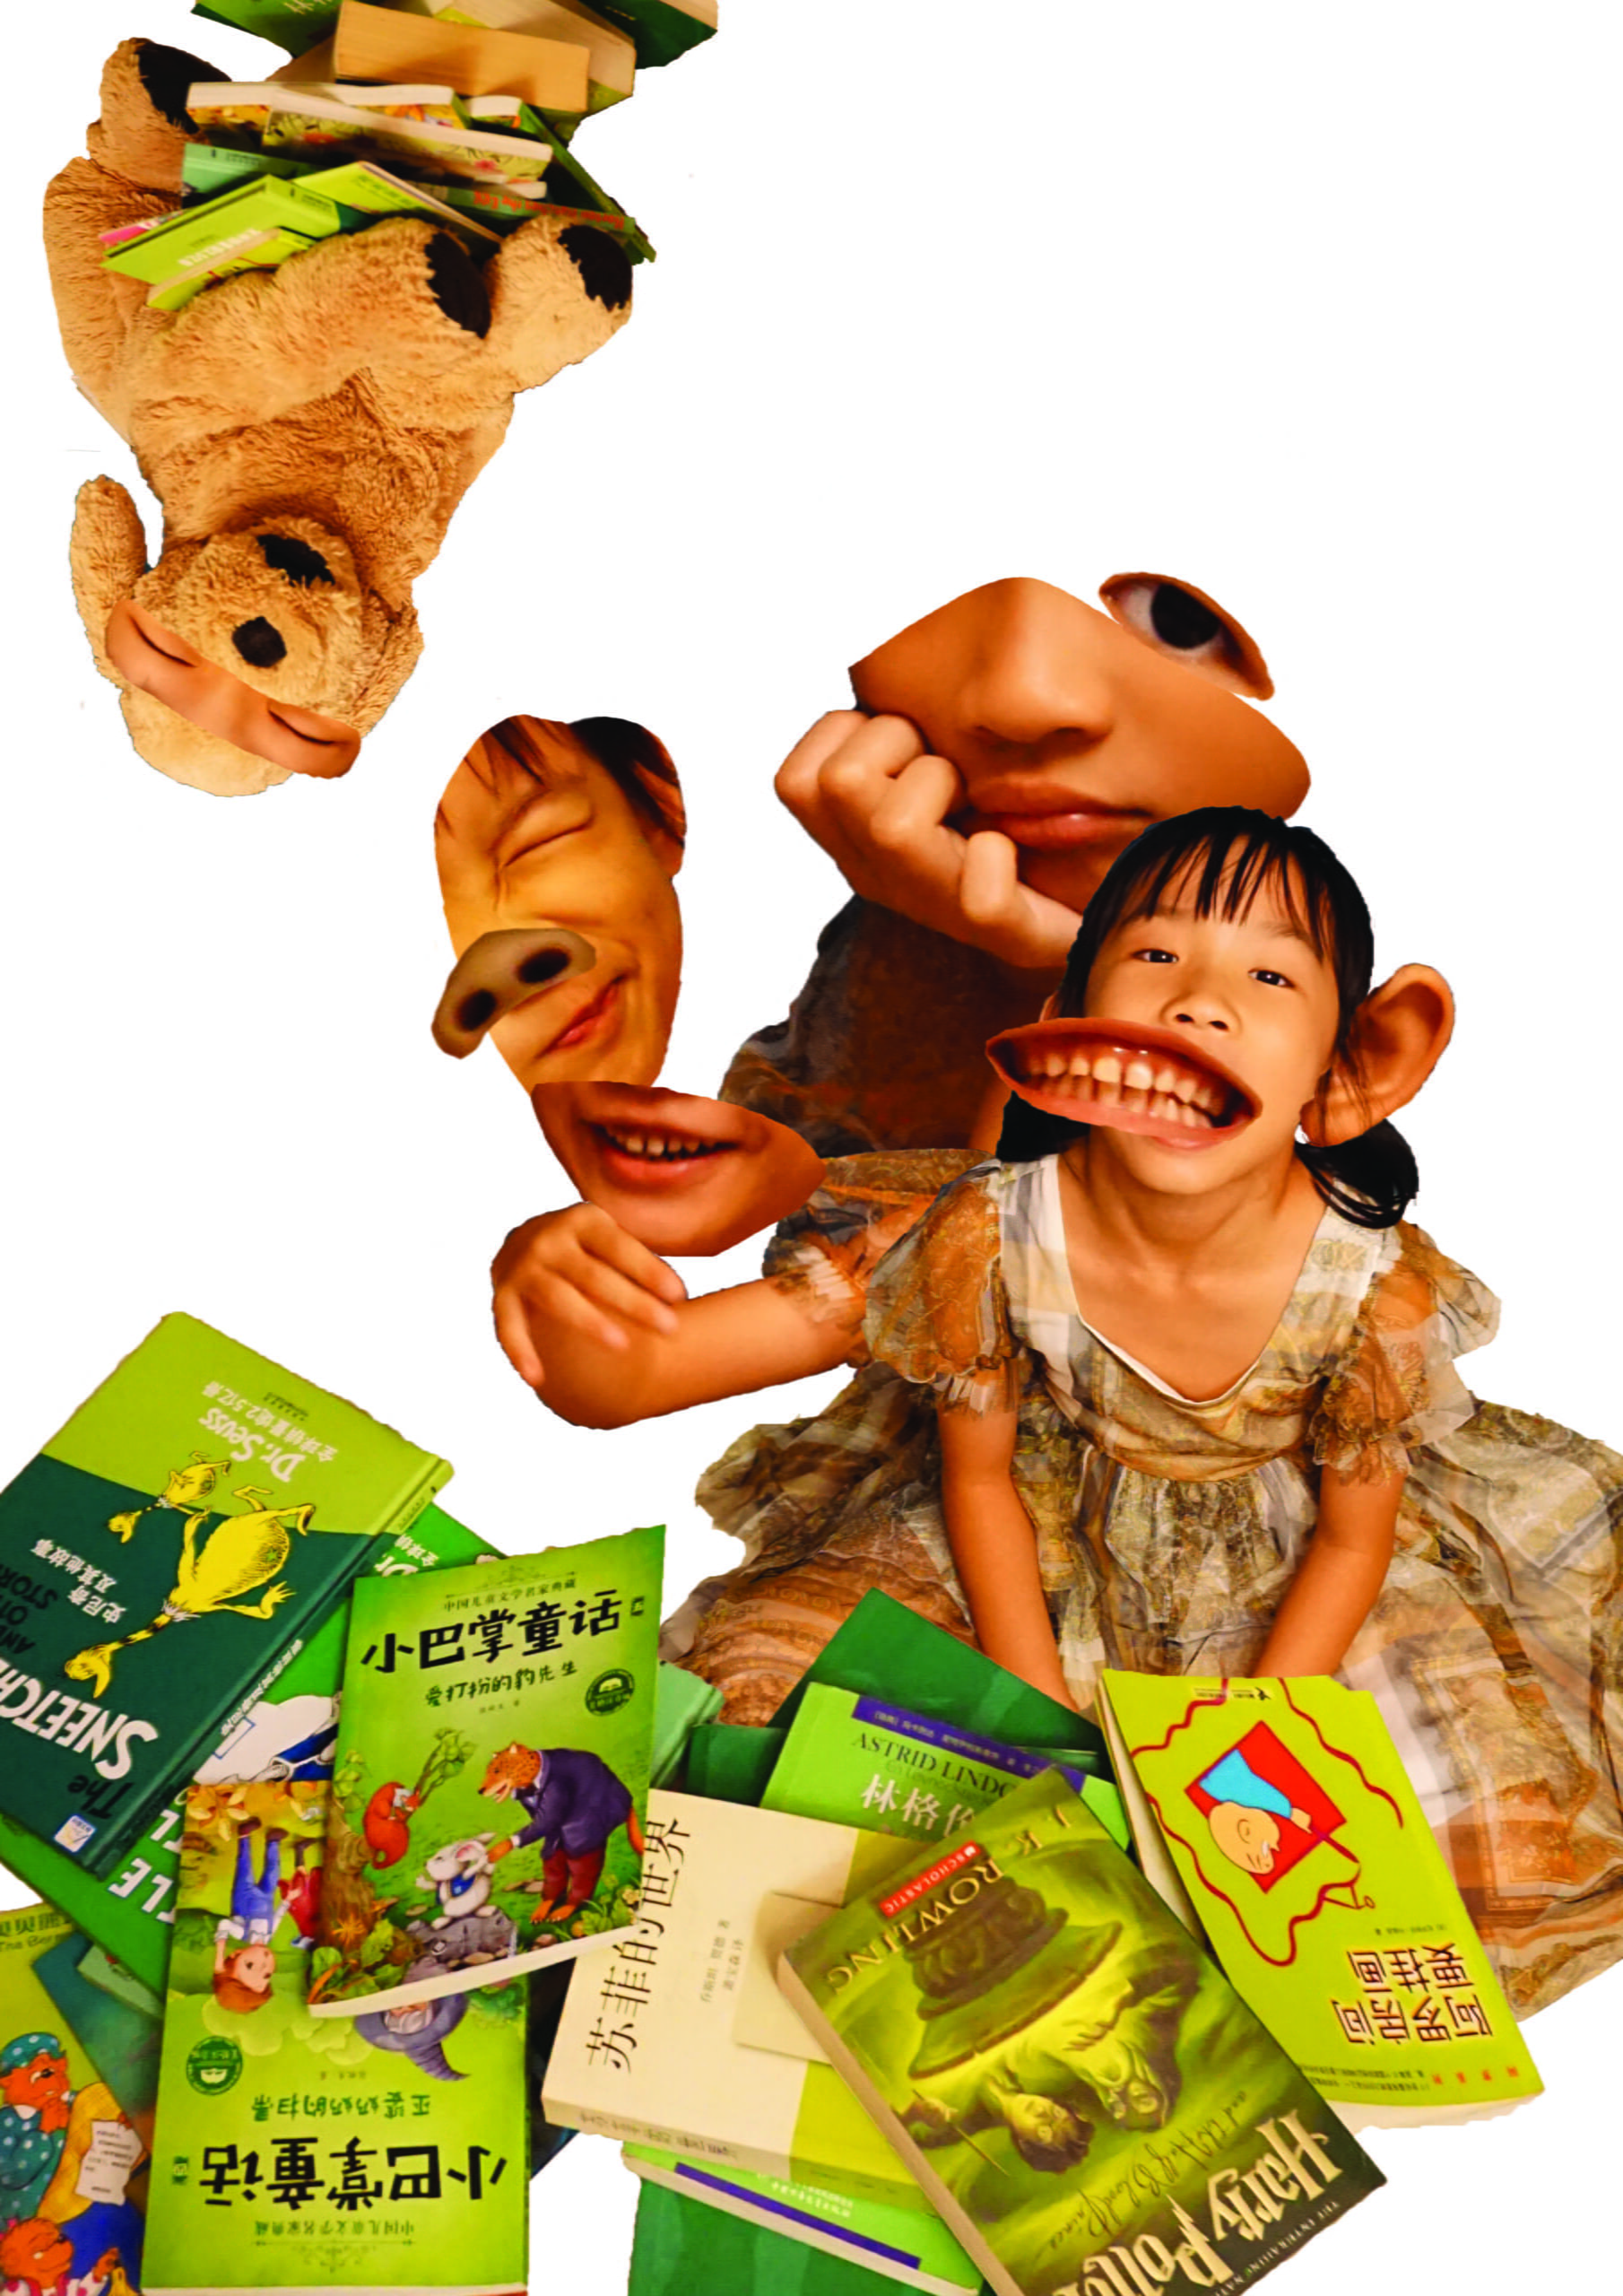
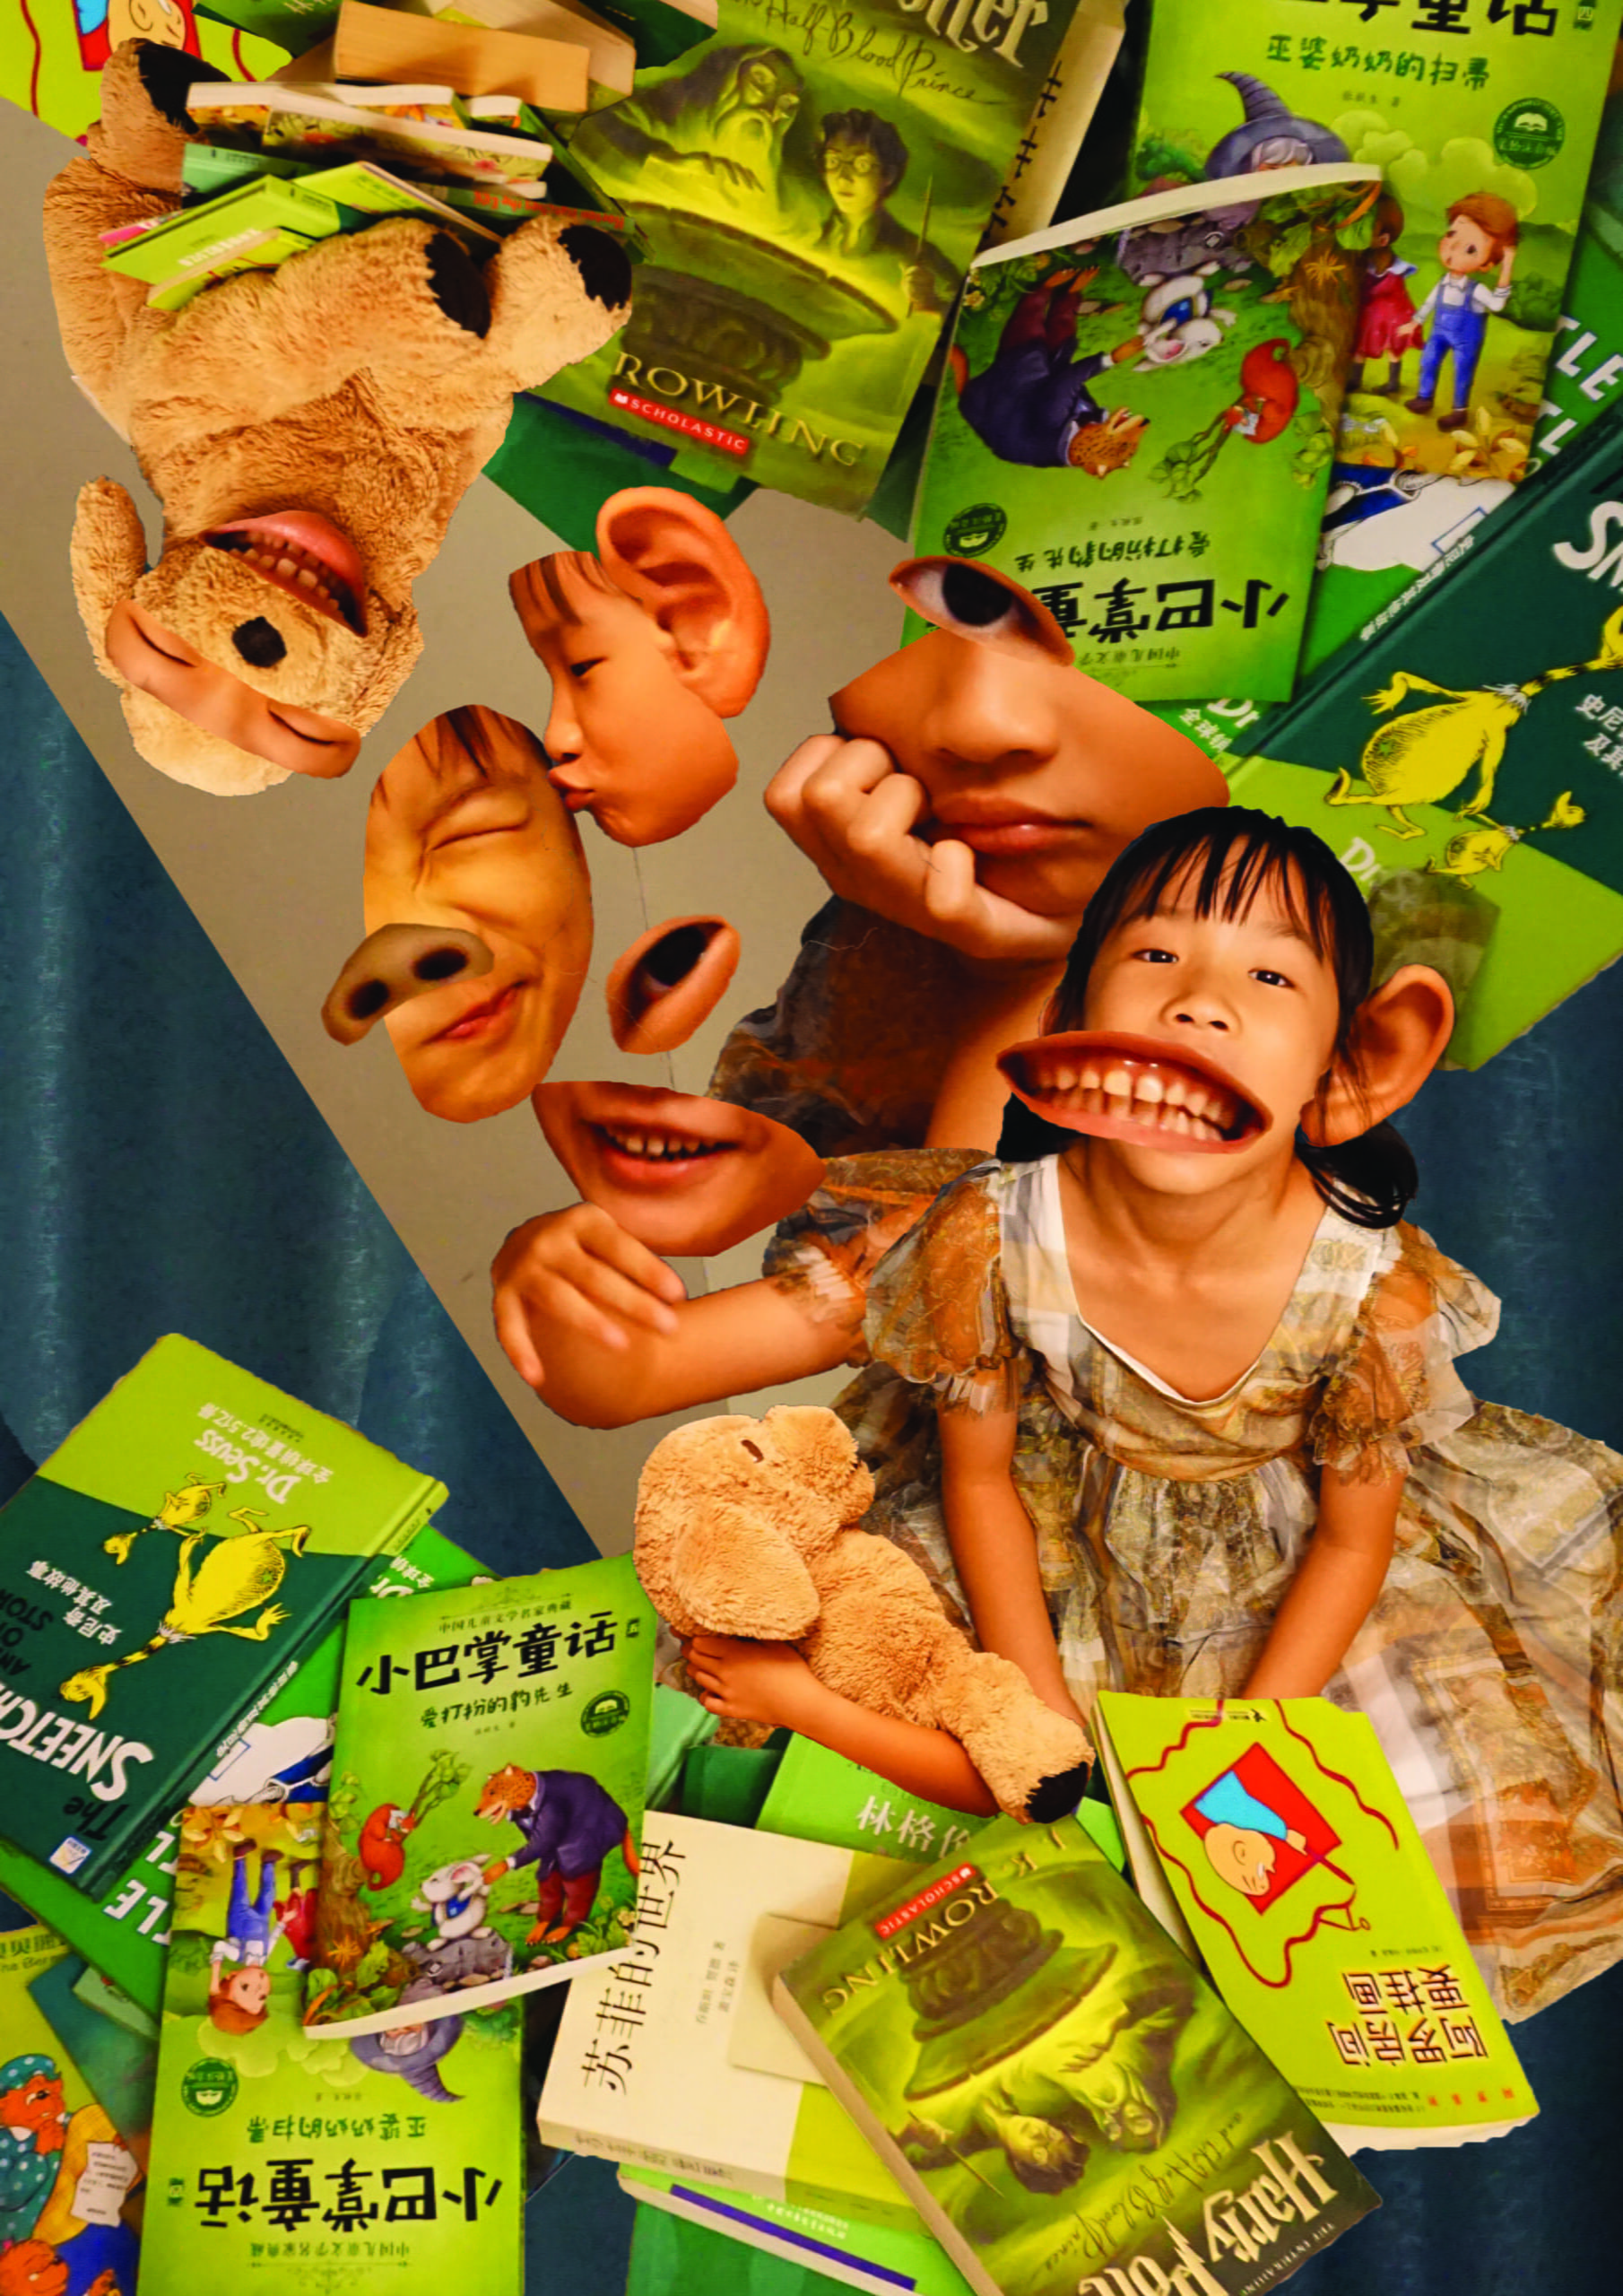
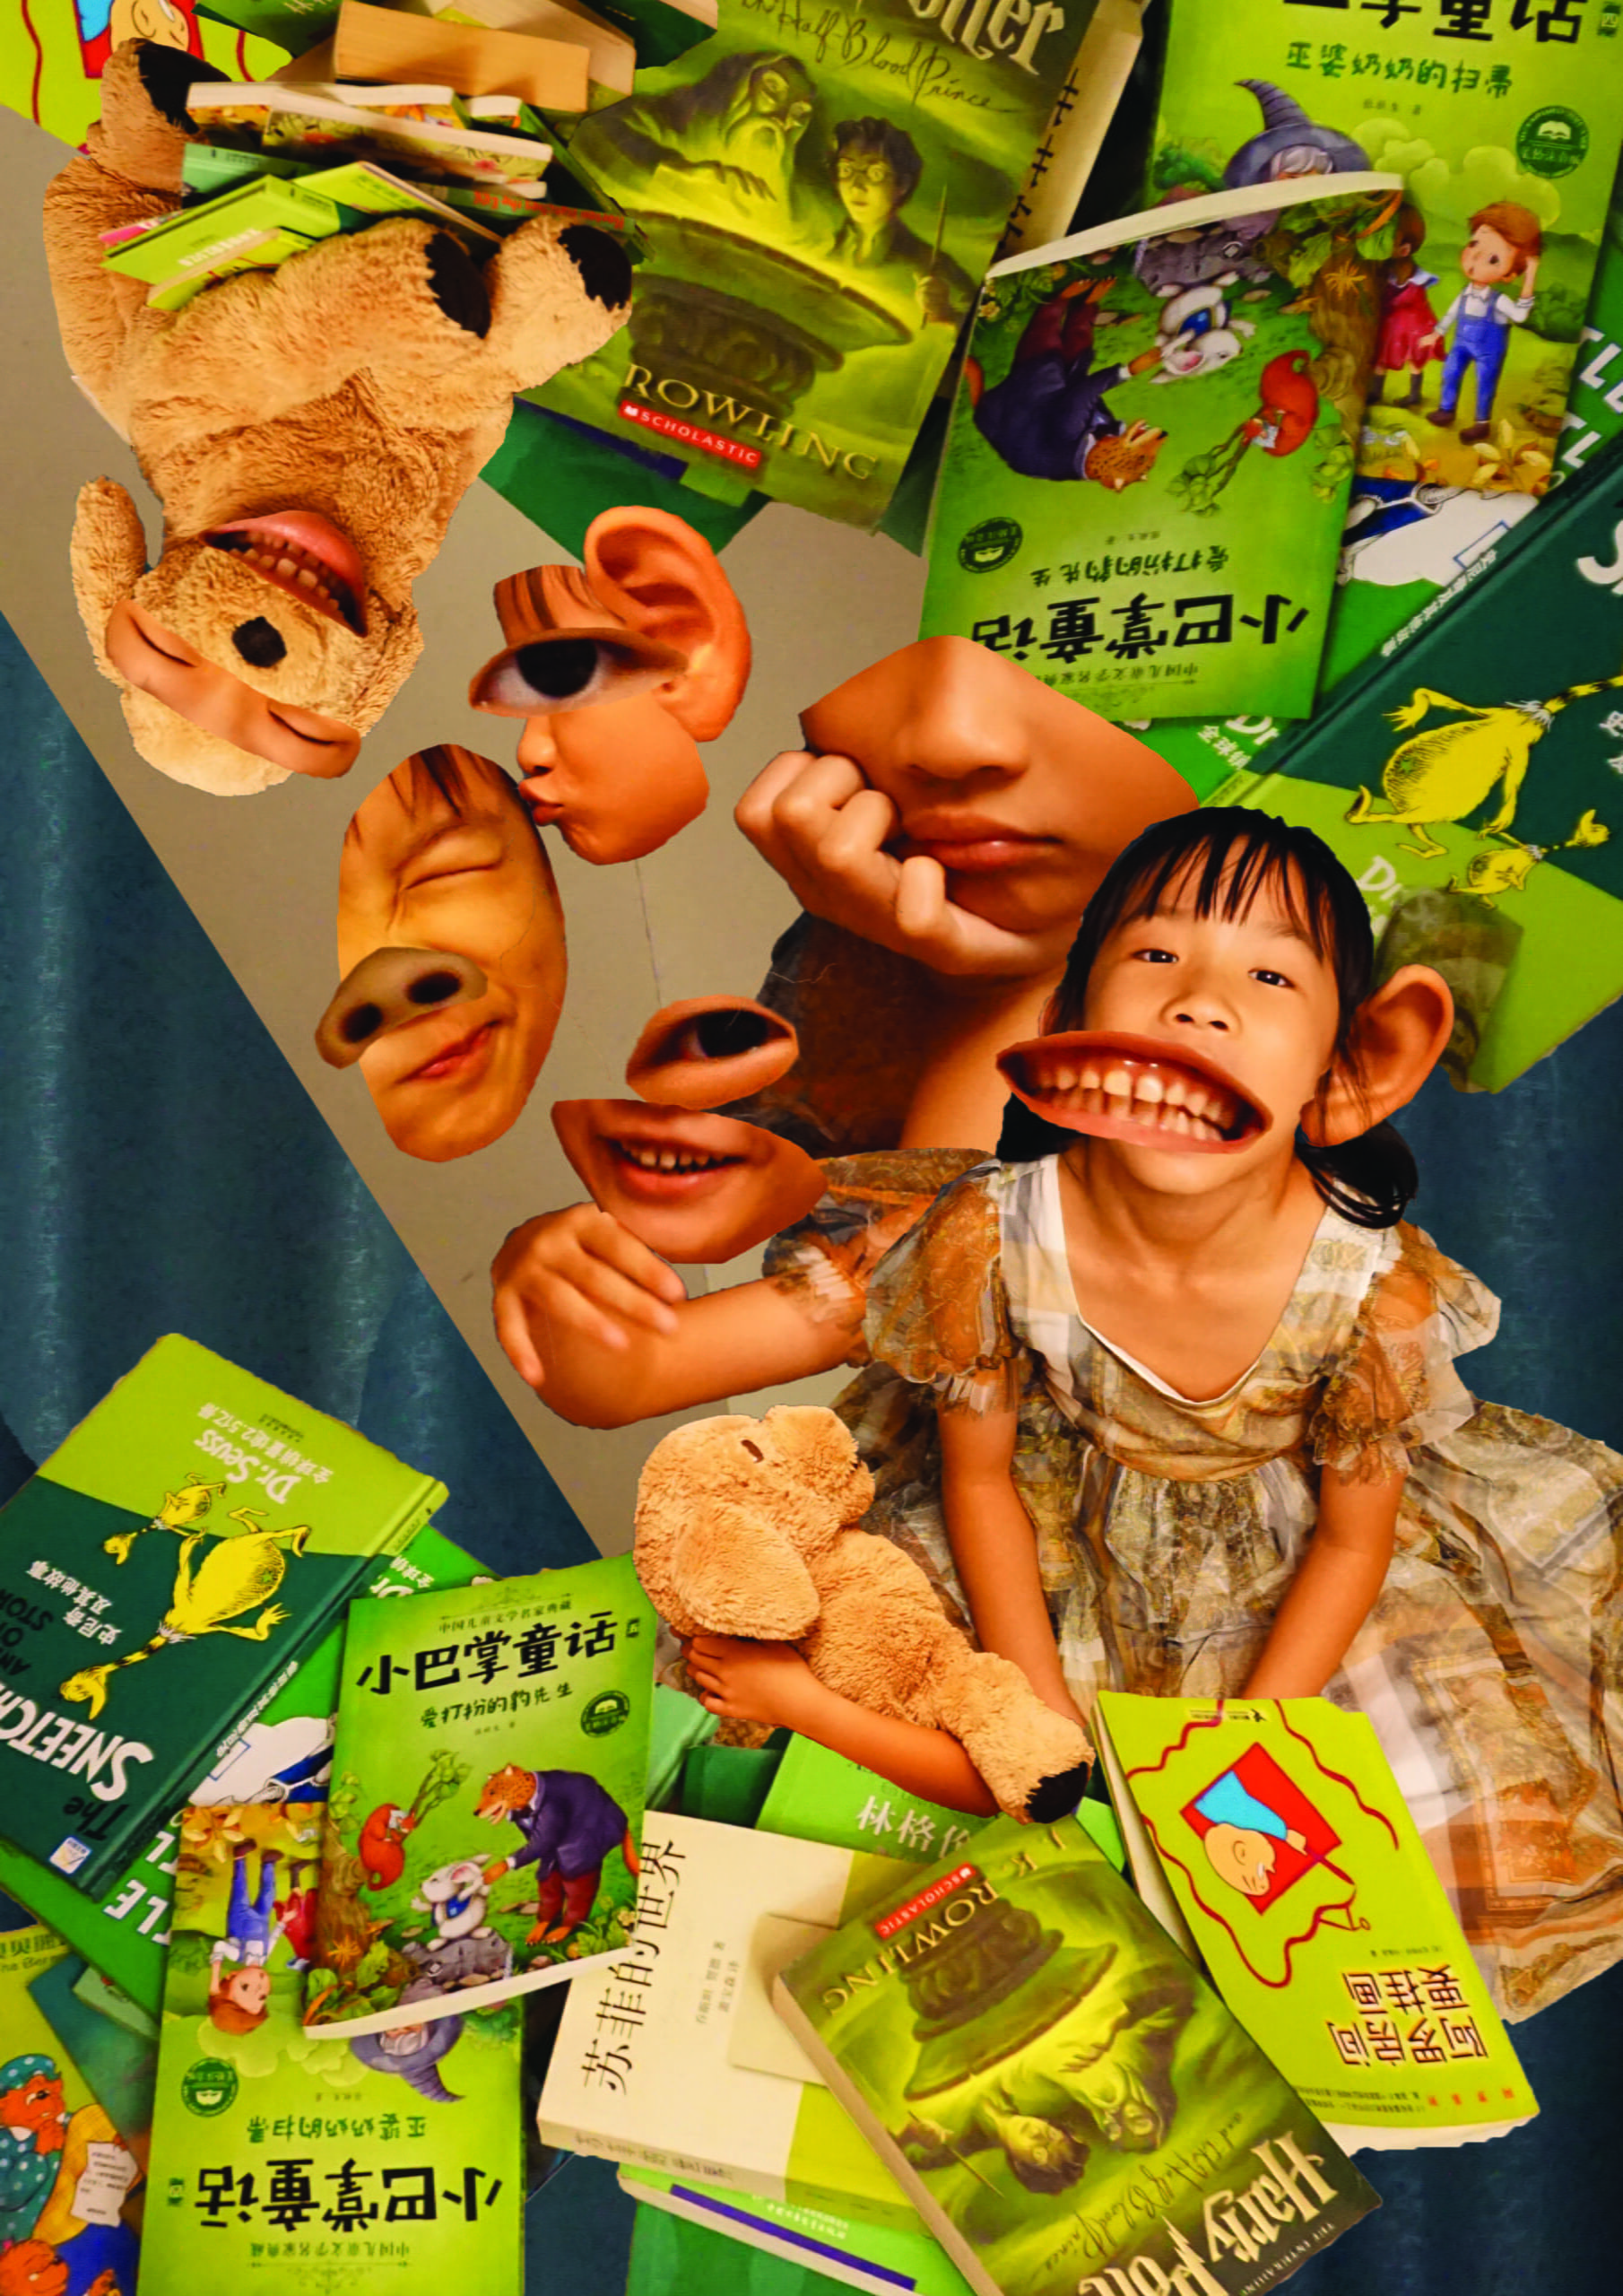
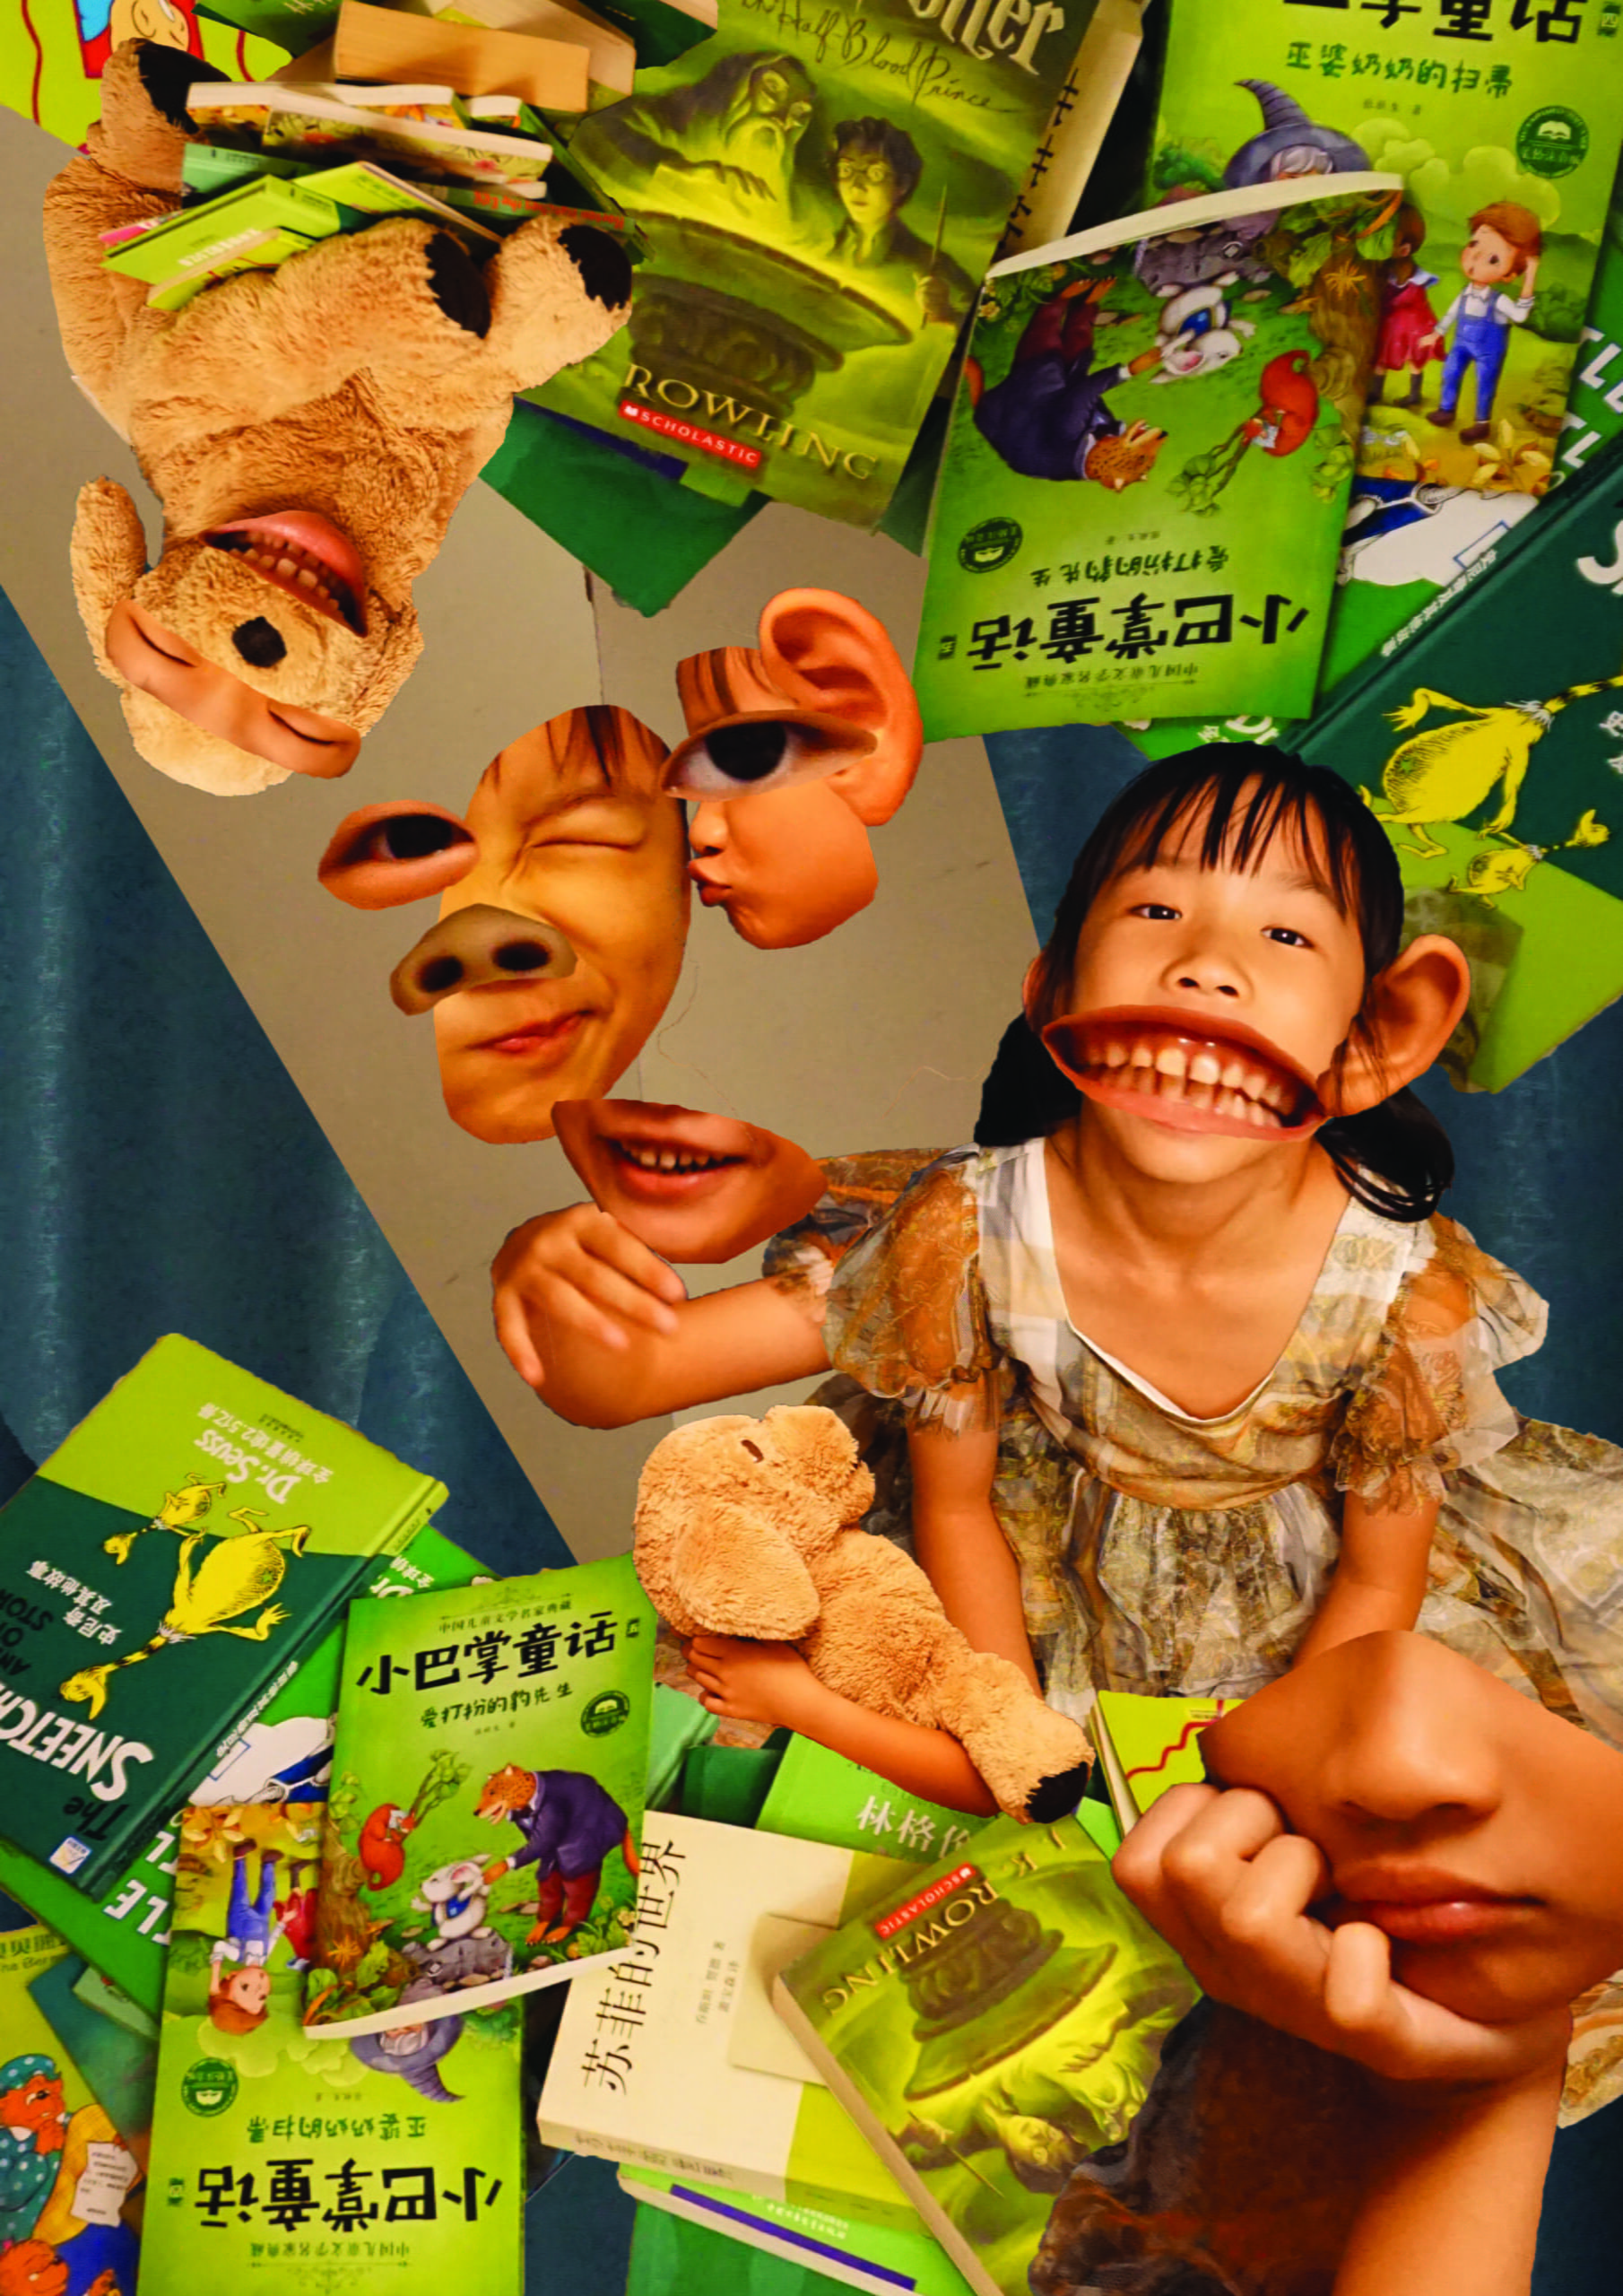
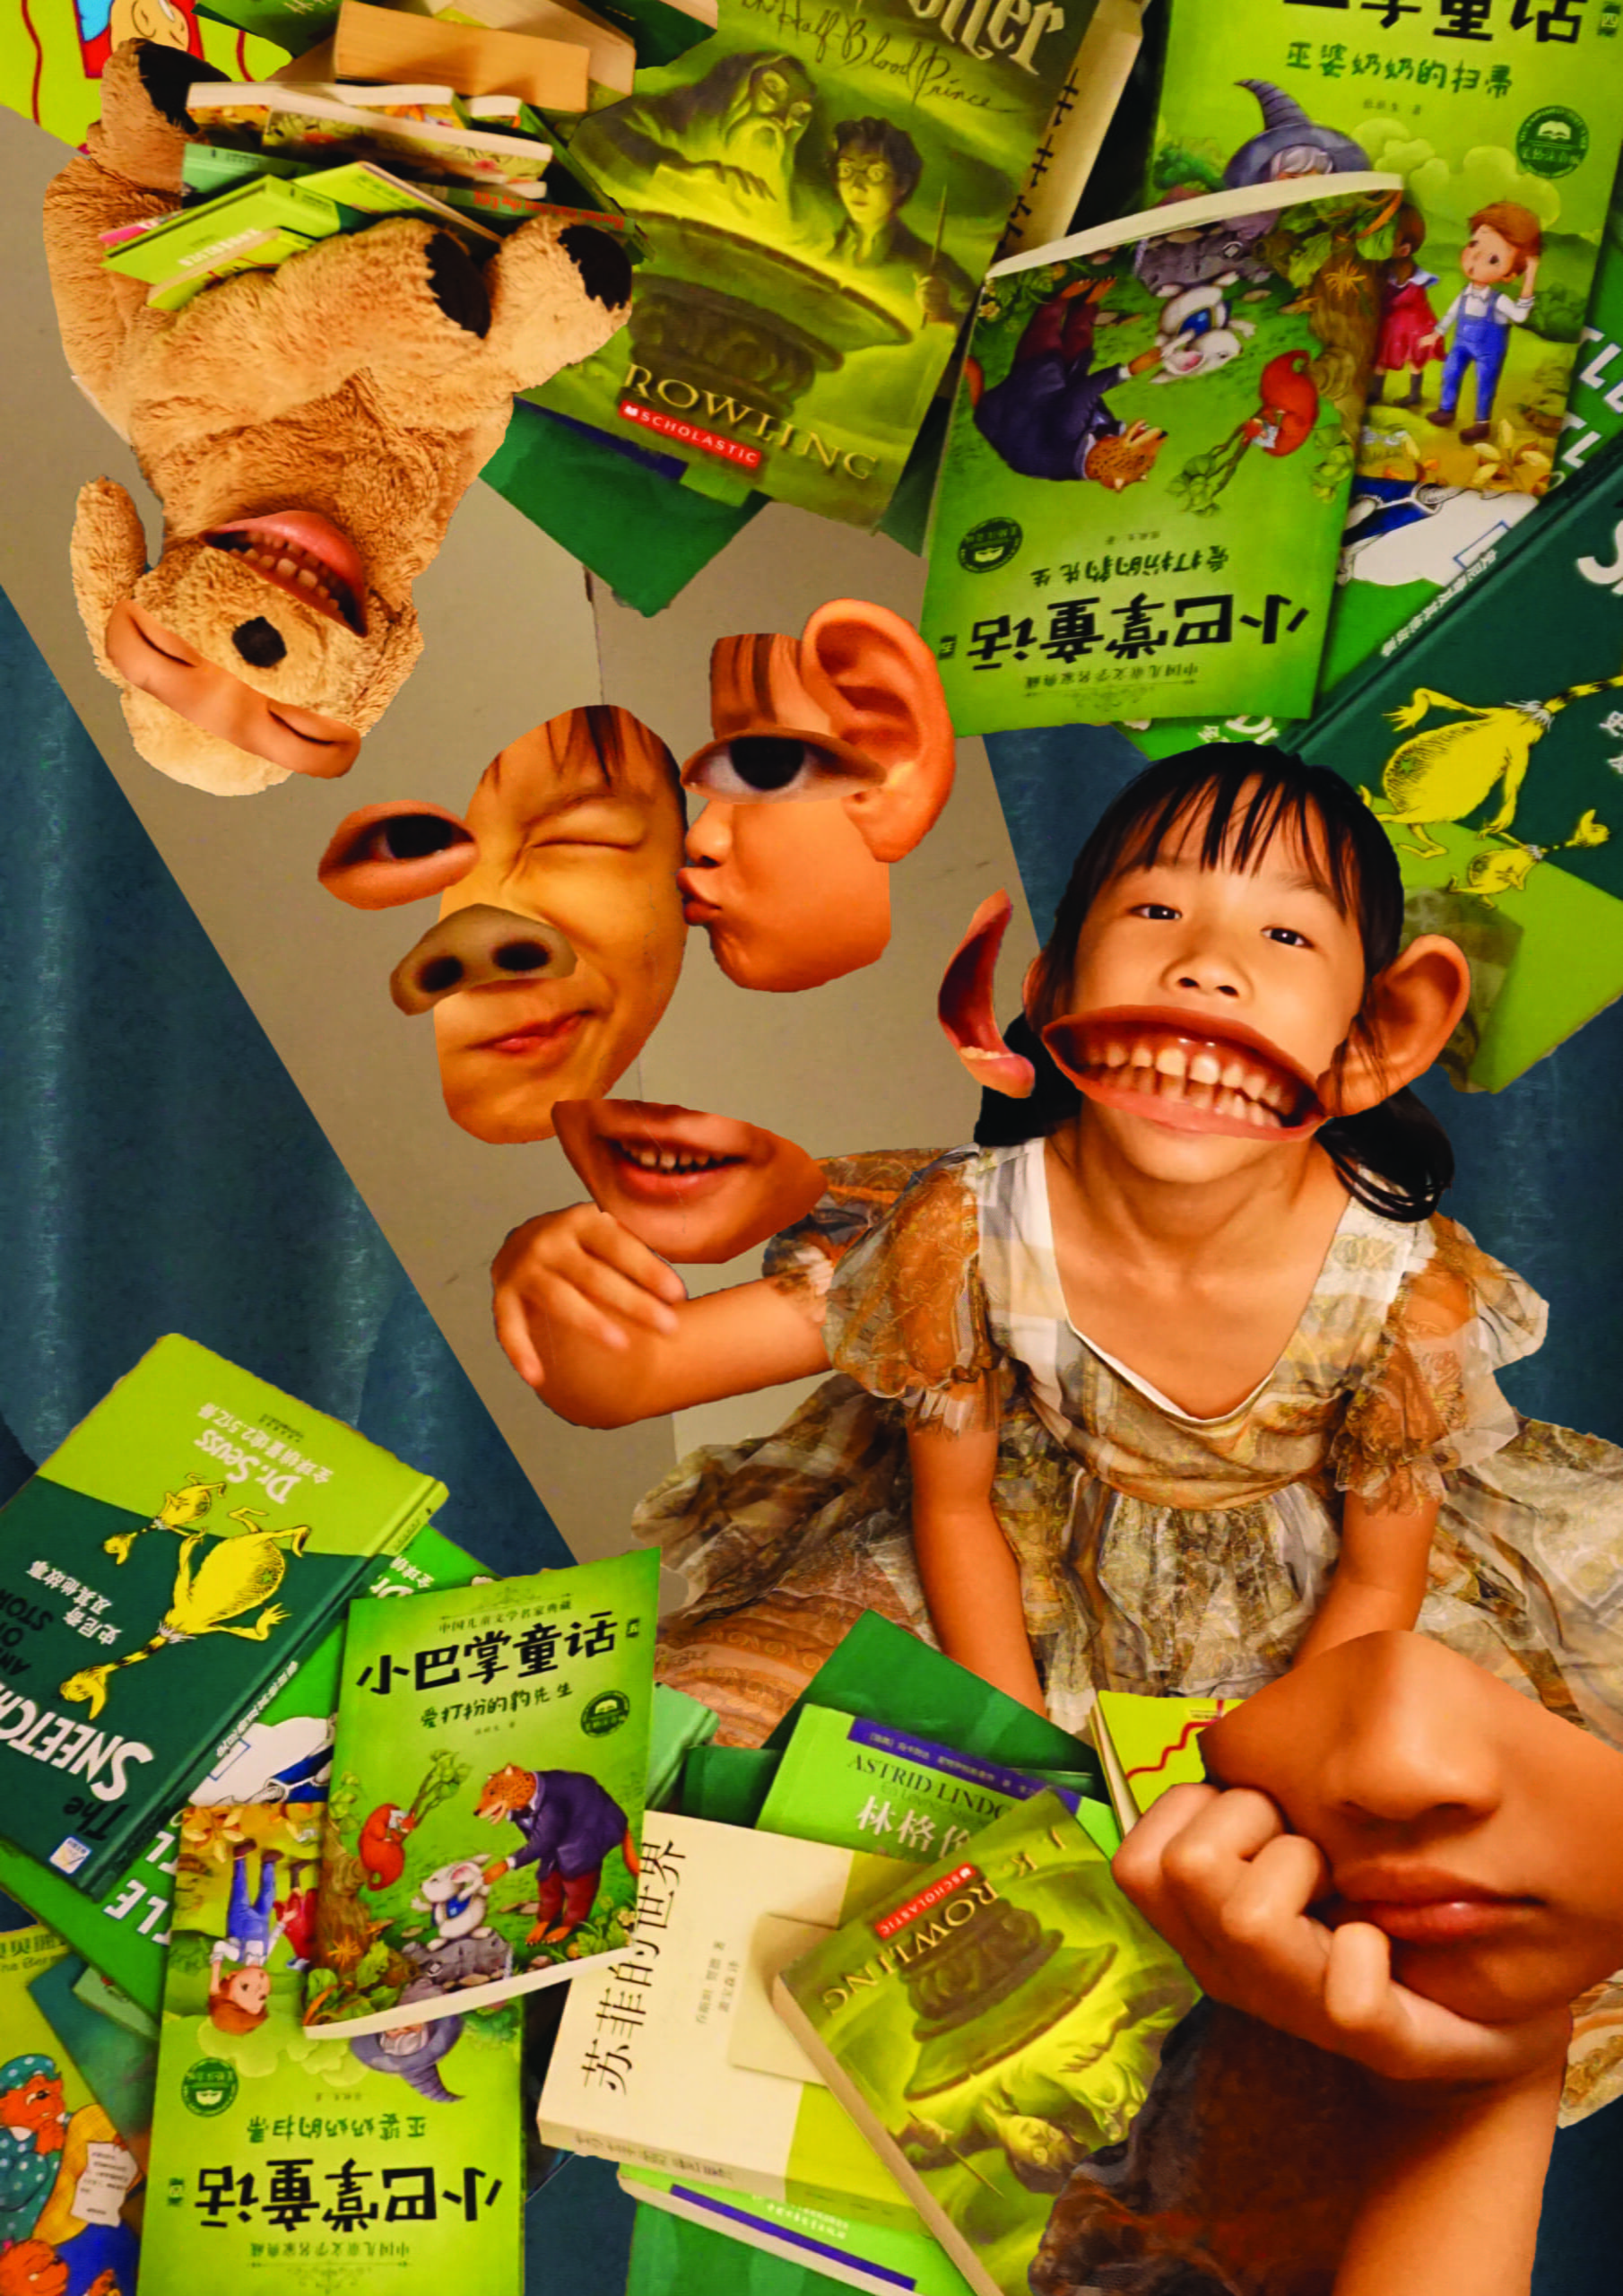
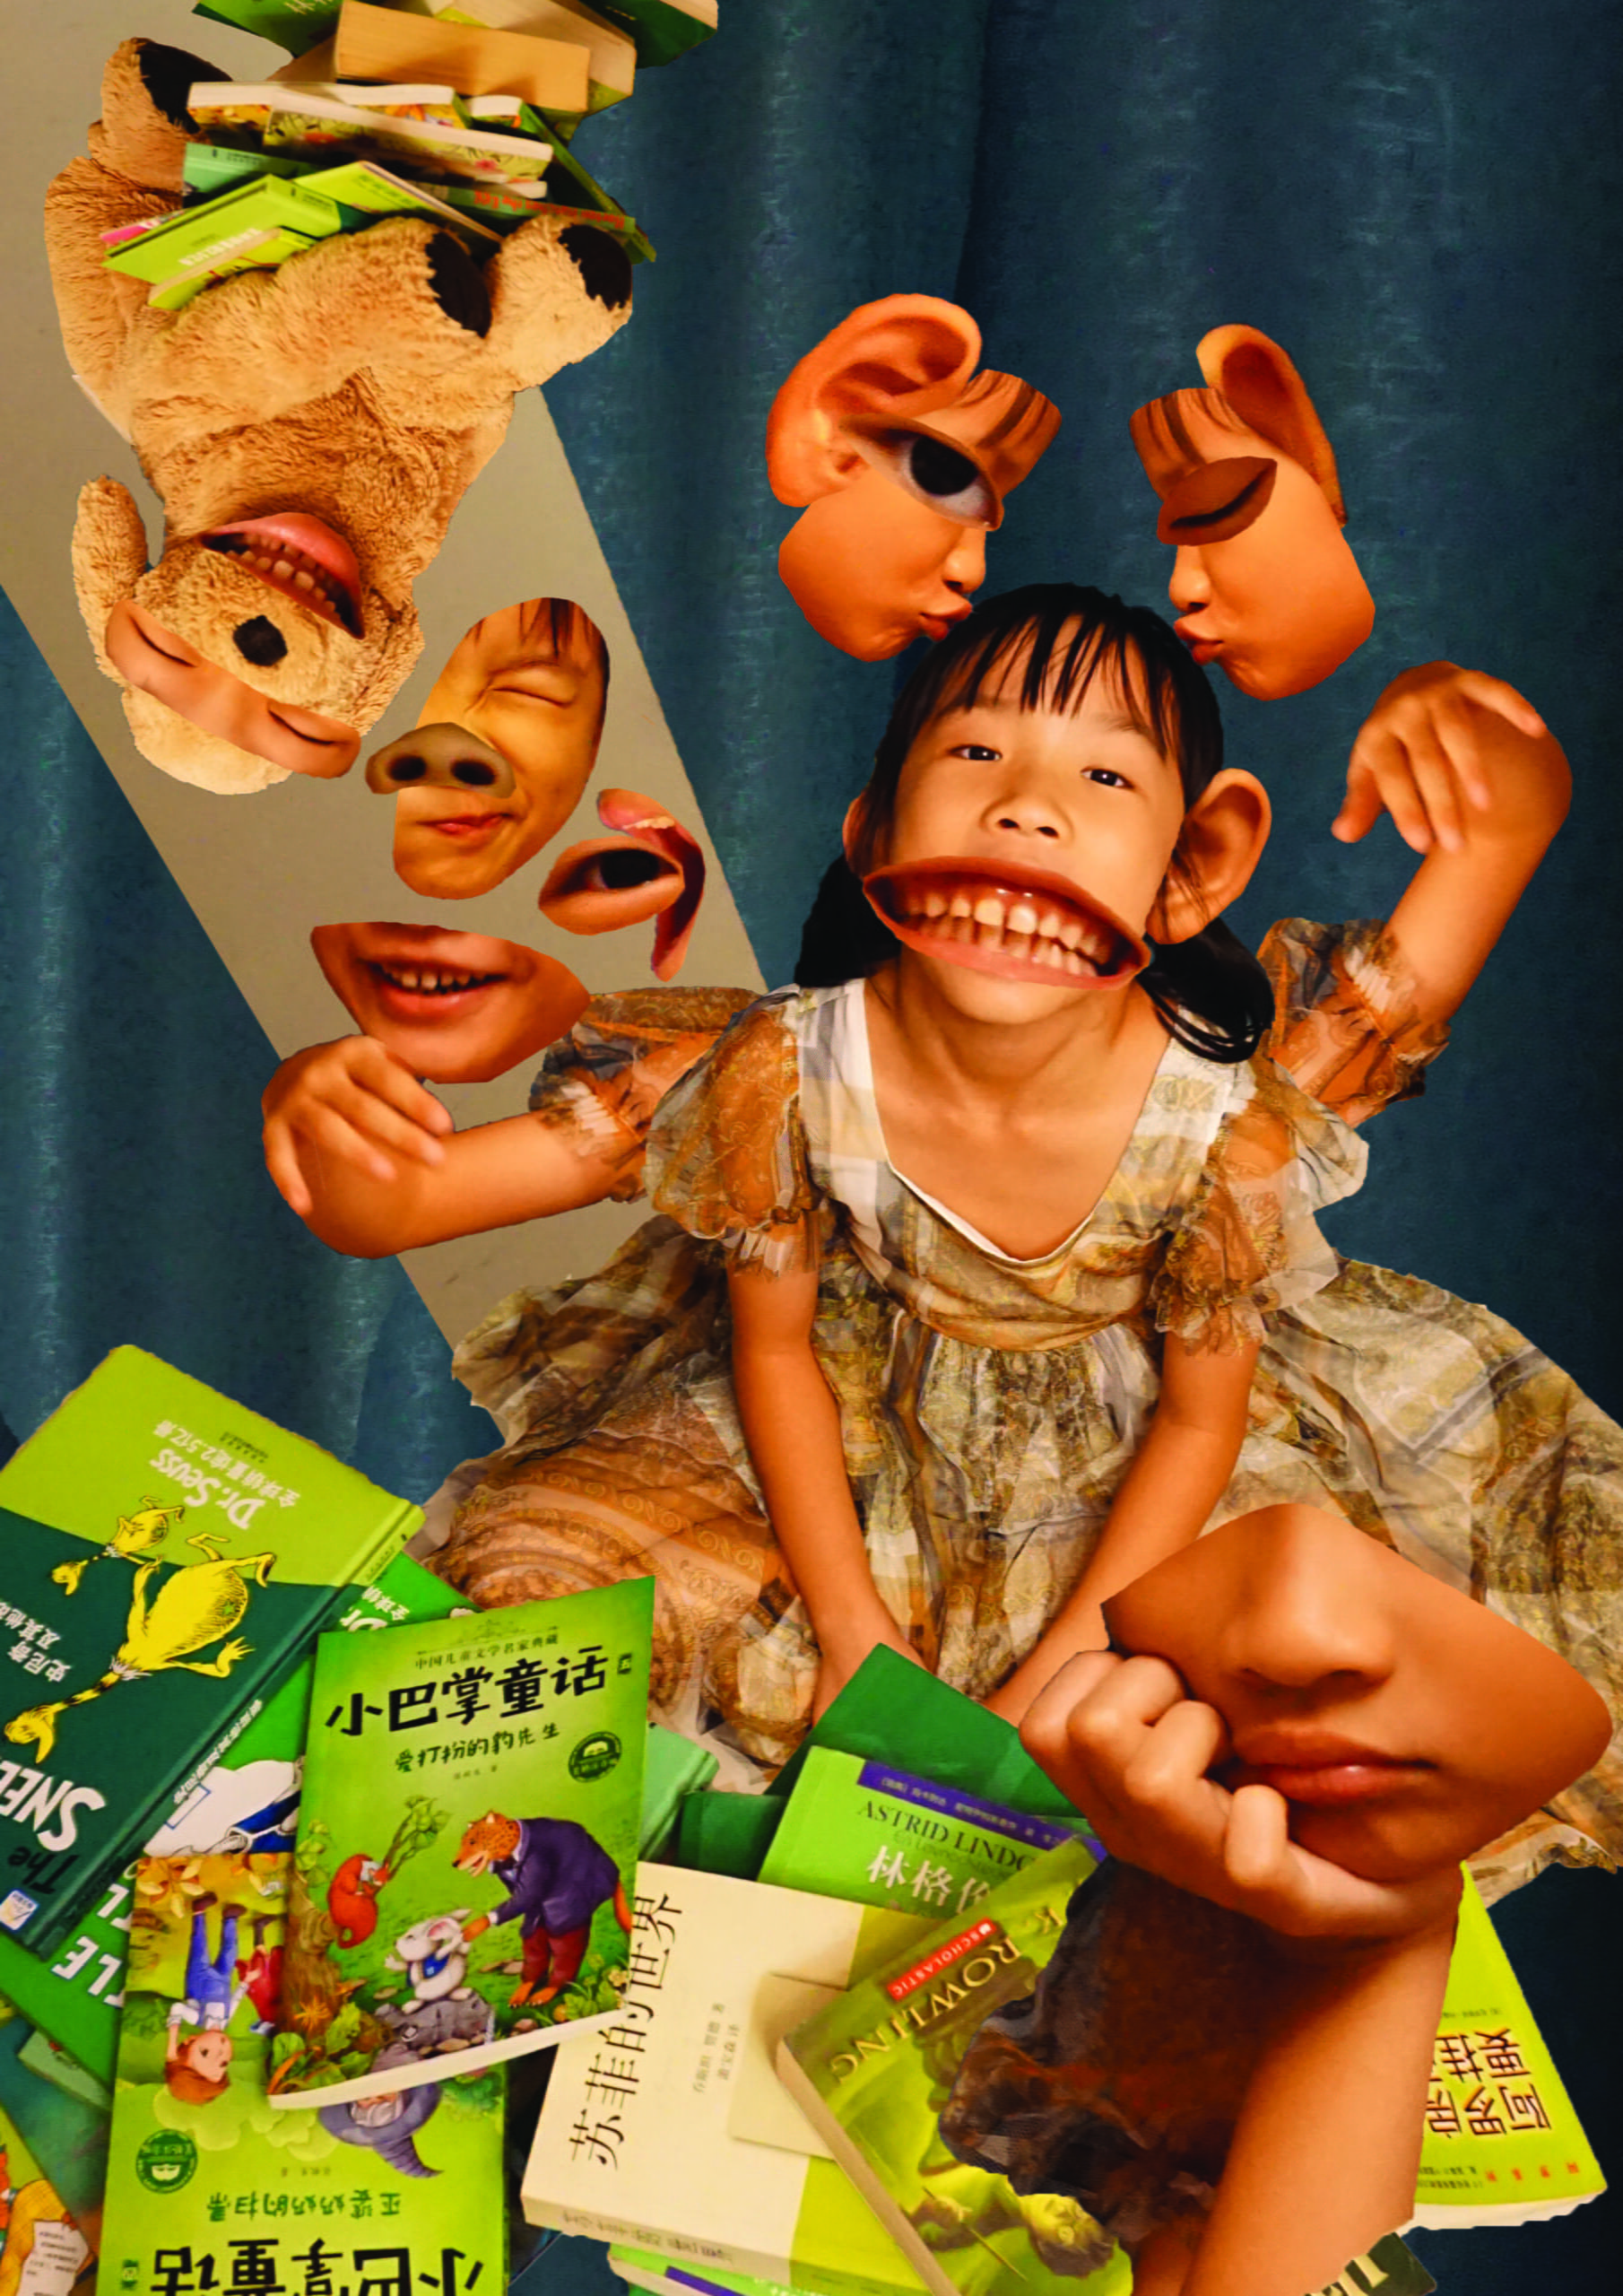
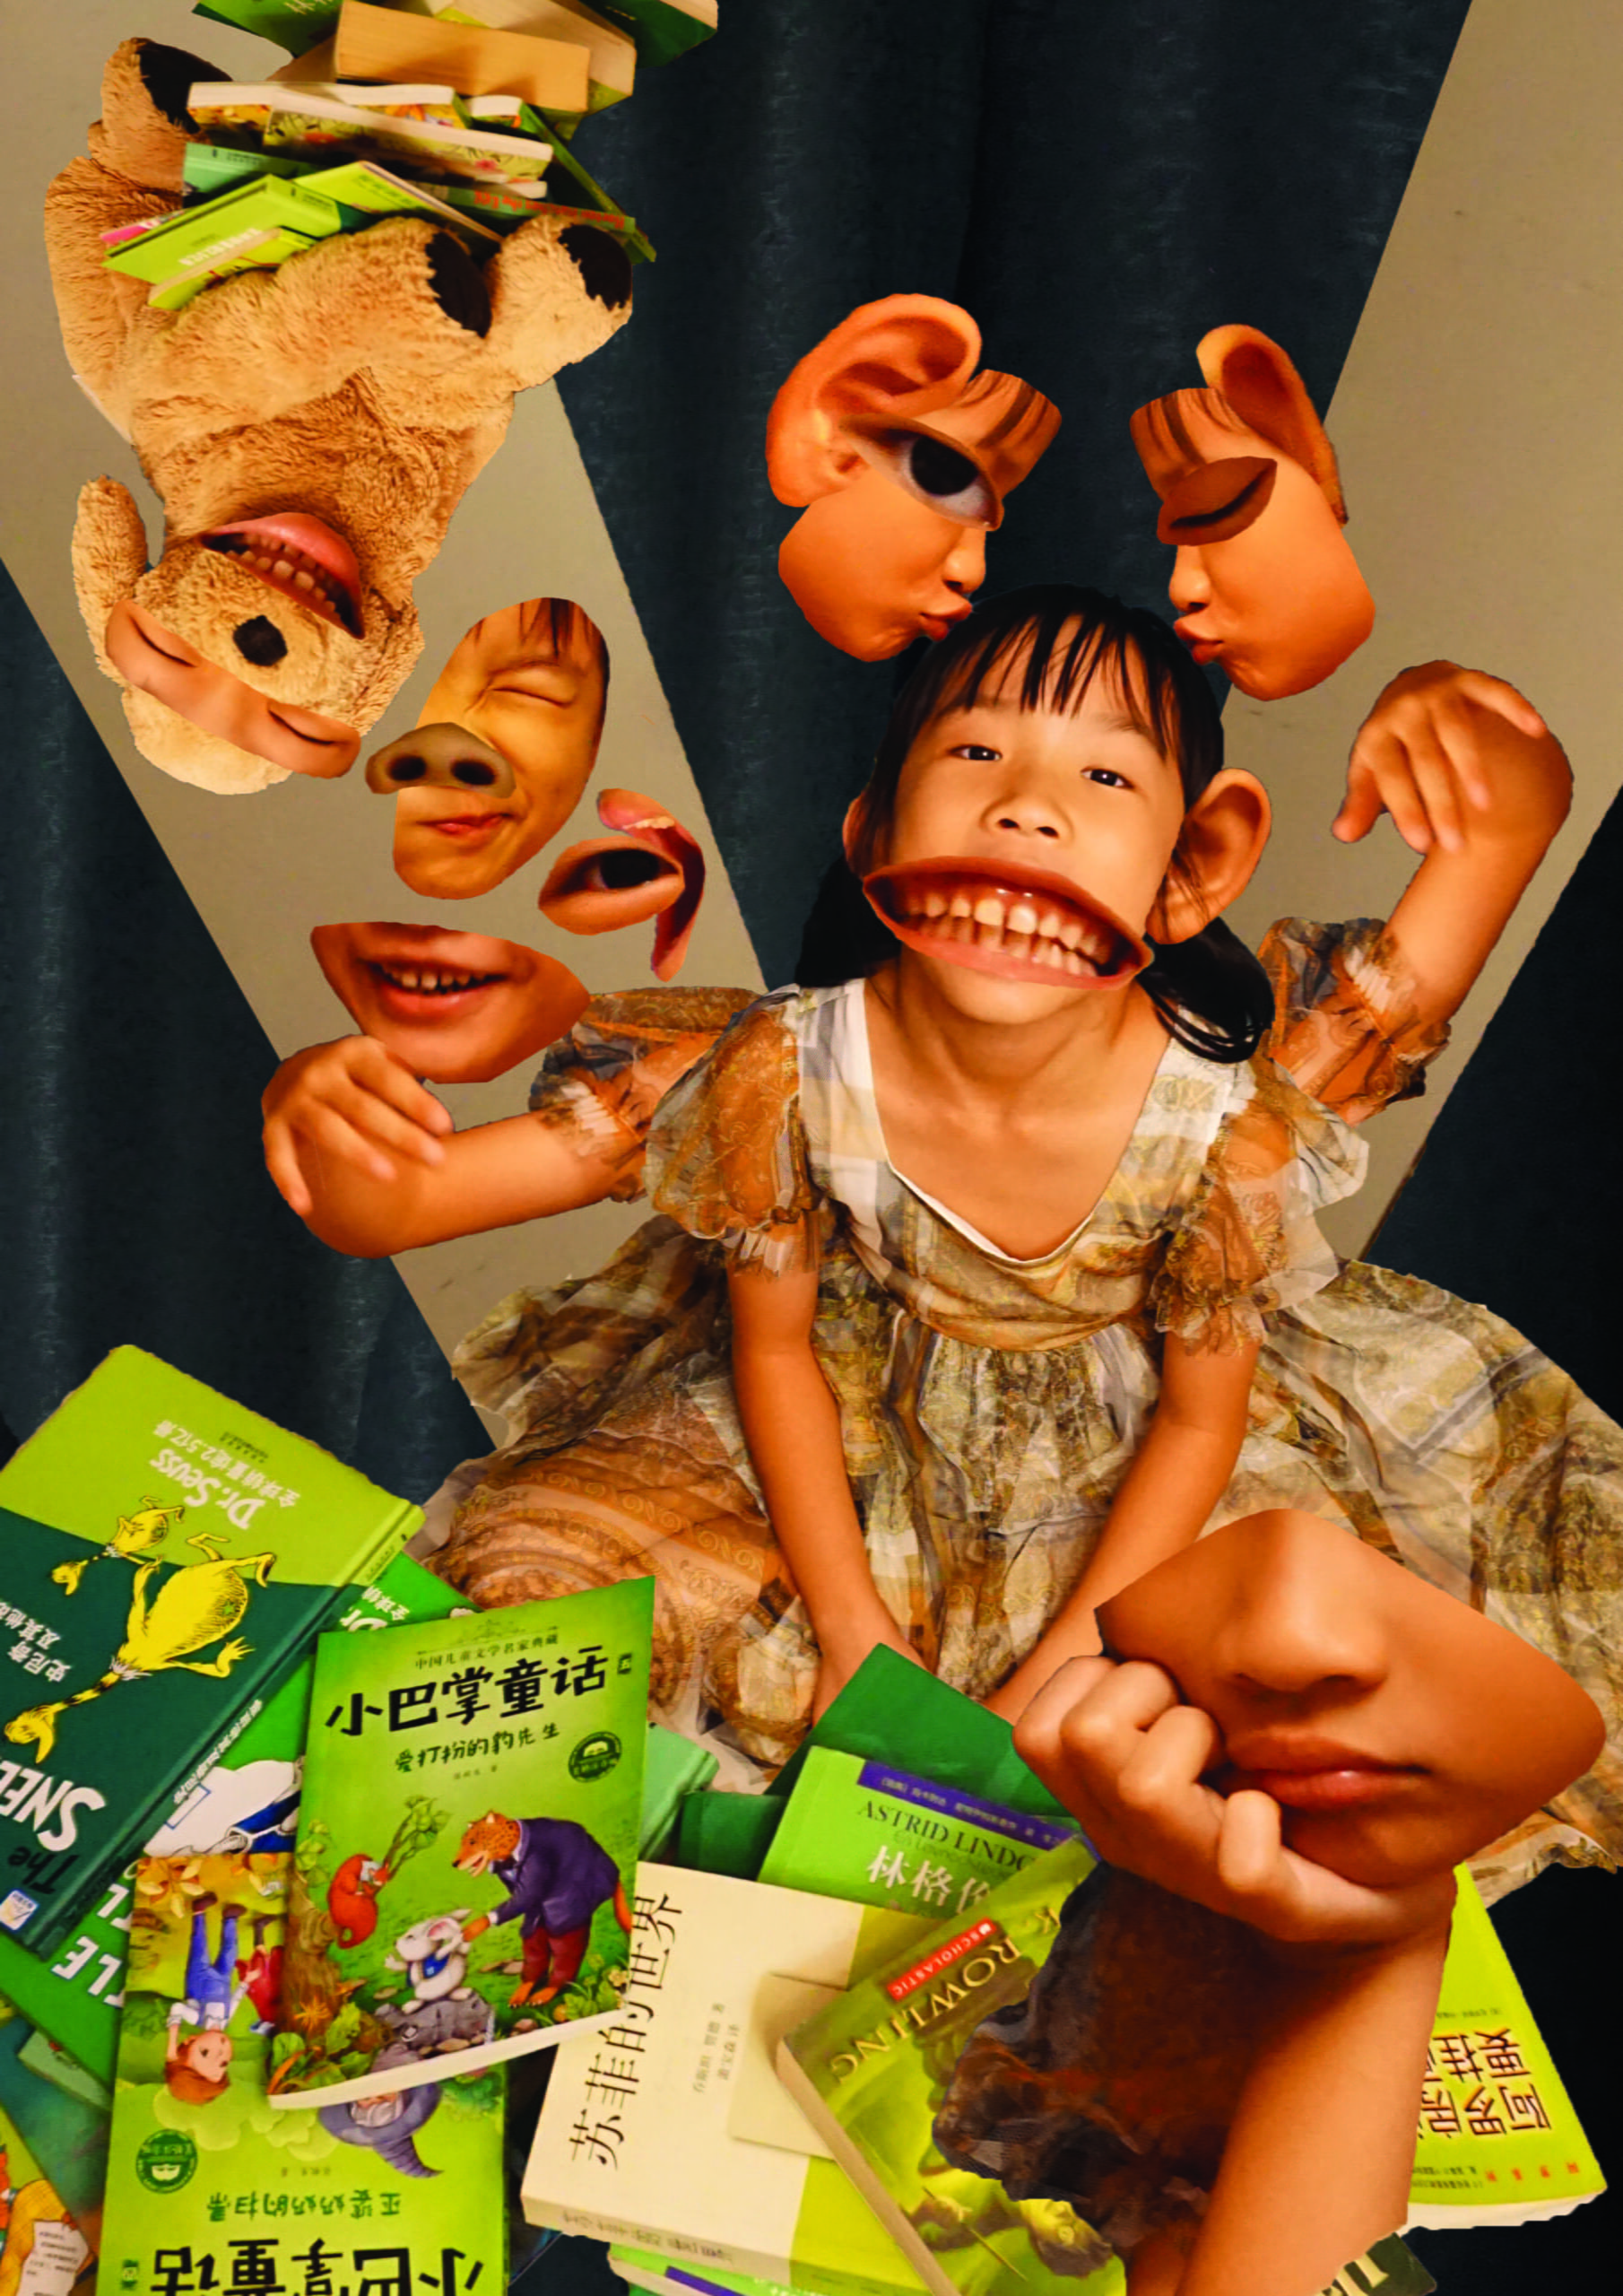
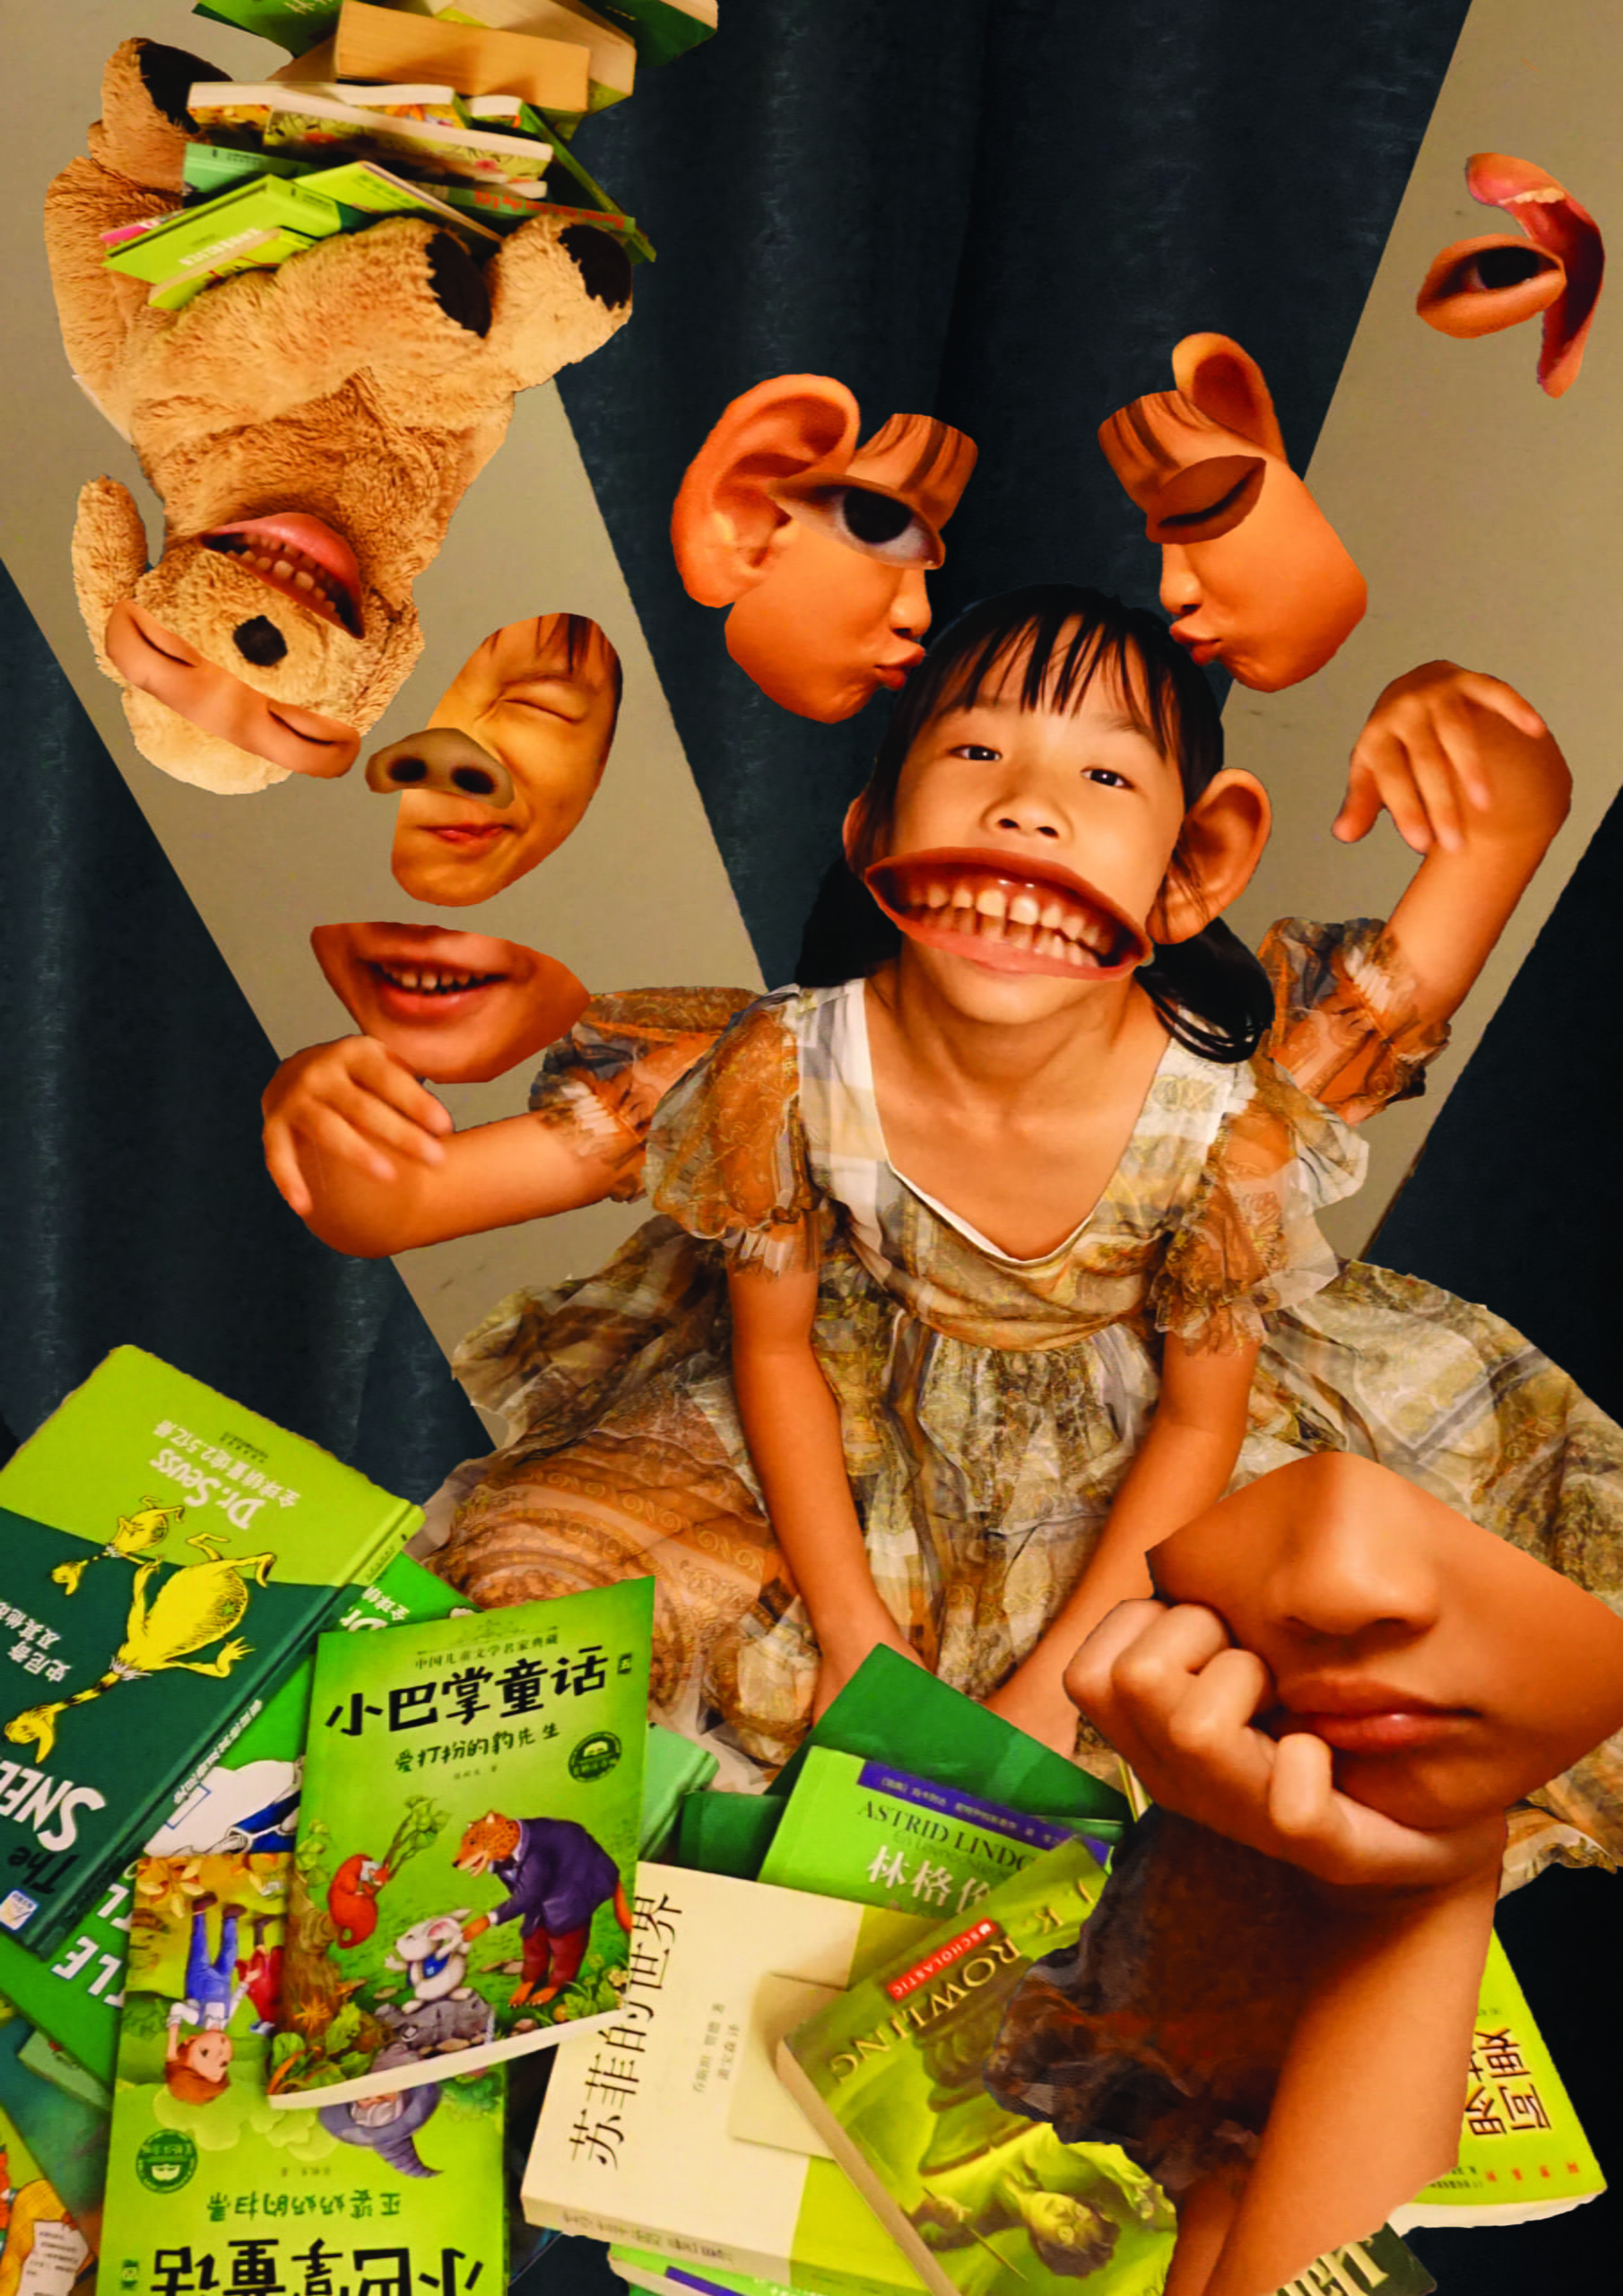
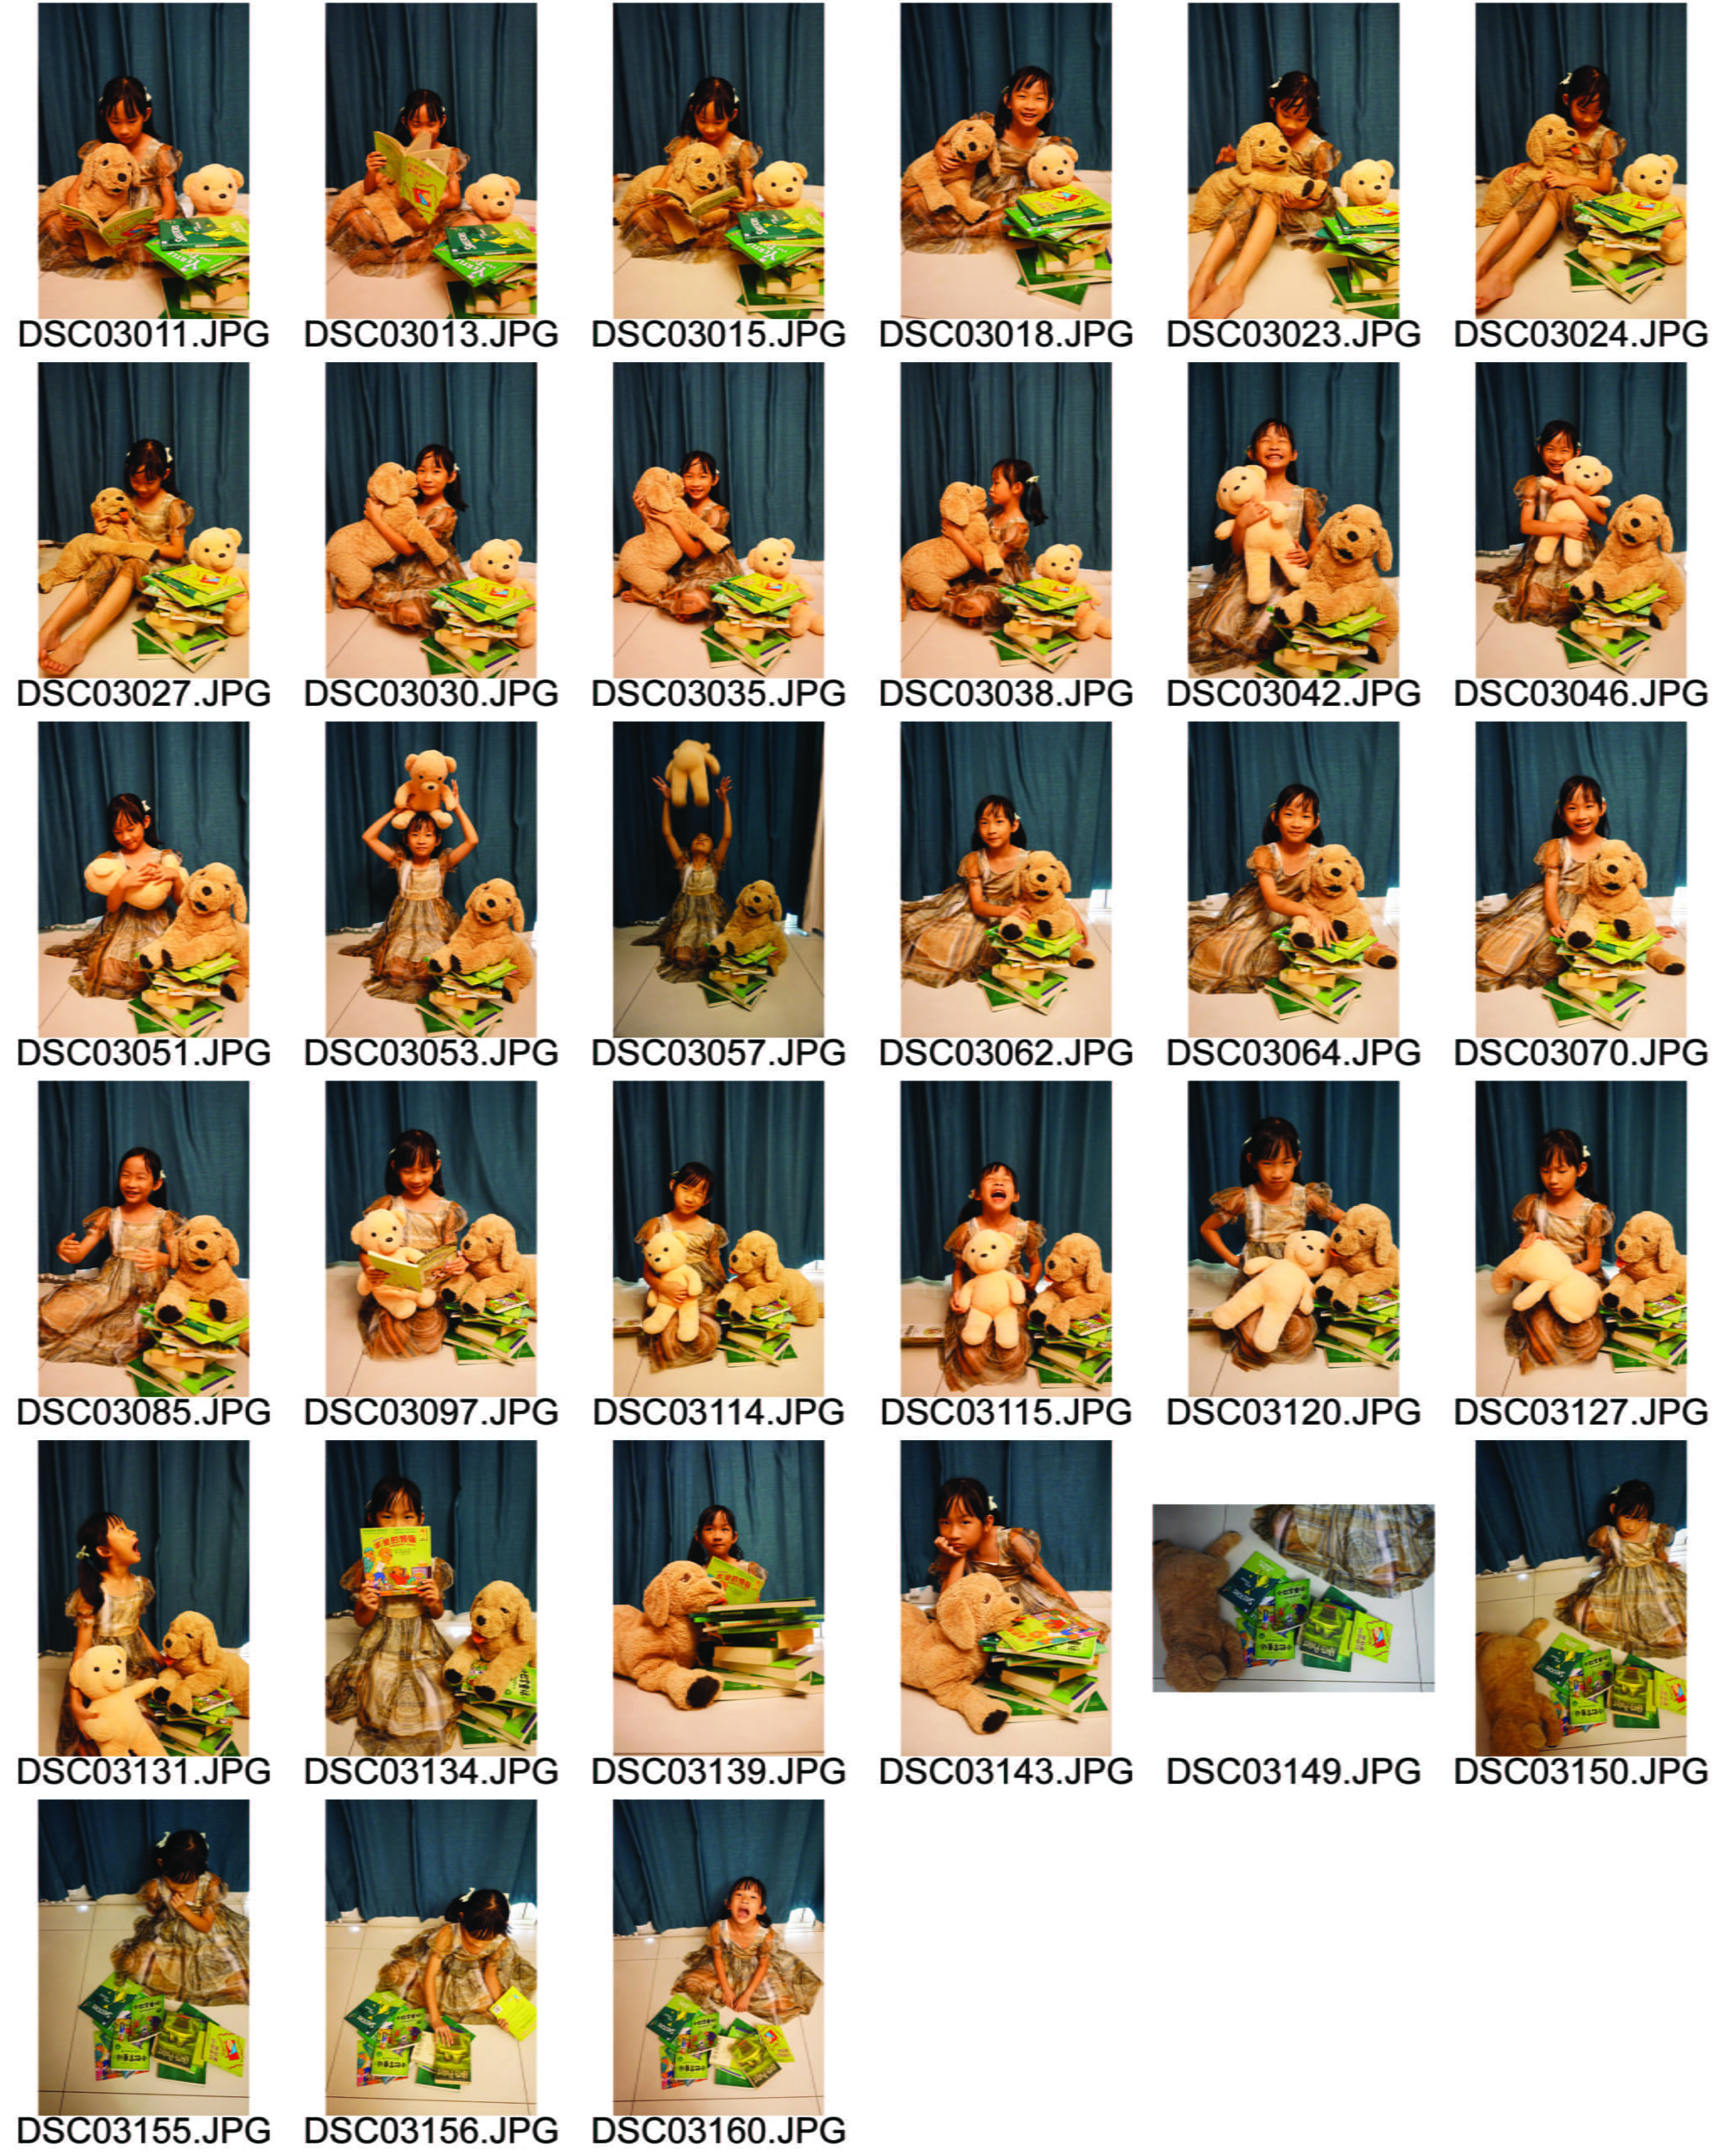
In this project, I want to show the limitations of photography and diversity behind the photos. Cameras can only capture a still scene of a very short period, and only show an aspect of the truth. However, in our real life, people are alive with different movements, facial expressions and feelings. In my photo diptych, the first photo shows a girl with her head lowing down, showing interest to the books. It seems that she is a quiet girl, but she is actually quirky and moody, making lots of facial expressions and movements when I am photographing her. Therefore, in the second photo, I collaged her different facial expressions together to show the real her and her inner world.

When I am staging and photographing Part I, I chose green books and yellow and brown plushies as tools. They match the brownish dress and greenish background. I arranged warm light so that the photos can have a retro yellow shade. After shooting the photo, I think the saturation of the photo is too high and the character is not prominent enough, so I slightly adjusted the background of the photo to make them look more black-and-white. When I am creating Part II image, I chose different objects I wanted in different photos and after that arranged them. I tried different ways of arranging.

I was not satisfied with the picture because it looked messy from a distance. Therefore, I changed the background to make the character stand out more. I tried to make the objects fit the background as well.

If I had more time, I can make improvements as follow. In the first photo, I can adjust the light to create a bright edge around the character. This can make the character stand out more. In the collage photo, I will replace the main character’s photo into a photo with her head holding up but eyes looking away instead of looking straight to the audience. This can make it less commercial and give the audience chances to extend and imagine.


My Memory for Memory Soundscape

The memory I want to pick is about going out with my Grandma when I was young. We set off from home very early and went outside for a walk. First, we went to the market to buy some fresh vegetables and fruits. There are various kinds of vegetables with water droplets on their surface. My Grandma listened to my advice and chose what I want to eat. Then we continued walking and reached a park. I really liked the swings there and wanted to play, but I was not good at it. Grandma put her stuff down and pushed me gently so I could swing high on the swing. I was over the moon to feel the wind blowing besides my ears and my feet dangling above the ground. My Grandma smiled happily when she saw me swinging from here to there. After playing, it was the time to go back home. On the way home, I was attracted by a shop that sold fish pets. Grandma led me in. Together we picked five different fishes, some of them being red and some of them being black. They looked so active and I liked them very much. That is one of the joyful memories with my Grandma.