Week 1: Shaping and Smoothing
Design:
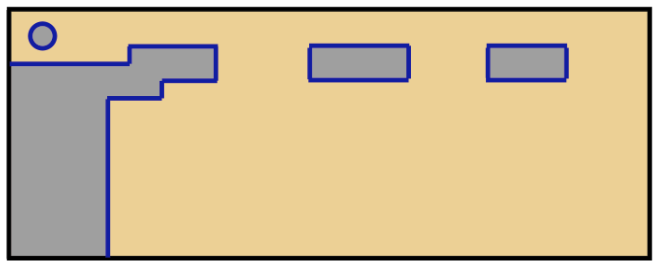
In the design process, I came up with a few ideas going in completely different directions. The first was based off the SD card, a pretty simple rectangle with a corner cut out, but the bulk of the details was in creating a route in the board representing the circuity. Another idea leaned towards Nordic designs, mostly since I was fresh off of playing a Viking-based video game at the time. But in the end, and after discussing it with my classmate, I decided to go with my third idea, which was an emulation of the shape of a butcher’s knife. I didn’t want it to simply be a trace/cutout of one so I pulled the ‘handle’ off of the ‘blade’ to make the design a little more obscure, almost resembling an axe head but with the shape of a butcher’s knife.
Band Saw:
I used the band saw to get the general outline of the board done. I used it to remove the bulk of the left side under the ‘handle’. Things got a little tricky when trying to wedge inside the S shape at the top right of the area I was removing but Andy pointed out that I could make several diagonal cuts making triangle pieces.
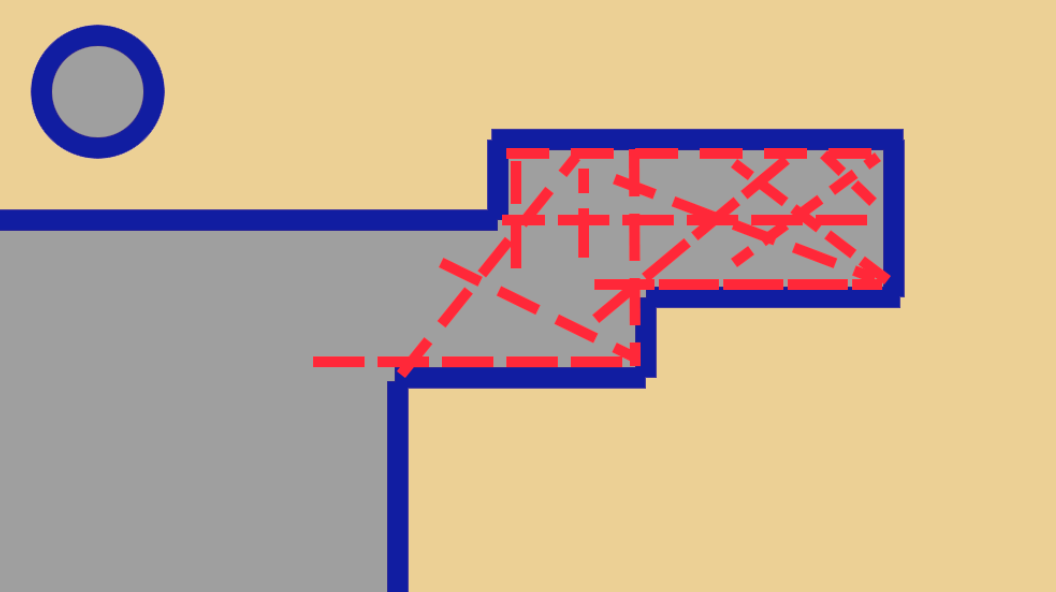
Given some angles weren’t possible given the size of the area and the saw’s width, I made several parallel cuts along the inner edges to simple remove material, but the bulk of it was removed using Andy’s method.
Drill Press:
Using the drill press I bore the hole needed in the handle for hanging the board up, but I think the more educational process comes when used in conjunction with the scroll saw.
In order to get started in removing the two cutouts in the middle of the board, I first used the drill press to remove circles at the two ends of both rectangles.

This allowed room for the scroll saw to remove the space in between, as well as the small corners on the outside.
Scroll Saw:
From first impressions it seems like the scroll saw simply accomplishes the same thing as the band saw, but the beauty of this machine is that the saw can easily be taken out. This meant that I could insert it through the holes I made to cut out the rest of rectangular hole. One drawback is that because of the saw’s lower speed I made a few uneven cuts because I was moving the board too fast, it also seems like the sawdust has a tendency to pile up right along the cut as the saw also moves upwards, unlike the band saw, and would often cover up my guiding lines.

Files:
This process took the longest for me (and I’m sure for a lot of others), particularly because some of my cuts with the machines were a little uneven, I had a lot of filing to do along the ridge of the inner cuts I made (the S shape and the two rectangle holes). Unfortunately, relying on the file and my very poor eyesight meant that I could not rectify the unevenness of my machine cuts, so I sort of lost the straight edges I was originally looking for, but I did find that the different file shapes were very convenient for certain areas, the flat one being slightly wider and lighter for long flat edges, and the square one for filing even 90 degree corners.
Sandpaper:
I started with the 80 grit to round all the edges, also to try and remove a bit more of the unevenness still present along the length of my cuts, then moved to the 120, 240, 360, 400, and finally the 800 to smooth everything down. I was really struggling at first getting my fingers into the narrow passage of my design, but Andy offered a decent solution in wrapping the sandpaper around a file to reach those places. Ideally I would’ve used the OSS to sand those areas but unfortunately I could not find a supervisor in order to use the machinery.
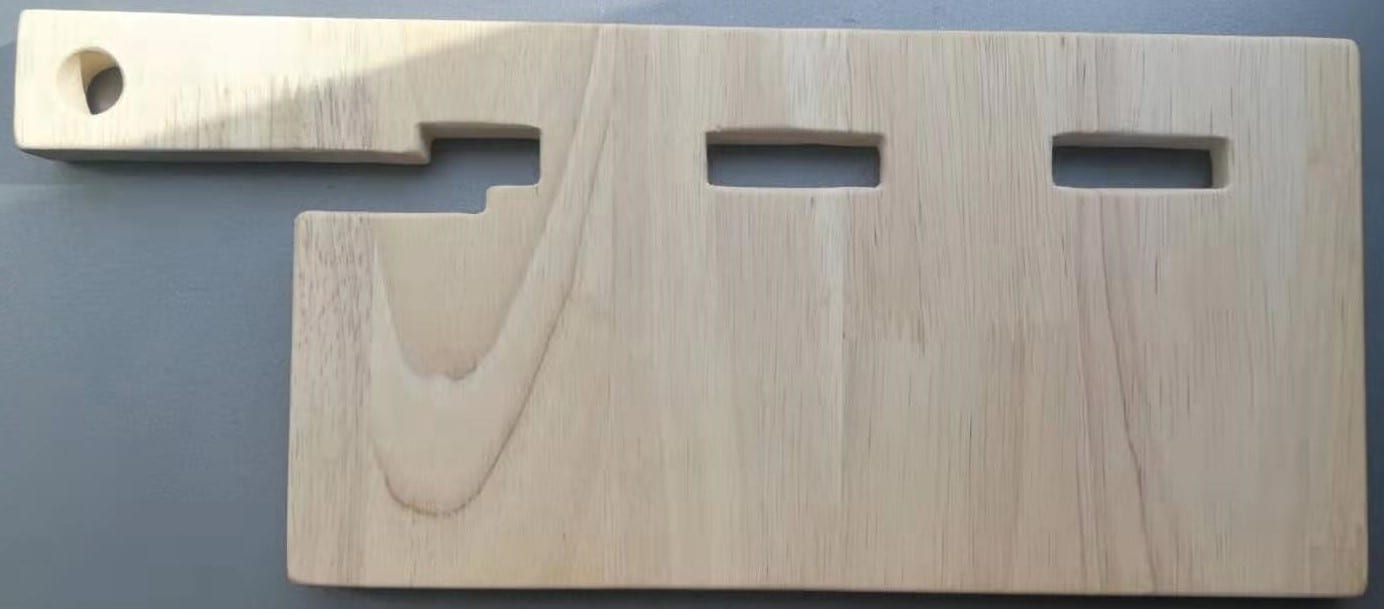
Unfortunately, in my rush I forgot to take photos between these steps, but hopefully the diagrams help envision the process.
Week 2: Routing and Finishing
Router:
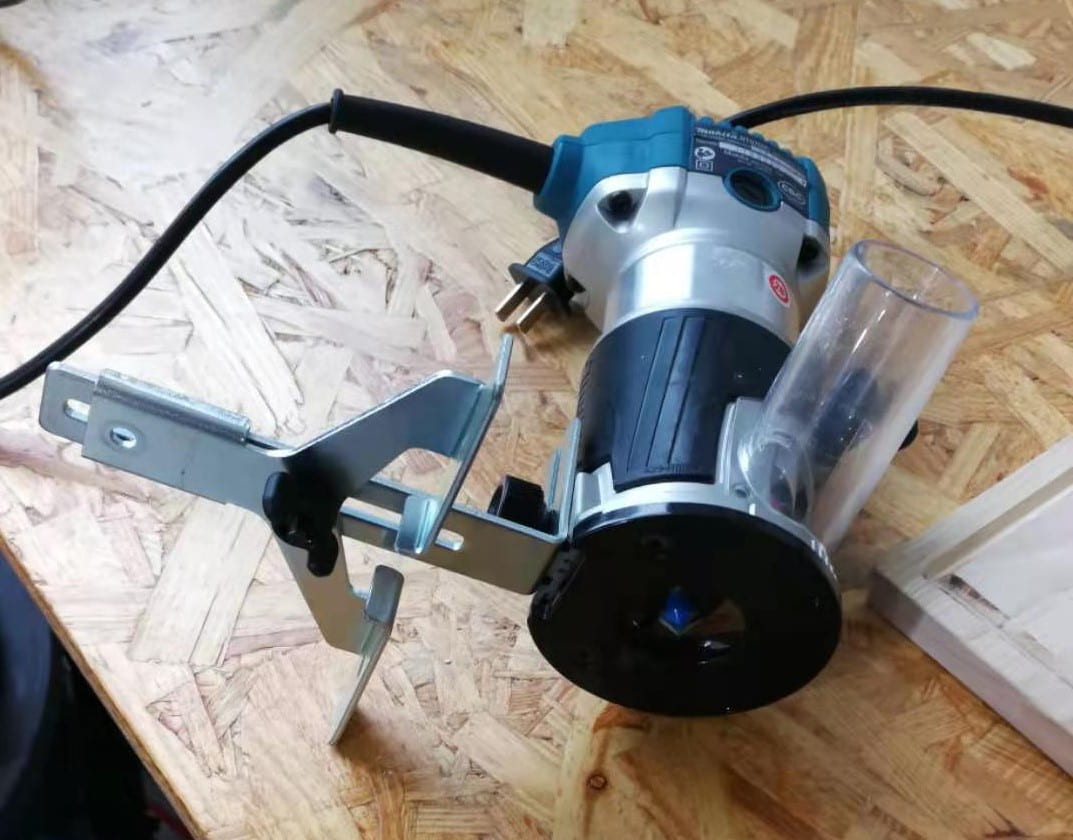
I first tested the router on a scrap piece of wood.
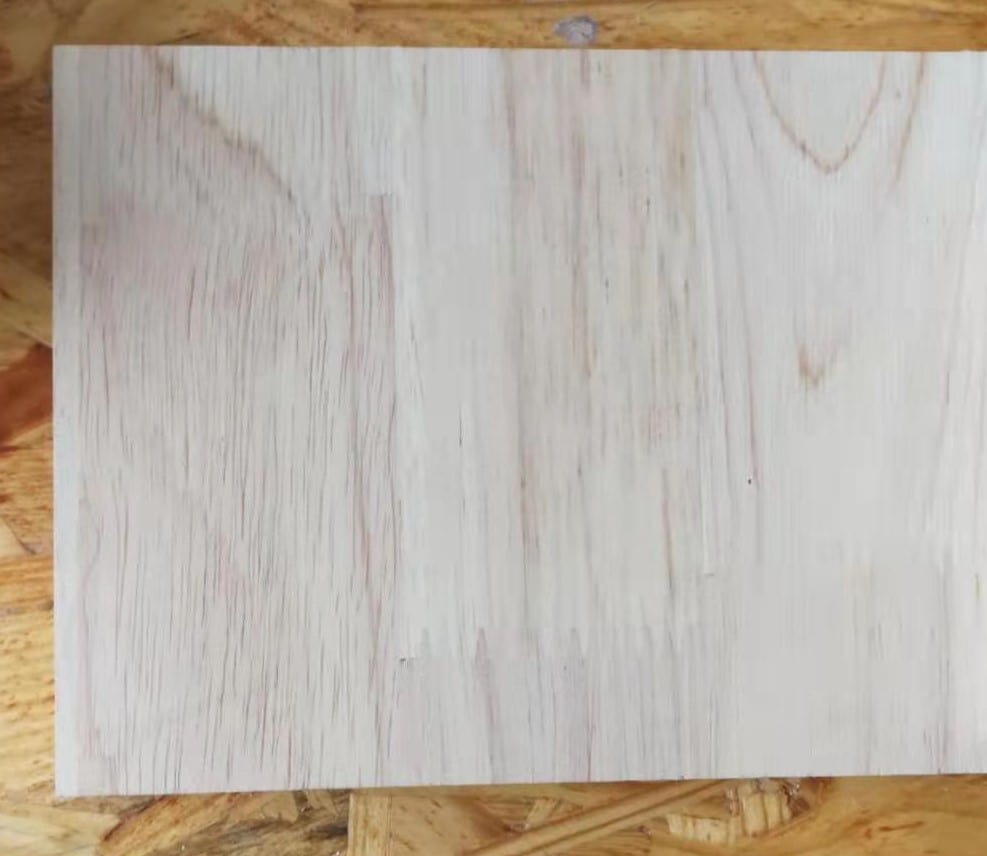
For the first edge I moved a bit too slow causing a lot of burn marks but I think I got the speed down for the next two sides. It was a good thing that I practiced before doing so on my actual board.

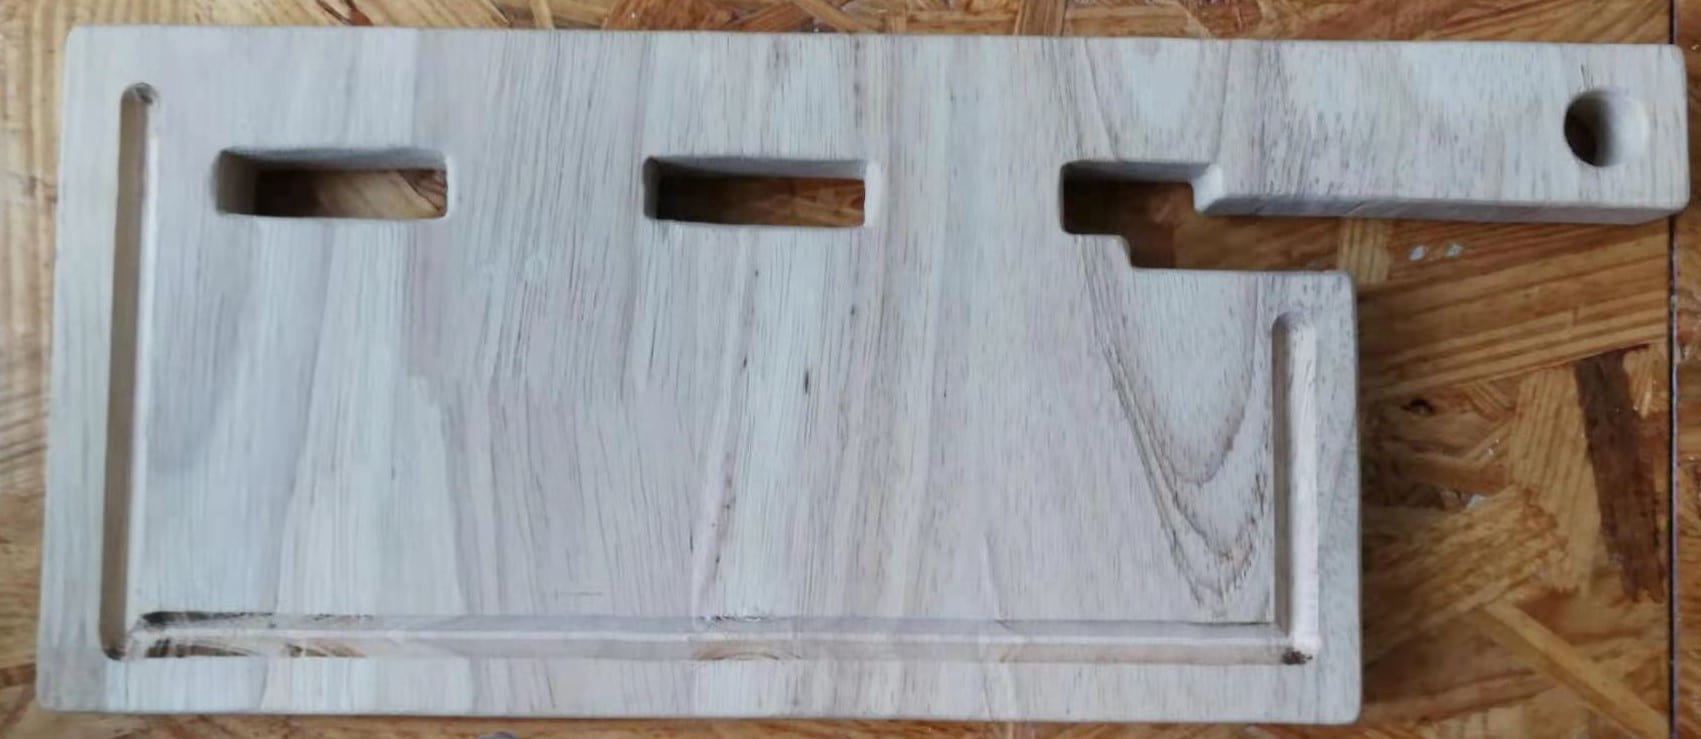
The cutting board I have back home has a sort of well along the edges to catch liquids, and I wanted to add that to my board as well. Despite the job being better suited for the CNC, I found out that the handheld router is quite adaptable as well, changing head shapes, depth, and the distance from the edge as well. I ended up going for a V shaped groove a half-inch in from the edge.
Unfortunately there was a slight mishap in the bottom left corner. The guide seemed to get caught on something but after checking multiple times there didn’t seem to be anything obstructing it so I thought it might’ve had something to do with the wood itself so I decided to push through on my third attempt, which caused a little bump downwards and some burns. All in all, I think it generally turned out fine, and the fact that it was perfectly at the end of the line means that it’s fairly covered by the perpendicular cut was convenient.
Finishing:
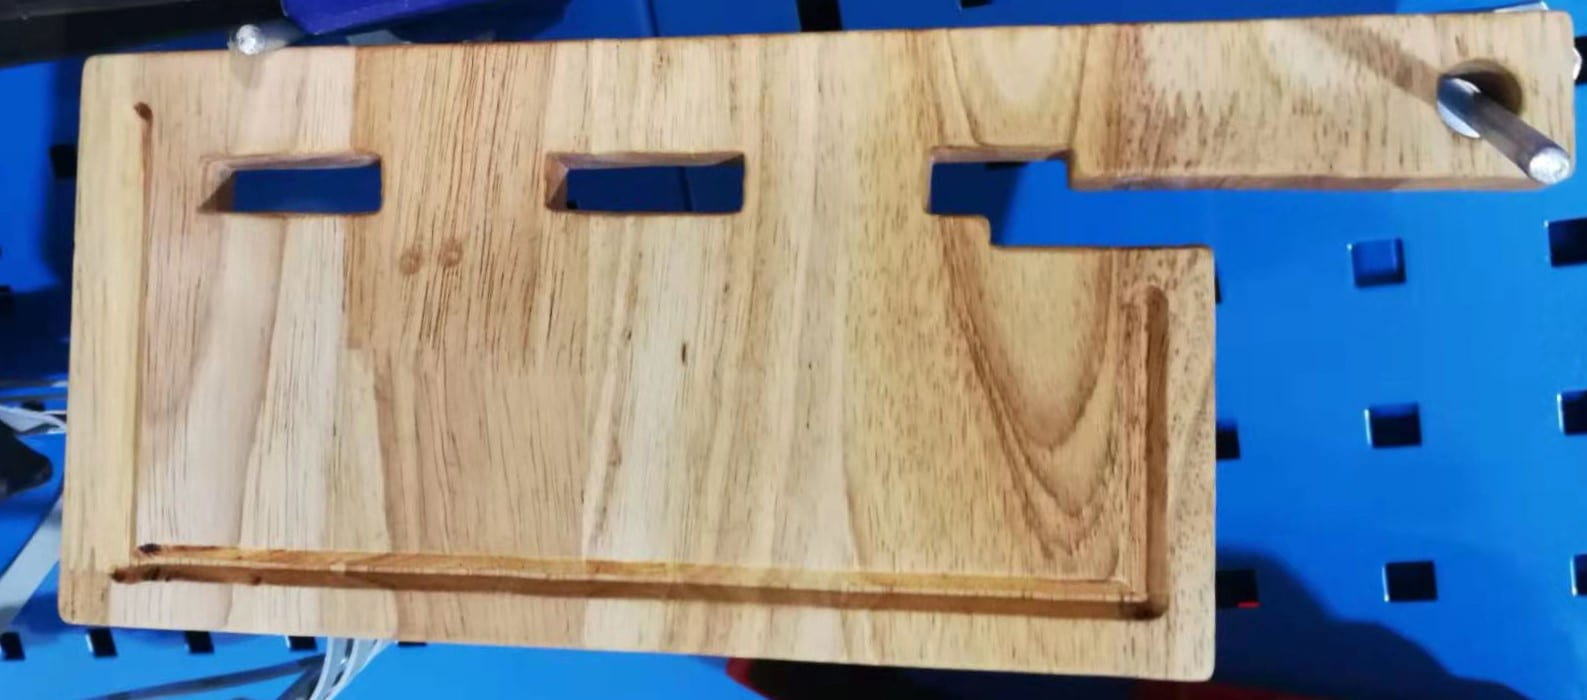
I cleared off the new edges with the 180, 320, 400, 600, and 800 grit sanding sponges, which made things more convenient for me as they can form-fit into the cut. As according to the instructions I then cleaned off the board with a rag, applied the mineral oil, waited 5 minutes, applied the butchers block oil, and let it sit for 25 minutes.
Mineral Oil:
Butcher’s Block Oil:
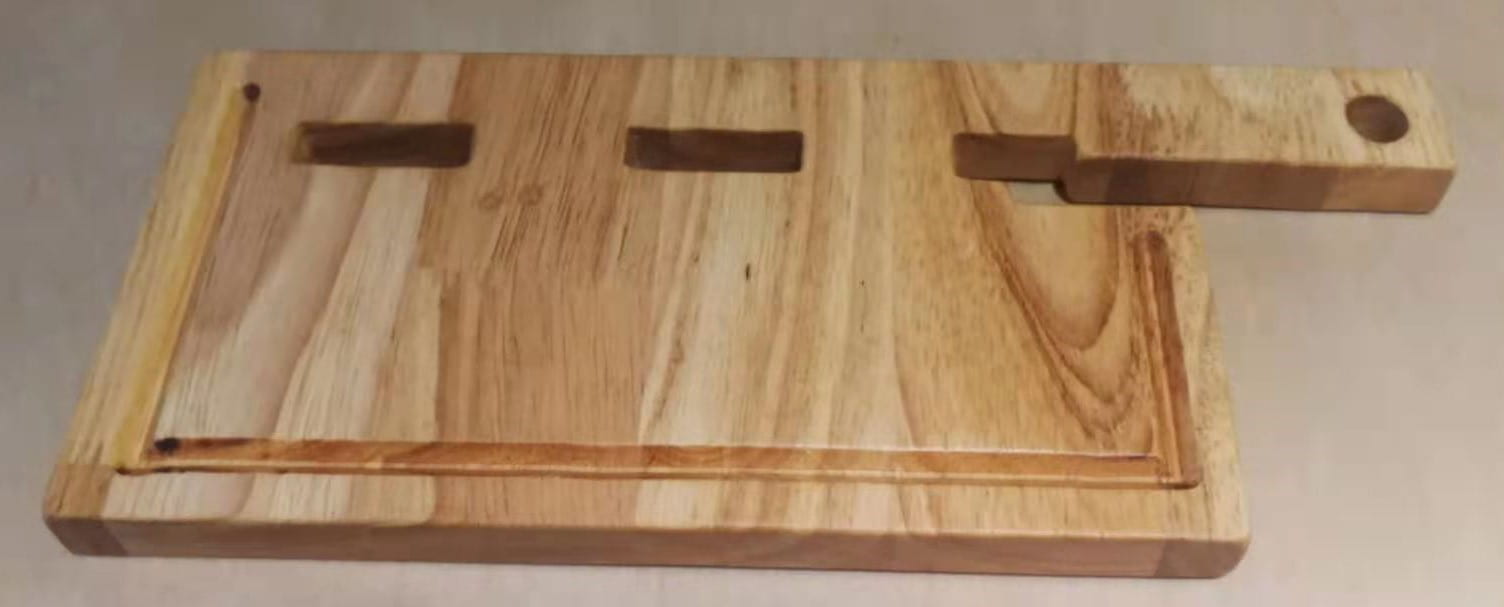
There certainly was a noticeable change in color and texture, especially after using the butcher’s block oil, giving it a sort of waxy coat.
Final Thoughts & Changes:
it’s nice to be able to finally work with these kinds of tools in practice, learning the ability and limitations of each, I was particularly surprised with the scroll saw, a machine I hadn’t heard of before but I used quite extensively for this project. I had quite a number of cuts that were uneven this time around, looking back I think I was just too nervous about following the safety procedures that I would sometimes rotate or jerk the board around unintentionally making cuts where I didn’t want them. With a boost in confidence now, and more knowledge on how the tools operate, I’d love to give this project a second go. I might even want to add more designs using the router/CNC, or make the spaces in between the ‘handle’ and ‘blade’ in my design more distinguishable; widening it up a bit would also help in sanding/finishing as I had a hard time reaching in there. If I were to do another similar project, disregarding design itself, I think I would want to work with a larger piece of wood to start with. There certainly was a lot of limitations with the machines working on a board this small, which made things much harder throughout the process. I’d also love, as a learning experience, to use more hand tools, such as the rasps and cornering tool. I think that when it comes down to small details, machines have somewhat limited functionality, so being able to work on those by hand would be a great skill set to have.