MLNI – W12 – Final Project Documentation: Revealing

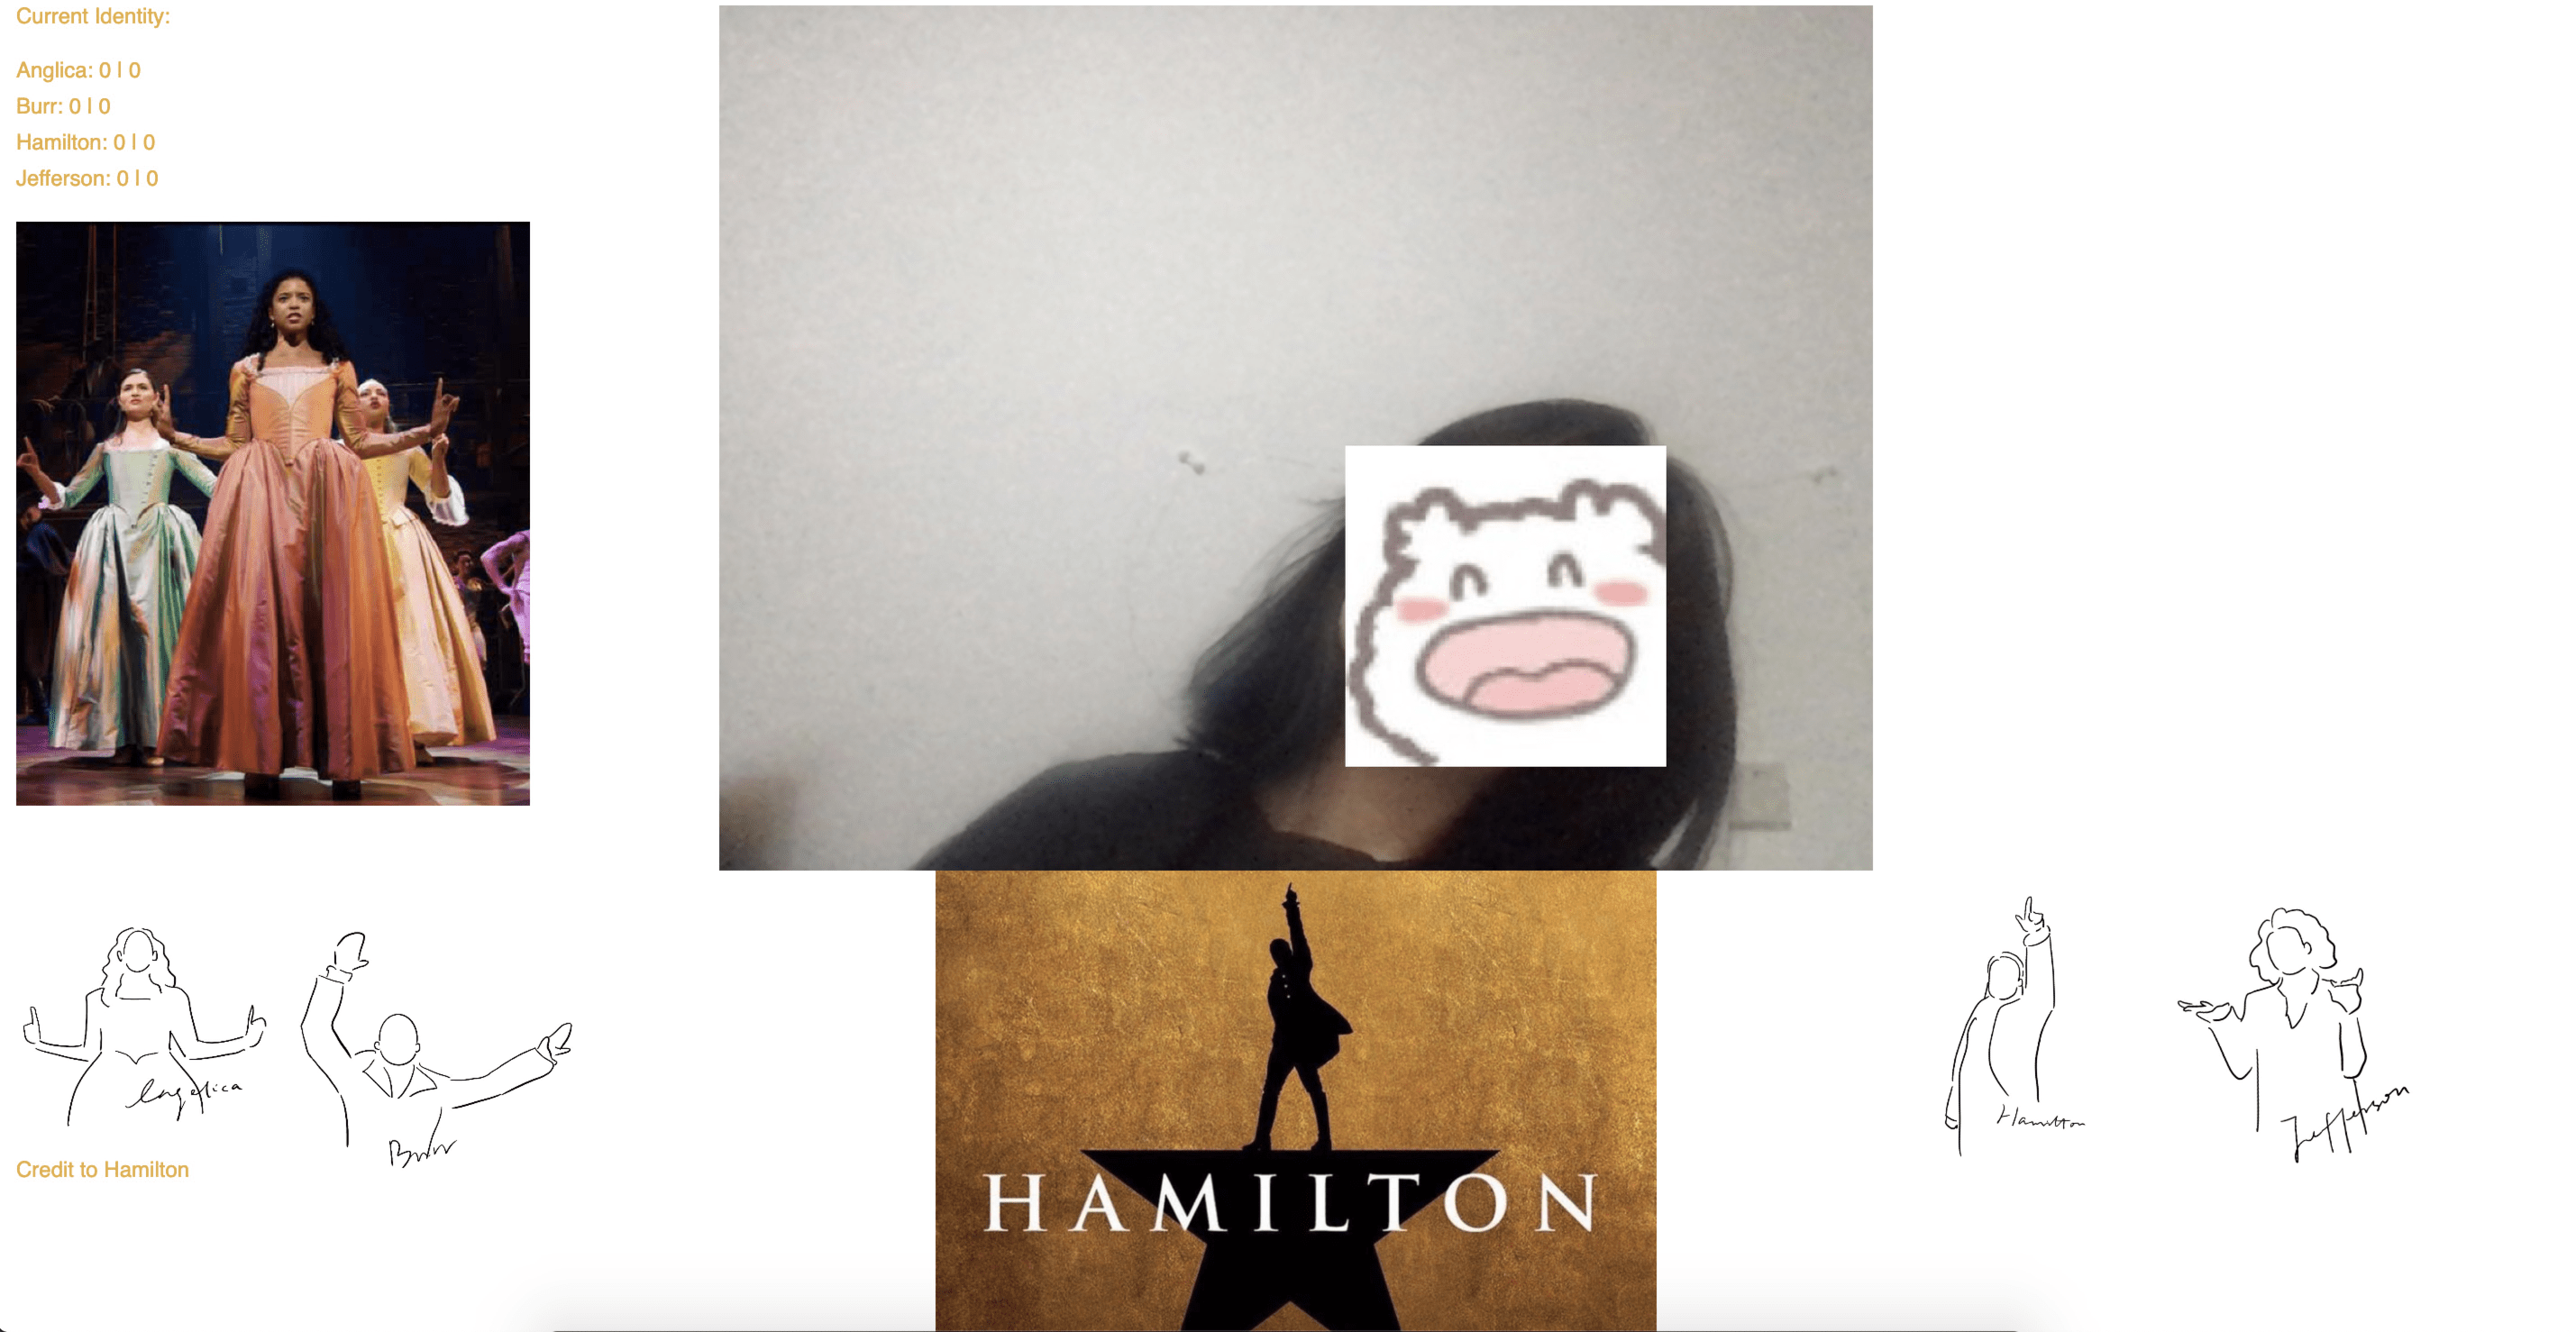
Project Name: Revealing
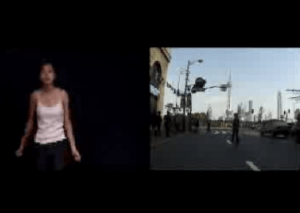
Revealing
Video Demo:

https://youtu.be/pyPlHBFH89Q 

Code Link:

https://drive.google.com/file/d/1zA6KRWj8FQQsm8KUQ7lpCYfGOBFPxctH/view?usp=sharing

Development Doc:

https://docs.google.com/document/d/1cx7WbF6syAdNrv-9CLh0WKJVK6rxhX3cA5MZjvfWTNg/edit#


Concept Development
Blow
The Scream

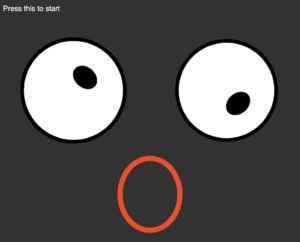
Initially inspired by The Scream and Blow, I was thinking about [control], [information], and [distortion]. The 3 words remind me of the turbulence in the contemporary era – everyone is struggling in the turbulence caused by the information explosion, a so-called “modern people” cannot live without any phone or laptop for one day. However, it is important that we still keep a part of ourselves awake. Therefore, I wanted to create something that help people find the calm inner self –some of my classmates questioned this since they are not sure how I should express the “inner self”. At that moment what I have decided was only to use voice input to control the visual effect, so it was highly on the fence.

I have been long feeling there is something contradictory in my project – until I discussed it with Professor Moon, he mentioned that it is not only important to keep yourself in turbulence, but also to make your voice heard. You have to reveal yourself to avoid being flooded – another way of expressing that you have to be yourself inside the information explosion. The technical part of my project echos with this concept as well.

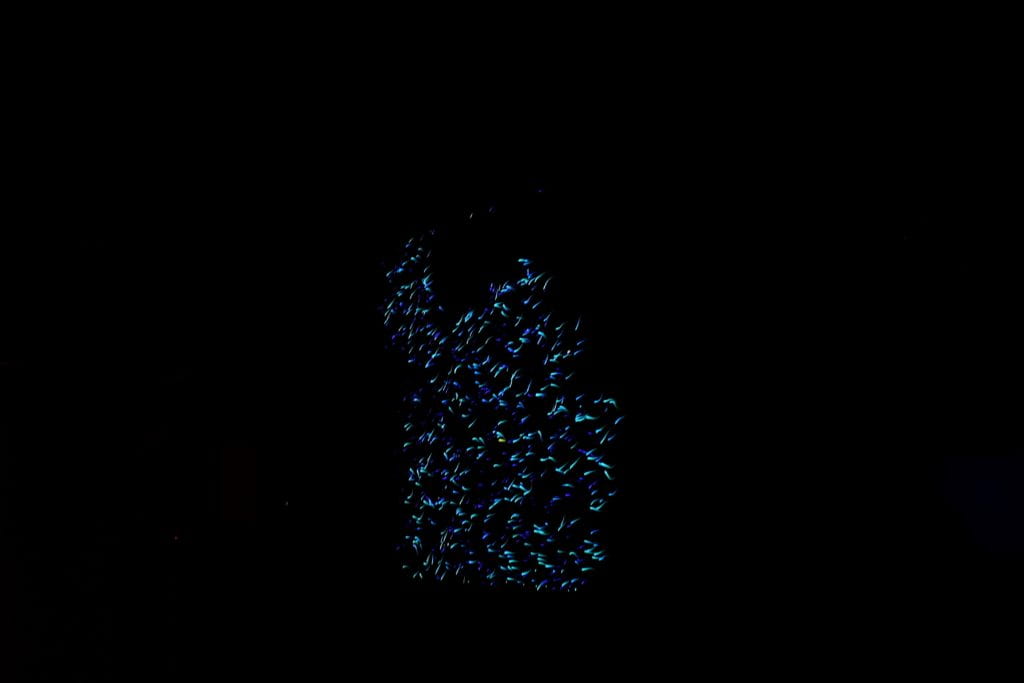
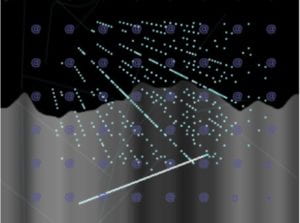
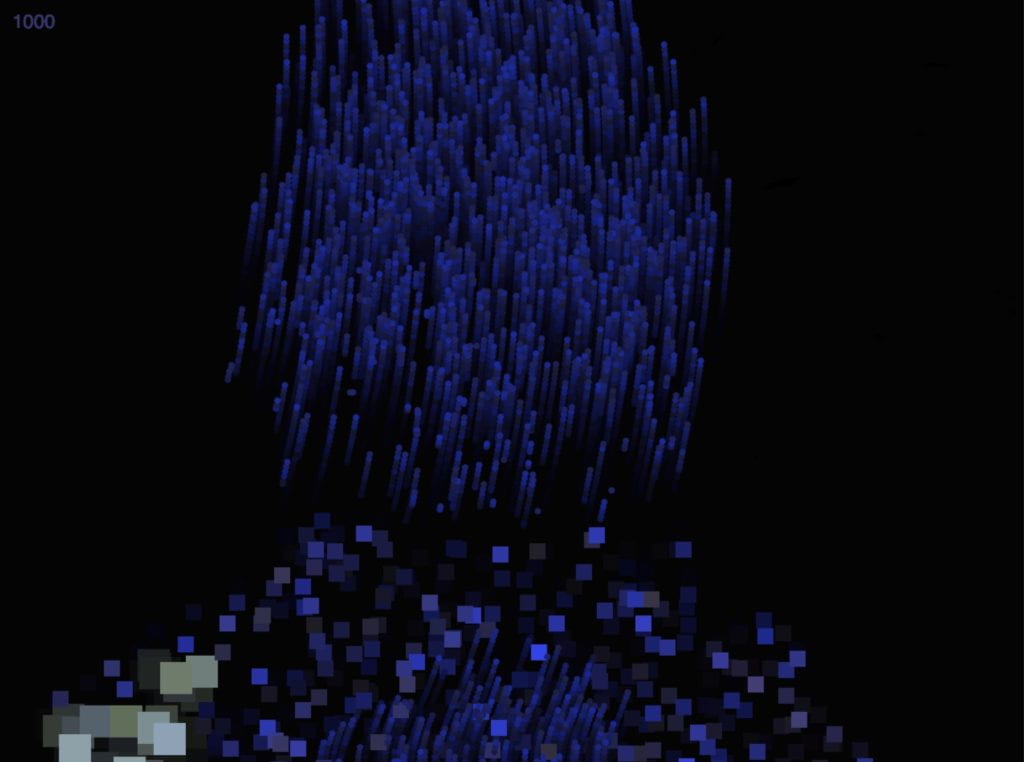
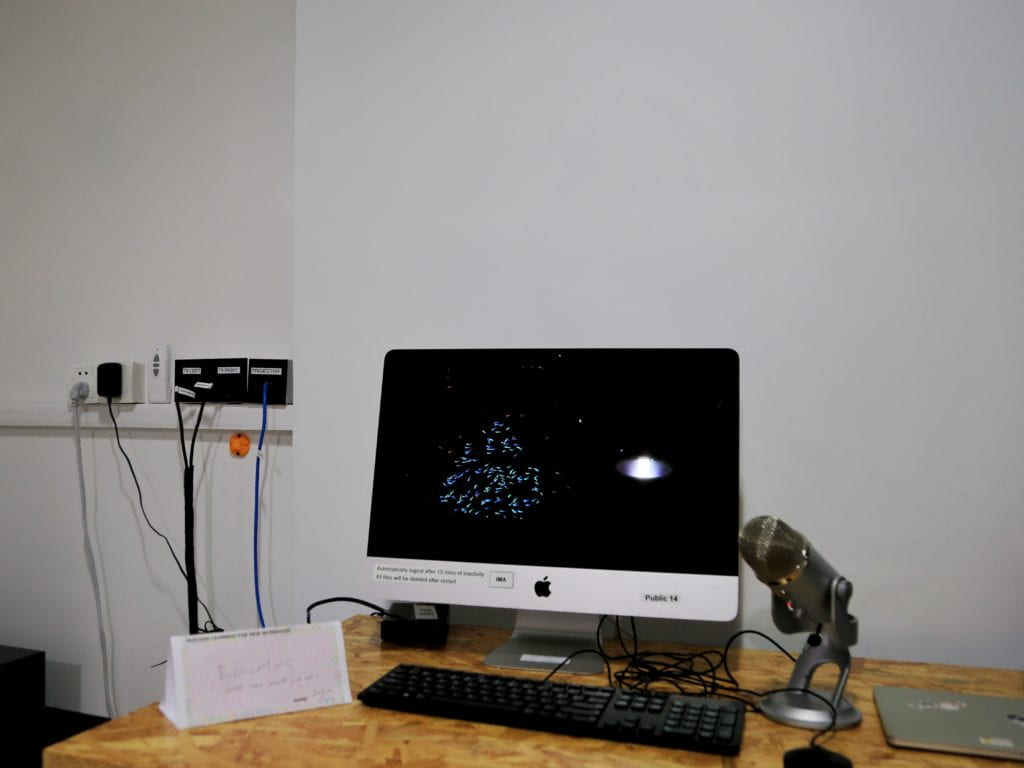
For the visualization, my inspiration mostly comes from Perlin Noise. The flow of the lines is so natural and perfectly fits my expectation on consciousness visualization. Therefore, I started to research more about Perlin Noise.

Perlin Noise work from Yasai
 
Technical Development

Basically following my implementation plan, there are 3 main parts of my development:

Visualization -> Combination with voice input -> Finalization

Difficulties & Progress
  1. Perlin Noise! It is an amazing and beautiful pattern, but much more difficult to play with than I have thought. The first thing I had to do is to integrate the Perlin noise pattern into my face area detected by body pix. I referred to Ellen’s midterm project and integrate the Perlin Noise pattern into the face area, however, the curves were changed into lines, and didn’t look good. It is even worse after I made some modifications.
Screenshot. 1 PerlinNoise lines in the face area
Screenshot. 2 PerlinNoise lines

After having office hour with Moon, he pointed out that I had roo many for loops in my code which made everything super slow and didn’t work well since my laptop had to calculate too many things in one run. He also created the function checkBodyPixArea() (even though we didn’t use it later), and store the value inside the index function. By pushing the particles class inside the corresponding if statement, it is much easier to go.

Screenshot. 3 Effect after integrating Perlin Noise & Bodypix

2. The visual effect. As some peers have commented, my concept was relatively ambiguous and hard to achieve. After solving the first difficulty, I started to think about what kind of effect I wanted. I asked Ellen for feedbacks on what I had and she introduced me to her bodypix assignment. I was inspired by the alpha effect and played around with different shapes & colors, but not satisfied with the result. 

Screenshot. 4 Vertex – line 1
Screenshot. 5 Vertex – line 2
Screenshot. 6 Rectangles
Screenshot. 7 Rectangles + Perlin

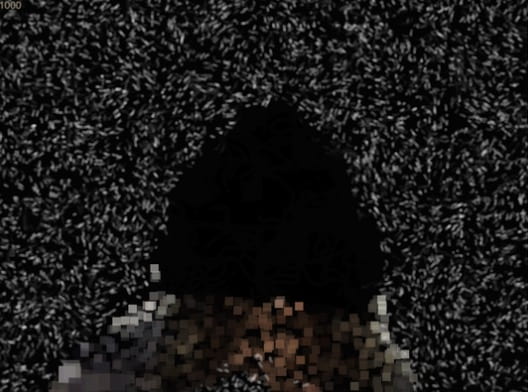
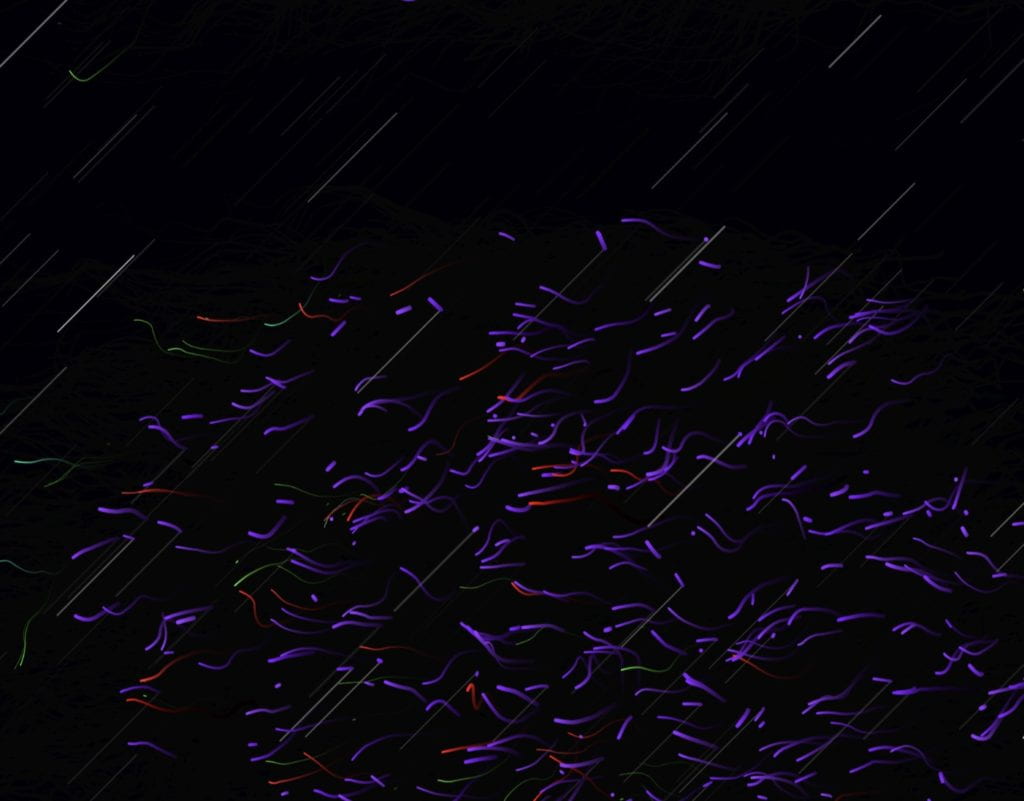
Doesn’t sound good so far. The Perlin noise in the background looks like the bacterias developed in the laboratory – they are realistic, but a little bit gross. The whole visual effect is not discrete as well, as I was too greedy: I wanted all kinds of factors to be inside to better embody the information explosion, but what I was doing was already explosion. I also played with the noise wave during the process, but finally, I decided to abandon it since it doesn’t contribute much to the visual effect.

Screenshot. 8 Rectangles + Perlin 2

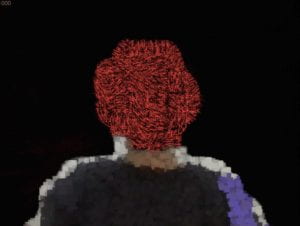
For the improvement of visual effect, Instead of using one color, Professor Moon suggested I use hue color mode instead of RGB mode. The changing color made the visual much more varied and colorful. Moon also modified the parameters of the Perlin Noise so everything flows more naturally and stays on the screen longer, making sure that there is still something when there is no obvious input. Now the visual effect looks more like some people’s claiming – it can be heard and would be recorded.

Screenshot. 9 Final Visual 1

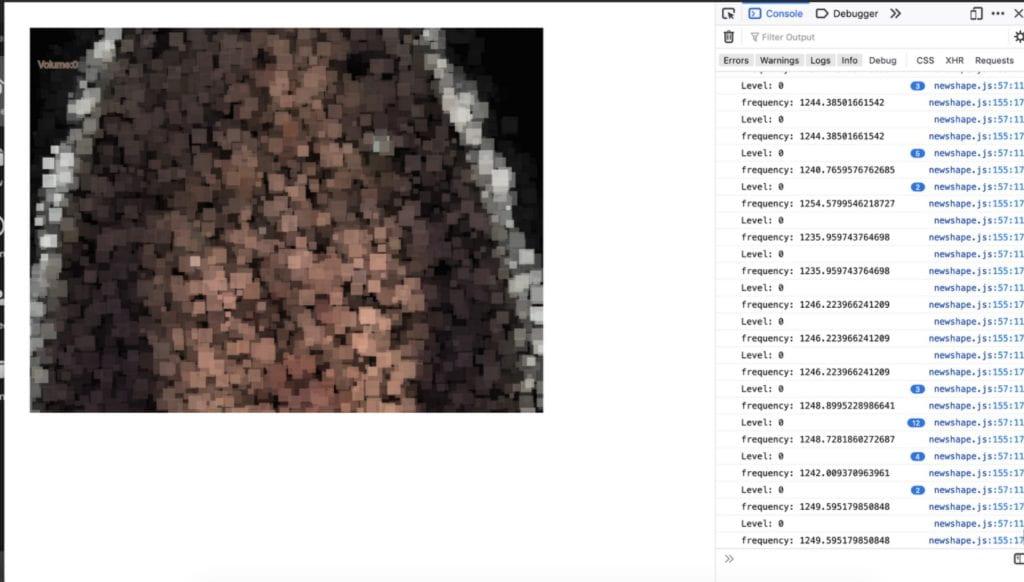
3.Sound input. Going along with my initial proposal, I decided to use the crepe model and frequency as my input. But only using the crepe model is too monotonous and cannot reflect the information explosion very well, since its most intuitive presentation is people’s loudness. However, the amplitude doesn’t work even though I checked it multiple times. During the final meeting, Moon still suggested I use the amplitude and added an initiate function where help the browser check I have started running the code. Later I also figured out that amplitude-related input only works in Chrome but not in Firefox, and the crepe model works way better in Firefox. Embarrassing but still don’t know why 🙁

Screenshot. 10 Initiate Function

4. Performance & Experience. Initially, I was about to design a game-like experience, with a noticeable and official beginning and end. However, Professor Moon advised that an experience without end would give the audience a better, more immersive experience. Regarding the performance area, since I tried to run everything on the window size, it made everything super slow and my laptop cannot support a long-time live showing. Mapping the normal camera size (320×240) to the whole screen shows the same quality but much better performance.

Future Improvement

As mentioned in the documentation doc, there are mainly 2 aspects I want to develop further. 

  1. According to the audience feedback from IMA Show, some of them didn’t realize what’s on the screen is themselves. The delay of the model and various patterns confused them a little bit and didn’t embody a real-time body shape. I would like to slightly divide different parts of the visual effect to better let the audience realize their body shapes, or as some of my peers commented, add an instruction page/voice before it starts.
IMA Show Set up

2. Even though it is not like a game but more like an experience right now, I still have a tiny bonus scene, which is when your pitch is higher than 1500 Hz(when you talk, generally won’t be higher than 600 and the highest pitch of human beings seems to be around 2000), you will have a chance generating lines on the screen. I wanted to convey that don’t be too loud when you speak up, also keep some space for others to express their ideas. Listening is still important under the information explosion. It is not the main part, but I think I can develop further on it as well.

Screenshot. 11 Lines


Thanks to all my peers who provided me suggestions and help do the user test, and great thanks to Professor Moon! You are really one of the best teachers I have ever met in my life. I know I am not a coding savvy person (even not good at it) but you can always inspire me a lot, no matter for coding knowledge or concepts, or even the way of learning. Wish you all the best and hope to see you soon next semester! 대단히 감사합니다! 

Personal Documentation Diary

MLNI – W10 – Piggy Pig (Express)

Link to the code: https://glitch.com/edit/#!/w10no 

Process Recording

Screen Recording

Inspiration: (from Ellen!)

Our inspiration comes from a piggy filter where people can adjust the pig’s size from their own eyes. Therefore, we decided to use one person’s data as the pig’s eyes, another as pig’s nose. 

Development

After importing the poseNet model to the project, we have the pig’s eye and nose appearing on the screen according to our own nose/eye. However, when pushing eyes in the receive data, the nose we receive from the other is always blinking. We tested with updatelifespan and want to keep the appearance longer on the screen. However, that only adds to the number of objects. 

After meeting with Professor Moon, he suggested we use direct variables/objects in the screen rather than using the array and push it. Now the rendered shapes are much stable, however, different screens still show up different things. Moon then told us about creating modes, and by changing the mode we will be able to switch to the right stage where the eyes are above the nose.

With updatelifespan()

MLNI – W9 – Hamilton Character Attempt (KNN)

For this week’s assignment, I designed an interactive interface for people to try on different Hamilton characters and listen to their representative songs. 

Link to the code: https://drive.google.com/file/d/1EU7yRZDP2TlUUP8e1lkrENj7jHrg4GLO/view?usp=sharing

Link to the demo video: https://drive.google.com/file/d/1V9zsGUwVMhyjtmycboMwV1XFoDRPSDx5/view?usp=sharing

Design Process

After coming up with the ideas of making something for Hamilton which is my favorite musical,  I selected a few typical characters and their representative gestures & songs. After selecting the pictures, I traced out their basic postures by tracing the pictures to prompt the player how should they act to interact to get the results. For the code, I basically modify the KNN classification code we practiced in class.

Angelica
Jefferson
Hamilton
Burr

After finishing collecting all the resources I need, I came up with the first-version of interface:

 So from my initial design, I will train my model to recognize the four gestures as shown above through different inputs, basically 40-50 pictures for each with different distances away from the camera. When the player behaves according to the corresponding gesture, they will be able to see the character.

The character appears with a certain gesture (not the final one!)

After setting up the main process, I refined my interface.

Future Development

For future improvement, I would like to add the function where the users will be able to train the model by themselves, to get a better result on the KNN classification. What’s more, as shown in the demo video, KNN often mixes up the gesture for Burr and for Hamilton. I think I can redesign the  gestures if needed.

MLNI – W8 – Midterm Project Documentation

Project Name: Nursery Battle

Video Demo: https://drive.google.com/file/d/16H3OHurnt2GJkxYb8Wd8E4C-zDPOY-E2/view?usp=sharing

Code Link:

https://drive.google.com/file/d/1cvV9ZdZrtzx4z8Ro7pYmhXdXs0bG_SIF/view?usp=sharing

Proposal

https://docs.google.com/document/d/1EwZrT2JUMmsa8qo9znOgx4cLQ1JcFdAoS-bEPGPrH8E/edit#heading=h.aq8alwcoz2oj

Concept Development

Nursery Battle is a 2-player interactive game, for you to release your stress both physically and mentally. The game is a one-player music game during the proposal phase, but with Professor Moon’s advice, the final product is more like a battle game.

Game Start Interface

Technical Development

My project is composed of 3 main parts, the flower, the balls (enemy), and the interaction between them. For the technical building process, I basically followed the implementation plan I wrote in my proposal.

Implementation Plan

Difficulties

Oof! A lot. The first one is about how to generate an adequate amount of balls from the right directions – not randomly on the canvas. Professor Moon told me that I can create different cases to control the position of generating those balls, while replacing the x and y coordination with the target position so that all balls generate from the outline will move to the target position, which is the center. The amount of ball generated by for loop can also be reduced through the if statement.

Fewer balls generated
Ball direction control

The second is about the flower and the interaction. I was trying to build a rectangle around the user’s head as the nursery from the very beginning which requires annoying calculation and doesn’t look good, while Professor Moon suggested I directly using an ellipse –  which is the player’s head as the nursery. The calculation of ellipse is much easier as well, as I can just consider the radius of the ellipse (And I learned that line() does not work as a function! 🤯). Since the ellipse of the user’s head already looks like the center of a sunflower, after discussed with Prof Moon, we agreed on designing the effect with petals on the flower. Moon introduced me arc() and how to generate the arcs wisely through for loop. 

Interaction trigger through dist()
How the petals grow

Progress

Now I have the basic elements and interactions! However, it is hard to play with – it is stressful, as users cannot really catch the ball and it’s not fun, at least not a fun game. I tried to make the detecting distance larger so it is easier to play, but not enough. Special thanks to Ronan who inspired me since she wrote in my feedback form that my game reminded her of the real-person version Plant vs. Zombie, and maybe I could consider adding more game levels.

Therefore I started working on some non-coding work. But the problems always happen in coding. I found 2 life-saving things after rounds of tests, the first one is noLoop() and the second one is creating different modes. The modes can be called under different conditions, which makes enough score -> next level mode possible.

What you will see if you win the game after 60 points
And if you lose 🙁

I ended up with 3 different levels, cloudy -> rainy -> snowy, where with higher frequency, your enemy will be able to generate more balls that make you panic. After completing 60 points, you will be able to win the game.

Level 1
Level 2
Level 3

The final step is some UI optimization that makes the screen look better, which includes flipping the camera. As it is a competing game, it requires people to react quickly while all my users’ feedbacks were “you have to flip it or we can’t play it”. I flipped the text part and flipped it back, so everything works alright right now. Thanks to my roommate’s advice!

Future Development

  1. Optimize the poseNet function so the playing experience would increase a lot. After reading the peer feedback on my project, I realized that jumping around post points really distracts players and needs to improve. 
  2. Design new ways of demonstrating a growing flower at different levels, and maybe have a pop-up picture so it is more obvious that level has changed.

References

https://editor.p5js.org/Elycia/sketches/4tjtkmGIA – sunflower reference

https://www.tensorflow.org/lite/models/pose_estimation/overview -posenet position

https://www.youtube.com/watch?v=Pn1g1wjxl_0 -sound

https://p5js.org/reference/#/p5/curve -curve https://p5js.org/reference/#/p5/curveVertex

https://www.youtube.com/watch?v=lm8Y8TD4CTM – resetsketch

https://www.ea.com/ea-studios/popcap/plants-vs-zombies – winbg reference

https://www.reddit.com/r/p5js/comments/bni25z/trying_to_create_a_game_in_p5_how_do_i_make_my/en5vj7r/ – no loop();

https://p5js.org/examples/control-logical-operators.html logical operators

https://www.youtube.com/watch?v=TgHhEzKlLb4 – start screen

https://p5js.org/examples/simulate-snowflakes.html snow

www.google.com for a few icons I have used in the start page

Professor Moon and Yinmiao, Phyllis who helped me 🙂

MLNI – W6 – Sound Visualization (Penguin!)

For this week’s assignment, I created sound visualization based on p5.js and the crepe model (pitch detection) we have learned in class. Initially, I was going online looking for inspirations and I found an amazing project, but it uses WebGL. It still made me start to think about utilizing rotation and sphere (ellipsis in my project). I found that the rectangle’s rotation visual effect works better than ellipsis. However, it doesn’t look good.

Rotation of the rectangles

After some adjustments, I came up with something like:

OH HI

It’s not very aesthetic but pretty funny 😛 I showed this to my roommate, and she replied me a meme:

Amazing inspiration! I adjusted more according to this meme because the ellipses I added will cover everything (even though I put it at the end of my code), so I photoshopped an image background and put it in. 

One of the biggest difficulties I met was that nothing shows up after I pressed the canvas. Professor Moon brought back the fft and there is the volume on the webpage. With volume, the frequency is able to be detected, thus everything works.

Here is the demo video (I used the audio from the most famous online shopping live host who is famous for speaking super loud so you can see the eyeballs flying off the eyes): https://drive.google.com/file/d/1xwr73-H4Ks0vyaMqcI7b0BfsVwzA9uvg/view?usp=sharing