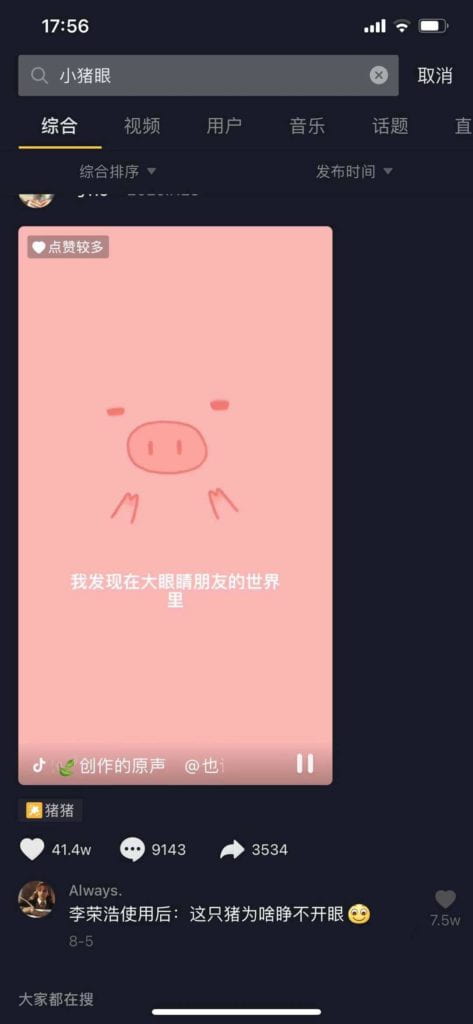
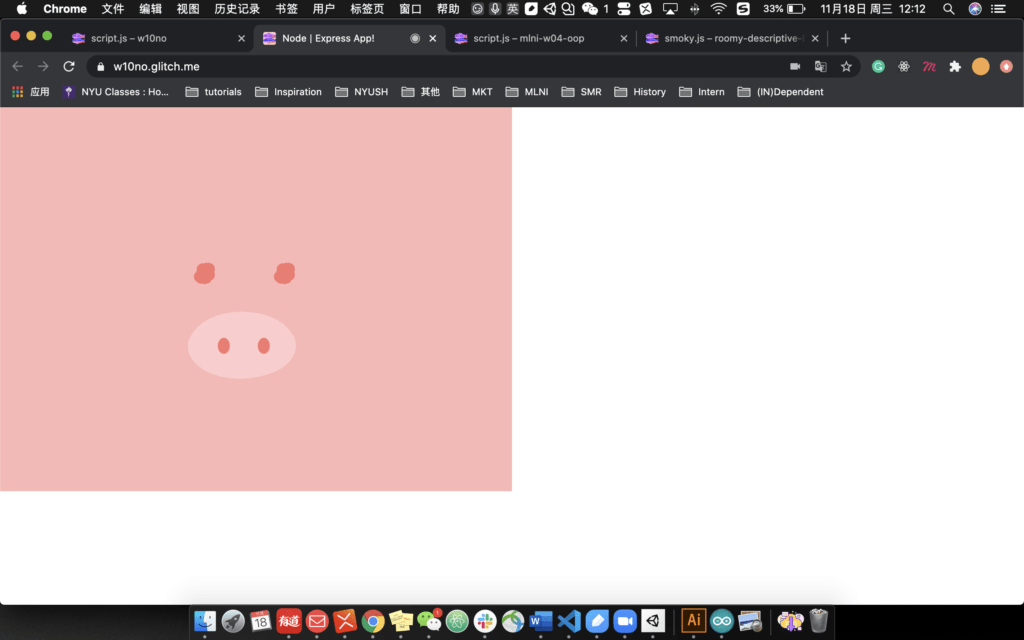
Our inspiration comes from a piggy filter where people can adjust the pig’s size from their own eyes. Therefore, we decided to use one person’s data as the pig’s eyes, another as pig’s nose.
Development
After importing the poseNet model to the project, we have the pig’s eye and nose appearing on the screen according to our own nose/eye. However, when pushing eyes in the receive data, the nose we receive from the other is always blinking. We tested with updatelifespan and want to keep the appearance longer on the screen. However, that only adds to the number of objects.
After meeting with Professor Moon, he suggested we use direct variables/objects in the screen rather than using the array and push it. Now the rendered shapes are much stable, however, different screens still show up different things. Moon then told us about creating modes, and by changing the mode we will be able to switch to the right stage where the eyes are above the nose.
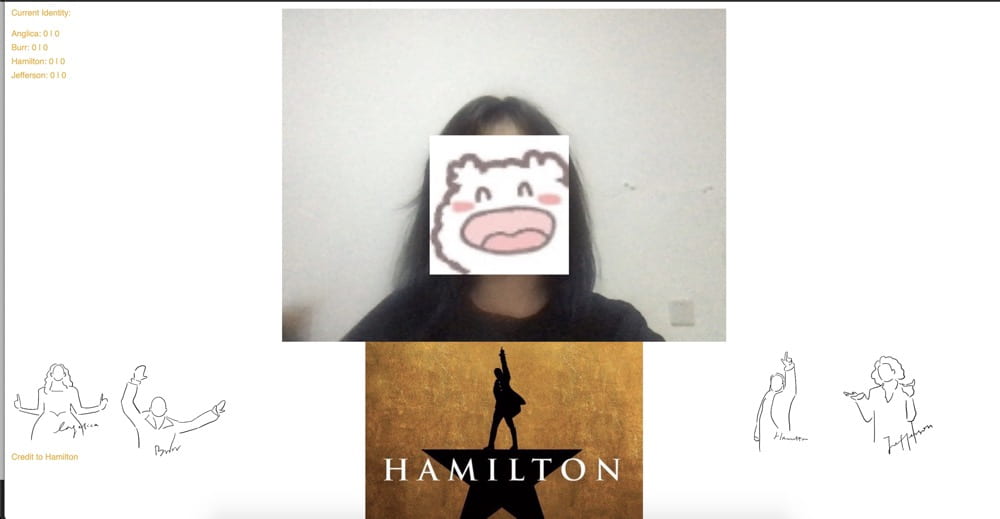
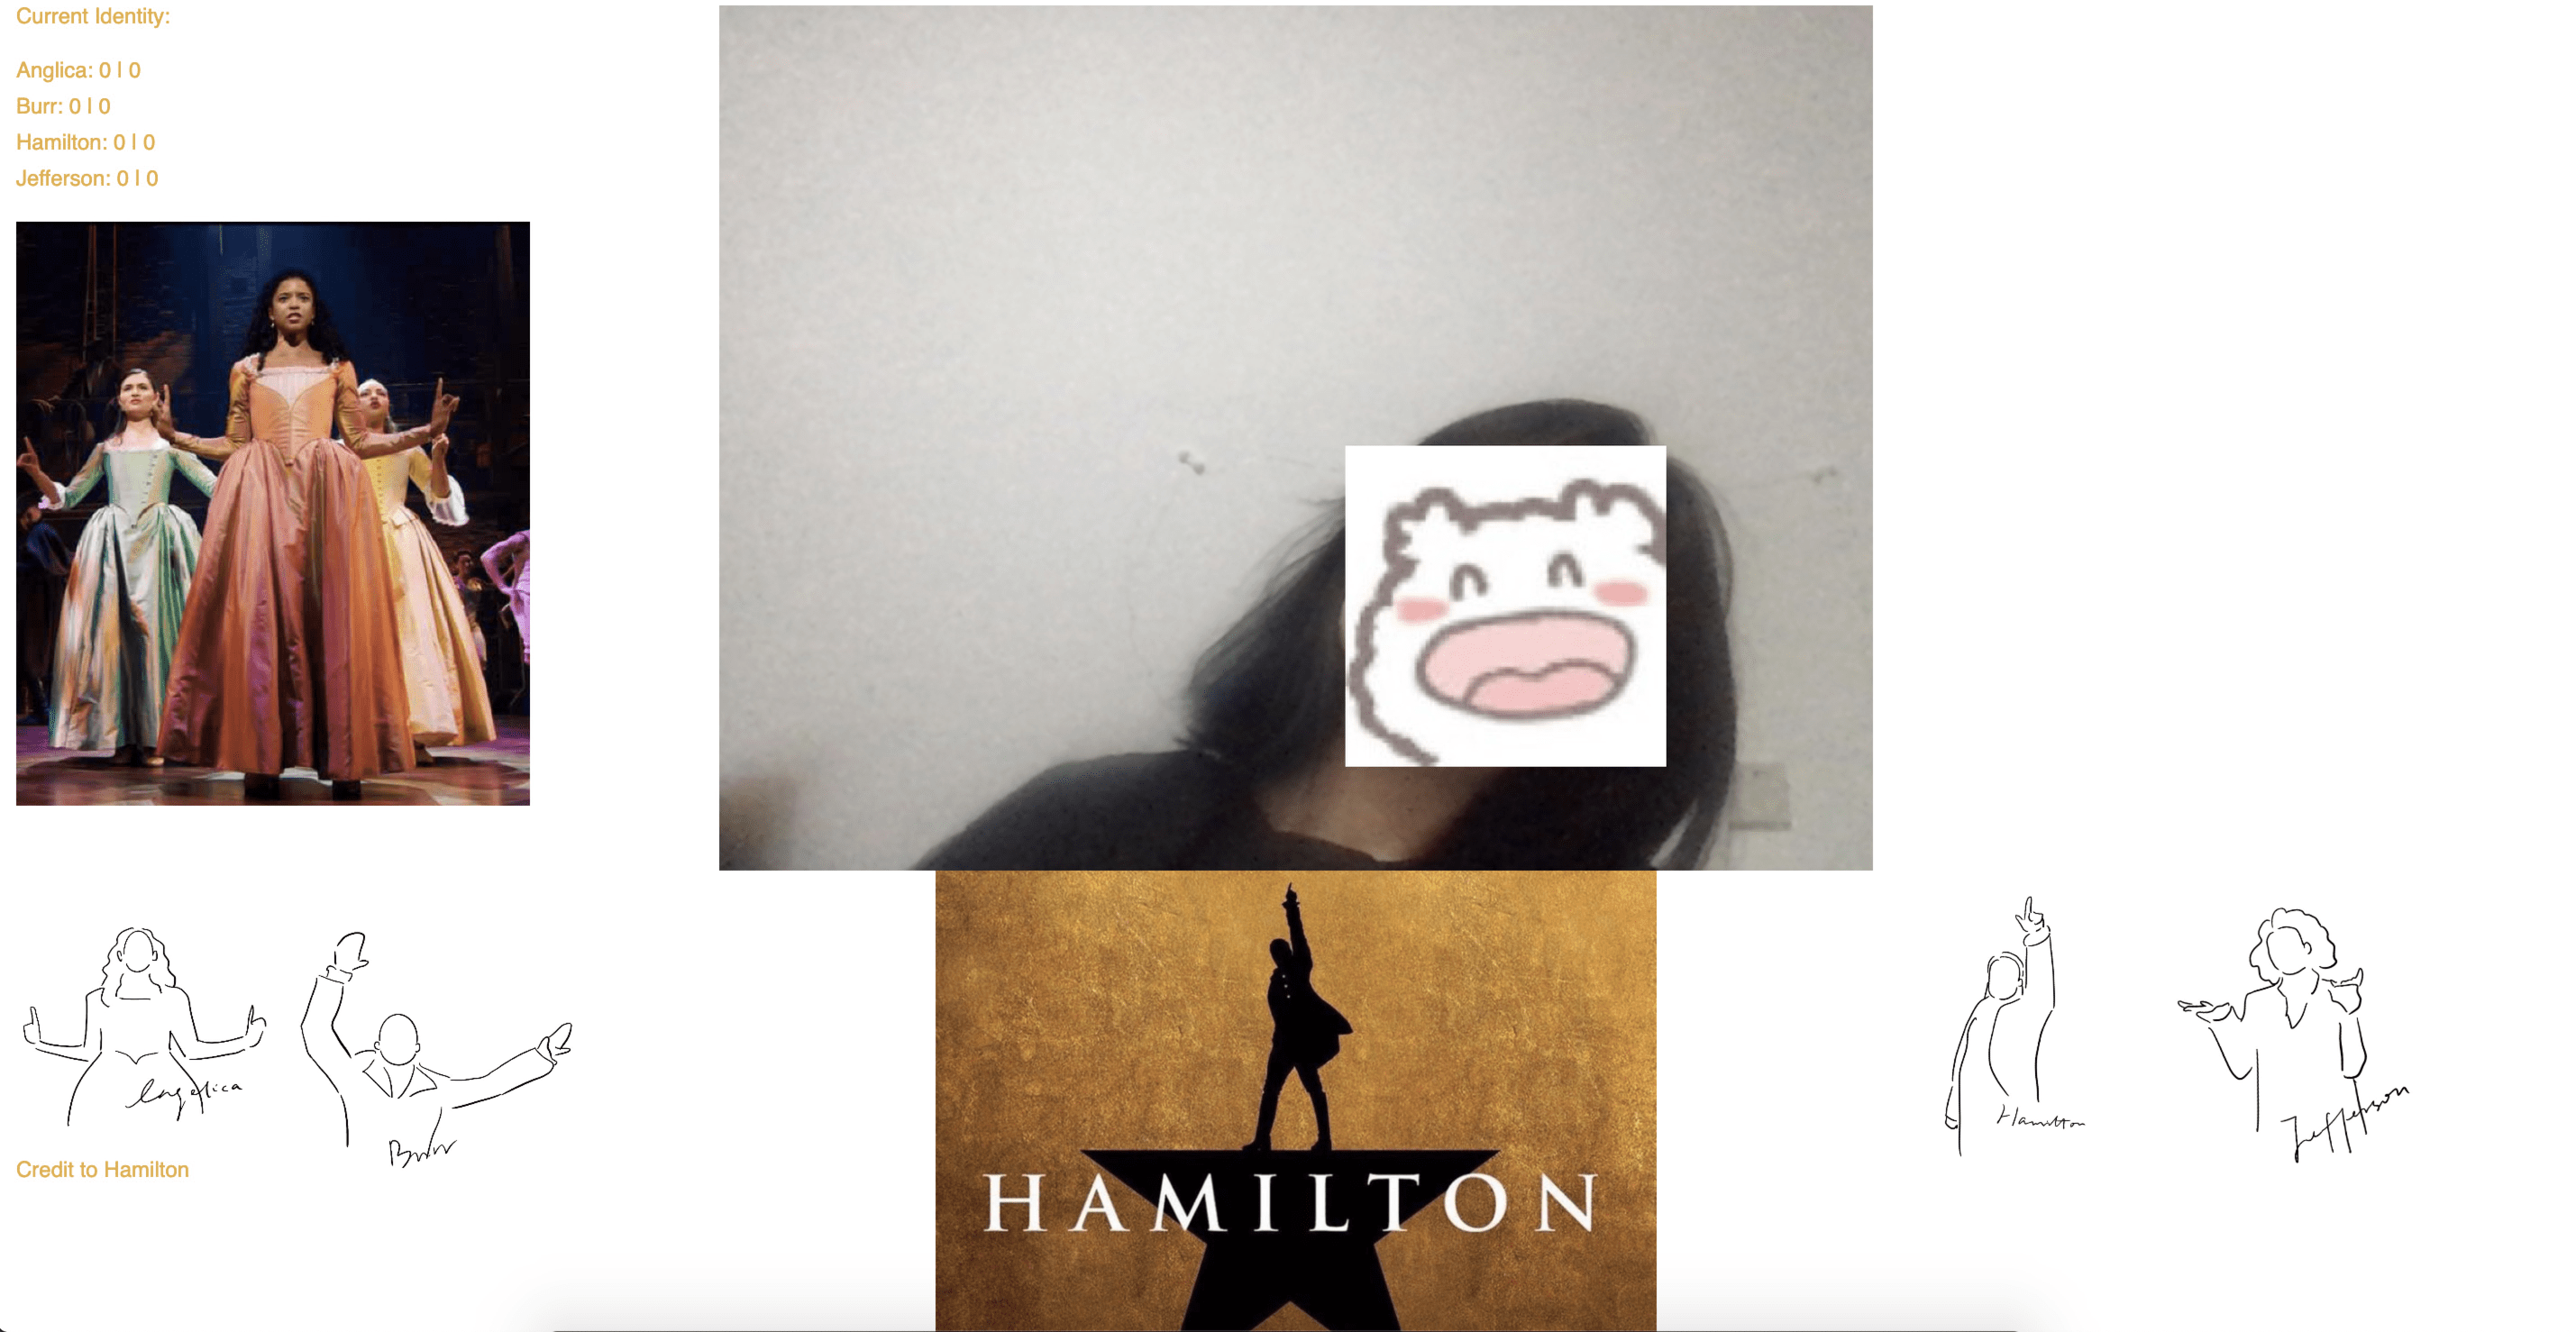
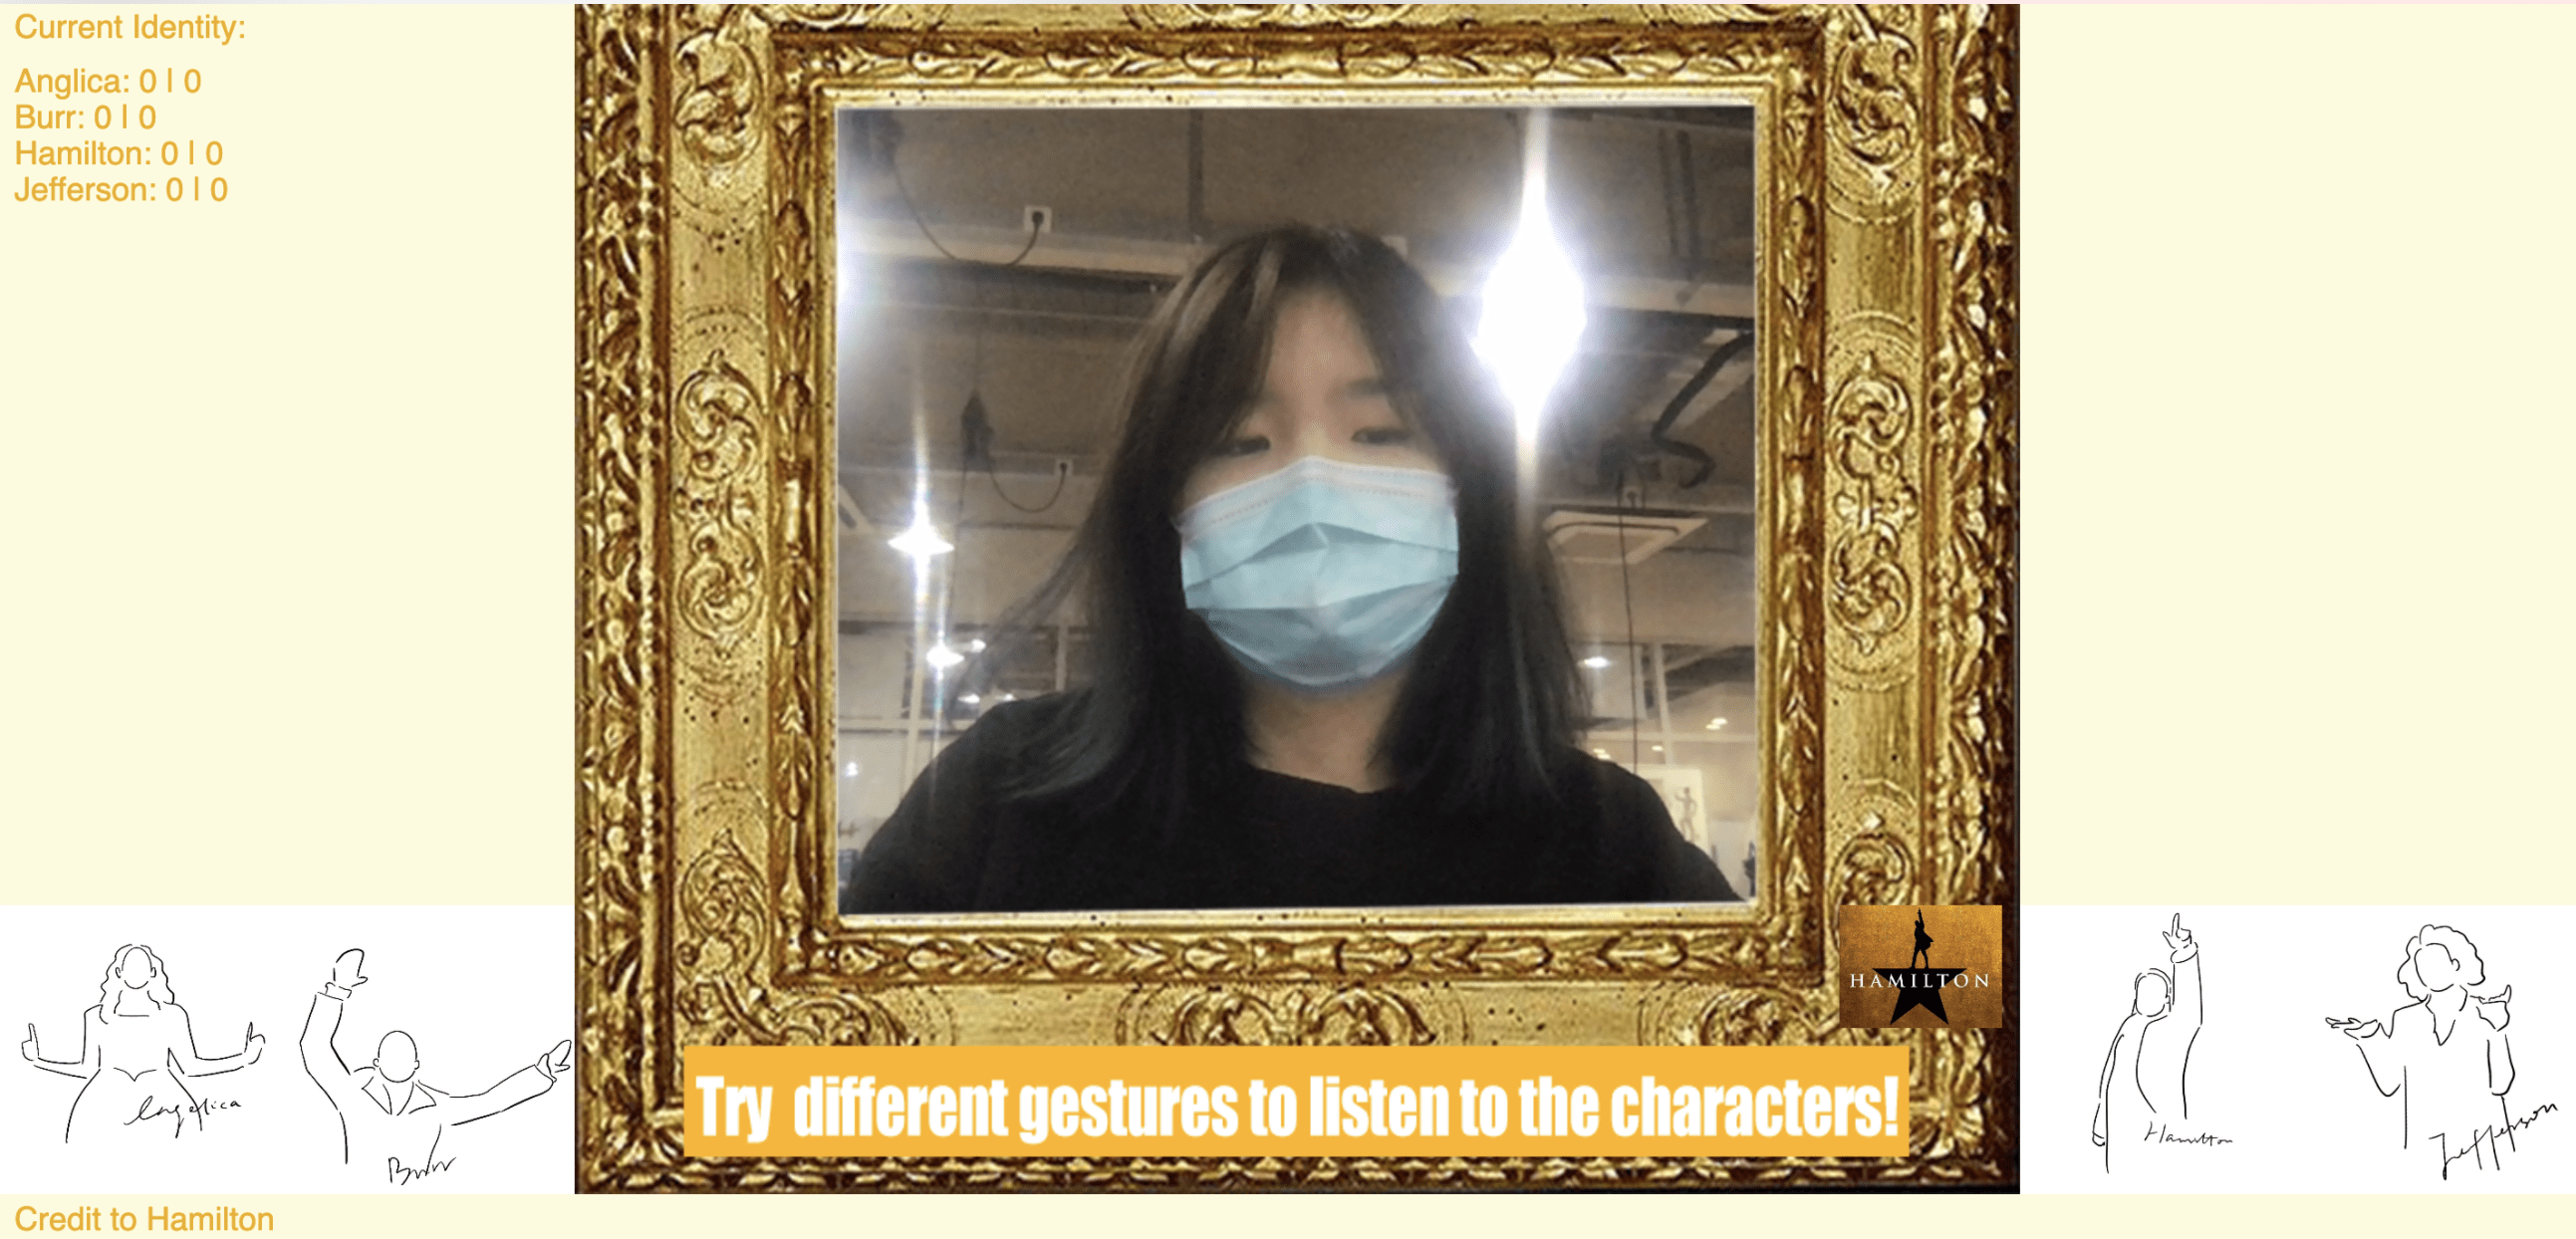
For this week’s assignment, I designed an interactive interface for people to try on different Hamilton characters and listen to their representative songs.
After coming up with the ideas of making something for Hamilton which is my favorite musical, I selected a few typical characters and their representative gestures & songs. After selecting the pictures, I traced out their basic postures by tracing the pictures to prompt the player how should they act to interact to get the results. For the code, I basically modify the KNN classification code we practiced in class.
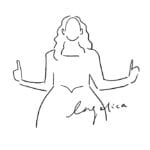
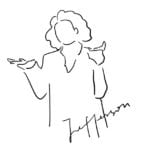
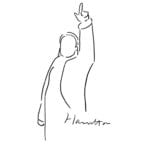
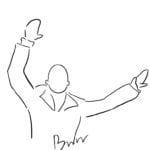
AngelicaJeffersonHamiltonBurr
After finishing collecting all the resources I need, I came up with the first-version of interface:
So from my initial design, I will train my model to recognize the four gestures as shown above through different inputs, basically 40-50 pictures for each with different distances away from the camera. When the player behaves according to the corresponding gesture, they will be able to see the character.
The character appears with a certain gesture (not the final one!)
After setting up the main process, I refined my interface.
Future Development
For future improvement, I would like to add the function where the users will be able to train the model by themselves, to get a better result on the KNN classification. What’s more, as shown in the demo video, KNN often mixes up the gesture for Burr and for Hamilton. I think I can redesign the gestures if needed.
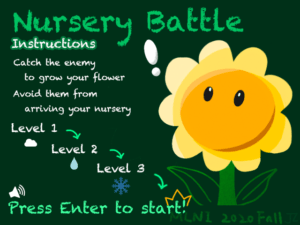
Nursery Battle is a 2-player interactive game, for you to release your stress both physically and mentally. The game is a one-player music game during the proposal phase, but with Professor Moon’s advice, the final product is more like a battle game.
Game Start Interface
Technical Development
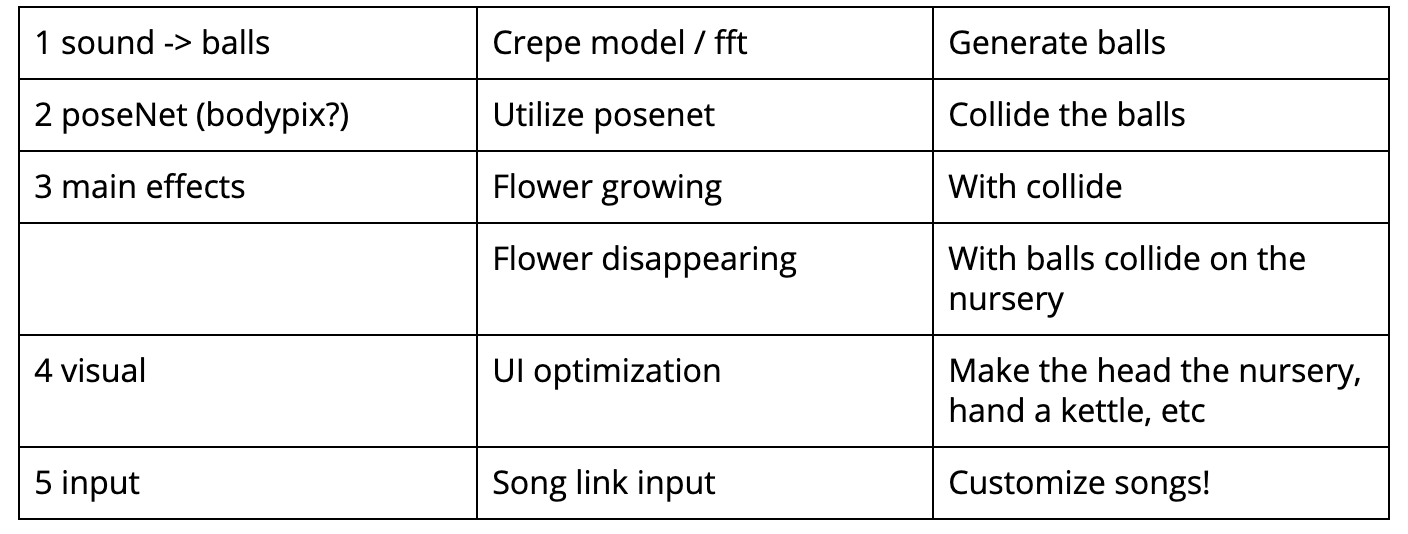
My project is composed of 3 main parts, the flower, the balls (enemy), and the interaction between them. For the technical building process, I basically followed the implementation plan I wrote in my proposal.
Implementation Plan
Difficulties
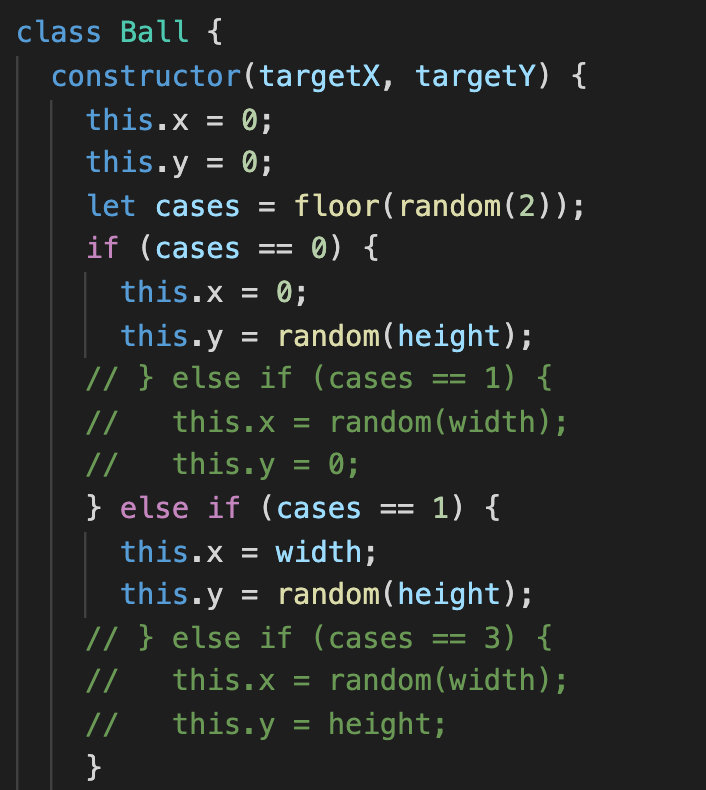
Oof! A lot. The first one is about how to generate an adequate amount of balls from the right directions – not randomly on the canvas. Professor Moon told me that I can create different cases to control the position of generating those balls, while replacing the x and y coordination with the target position so that all balls generate from the outline will move to the target position, which is the center. The amount of ball generated by for loop can also be reduced through the if statement.
Fewer balls generatedBall direction control
The second is about the flower and the interaction. I was trying to build a rectangle around the user’s head as the nursery from the very beginning which requires annoying calculation and doesn’t look good, while Professor Moon suggested I directly using an ellipse – which is the player’s head as the nursery. The calculation of ellipse is much easier as well, as I can just consider the radius of the ellipse (And I learned that line() does not work as a function! 🤯). Since the ellipse of the user’s head already looks like the center of a sunflower, after discussed with Prof Moon, we agreed on designing the effect with petals on the flower. Moon introduced me arc() and how to generate the arcs wisely through for loop.
Interaction trigger through dist()How the petals grow
Progress
Now I have the basic elements and interactions! However, it is hard to play with – it is stressful, as users cannot really catch the ball and it’s not fun, at least not a fun game. I tried to make the detecting distance larger so it is easier to play, but not enough. Special thanks to Ronan who inspired me since she wrote in my feedback form that my game reminded her of the real-person version Plant vs. Zombie, and maybe I could consider adding more game levels.
Therefore I started working on some non-coding work. But the problems always happen in coding. I found 2 life-saving things after rounds of tests, the first one is noLoop() and the second one is creating different modes. The modes can be called under different conditions, which makes enough score -> next level mode possible.
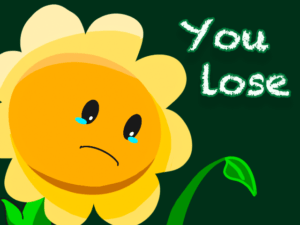
What you will see if you win the game after 60 pointsAnd if you lose 🙁
I ended up with 3 different levels, cloudy -> rainy -> snowy, where with higher frequency, your enemy will be able to generate more balls that make you panic. After completing 60 points, you will be able to win the game.
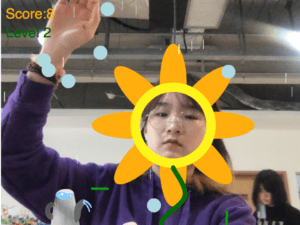
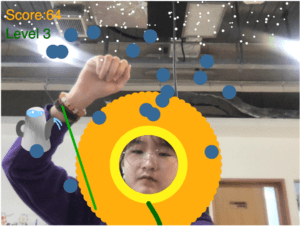
Level 1Level 2Level 3
The final step is some UI optimization that makes the screen look better, which includes flipping the camera. As it is a competing game, it requires people to react quickly while all my users’ feedbacks were “you have to flip it or we can’t play it”. I flipped the text part and flipped it back, so everything works alright right now. Thanks to my roommate’s advice!
Future Development
Optimize the poseNet function so the playing experience would increase a lot. After reading the peer feedback on my project, I realized that jumping around post points really distracts players and needs to improve.
Design new ways of demonstrating a growing flower at different levels, and maybe have a pop-up picture so it is more obvious that level has changed.