Recitation Friday!This time, I created a kinetic sculpture using digital fabrication tools.
Step 1: Design
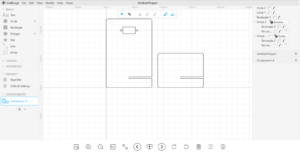
Firstly,I designed two rectangles to create a stand for the kinetic sculpture.The most difficult part was to measure the length and width of the servo.

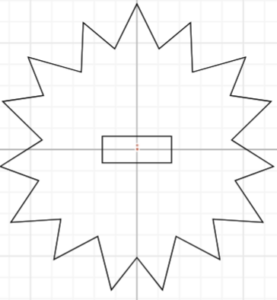
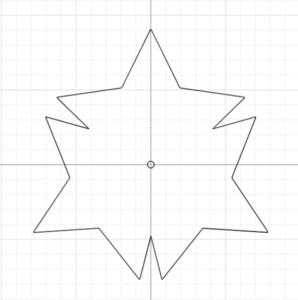
Then, I drew the moving part as well as the fixed part.Due to the time limit,I did not manage to design a very complex pattern.Instead,I used the rotational repeat and boolean union to create two simple patterns.If I have more time,I will definitely try to design a more interesting pattern.


Step 2: Laser Cut
I uploaded the files to the google file.I also imported the files into the USB flash drive so that the files could be recognized by the Adobe AI in the computer next to the Laser Cutting machine. Later, the fellow from the fabrication lab showed me how to use the Laser Cutting machine and helped me with the settings. Here was the process.
Step 3: Assemble
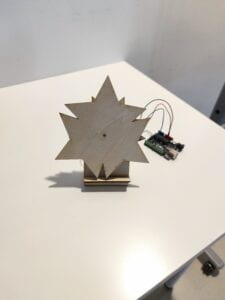
Lastly,I assembled all the materials to build a kinetic sculpture. One problem I faced was that hollow part on the board was too small so that the servo couldn’t fit in. Hence, I used the art knife to cut off the excess part. Another problem was that the pattern was too big so that the stand would block its movement.Therefore, I could only hold the kinetic sculpture by myself. Besides, I also accelarated the spinning speed of the servo. Here was how it looked.
