Recitaion Friday!Today,I’m about to use the Neopixel to visualize the music codes in Processing.
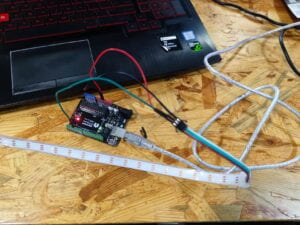
Task #1: Test the NeoPixel


Task #2: Use my computer to light up NeoPixels

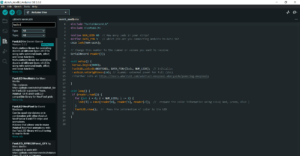
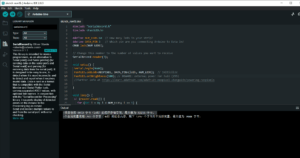
Here was how I sent values in a Comma Separated Value protocol (CSV) in the Arduino.
Task #3: Add Music!
For this task,I substituted drum audios for the original music.Later,I changed several settings such as the colors of the circles and background.
Here was how it worked.Also,my code is attached below.
Processing:
import processing.serial.*;
import osteele.processing.SerialRecord.*;

Serial serialPort;
SerialRecord serialRecord;

int W;         //width of the tiles
int NUM = 60;  //amount of pixels
int[] r = new int[NUM]; //red of each tile
int[] g = new int[NUM]; //red of each tile
int[] b = new int[NUM]; //red of each tile

void setup() {
  size(600, 200);
  W = width/NUM;

  String serialPortName = SerialUtils.findArduinoPort();
  serialPort = new Serial(this, serialPortName, 9600);
  serialRecord = new SerialRecord(this, serialPort, 4);
  serialRecord.logToCanvas(false);
  rectMode(CENTER);
}

void draw() {
  background(0);
  for (int i=0; i<NUM; i ++) {
    fill(r[i], g[i], b[i]);
    rect(i * W + W/2, height/2, 10, 10);
  }

 if (mousePressed == true) {
    int n = floor(constrain(mouseX/W , 0, NUM-1));

    r[n] = floor(random(255));
    g[n] = floor(random(255));
    b[n] = floor(random(255));

    serialRecord.values[0] = n;     // which pixel we change (0-59)
    serialRecord.values[1] = r[n];  // how much red (0-255)
    serialRecord.values[2] = g[n];  // how much green (0-255)
    serialRecord.values[3] = b[n];  // how much blue (0-255)
    serialRecord.send();            // send it!
  }

}
Arduino:
Unfortunately,I had spent too much time in the coding of Task 2 so that I didn’t have enough time for further testing in the last step.Still,since I had learnt the basic logic of it and had succeeded in the visualization of one light,I would definitely try to revise and improve the process of visualization in later works.