Recitation 10 Documentation
I actually did the recitation very fast. For the circuit, I just used the tilt switch built in 3rd recitation class, and for the Arduino part, I merged the example code of “Send single value” and the code given in 3rd recitation class together. This is the code:
#include "SerialRecord.h"

// Change this number to send a different number of values
SerialRecord writer(1);
int SENSOR_PIN = 2;
int tiltVal;
int prevTiltVal;

void setup() {
  pinMode(SENSOR_PIN, INPUT);
  Serial.begin(9600);
}

void loop() {
  int sensorValue = analogRead(A0);
  tiltVal = digitalRead(SENSOR_PIN);
  // if the tilt sensor value changed, print the new value
  if (tiltVal != prevTiltVal) {
    Serial.println(tiltVal);
    prevTiltVal = tiltVal;

    writer[0] = tiltVal;
    writer.send();
    delay(200);
  }


  // This delay slows down the loop, so that it runs less frequently. This can
  // make it easier to debug the sketch, because new values are printed at a
  // slower rate.

}
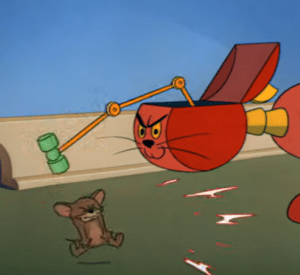
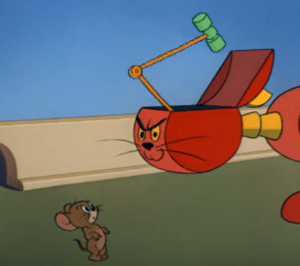
Then I coded processing. My idea was that every time I strike my arm, the e-cat on the screen will hit Jerry. Thus I used two pictures to show this effect:


And then I coded the Processing part using the knowledge that I learned:
import processing.serial.*;
import osteele.processing.SerialRecord.*;

Serial serialPort;
SerialRecord serialRecord;
PImage img1,img2;

void setup() {
  size(1000, 800);
  String serialPortName = SerialUtils.findArduinoPort();
  serialPort = new Serial(this, serialPortName, 9600);
  serialRecord = new SerialRecord(this, serialPort, 1);
  img1=loadImage("1.png");
  img2=loadImage("2.png");
  imageMode(CENTER);
}

void draw() {
  background(0);
  serialRecord.read();
  int value = serialRecord.get();
  if(value==0){
    image(img1,width/2,height/2,width,height);
  }
  if(value==1){
    image(img2,width/2,height/2,width,height);
  }
}
Finally, I merged the parts together and finished the project:
