In the code below, I’m getting a reading from pin A0 which is connected to a potentiometer.
#include <Arduino_LSM6DS3.h>
void setup() {
// put your setup code here, to run once:
Serial.begin(9600);
if (!IMU.begin()) {
Serial.println(“Failed to initialize IMU”);
// stop here if you can’t access the IMU:
while (true);
}
}
void loop() {
// put your main code here, to run repeatedly:
int analogValue = analogRead(A0);
int mappedValue = map(analogValue, 0, 1023, 0, 255);
Serial.write(mappedValue);
}
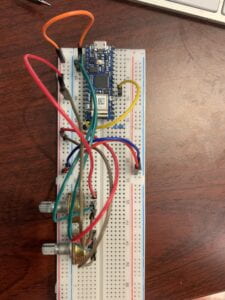
The wiring:

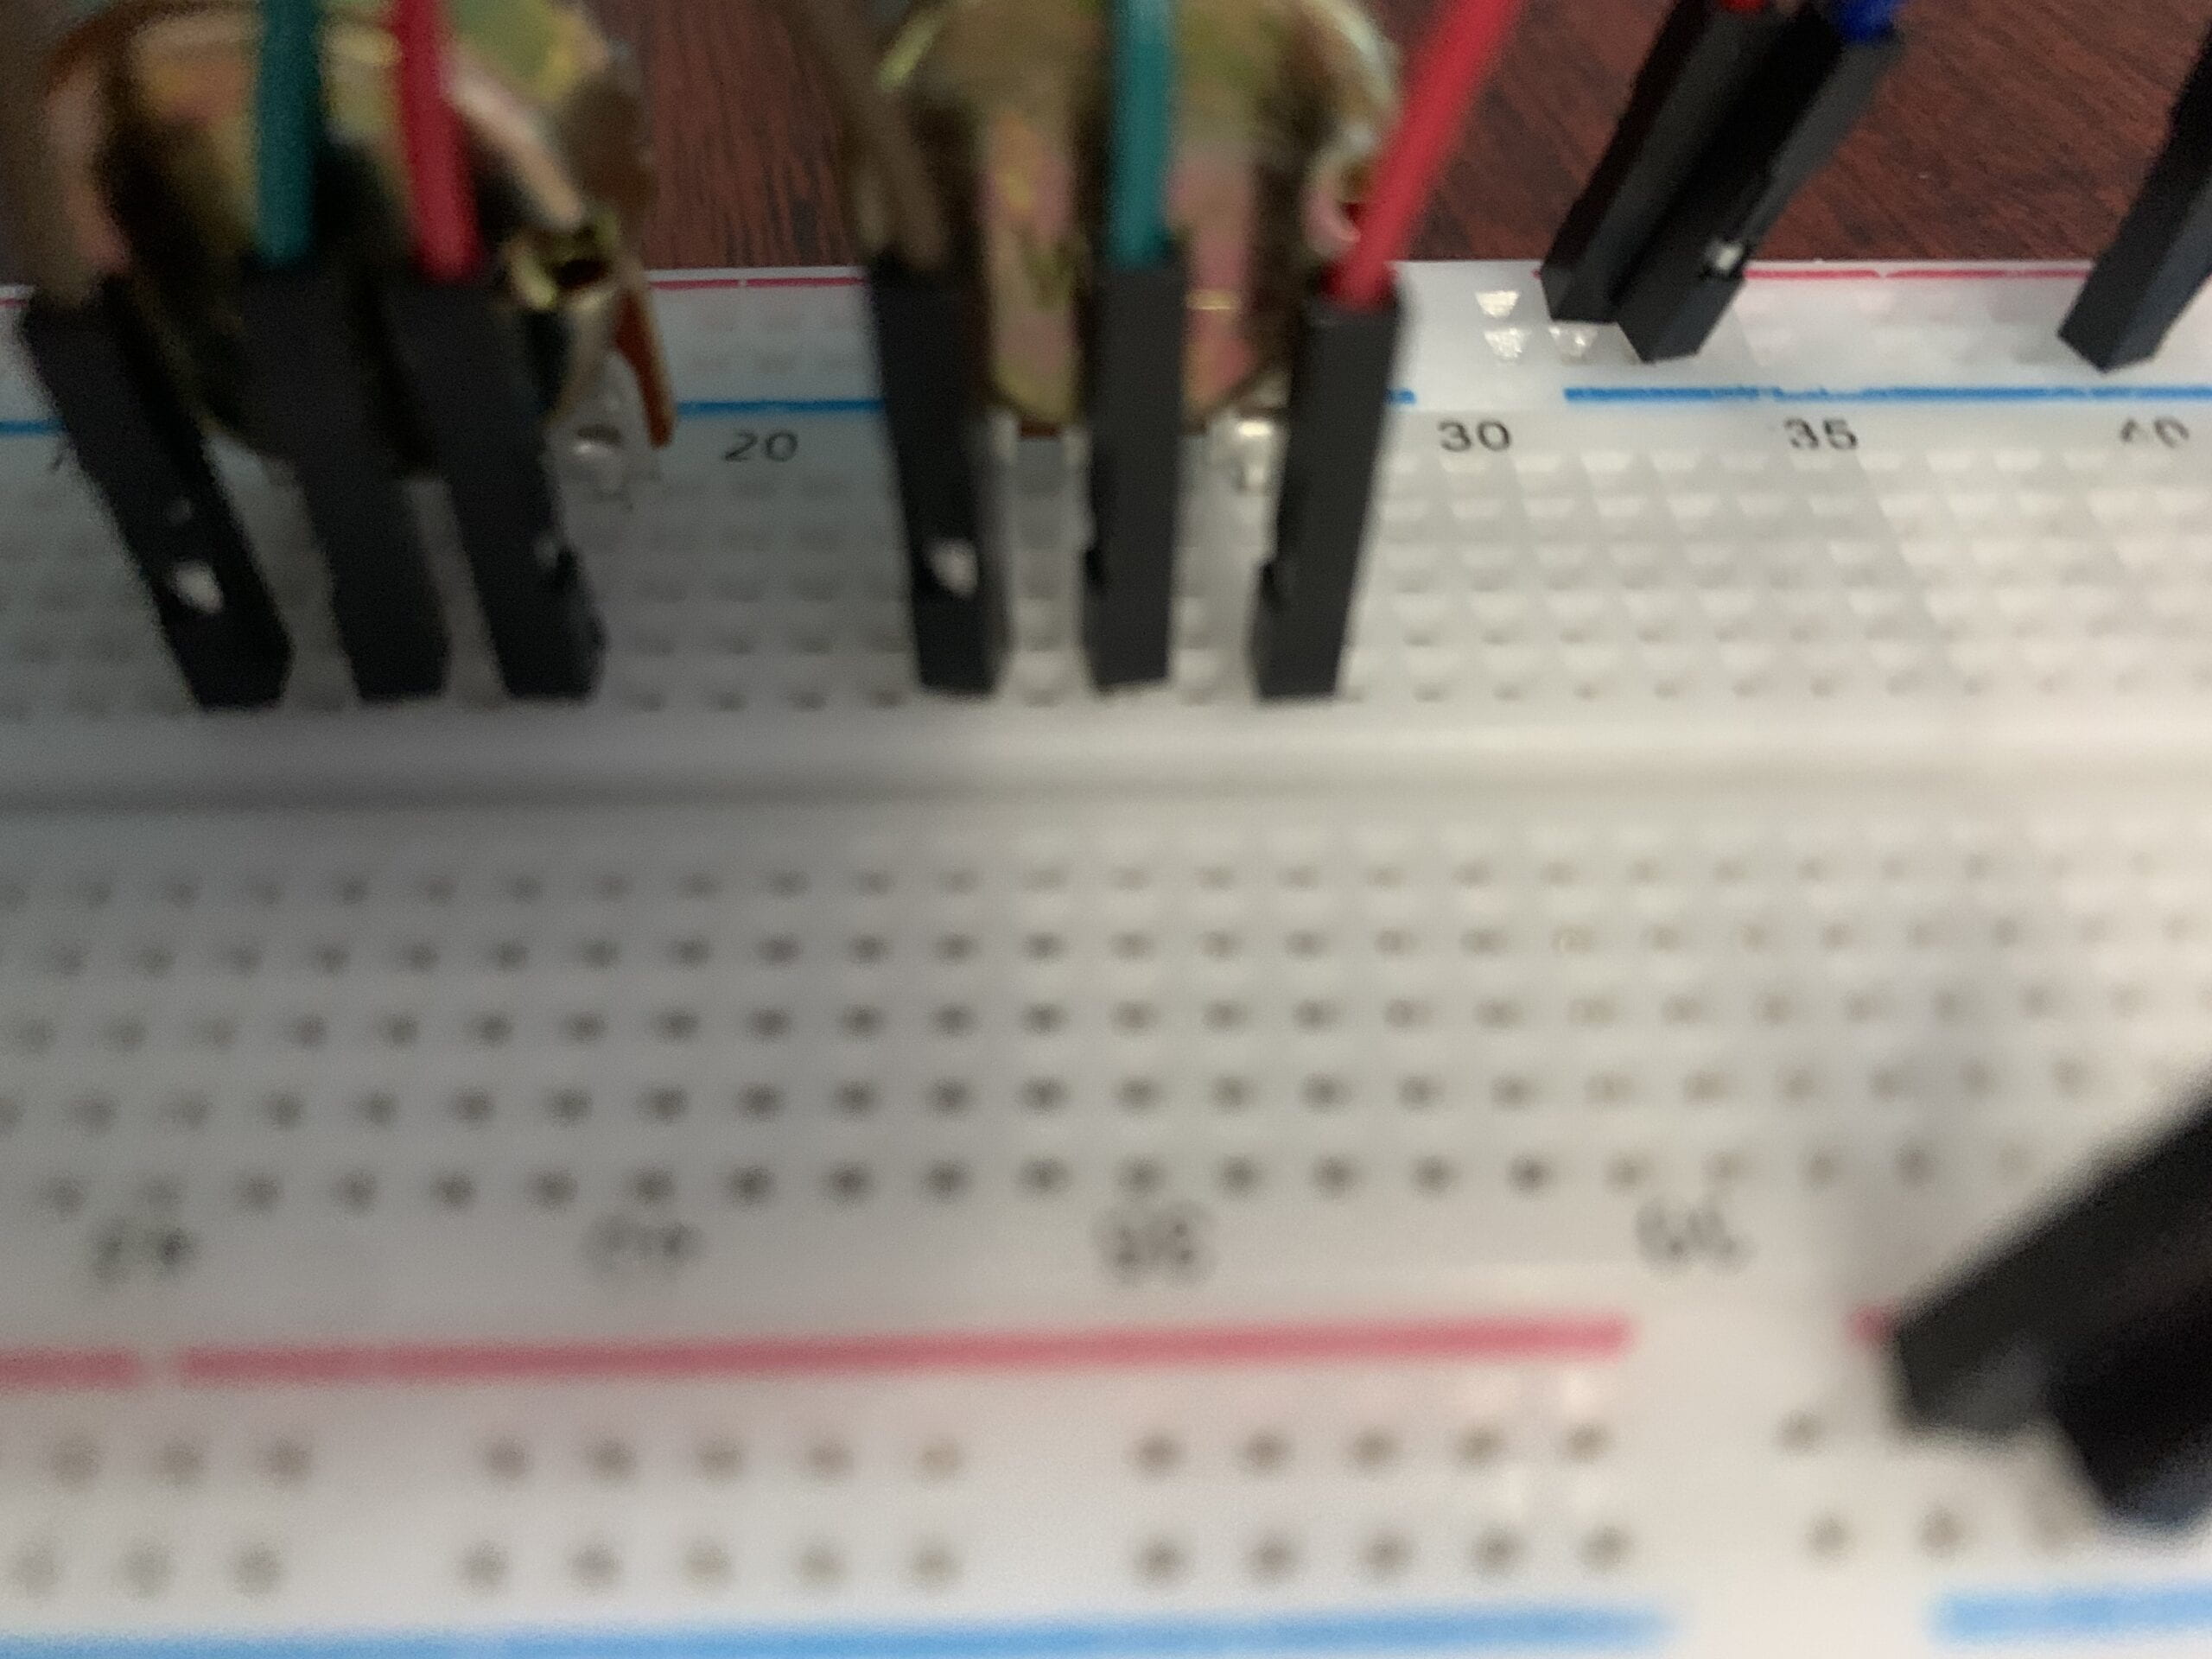
This is not the first time I used a potentiometer but it is my first time to realize that the three pins can be inserted into the breadboard.

of course this is not going to work ….
The reading does not change no matter the position of the potentiometer. I realize I forgot to ground the Arduino…Hope it won’t damage the unit.

The reading changes with the potentiometer after grounding the Arduino. Then I try to display the value in different types.
Then I try to get a second reading from the second potentiometer and have the two values printed out separated by “,”. The code looks like this:
void setup() {
// start serial port at 9600 bps:
Serial.begin(9600);
}
void loop() {
for (int thisSensor = 0; thisSensor < 2; thisSensor++) {
int sensorValue = analogRead(thisSensor);
Serial.print(sensorValue);
// if you’re on the last sensor value, end with a println()
// otherwise, print a comma
if (thisSensor == 1) {
Serial.println();
} else {
Serial.print(“,”);
}
}
}
It worked!
Then I try to get three more readings from the accelerometer and gyrometer that’s built inside the Arduino Nano 33 IoT and have them printed out separated by “,”. The code looks like this:
#include <Arduino_LSM6DS3.h>
void setup() {
// put your setup code here, to run once:
Serial.begin(9600);
if (!IMU.begin()) {
Serial.println(“Failed to initialize IMU”);
// stop here if you can’t access the IMU:
while (true);
}
}
void loop() {
// put your main code here, to run repeatedly:
int analogValue = analogRead(A0);
int mappedValue = map(analogValue, 0, 1023, 0, 255);
Serial.write(mappedValue);
// values for acceleration and rotation:
float xAcc, yAcc, zAcc;
float xGyro, yGyro, zGyro;
// if both accelerometer and gyrometer are ready to be read:
if (IMU.accelerationAvailable() &&
IMU.gyroscopeAvailable()) {
// read accelerometer and gyrometer:
IMU.readAcceleration(xAcc, yAcc, zAcc);
// print the results:
IMU.readGyroscope(xGyro, yGyro, zGyro);
Serial.print(xAcc);
Serial.print(“,”);
Serial.print(yAcc);
Serial.print(“,”);
Serial.print(zAcc);
Serial.print(“,”);
Serial.print(xGyro);
Serial.print(“,”);
Serial.print(yGyro);
Serial.print(“,”);
Serial.println(zGyro);
}
}
Lastly, I tried the handshaking flow control. The code looks like this:
void setup() {
Serial.begin(9600);
while (Serial.available() <= 0) {
Serial.println(“ready”);
delay(300);
}
}
void loop() {
int sensorValue = analogRead(A0);
// print the results:
Serial.print(sensorValue);
Serial.print(“,”);
// read the sensor:
sensorValue = analogRead(A1);
// print the results:
Serial.print(sensorValue);
Serial.print(“,”);
// read the sensor:
sensorValue = digitalRead(2);
// print the results:
Serial.println(sensorValue);
if (Serial.available()) {
// read the incoming byte:
int inByte = Serial.read();
// read the sensor:
sensorValue = analogRead(A0);
// print the results:
Serial.print(sensorValue);
Serial.print(“,”);
// read the sensor:
sensorValue = analogRead(A1);
// print the results:
Serial.print(sensorValue);
Serial.print(“,”);
// read the sensor:
sensorValue = digitalRead(2);
// print the results:
Serial.println(sensorValue);
}
}
Leave a Reply