Midterm Project By Jean Zhang & Luna Zhang
Instructor: Eric Parren
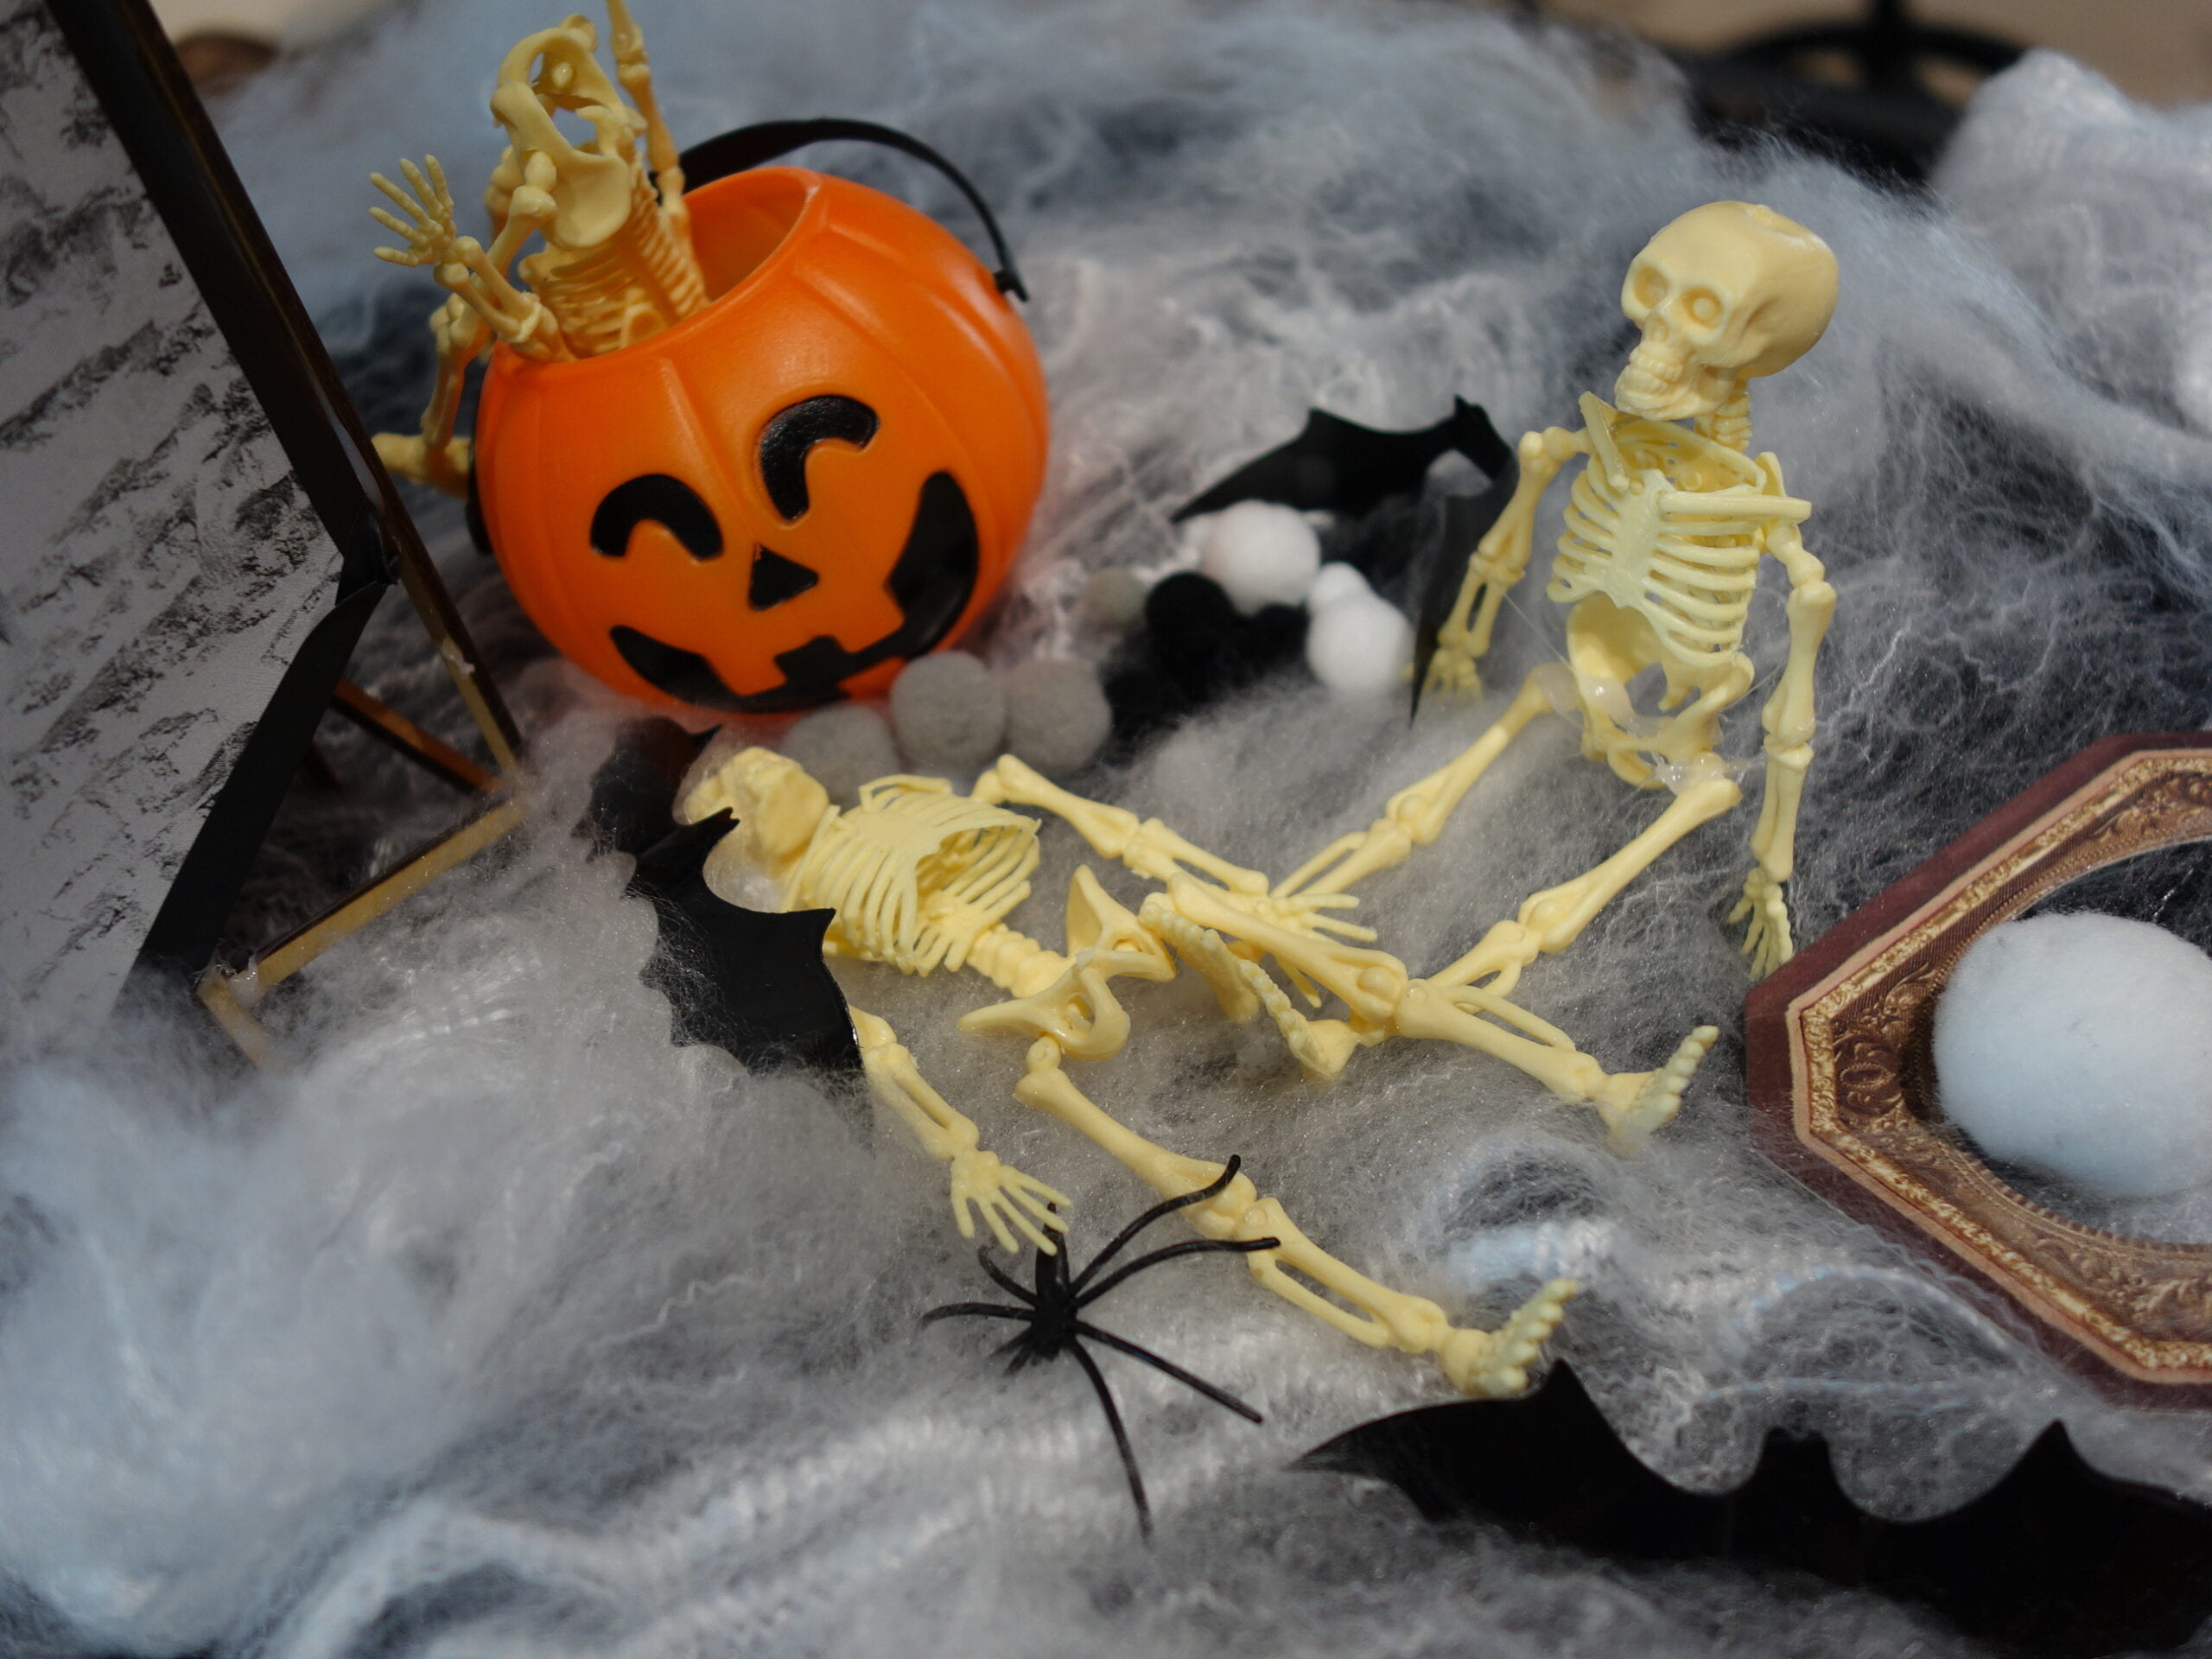
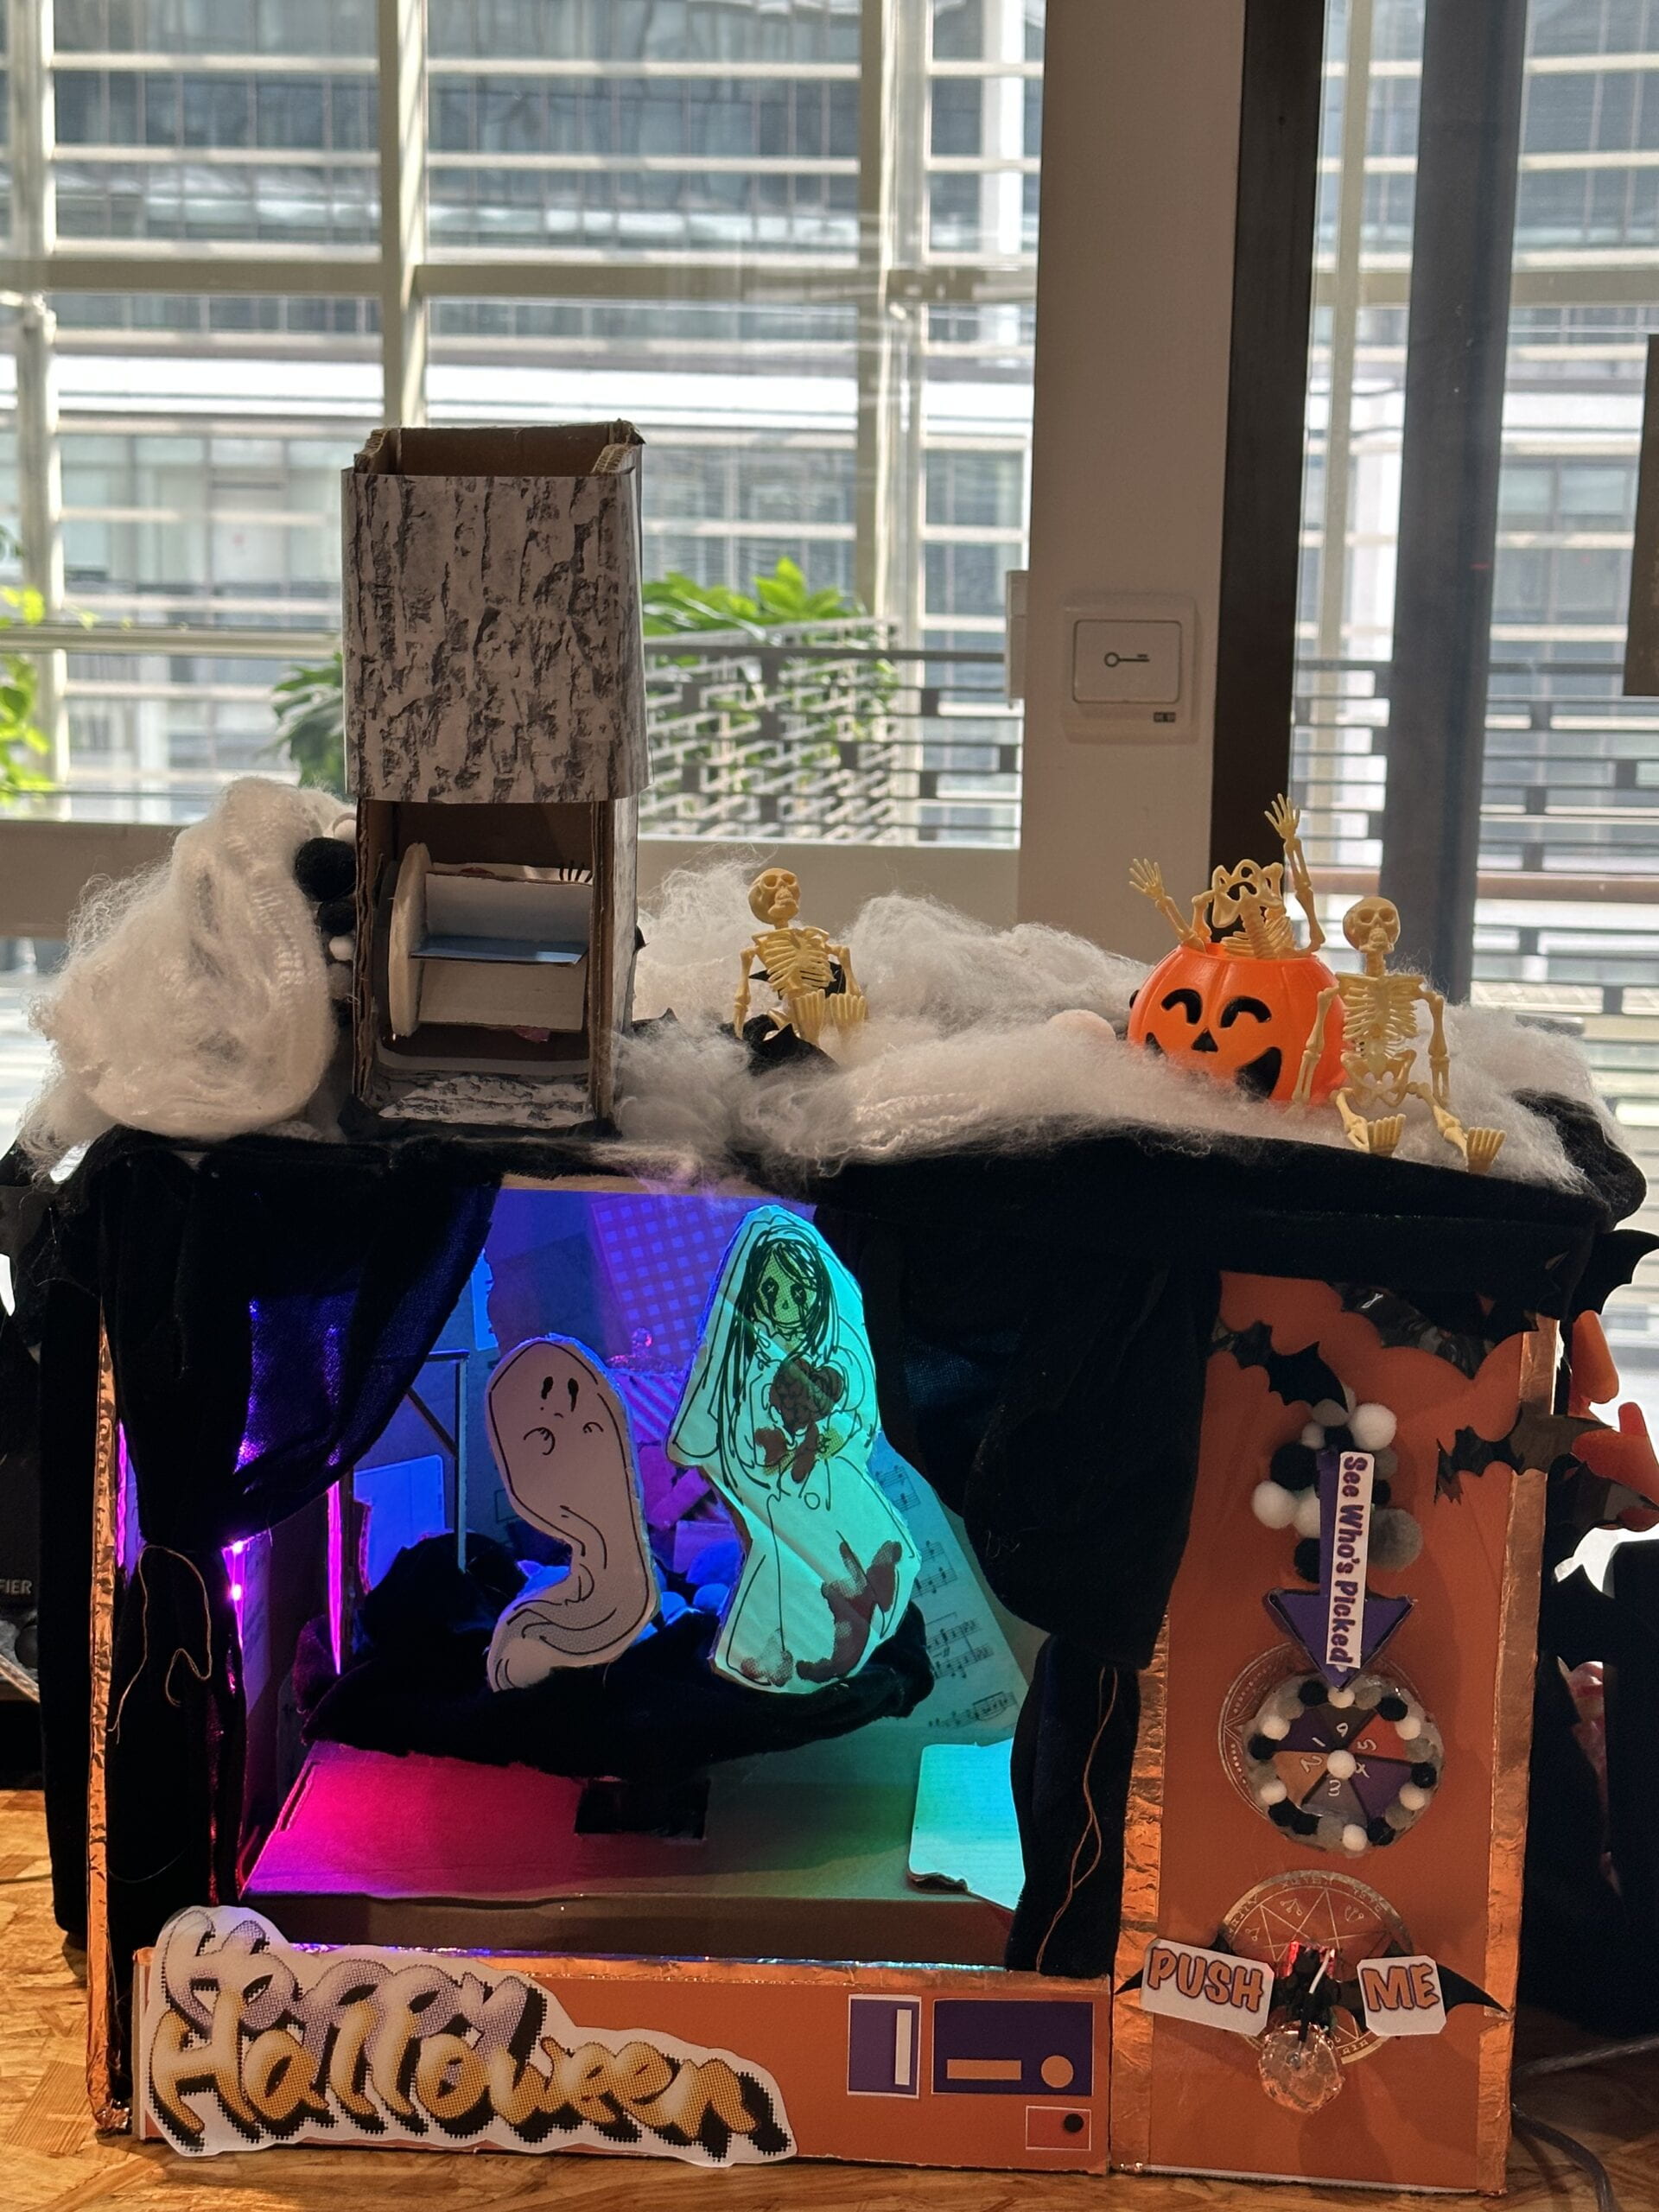
Trick-or-Treat! is a mini theater that gives the participants a chance to pick a Halloween character by themselves and to interact with the character through interactions including sound and light effects, and receiving trick or treat, giving the participants a full Halloween spirit.
Inspiration
From the Group Research project, we created a prototype for a machine that can heal people’s emotions with high-tech power and music and visuals. In this project, we used a box that can be imagined as a mini-TV that shows the visuals and sounds. It to some degree inspired the idea of a mini theater for Halloween. Through the group projects, interactions happen between the participants and certain artifacts made in the performance, through the ways of visuals, sounds, or other more direct feelings. Actually, we first considered the project of a horror doll that can terrorize the participants in interaction. However, sensing different interactions and designing various ways of scaring people can be too complicated. By the way, for a wuss like me, doing this project was overly scary. Therefore, as Halloween is approaching, we wanted to keep the horror elements by using the theme of Halloween and turned it into a project of Halloween trick-or-treat mini theater, which may be more interesting and cuter.
Concept and Design
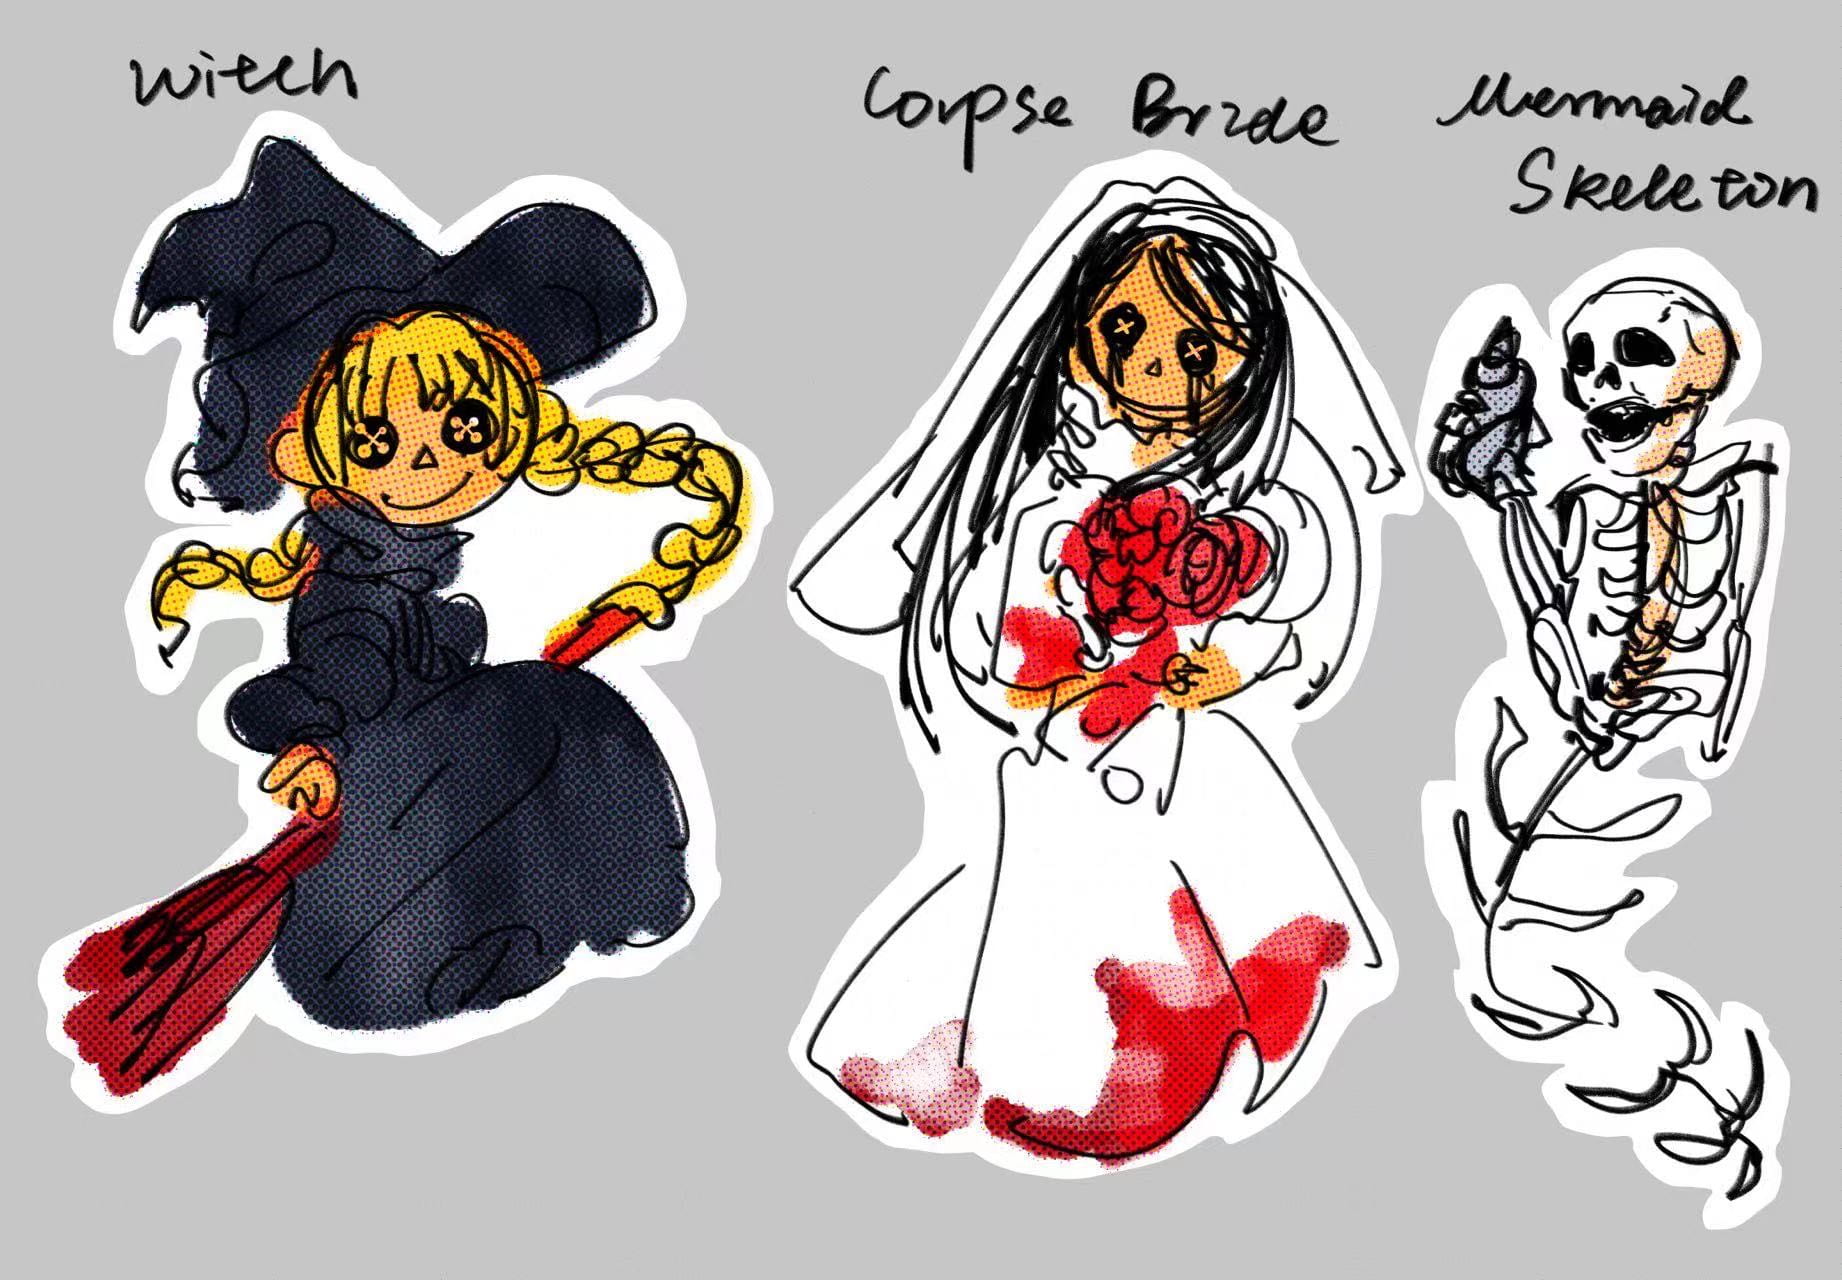
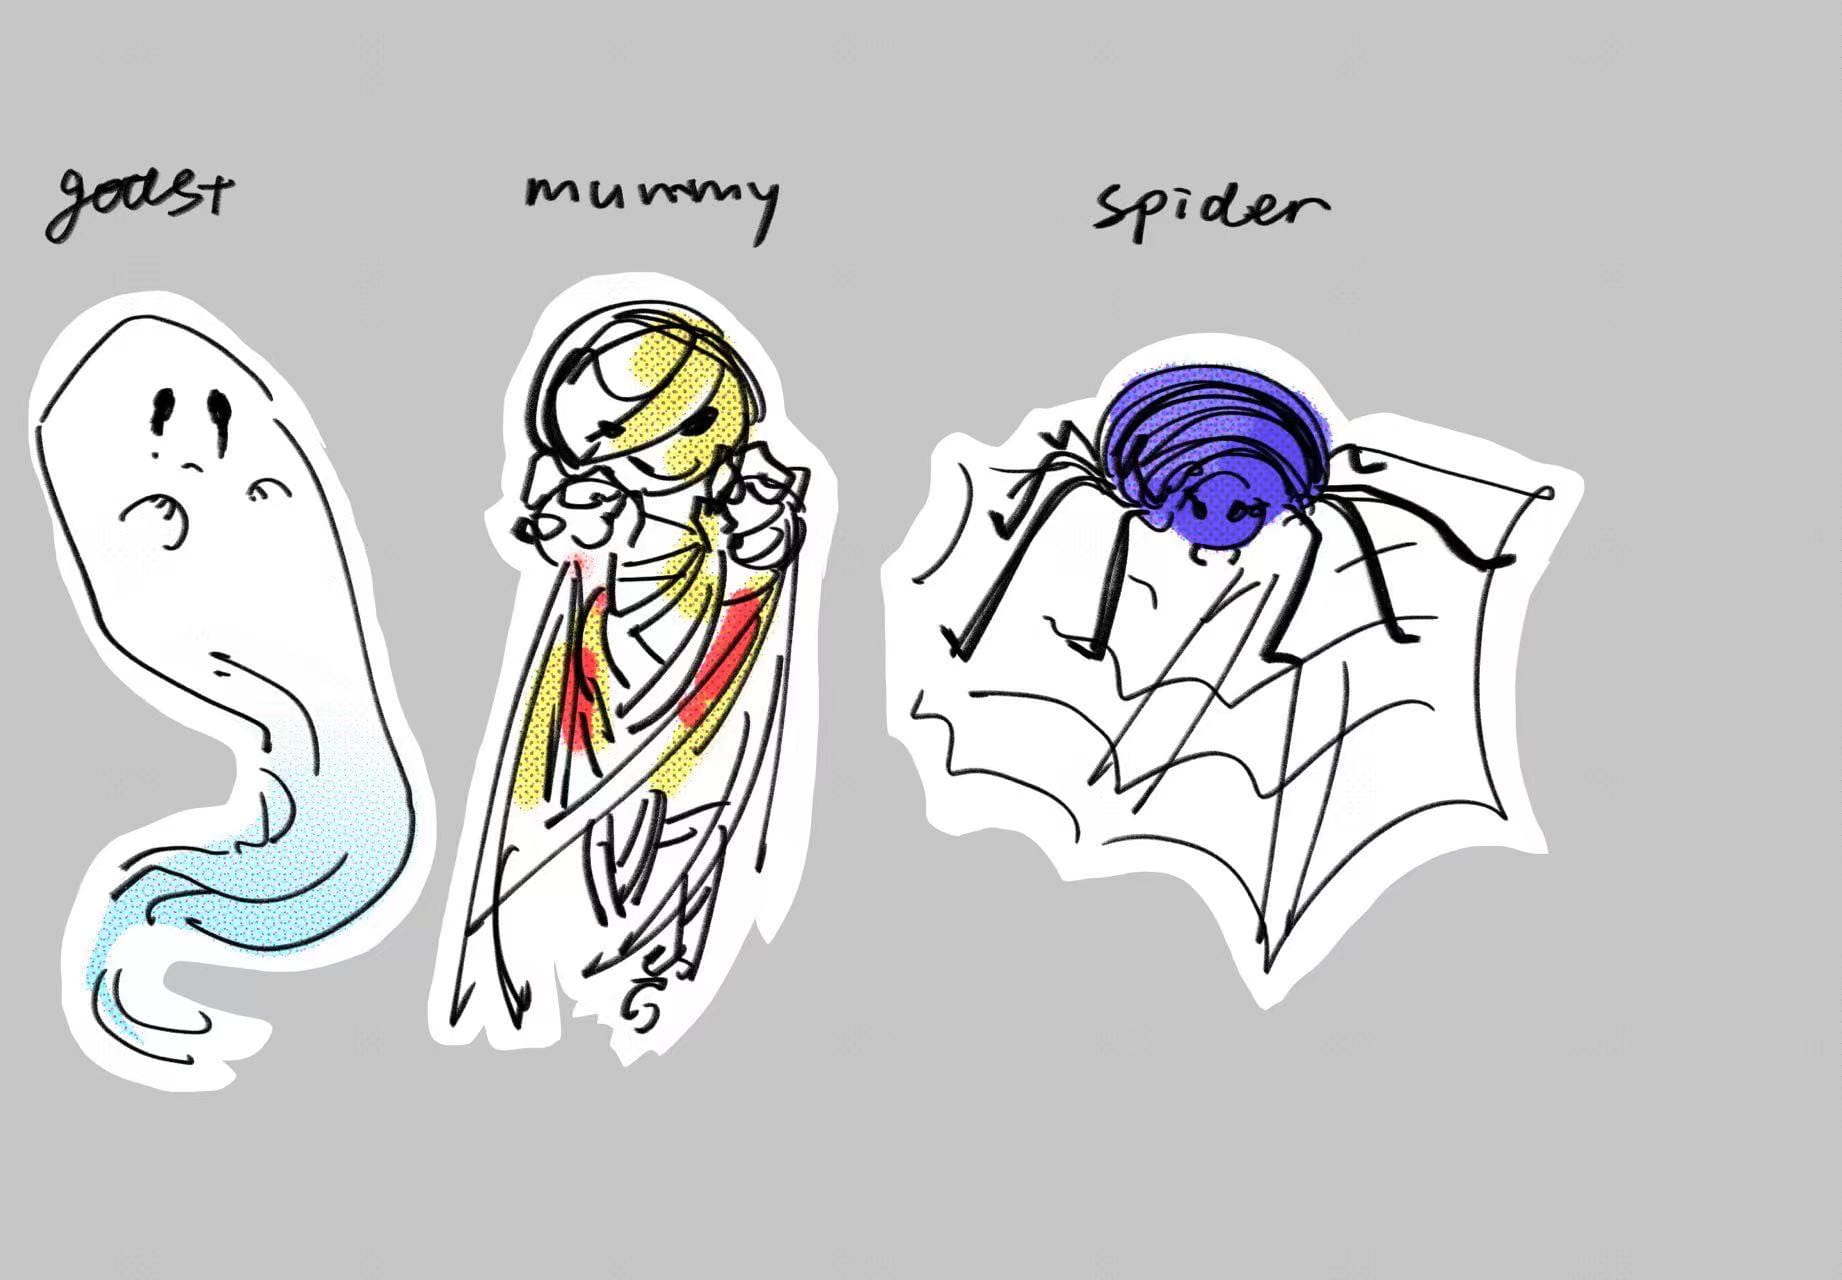
The concept of trick-or-treat theater is that when participants push the button of a lucky draw, they would have a chance to randomly pick a Halloween classic character. In the mini-theater, the chosen character would show up with its lines and lightning and sound effects. Also, a more direct interaction would be delivered as the participants would randomly get candy or a fake spider model which represents the treat and the trick. It is totally about the festival theme, giving the audience a Halloween spirit and having a simple variant form of trick-or-treat activity.
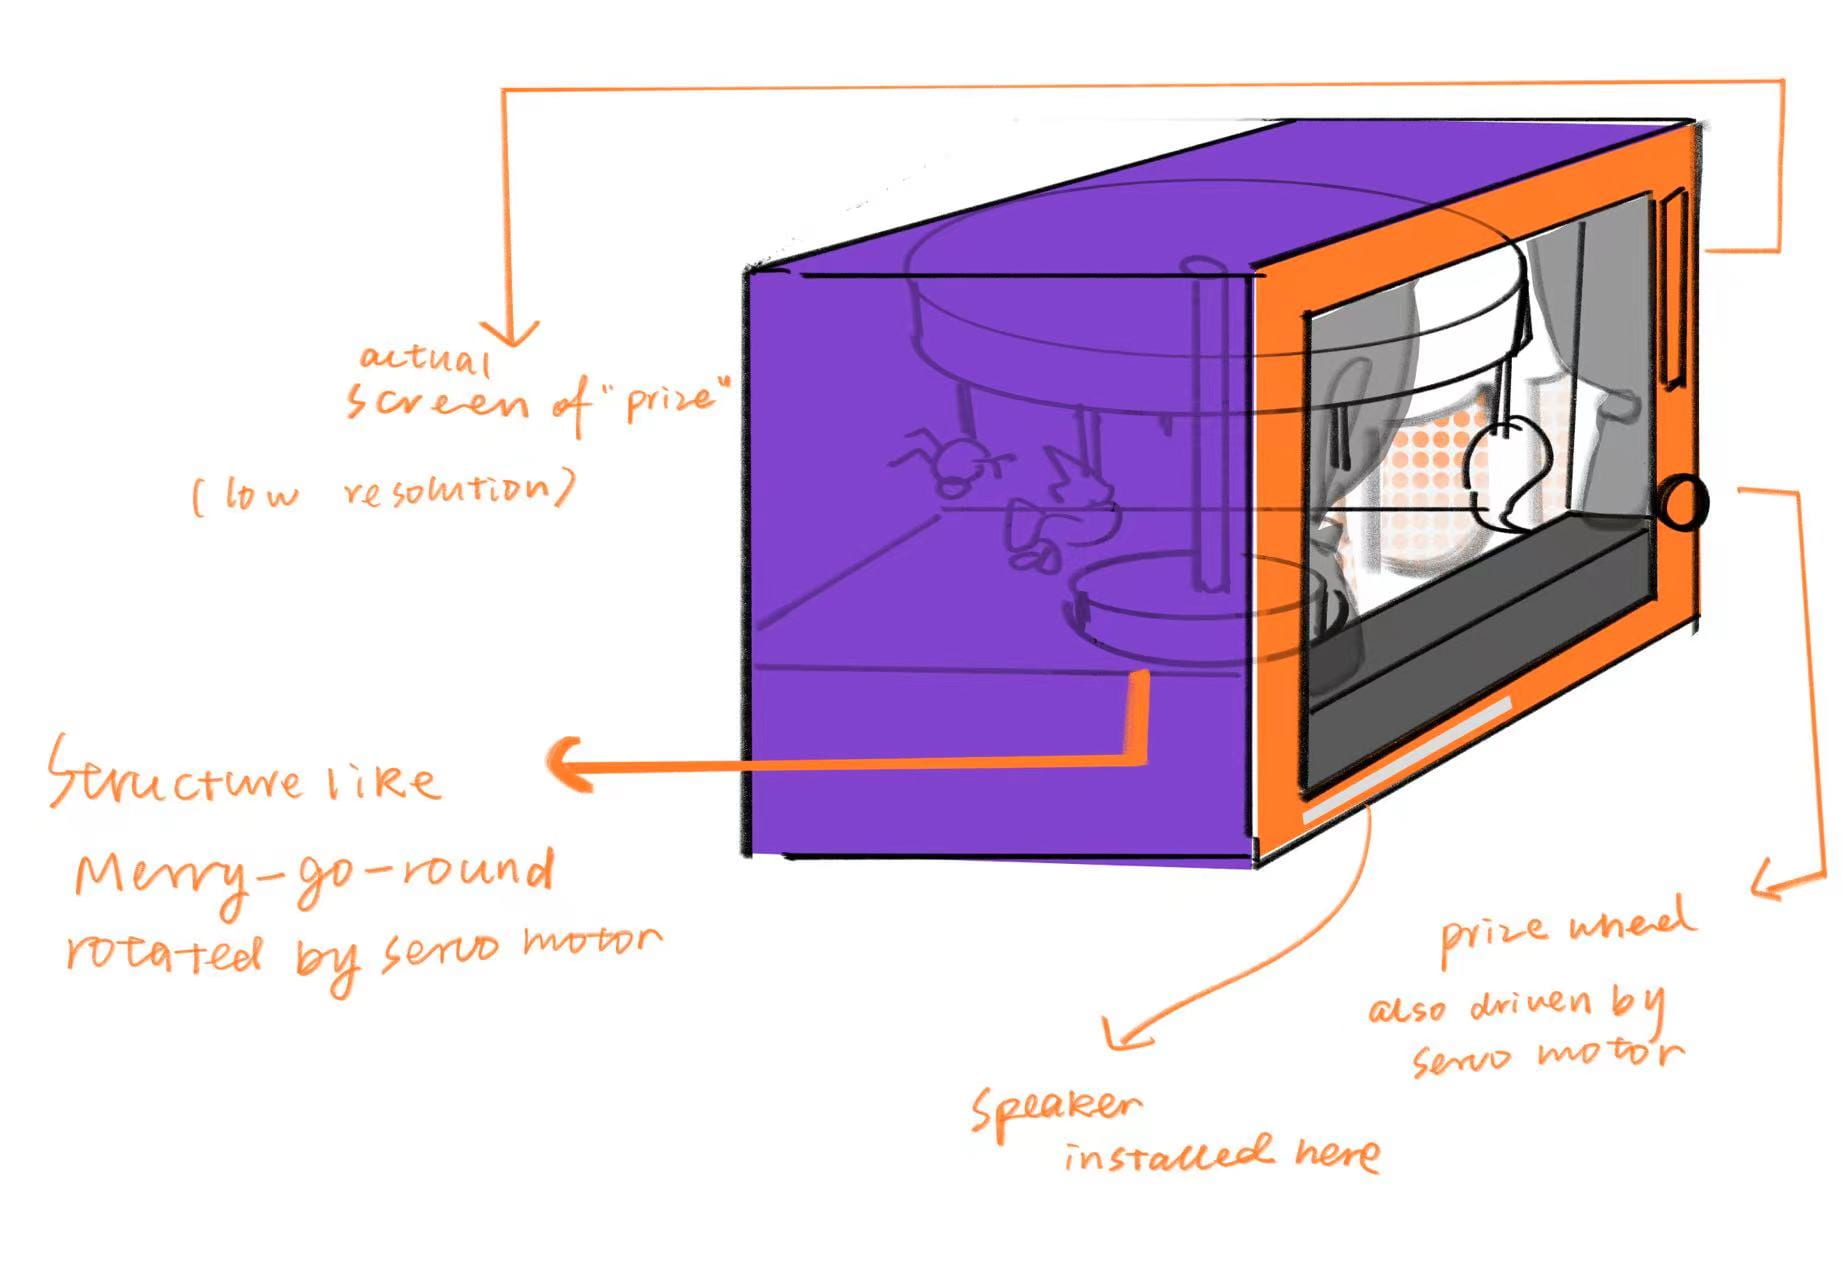
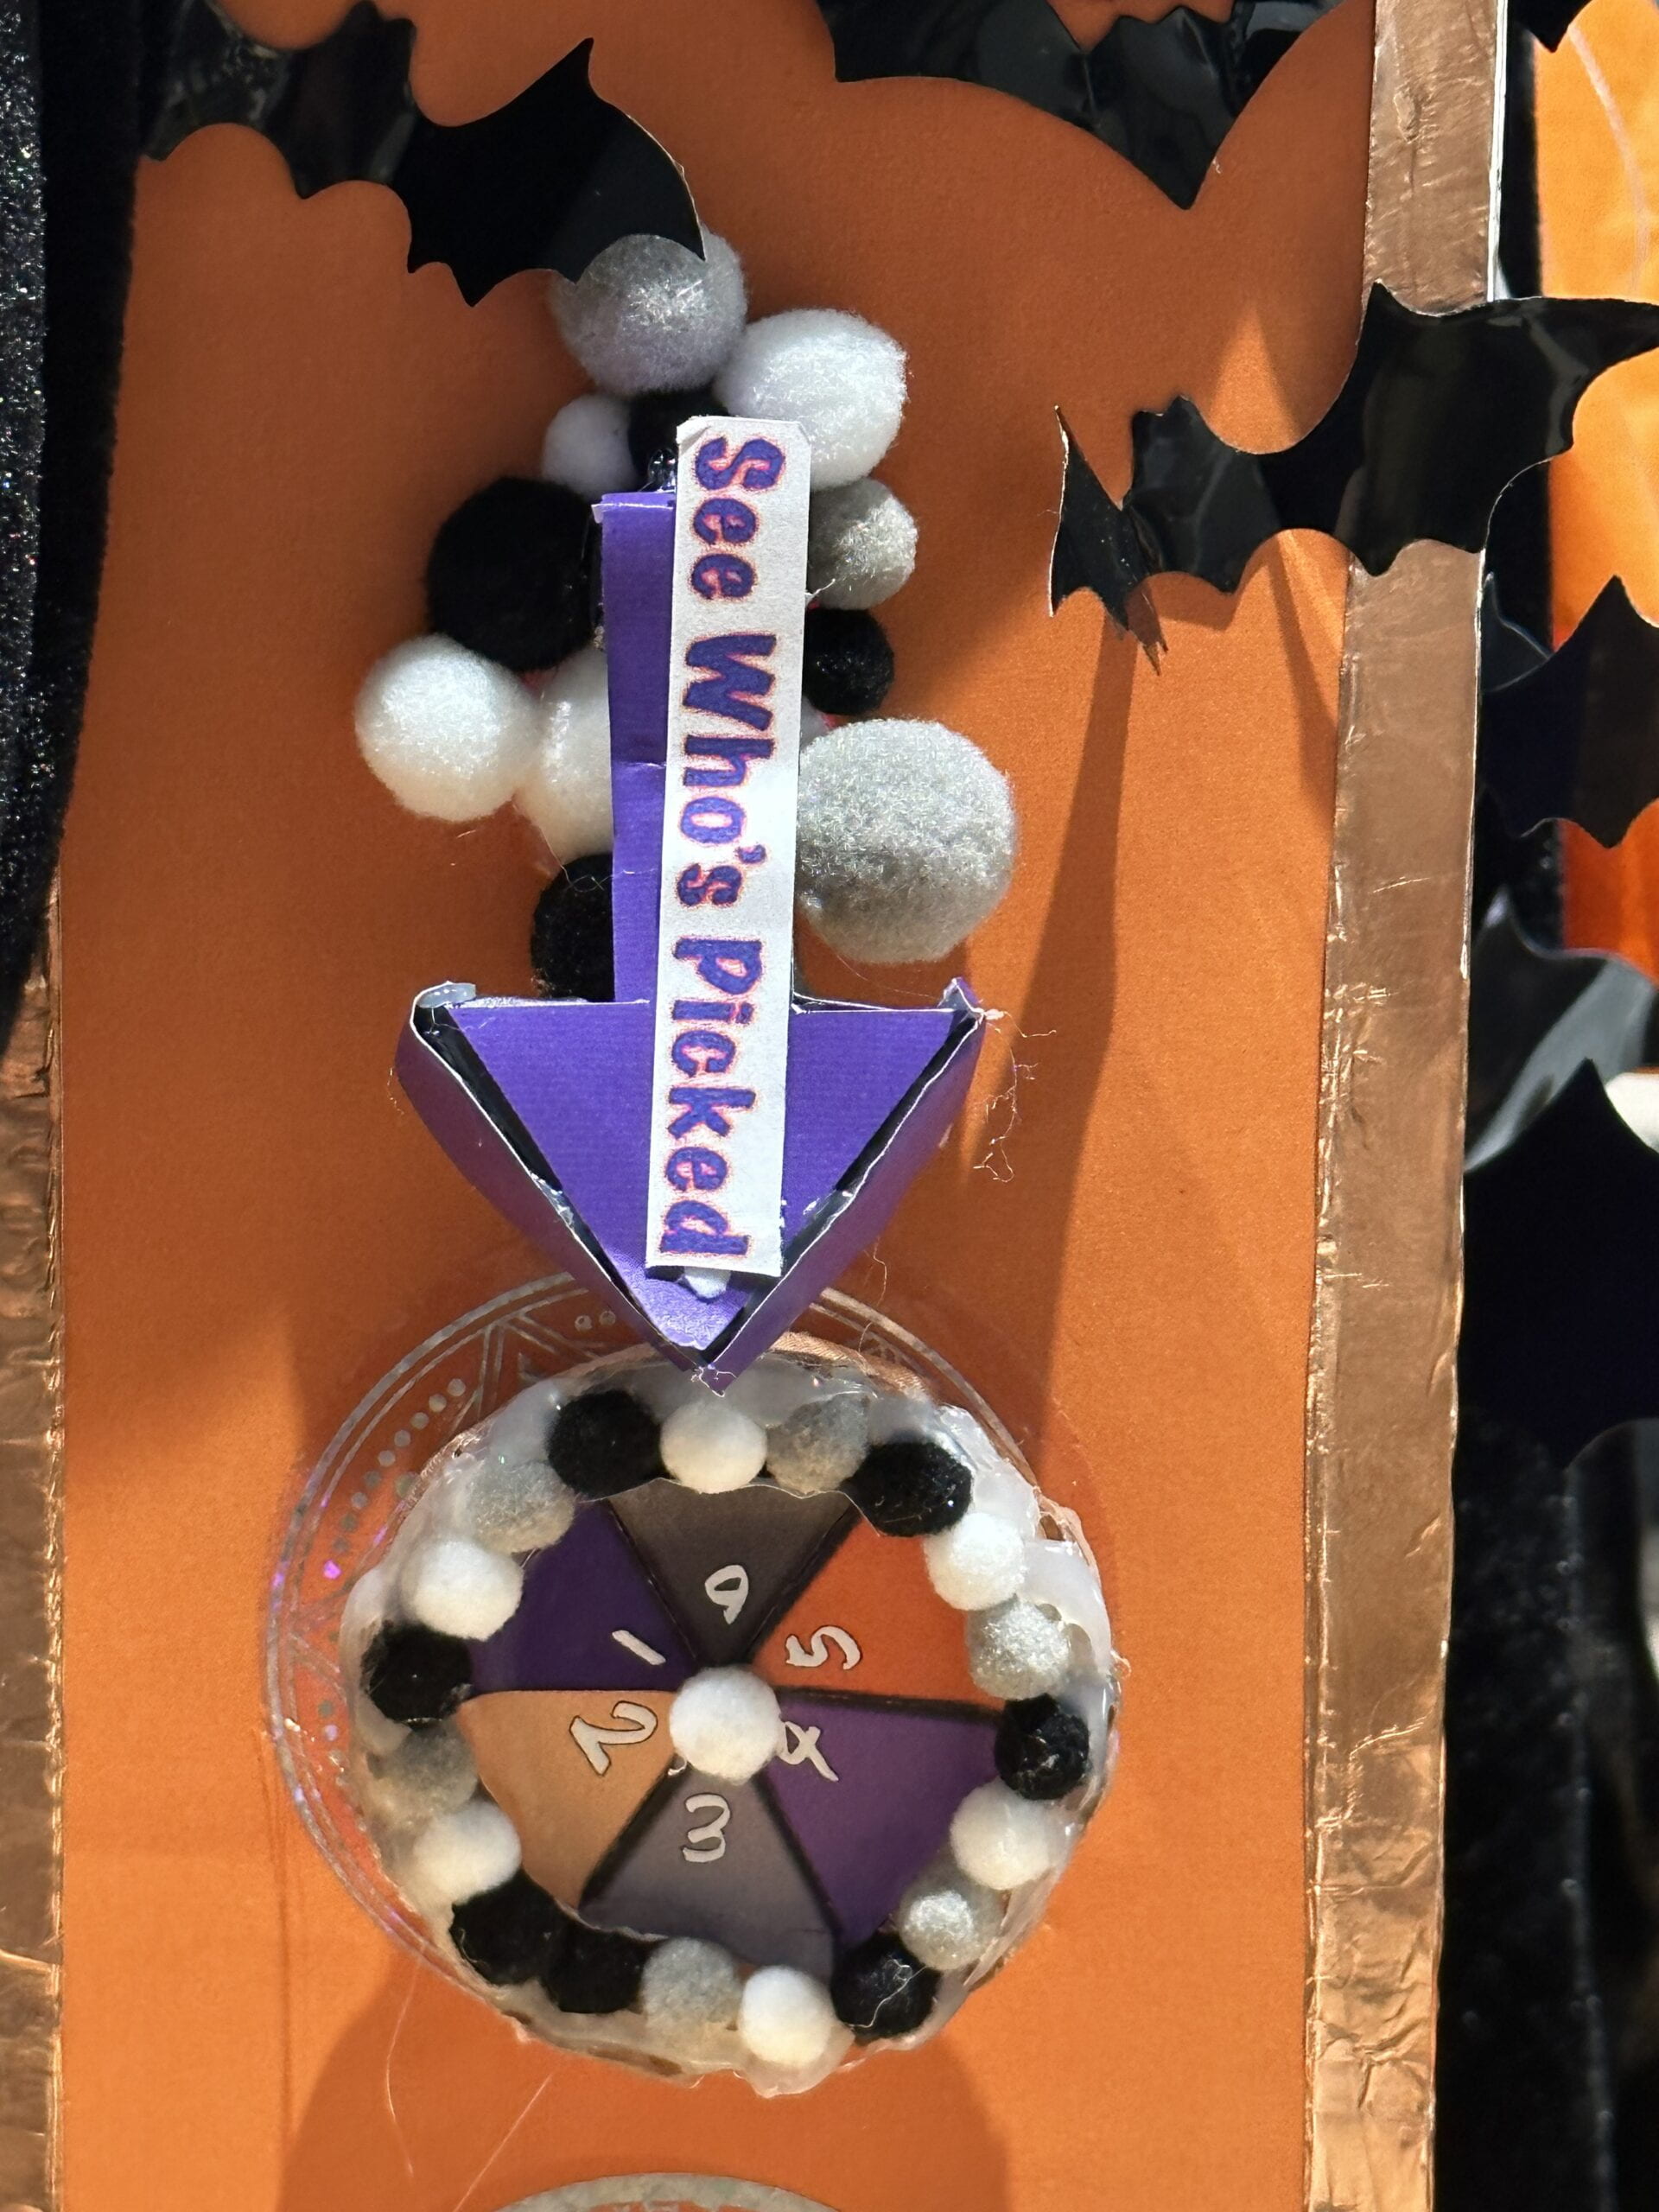
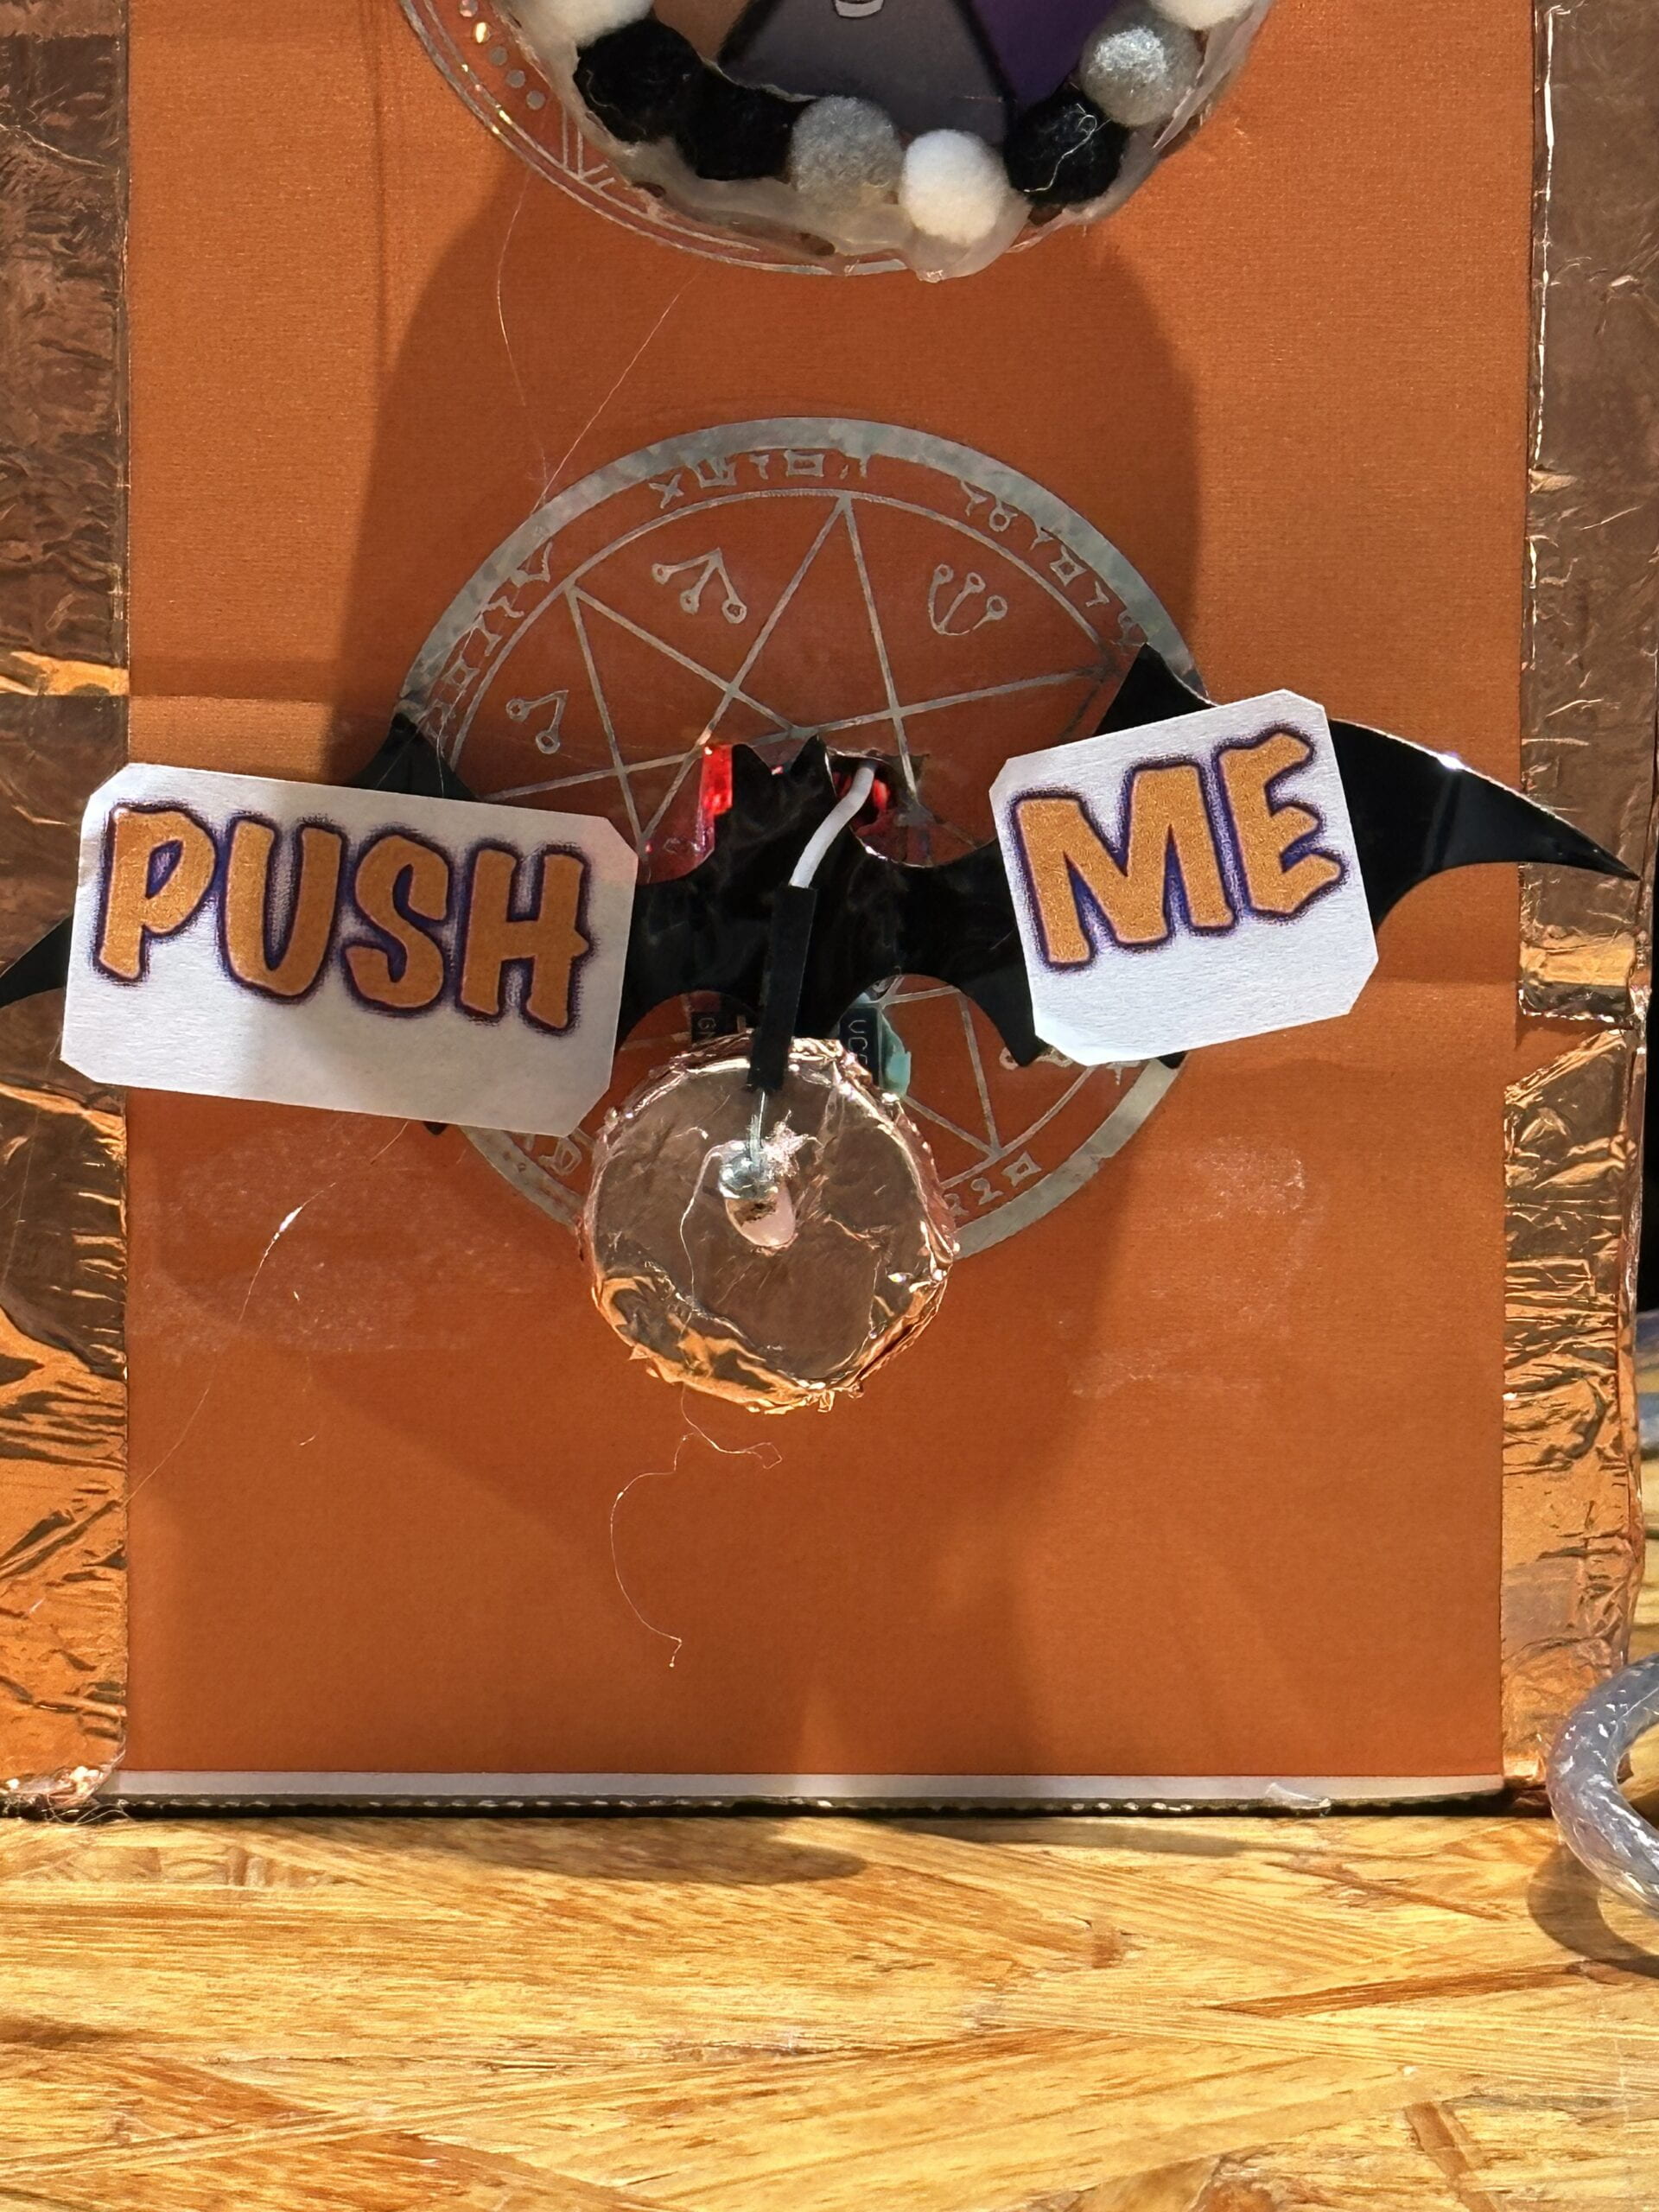
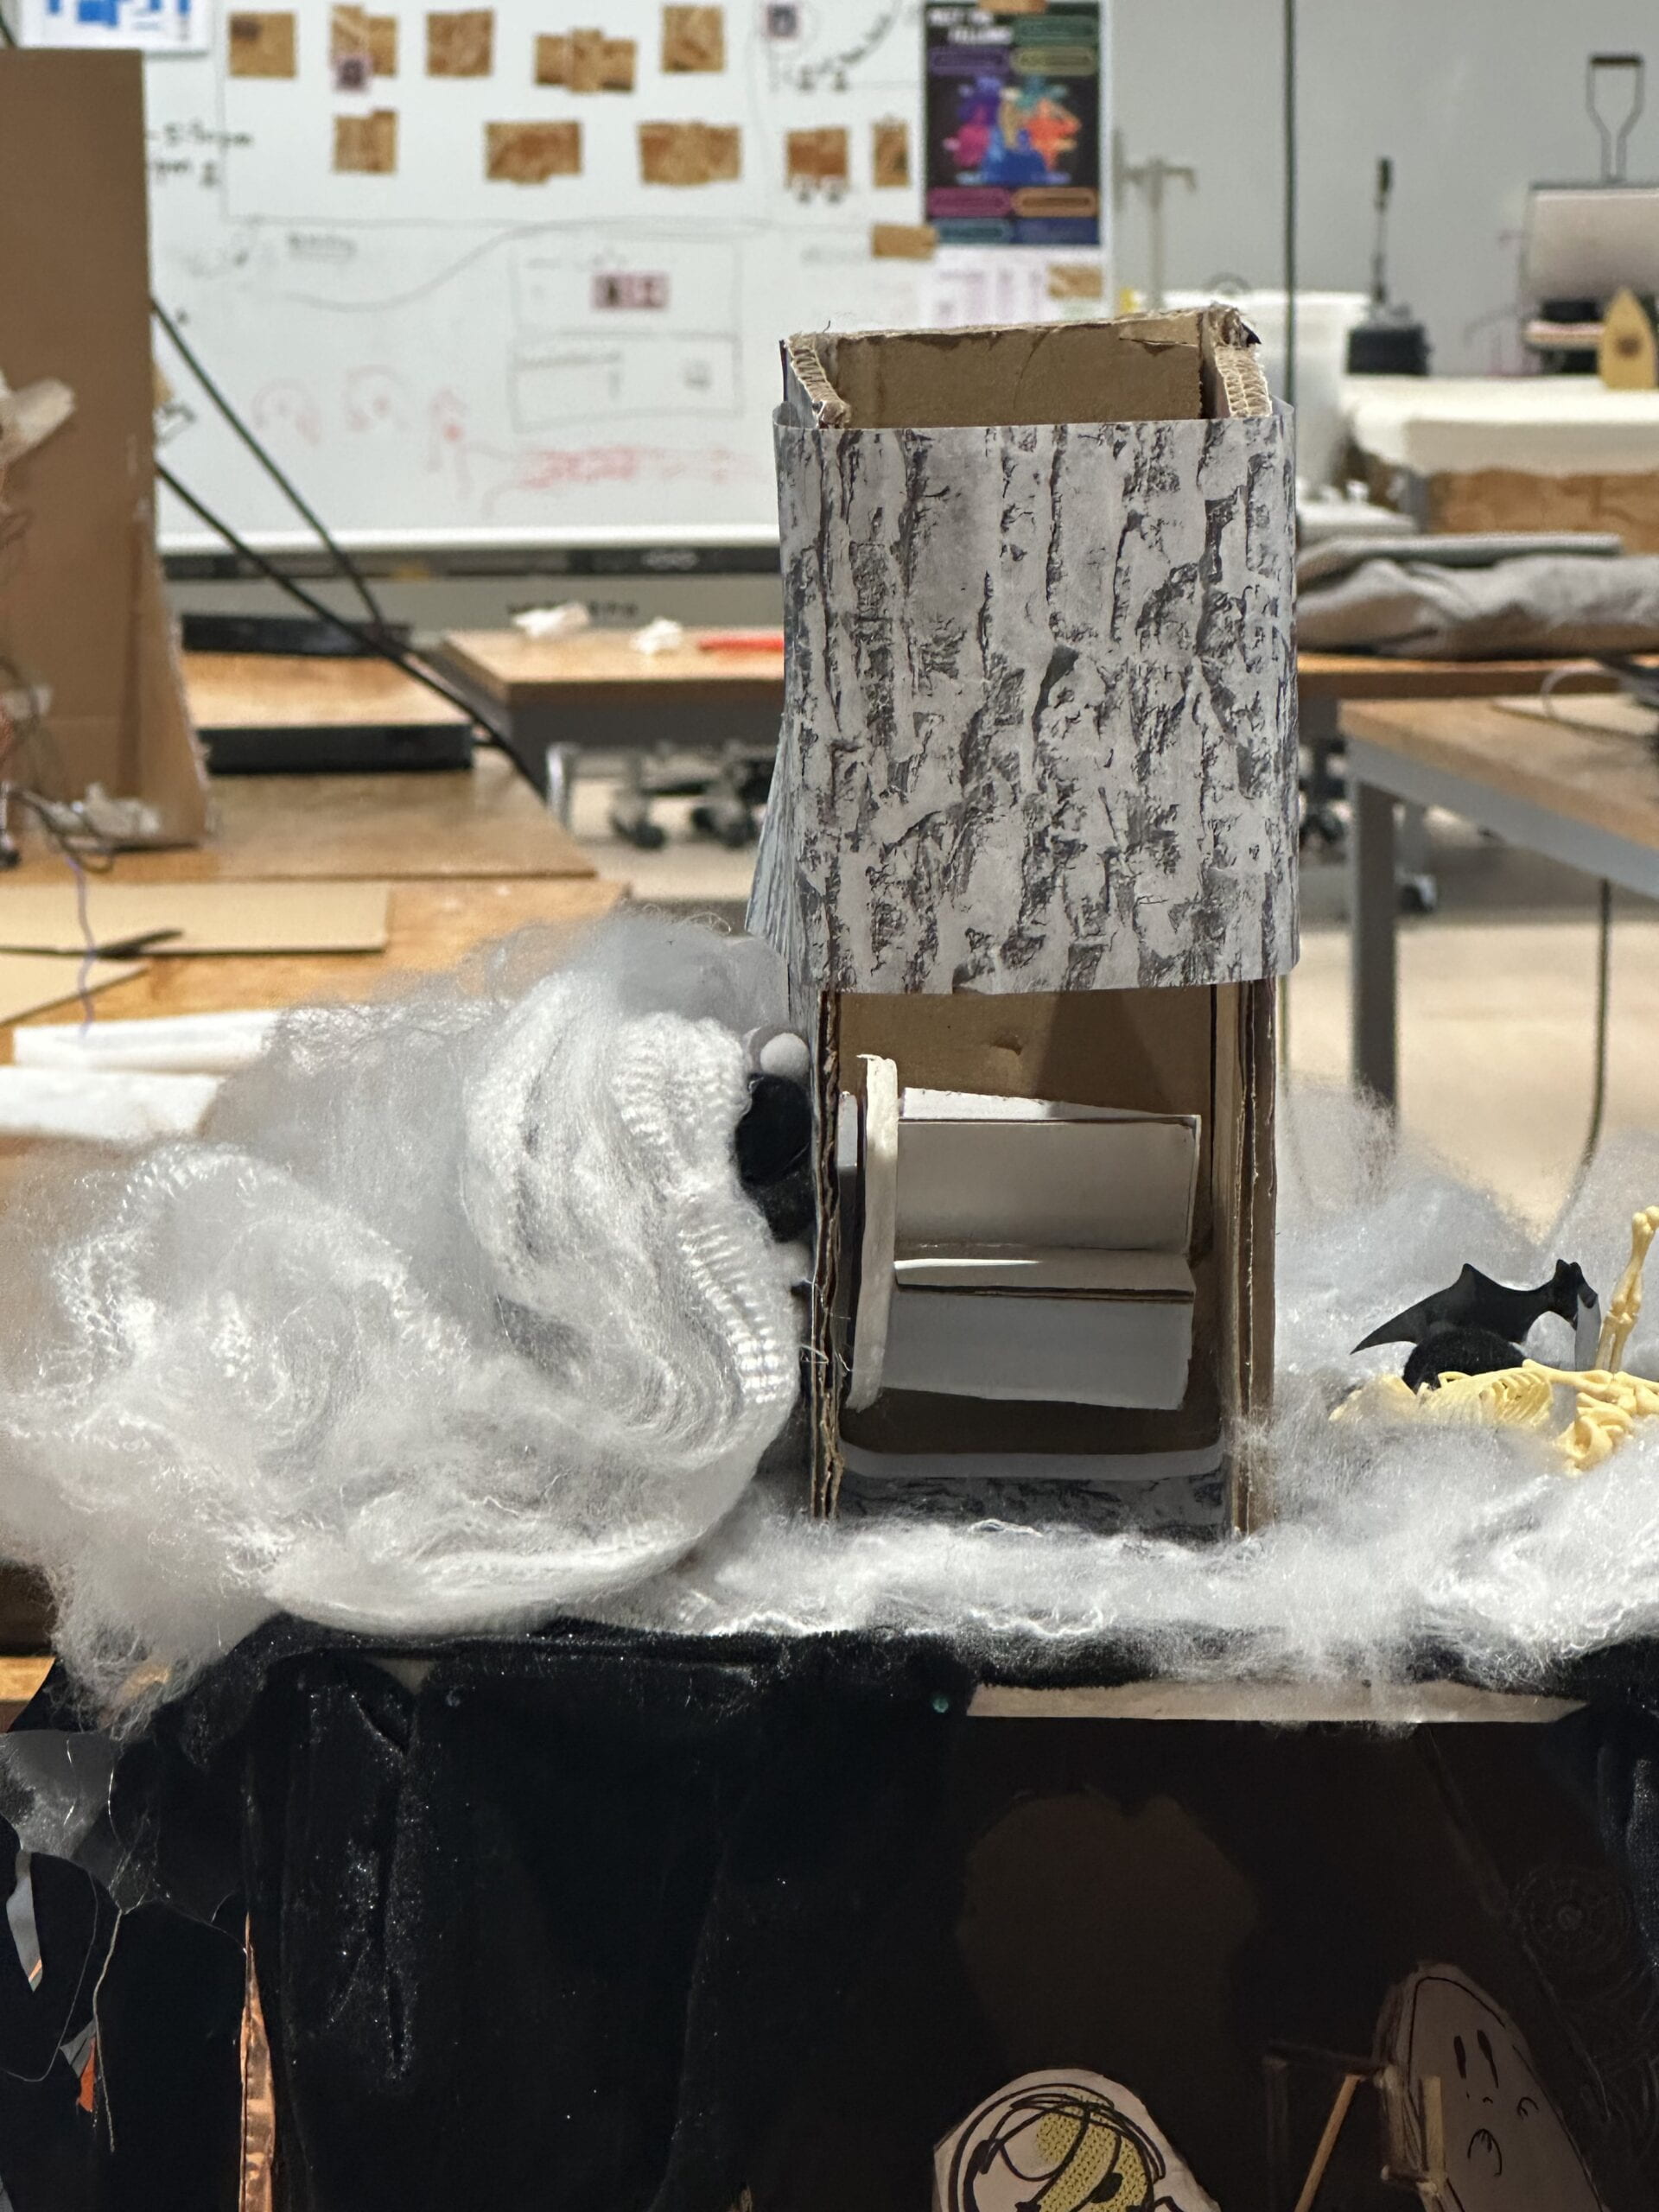
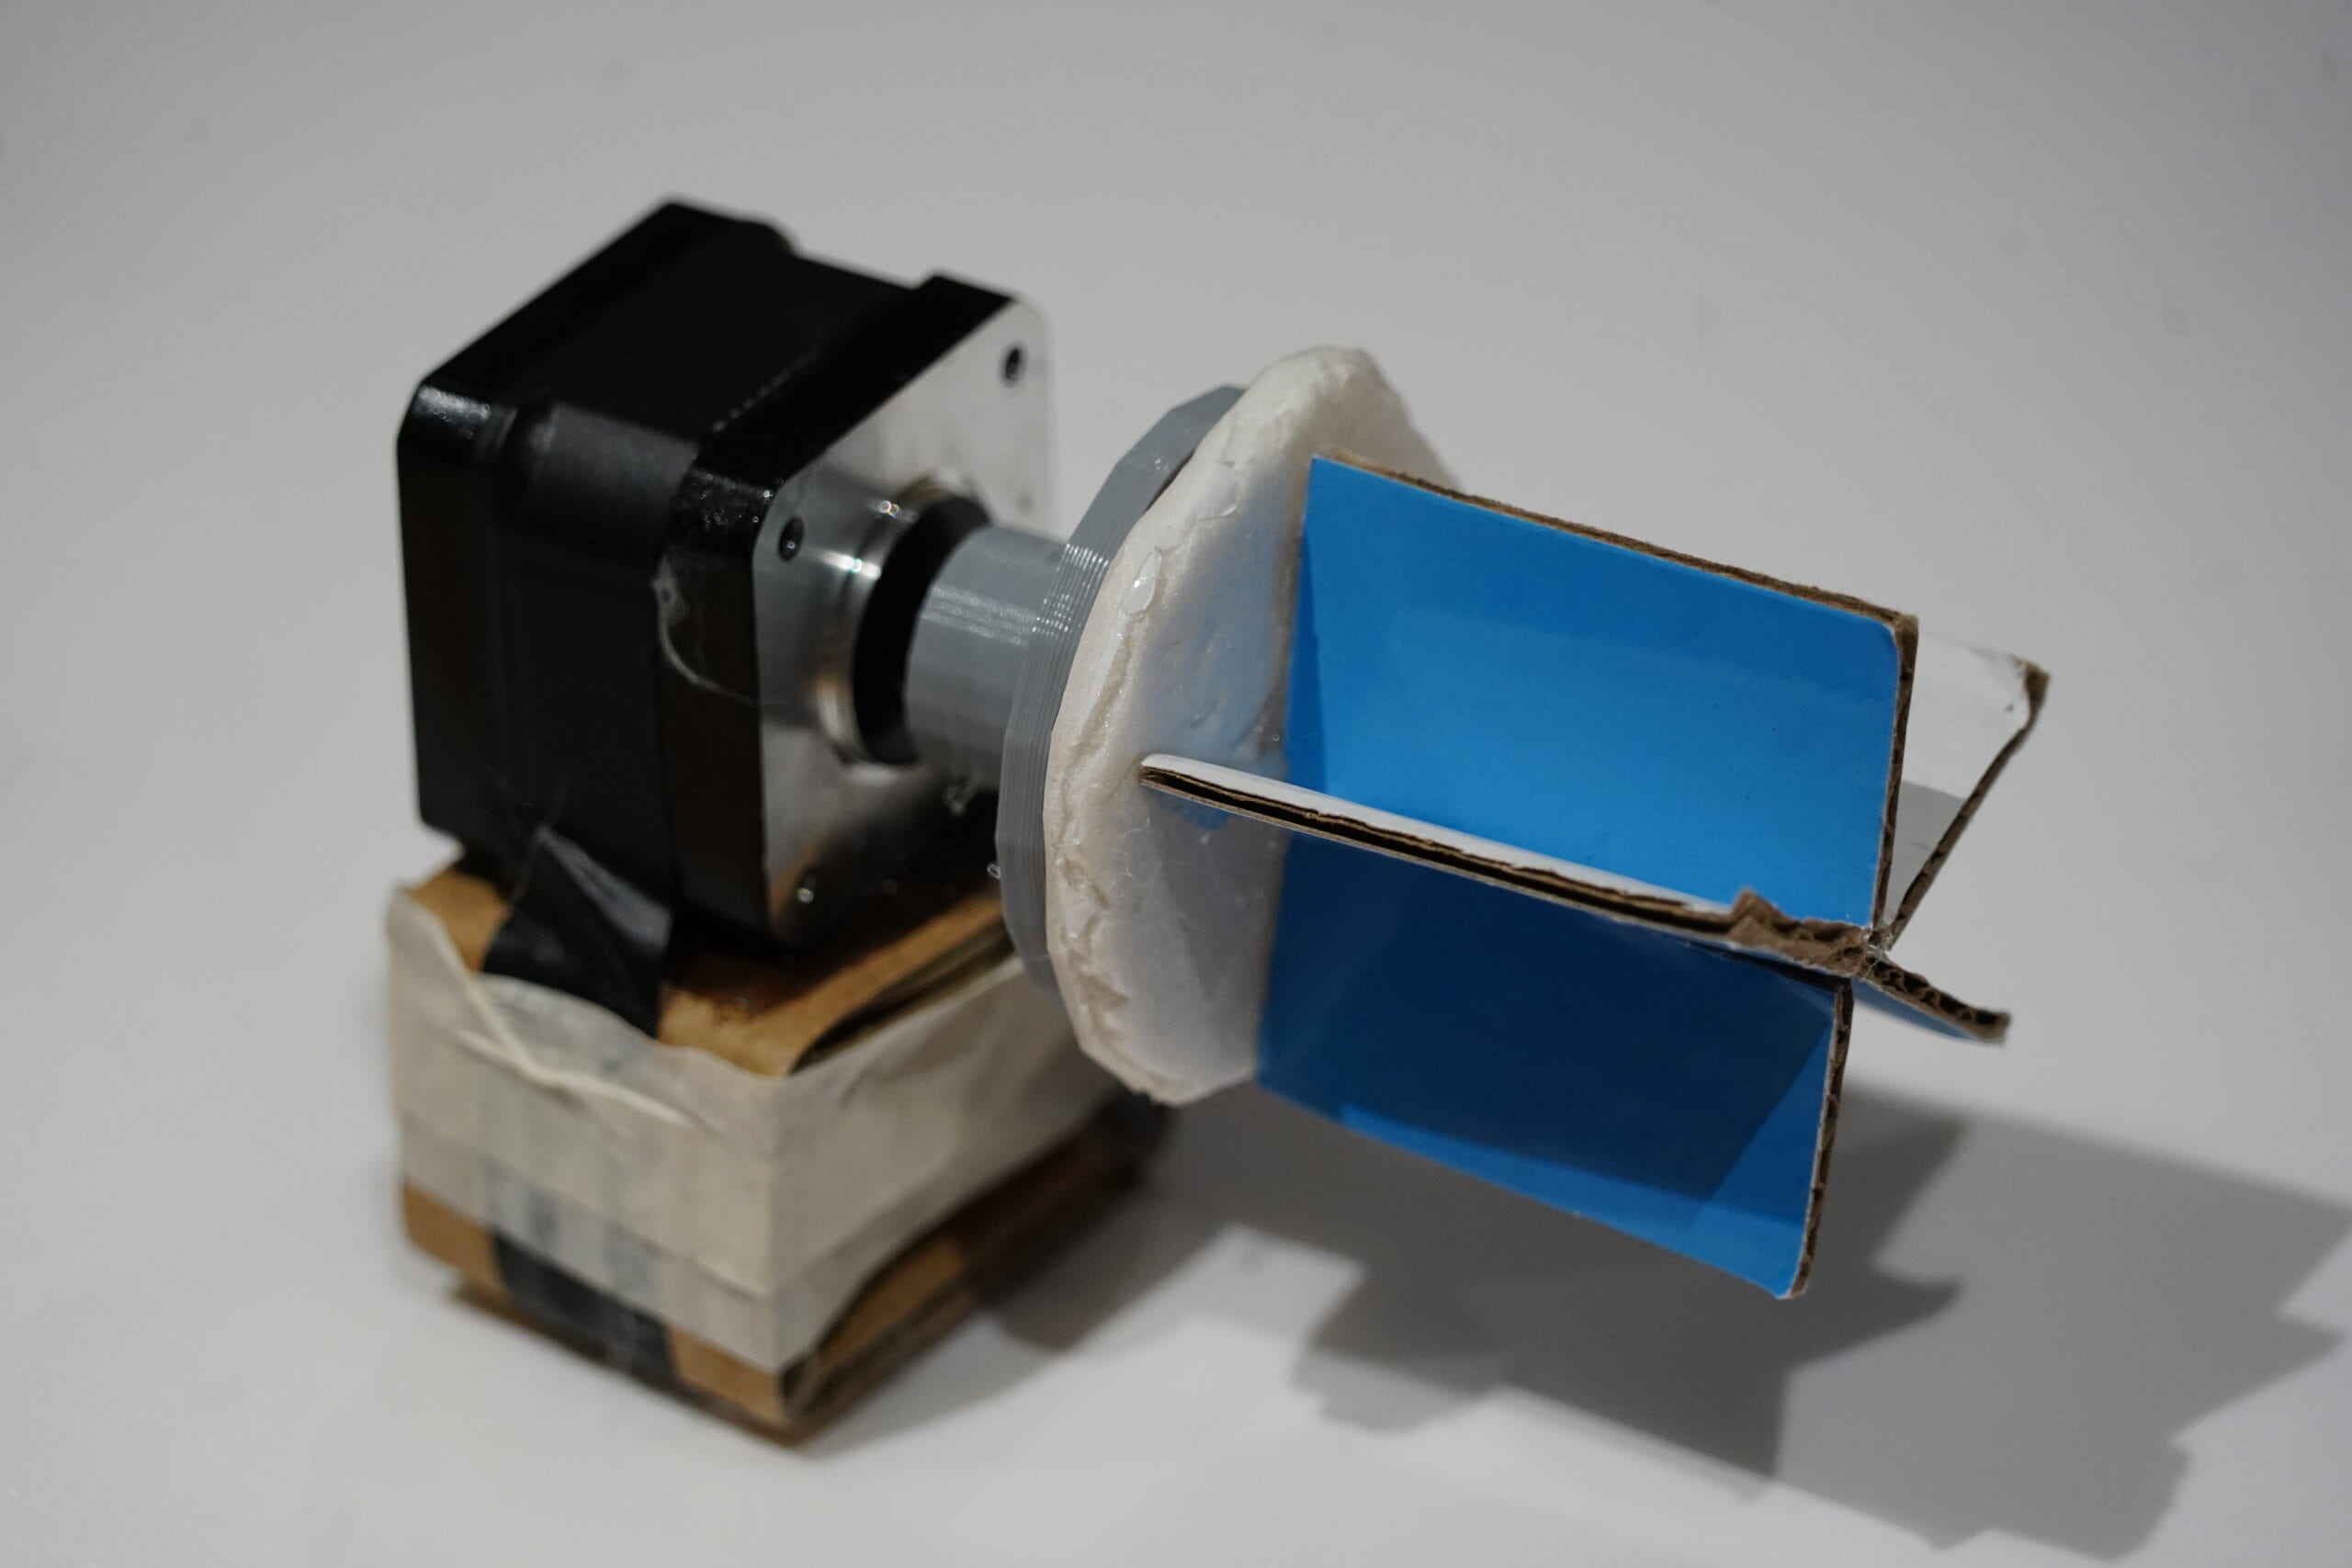
The user’s interactions with the project include picking a character with a random choice of their own, enjoying the visuals and sound of the characters, and getting the trick or the treat. Under this setting, we used the lucky wheel draw controlled by a push button and a servo motor. Also, we used a stepper motor to control the turntable display stand which is like a merry-go-round. We found some friends to record the lines of the characters and mix those with sound effects and creepy music. For all the different light and sound effects, we used a Neo pixel LED stripe and speakers to play them, by which we can achieve super cool effects. Also, for the candy/spider giver, we used a stepper motor to create a device like a waterwheel that sweeps out the candy as they were the easiest one to control and can achieve many goals in the project. In the codes, we give the push button the whole control of the system that a random number is picked from the six characters, and then the lucky wheel, the display stand, the sound and light effects, and the distribution of the tricks and treats will all work according to the certain character (correlated random number) picked as we used the command of different states.

cr. Luna
As the project is a construction including various forms of spinning mechanisms, we struggled with the choice of motor for a long time. From DC motors, stepper motors, servo motors, linear motors, we finally chose stepper motors and servo motor for the spinning stand, candy giver wheel and lucky pick wheel. Also, our project was simplified in some ways. In the proposal, we thought of using a small LCD screen to display selected character every time after lucky wheel pick. But as the characters would simply be shown “on stage”, we removed this part to make it less complicated.
Fabrication and Production
For the project, we used cardboard and fabric most of the time. We initially made a mini theater box as a base, a wheeling display like a carousel to hold our characters, a fortune wheel and other accessories. After that we made the project initially easy to run by connecting the various motors and devices.
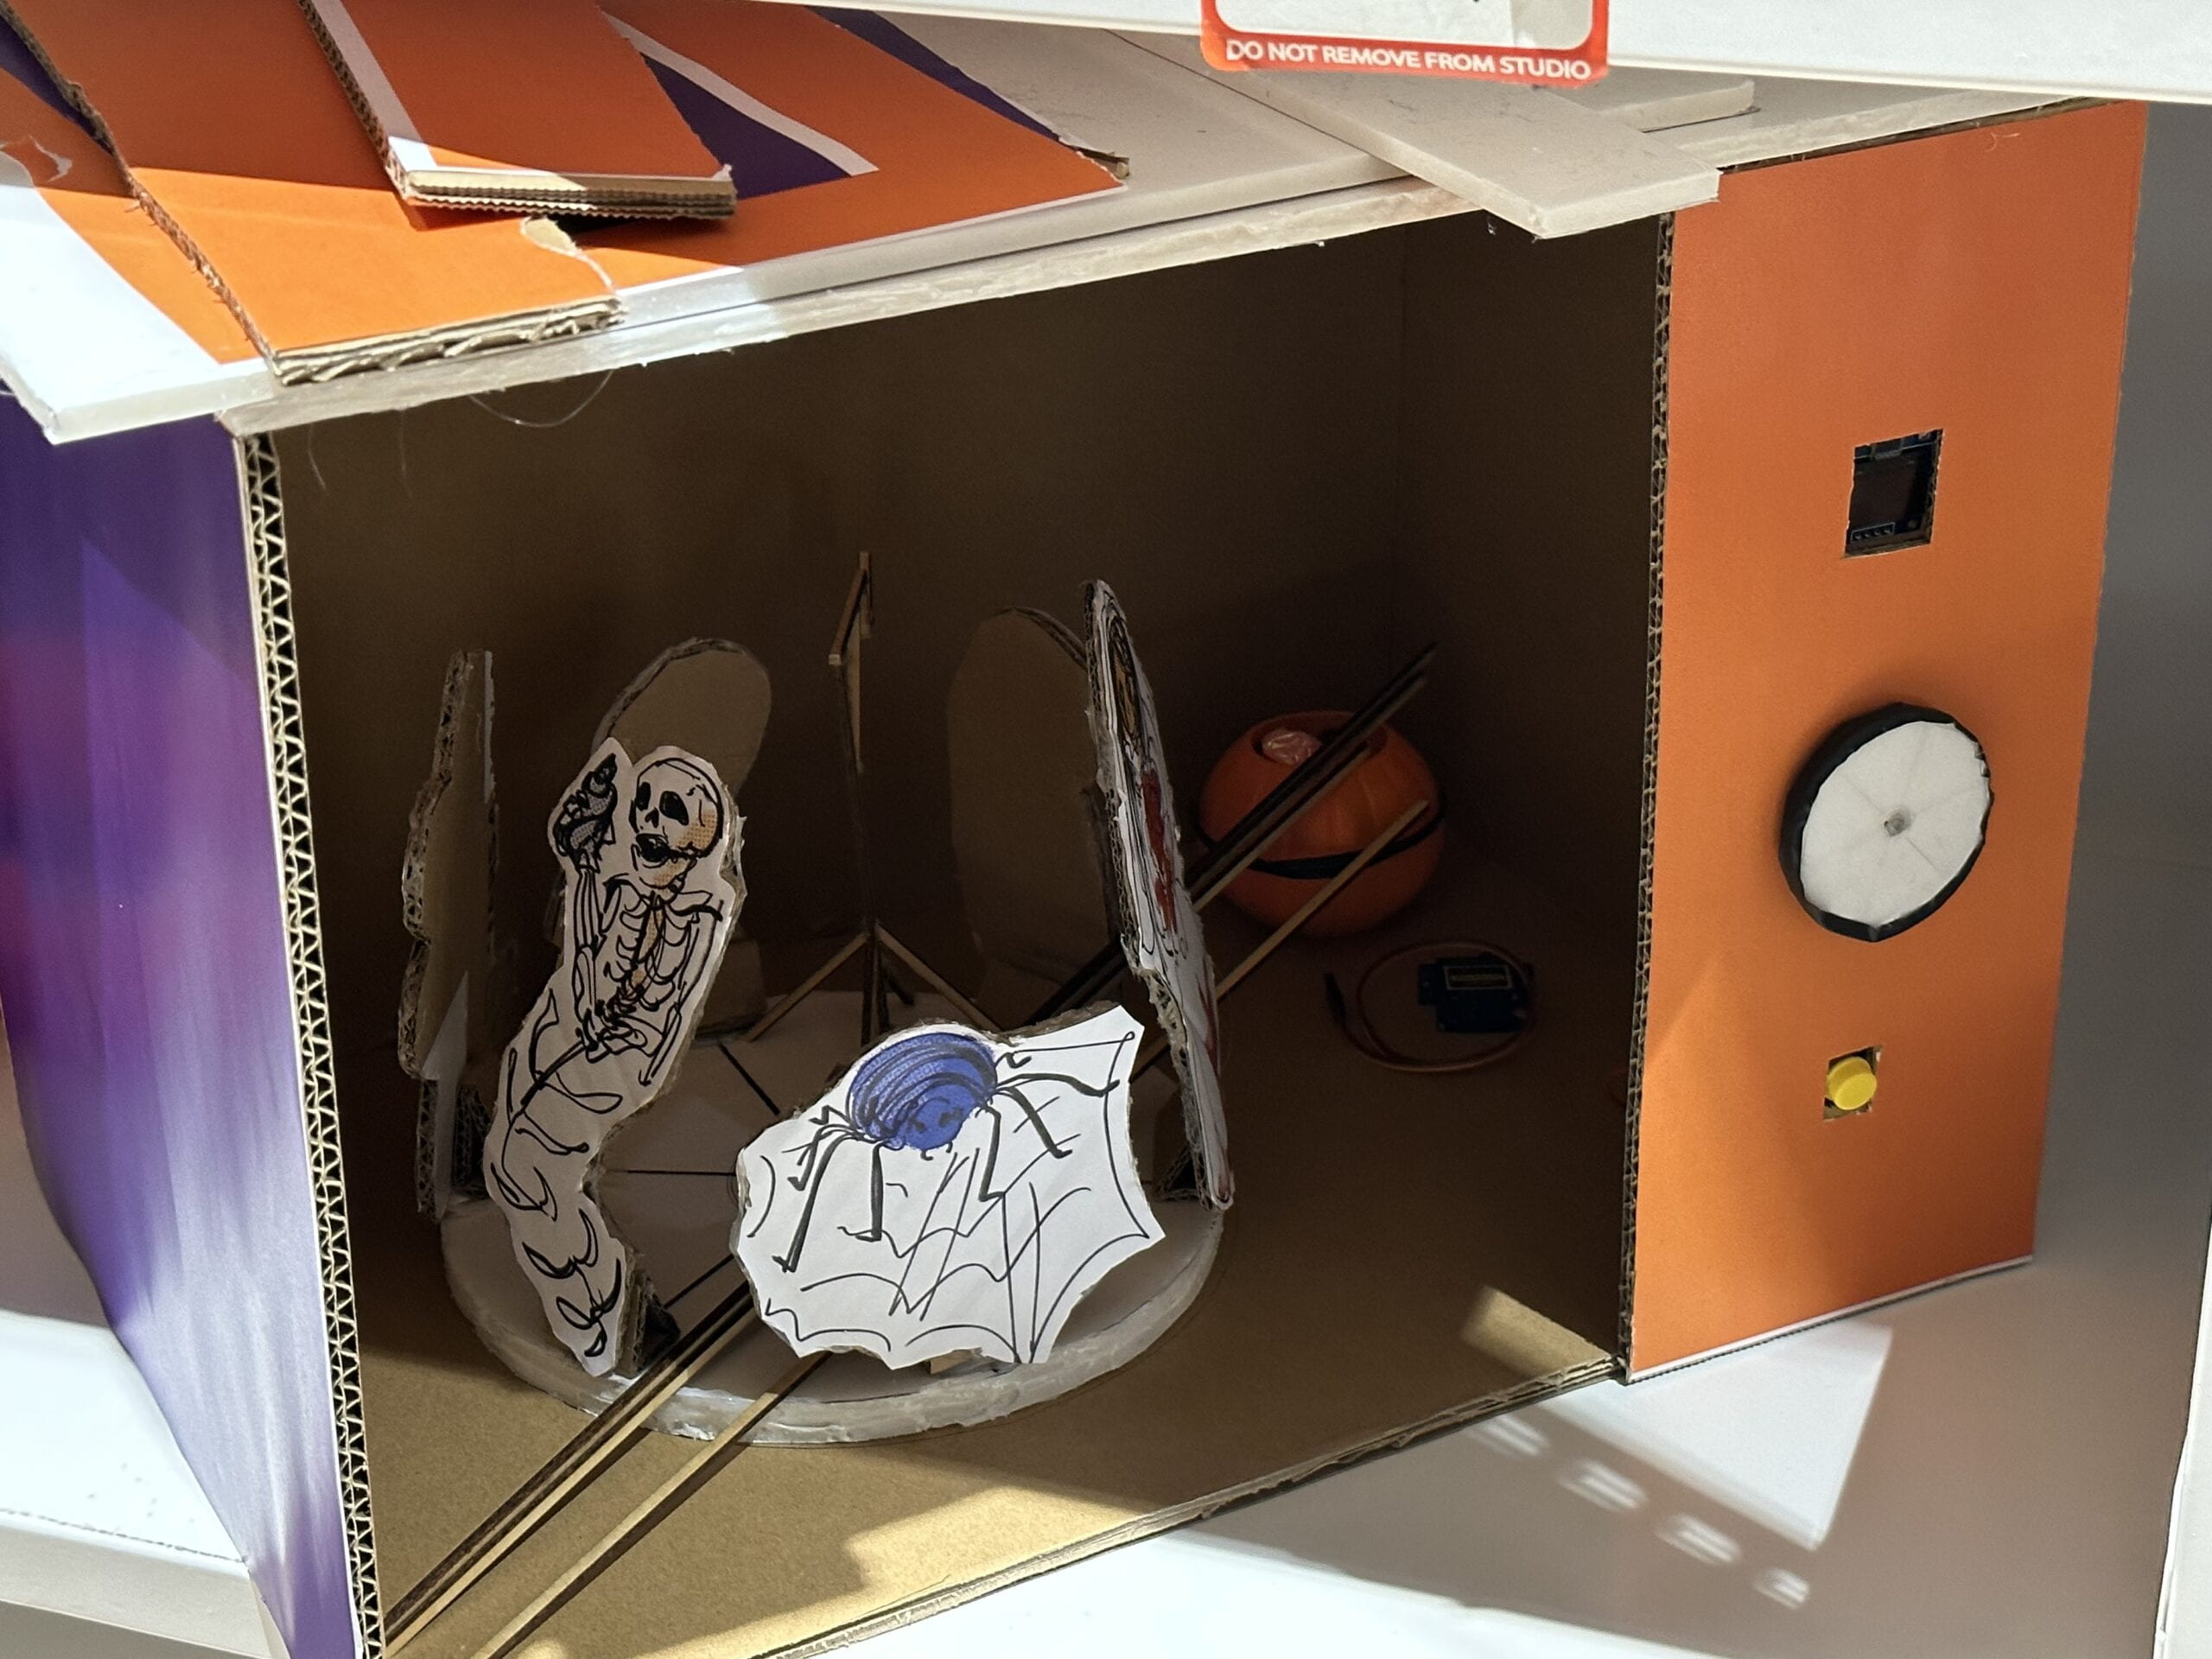
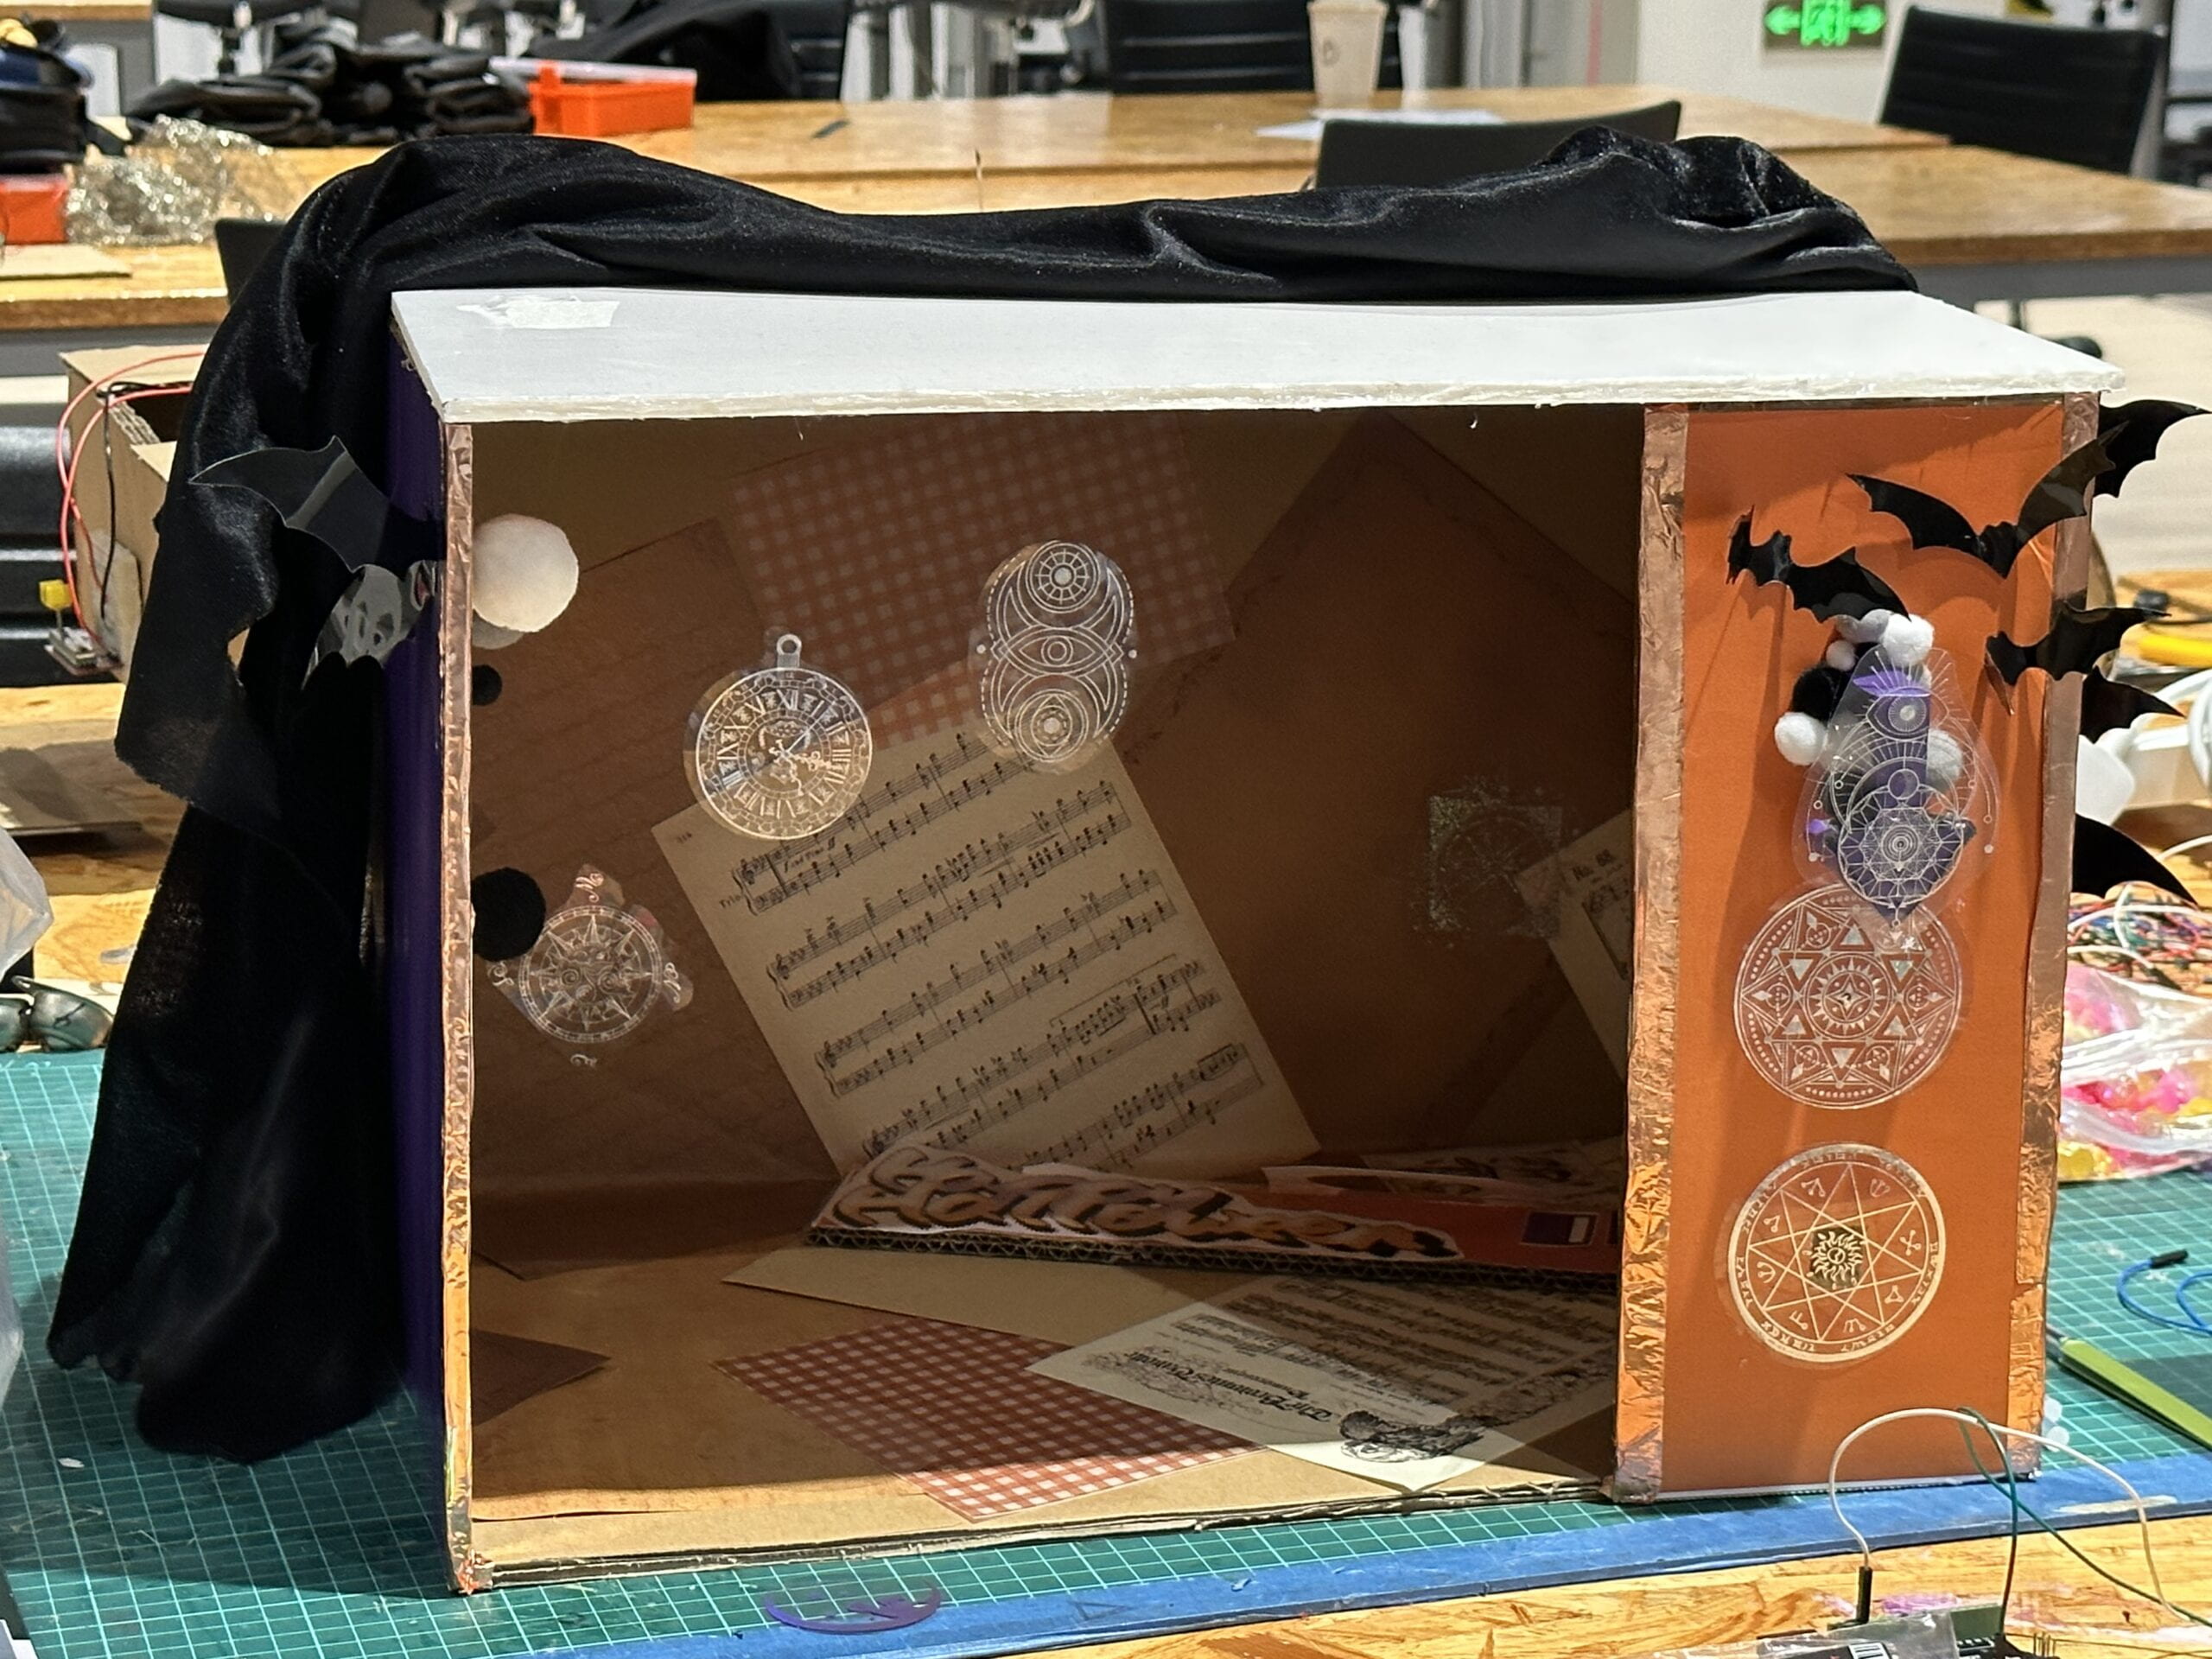
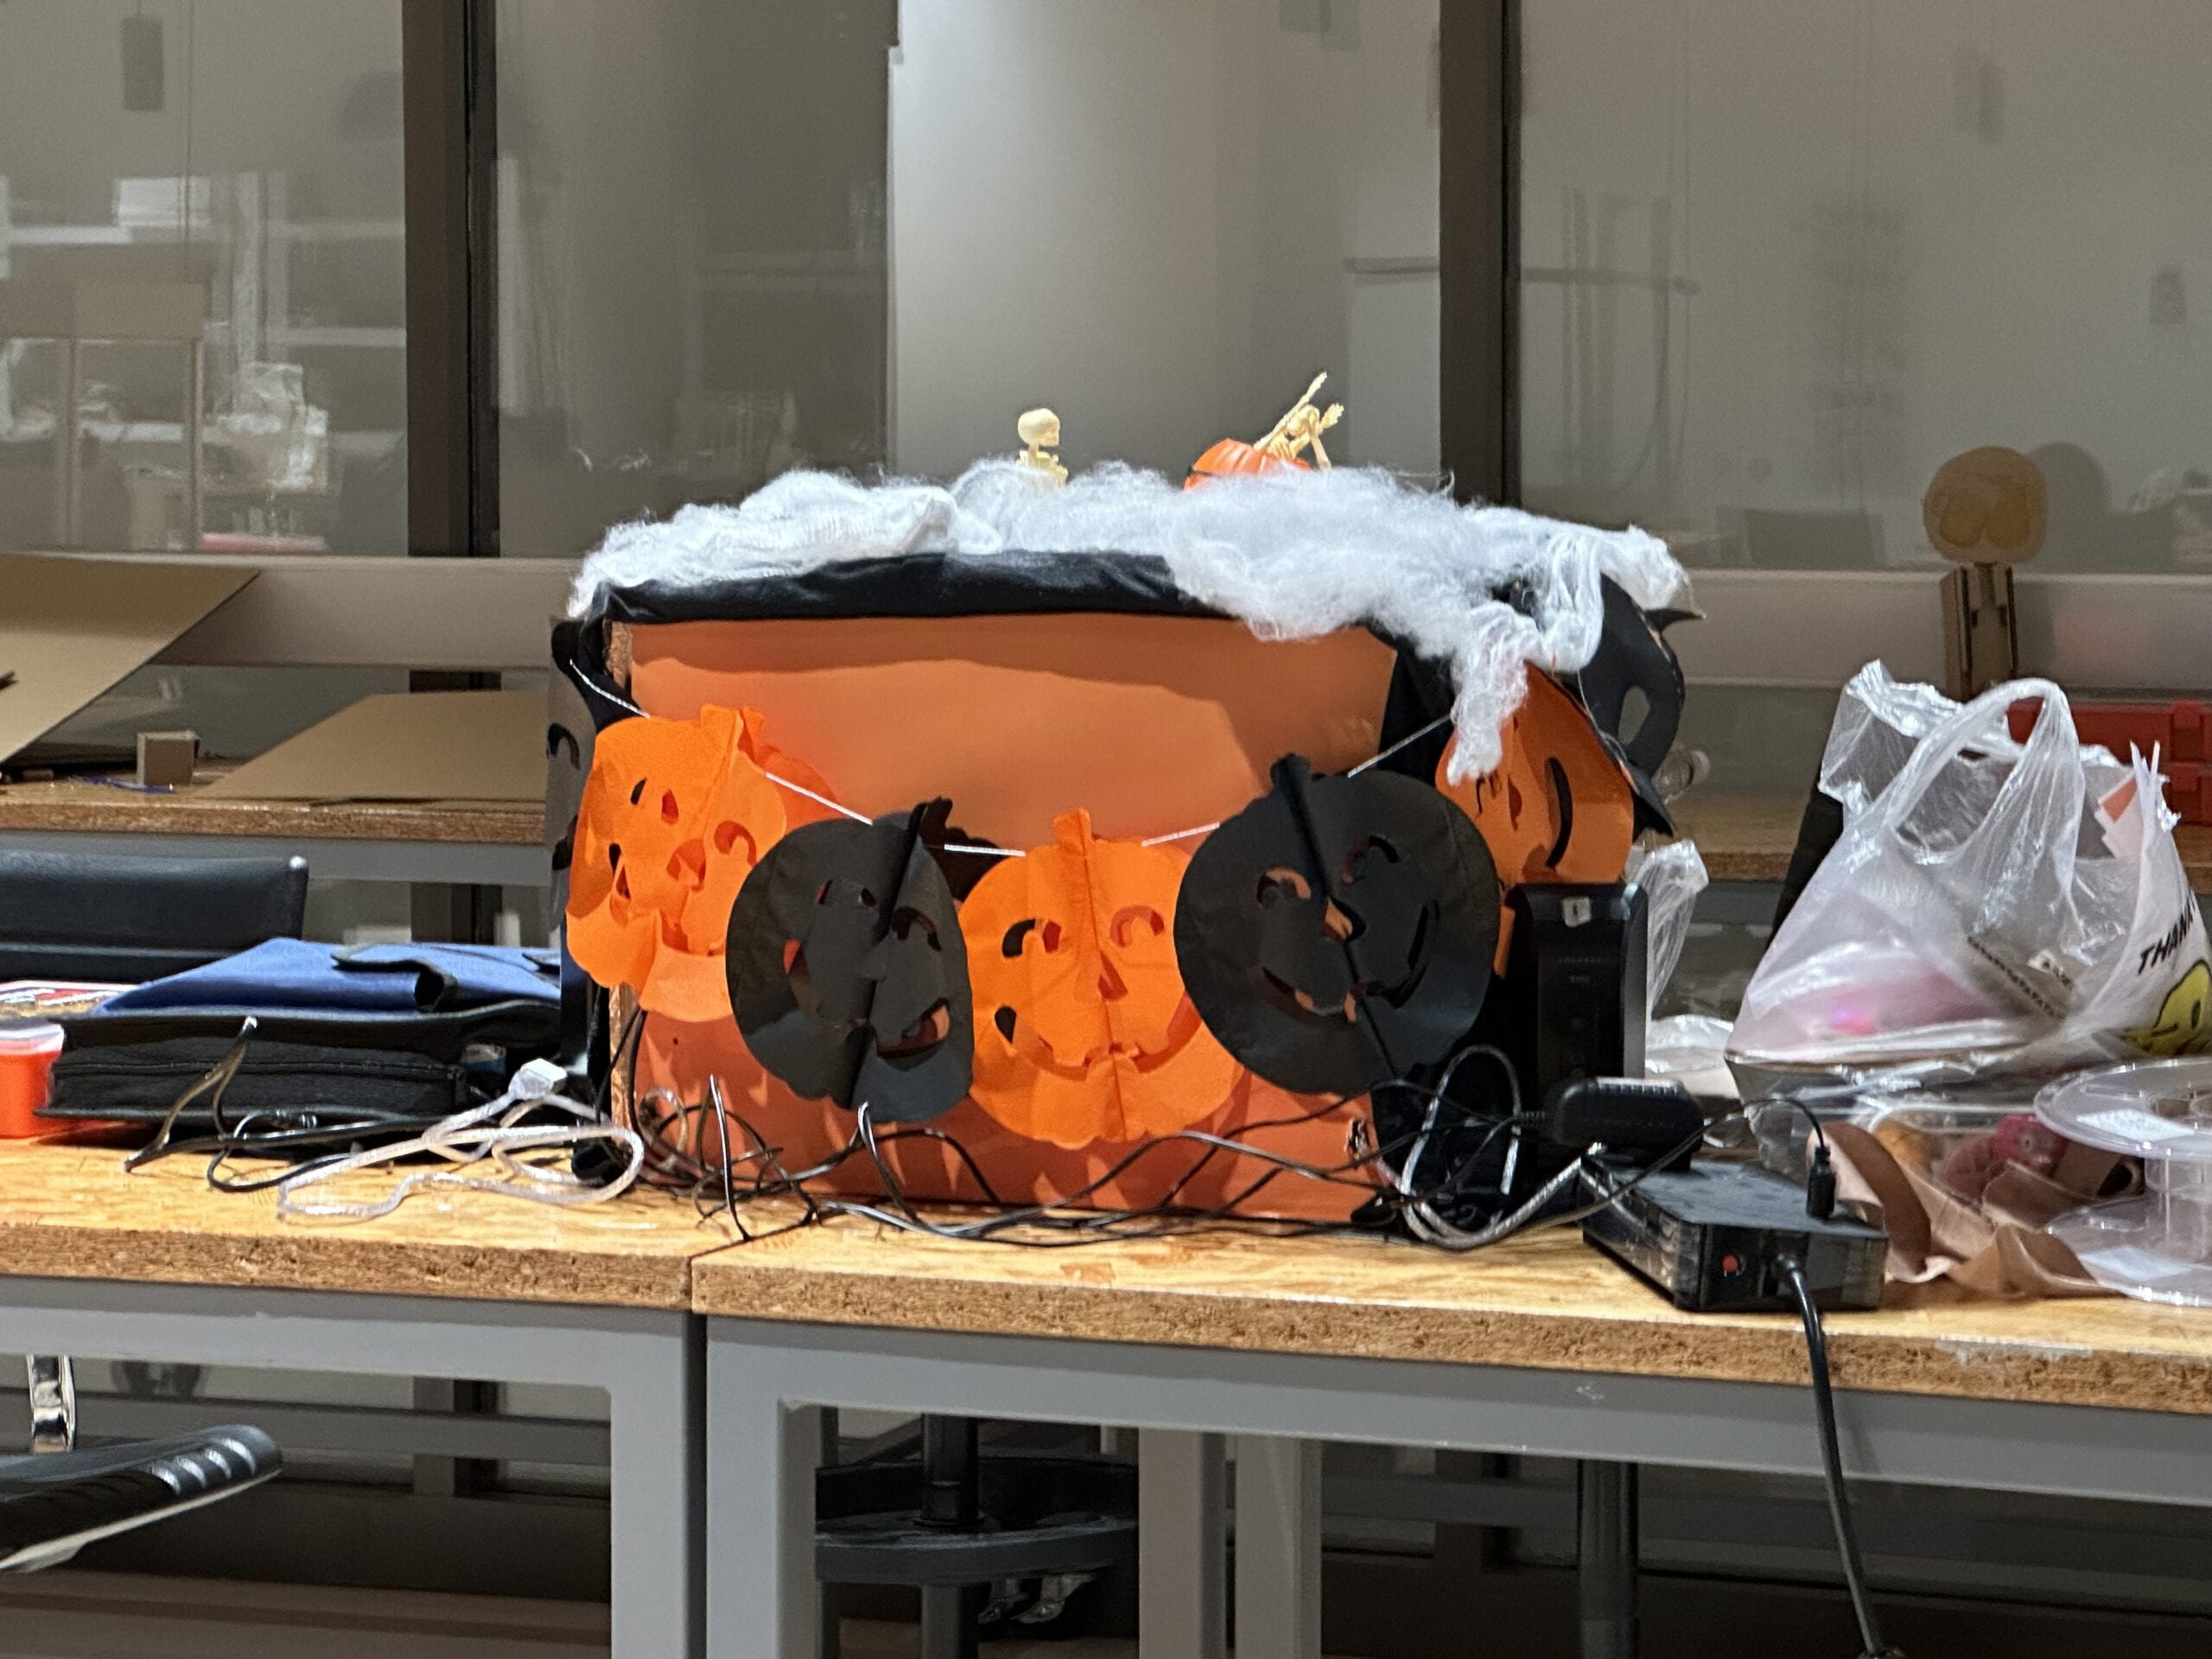
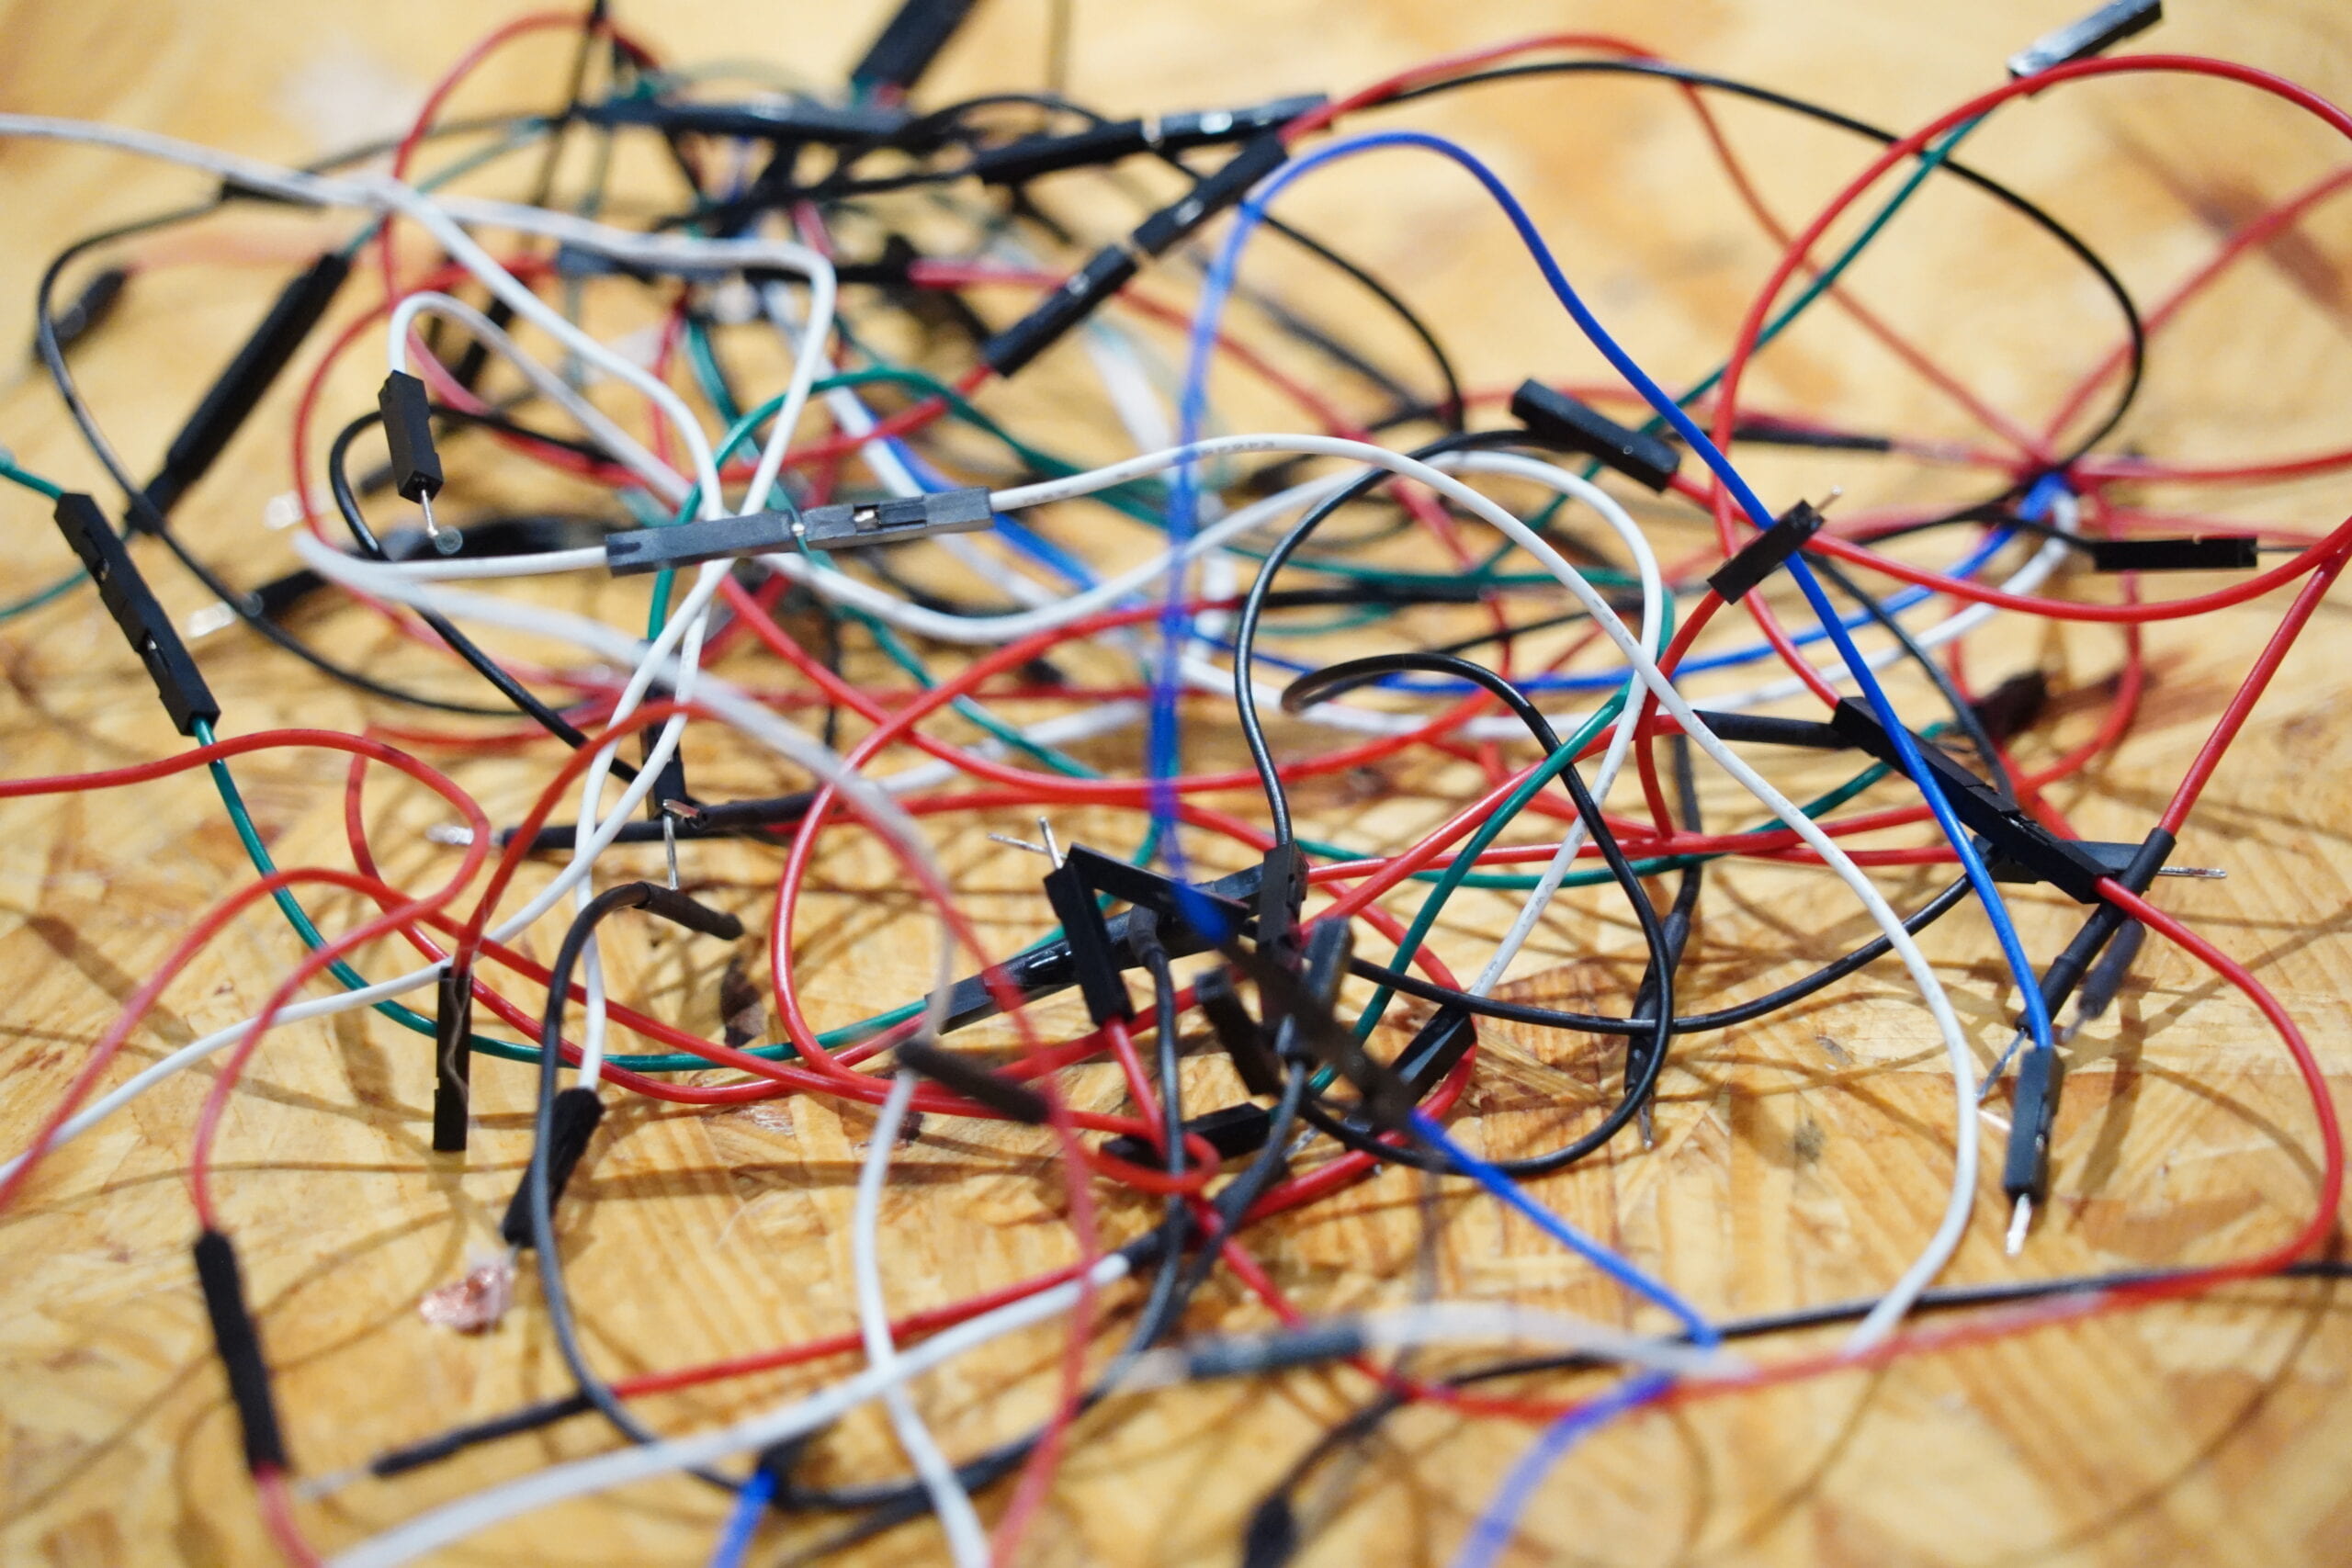
We bought some of the electronic components ourselves, such as mp3 decoders, but we couldn’t get them to work correctly in the circuits due to mismatches in the code and the system. But we explored a lot about the other electronics to make the whole project work very well. We did encounter some problems such as the connection of whole structure, servos not working or codes going wrong, but we also overcame them.
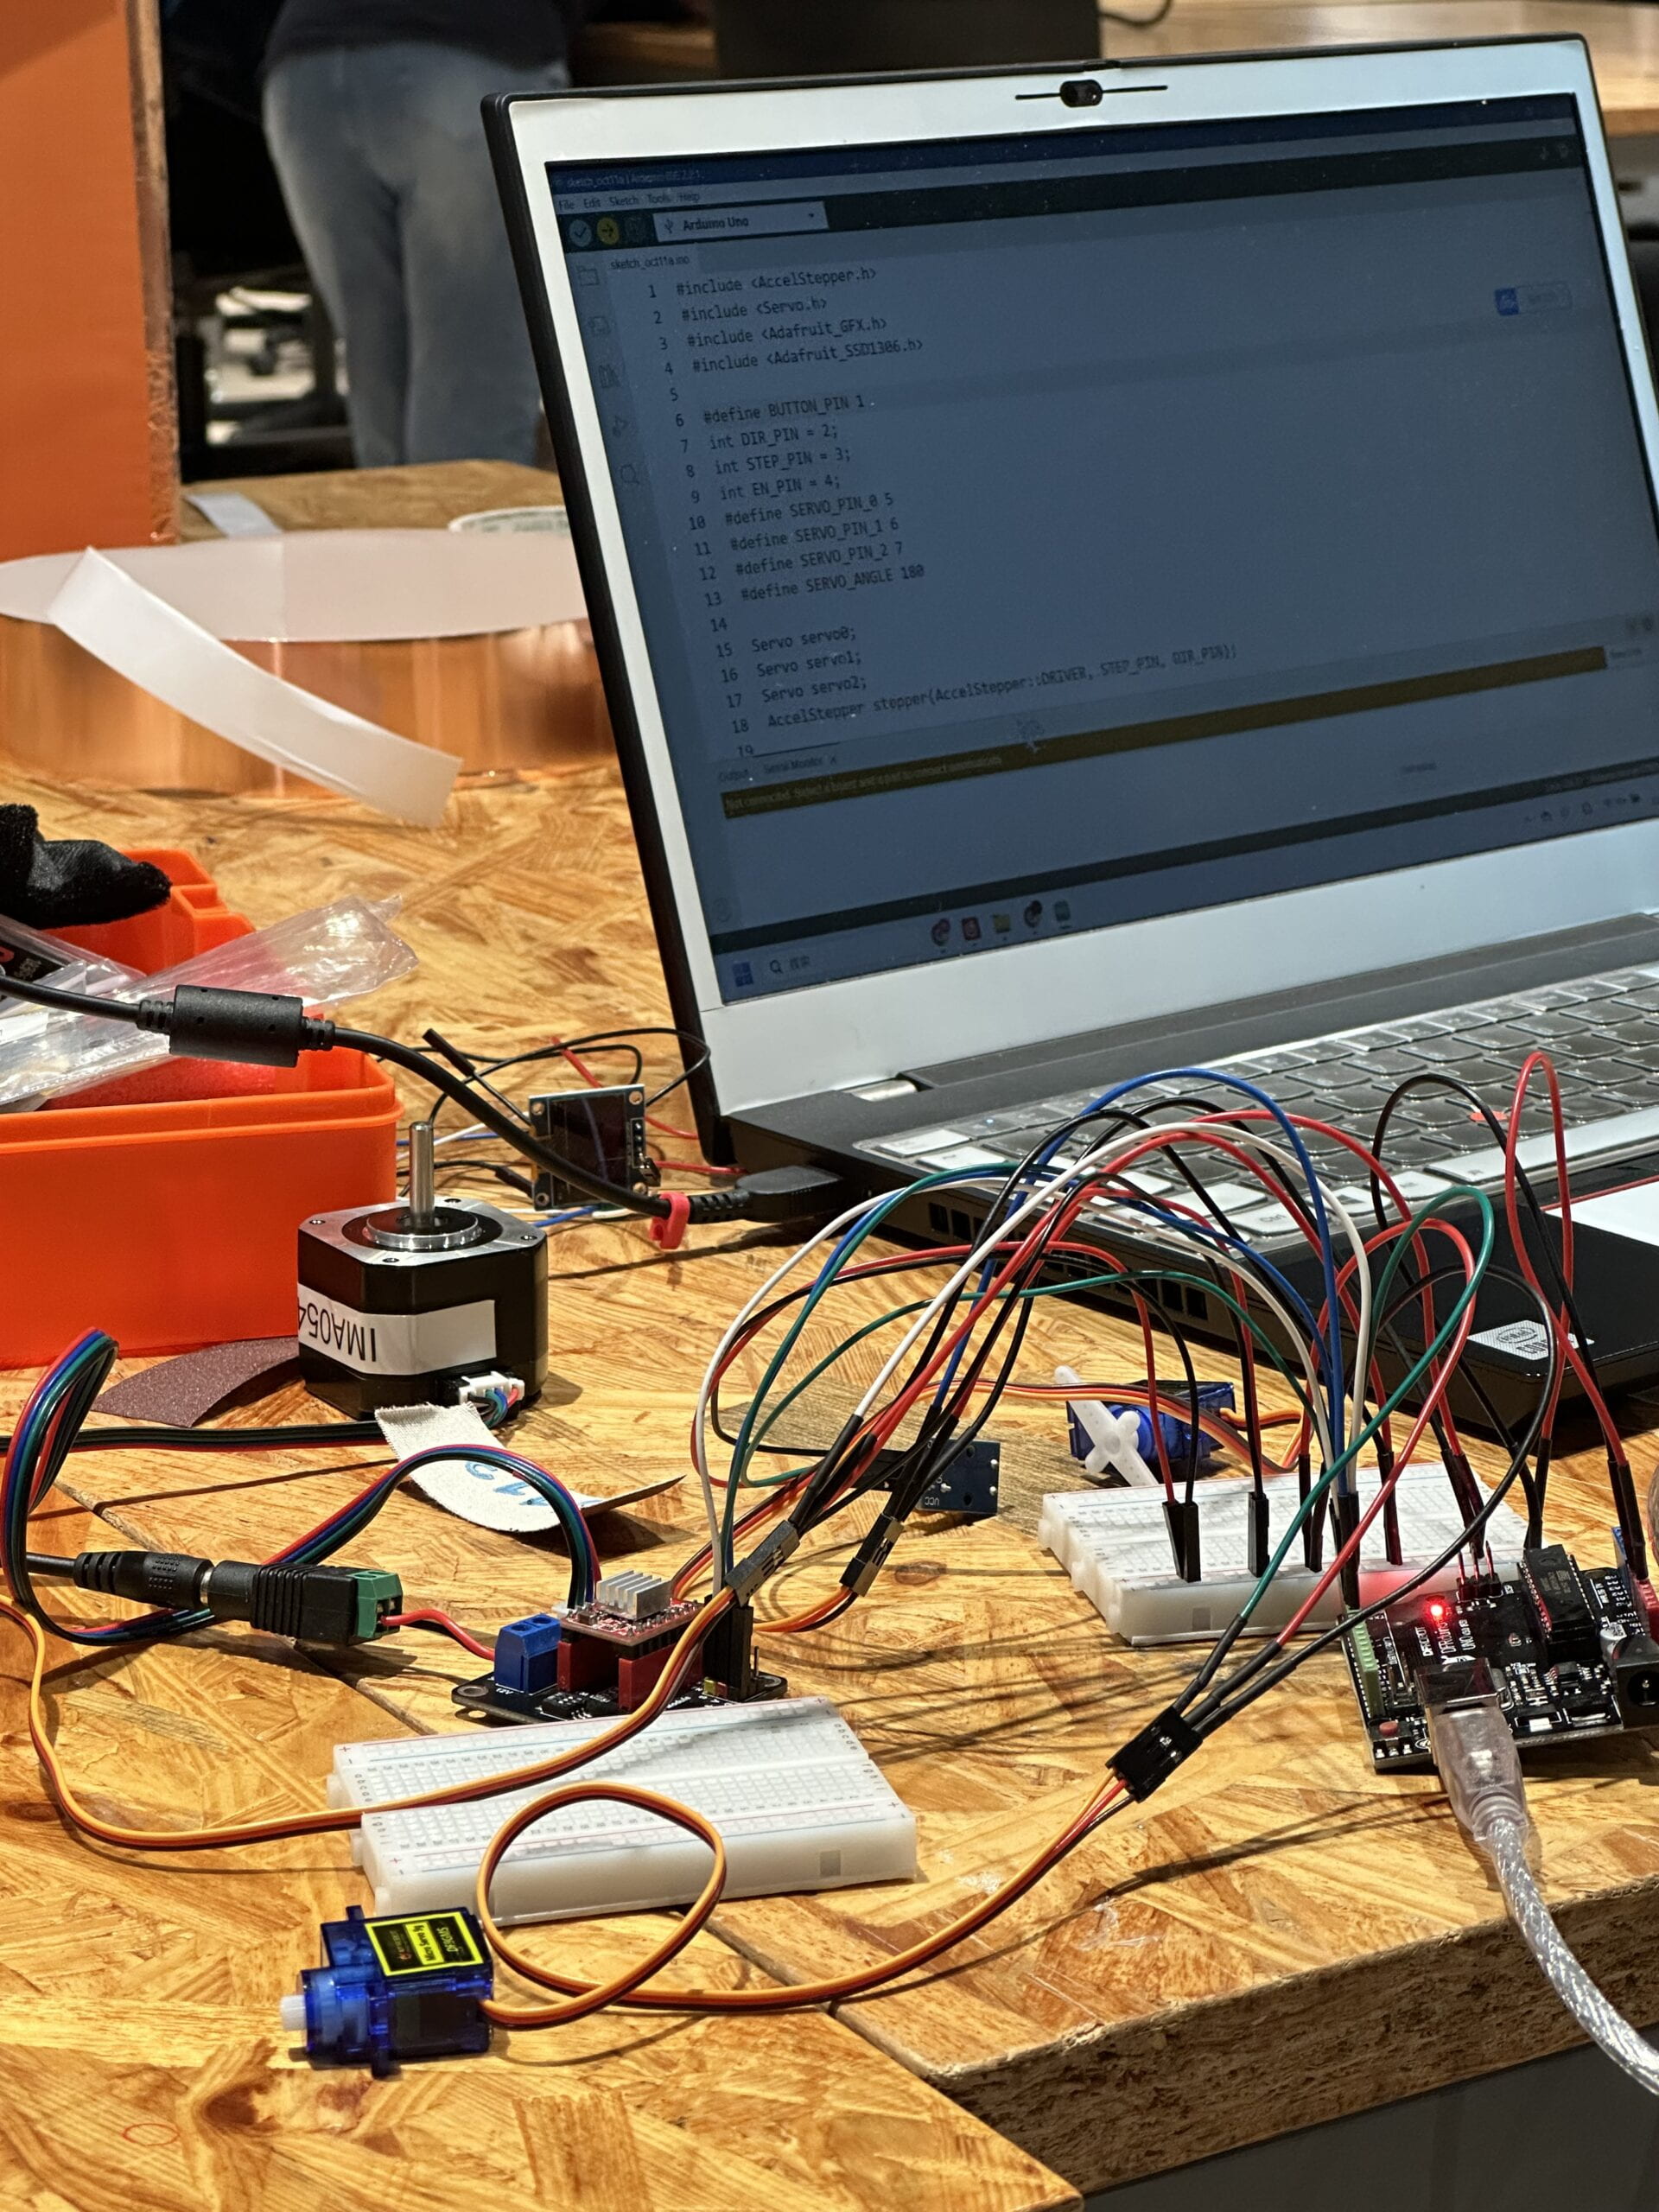
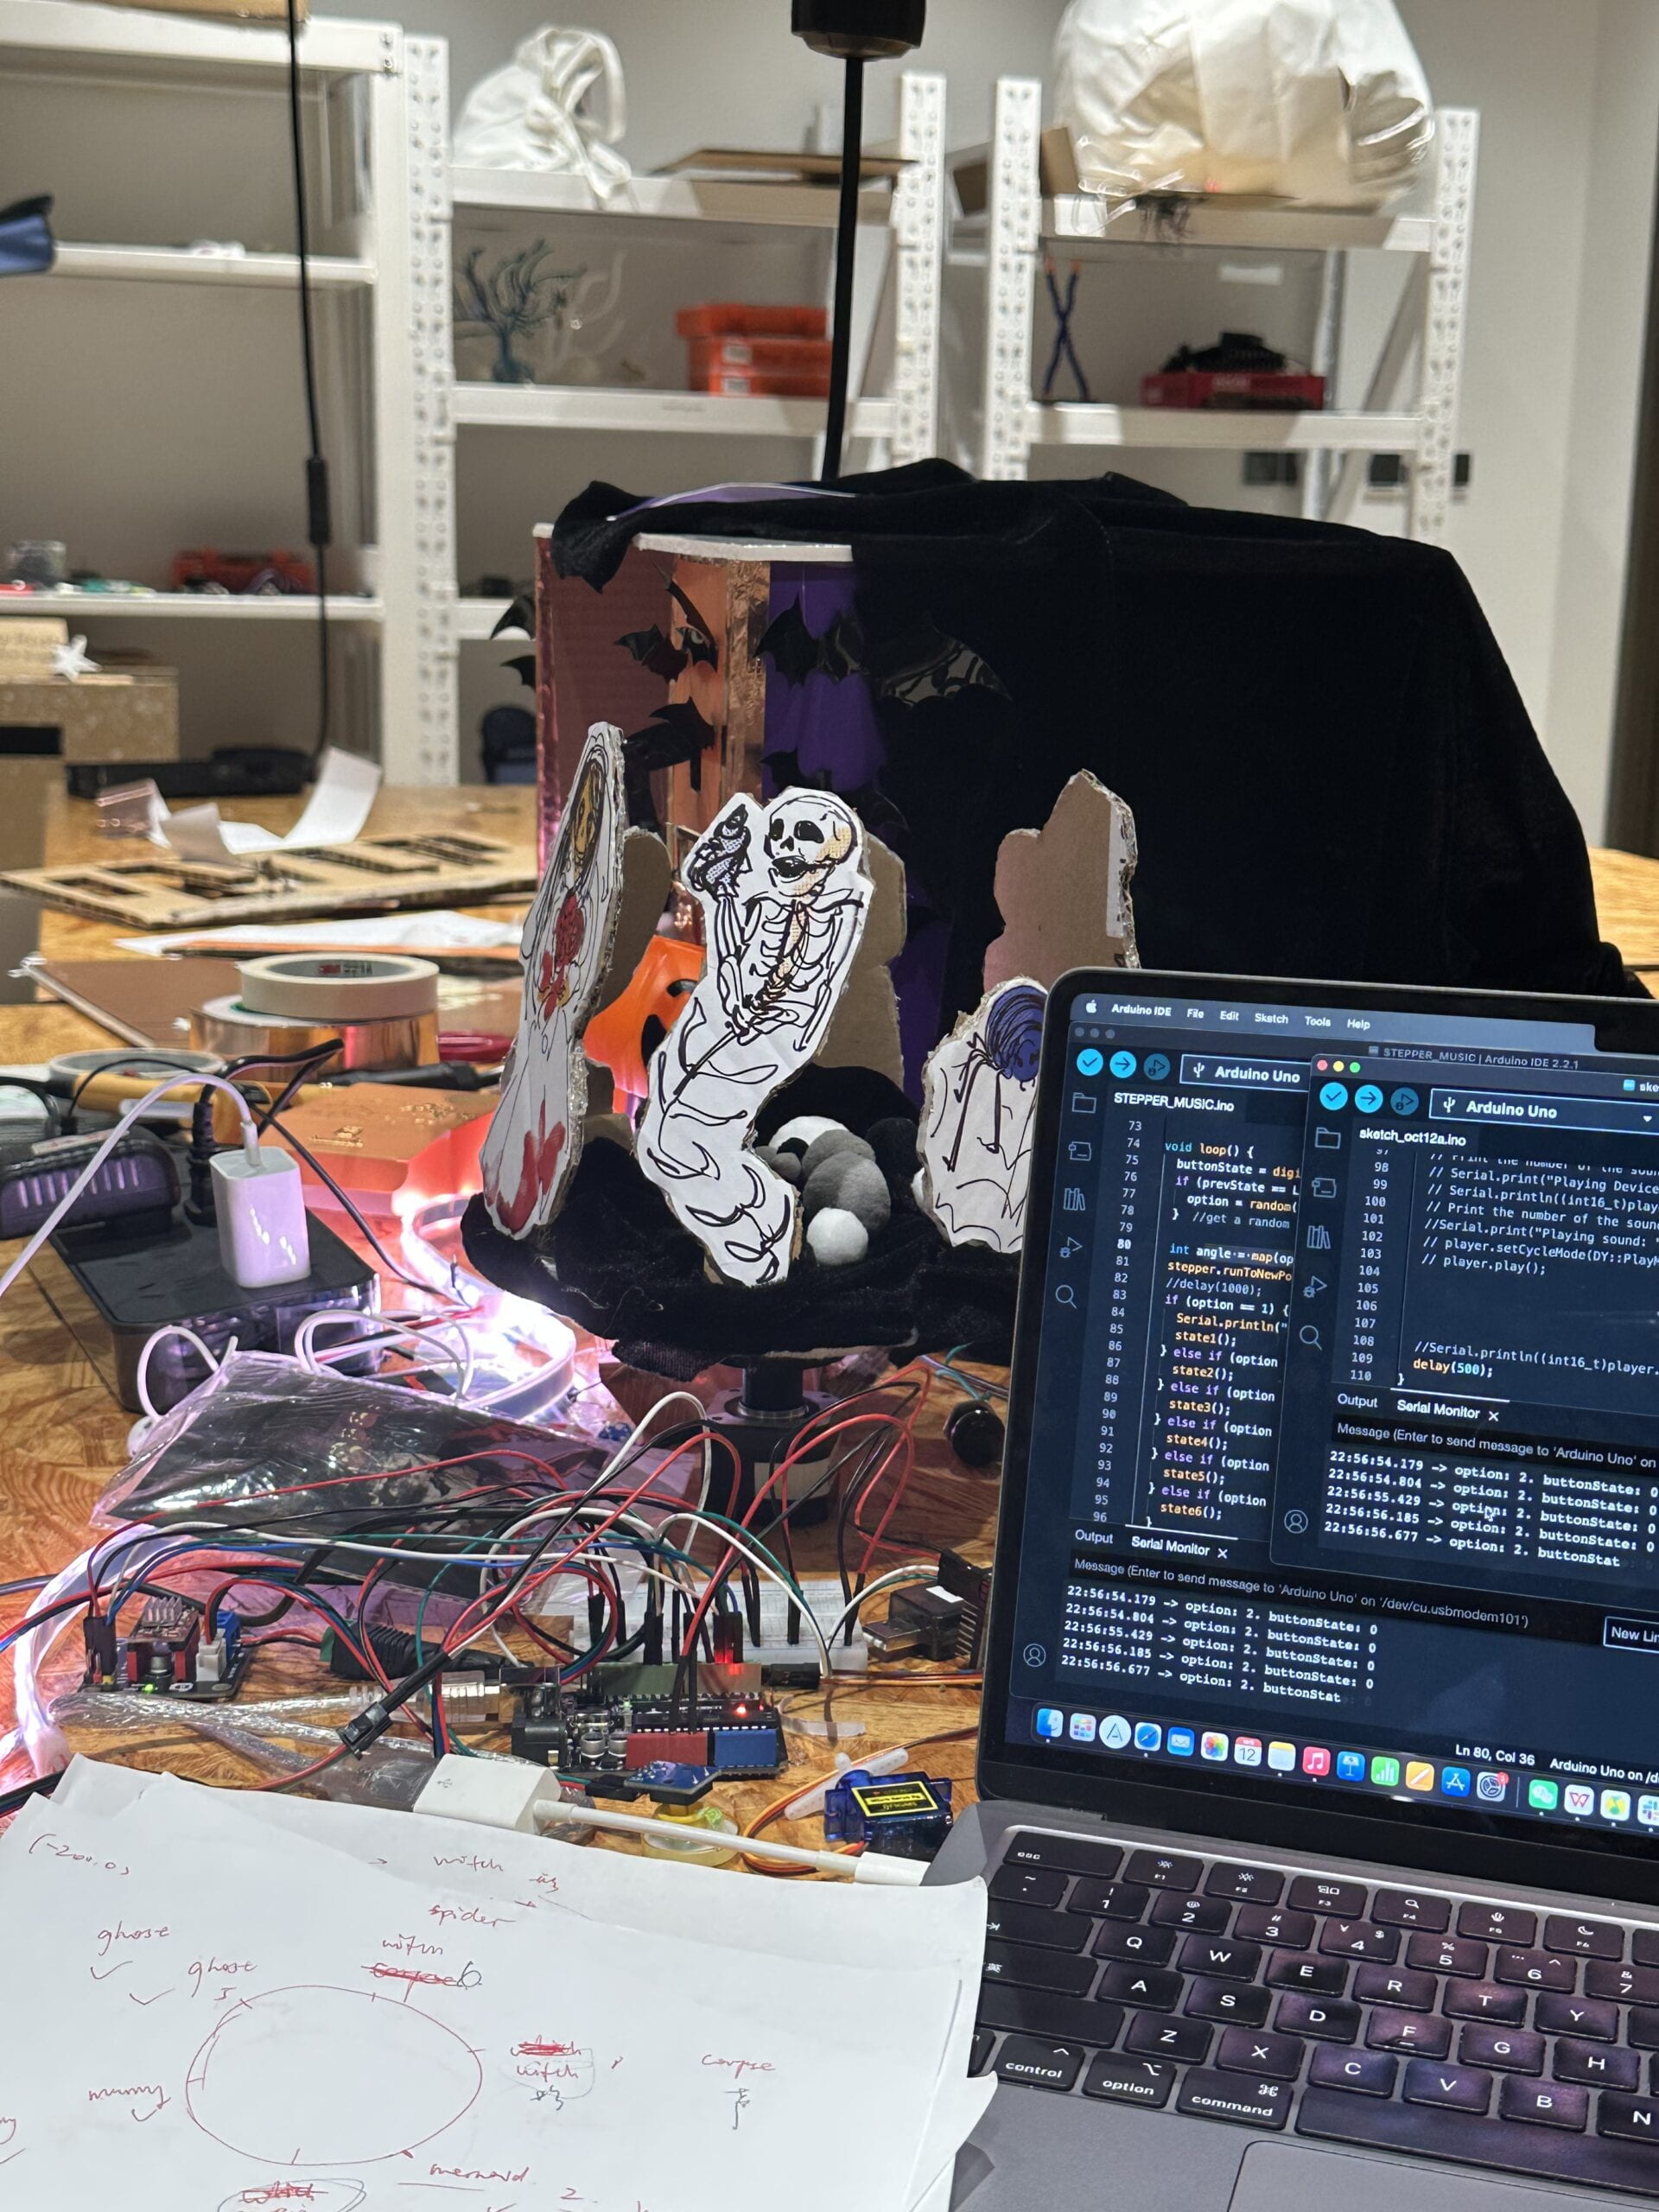
Crazy servos ⬇️
As partners, Luna and I worked well together, we quickly agreed on the topic and production style. In terms of division of labor, I was mainly in charge of crafting, lighting and production, she was mainly in charge of art, sounds and decoration, and we always worked together on the code and circuitry part of the project. Also, the learning assistants, lab assistants and fellows were very kind to help. Moreover, we invited our friends to record the sounds effect of the characters, which was a really interesting task for us to do. Fortunately, we got a lot of positive feedback on the user test, but we also got a lot of valid comments, such as the clarity of the sound effects, the layout of the decorations and circuits, the indication of the role of each device, the variety of lights and a more direct form of interaction. So, one by one, we improved these aspects, and thus added the color changing of the Neo pixel LED stripe and the device of sugar or fake spiders. These suggestions and the changes we ended up using were very helpful and made our project more interactive.
During Testing Session:
First time the NeoPixel LED stripe worked successfully
Saving the code with my super favorite LA Rachel! 😘
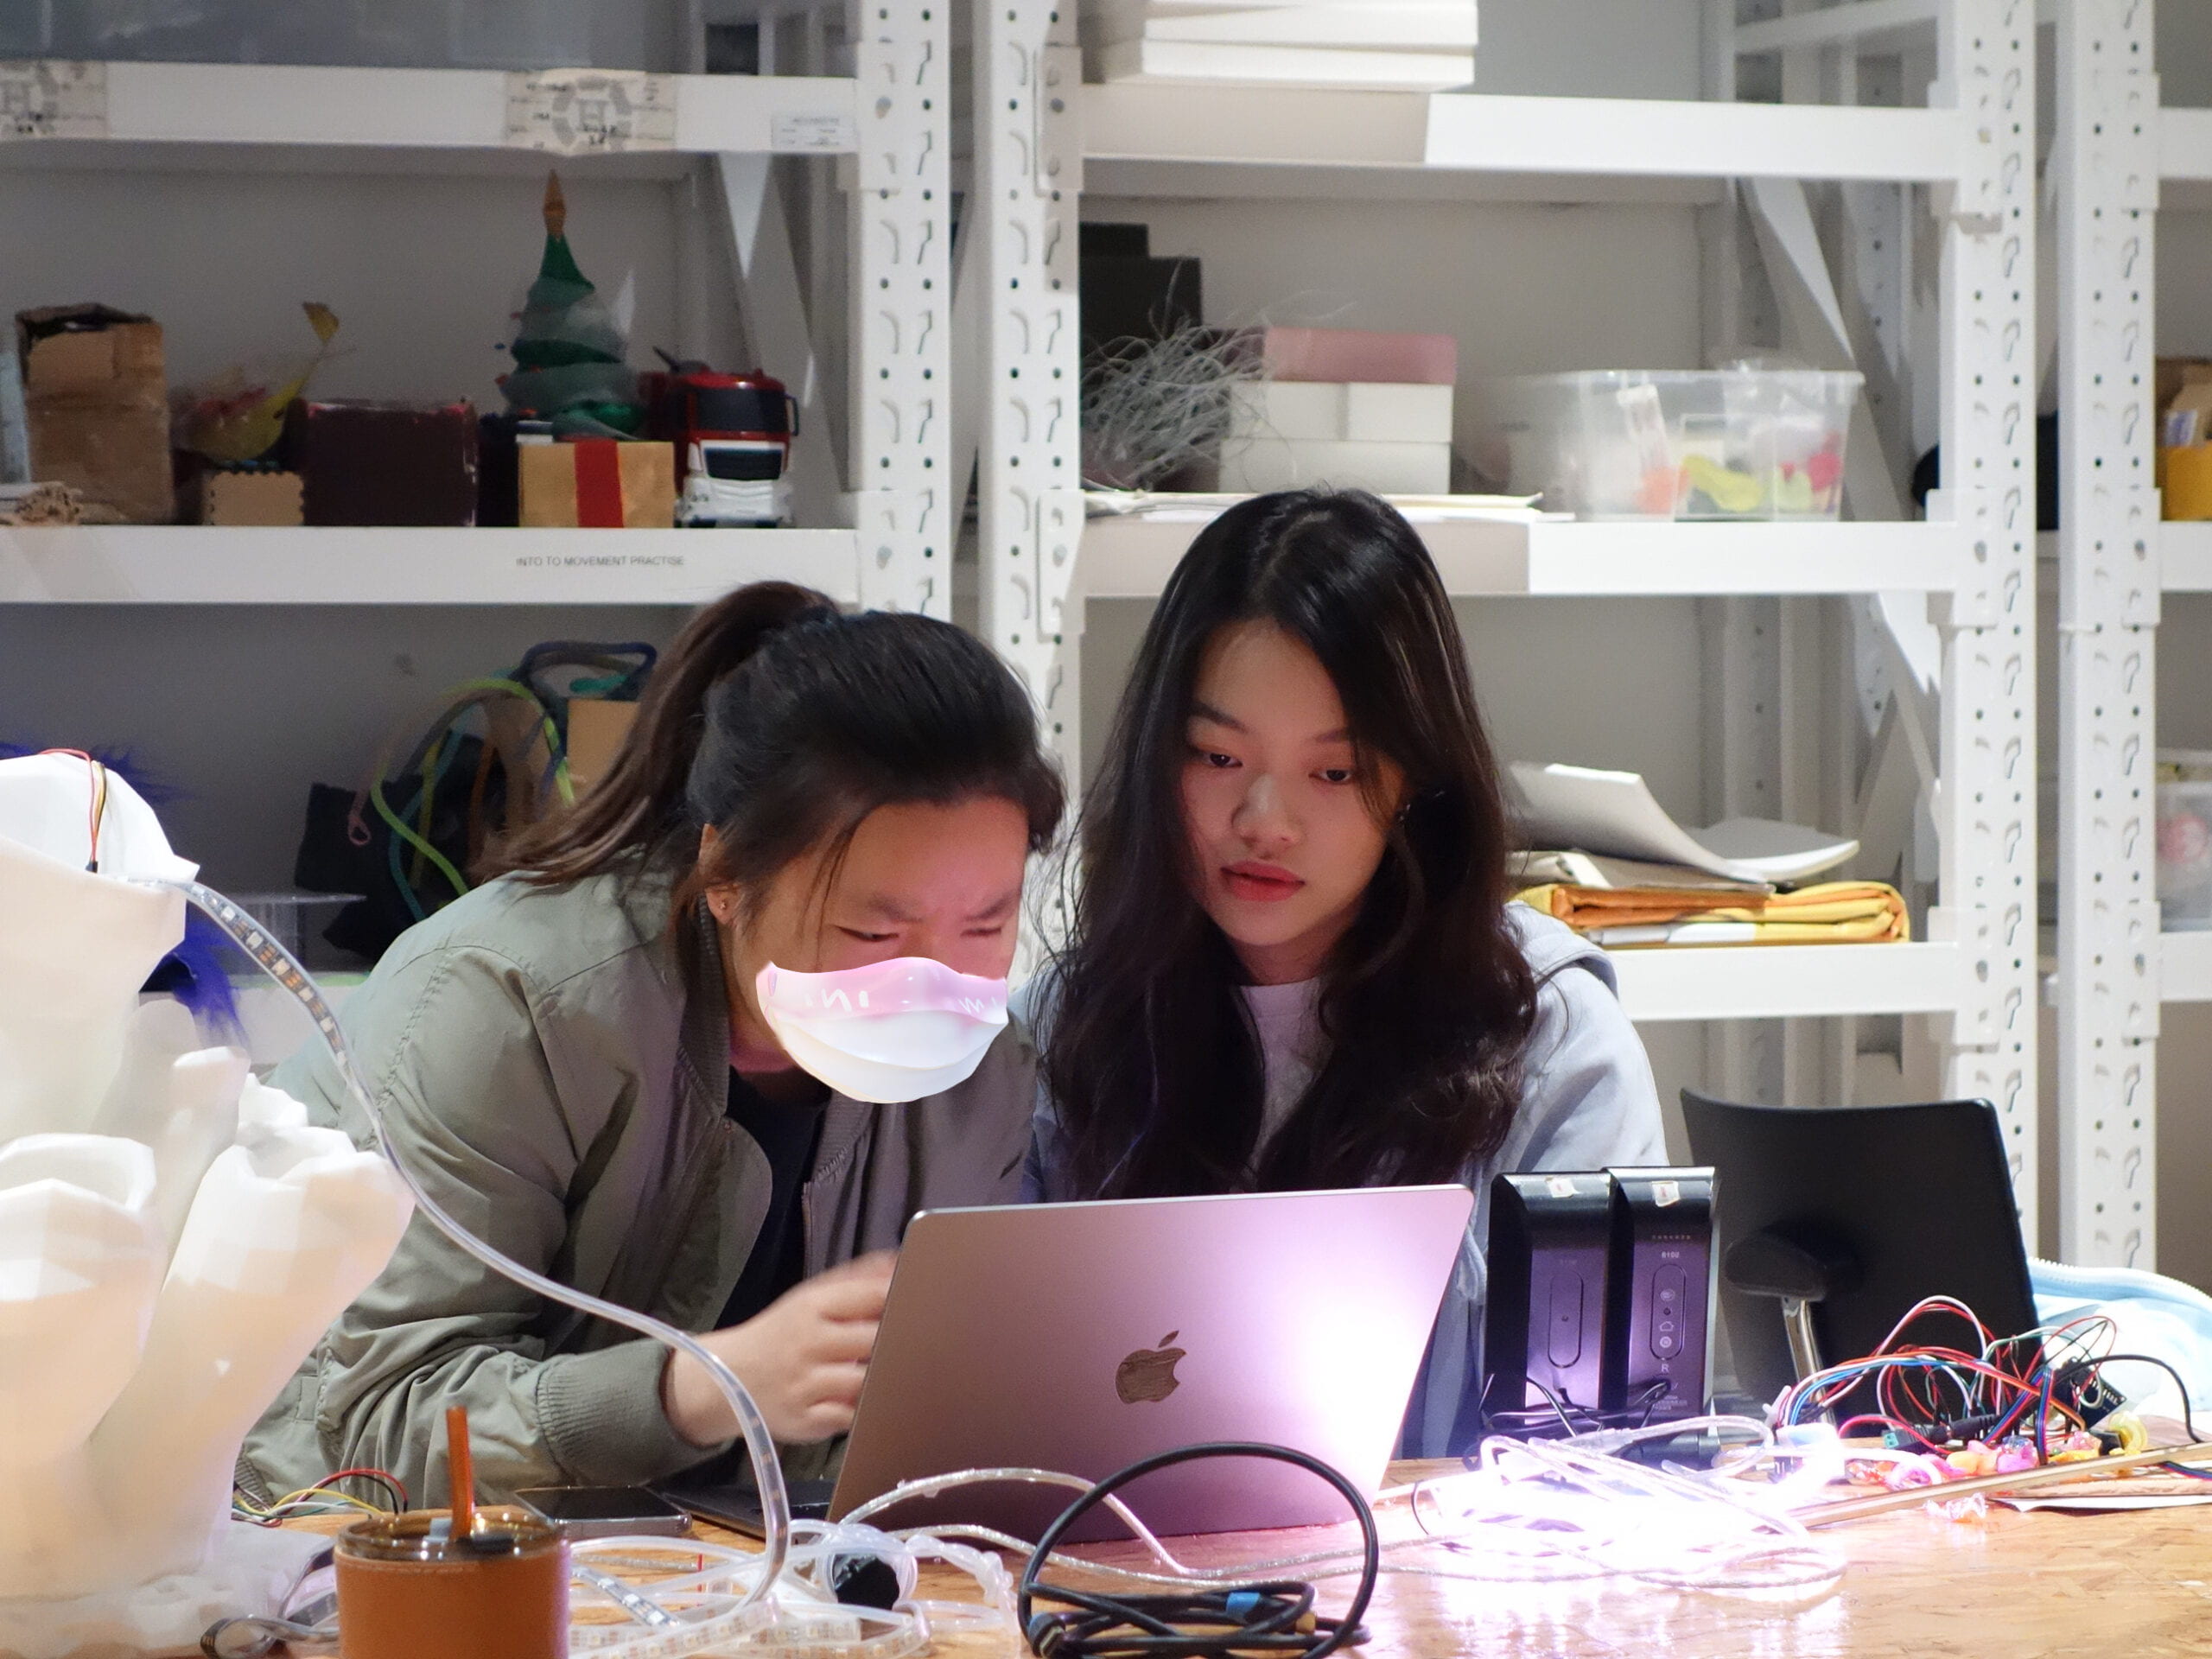
During the Presentation
Conclusions
Our project did a good job of accomplishing the plan inside the proposal. We have varied interactions, such as sound and light effects and trick-or-treat delivery. At the same time, the setup and running of our installation went very well, and the audience gave us a lot of positive comments after participating in the activity. If we had more time, we might consider improving and merging some of our code, setting up where the audience stands or sits when interacting, designing the initialization of lights and curtains, and corresponding the relationship of candy and trick-or-treating to the characters to have better interactions.
Appendix
Documentation Visuals
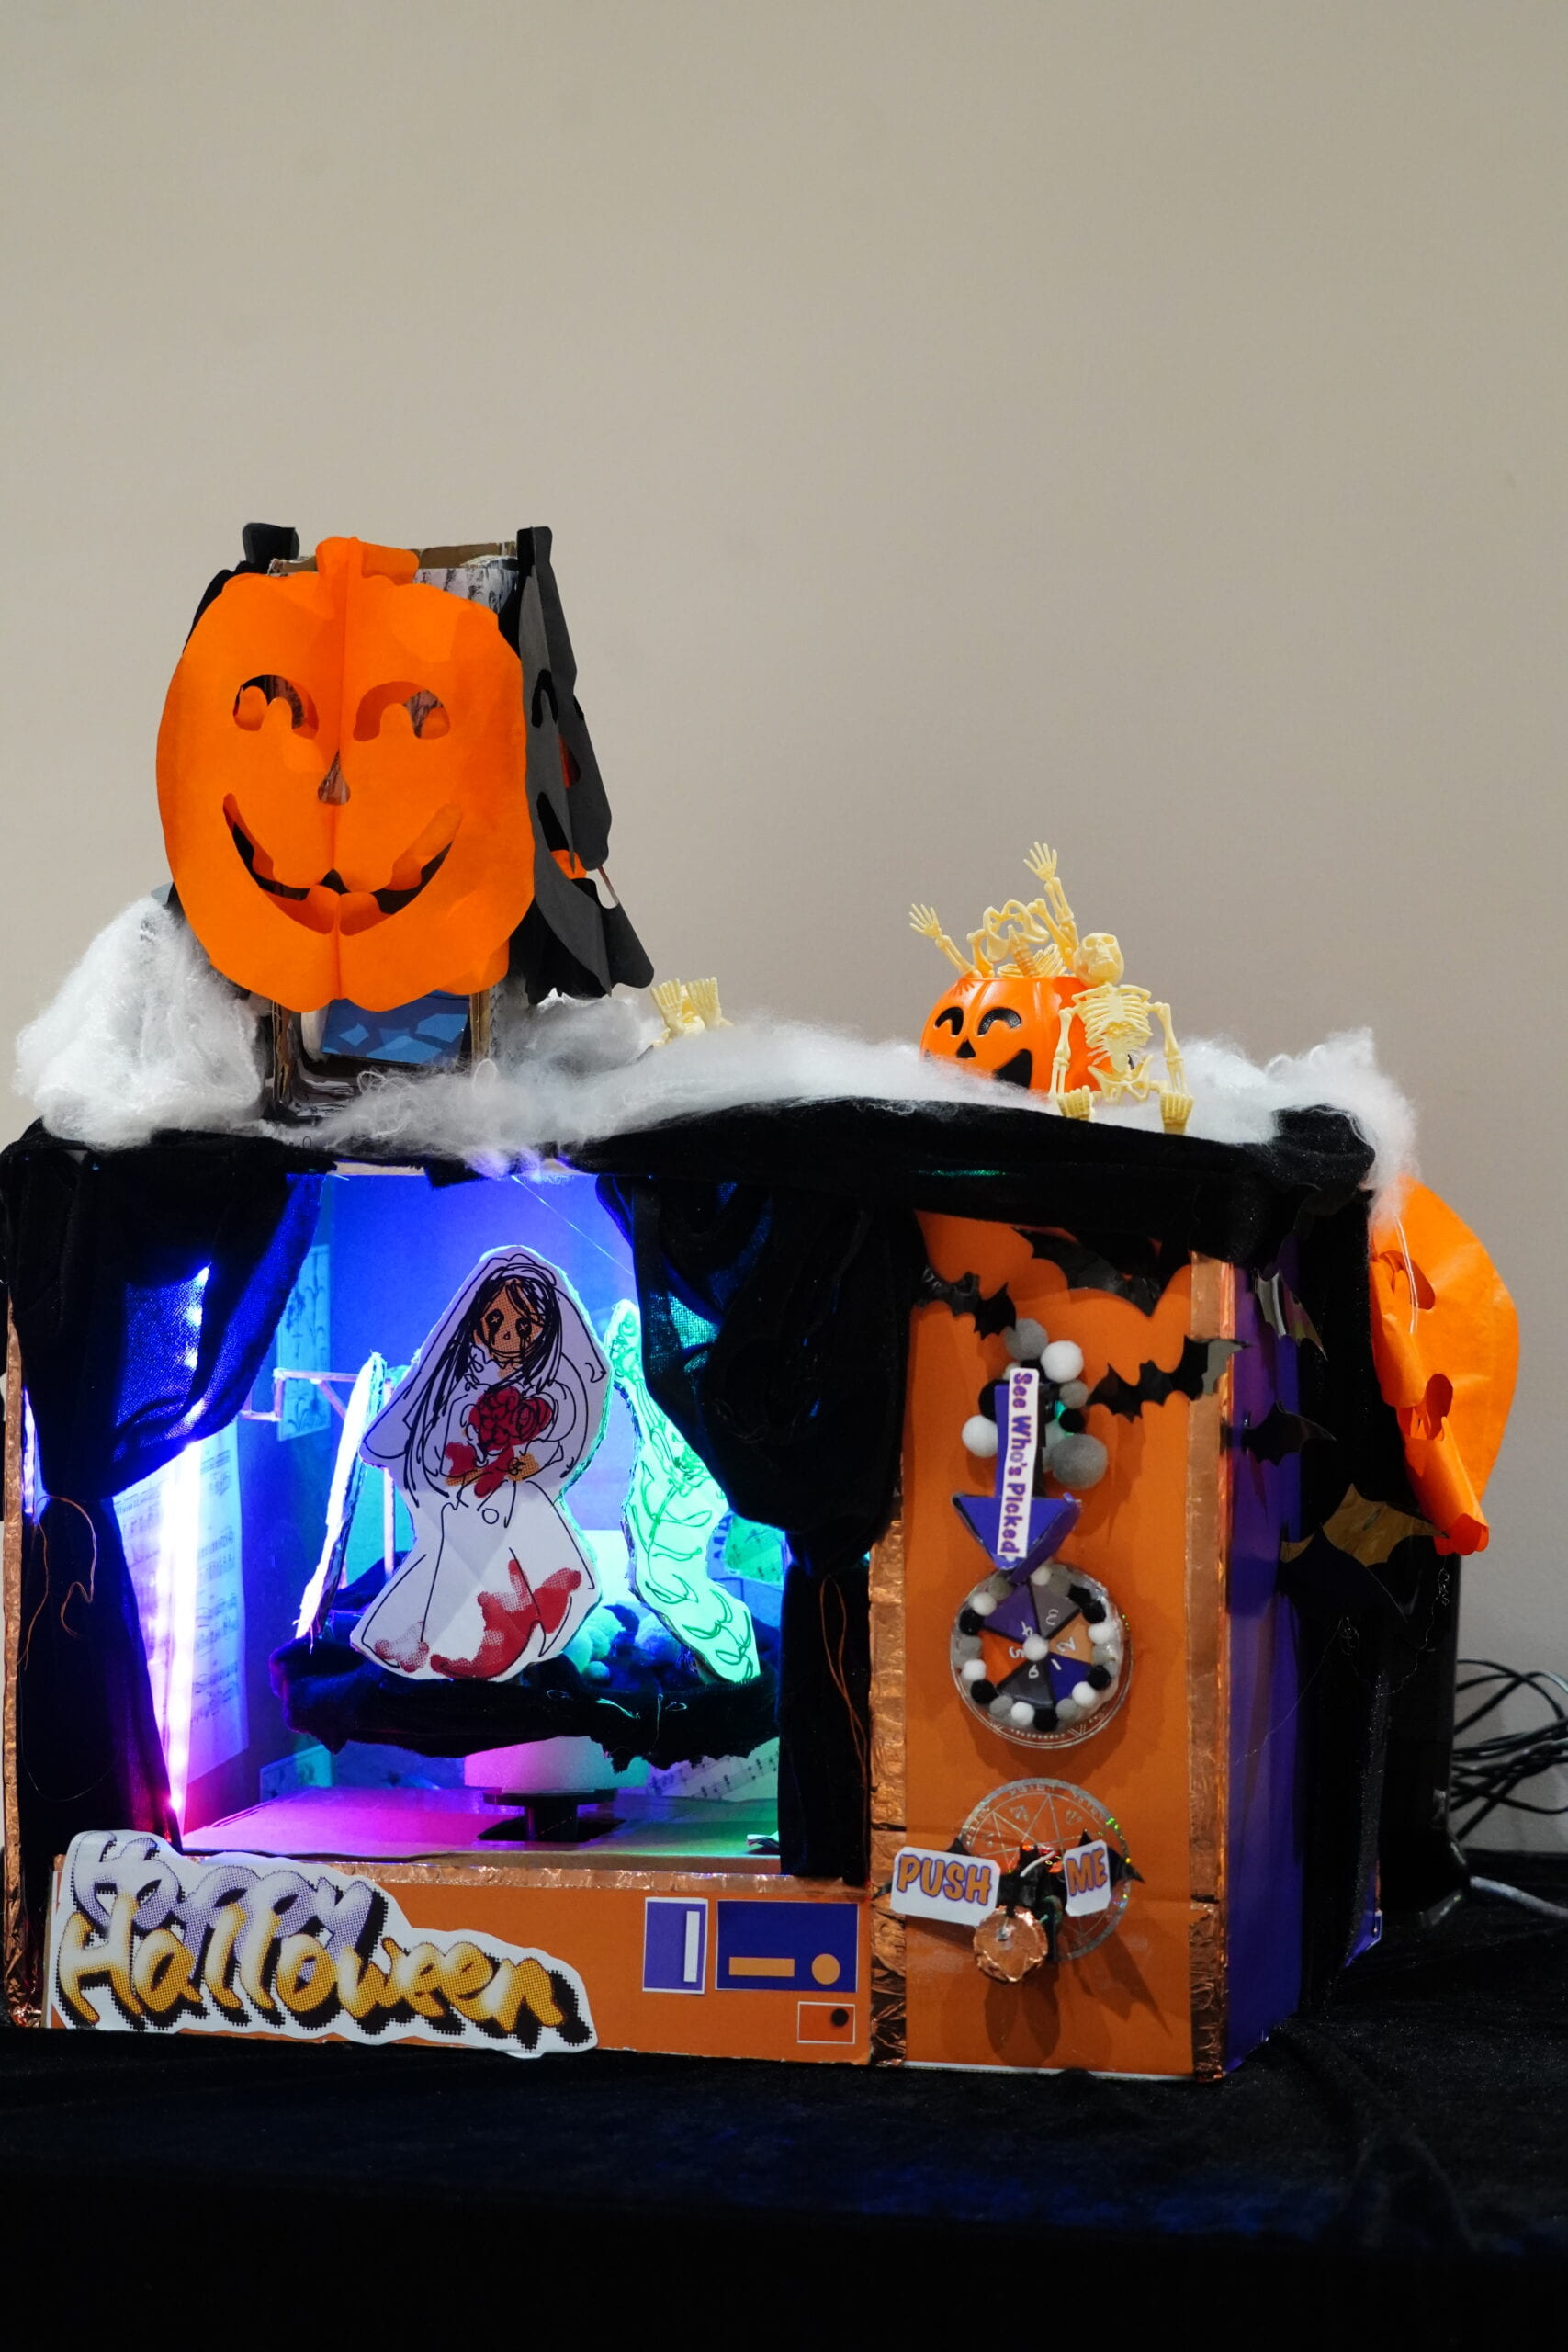
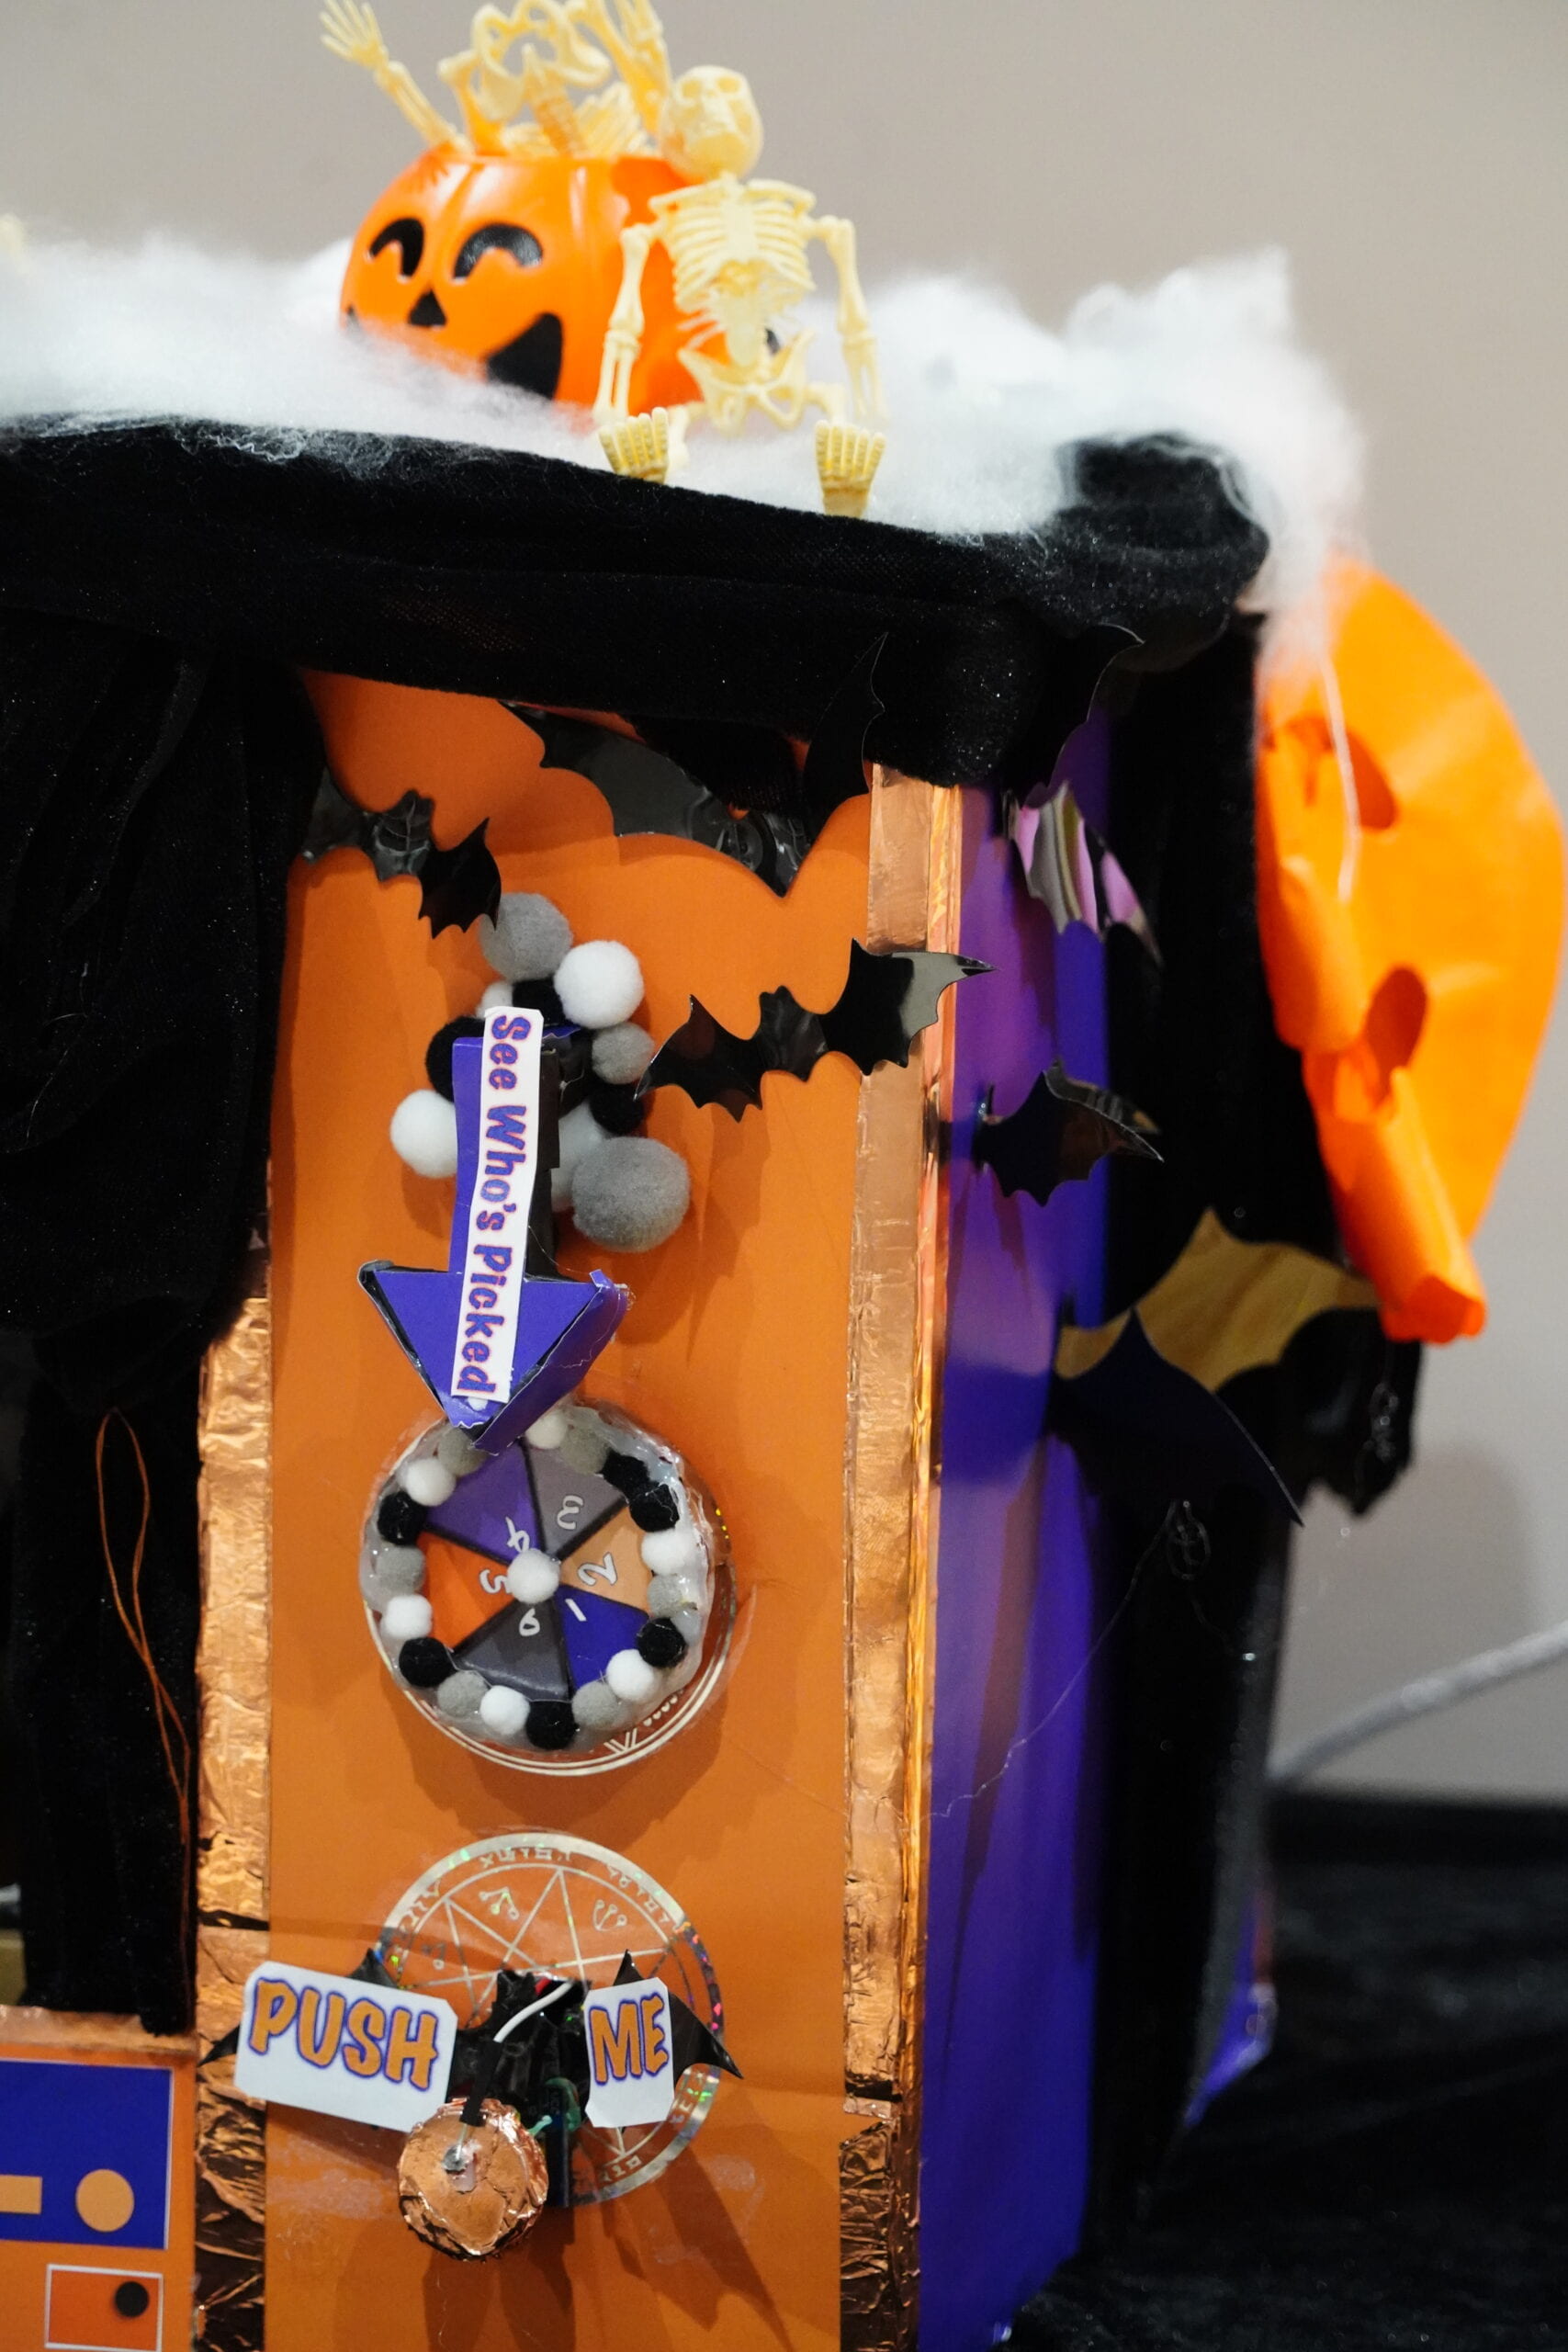
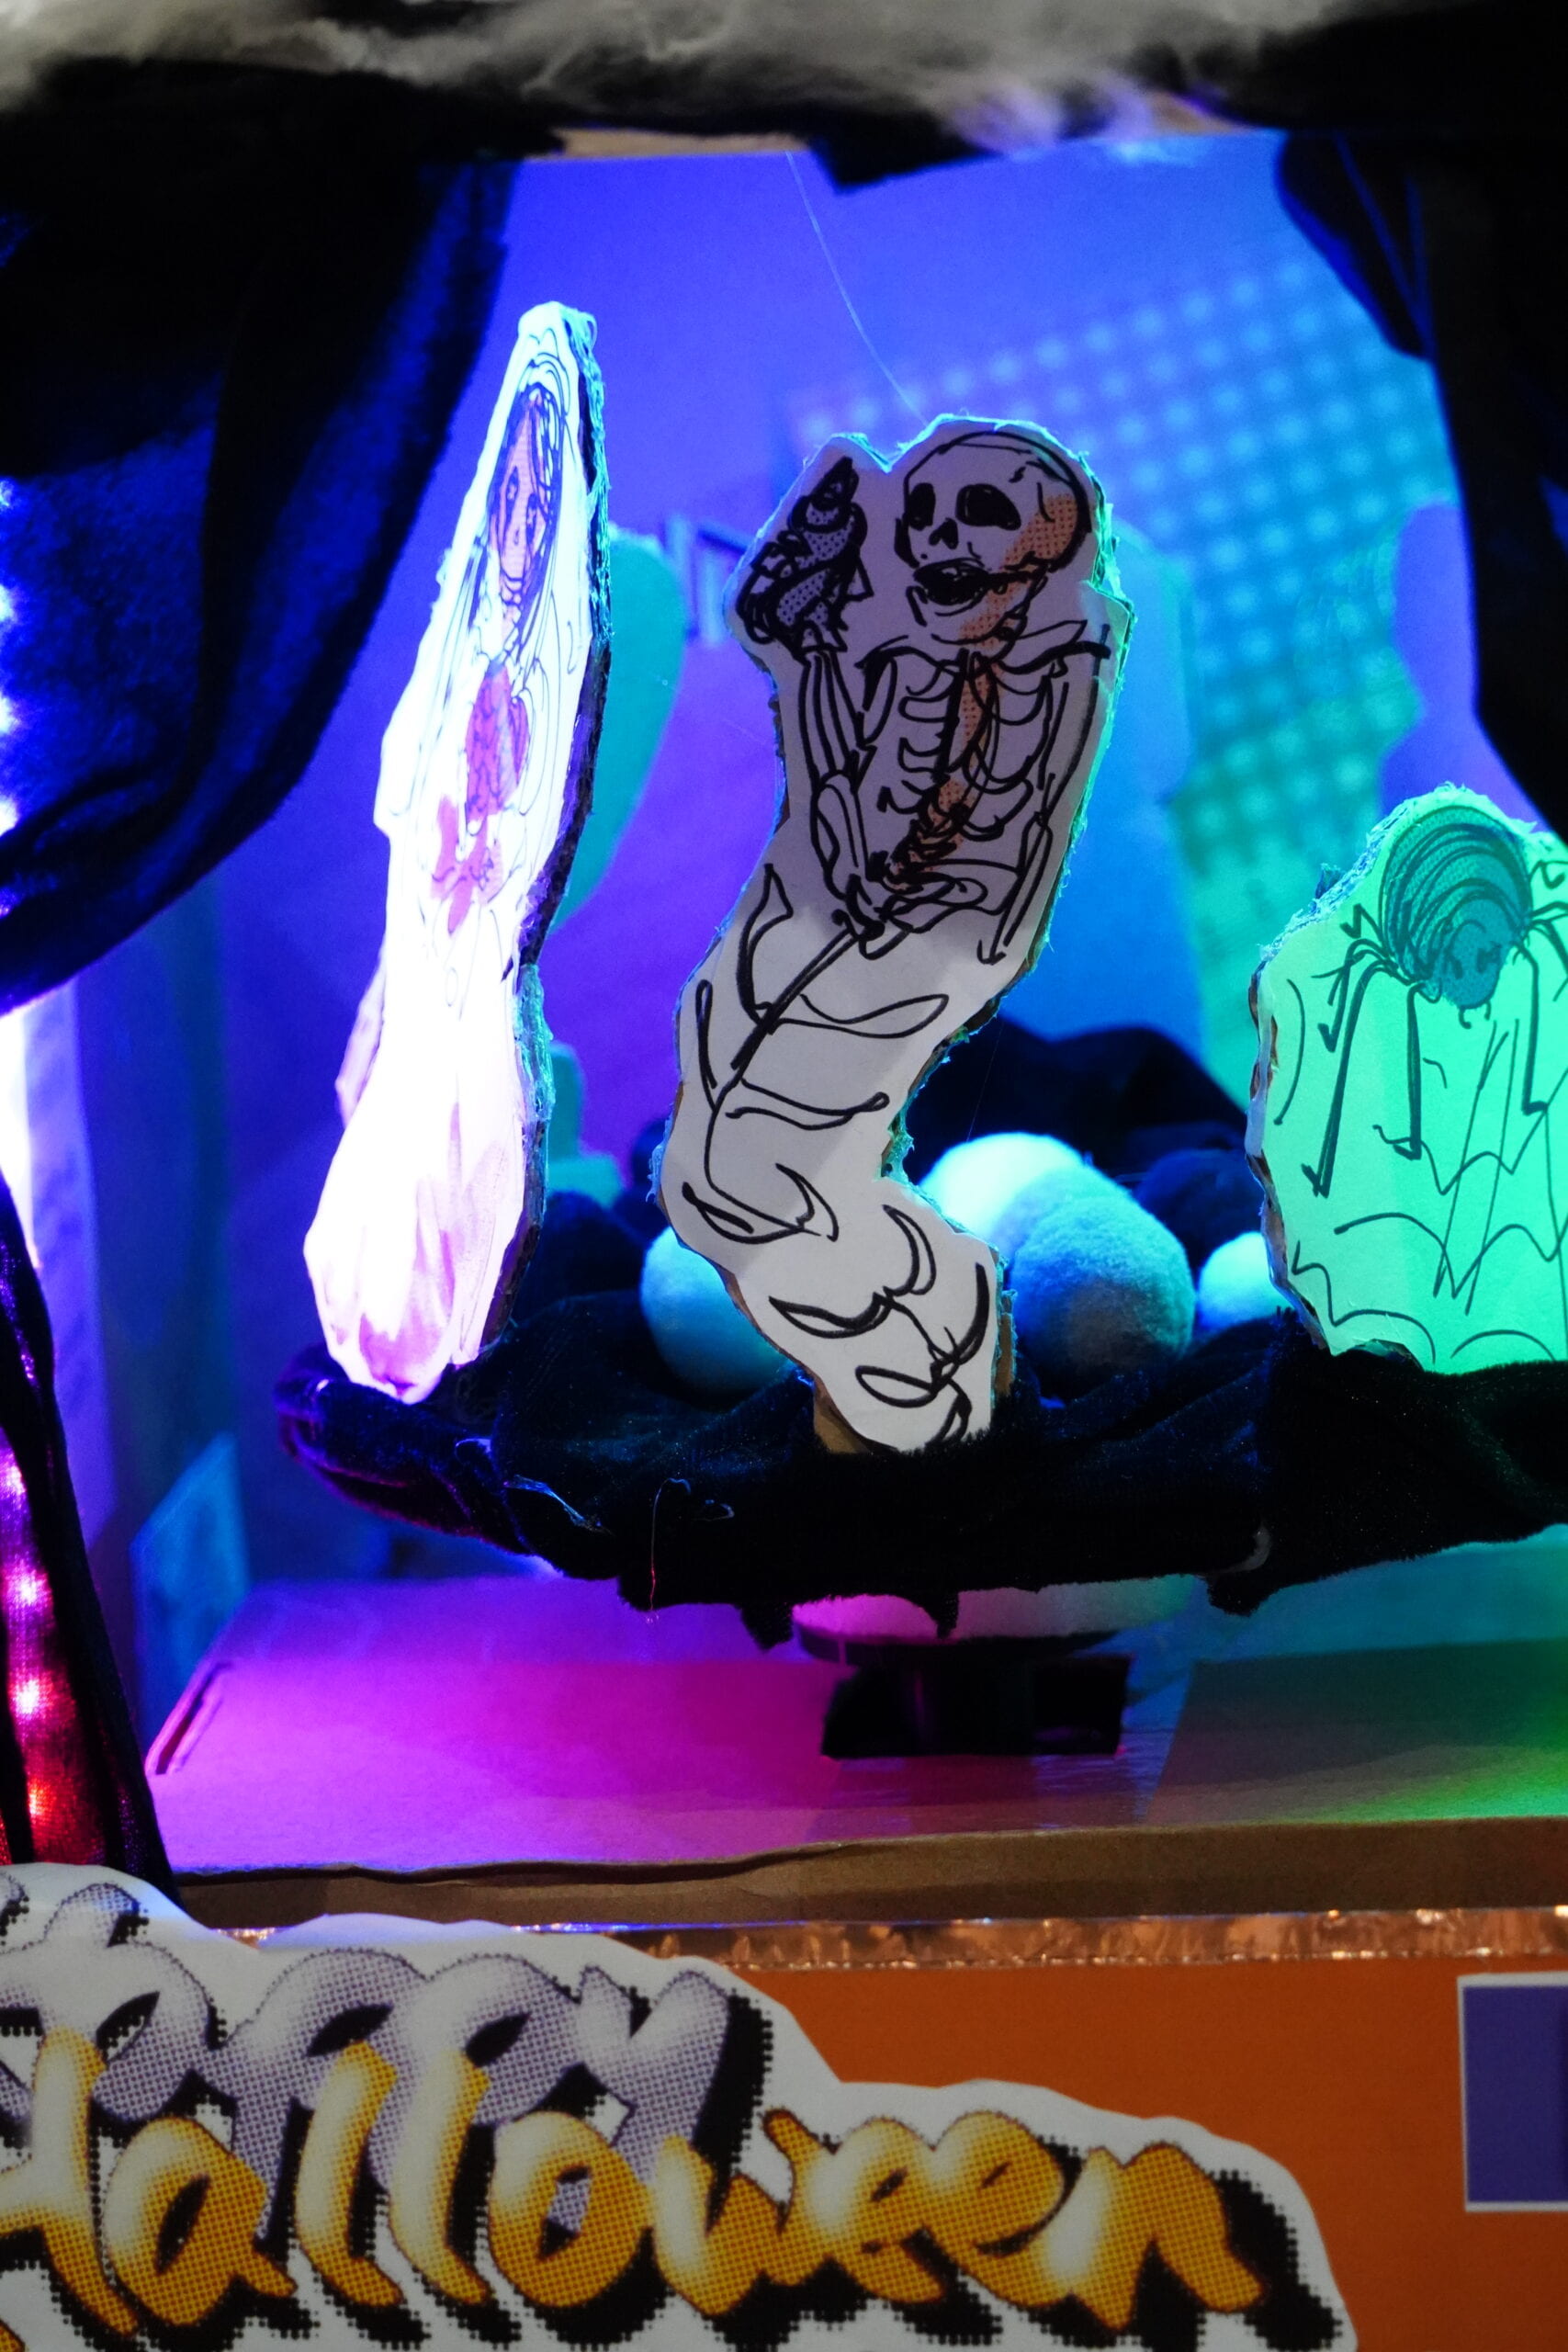
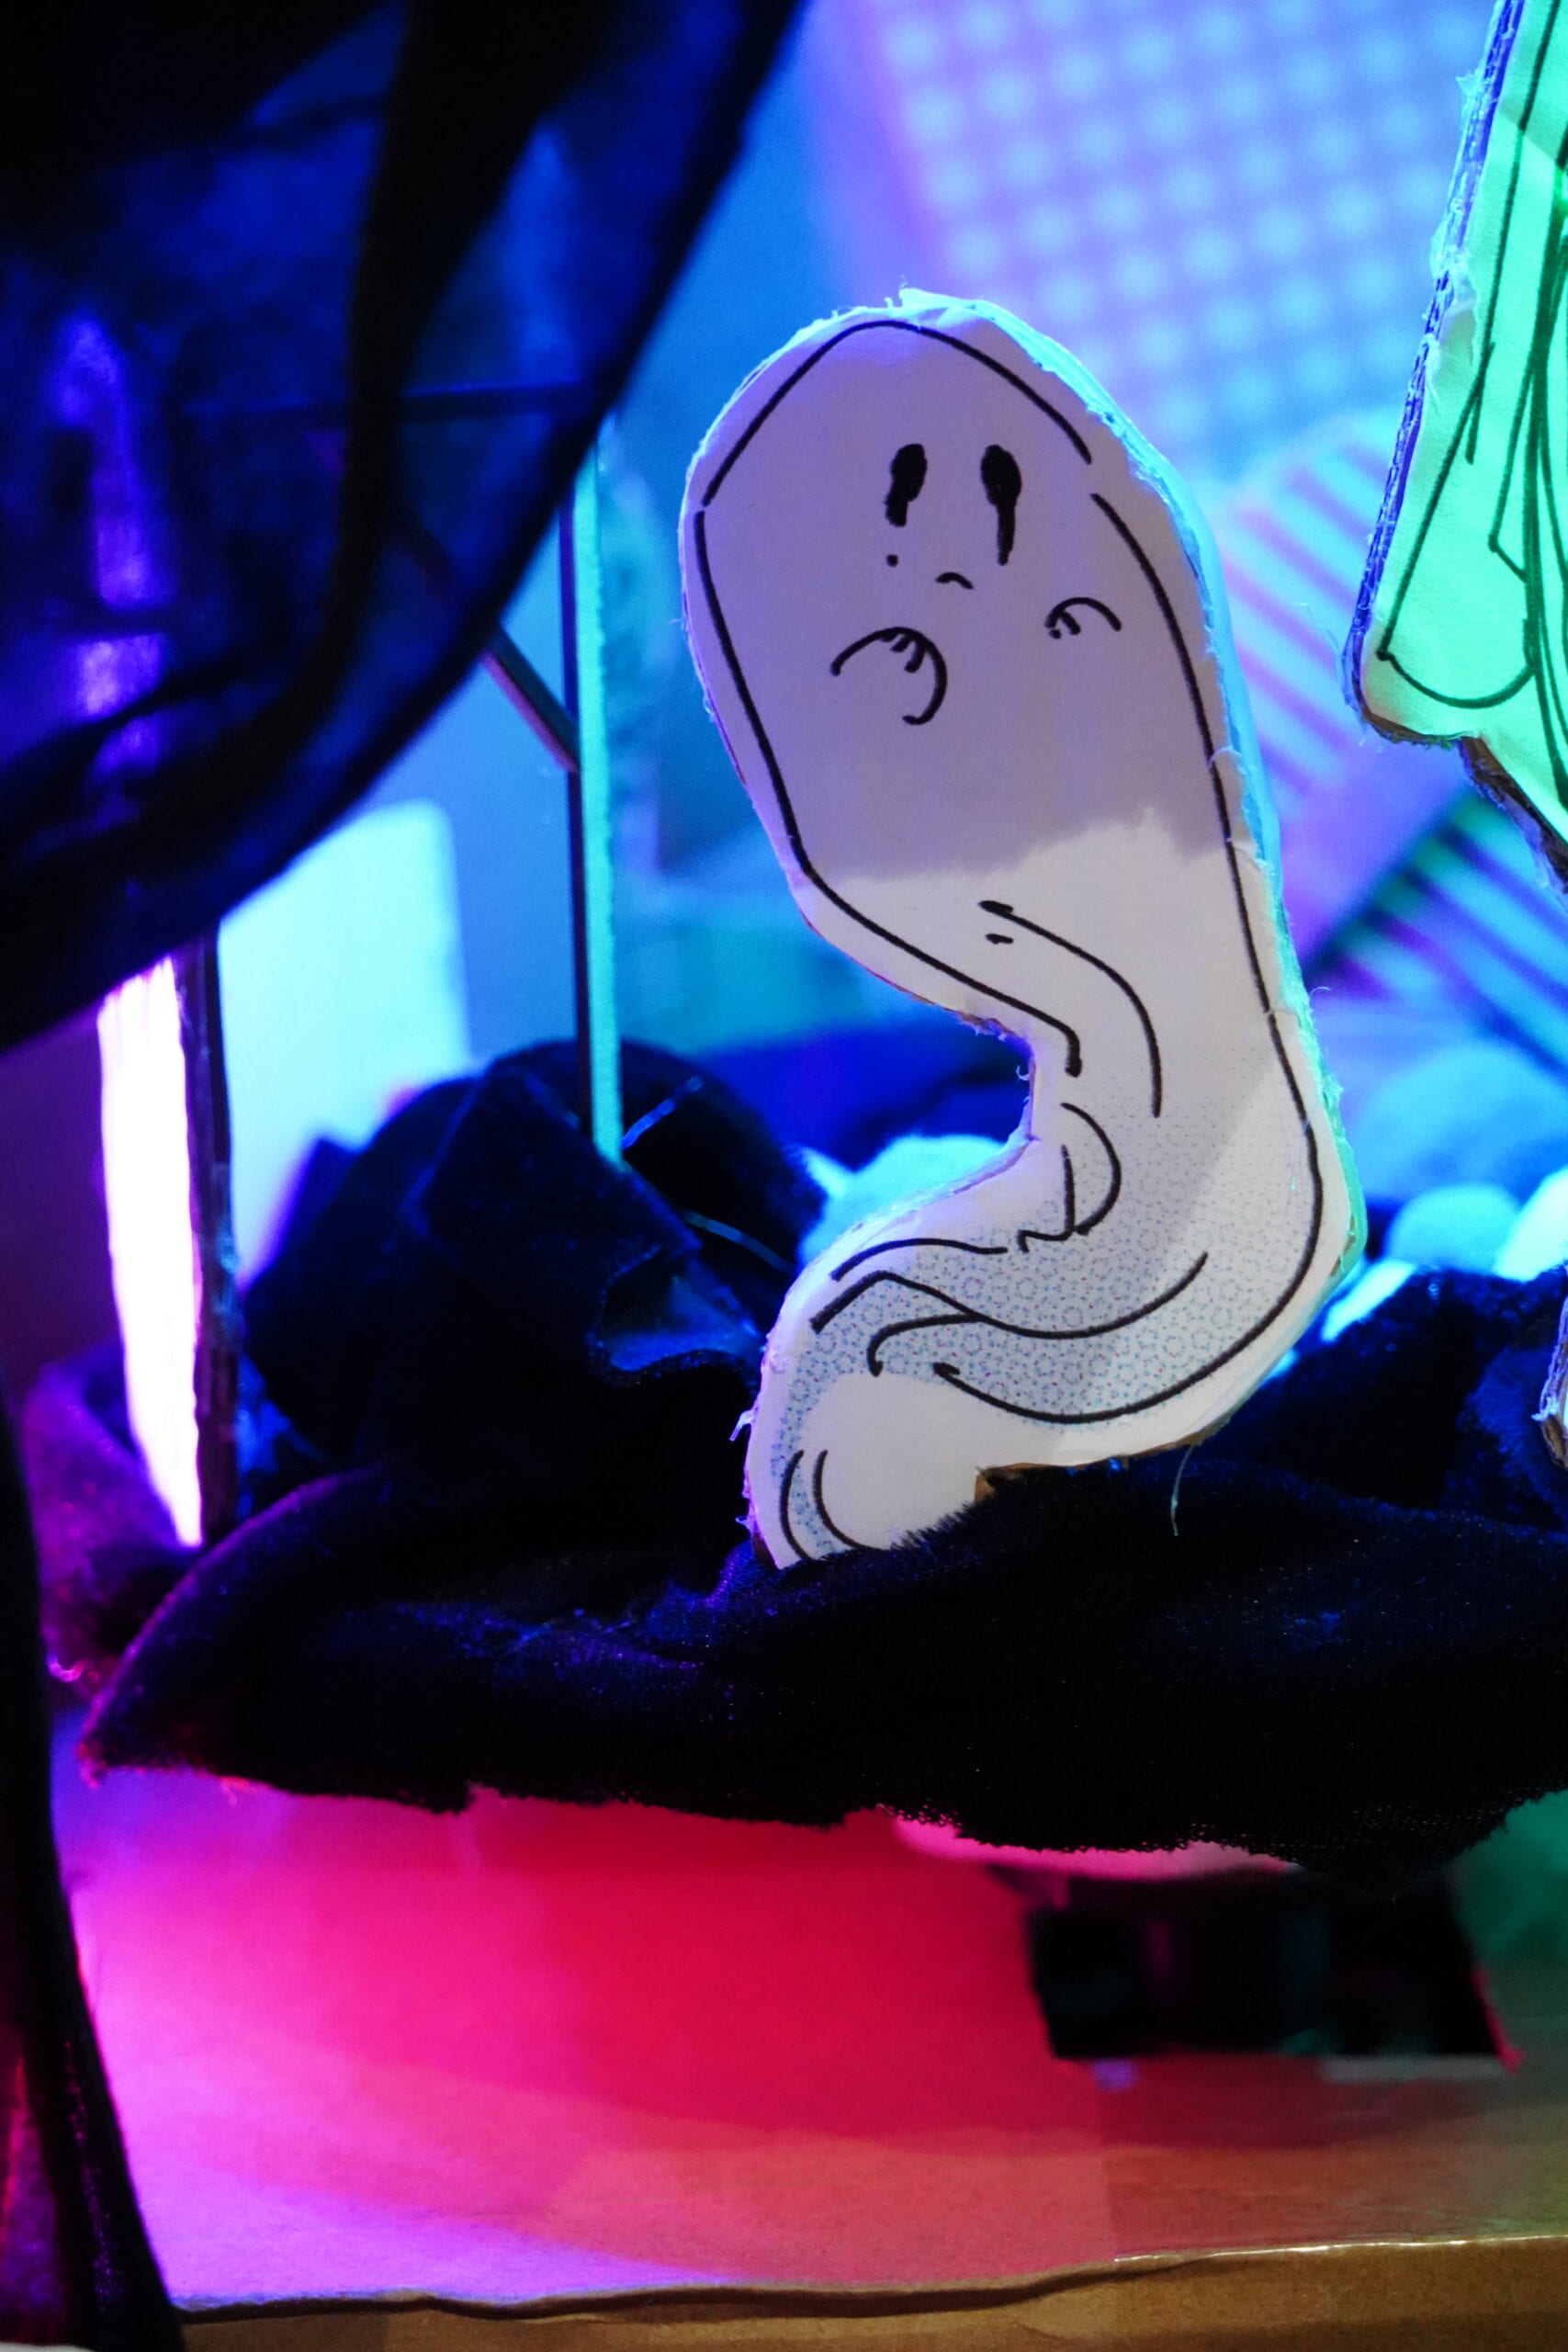
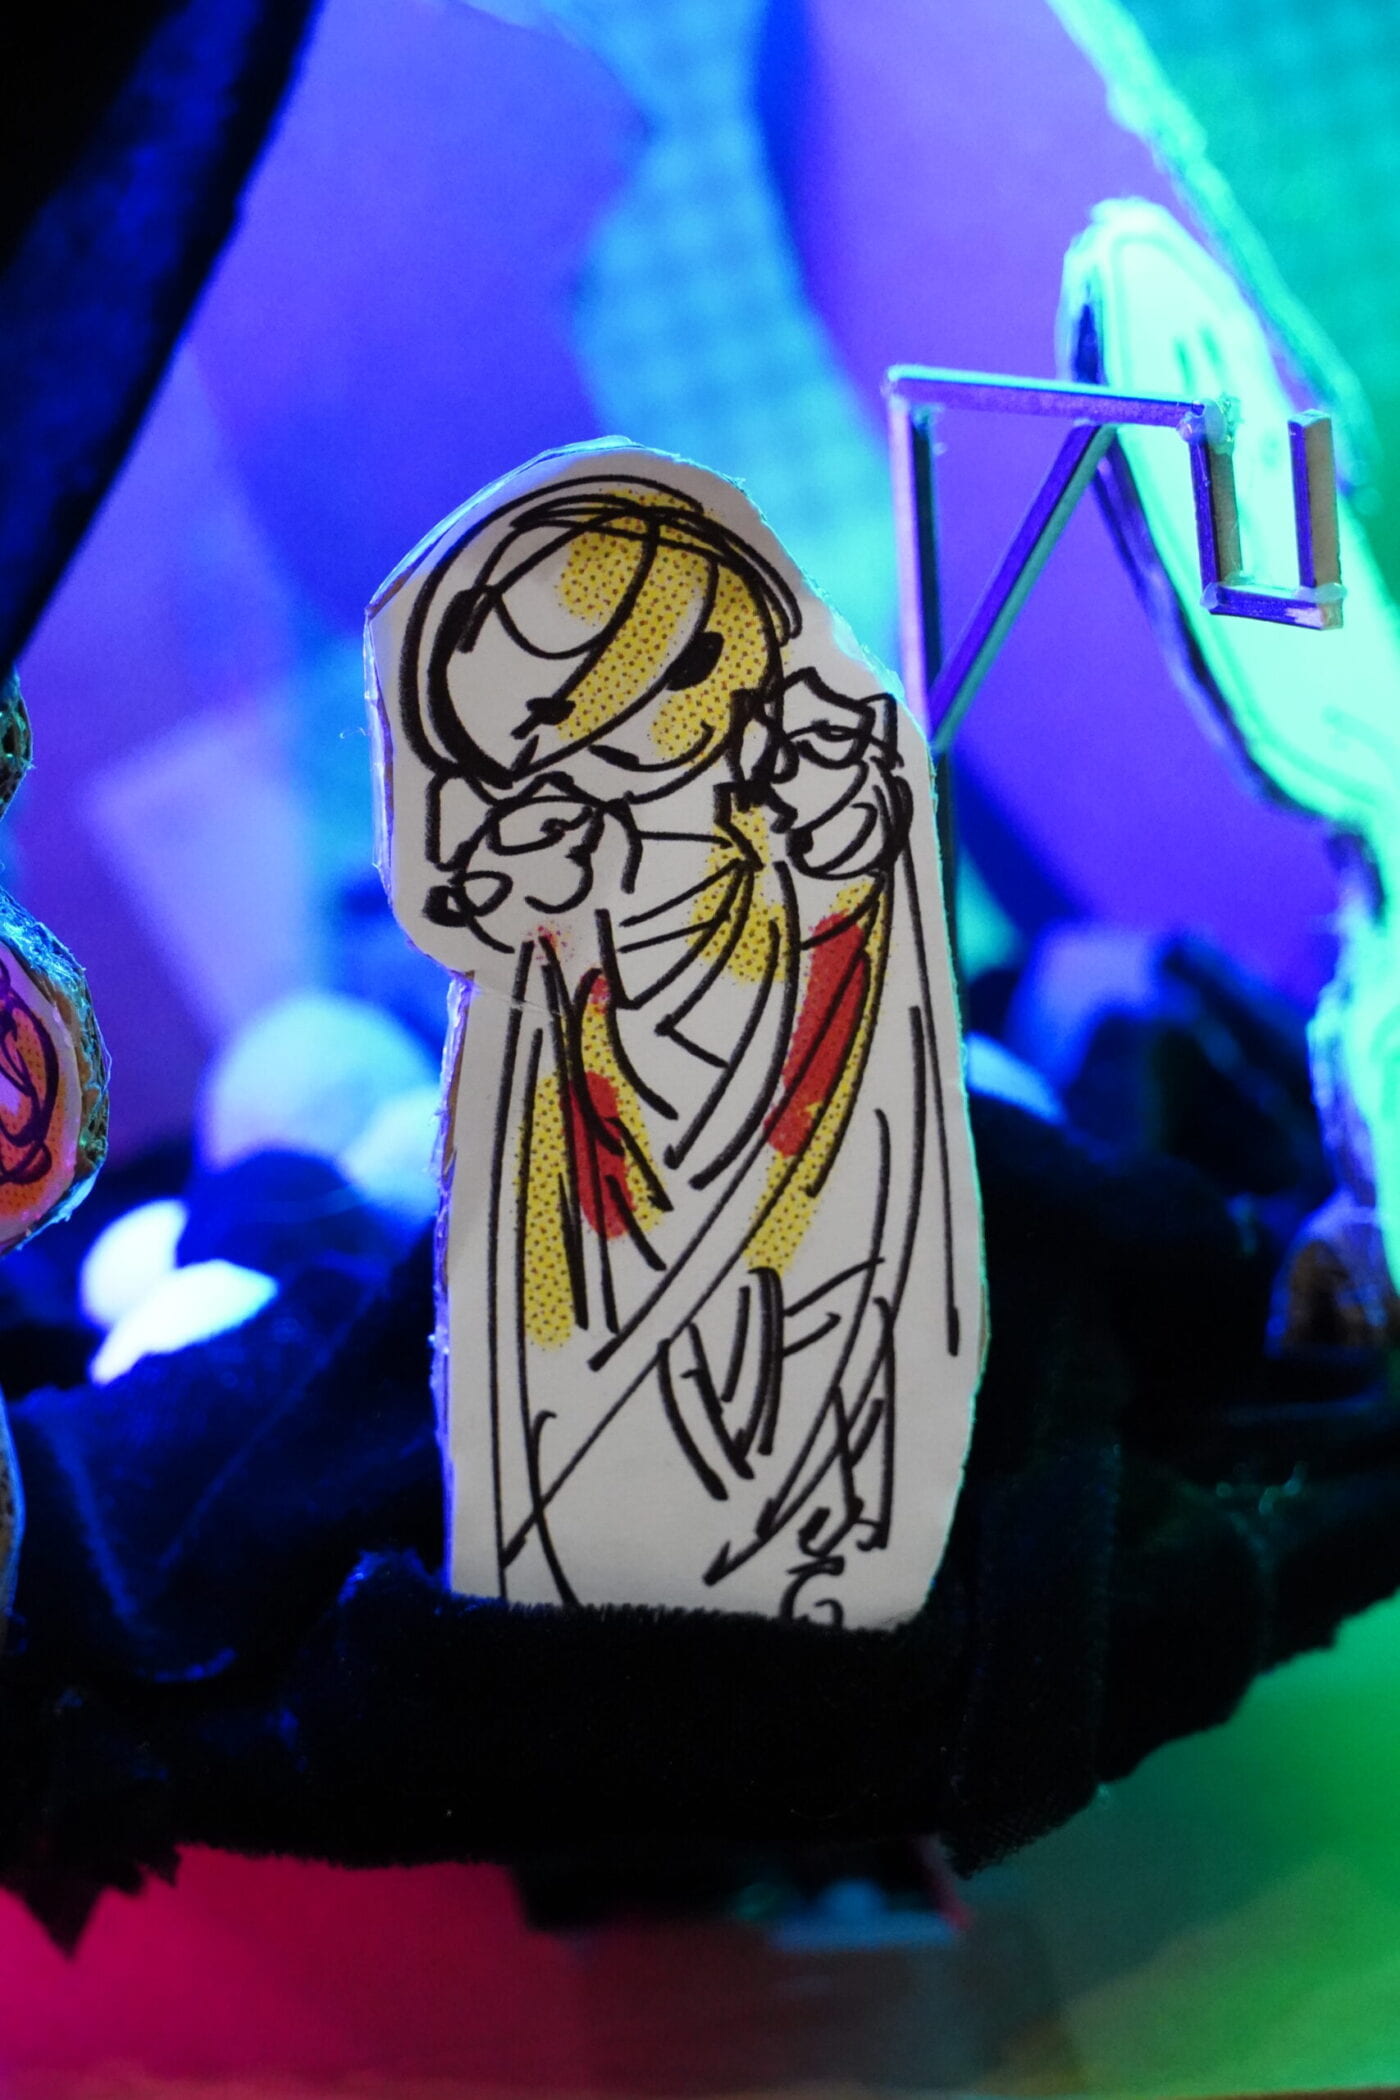
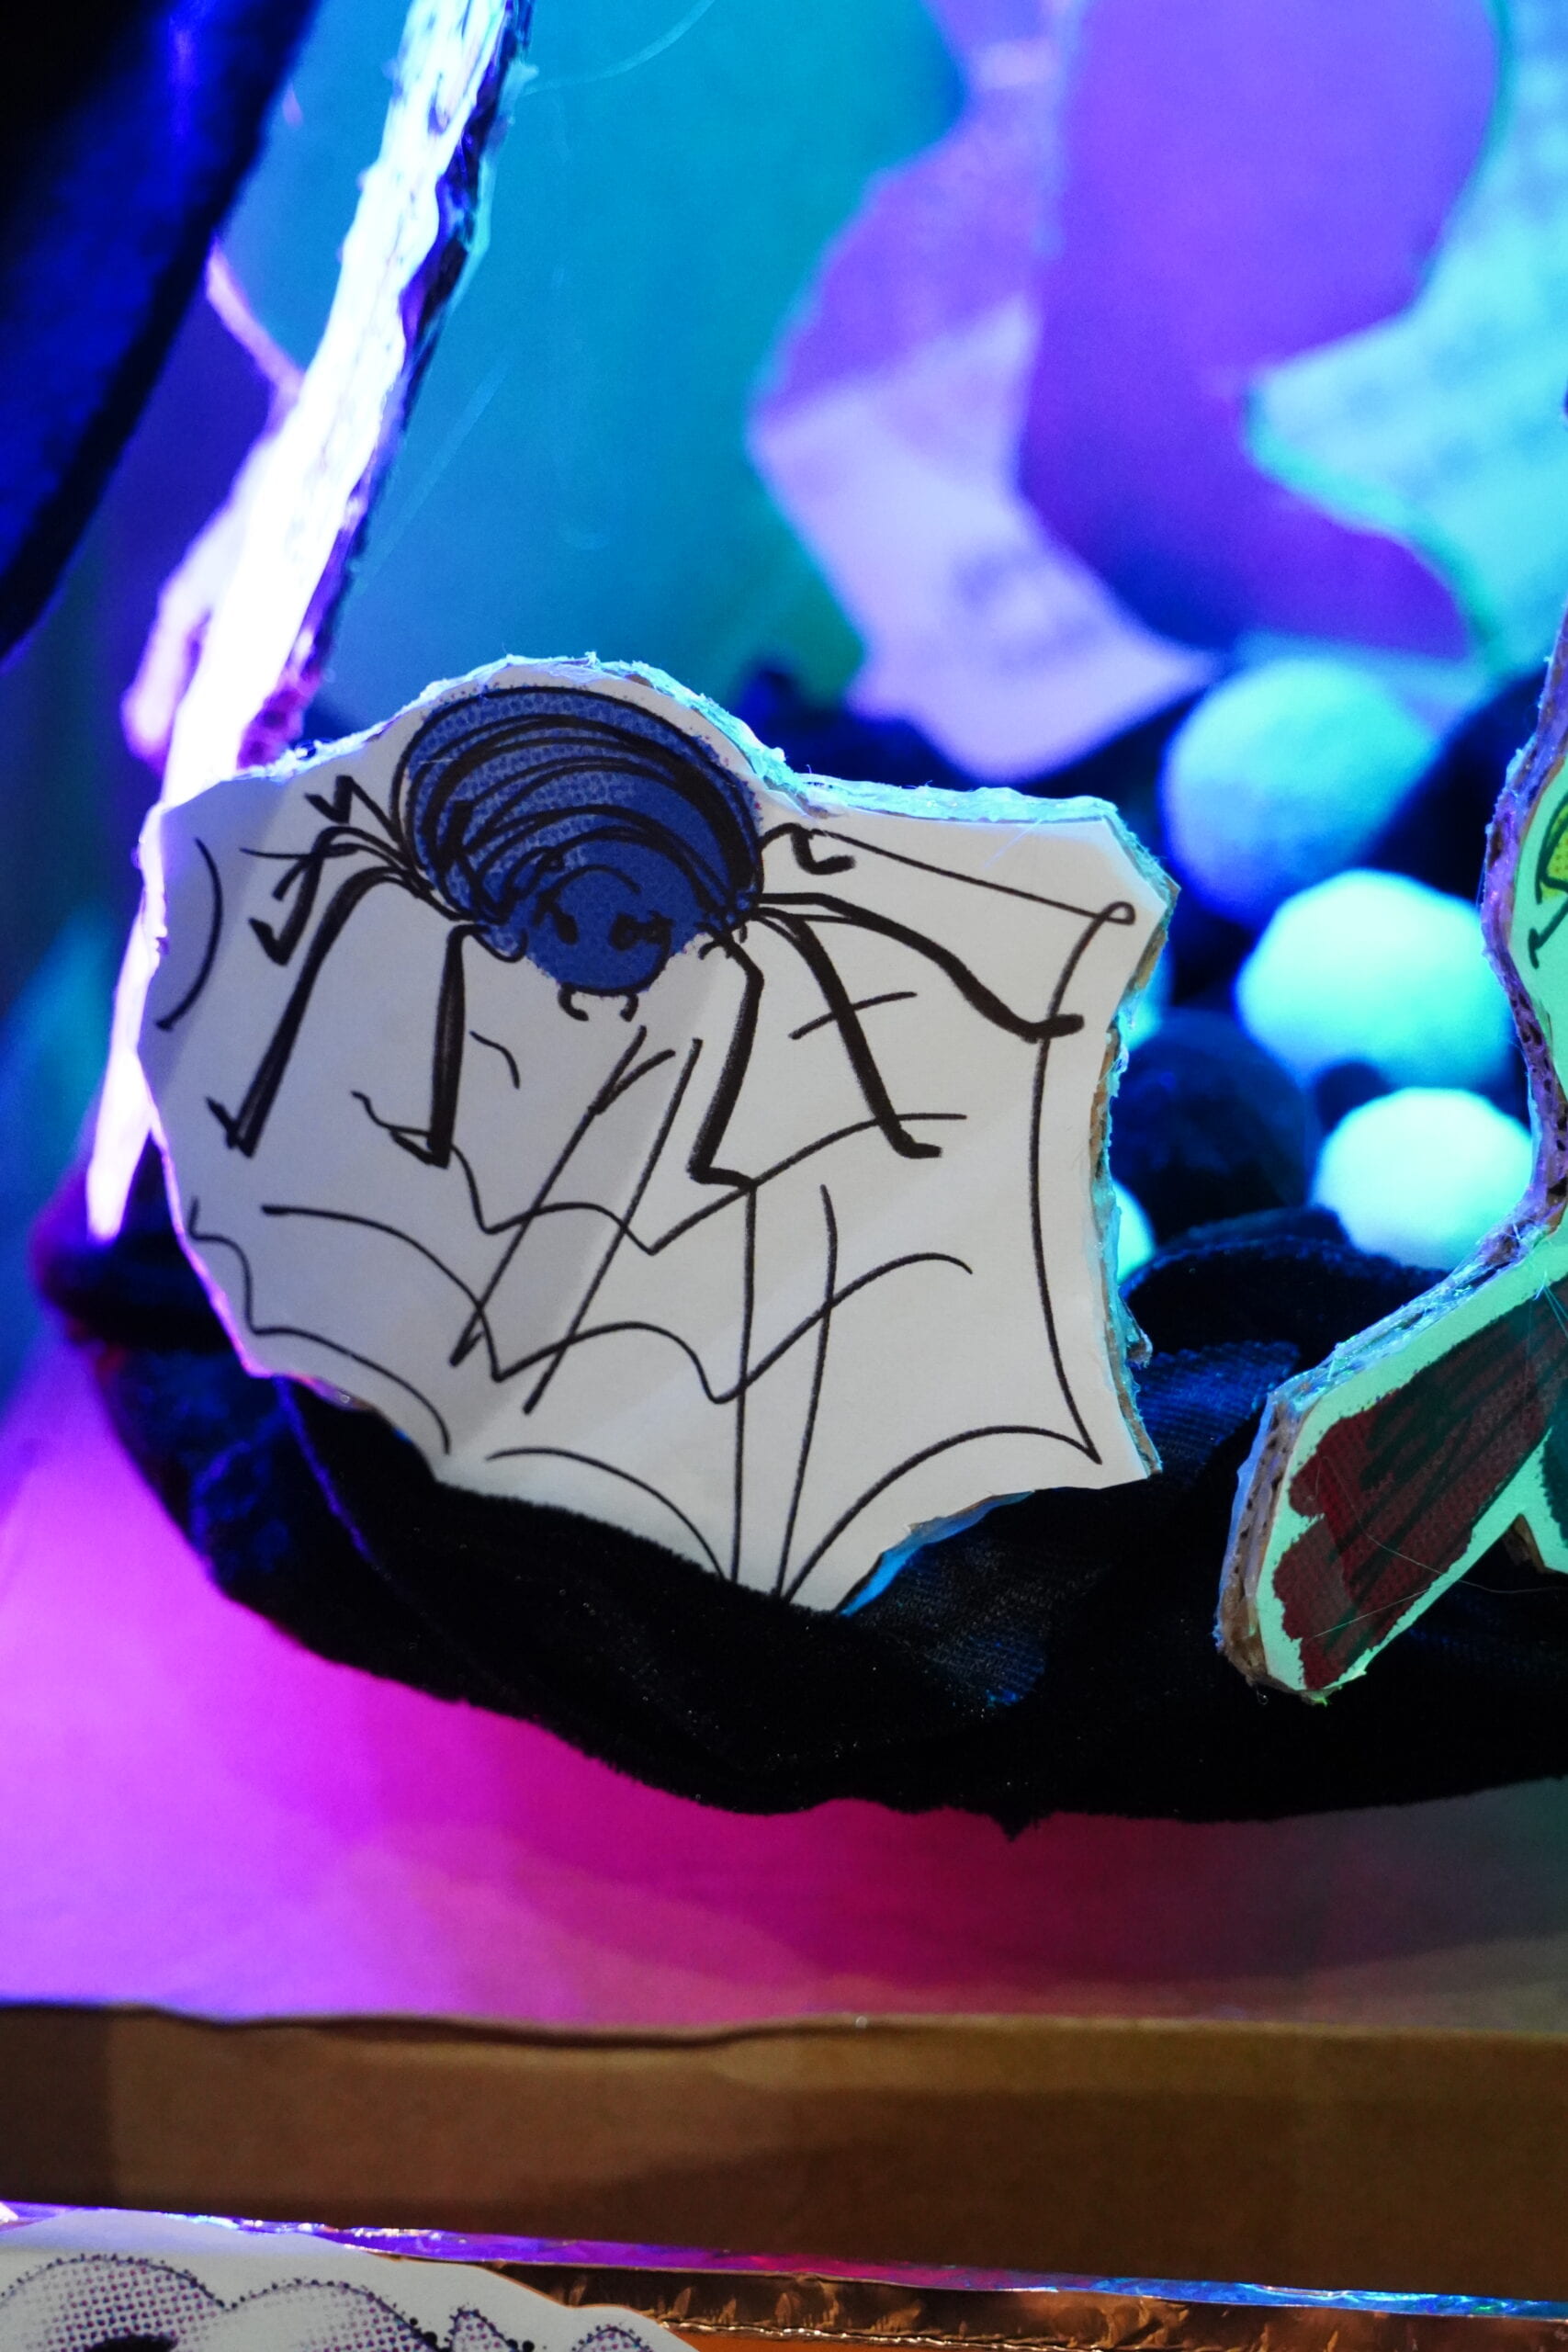
Our Cute Characters
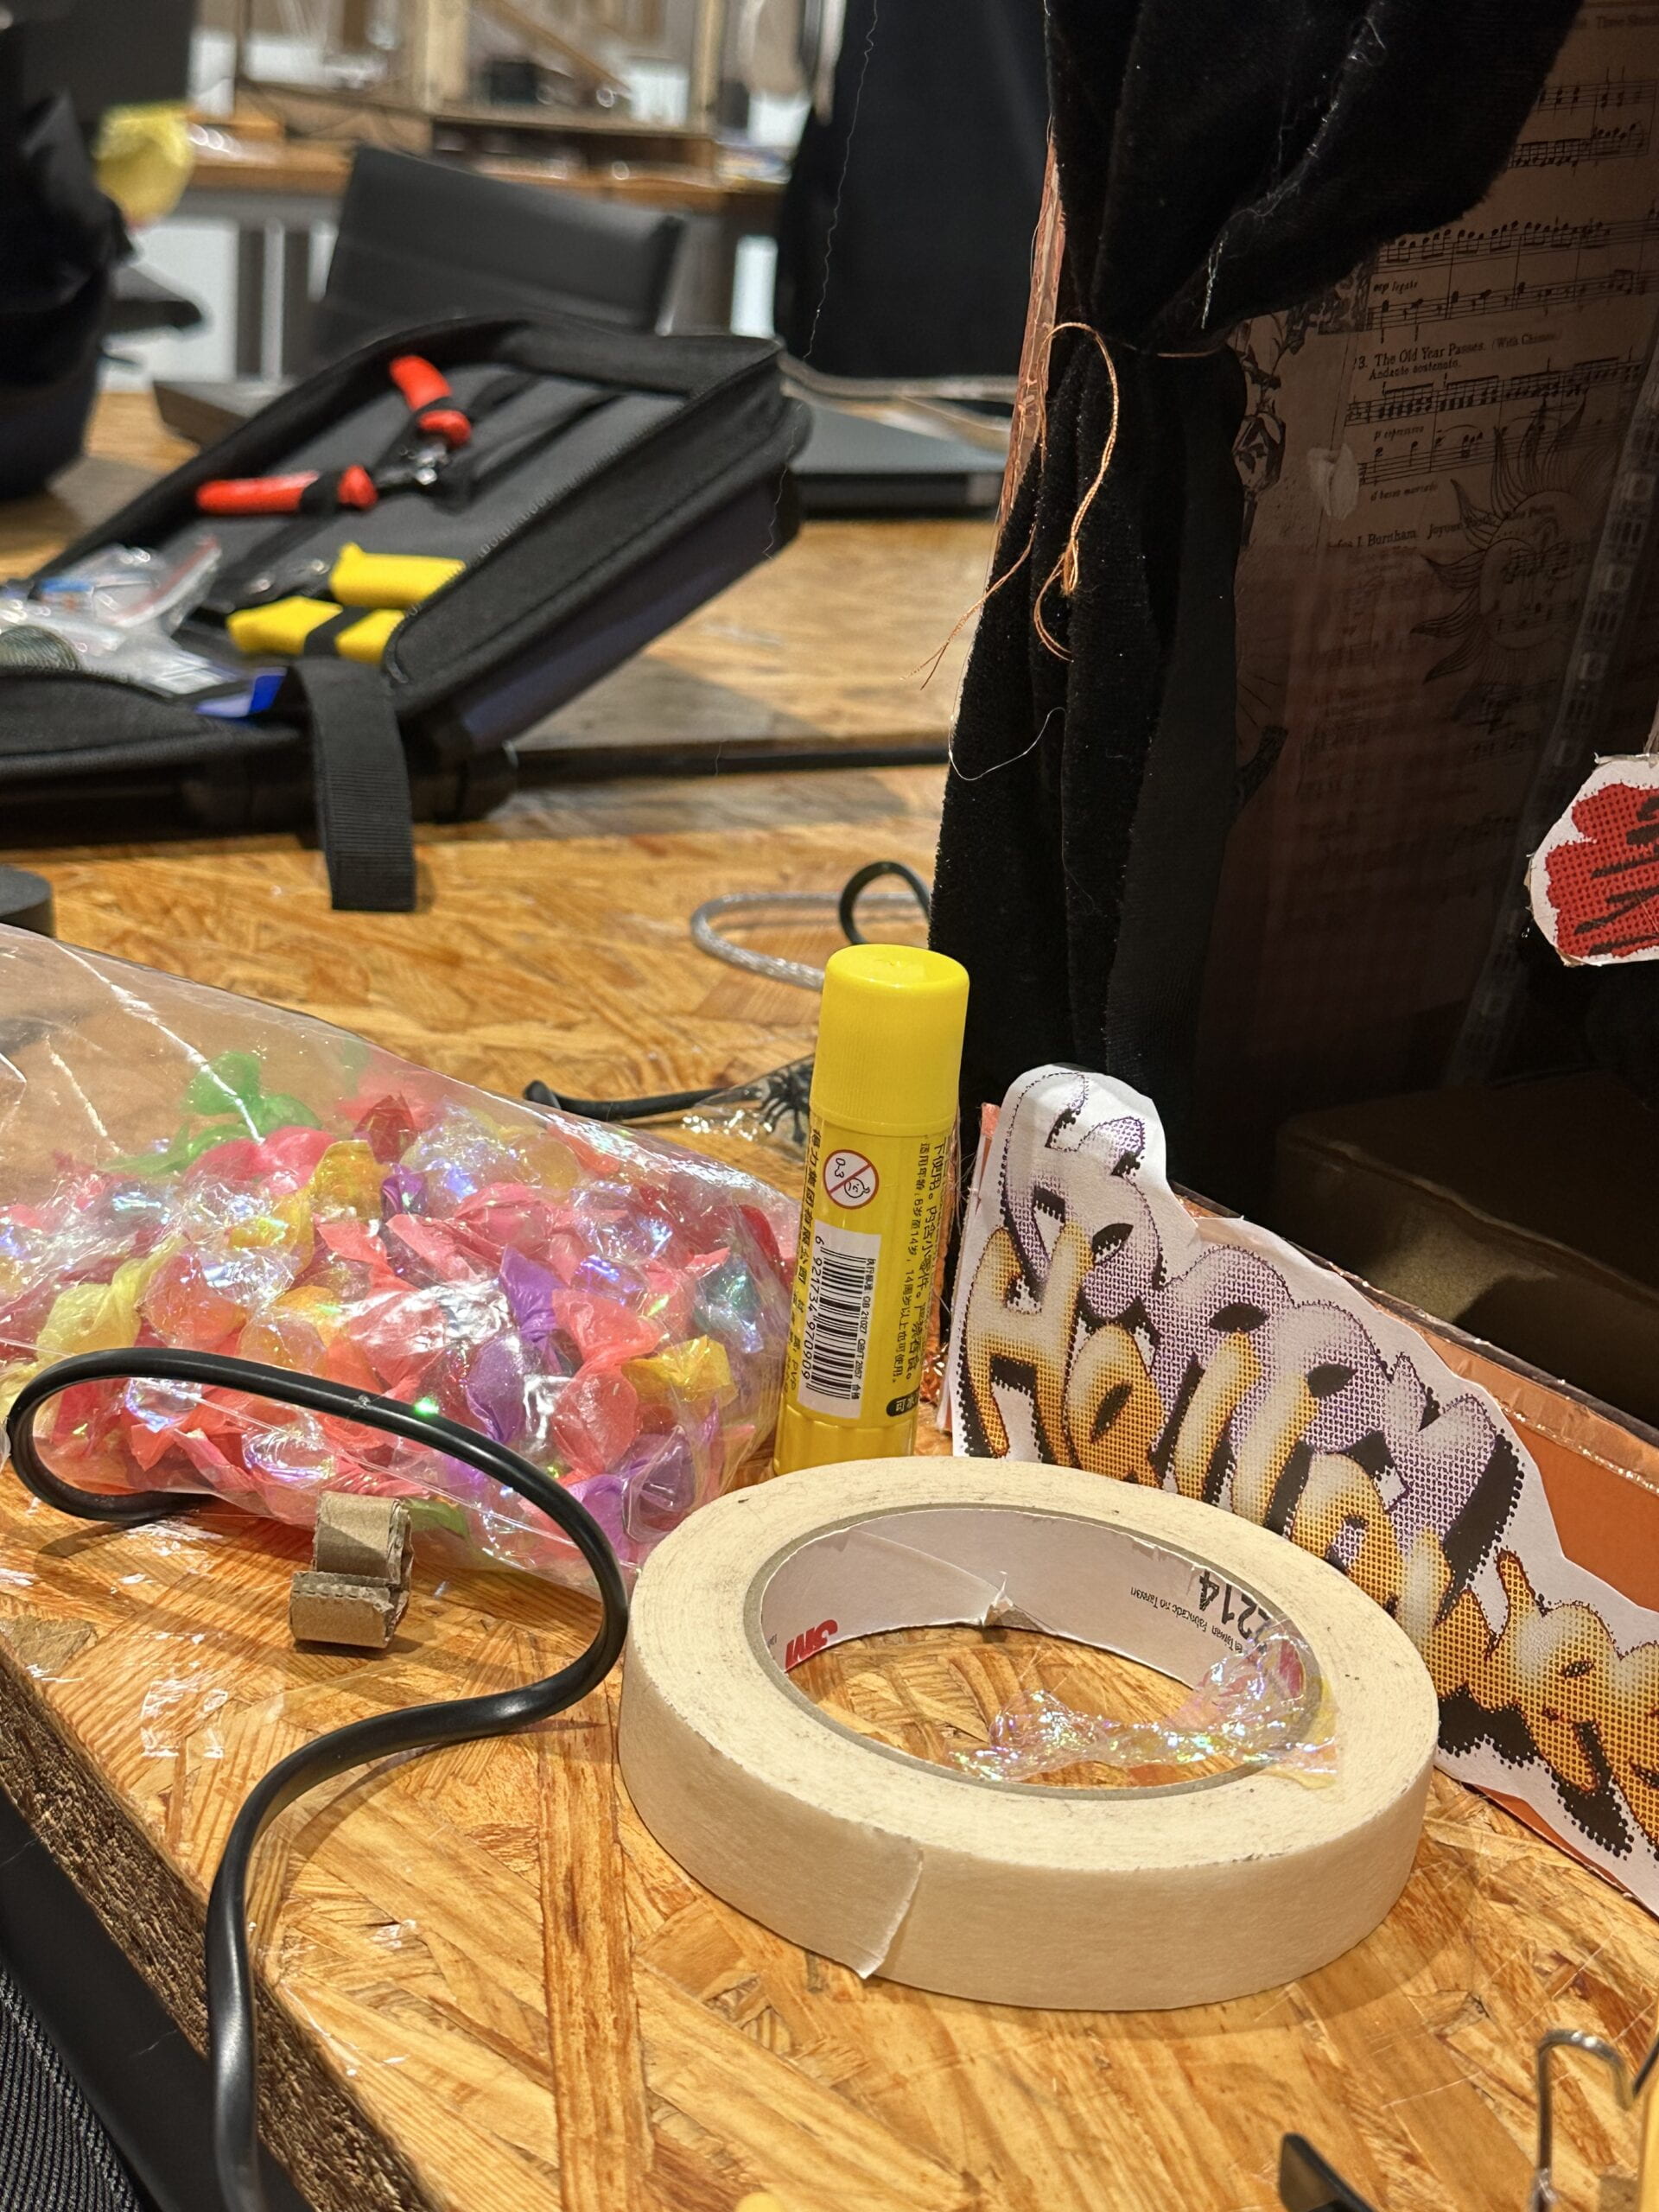
Other Props
Material Lists
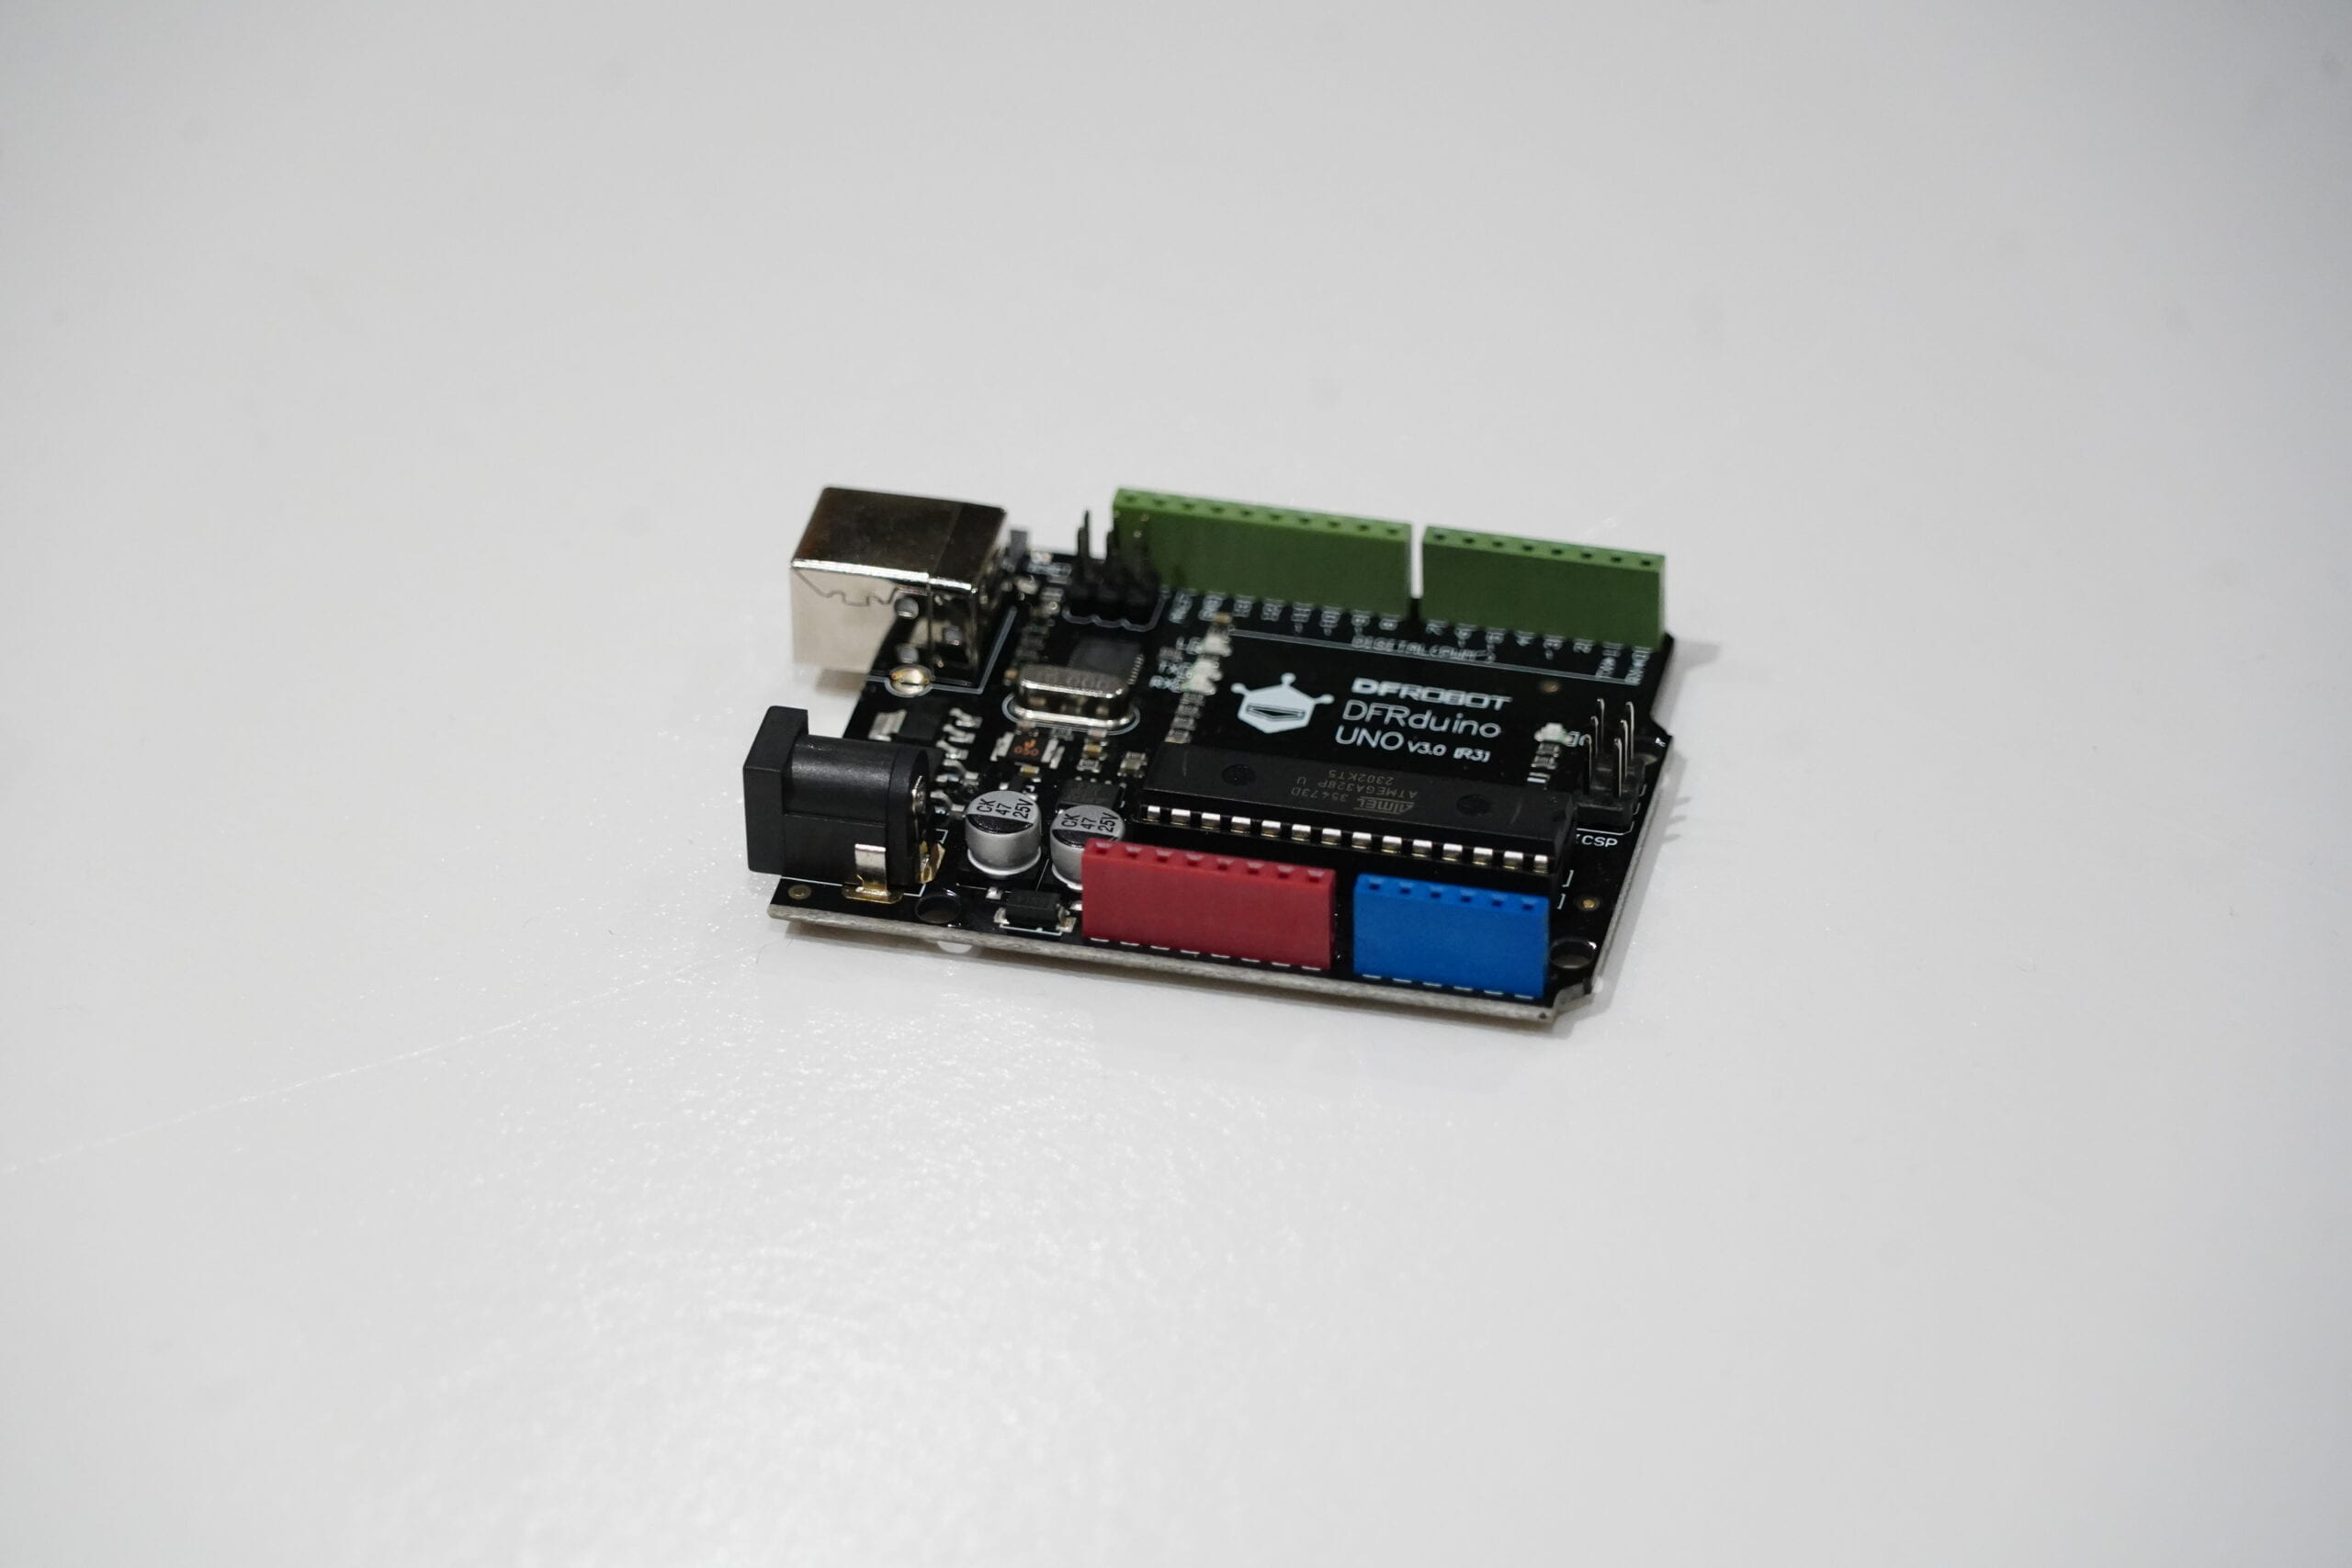
Arduino UNO
(Breadboard)
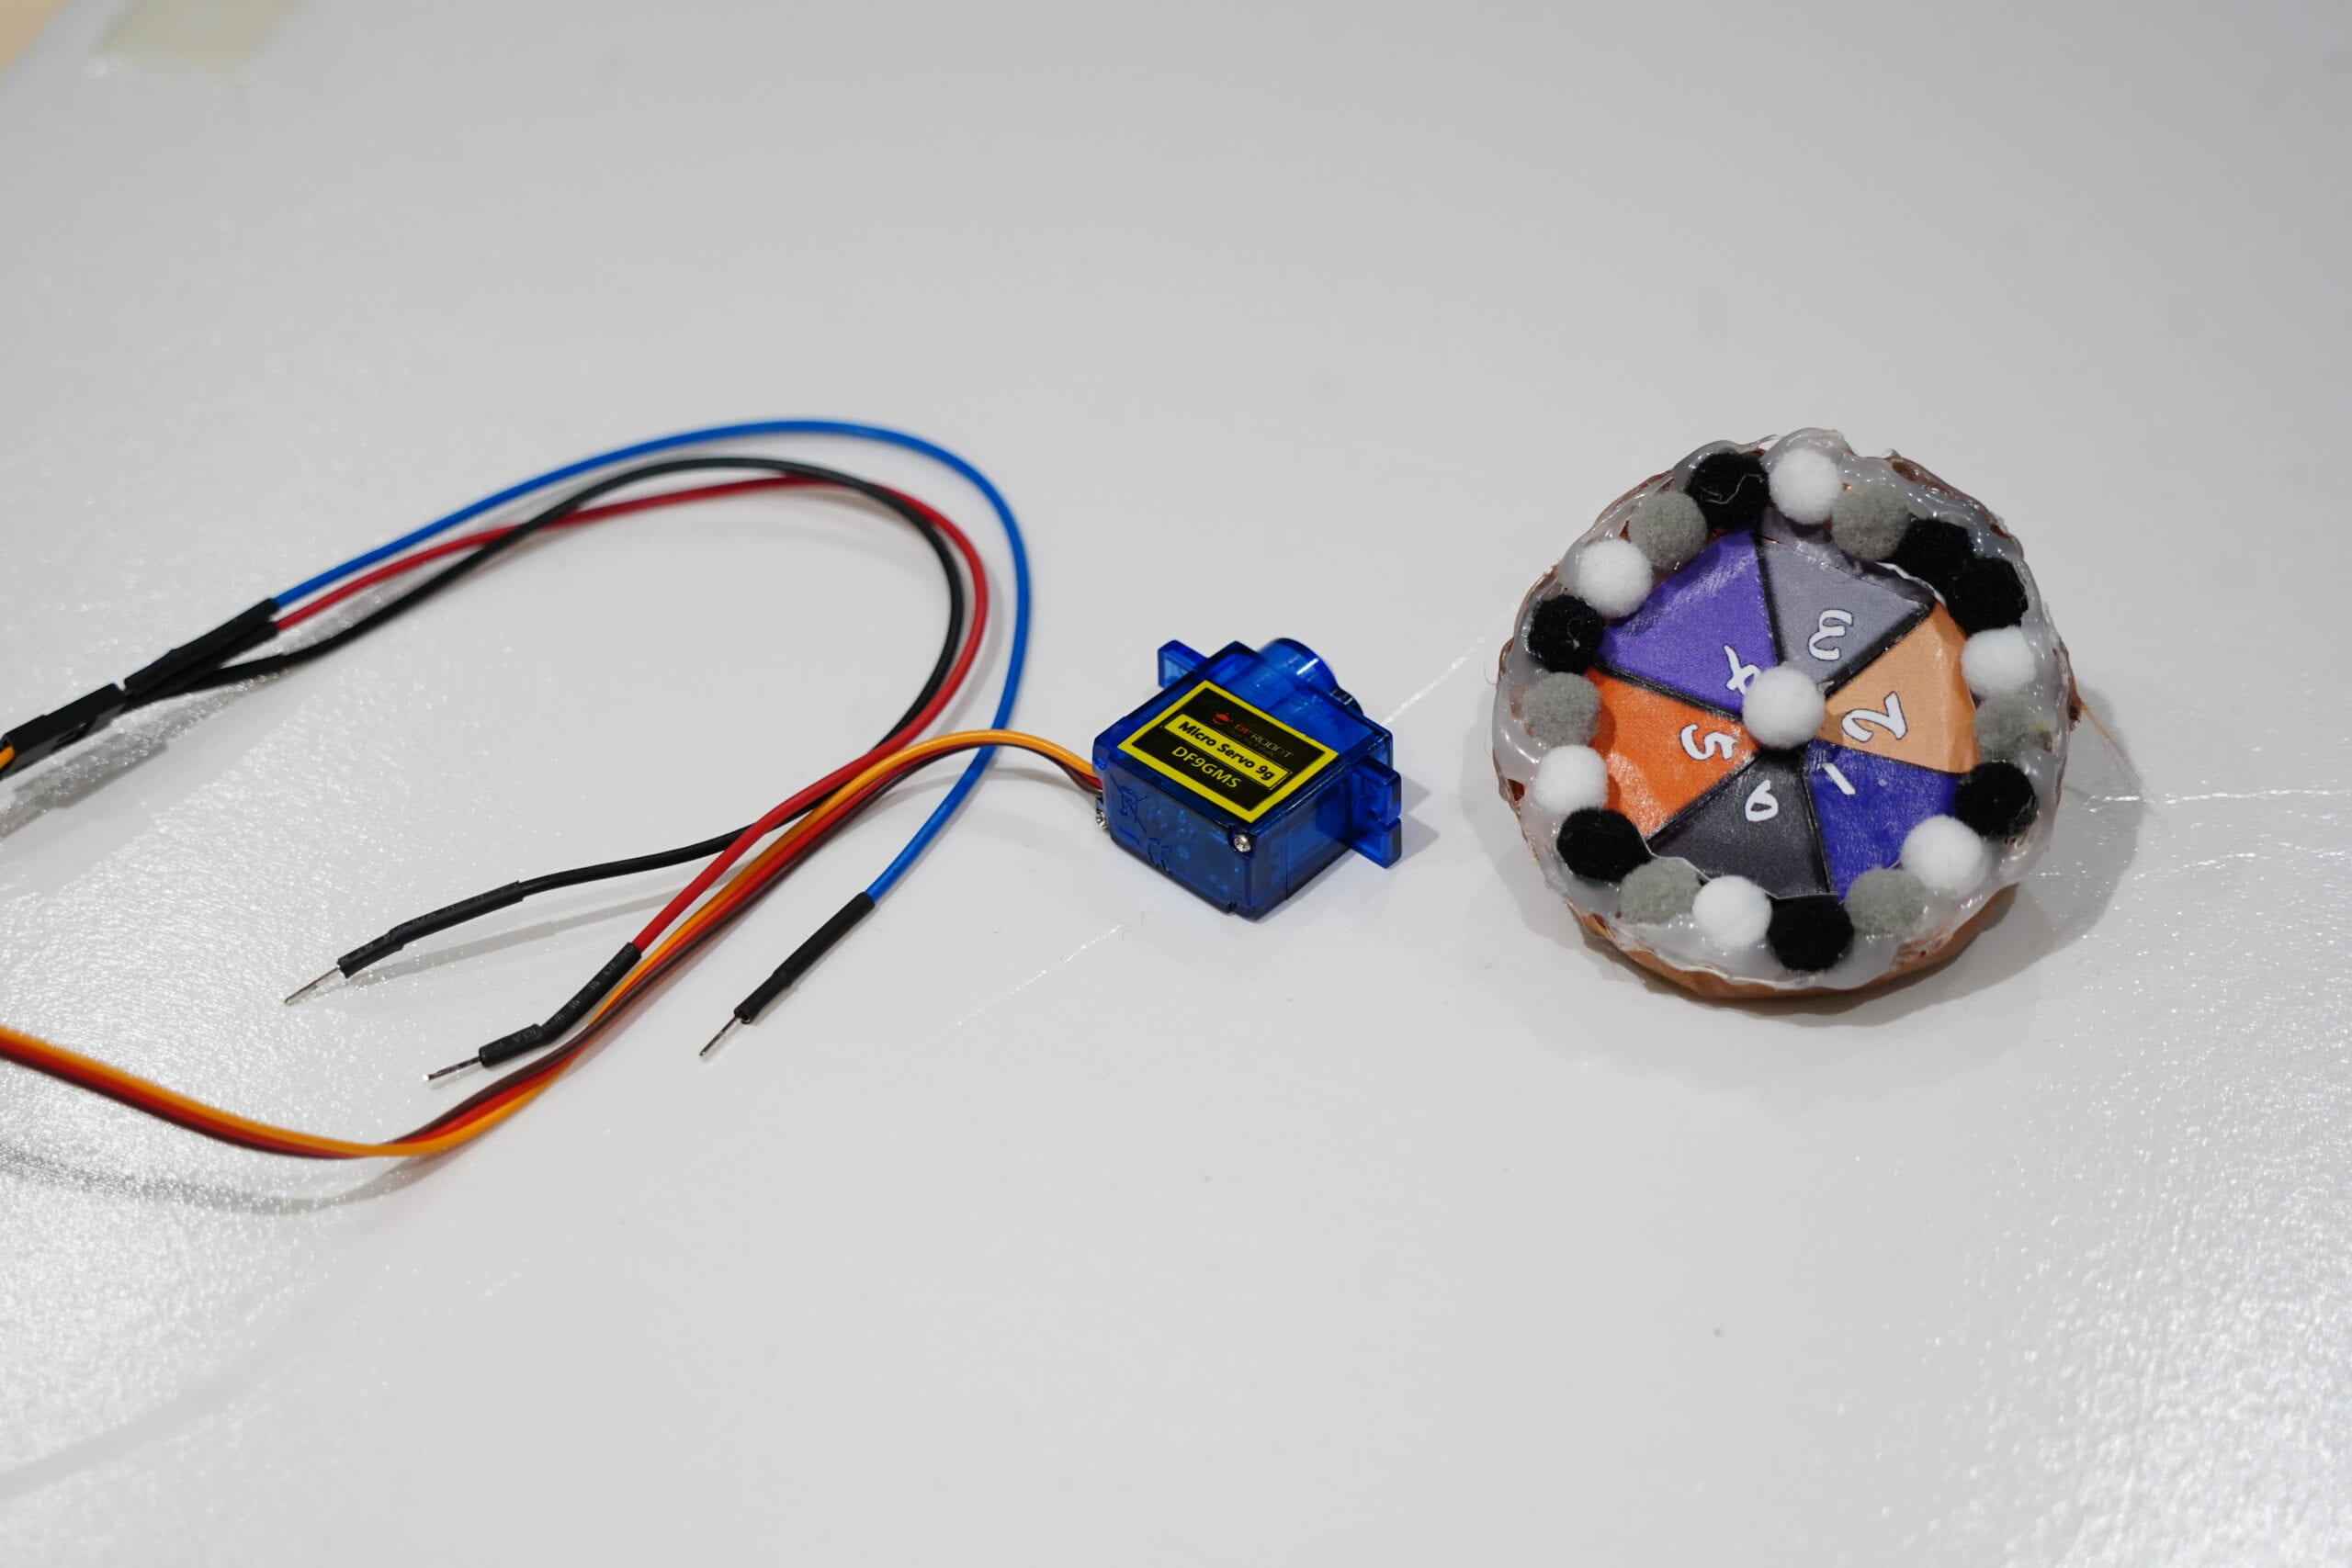
Servo Motor
(connected to the lucky wheel)
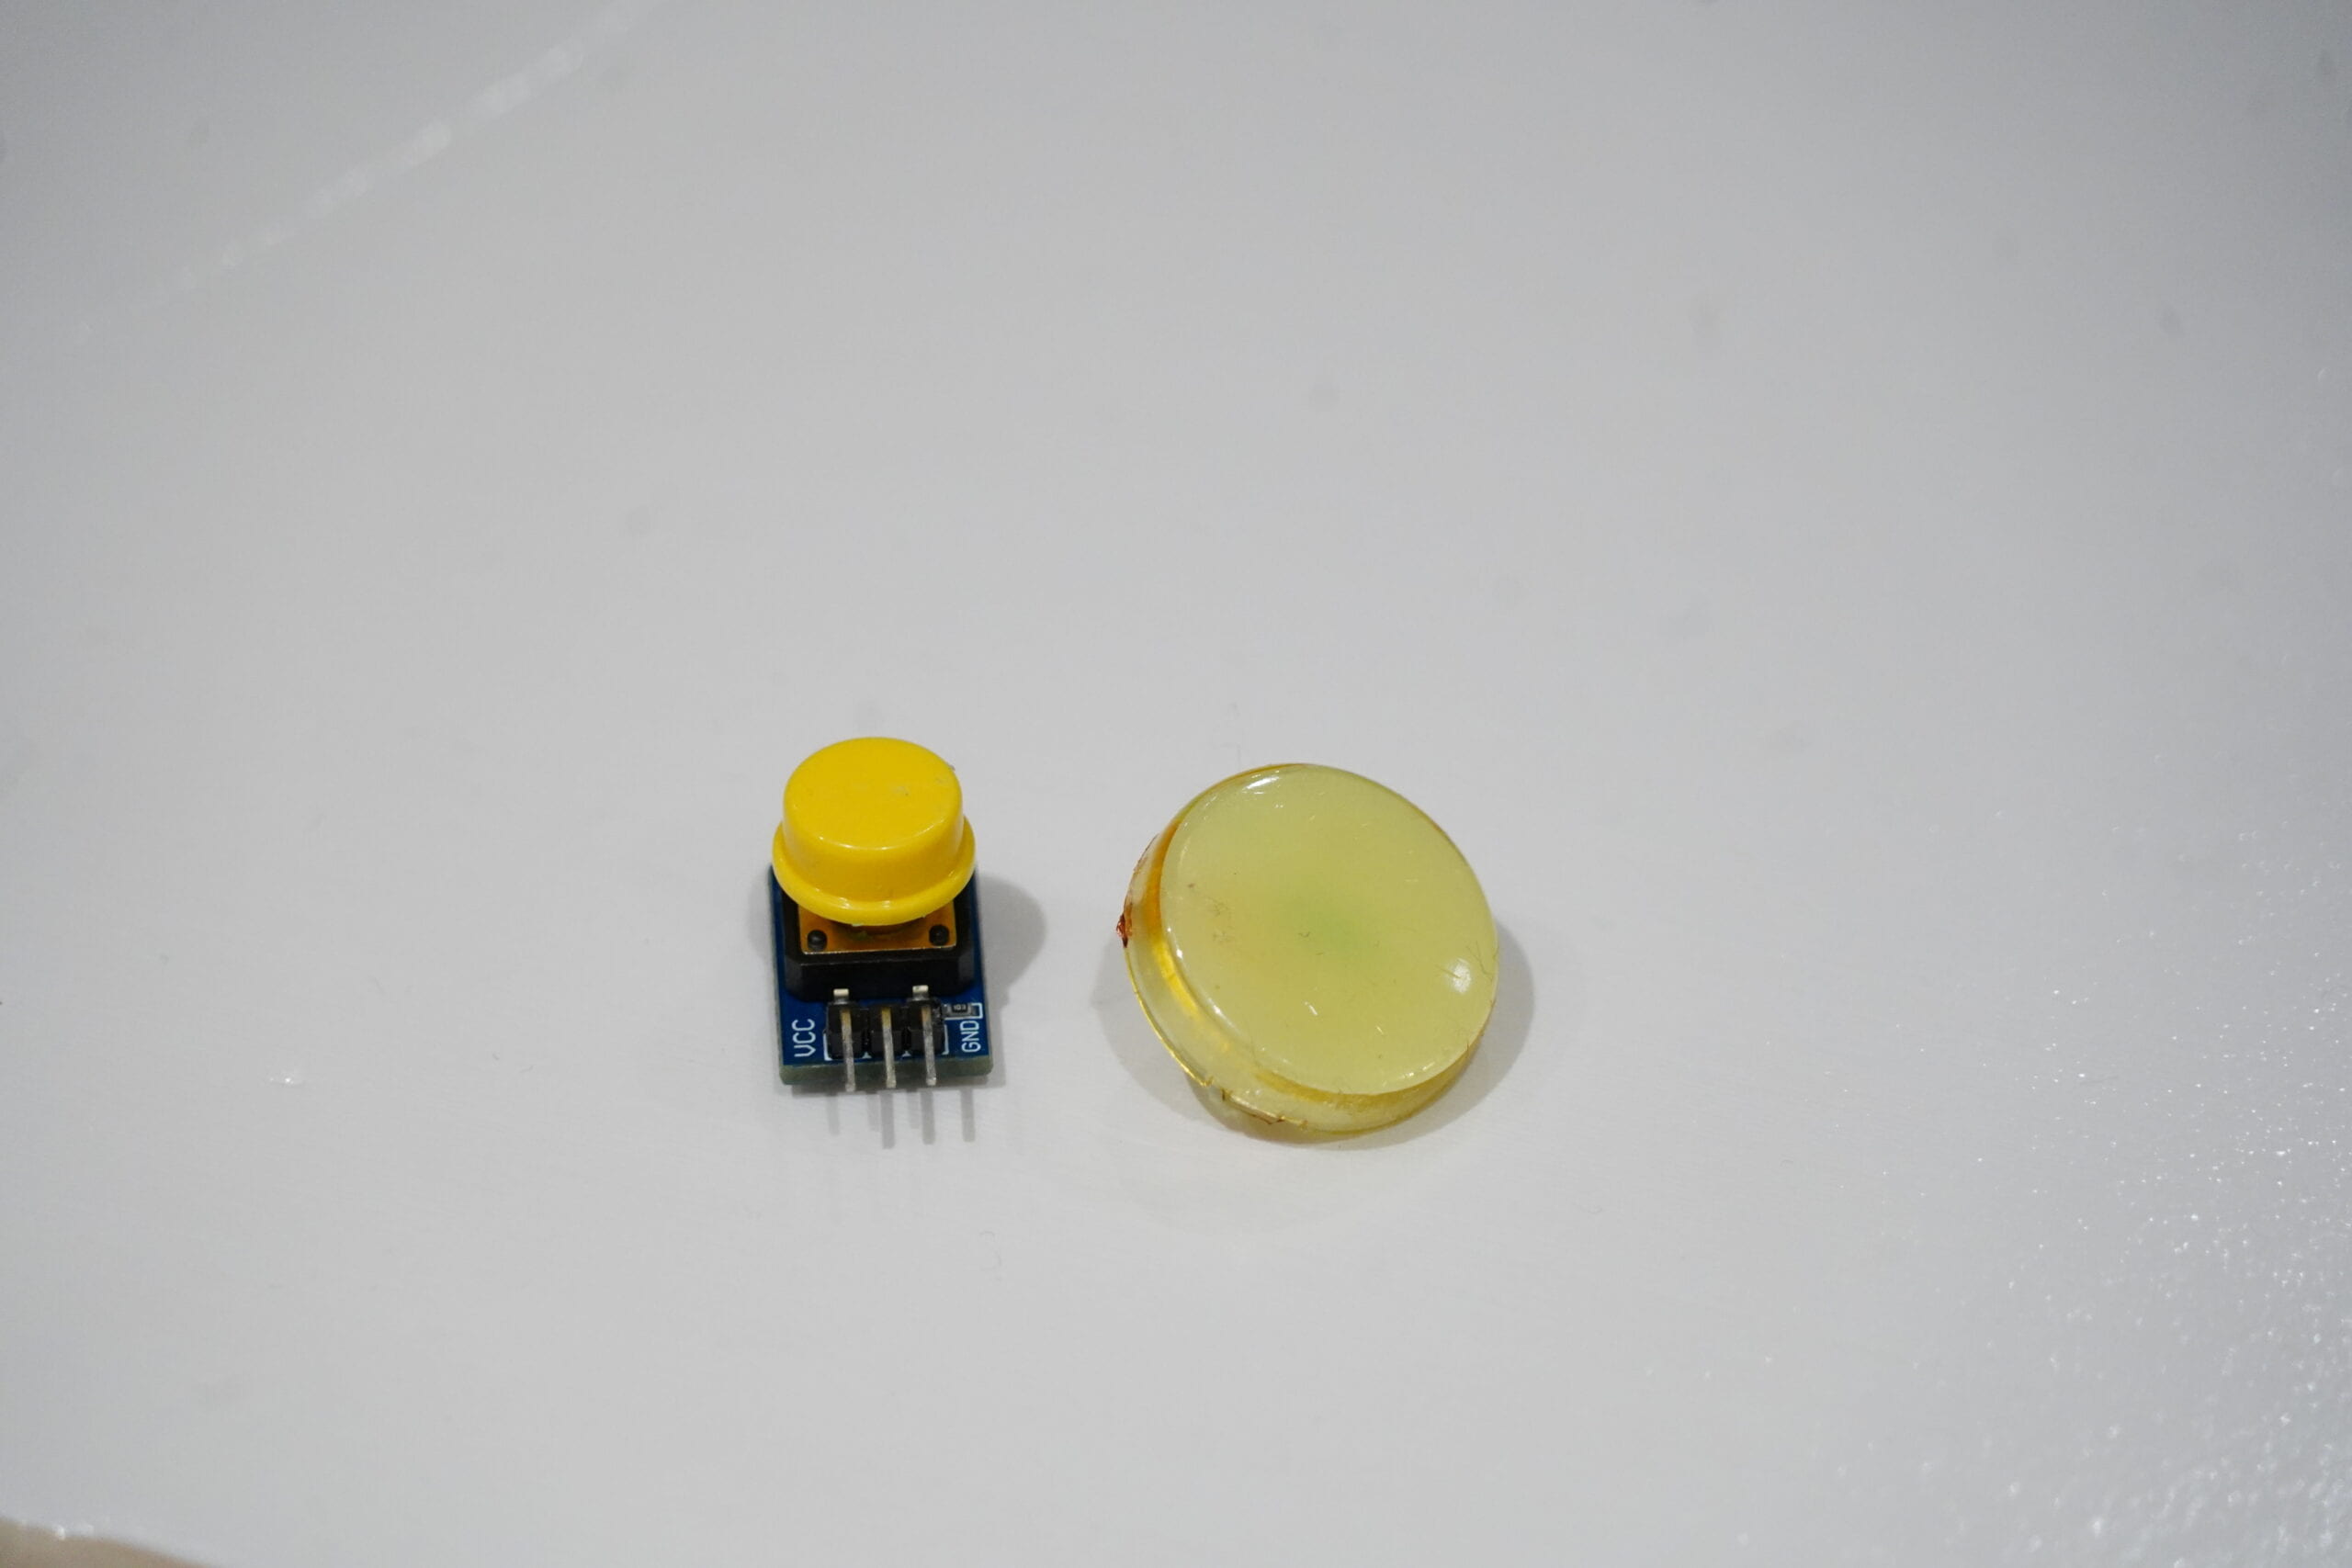
Push Button (resistor within)
(With larger button)
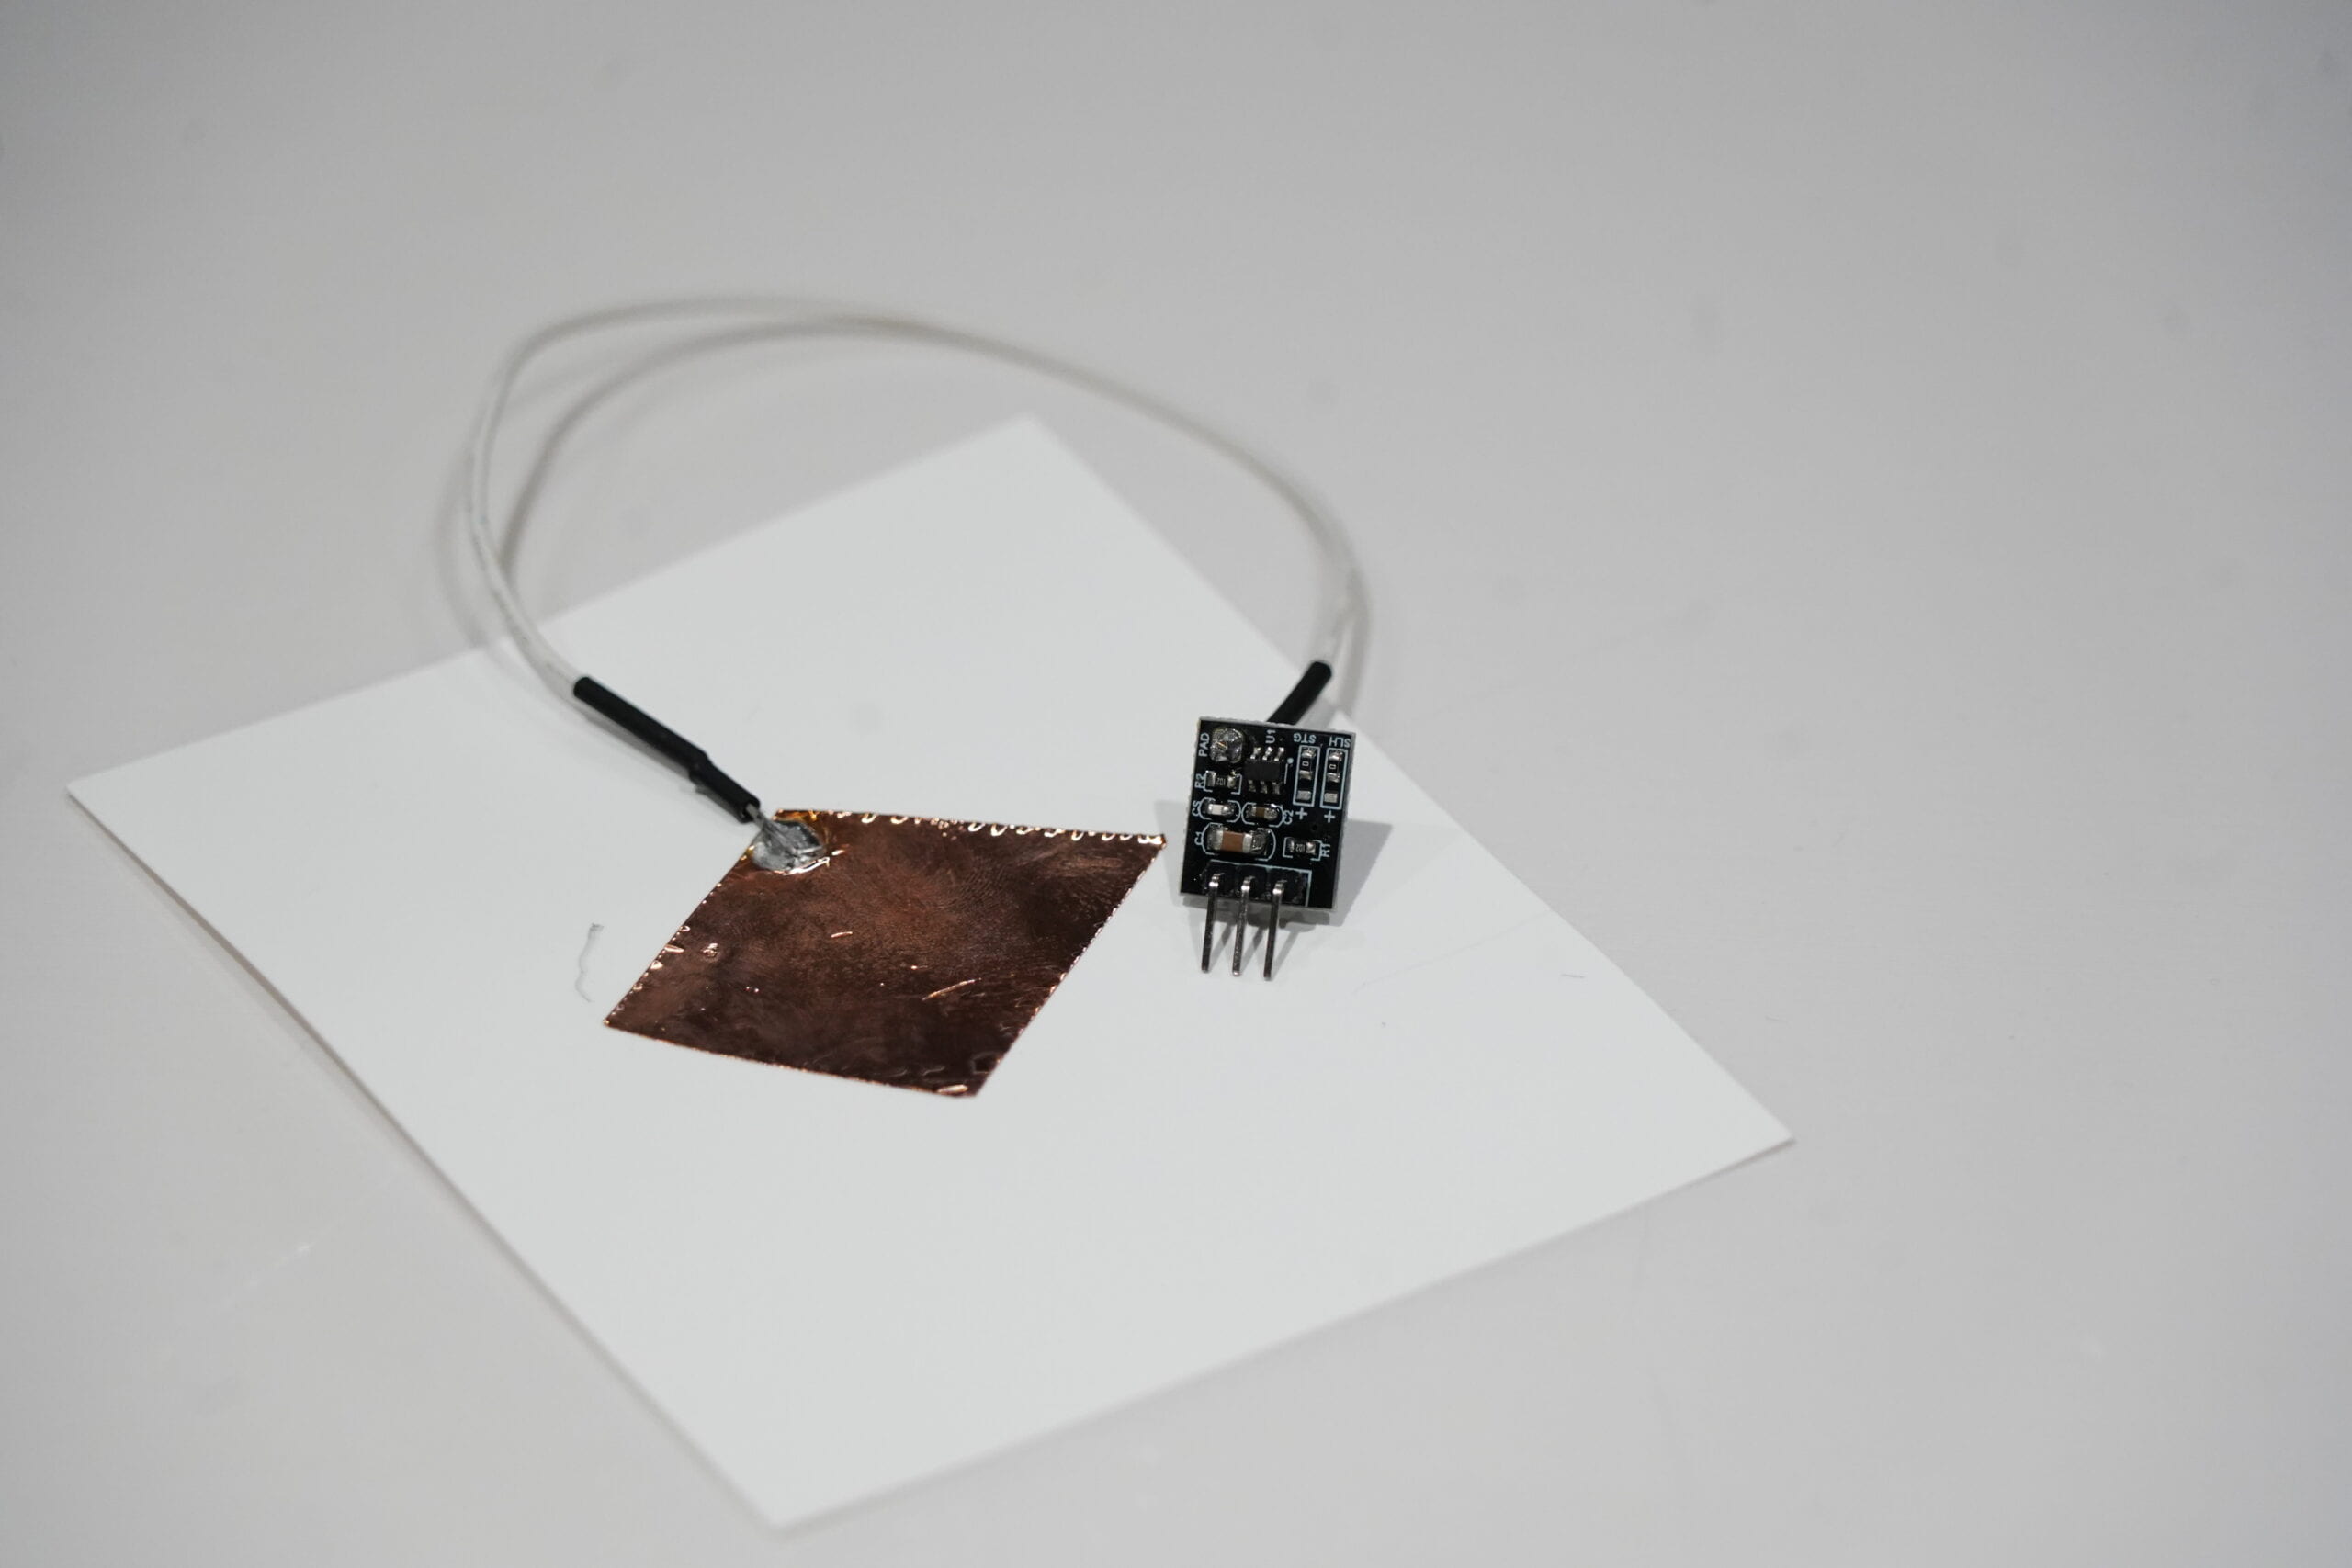
Capacitive (Touch) Sensor
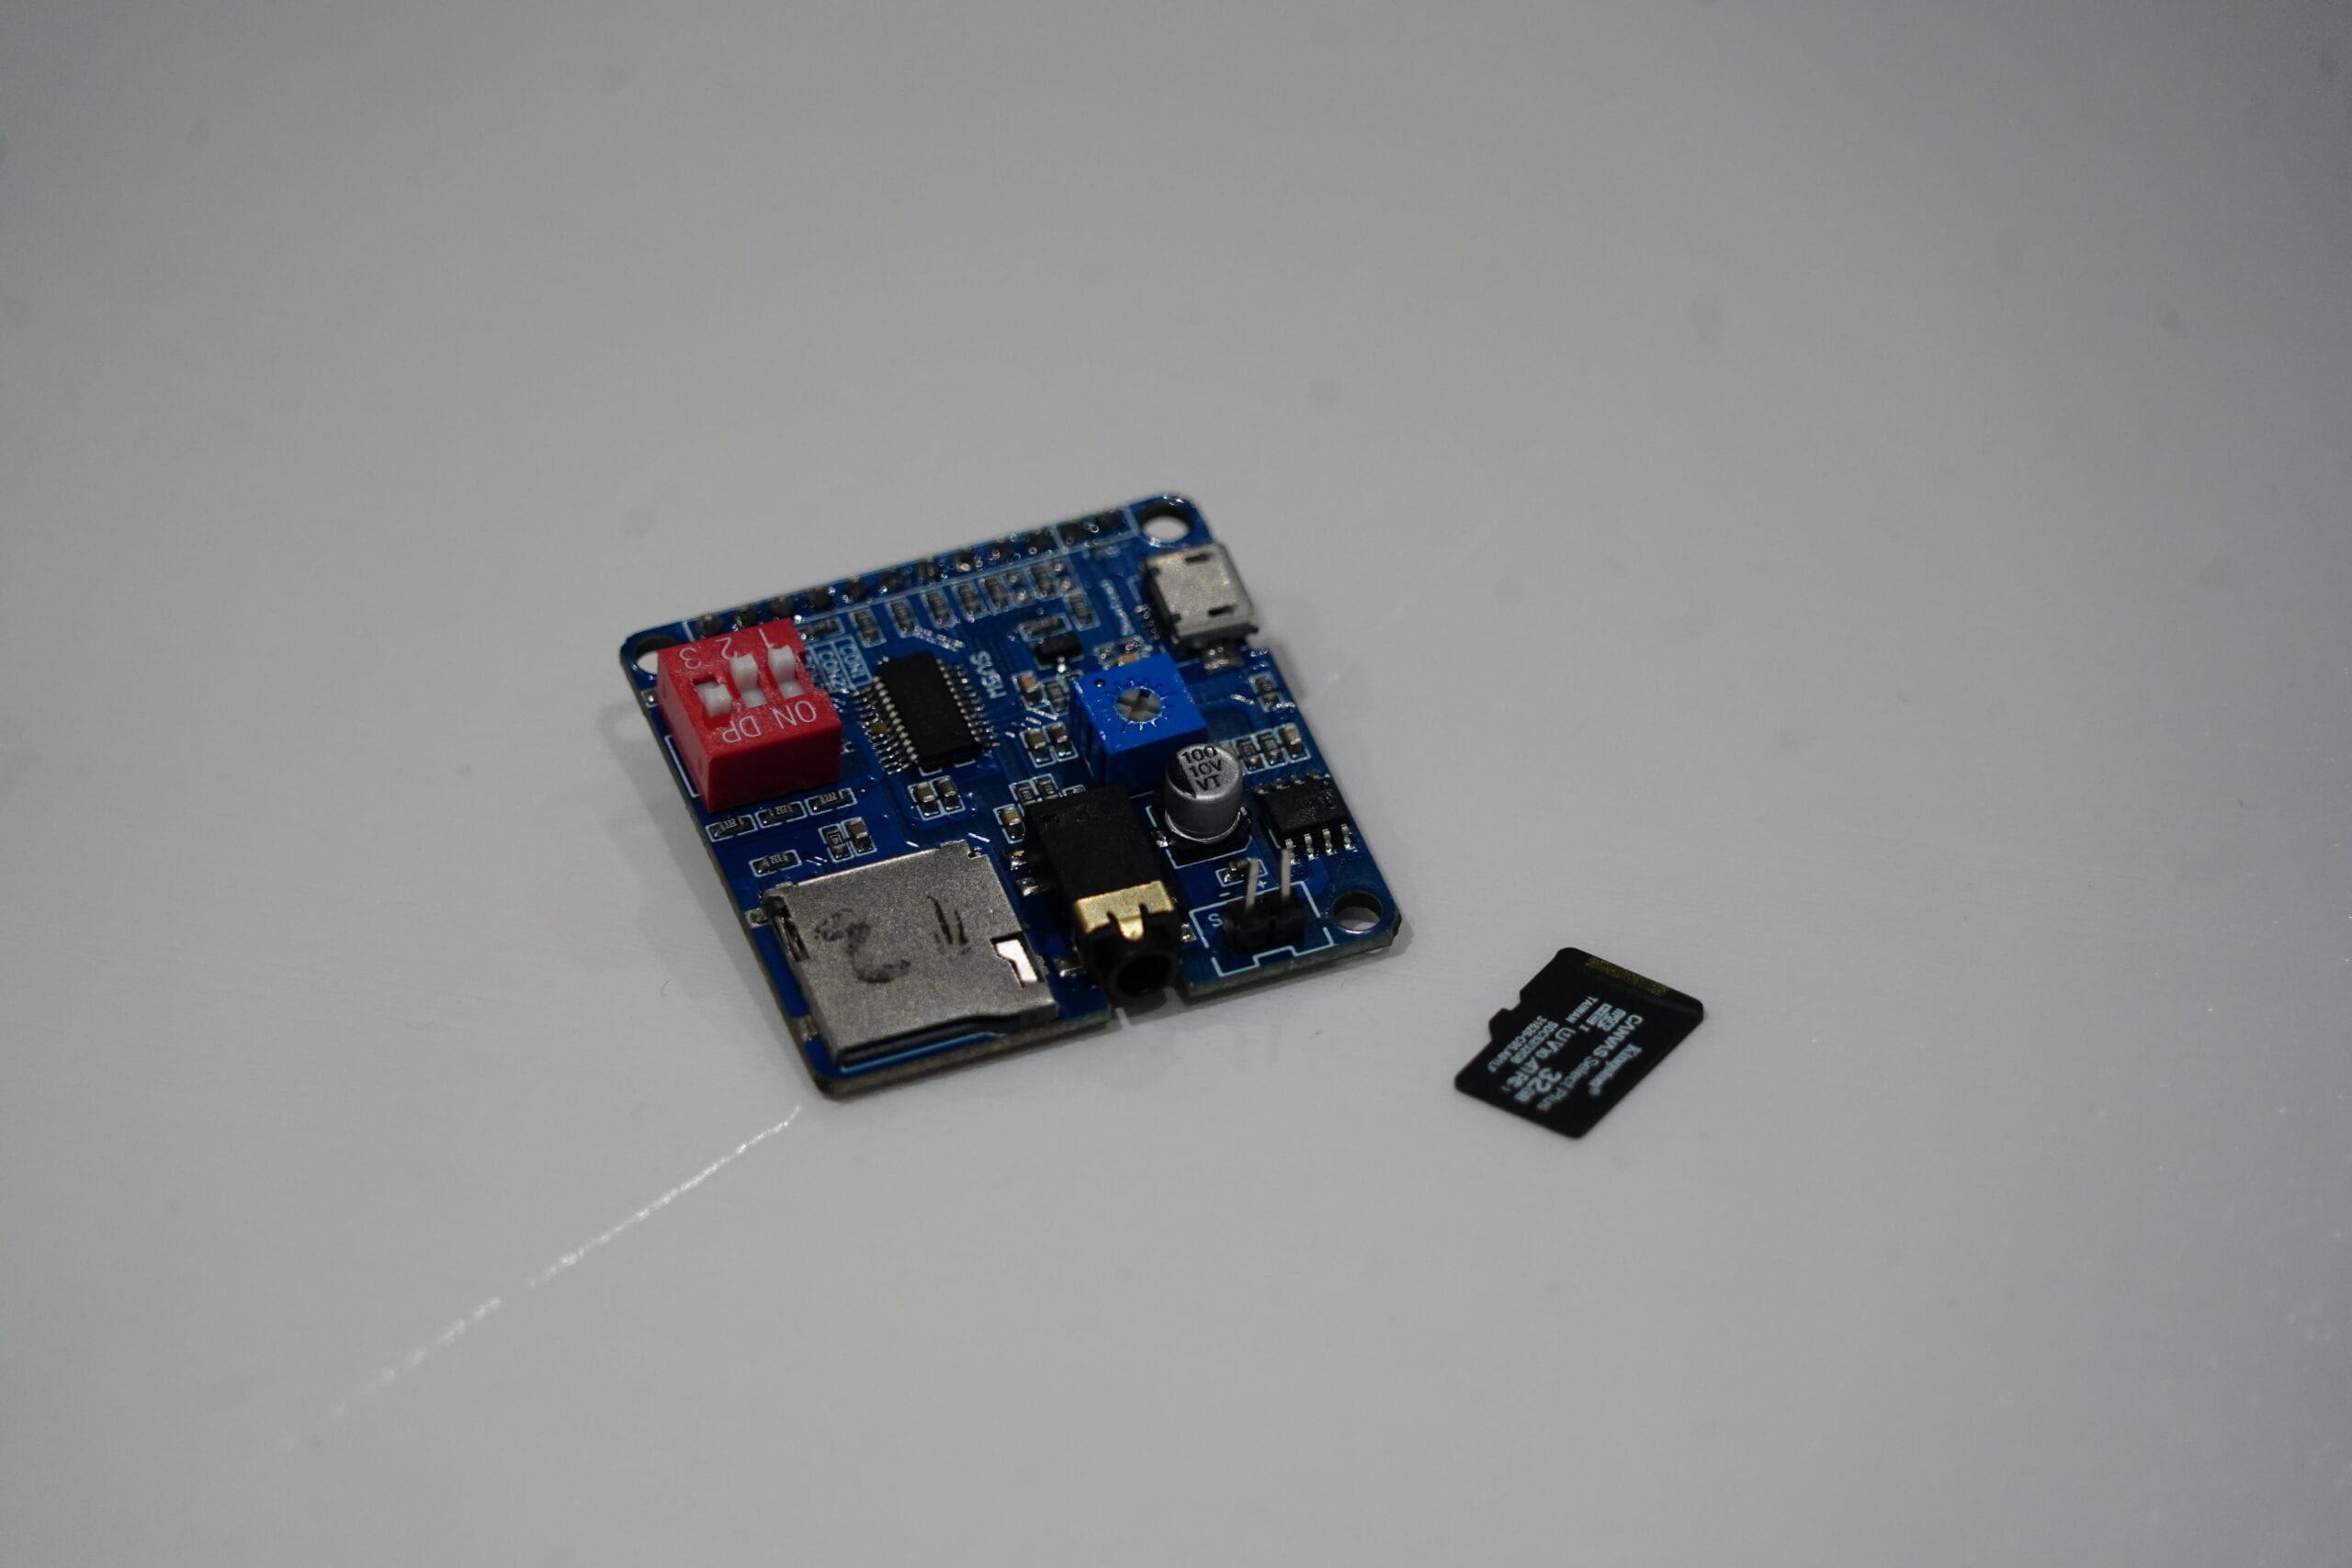
Mini DY-SV5W MP3 Player Module Trigger
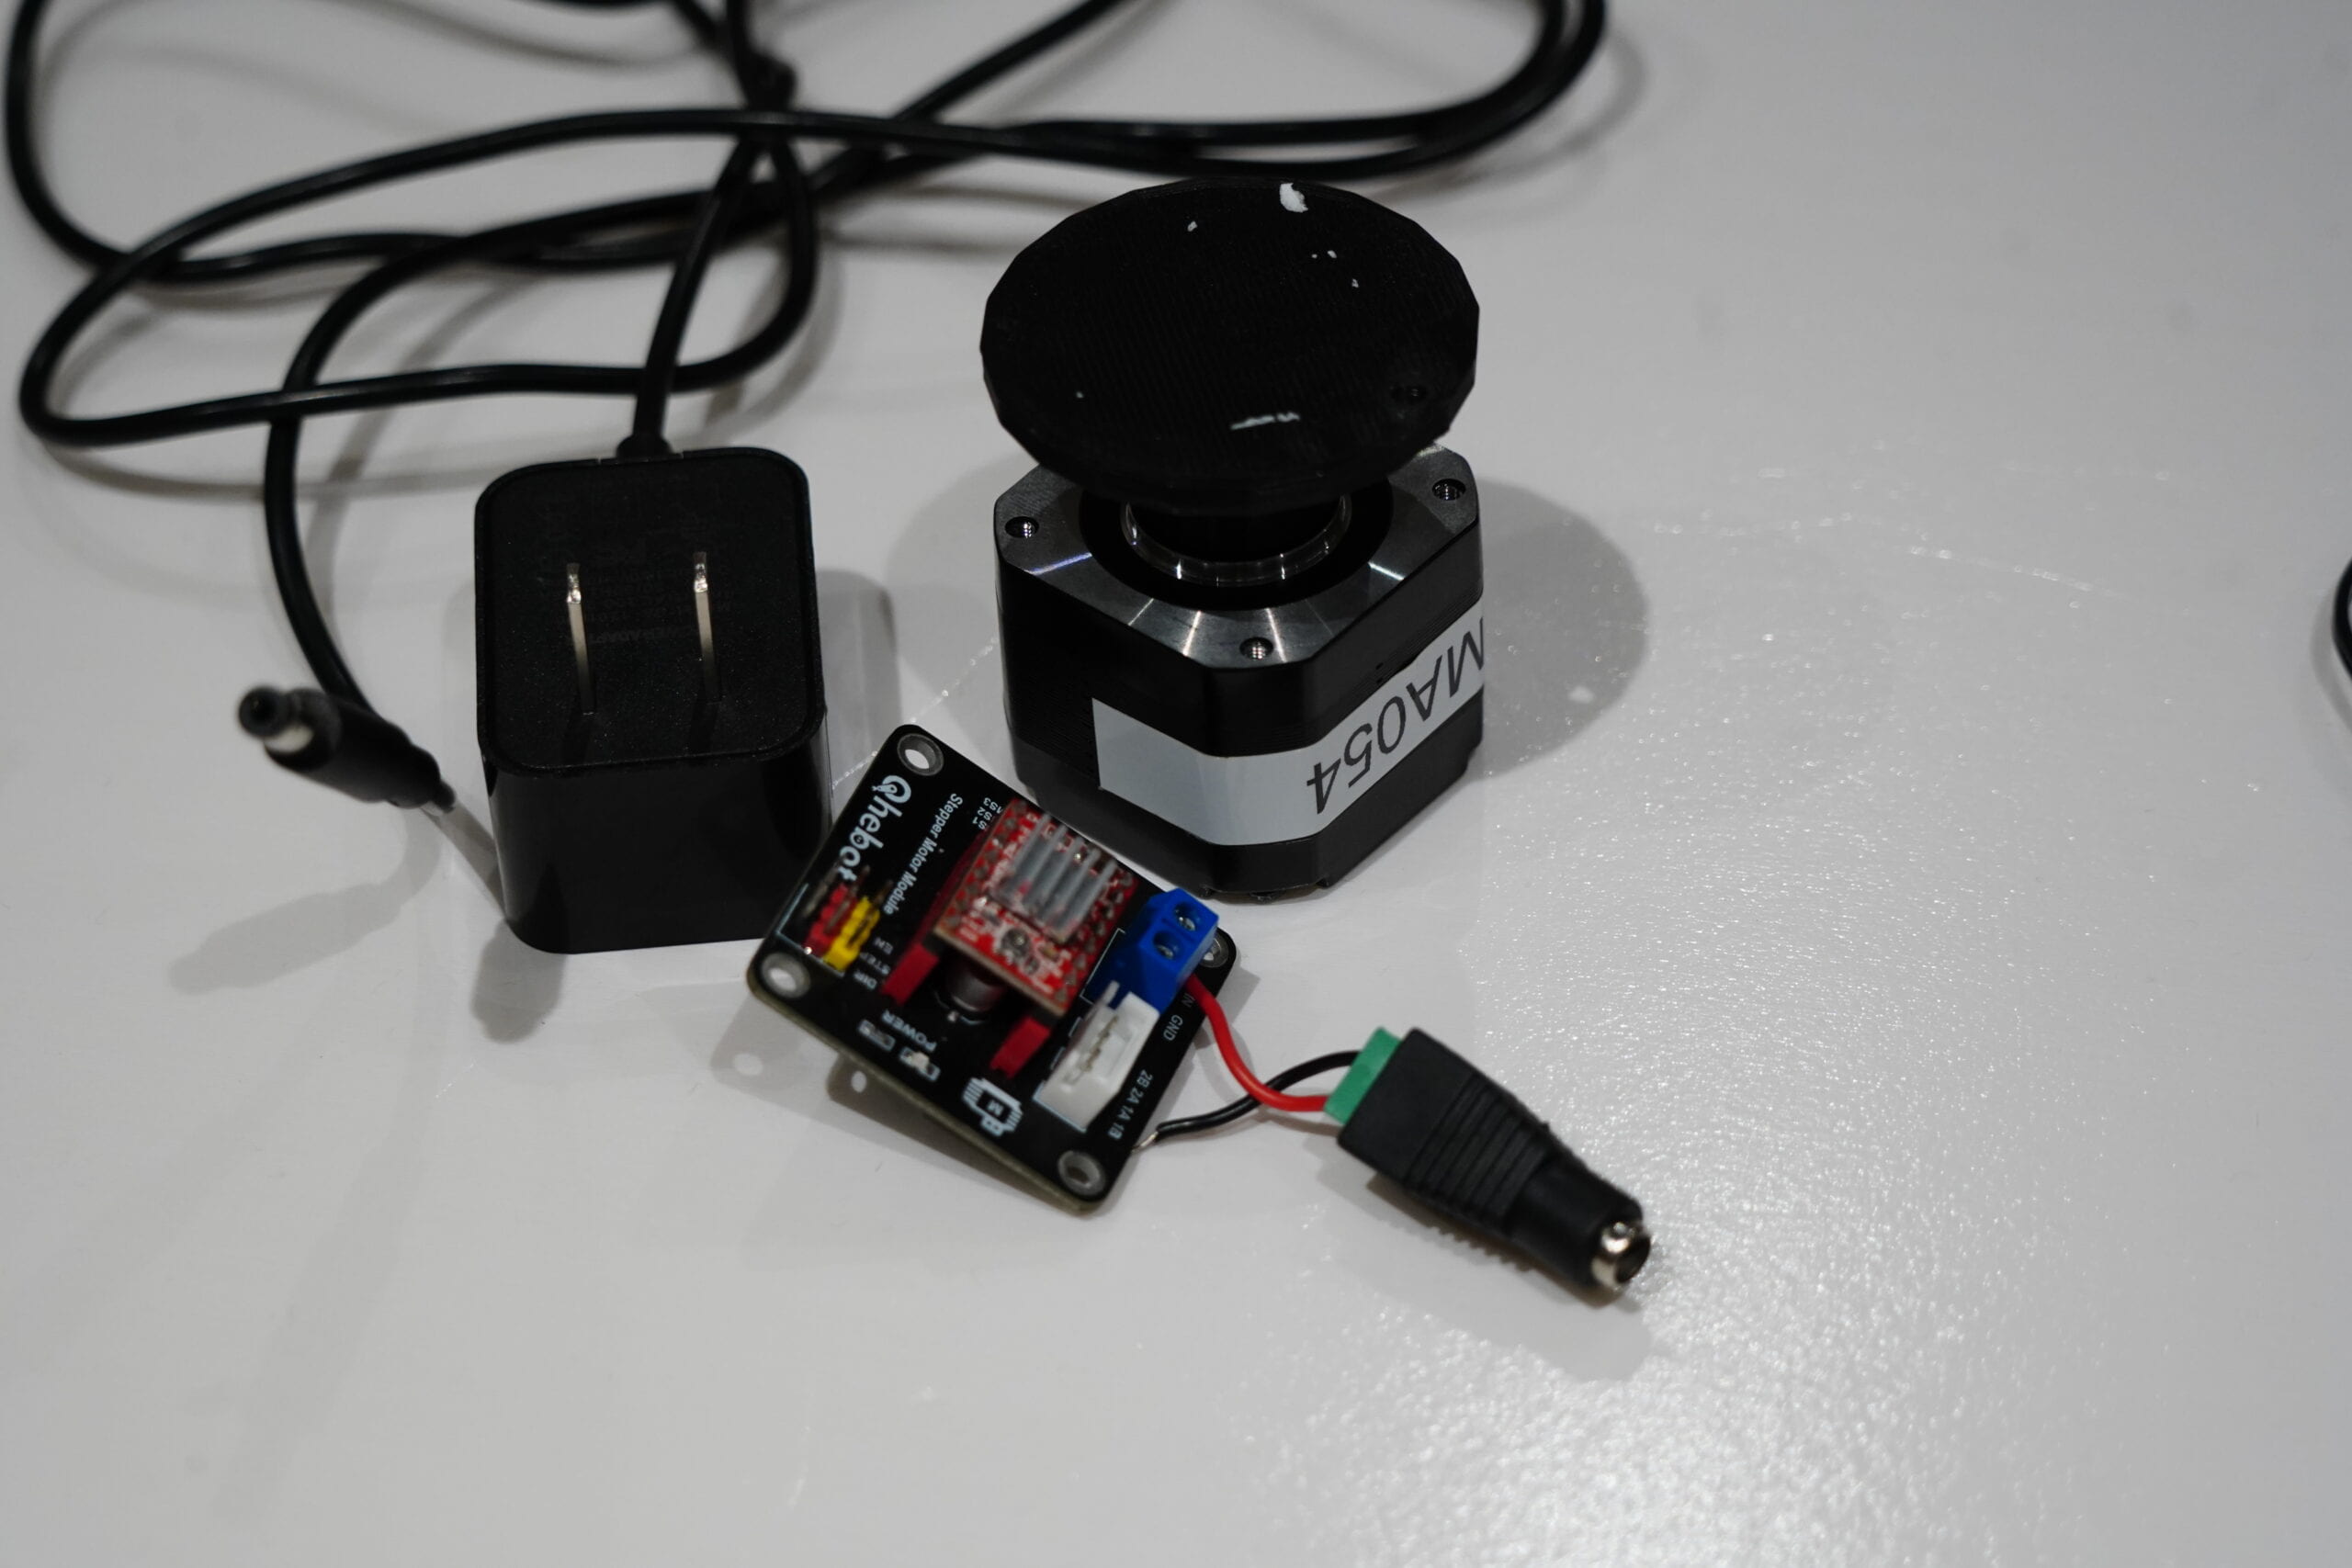
Stepper Motor (42STH33-0404AC)
12 Volt Power Supply
Stepper Motor Driver Module with Barrel Jack Connector pre-connected
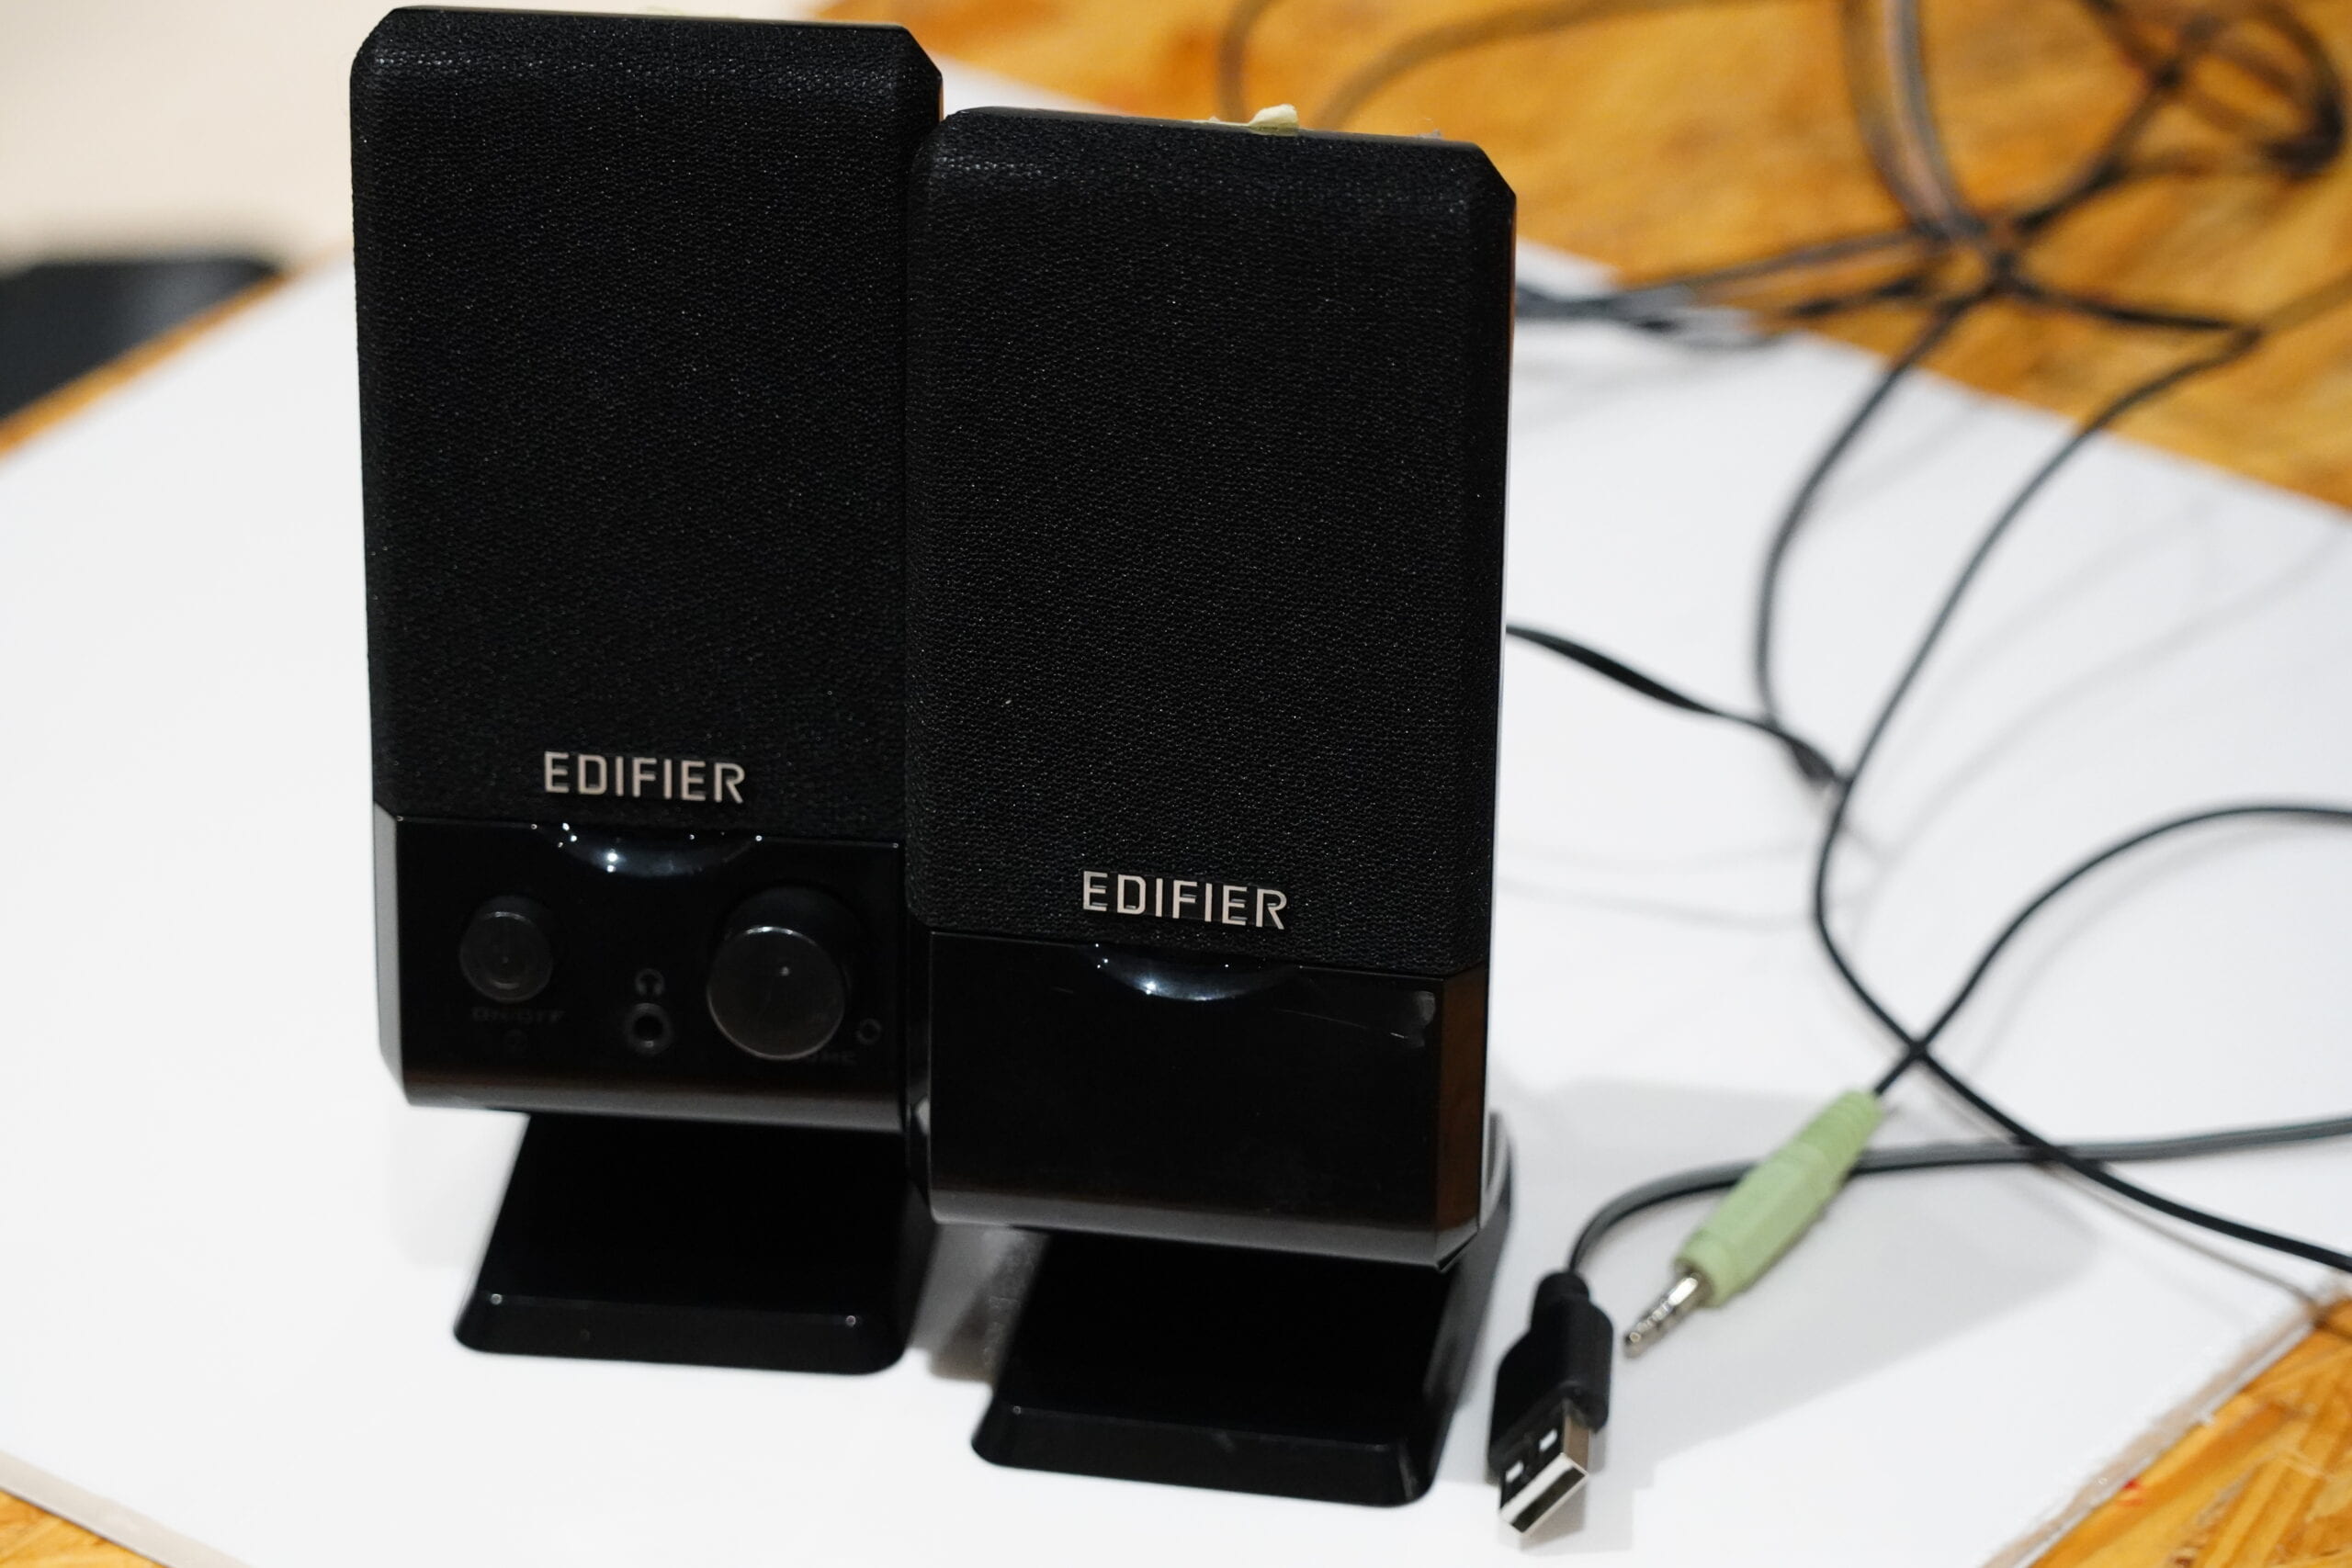
Speakers
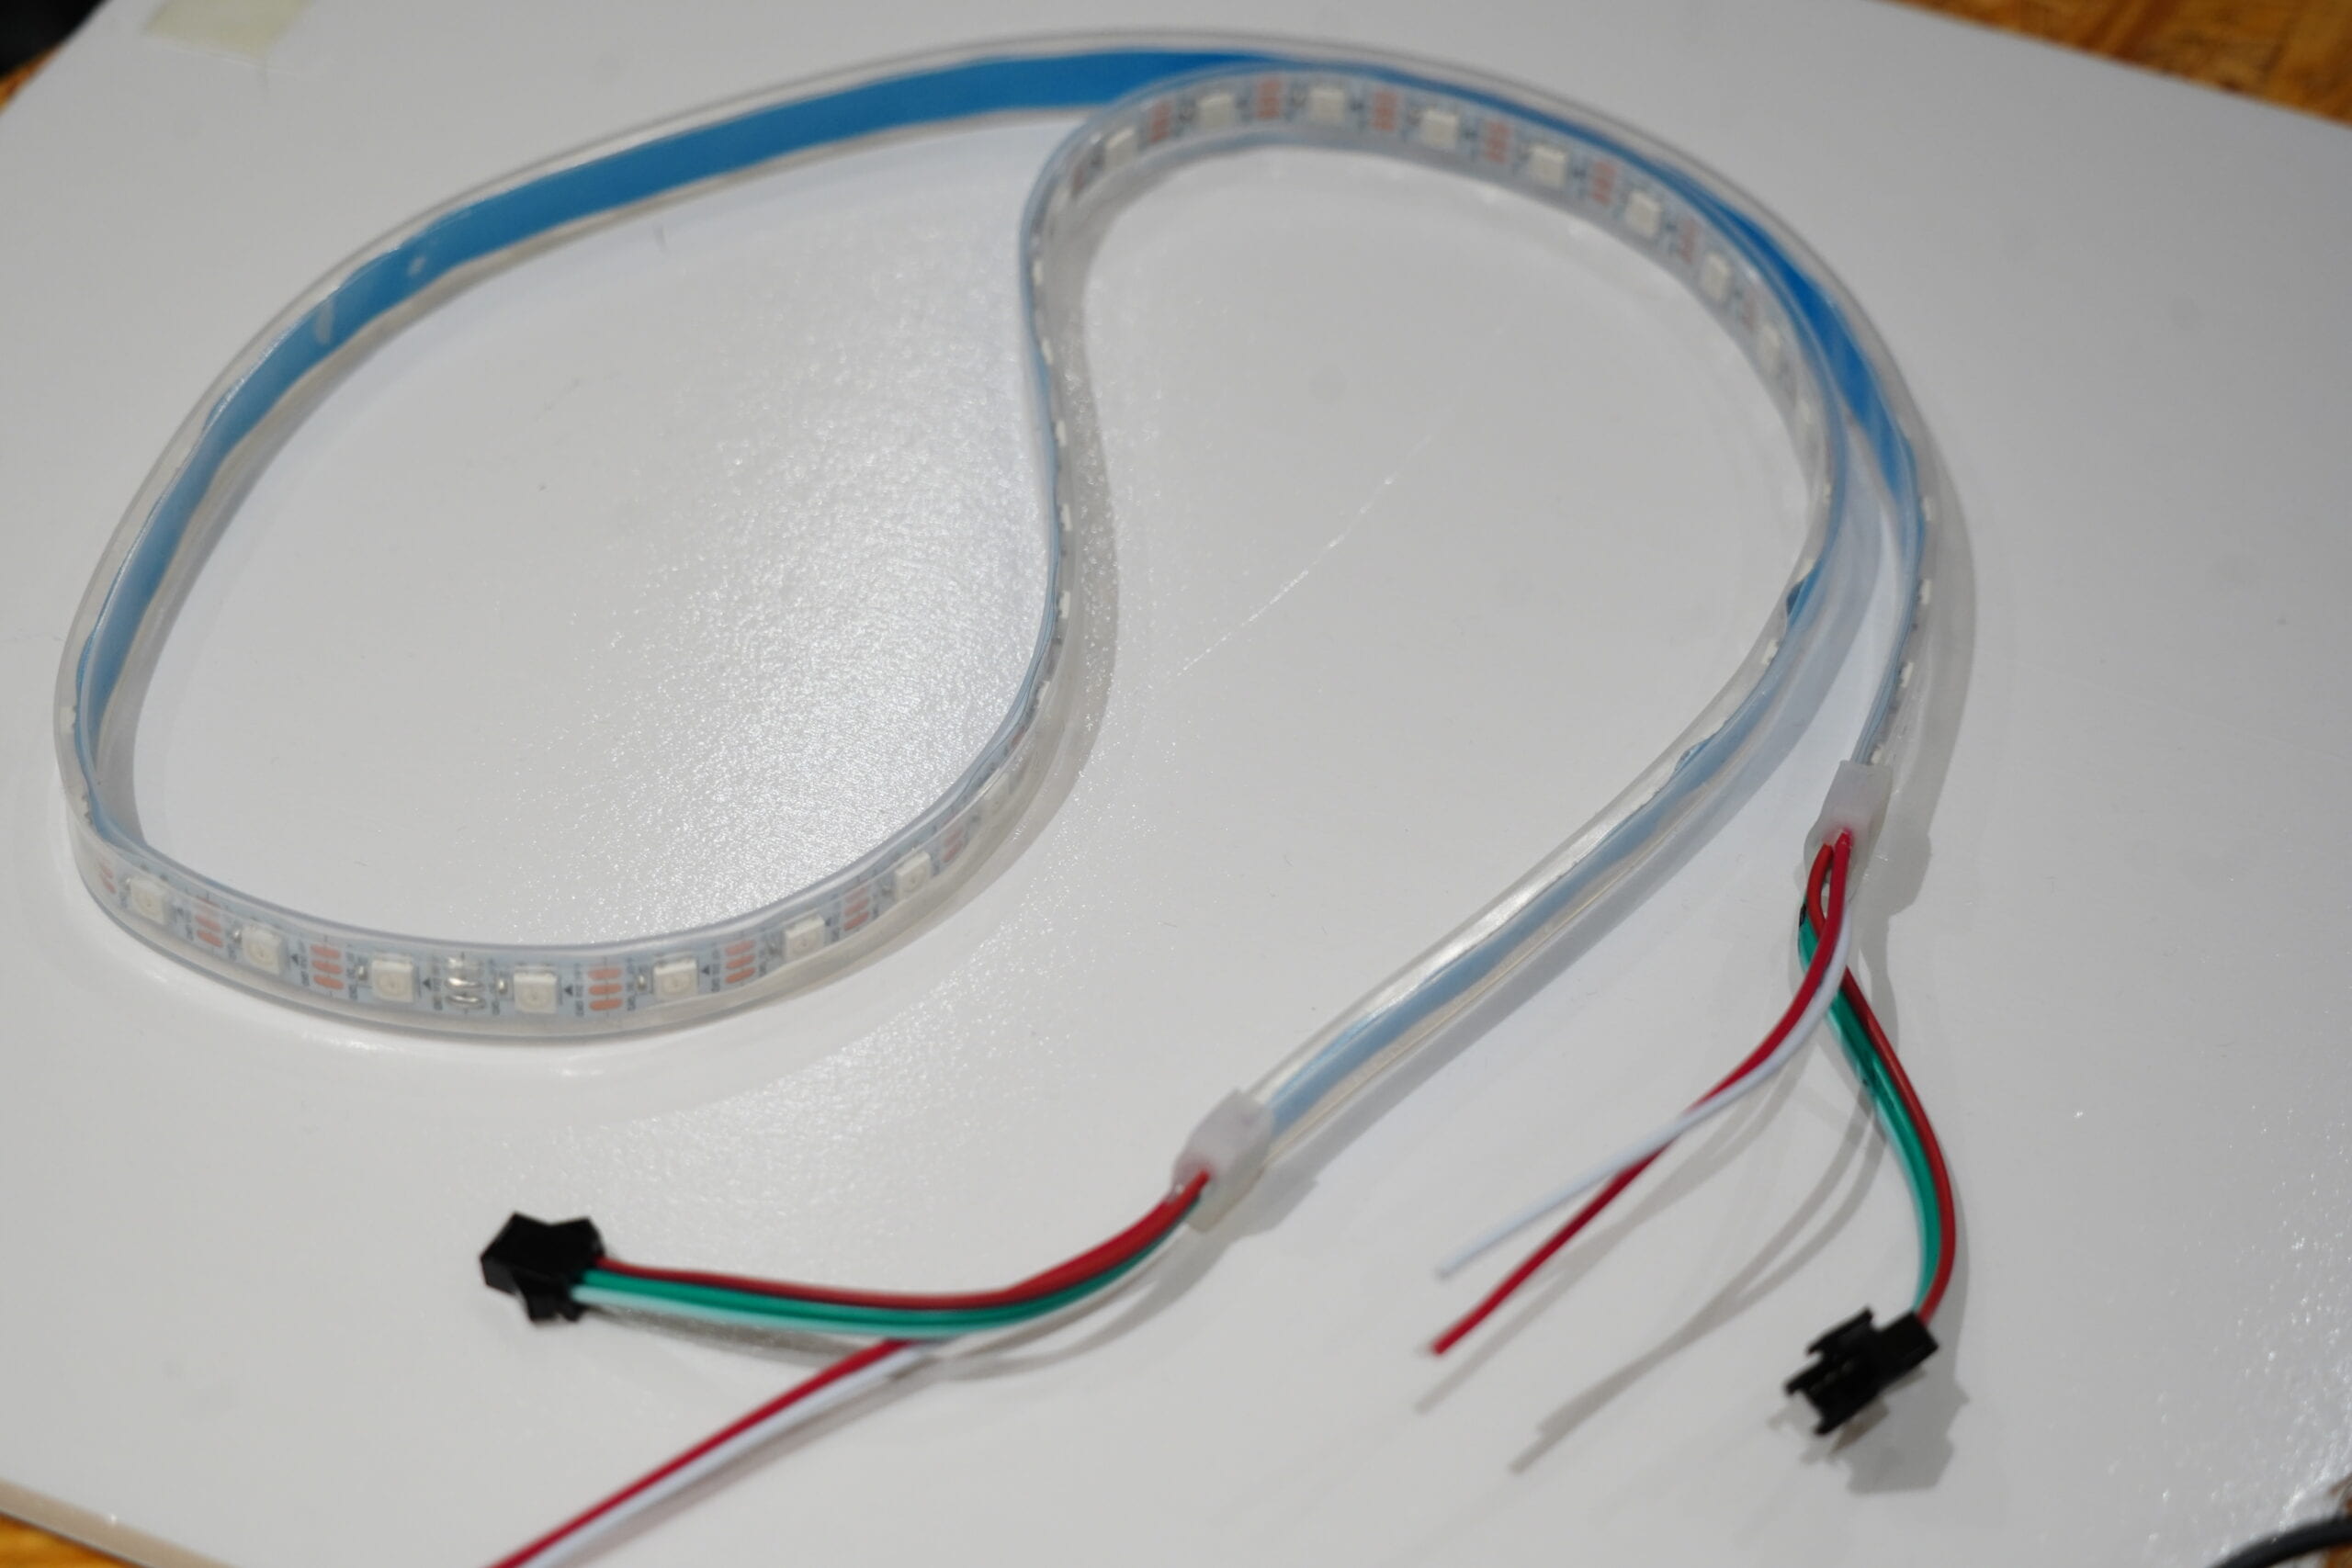
Neopixel Strip
“Waterwheel” Built with Stepper Motor
Wires (Including MM&FM)
Lines
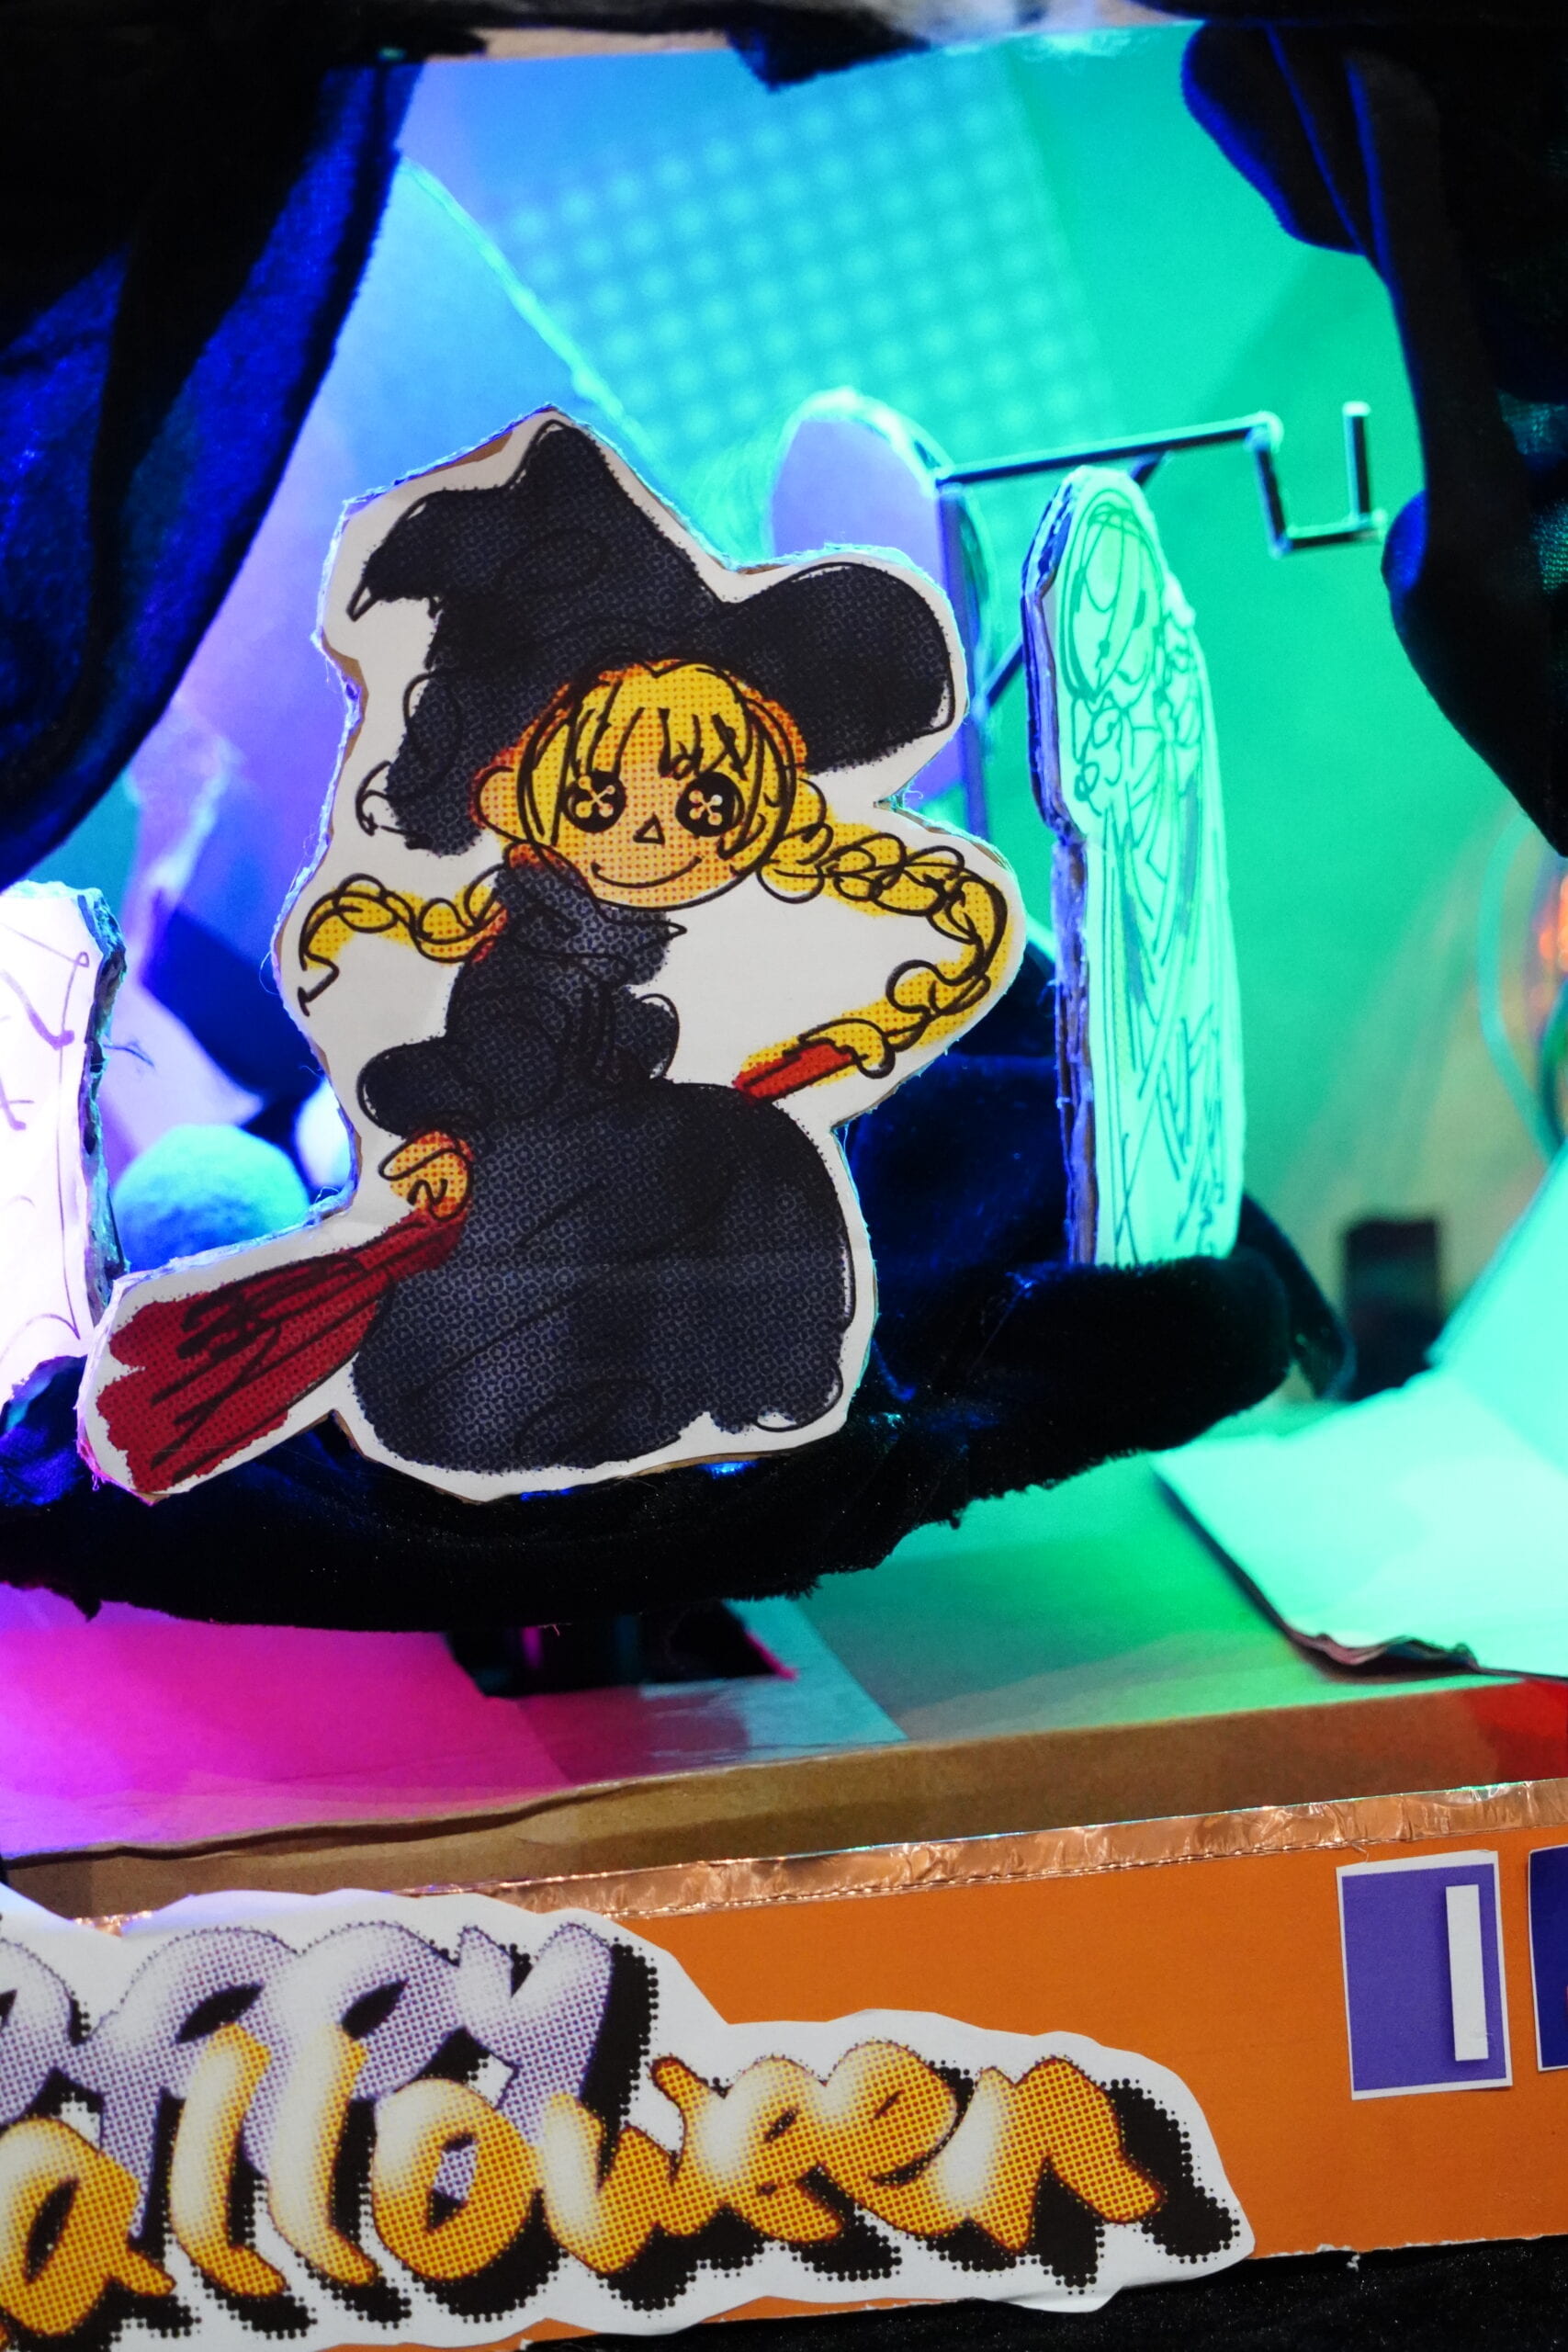
Witch: “Brewing up some magic tonight.”
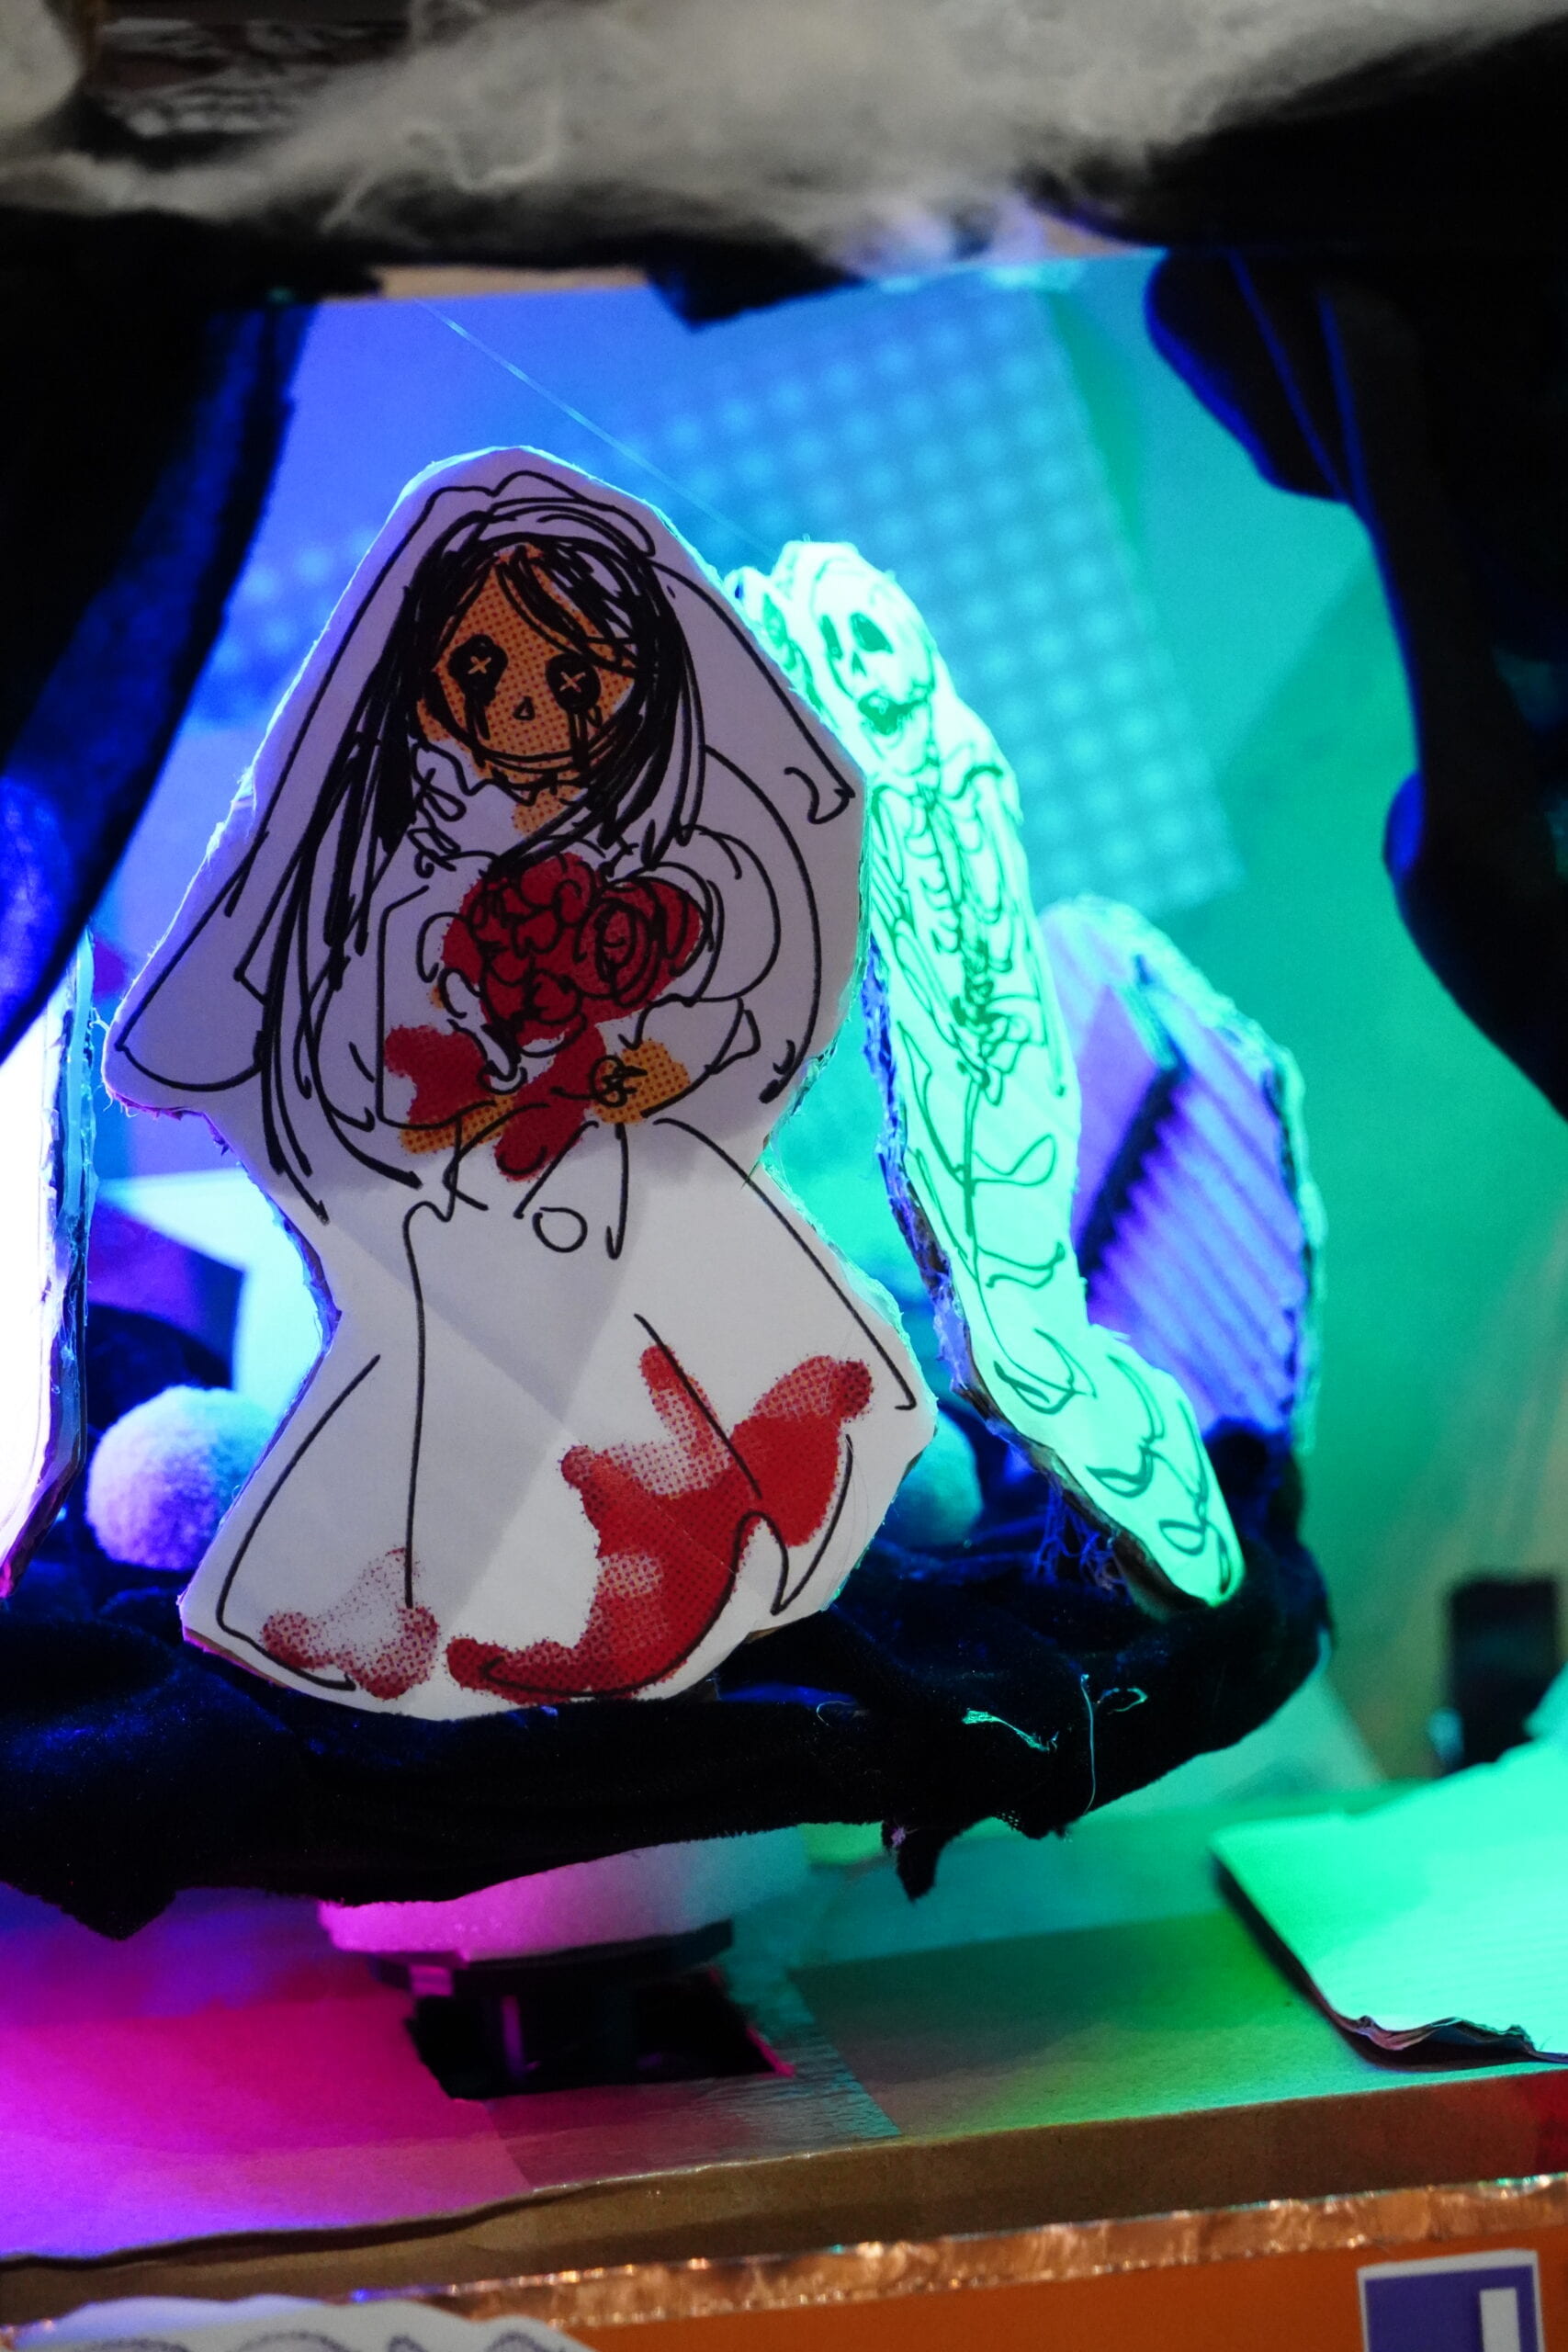
Corpse Bride: “Love, it is a flower, and you, its only seed.”
Mermaid Skeleton: “Beneath the waves, where bones now rest, a mermaid’s tale, of love confessed.”
Ghost: “I’m here for the haunting.”
Mummy: “Wrapped up in ancient secrets.”
Spider: “Weave a web of spooky fun!”
Line Recordings/Sound Effects
Witch:
Corpse Bride:
Mermaid Skeleton:
Ghost:
Mummy:
Spider:
Full Codes
1) For Main Arduino
```cpp
#include
#include
#include "DYPlayerArduino.h"
SoftwareSerial SoftSerial(10, 11);  //RX and TX from Arduino
DY::Player player(&SoftSerial);     //should connect them to io0 and io1
// Simple demonstration on using an input device to trigger changes on your
// NeoPixels. Wire a momentary push button to connect from ground to a
// digital IO pin. When the button is pressed it will change to a new pixel
// animation. Initial state has all pixels off -- press the button once to
// start the first animation. As written, the button does not interrupt an
// animation in-progress, it works only when idle.

#include
#ifdef __AVR__
#include <avr/power.h>  // Required for 16 MHz Adafruit Trinket
#endif
#include
int DIR_PIN1 = 2;
int STEP_PIN1 = 3;
int EN_PIN1 = 4;
//for characters wheel
AccelStepper stepper1(AccelStepper::DRIVER, STEP_PIN1, DIR_PIN1);
// Digital IO pin connected to the button. This will be driven with a
// pull-up resistor so the switch pulls the pin to ground momentarily.
// On a high -> low transition the button press logic will execute.

int DIR_PIN2 = 12;
int STEP_PIN2 = 9;
int EN_PIN2 = 13;
//for the candy waterwheel
AccelStepper stepper2(AccelStepper::DRIVER, STEP_PIN2, DIR_PIN2);

#define BUTTON_PIN 7
#define PIXEL_PIN 8  // Digital IO pin connected to the NeoPixels.
#define PIXEL_COUNT 60  // Number of NeoPixels
// Declare our NeoPixel strip object:
Adafruit_NeoPixel strip(PIXEL_COUNT, PIXEL_PIN, NEO_GRB + NEO_KHZ800);
// Argument 1 = Number of pixels in NeoPixel strip
// Argument 2 = Arduino pin number (most are valid)
// Argument 3 = Pixel type flags, add together as needed:
// NEO_KHZ800 800 KHz bitstream (most NeoPixel products w/WS2812 LEDs)
// NEO_KHZ400 400 KHz (classic 'v1' (not v2) FLORA pixels, WS2811 drivers)
// NEO_GRB Pixels are wired for GRB bitstream (most NeoPixel products)
// NEO_RGB Pixels are wired for RGB bitstream (v1 FLORA pixels, not v2)
// NEO_RGBW Pixels are wired for RGBW bitstream (NeoPixel RGBW products)


boolean oldState = HIGH;
int mode = 0;  // Currently-active animation mode, 0-9

void setup() {
  Serial.begin(9600);
  player.begin();
  player.setPlayingDevice(DY::Device::Sd);  //SD card, USB storage volume is
  player.setVolume(30);                     // 30 is 100% of Volume; with 15 you get 50% Volume
  //player.play();//play the random m

  pinMode(EN_PIN1, OUTPUT);
  digitalWrite(EN_PIN1, LOW);
  pinMode(EN_PIN2, OUTPUT);
  //digitalWrite(EN_PIN1, LOW);
  // The run() function will accelerate up to
  // the speed set here
  stepper1.setMaxSpeed(1000);
  // Set the desired constant speed for use with
  // runSpeed()
  stepper1.setSpeed(3);
  stepper1.setAcceleration(100);
  stepper2.setMaxSpeed(1000);
  stepper1.setSpeed(25);
  stepper2.setAcceleration(100);

  pinMode(BUTTON_PIN, INPUT_PULLUP);
  strip.begin();  // Initialize NeoPixel strip object (REQUIRED)
  strip.show();   // Initialize all pixels to 'off'
}

void loop() {
  // Get current button state.
  boolean newState = digitalRead(BUTTON_PIN);
  // Check if state changed from high to low (button press).
  if ((newState == LOW) && (oldState == HIGH)) {
    // Short delay to debounce button.
    delay(20);
    // Check if button is still low after debounce.
    newState = digitalRead(BUTTON_PIN);
    if (newState == LOW) {
      mode = random(1, 6);
      int angle = map(mode, 1, 6, -200, 0);
      Serial.println(mode);  // Yes, still low
      switch (mode) {        // Start the new animation...
        case 0:
          colorWipe(strip.Color(225, 225, 225), 50);  // white/off
          break;
        case 1:
          stepper1.runToNewPosition(0);
          theaterChase(strip.Color(138, 43, 226), 50);  // violet-corpse
          player.playSpecified(1);                      //play the random mp3
          stepper1.runToNewPosition(angle);
          // int position = 0;
          stepper2.runToNewPosition(40);
          break;

        case 2:
          stepper1.runToNewPosition(0);
          theaterChase(strip.Color(0, 0, 127), 50);  // Blue-mermaid
          player.playSpecified(2);                   //play the random mp3
          stepper1.runToNewPosition(angle);
          stepper2.runToNewPosition(80);
          break;

        case 3:
          stepper1.runToNewPosition(0);
          rainbow(10);  // witch-rainbow
          player.playSpecified(3);
          stepper1.runToNewPosition(angle);
          stepper2.runToNewPosition(120);
          break;

        case 4:
          stepper1.runToNewPosition(0);
          theaterChase(strip.Color(255, 153, 18), 50);  // mummy-yellow
          player.playSpecified(4);
          stepper1.runToNewPosition(angle);
          stepper2.runToNewPosition(160);
          break;

        case 5:
          stepper1.runToNewPosition(0);
          theaterChase(strip.Color(255, 0, 0), 50);  // red-ghost
          player.playSpecified(5);
          stepper1.runToNewPosition(angle);
          stepper2.runToNewPosition(200);
          break;
      }

      // stepper2.runToNewPosition(50);
      //   delay(1000);
    }
  }

  // Set the last-read button state to the old state.
  oldState = newState;
}

// Fill strip pixels one after another with a color. Strip is NOT cleared
// first; anything there will be covered pixel by pixel. Pass in color
// (as a single 'packed' 32-bit value, which you can get by calling
// strip.Color(red, green, blue) as shown in the loop() function above),
// and a delay time (in milliseconds) between pixels.
void colorWipe(uint32_t color, int wait) {
  for (int i = 0; i < strip.numPixels(); i++) {  // For each pixel in strip...
    strip.setPixelColor(i, color);               // Set pixel's color (in RAM)
    strip.show();                                // Update strip to match
    delay(wait);                                 // Pause for a moment
  }
}

// Theater-marquee-style chasing lights. Pass in a color (32-bit value,
// a la strip.Color(r,g,b) as mentioned above), and a delay time (in ms)
// between frames.
void theaterChase(uint32_t color, int wait) {
  for (int a = 0; a < 10; a++) {   // Repeat 10 times...
    for (int b = 0; b < 3; b++) {  // 'b' counts from 0 to 2...
      strip.clear();               // Set all pixels in RAM to 0 (off)
      // 'c' counts up from 'b' to end of strip in steps of 3...
      for (int c = b; c < strip.numPixels(); c += 3) {
        strip.setPixelColor(c, color);  // Set pixel 'c' to value 'color'
      }
      strip.show();  // Update strip with new contents
      delay(wait);   // Pause for a moment
    }
  }
}

// Rainbow cycle along whole strip. Pass delay time (in ms) between frames.
void rainbow(int wait) {
  // Hue of first pixel runs 3 complete loops through the color wheel.
  // Color wheel has a range of 65536 but it's OK if we roll over, so
  // just count from 0 to 3*65536. Adding 256 to firstPixelHue each time
  // means we'll make 3*65536/256 = 768 passes through this outer loop:
  for (long firstPixelHue = 0; firstPixelHue < 3 * 65536; firstPixelHue += 256) {
    for (int i = 0; i < strip.numPixels(); i++) {  // For each pixel in strip...
      // Offset pixel hue by an amount to make one full revolution of the
      // color wheel (range of 65536) along the length of the strip
      // (strip.numPixels() steps):
      int pixelHue = firstPixelHue + (i * 65536L / strip.numPixels());
      // strip.ColorHSV() can take 1 or 3 arguments: a hue (0 to 65535) or
      // optionally add saturation and value (brightness) (each 0 to 255).
      // Here we're using just the single-argument hue variant. The result
      // is passed through strip.gamma32() to provide 'truer' colors
      // before assigning to each pixel:
      strip.setPixelColor(i, strip.gamma32(strip.ColorHSV(pixelHue)));
    }
    strip.show();  // Update strip with new contents
    delay(wait);   // Pause for a moment
  }
}

// Rainbow-enhanced theater marquee. Pass delay time (in ms) between frames.
void theaterChaseRainbow(int wait) {
  int firstPixelHue = 0;           // First pixel starts at red (hue 0)
  for (int a = 0; a < 30; a++) {   // Repeat 30 times...
    for (int b = 0; b < 3; b++) {  // 'b' counts from 0 to 2...
      strip.clear();               // Set all pixels in RAM to 0 (off)
      // 'c' counts up from 'b' to end of strip in increments of 3...
      for (int c = b; c < strip.numPixels(); c += 3) { // hue of pixel 'c' is offset by an amount to make one full // revolution of the color wheel (range 65536) along the length // of the strip (strip.numPixels() steps): int hue = firstPixelHue + c * 65536L / strip.numPixels(); uint32_t color = strip.gamma32(strip.ColorHSV(hue)); // hue -> RGB
        strip.setPixelColor(c, color);                        // Set pixel 'c' to value 'color'
      }
      strip.show();                 // Update strip with new contents
      delay(wait);                  // Pause for a moment
      firstPixelHue += 65536 / 90;  // One cycle of color wheel over 90 frames
    }
  }
}
```
2) For Servo Support
#include
Servo servo0;
#define SERVO_PIN_0 5
const int optionsCount = 6;
int SENSOR_PIN = 13;
int sensorVal;
int sensorprevVal;

void setup() {
 servo0.attach(SERVO_PIN_0);
 Serial.begin(9600);
 pinMode(SENSOR_PIN, INPUT);
}

void loop() {
sensorVal = digitalRead(SENSOR_PIN);
Serial.println(sensorVal);
delay(100);  // delay in between reads for stability

if (sensorVal == HIGH && sensorprevVal == LOW) {
int optionIndex = random(0, optionsCount);
Serial.print("option:");
Serial.println(optionIndex);
servo0.write(optionIndex * 60);
delay(200);
}
}
Credits to
Andy Garcia
Eric Parren
Gottfried Haider
Kevin Xu
Shengli Wen
Rachel Li
Freddie Yang
Yanran Deng
Angela
Grace Zhang
Xiangyi Zhong
Amelia Shao
Tina Liu
Greatest gratitude also to all the friends and testers who helped us or gave us comments during the whole process…
Leave a Reply