Recitation 1: Electronics & Soldering
Task 1: Build the Circuits
Step 1: According to the diagram, my partner Leon and I built a simple circuit on which a button switch controls a buzzer. However, the button failed to prevent the buzzer from keeping buzzing.
After consulting with the instructor, we figured out that specific pairs of “legs” on a button are always connected, which explains why the buzzer was not controlled by the button switch.
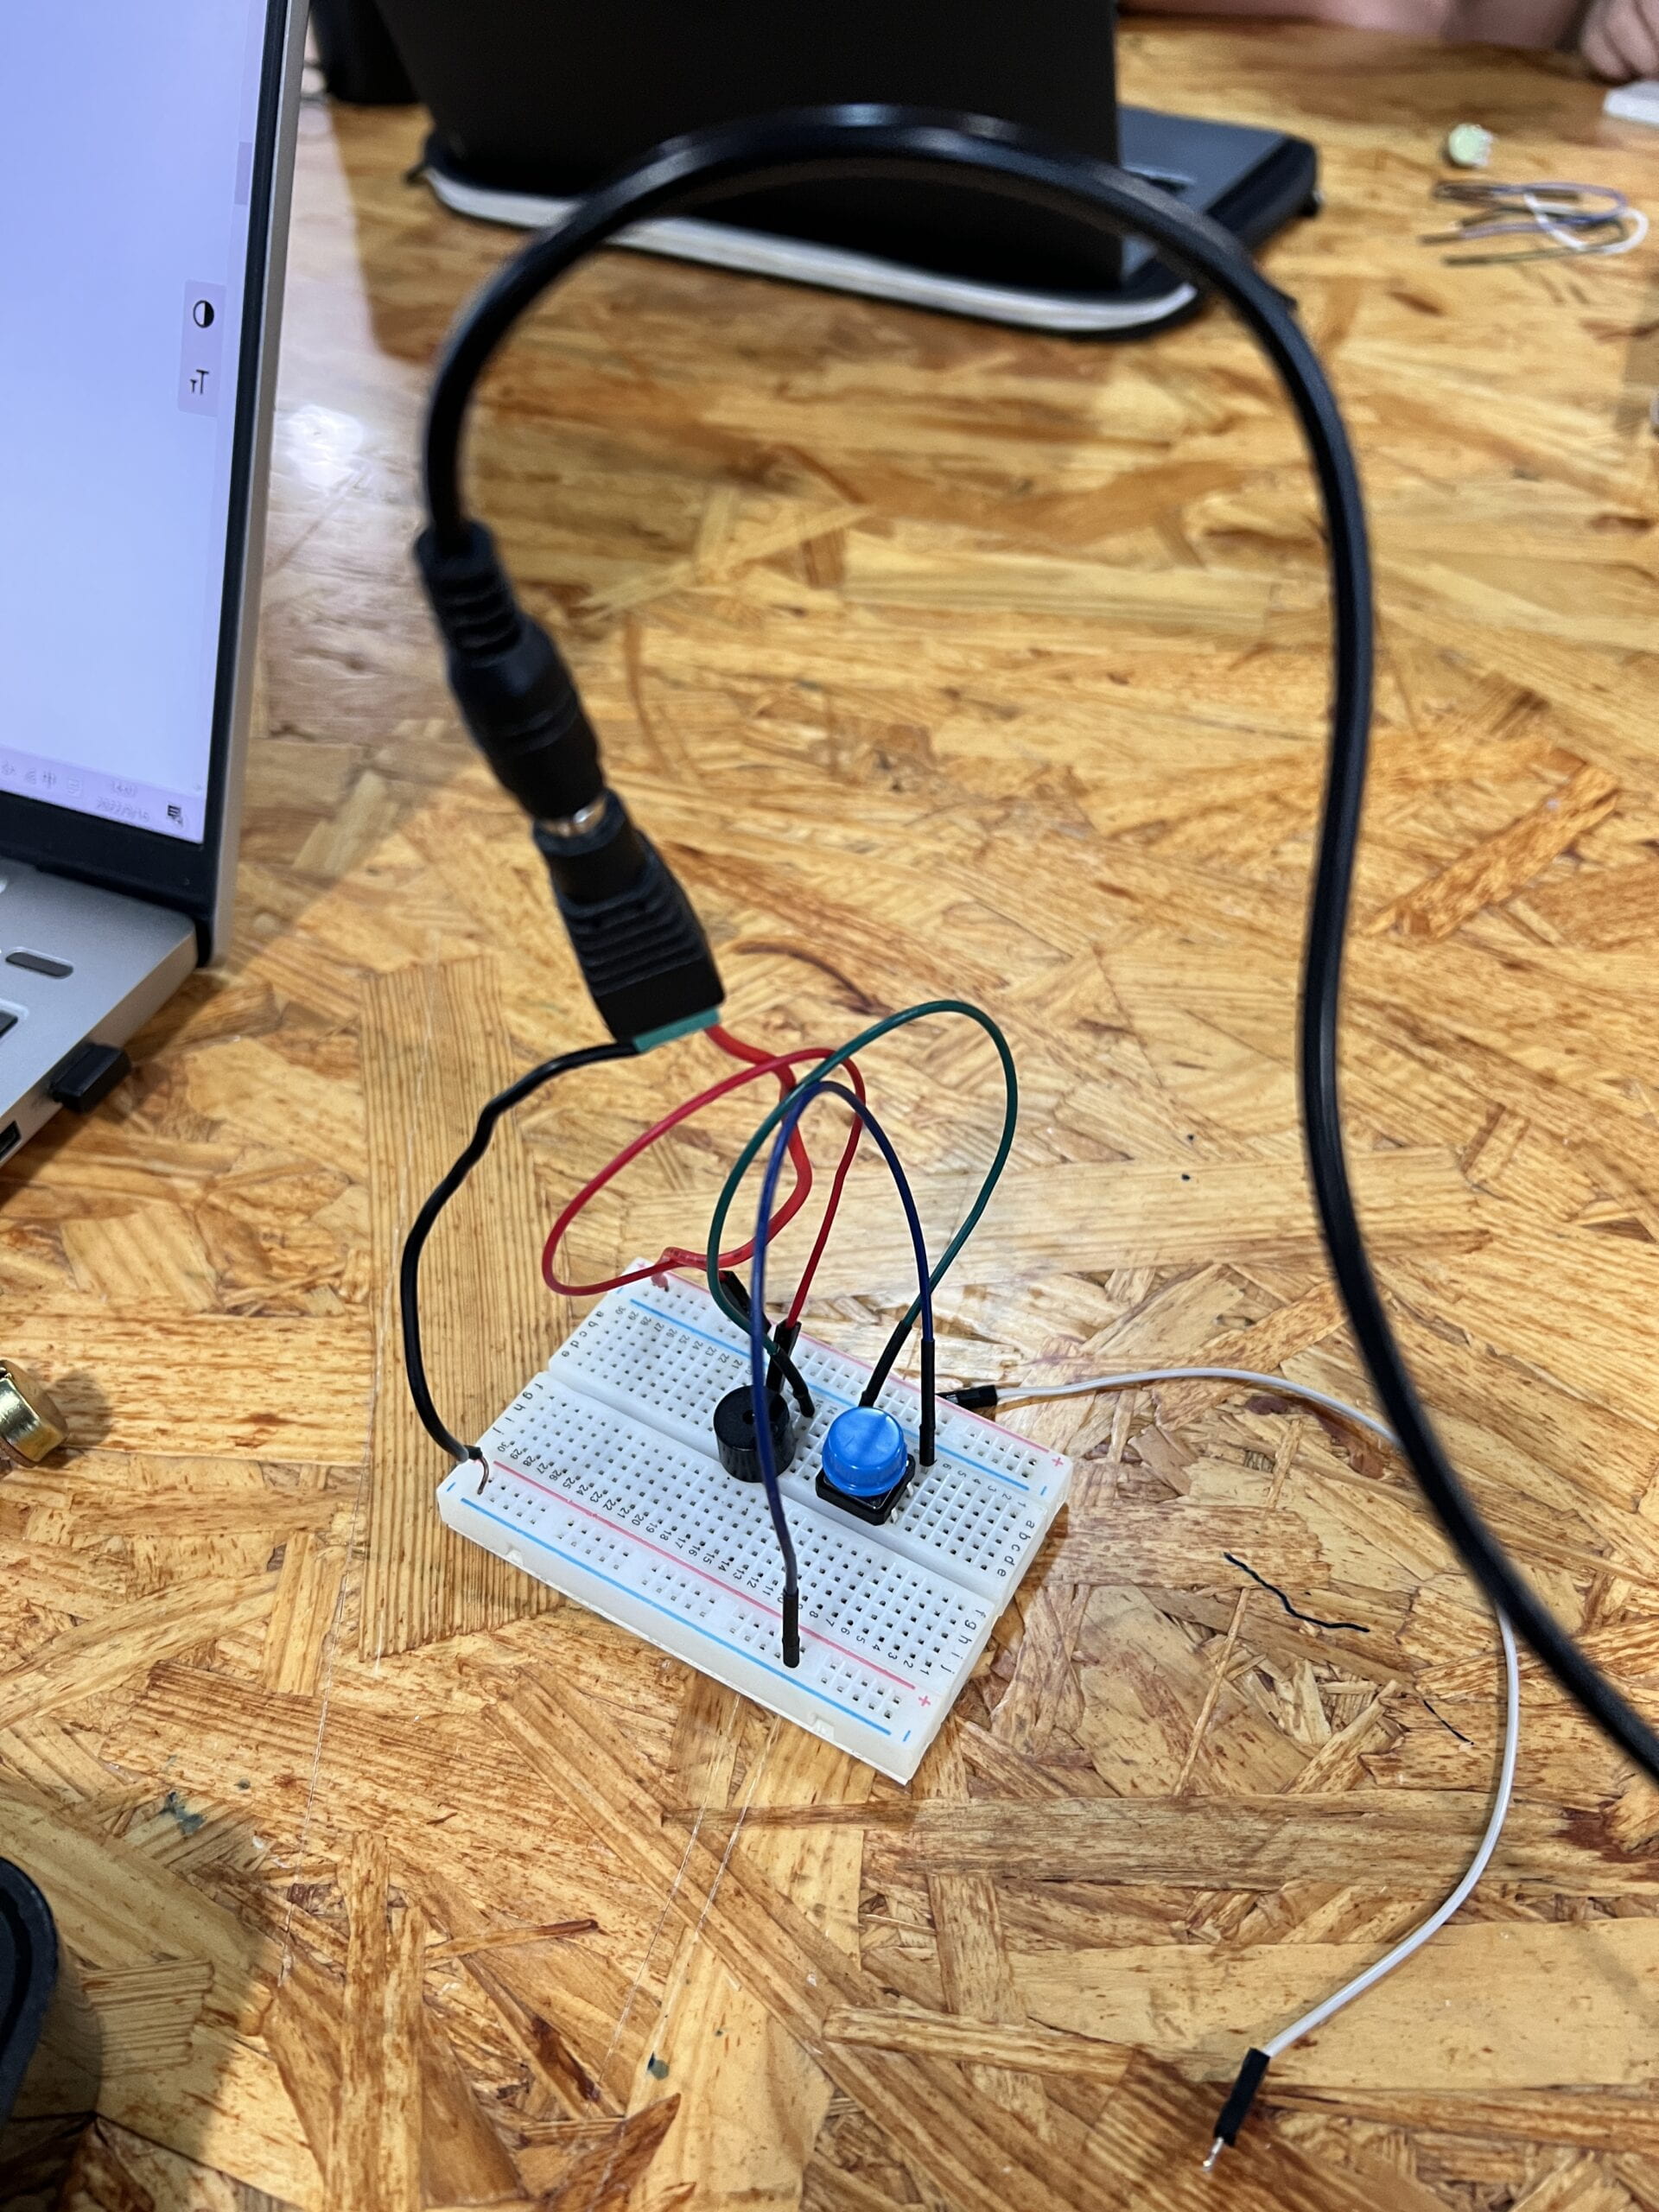
After reconstructing our circuit and changing the button to another direction, the button switch was able to control the buzzer.
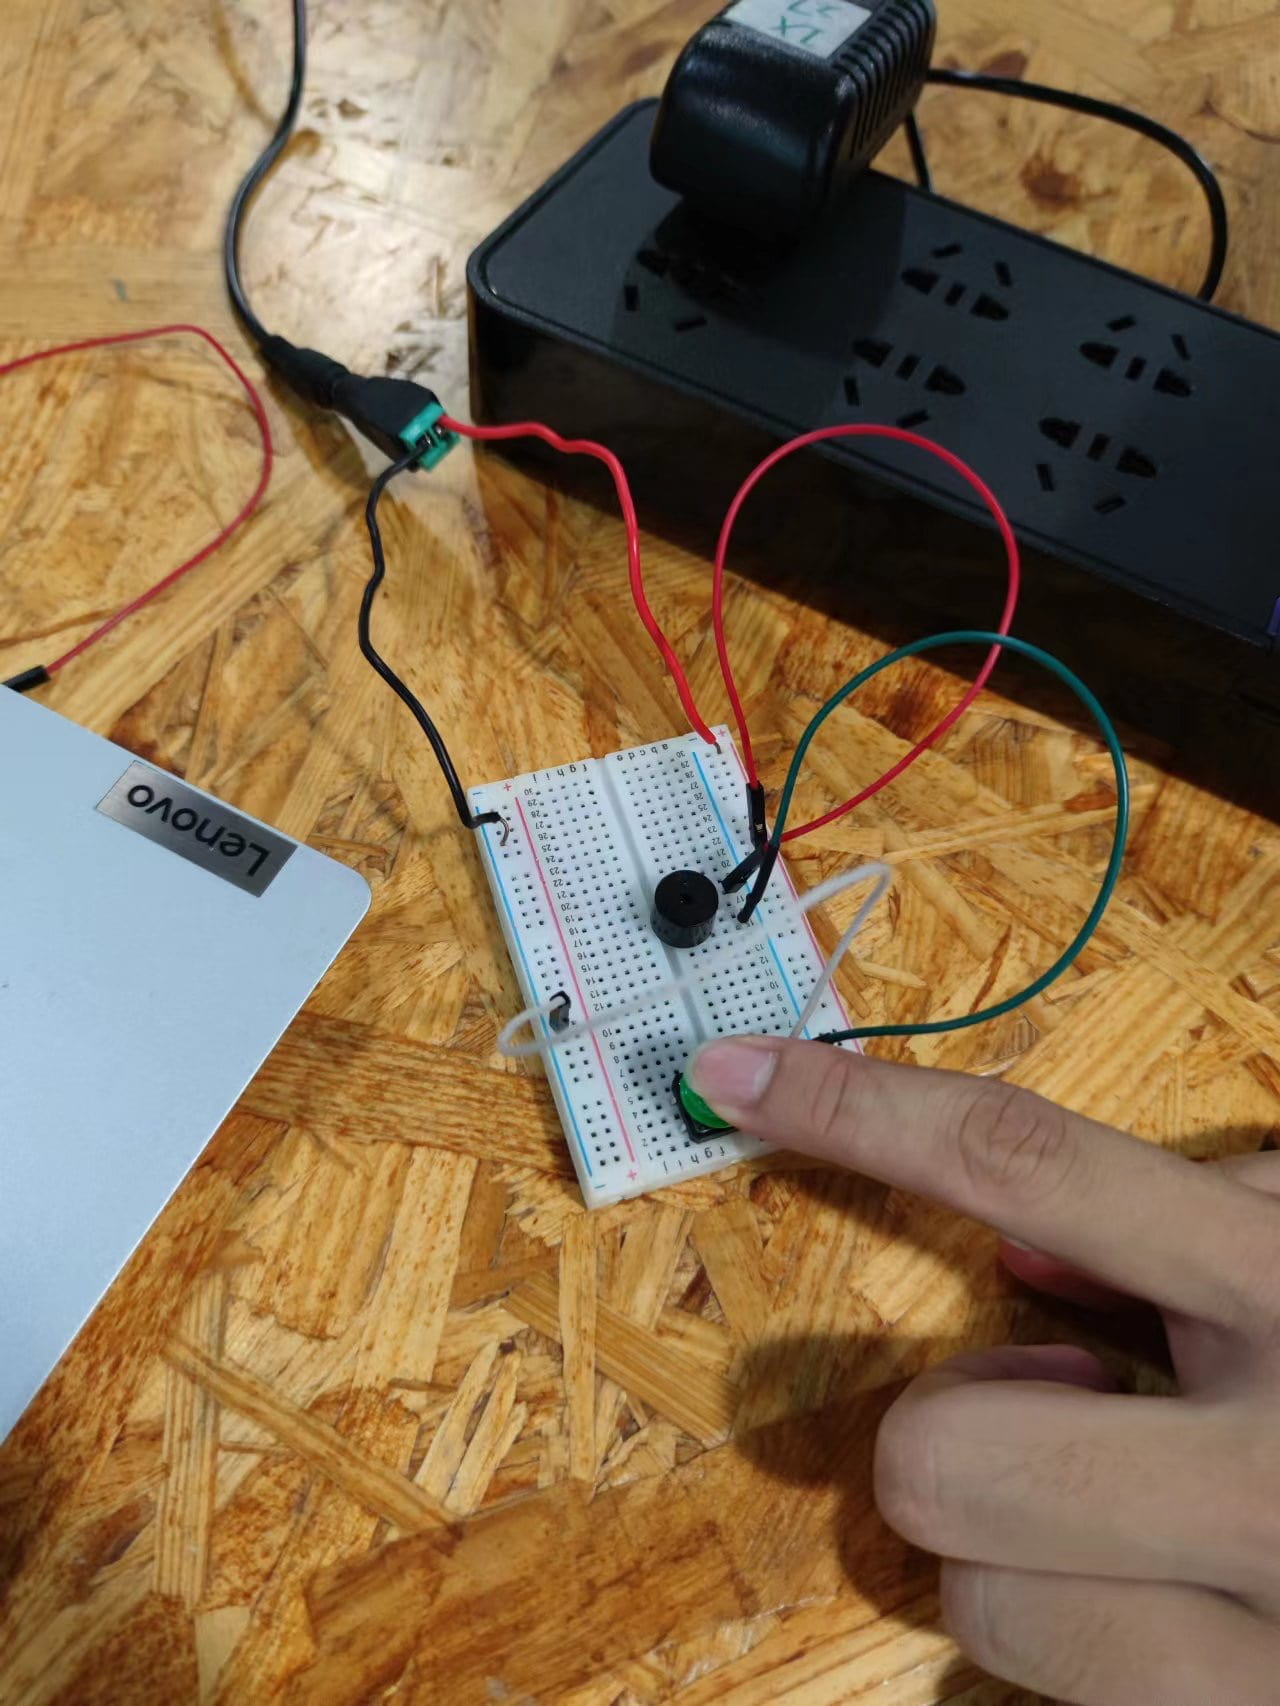
Despite the weird noise the buzzer made compared with other groups, we solved task 1.
Step 2: In step 2, the circuit became more complicated with one resistor and one LED connected on a different circuit route. And the button switch needed to control the electricity powering both LED and buzzer. However, again, the trial was a failure. The buzzer worked fine, but the LED could not be lit.
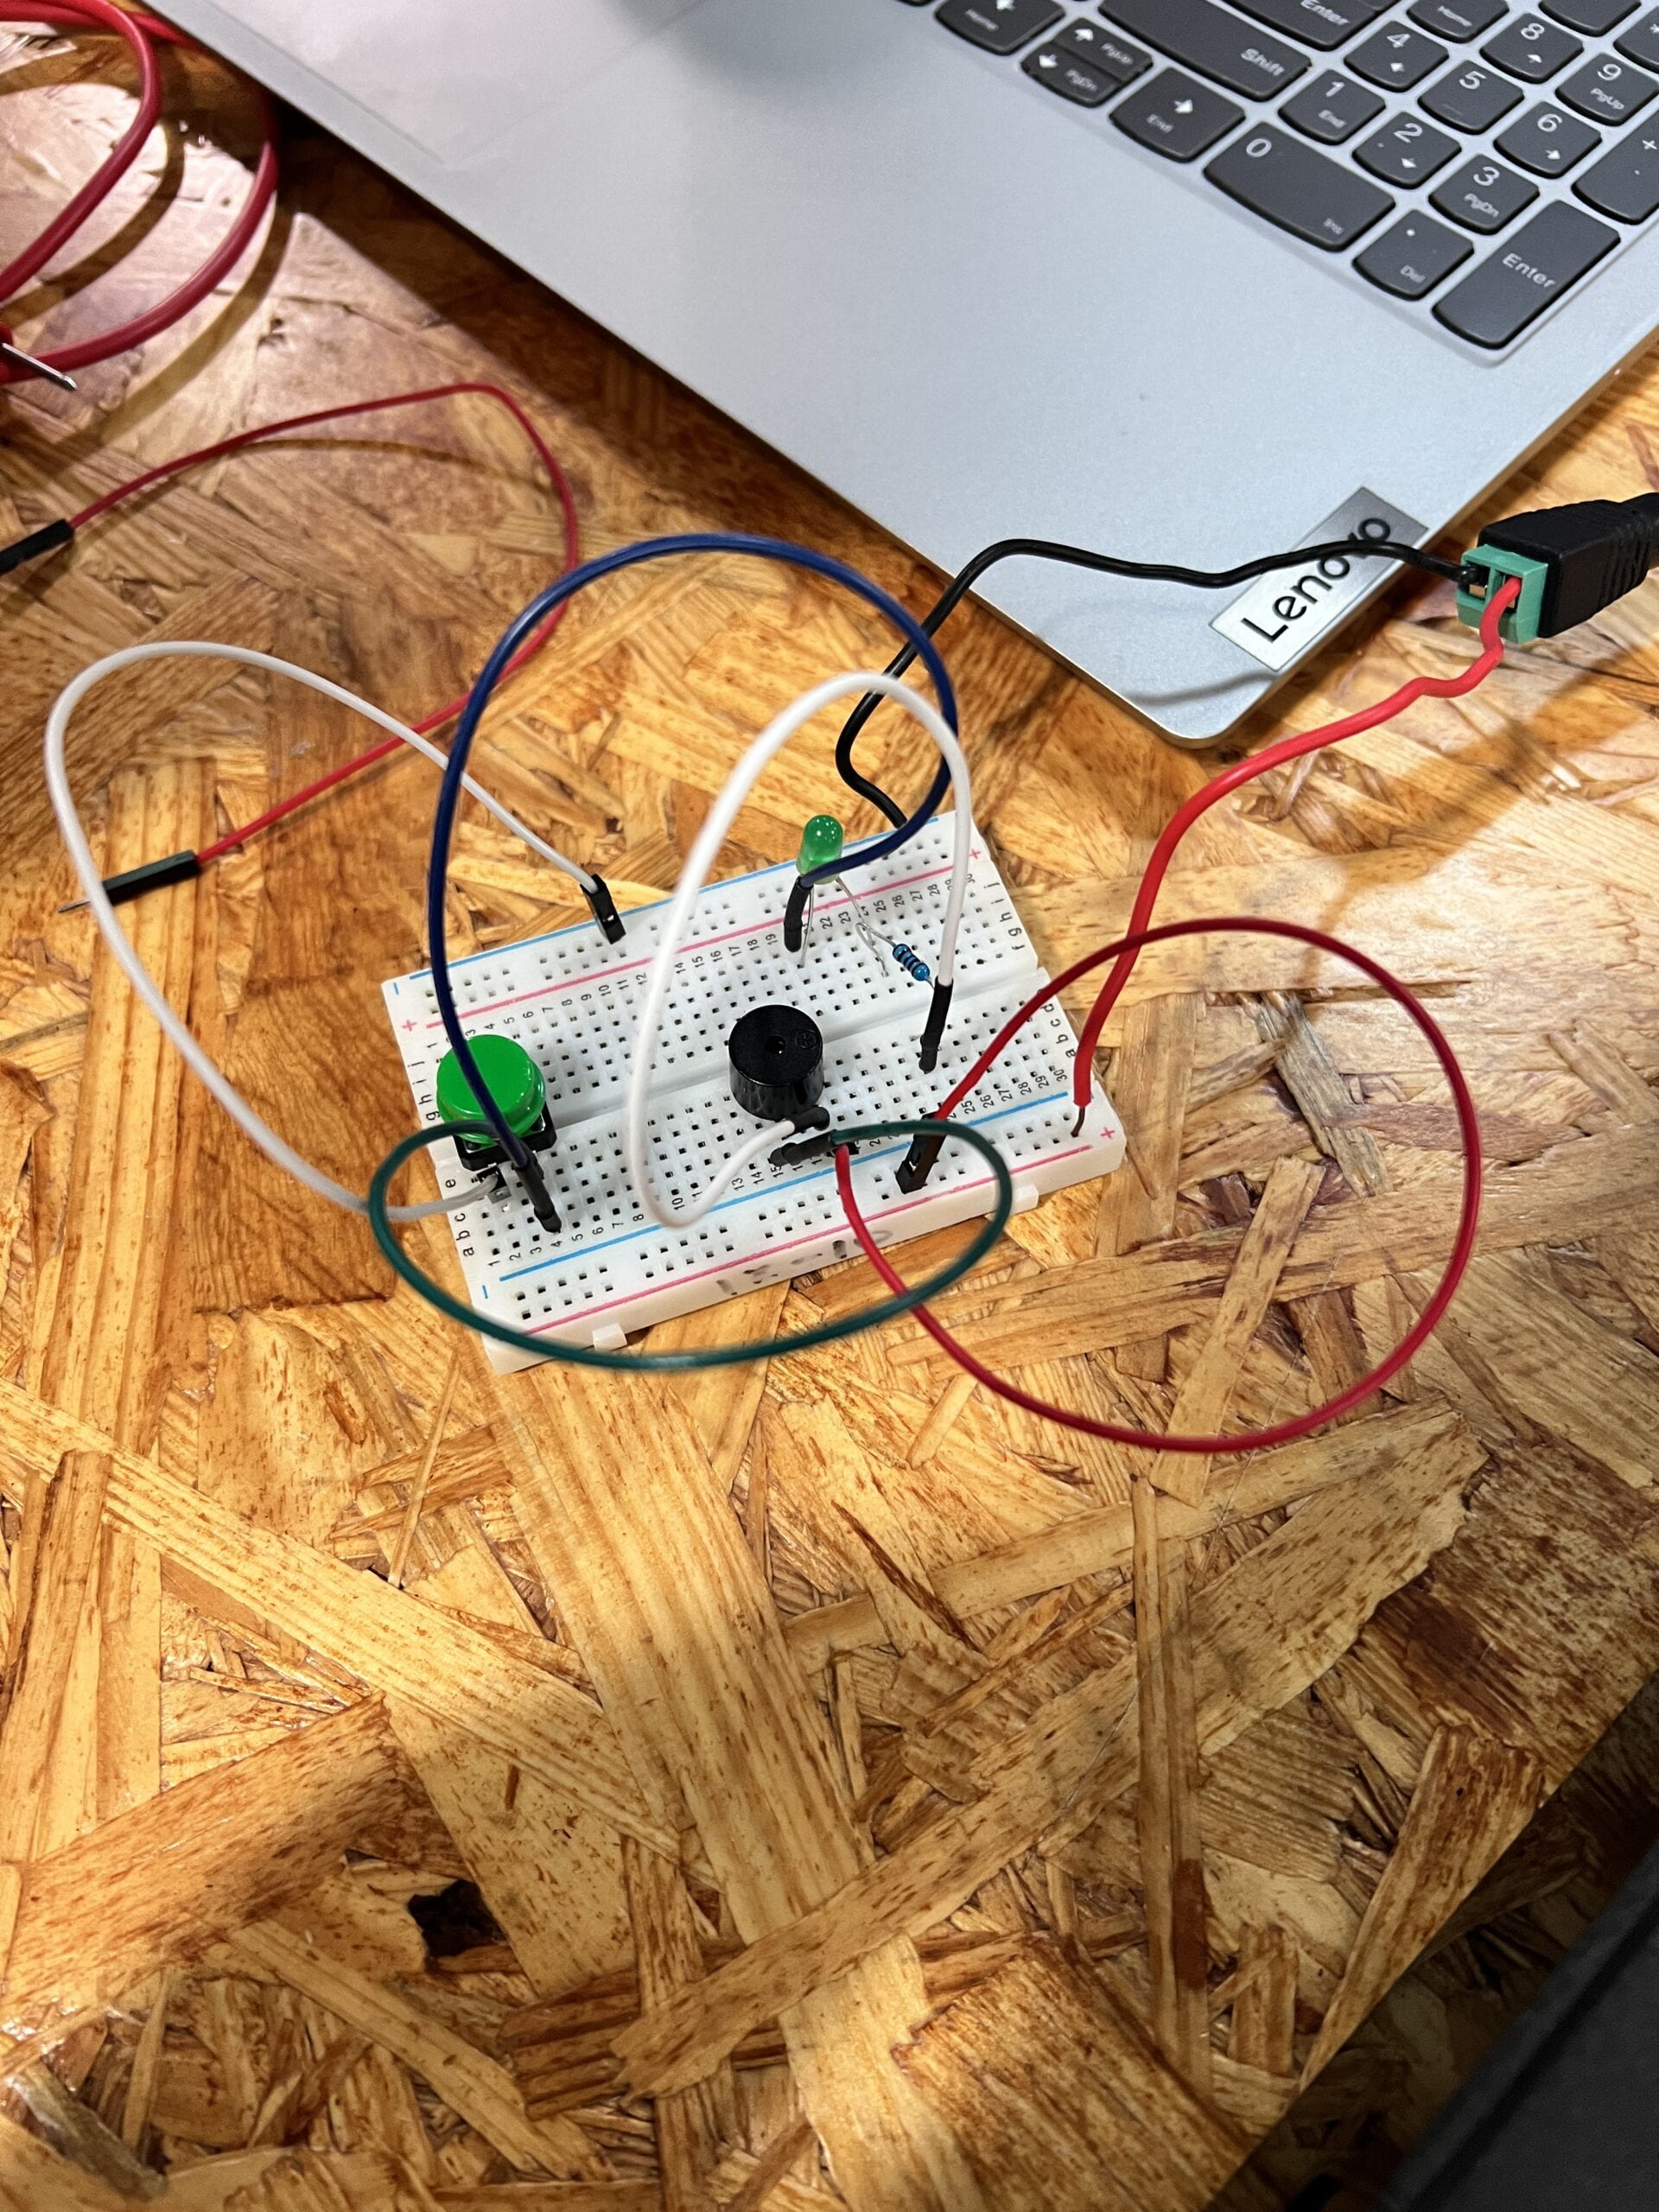
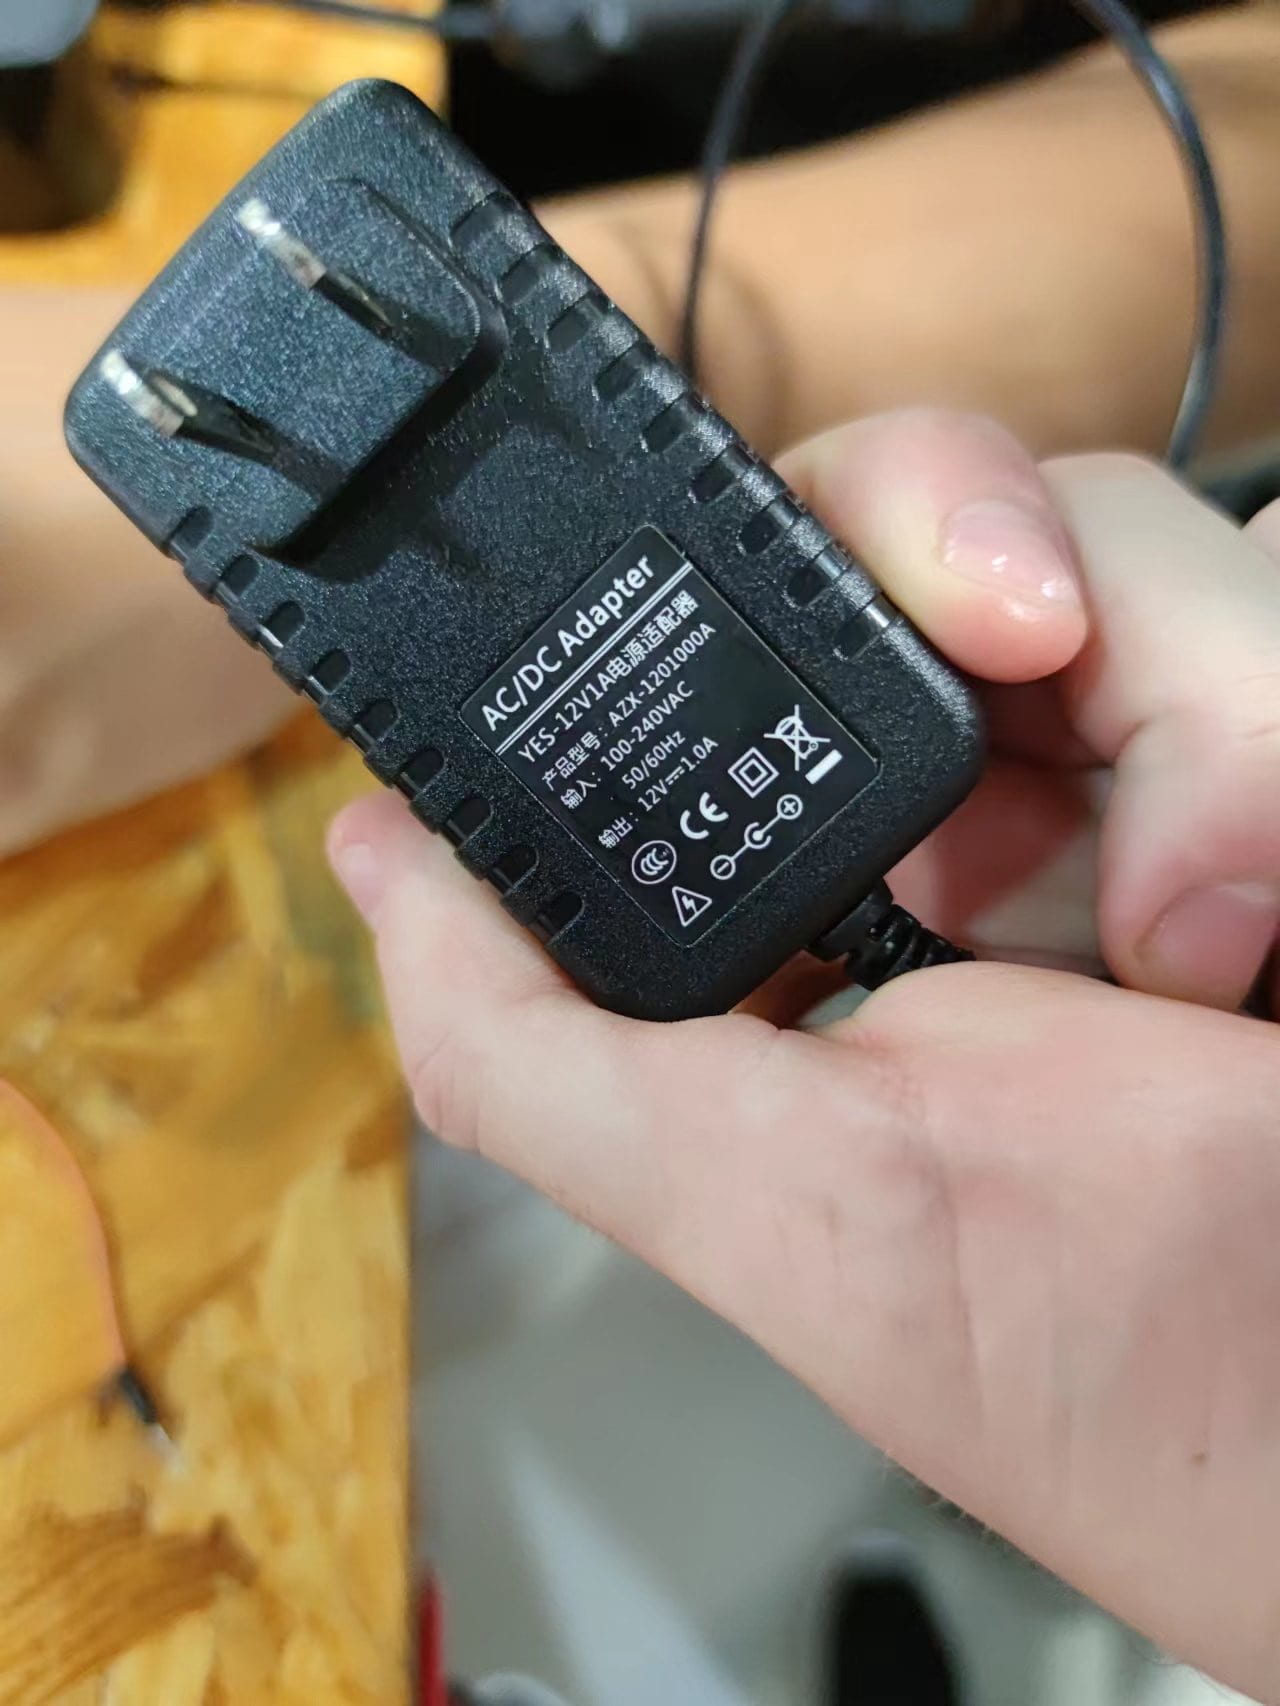
After asking the instructor, we recognized that the problem was that we used the wrong 12V power, instead of 5V. Because the voltage was too high, we accidentally “killed” the LED, which also explains why the buzzer was making a weird sound. Sorry, poor LED.
Power changed. LED changed. Step 2 nailed.
Step 3: This time, we needed to connect a variable resistor and another LED to the circuit. From the lesson learned in step 2, we tested the connectivity of the variable resistor beforehand.
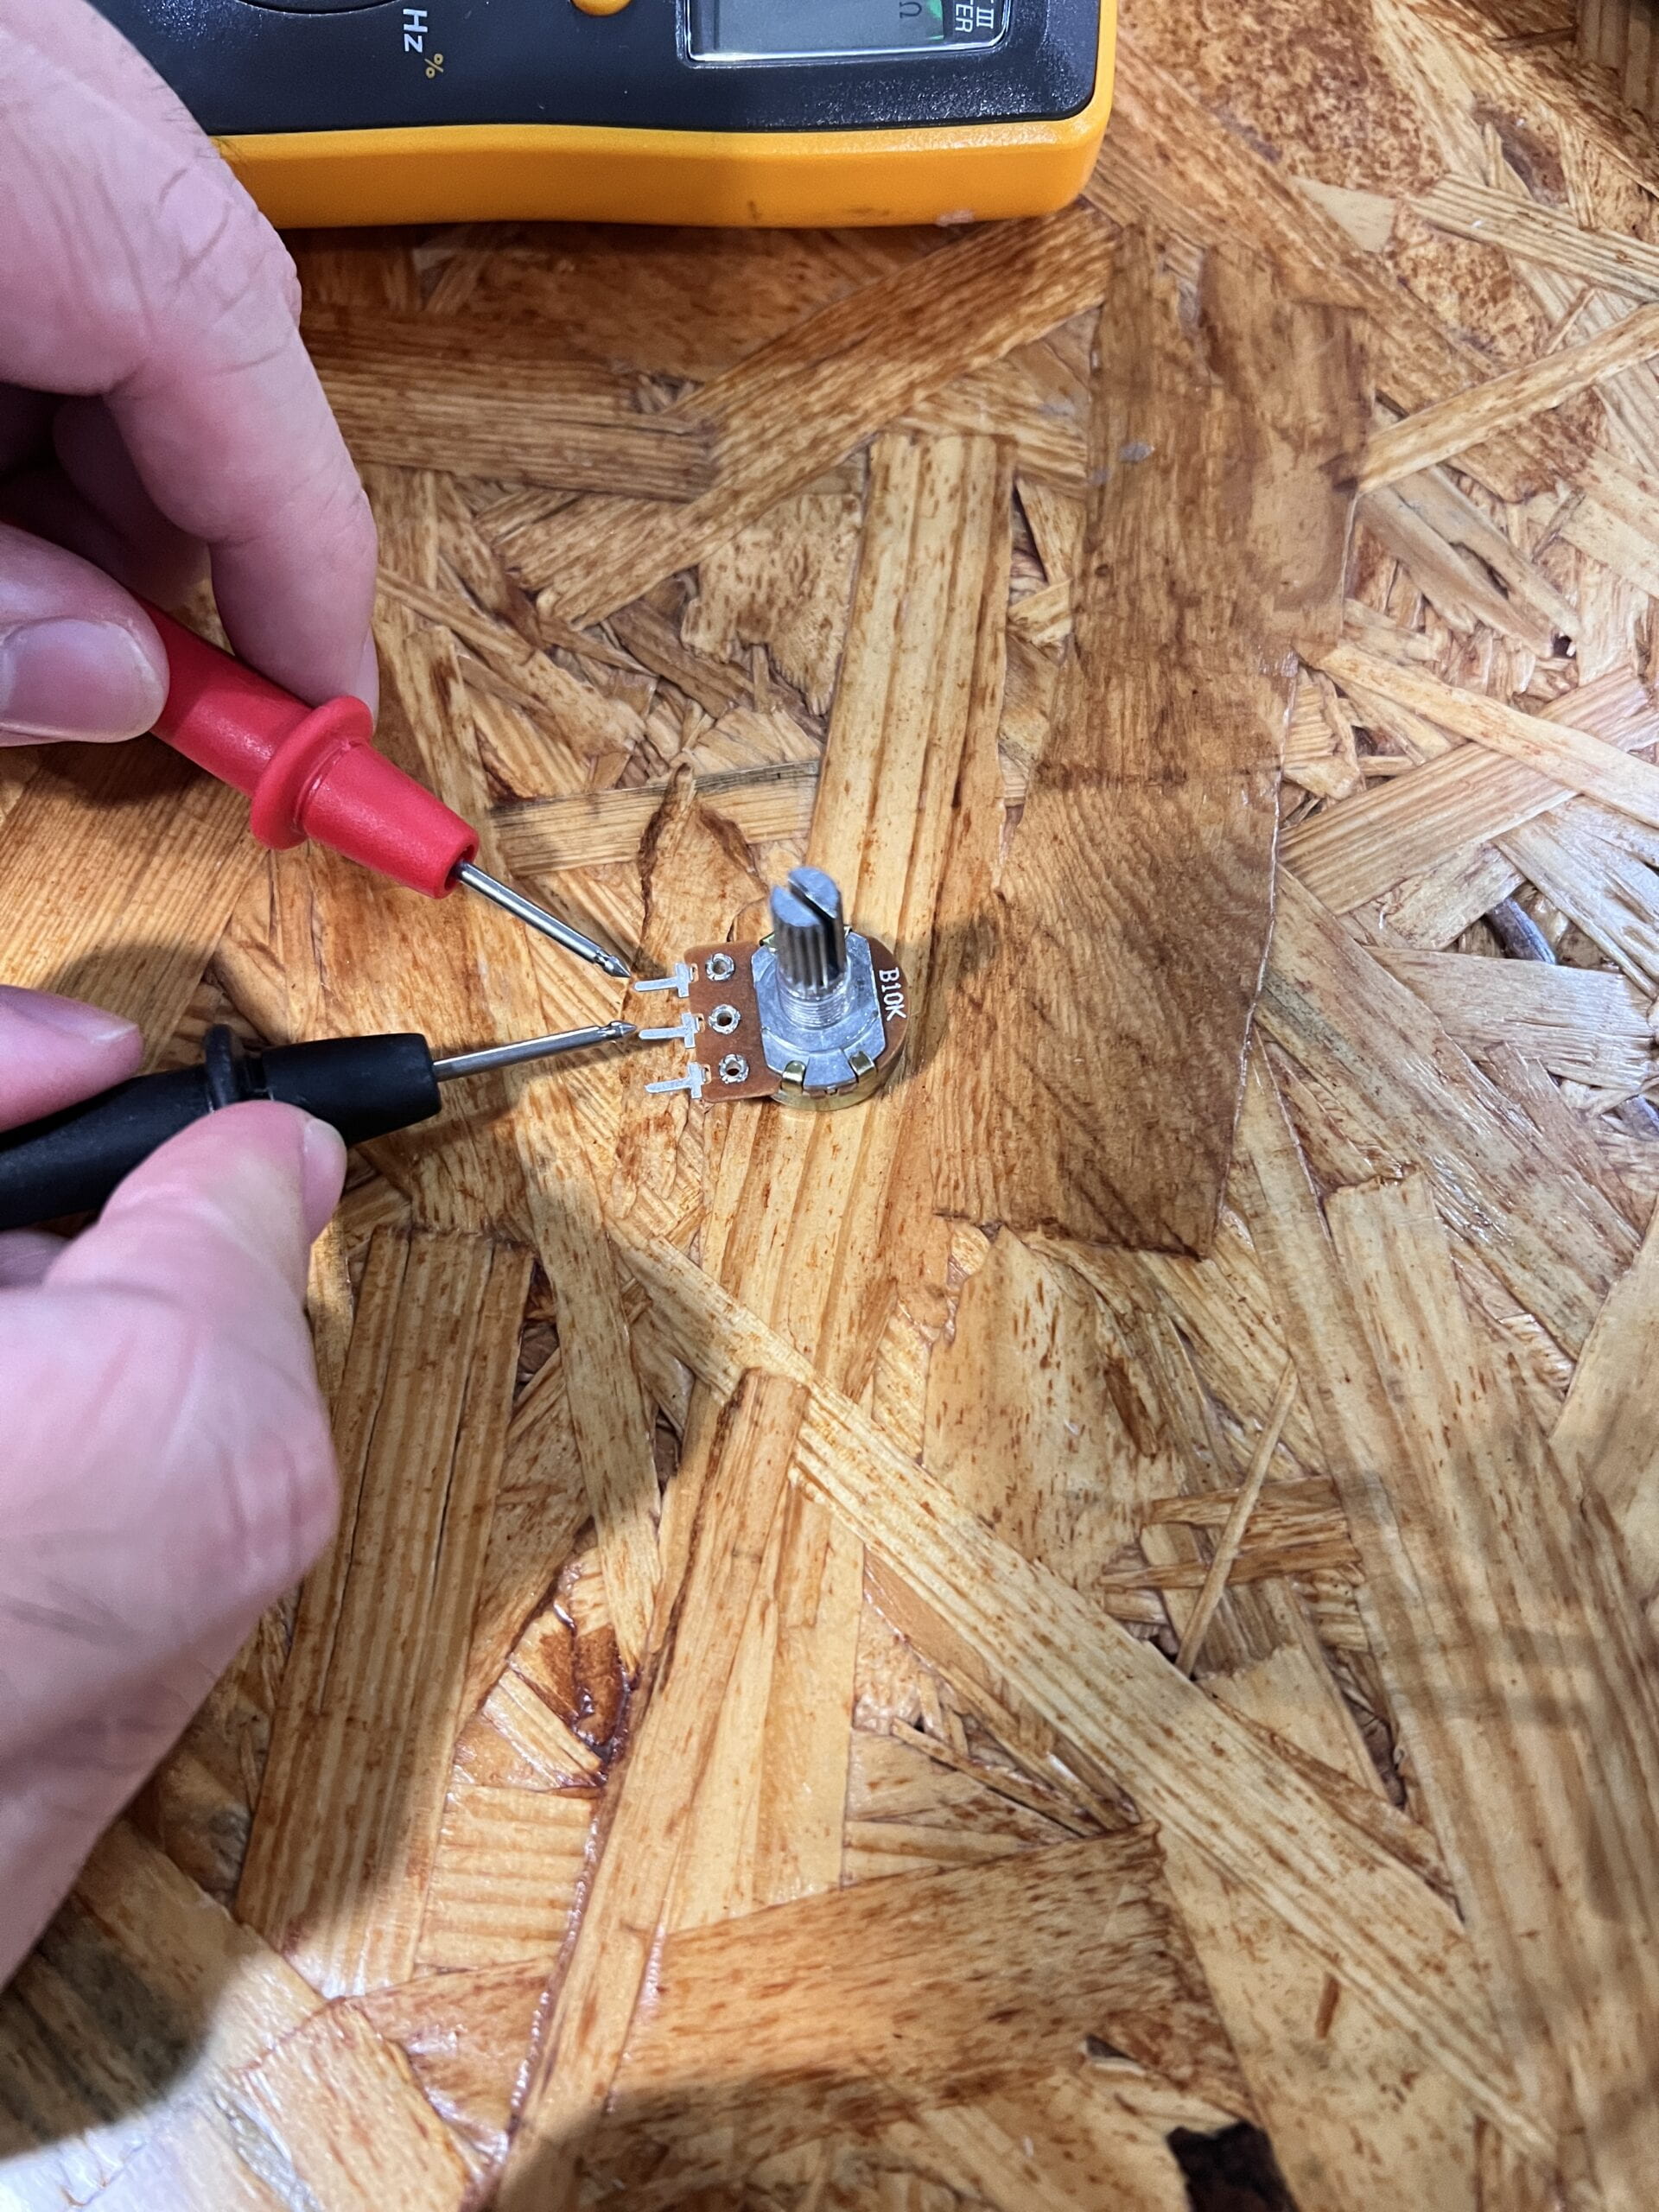
Things went smoothly. We finished task 1.
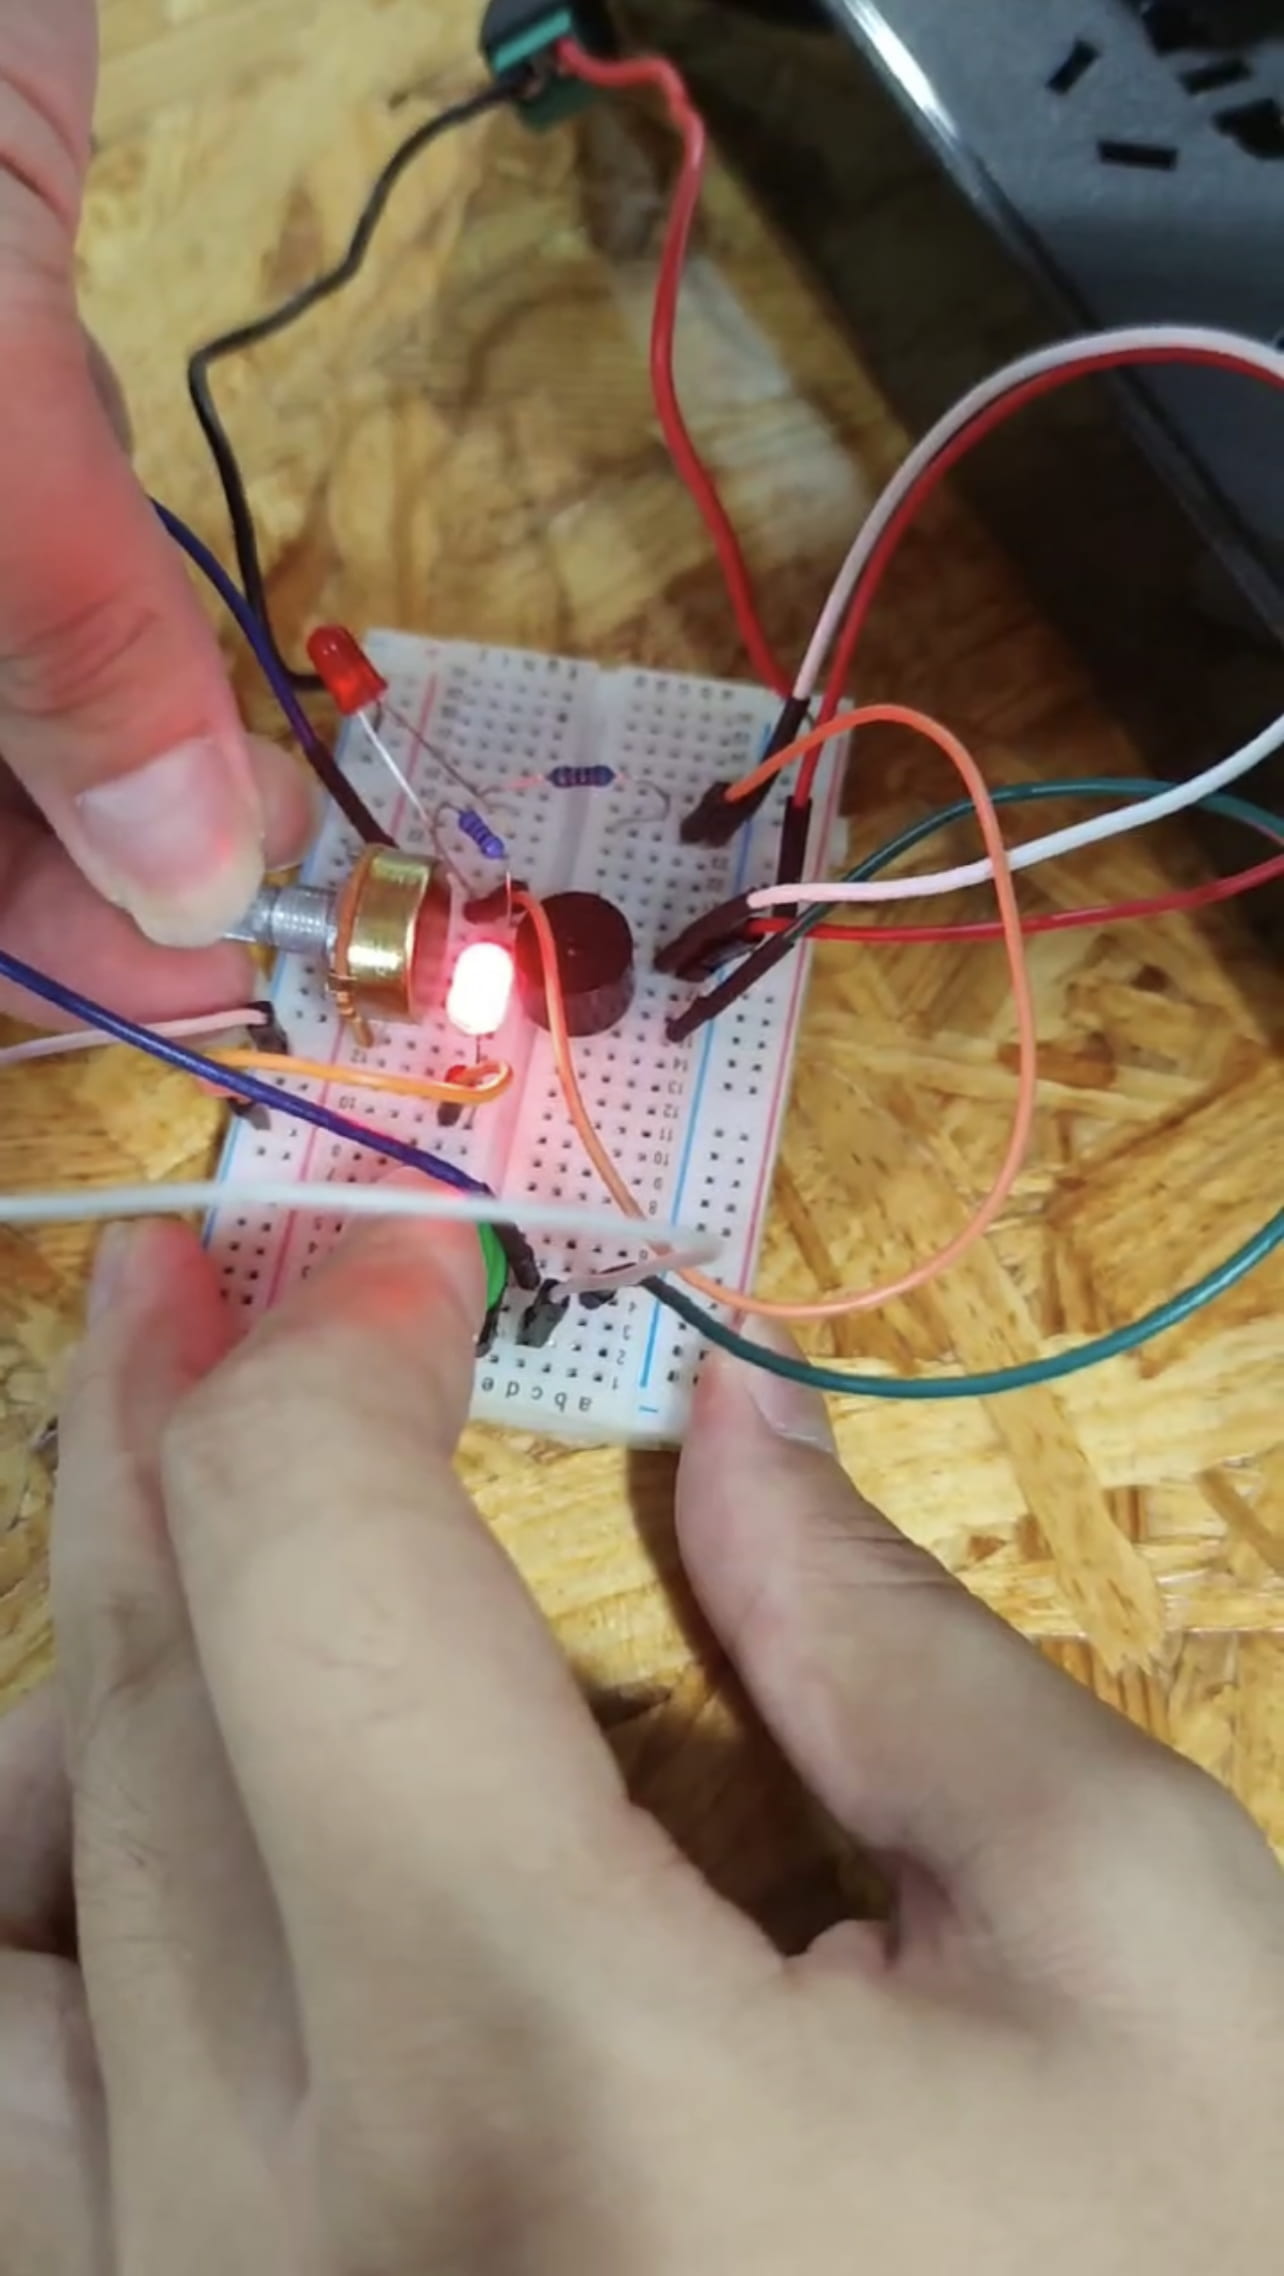
Task 2: Build a switch
For this task, we needed to build a cardboard switch to replace the button switch.
First, we needed to strip both ends of a wire to expose the metal part so it could be attached to the cardboard to conduct electricity and be installed on the breadboard.
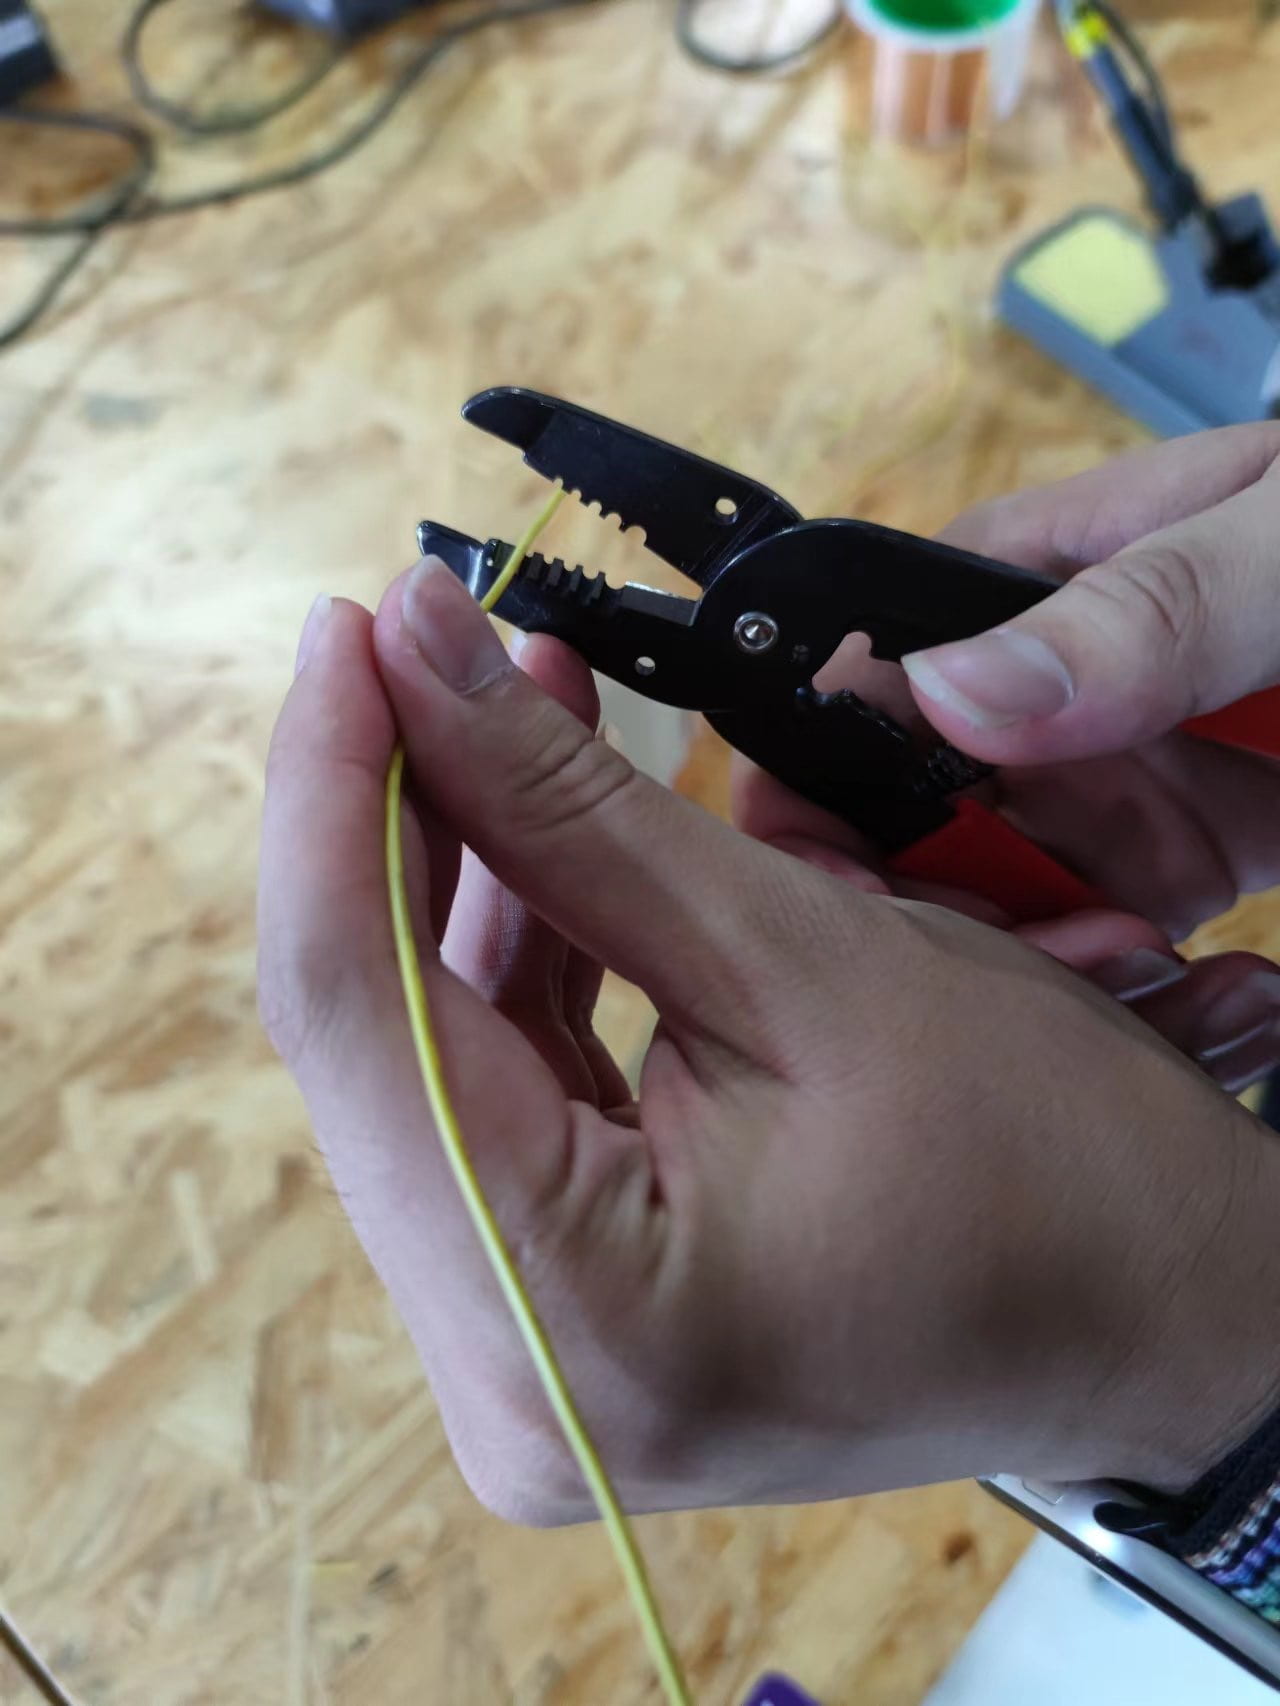
Then we used copper tape to make one side of a piece of cardboard conductive and tape to fix the wire on this side.
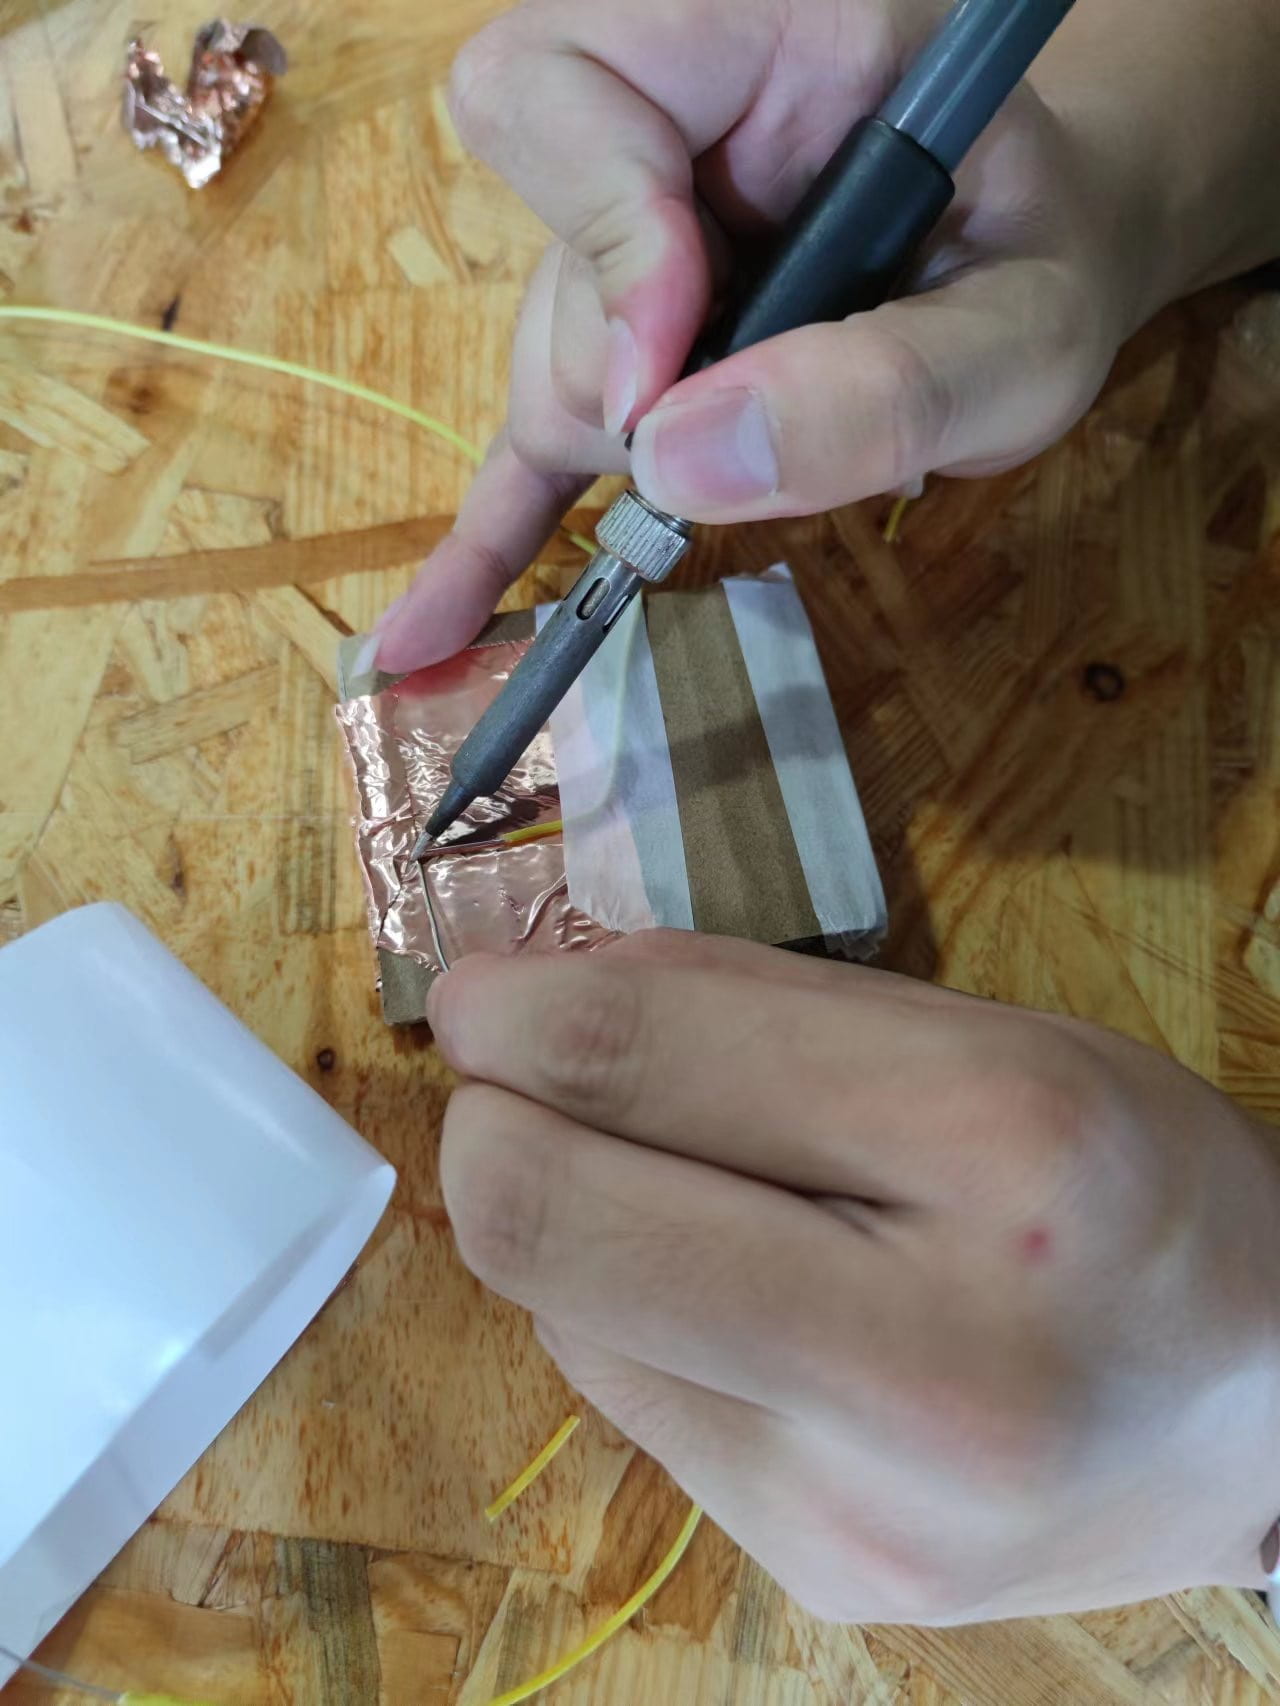
On the other side of the cardboard, we left a small segment of copper tape to make sure that this piece of cardboard touched the same side of the other identical piece of cardboard on the tip only by tapping.
We continued to use a heater to melt the metal on the touching point of the wire and the copper tape to ensure connectivity. Also, this is the most challenging part because I have to operate something I have never seen.
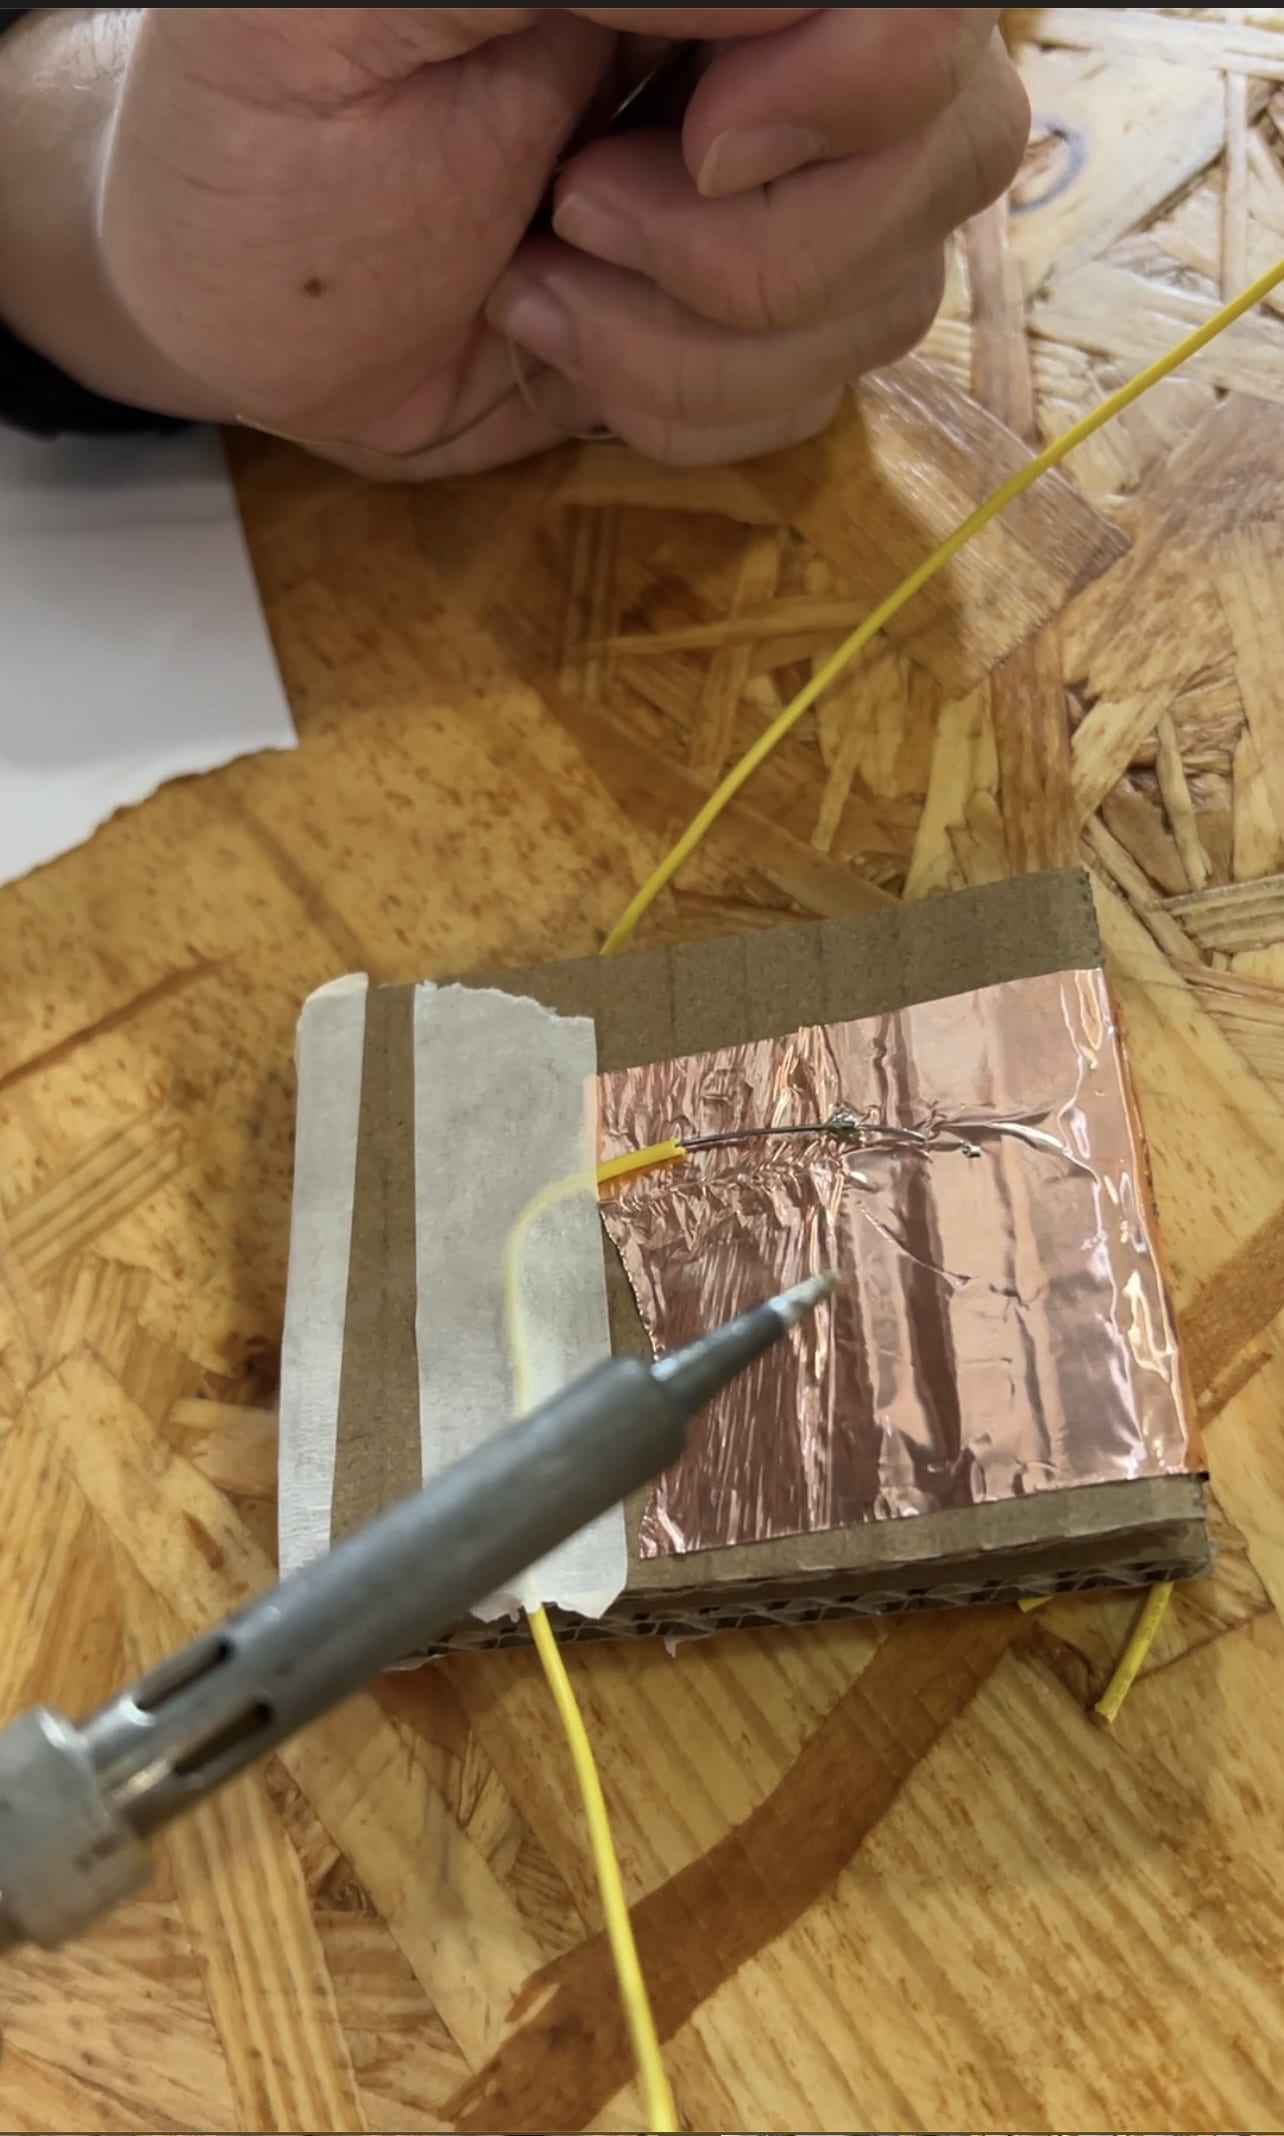
There, we have a cardboard switch! Although it’s not that beautiful, it works. And this switch broke my stereotype of electronic components in that previously I always thought that they could only be manufactured in hi-tech factories. I barely realized that we could make our own components until I took this class, which I think is also the essence of this class–creativity.
Task 3: Switch the Switches and send a message
By switching the button switch with the cardboard one, only by tapping the two paddles could the circuit be closed and the buzzer make a sound, which allowed us to send Morse code.
I tapped my names with the paddle switch using Morse code. Can you decipher it?
————————————————————————————————————
-
Question 1: What is the function of the resistor R1?
The function of resistor R1 is to limit the current and protect the LED when the variable resistor is set to 0Ω.
-
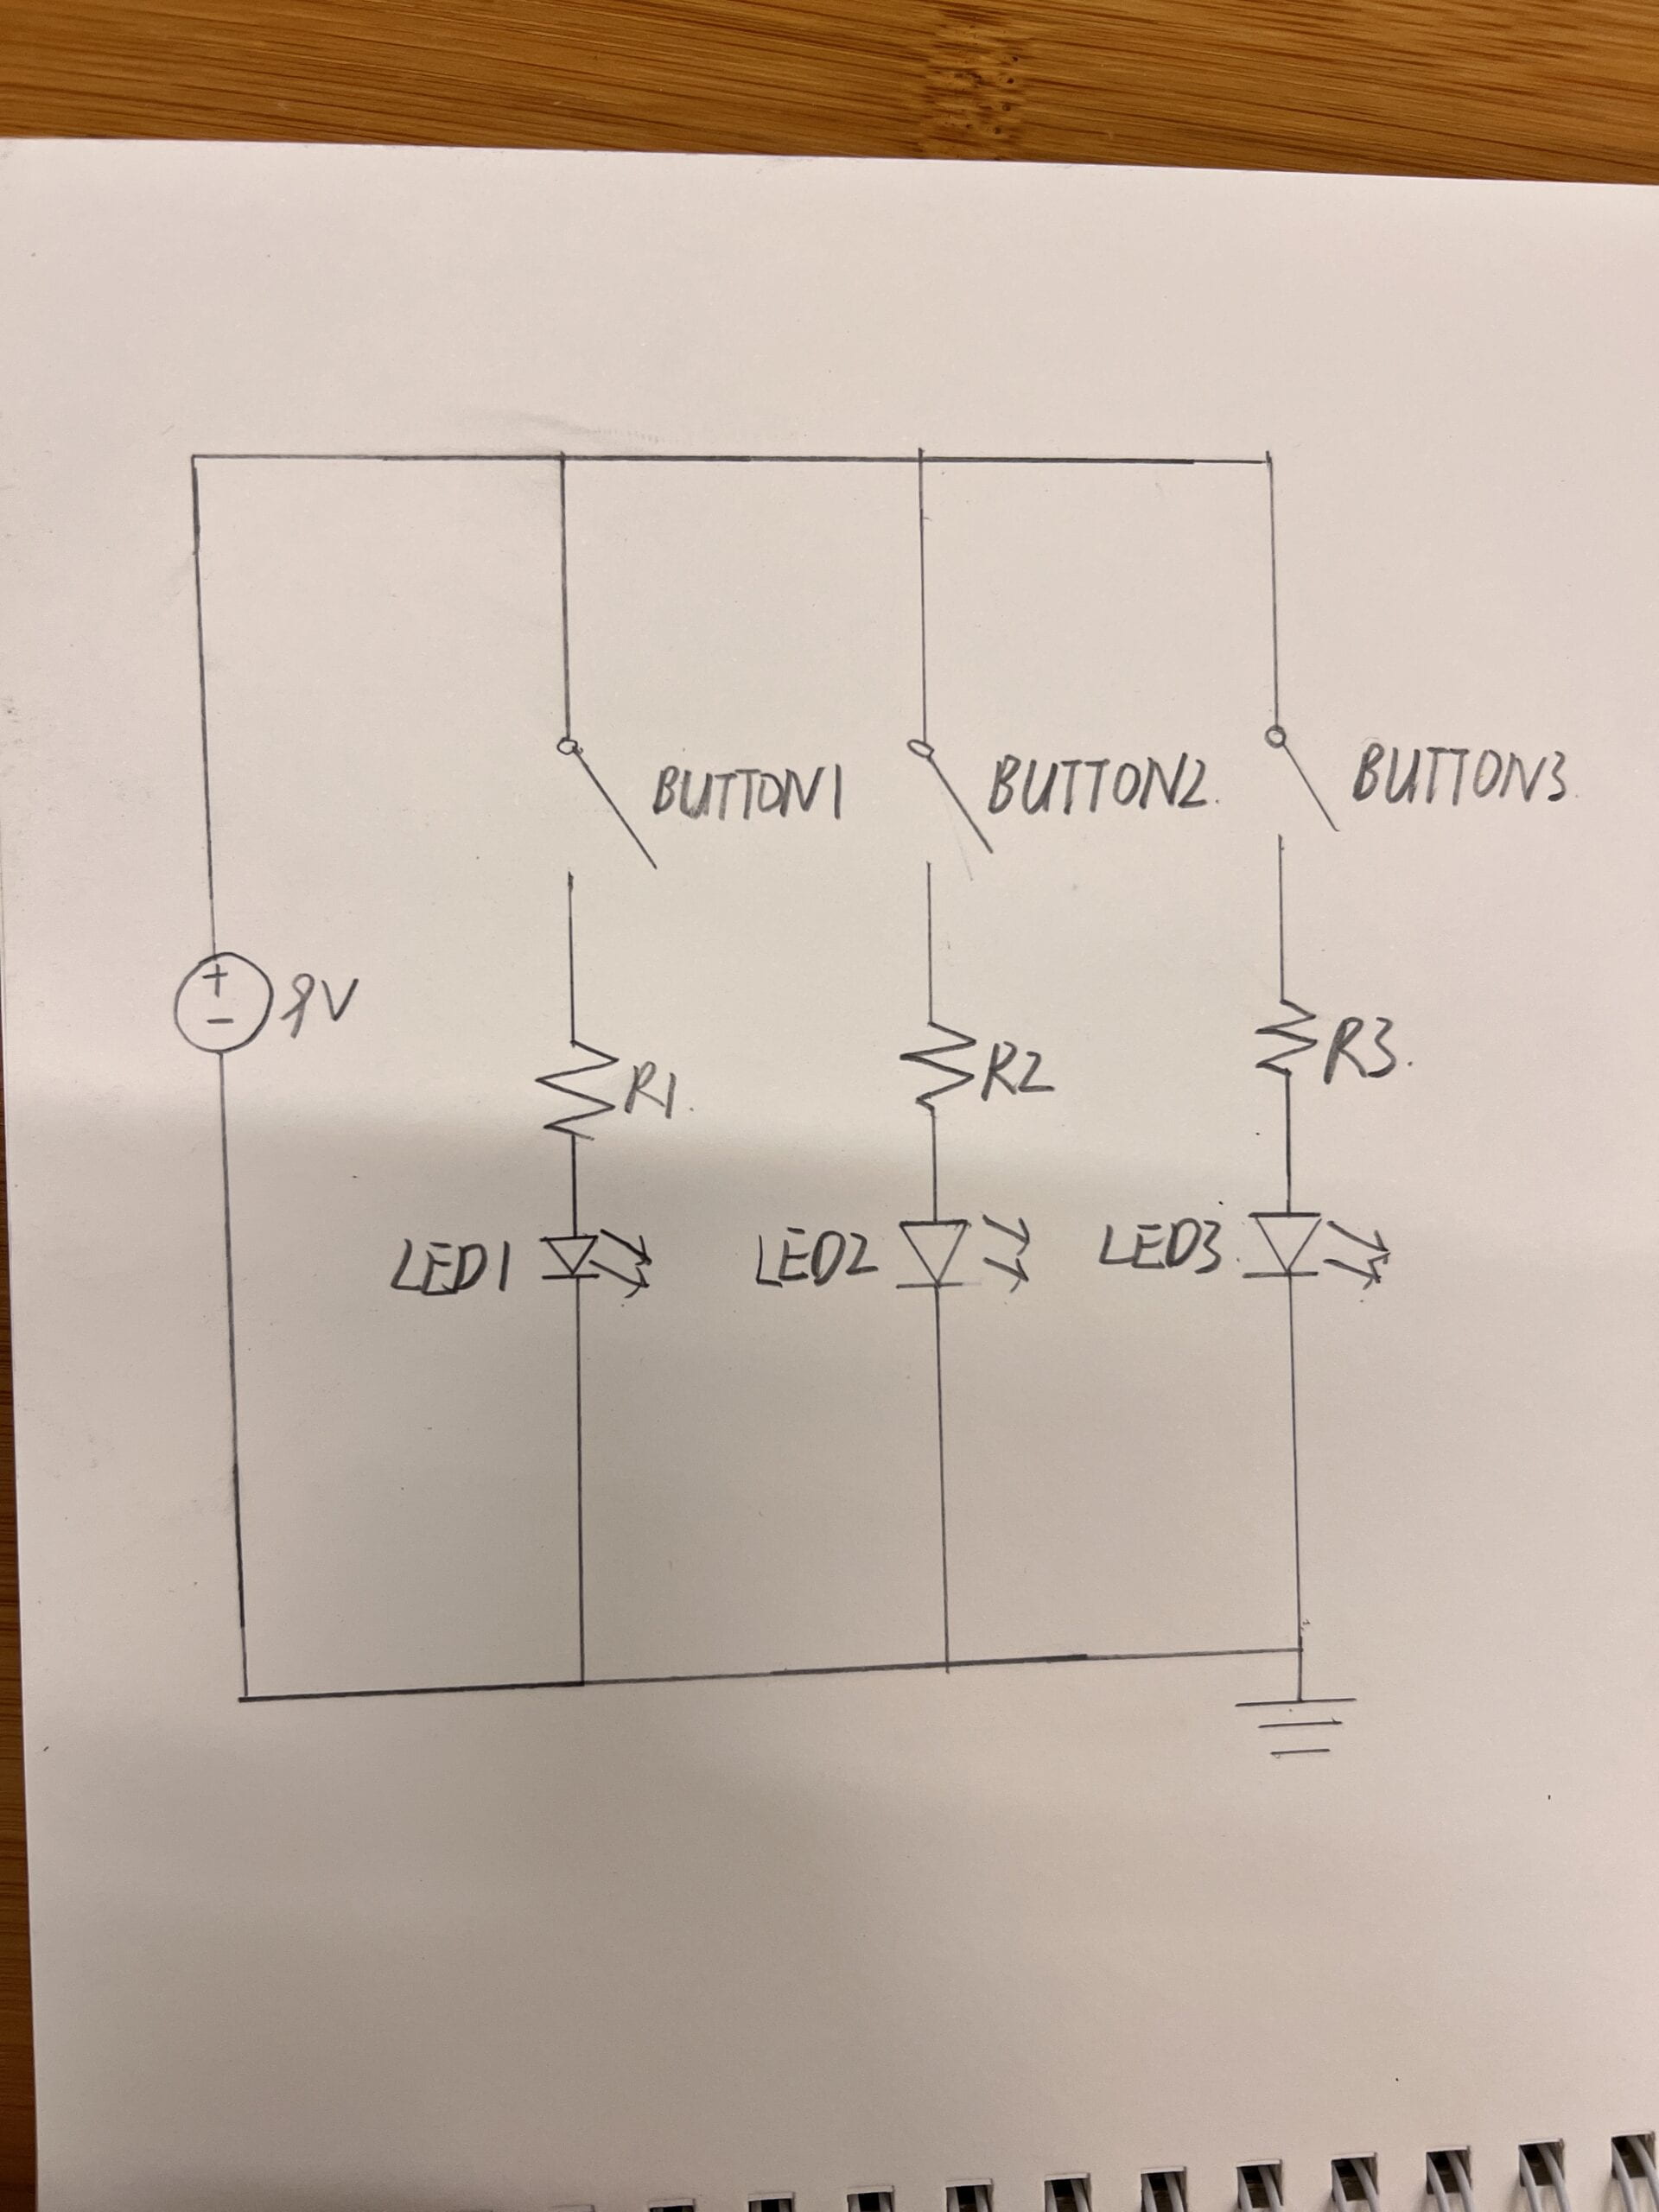
Question 2: Looking at the following circuit, draw its diagram by yourself.
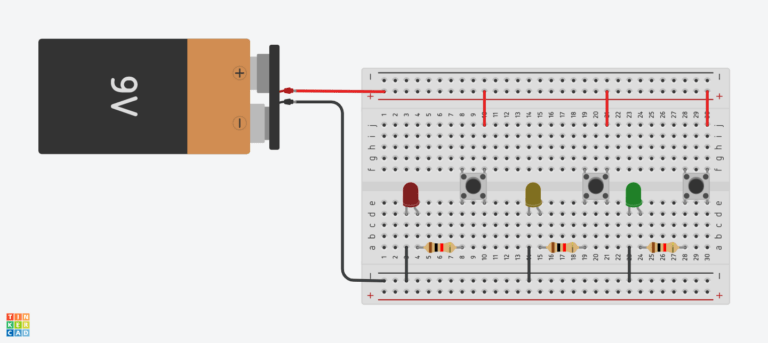
My diagram:
-
Question 3: After reading The Art of Interactive Design, in what way do you think that the circuit you built today includes interactivity? Which degree of interactivity does it possess? Please explain your answer.
I think the circuit interacts with me and my partner in all the three ways author Christ Crawford mentioned in his book, namely listening, thinking, and speaking.
First, the circuit “listens” to what I say, which basically is me tapping on the paddles. Then, the circuit “thinks” or processes the specific frequency of my tapping by electric current, and finally translates my tapping into the buzzer beeping, finishing the final stage of “speaking.”
For me, I listen to whether the buzzer beeps correctly. Then, I have to think how many times I should tap next time. And I do so, just like I am “talking” with the circuit.
However, this kind of interaction is relatively at a low degree because the circuit can’t actually think. Therefore, the result of the buzzer beeping is just the echoes of my thoughts, not elaborate outcomes.
-
Question 4: How can Interaction Design and Physical Computing be used to create Interactive Art? You can reference Zack Lieberman’s video or any other artists that you know.
From my perspective, every person on this earth has the artistic need to appreciate and create beauty, with their own hands, or with their own “eyes.” After watching Zack Lieberman’s video, I am surprised to find that although I care about equal rights for everyone, I inadvertently overlook the inequality of the rights of people with disabilities, especially their rights in the art field. Therefore, I think that interaction design and physical computing should really specialize in creating effective tools for people with disabilities to pursue their artistic dreams. By adding availability, increasing convenience, and lowering the cost of related technology, interaction design, and physical computing can be really helpful to human rights.
————————————————————————————————————