Concept and Design
In the midterm project, my partner and I both did different projects that invited people to interact with computers. In the final project, we want to make something distinct. We referred to Edmonds’ article about one specific phase where he wanted to use his project to promote interaction among people (Edmonds, 2011). We thought this would be a wonderful way of distinguishing our project from others’.
When constructing the purpose of our project, my partner, Frida, and I looked back on our life experiences and found out that we are both introverts and often feel difficult or embarrassed to start conversations and build connections with strangers. However, deep in our hearts, we are desperate to have a great social life. It occurred to us that we could design a project that could visualize our feelings and enable those who feel the same way to mingle with each other. But how?
Then, we recalled the guest talk by Jian Yu. She is an artist and designer of wearable accessories. Her gorgeous LED earrings and necklaces inspired us to devise a wearable project to realize our thoughts.

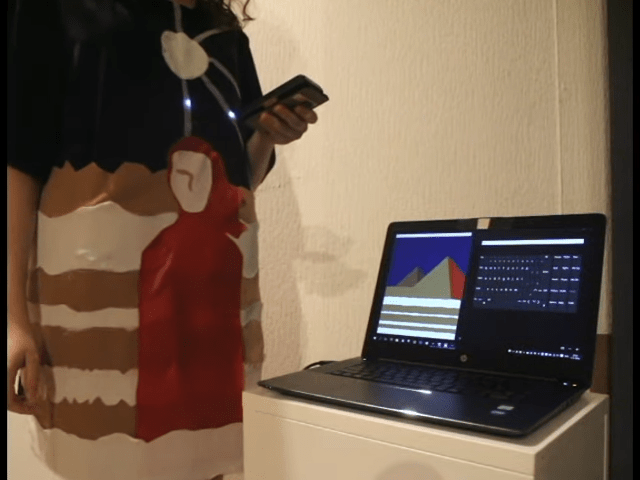
There are different forms of wearables to choose from. We did a lot of research and watched multifarious presentation videos given by talented artists. One of them interested us the most. It is Interactive Wearable Diptych by Michelle Vossen. It is clothed with LEDs that can be controlled to interact with a laptop via BlueTooth (Vossen, 2016). Based on our hope of initializing offline social life, we thought clothes with glazing LEDs and NeoPixel would definitely be a party star and attract people to interact Considering the inclusiveness for different genders and body shapes, we settled to make a cape with NeoPixels.
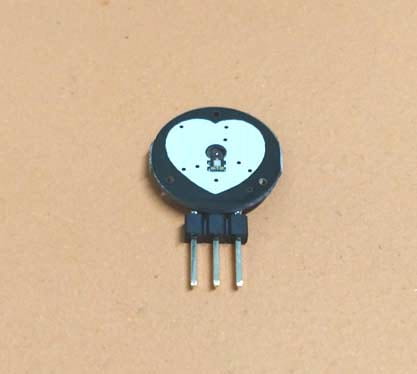
To visualize our emotions, detecting users’ heartbeat rate is the most feasible way. We attached a pulse sensor to get the BPM of our user and use it to control the patterns of NeoPixels.
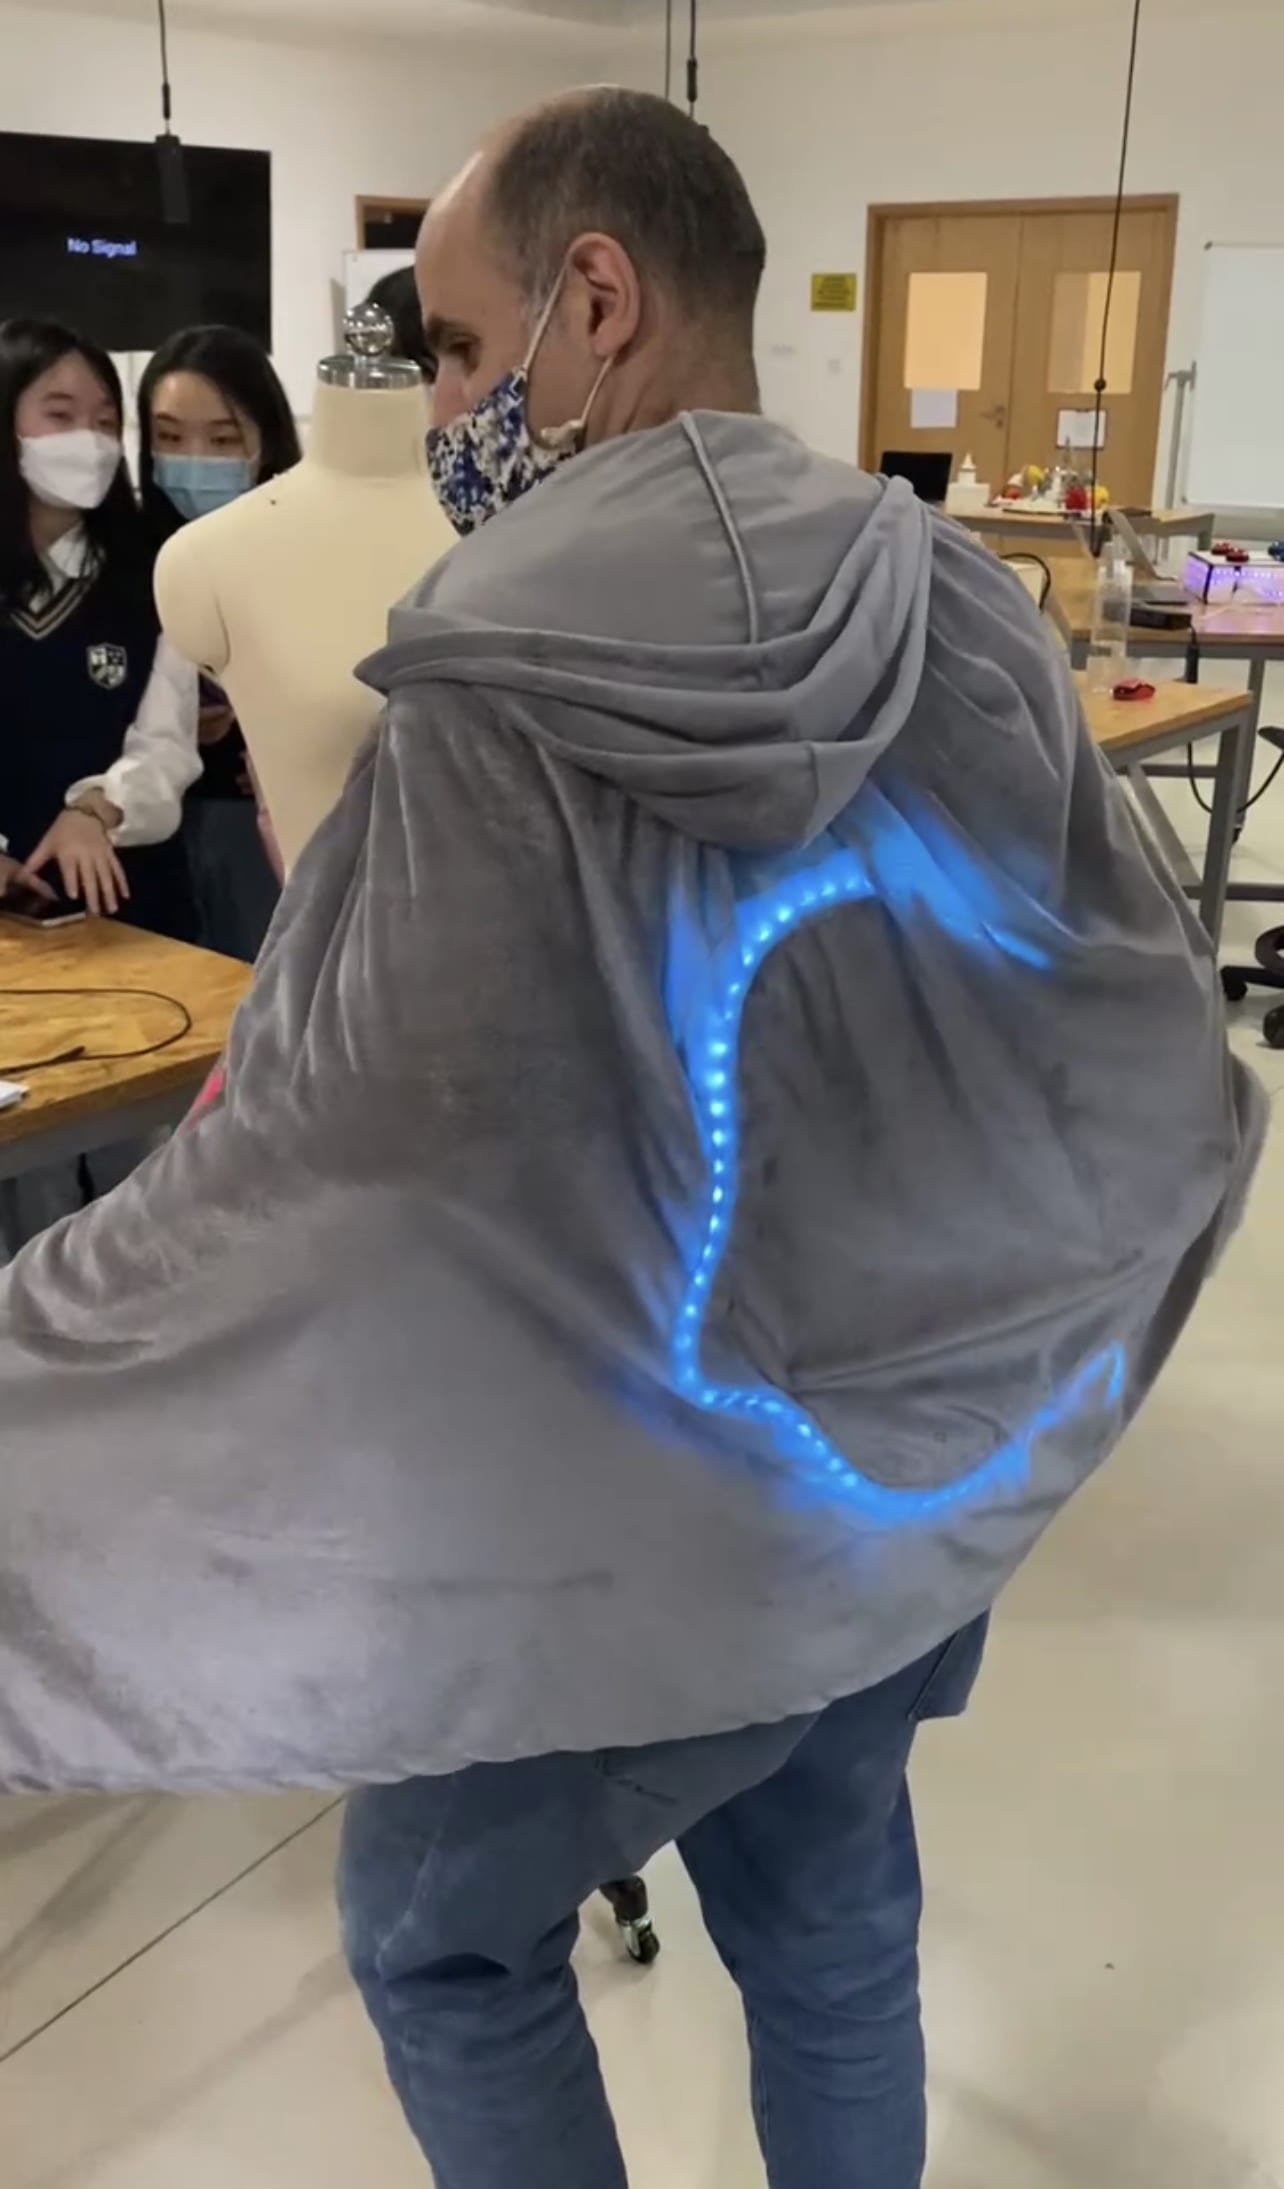
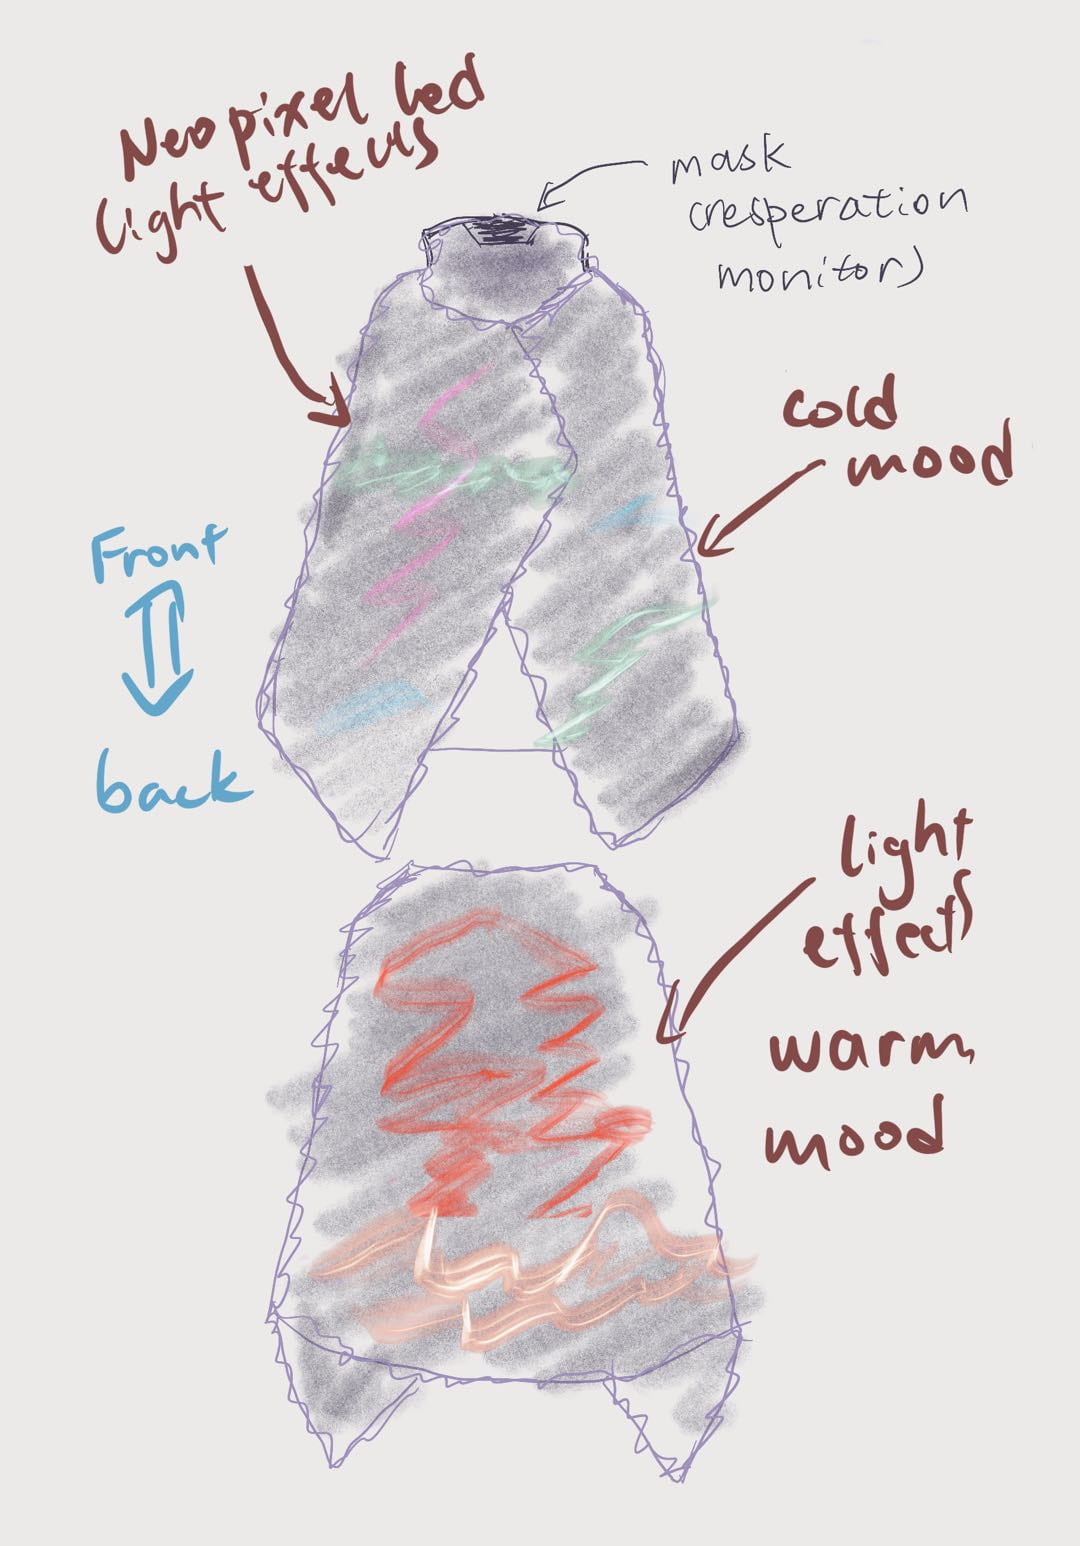
We design a side-face silhouette shape for NeoPixel on the back of the mantle to represent the mental status of the user. Its color would change according to the user’s BPM, which would reflect their different moods.
During the user test, feedback from our fellow students and faculties reminded us to pay attention to the relationship between heartbeat rate and mental health because our project would mirror the fluctuation of the user’s mood as well. It did not contradict our initial concept, as this reflection could give users an opportunity to express themselves and call on people to care about the mental health of people around them.
With some generous advice from our classmates, we also added an 8*8 LED matrix that would breathe with the heartbeat at the front of the cape to allow the user to see their current heartbeat rate.
Fabrication and Production
Considering the aesthetics, we wanted the NeoPixels to be inside the cape. We ordered four kinds of fabric to compare their translucency. To keep the shape of the NeoPixel, we learned to use the sewing machine to fix the NeoPixels onto the cape. We made some progress, but the outcome was not optimal. We had no choice but to seek help from a tailor. Although we failed to realize it, we managed to grasp a new skill that can somehow come in handy in the future.
In terms of sensors, initially, we chose an ear-clip heartbeat sensor. However, the problem was that the data from it was not a clear BPM and we had to figure out a formula to translate it into BPM, of which we were not capable. We asked Kenneth Chu for some suggestions as he also used BPM to control his device. We decided to choose a finger-attached heartbeat sensor because there is a great Arduino library for it and it could respond to swift changes in heartbeat rate.
During the user test, we noticed that our project was quite fragile as the cables could easily be disconnected when people tried to wear it. We thought the problem lay in the cable management. Therefore, we did a lot of soldering to reduce the number of cables. We spent hours using glue guns to fix the cable on the fabric so that they wouldn’t tangle up and detach.
We hope users socialize with others wearing our cape. Due to the untethered nature of our project, we chose to sew two small pockets inside the cape to store Arduino and portable power.
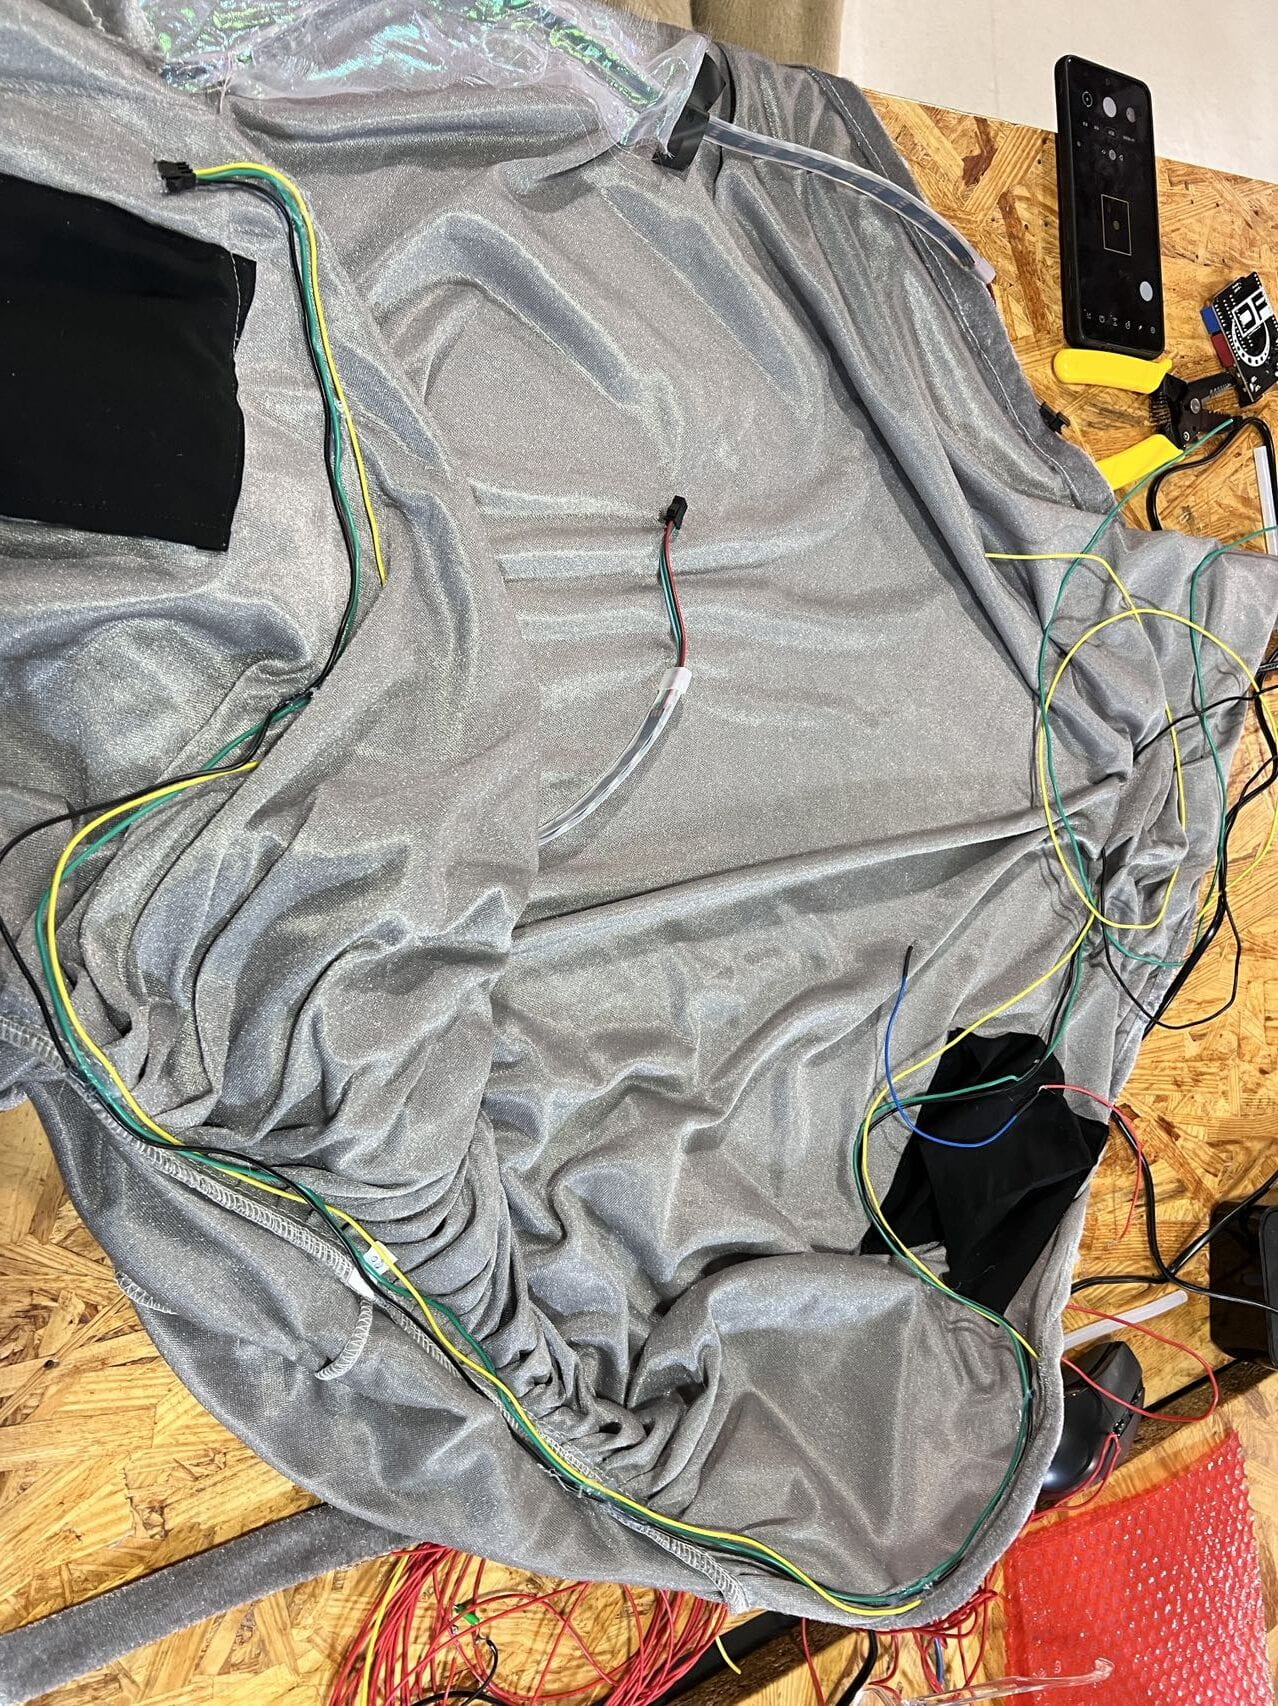
The coding part is perhaps the most challenging part of all. I was responsible for coding. Due to the absence of a pulse sensor, I had to work on an ear-clip sensor as I mentioned. I made some light effects with that sensor, but it was extremely hard to control, and the light effects would not show up from time to time. We wanted our project to breathe with the heartbeat to create something futuristic, so we had to give up the ear-clip sensor. After we switched to the pulse sensor, I decomposed the project’s programming into several parts and solved them individually as Professor Haider suggested.
The code:
#include

#define NUM_LEDS1 60
#define NUM_LEDS2 64

#define DATA_PIN1 3
#define DATA_PIN2 6

CRGB leds1[NUM_LEDS1];
CRGB leds2[NUM_LEDS2];

int fade = 0;

int heart[14] = { 11, 12, 13, 17, 21, 25, 29, 34, 38, 42, 46, 50, 51, 52 };

/*  Getting_BPM_to_Monitor prints the BPM to the Serial Monitor, using the least lines of code and PulseSensor Library.
 *  Tutorial Webpage: https://pulsesensor.com/pages/getting-advanced
 *
--------Use This Sketch To------------------------------------------
1) Displays user's live and changing BPM, Beats Per Minute, in Arduino's native Serial Monitor.
2) Print: "♥  A HeartBeat Happened !" when a beat is detected, live.
2) Learn about using a PulseSensor Library "Object".
4) Blinks LED on PIN 13 with user's Heartbeat.
--------------------------------------------------------------------*/

#define USE_ARDUINO_INTERRUPTS true  // Set-up low-level interrupts for most acurate BPM math.
#include    // Includes the PulseSensorPlayground Library.

//  Variables
const int PulseWire = 0;  // PulseSensor PURPLE WIRE connected to ANALOG PIN 0
const int LED13 = 13;     // The on-board Arduino LED, close to PIN 13.
int Threshold = 550;      // Determine which Signal to "count as a beat" and which to ignore.
                          // Use the "Gettting Started Project" to fine-tune Threshold Value beyond default setting.
                          // Otherwise leave the default "550" value.

PulseSensorPlayground pulseSensor;  // Creates an instance of the PulseSensorPlayground object called "pulseSensor"
int desiredBrightness = 64;

void setup() {

  Serial.begin(9600);  // For Serial Monitor

  FastLED.setBrightness(50);


  FastLED.addLeds<NEOPIXEL, DATA_PIN1>(leds1, NUM_LEDS1);  // GRB ordering is assumed
  FastLED.addLeds<NEOPIXEL, DATA_PIN2>(leds2, NUM_LEDS2);
  // Configure the PulseSensor object, by assigning our variables to it.
  pulseSensor.analogInput(PulseWire);
  pulseSensor.blinkOnPulse(LED13);  //auto-magically blink Arduino's LED with heartbeat.
  pulseSensor.setThreshold(Threshold);

  // Double-check the "pulseSensor" object was created and "began" seeing a signal.
  if (pulseSensor.begin()) {
    Serial.println("We created a pulseSensor Object !");  //This prints one time at Arduino power-up,  or on Arduino reset.
  }
}

void loop() {

  for (int j; j < NUM_LEDS2; j++) {
    leds2[j] = CRGB::Black;
  }
  for (int j; j < 14; j++) { leds2[heart[j]] = CRGB::Red; } FastLED.show(); delay(50); int myBPM = pulseSensor.getBeatsPerMinute(); // Calls function on our pulseSensor object that returns BPM as an "int". // "myBPM" hold this BPM value now. if (pulseSensor.sawStartOfBeat()) { desiredBrightness = 64; // Constantly test to see if "a beat happened". Serial.println("♥ A HeartBeat Happened ! "); // If test is "true", print a message "a heartbeat happened". Serial.print("BPM: "); // Print phrase "BPM: " Serial.println(myBPM); // Print the value inside of myBPM. } if (desiredBrightness > 0) {
    desiredBrightness = desiredBrightness - 4;
  }
  FastLED.setBrightness(desiredBrightness);
  FastLED.show();
  delay(10);


  if (myBPM >= 55 && myBPM < 70) {
    for (int i = 0; i < NUM_LEDS1; i++) { leds1[i] = CRGB::DeepSkyBlue; } // update the NeoPixel chain FastLED.show(); delay(10); } else if (myBPM >= 70 && myBPM < 90) {
    for (int i = 0; i < NUM_LEDS1; i++) { leds1[i] = CRGB::DarkOrchid; } FastLED.show(); delay(10); } else if (myBPM >= 90 && myBPM < 110) {
    for (int i = 0; i < NUM_LEDS1; i++) { leds1[i] = CRGB::DarkOrange; } FastLED.show(); delay(10); } else if (myBPM >= 110 && myBPM < 125) {
    for (int i = 0; i < NUM_LEDS1; i++) { leds1[i] = CRGB::FireBrick; } FastLED.show(); delay(10); } else if (myBPM >= 125 && myBPM < 140) {
    for (int i = 0; i < NUM_LEDS1; i++) {
      leds1[i] = CRGB::Red;
    }
    FastLED.show();
    delay(10);
  }
}
Conclusions
While our initial goal was to stimulate interpersonal interaction through the project, our audience inspired us to include caring for others’ mental health as one of the destinations of our project. For both goals, I think our project did a good job of visualizing a vivid pattern for mood status and creating opportunities for users to express their feelings without worrying and for others to show a willingness to socialize and care, which was proved by the reaction of the audience in the final presentation. One of the audience pointed out a potential use of our project at the gym to see how fast their heart beats when exercising to save the trouble of looking at a small screen like an Apple Watch. Ruby also mentioned another way of fine-tuning our project to make it more intriguing is to mimic animals and make our project an extension of our body like what Kate Hartman does (katehartman.com). These suggestions pushed our project forward, and we hope to see our project put to multiple uses if possible.
(Ruby is performing with our cape on!)
Given more time, we would figure out how to set NeoPixel to blink at the exact frequency of the heartbeat. We would also add an additional game with Processing on the computer as an extension of our project. Our thought is to produce a horror game. The difficulty of the game will escalate as users’ hearts beat faster and faster. By this, we hope that users can take a deep breath and learn how to control their emotions to proceed more easily.
What tells our project apart from others is its function of encouraging interpersonal interaction. The trait accords with my interaction philosophy for it is not limited to human-computer interaction but serves as a medium of human-human interaction. I personally believe the ultimate goal of the interaction is to make people connected, and our project is a step further towards it.
Of course, there were challenges and setbacks along the way, and we couldn’t always find the right solution. But what I have learned from them is that no time is wasted. Making an artifact is the process of trial and error. Even if we are not heading toward where we want to achieve, we can gain other things, like learning how to use the sewing machine.
Reference List
Edmonds, E. (2011). Art, interaction and engagement. 2011 15th International Conference on Information Visualisation. https://doi.org/10.1109/iv.2011.73
Vossen, M. (2016, November 7). CreaPro 2016: Interactive Wearable Diptych by Michelle Vossen [Video]. YouTube. https://www.youtube.com/watch?v=ZmlU4fxcEwU