Recitation 10: Image & Video
In today’s recitation, we were asked to use physical controllers to modify the way in which media is being played. Although it was individual work, Harvey had his computer crash, and we ended up working together.
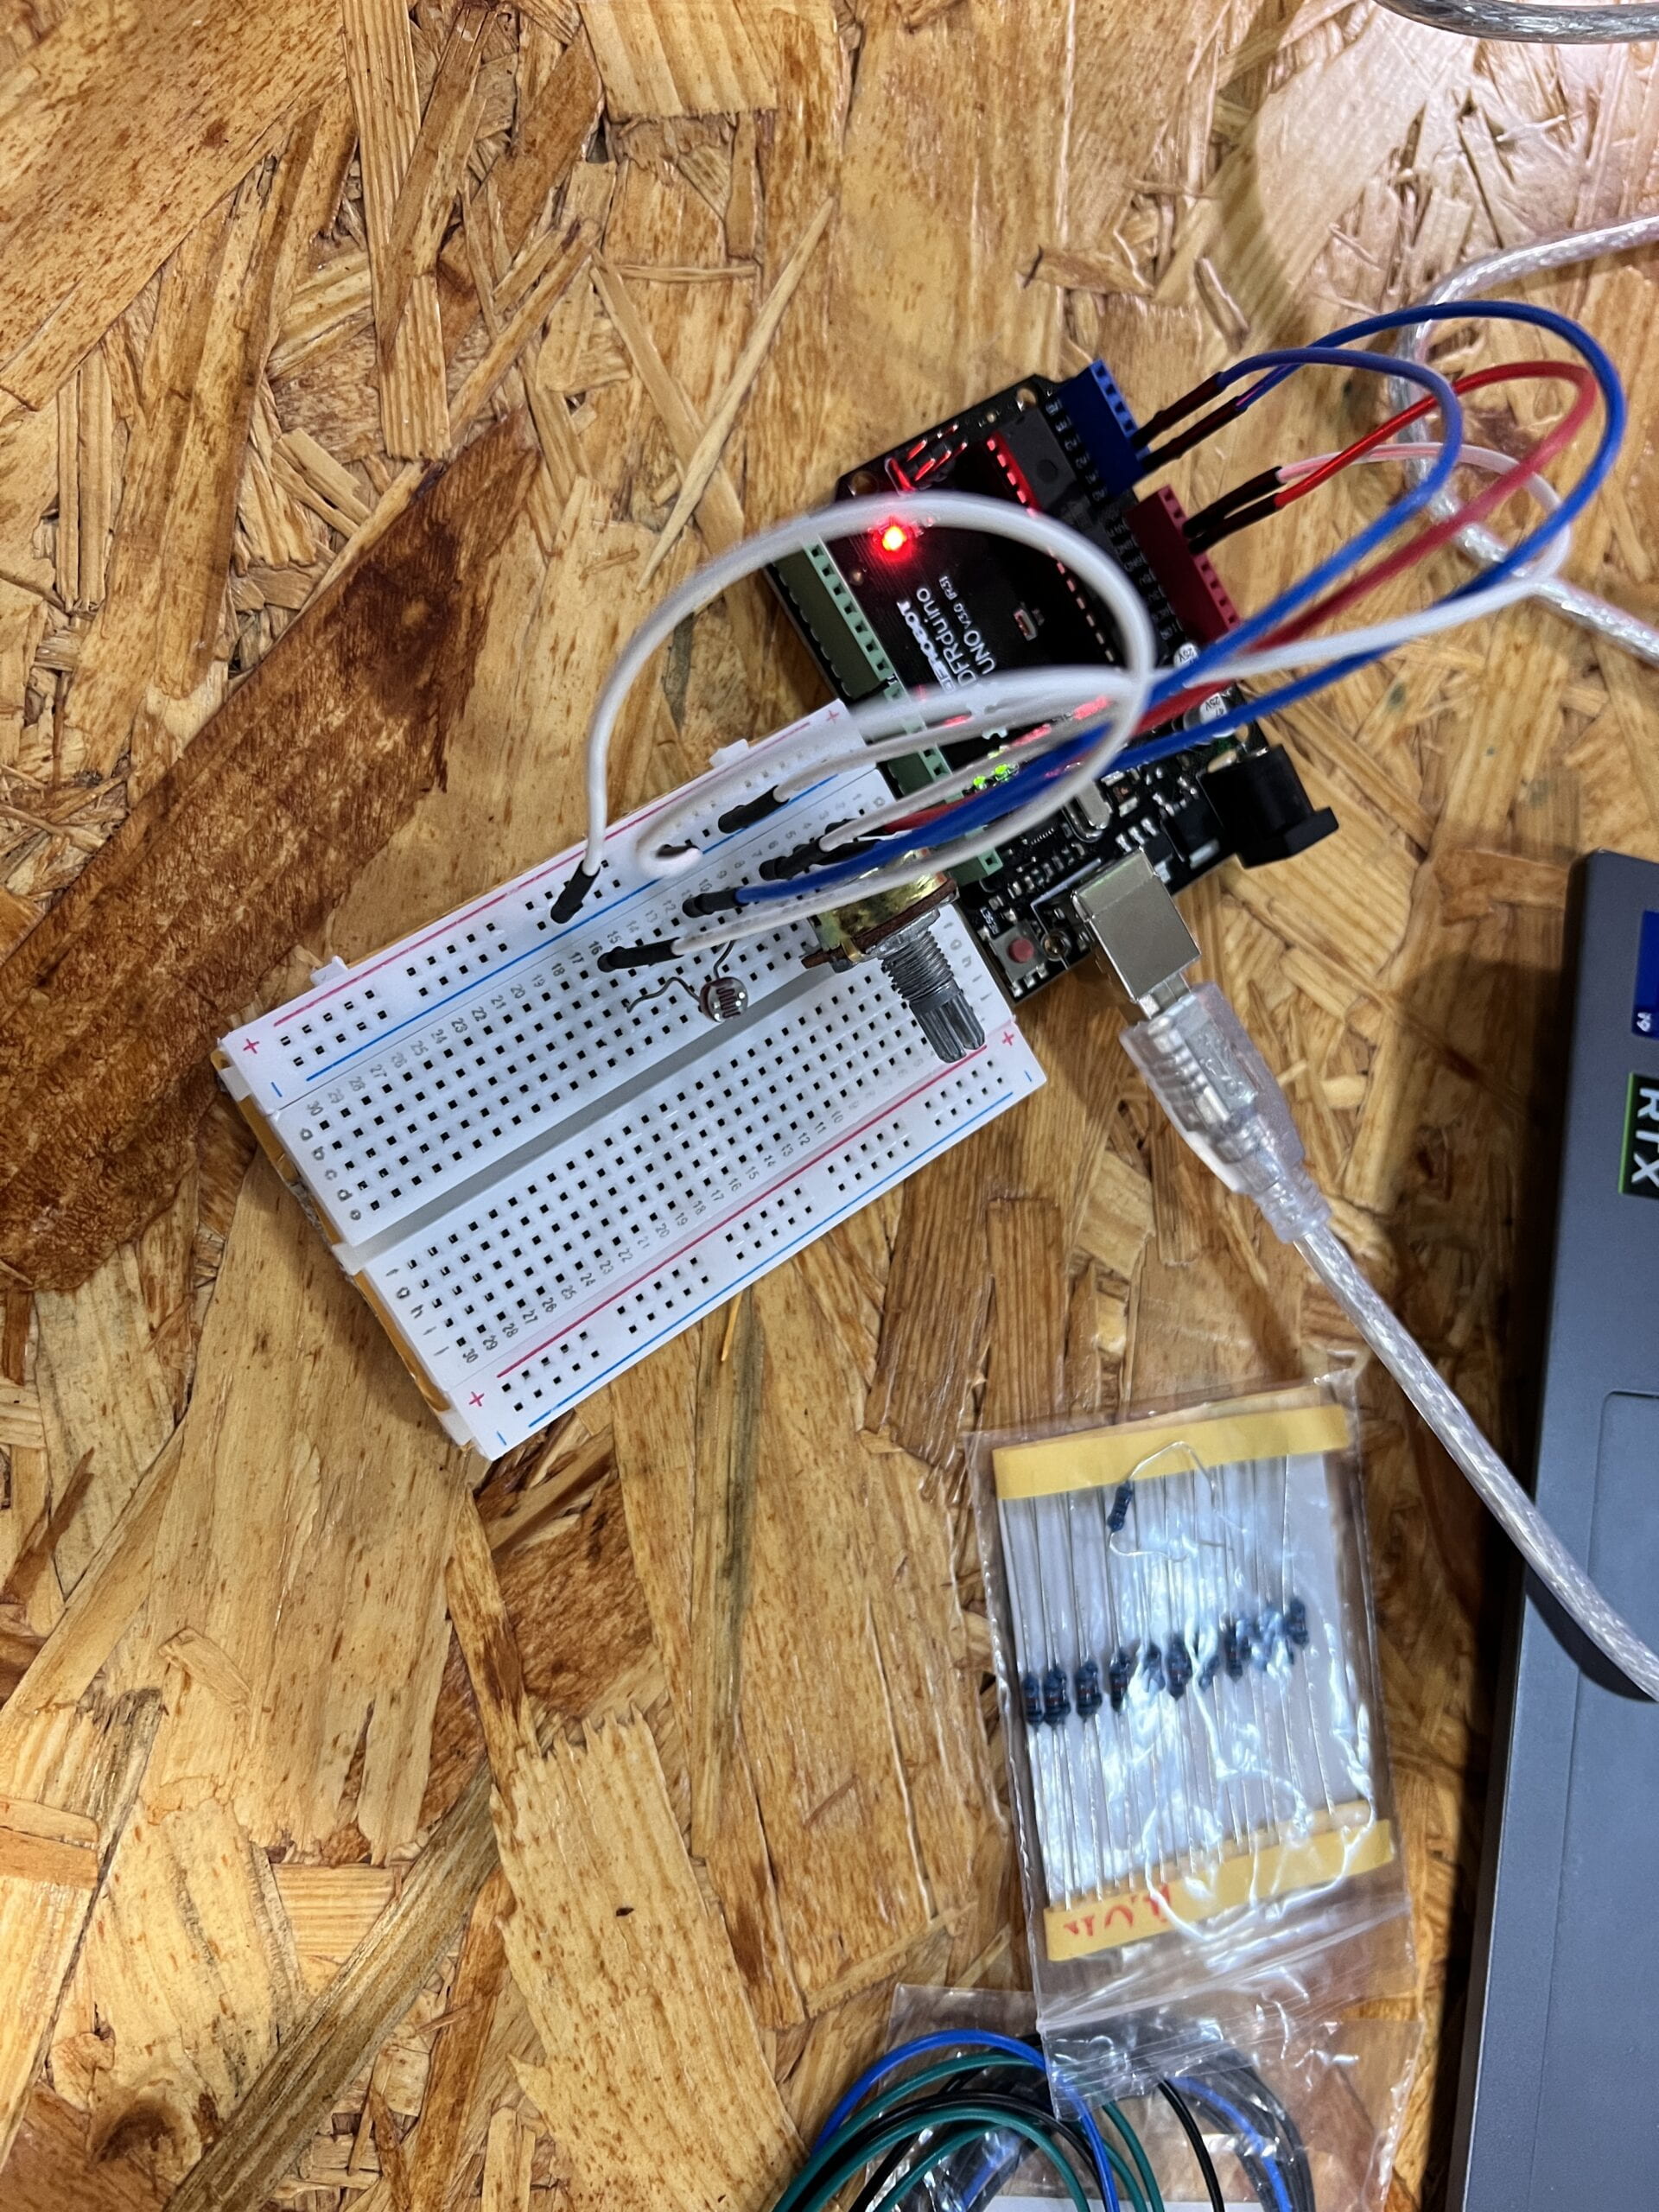
Our thought was to use one potentiometer and one photoresistor to control a video. The potentiometer could control the speed of the video, and the photoresistor could make the video back to the starting point.
First, we built up a circuit and connected two controllers to two analog pins. 
We used SendMultipleValues in the Arduino library as the basis to send the value of the potentiometer and photoresistor to the Processing. Unfortunately, the code was lost because I accidentally overlapped it when working on my final project.
We used the serial monitor to detect the range of the photoresistor’s value, and we concluded with a result between 850 and 300. We discovered that the value would go down if we covered the photoresistor and allowed less light in, which would come in great use later.
We used the example video for class, which is an adorable kid dancing.
We used the map() function to modify the two values. As we rolled the potentiometer, the speed of the video varied from 0.1X to 5X. If we touch the photoresistor, the video will be played from the start. We can see how it works in the code.
import processing.video.*;
Movie myMovie;


import processing.serial.*;
import osteele.processing.SerialRecord.*;

Serial serialPort;
SerialRecord serialRecord;

void setup() {
  size(500, 500);

  String serialPortName = SerialUtils.findArduinoPort();
  serialPort = new Serial(this, serialPortName, 9600);

  // If the Arduino sketch sends a different number of values, modify the number
  // `2` on the next line to match the number of values that it sends.
  serialRecord = new SerialRecord(this, serialPort, 2);
  background(0);
  size(512, 288);
  myMovie = new Movie(this, "dancing.mp4");
  myMovie.loop();
}
void movieEvent(Movie movie) {
  myMovie.read();
}

void draw() {


  serialRecord.read();
  int value1 = serialRecord.values[0];
  int value2 = serialRecord.values[1];

  ///float x = map(value1, 0, 1024, 0, width);
  //float y = map(value2, 850, 300, 0, height);
  image(myMovie, 0, 0);
  float newSpeed = map(value1, 0, 1024, 0.1, 5);
  myMovie.speed(newSpeed);

  float light = map (value2, 850, 300, 0, 1);
  if (light < 0.3) {
    myMovie.jump(0);
  }
}
Eventually, we had a result looking like this:
This recitation was very interesting, allowing us to do some exploration as inspiration for our final project. Thanks to the thorough and bountiful guidance from IMA fellows and professors, we equipped ourselves with enough knowledge to help us finish this task without any barriers.
Through this recitation, my knowledge of serial communication got reinforced. It also broadened my horizon and made me realize that we can use various sensors to control unlimited elements on the computer.