Concept
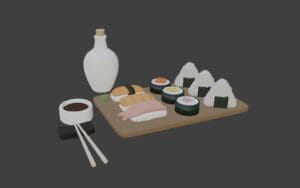
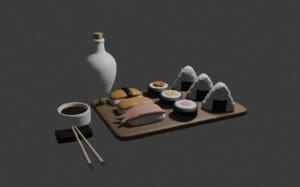
For this final project, I decided to do a 3D model of a sushi platter. I thought it would be fun to play around and make different types of sushi.
Here are some of the reference images I had:
![]()

Process
I started off by making the platter, soy sauce bottle, chopstick holder, chopsticks, and soy sauce dish. The soy sauce bottle took the longest to make because it involved a lot of extruding, adjusting loop cuts, and scaling. One difficulty I encountered was not being able to achieve the desired shape due to the scaling of the loop cuts. However, in the end, I added more loop cuts, which allowed me to adjust and scale the model according to one of my reference images. For the other items above, I mainly used the subdivision surface modifier, loop cuts, bevel, and shade smooth. In order to achieve my desired shape, I played around with scaling, rotation, and positioning.
I then proceeded to create the sushi and onigiri. To make the sushi, I began with a cube and adjusted its size as needed. Next, I used loop cuts to lift the center of the rice upward, also using proportional editing to soften the curve. I repeated this process for each sushi piece, modifying them slightly to ensure they appeared distinct from one another.
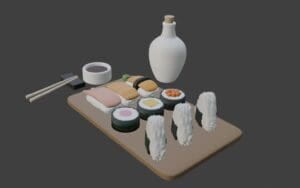
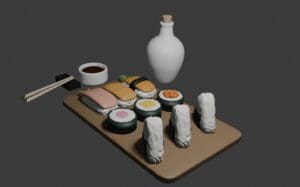
In the end, I felt that something was missing, so I decided to add texture to my rice, which was smooth initially. I followed a YouTube tutorial to create the texture, which added dimension to the rice in my 3D model. From that tutorial, I learned about Displace, Texture, and Voronoi.
Here are some screenshots of my sushi platter after I added color, with and without lighting.


All in all, I thoroughly enjoyed creating this sushi platter because it allowed me to apply what I’ve learned over the past few weeks and create something I never imagined I could. It was a highly enjoyable process where I could experiment and refine my skills.