// Sketch Link //
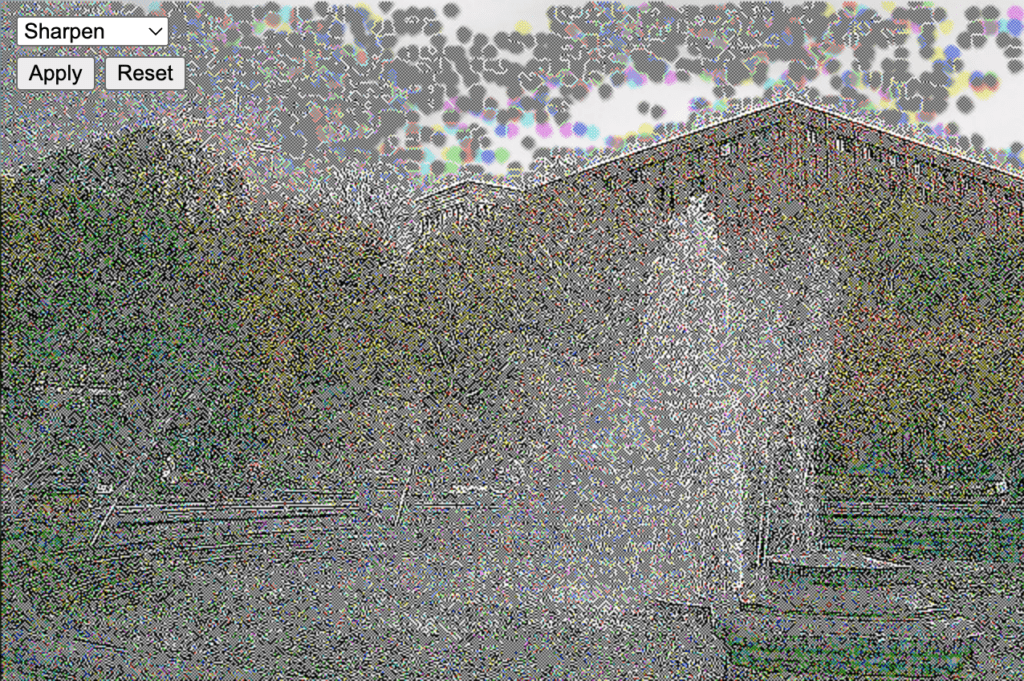
For this weeks assignment, I experimented with creating a kernel filter system for images in p5.
I was inspired by one of Professor Shiffman’s discussion of how image filters are a type of cellular automata system. He said that a blur filter basically visits each pixel and then makes that pixel’s new color the average of its neighbors. I began by coding this example and was able to finish this surprisingly quickly. For the first time ever, it worked on my first try.

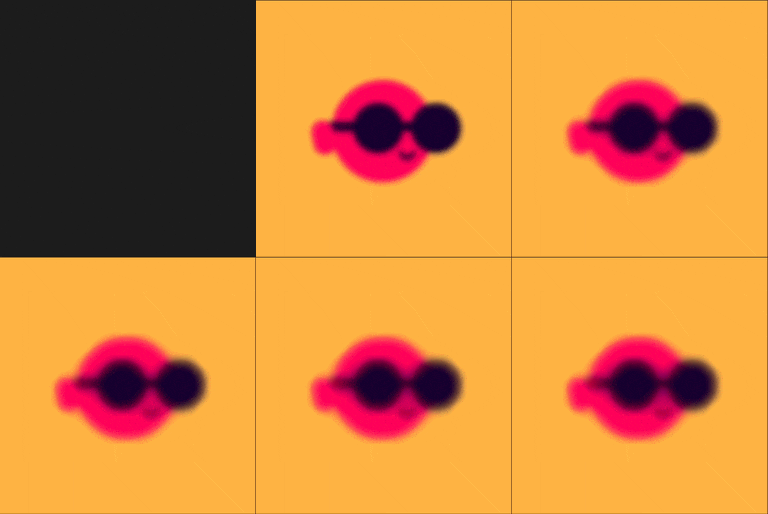
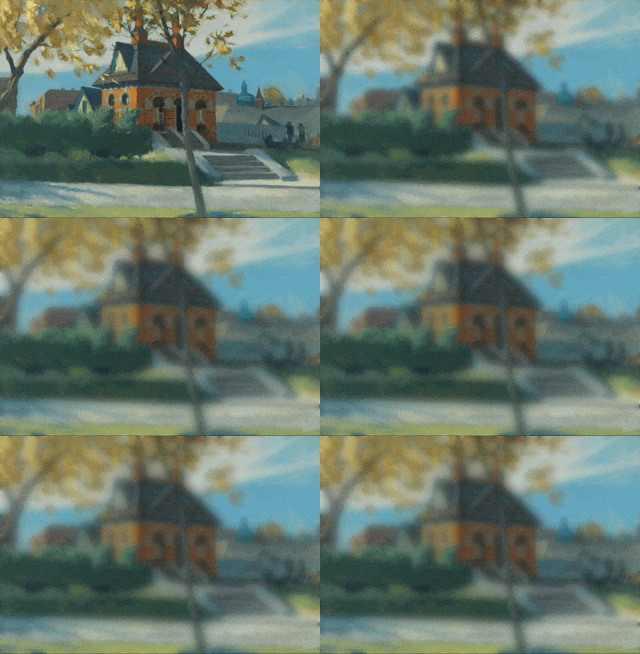
I was shocked to say the least – this never happens! Here is a link to the original sketch. Two things to not about this v1: (1) the code is very repetitive and long winded and (2) for the edge cases, I chose to just start the filter on the second pixel so that it has neighbors to explore.
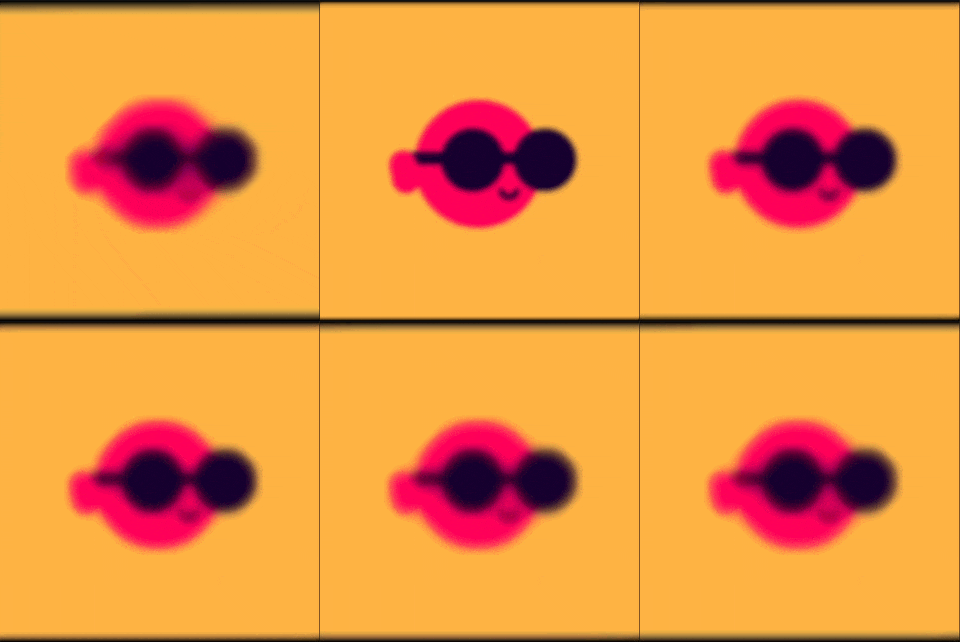
Otherwise, this would happen:
To move forward from here, I decided to go to YouTube and learned a lot more about photo processing. I watched three videos:
- The algorithm to blur images (box blur) – Inside code
- How Blurs & Filters Work – Computerphile
- Finding the Edges (Sobel Operator) – Computerphile
These videos introduced me to the concept of kernels (which I think was touched briefly on in class). I learned that the blur I had written was called a “box blur” which is not the smoothest blurring algorithm. A more realistic blur, like Gaussian blur, uses a kernel that favors the current pixel and gives less weight to its neighbors.
The kernel I had (accidentally) written before looked like this:
| 1 | 1 | 1 |
| 1 | 1 | 1 |
| 1 | 1 | 1 |
A kernel for Gaussian blur would look something more like this:
| 0 | 1 | 0 |
| 1 | 5 | 1 |
| 0 | 1 | 0 |
After learning all of this, I wanted to implement kernels into my filtering sketch! I knew that once kernels were implemented, I could implement dozens of other image filters besides just blurs and manipulate images in different ways. So, using the information in the videos I watched, I began to rewrite my program.
Unfortunately, this took the longest time (more hours than I would like to admit) to get working correctly. Though the concept is simple, I kept messing up the implementation.
On my first version, the kernel was doing something… But not wanted:
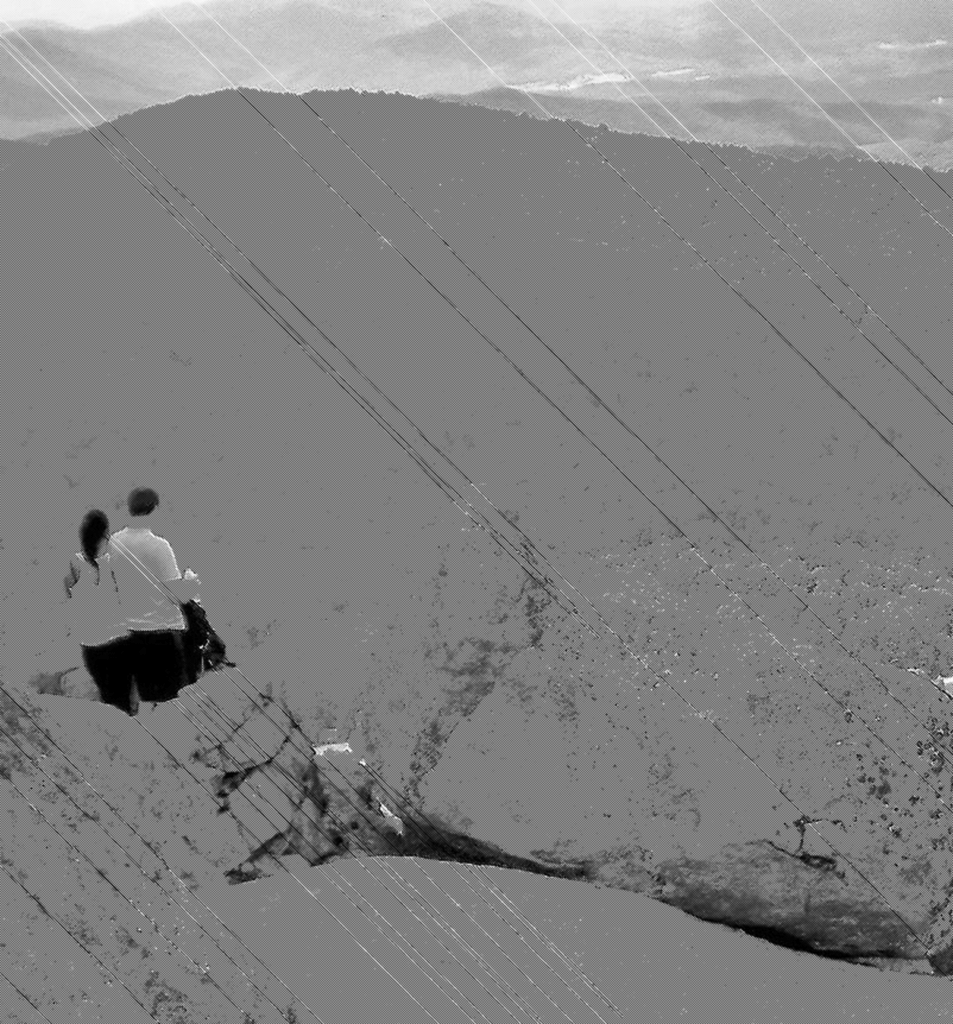
On the next iteration, it seems to maybe be working a little better but there were still weird patterns and colors appearing over the image:
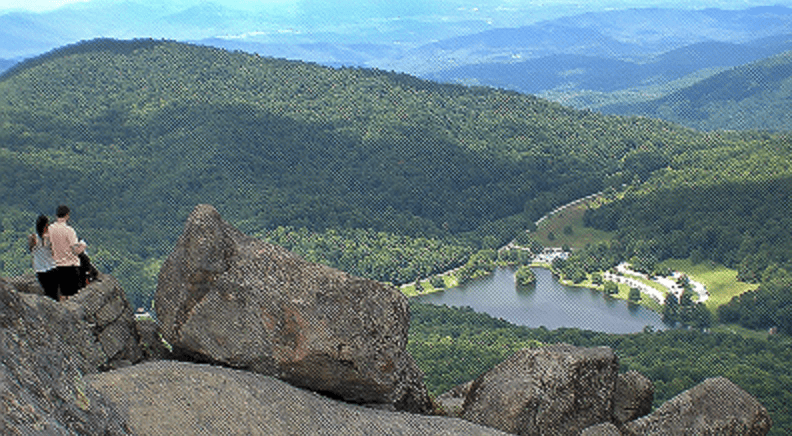
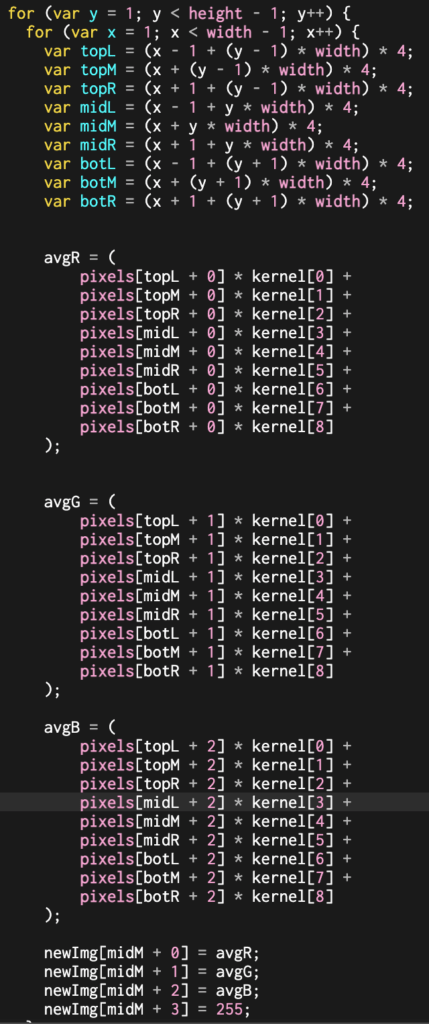
Also the code was still very lengthy:
On the next version, I was getting these weird ghosting effects and just could not figure out why. I kept playing with variables and numbers to no avail.
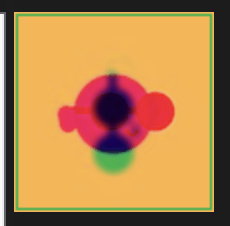
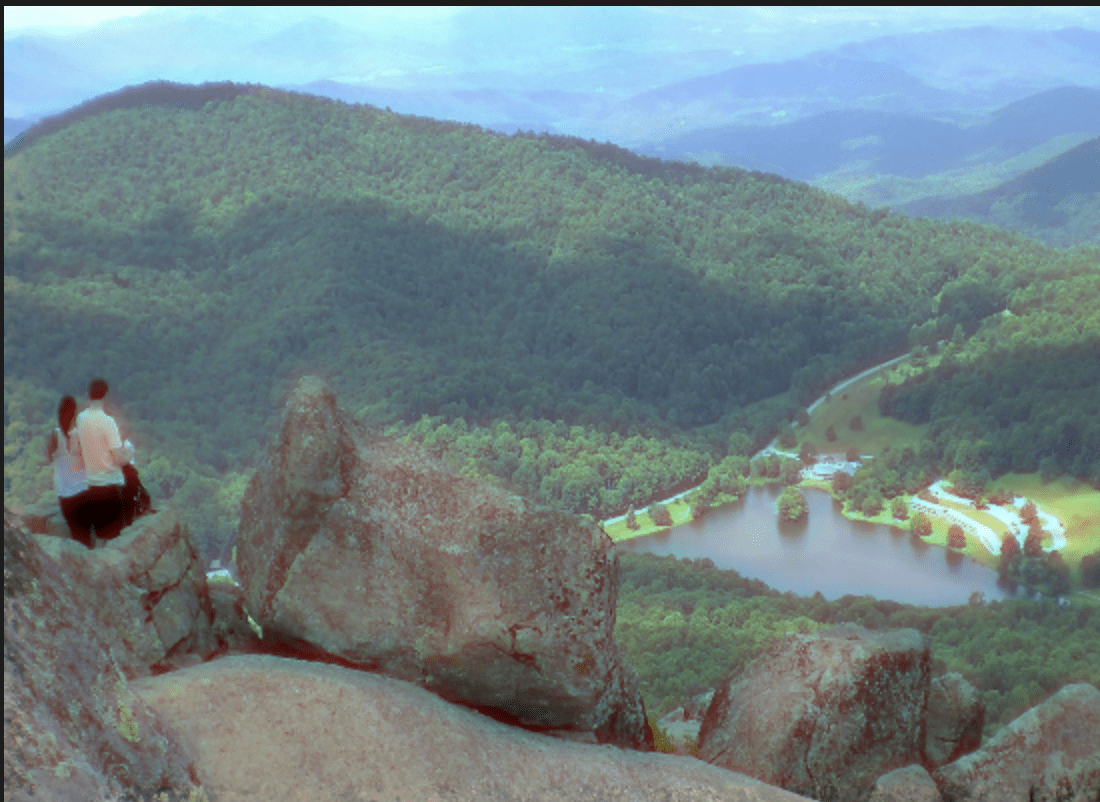
Why is there a green border? Why are the glasses rotated? Why is it all hazy? I don’t know! Ahh!!!! I decided to take a break and come back to the code later.
Once I came back, I quickly figured out what was causing all the problems… I had heard in one of the videos that in order to edit an image you have to create a new array to store the updated values and then draw those over the image. This avoids using already manipulated pixels to manipulate the rest of the image. So, in my code I had a newImg array that (I thought) was a copy of pixels and then, after manipulating the whole image, I copied newImg back into pixels.
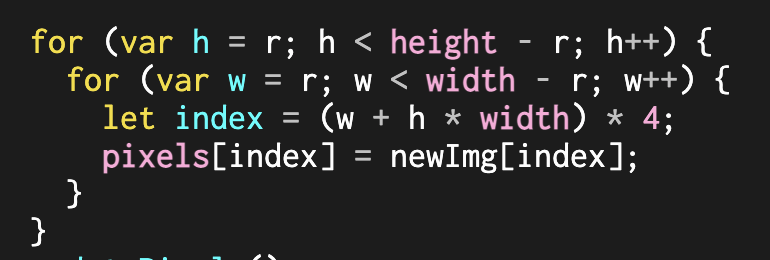
I (unfortunately) had forgotten how pointers in javascript work and was just shallow copying the array. This meant that all the values got messed up and placed wrong into the new array. So, I just deleted all the code that related to newImg and just iterated over the pixels array. And…… it works now! Such a simple thing, but fixed all my issues. I guess, technically, the image filters aren’t 100% accurate because they are using already manipulated pixel values to manipulate the next? Not sure…
Anyways, I simplified the code added a few filters (using this website to help) to choose from and a little UI and here we are!
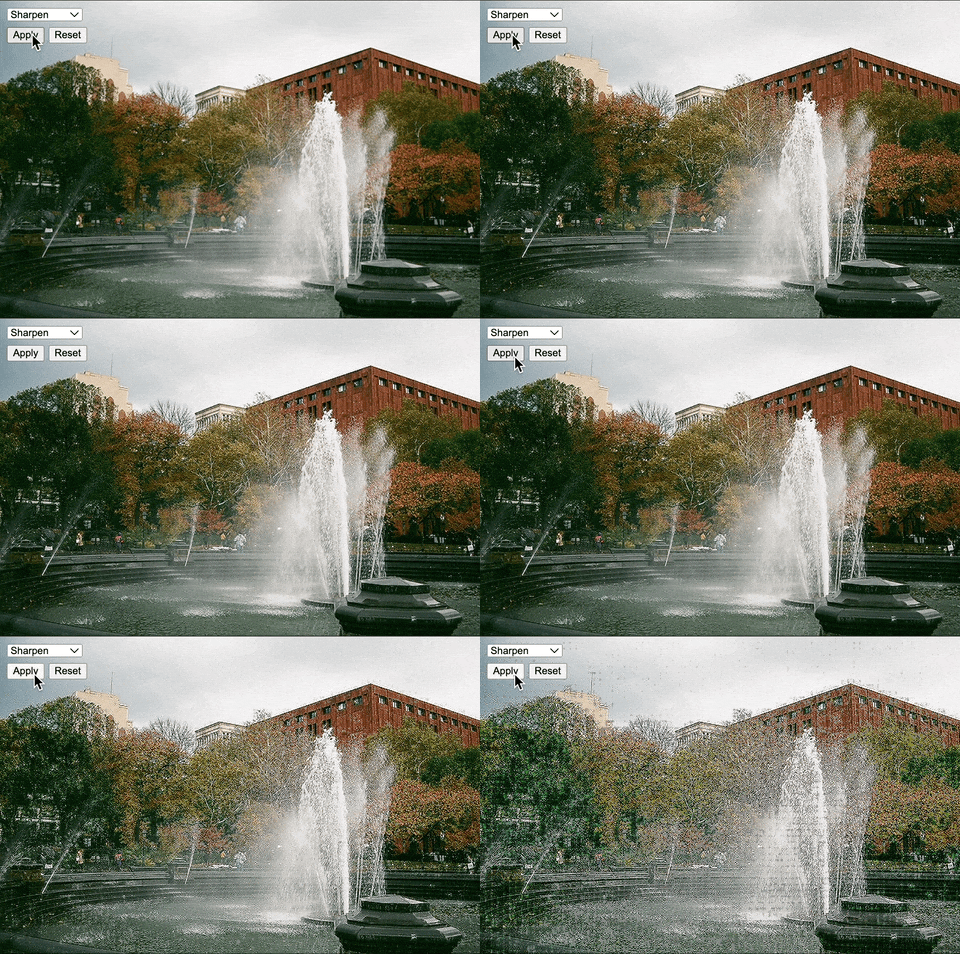
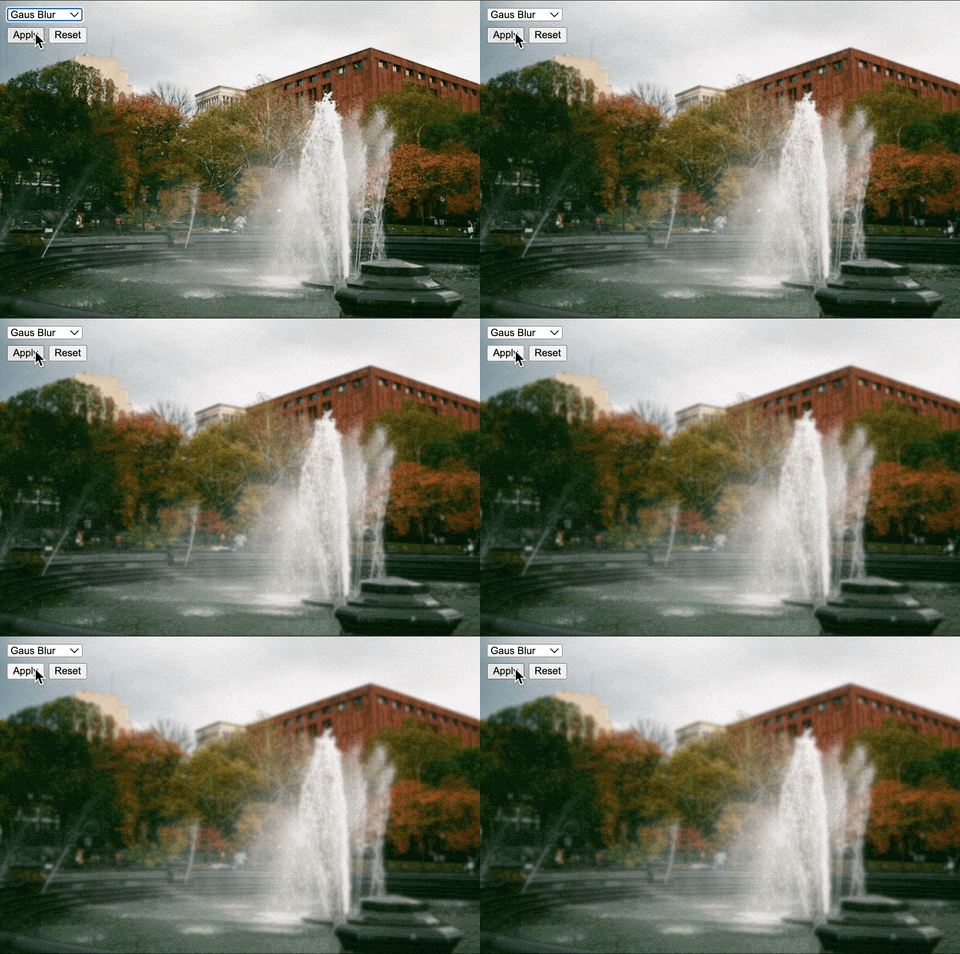
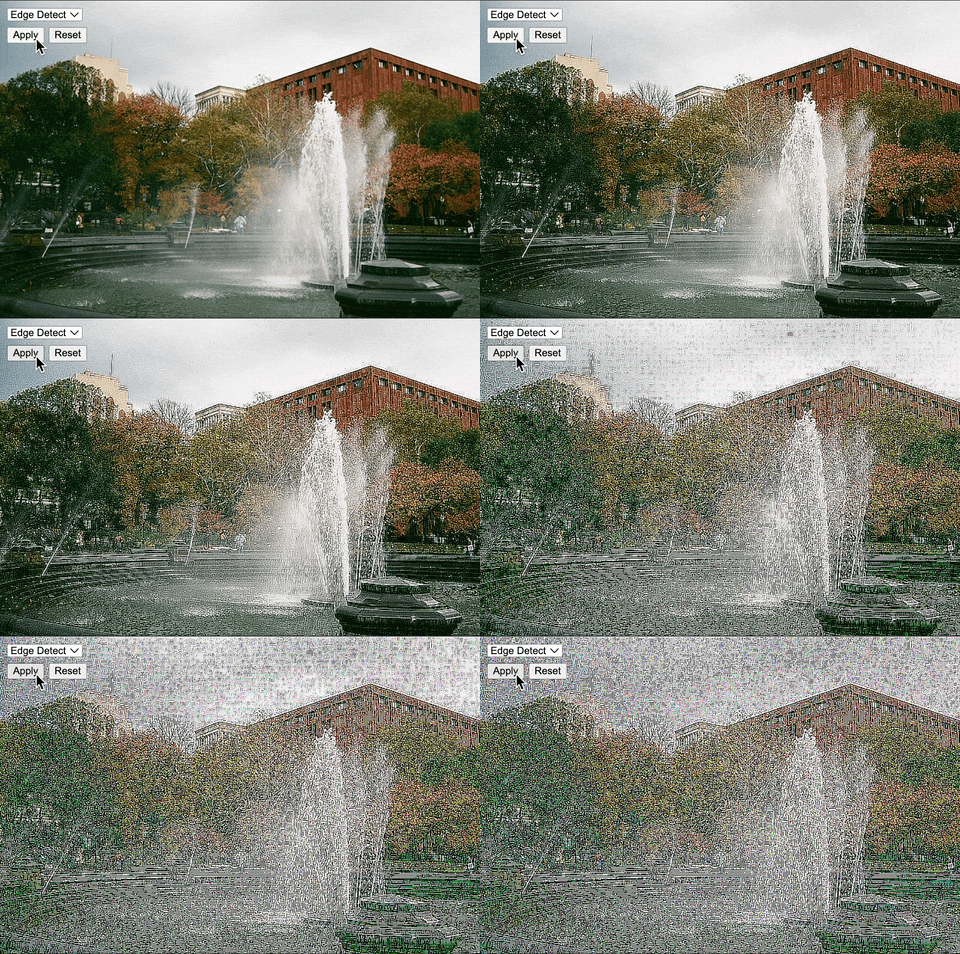
The filters work decently well! They run fairly fast and are fun to play around with. I found it especially cool to stack filters to create fun effects.
Stacking blur and sharpen looks like mold is growing on the picture:
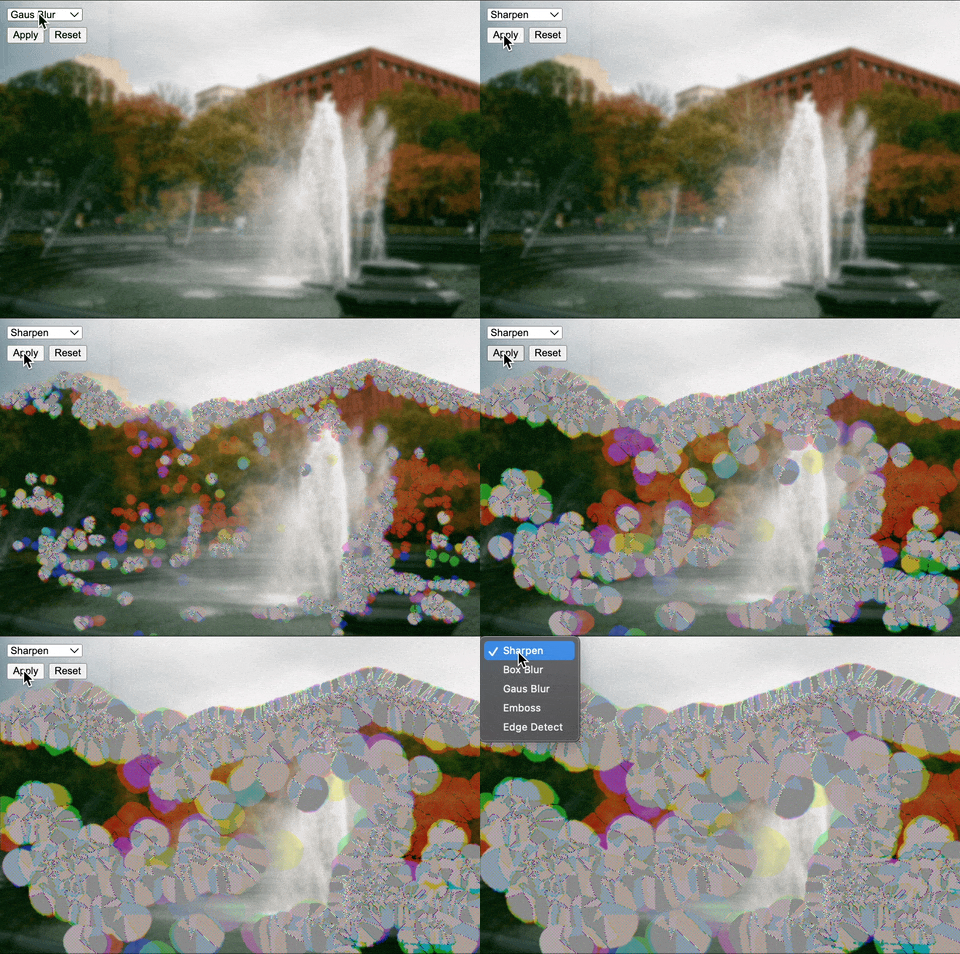
Doing edge detection then sharpening it looks like the picture is freezing and frost is growing on the edges:
Cool! I also wanted to experiment with a concept I had heard about in one of the videos about expanding the kernel. Basically, instead of just stacking blurs to make an image more blurry, increasing the radius of the search neighborhood to be larger than one (or 3×3) creates a more blurry image. This was now possible because of my rewritten code that optimizes the neighborhood search.
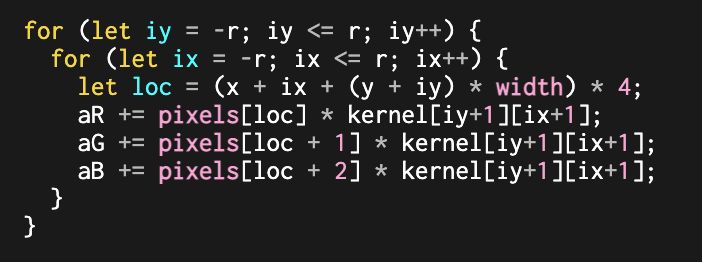
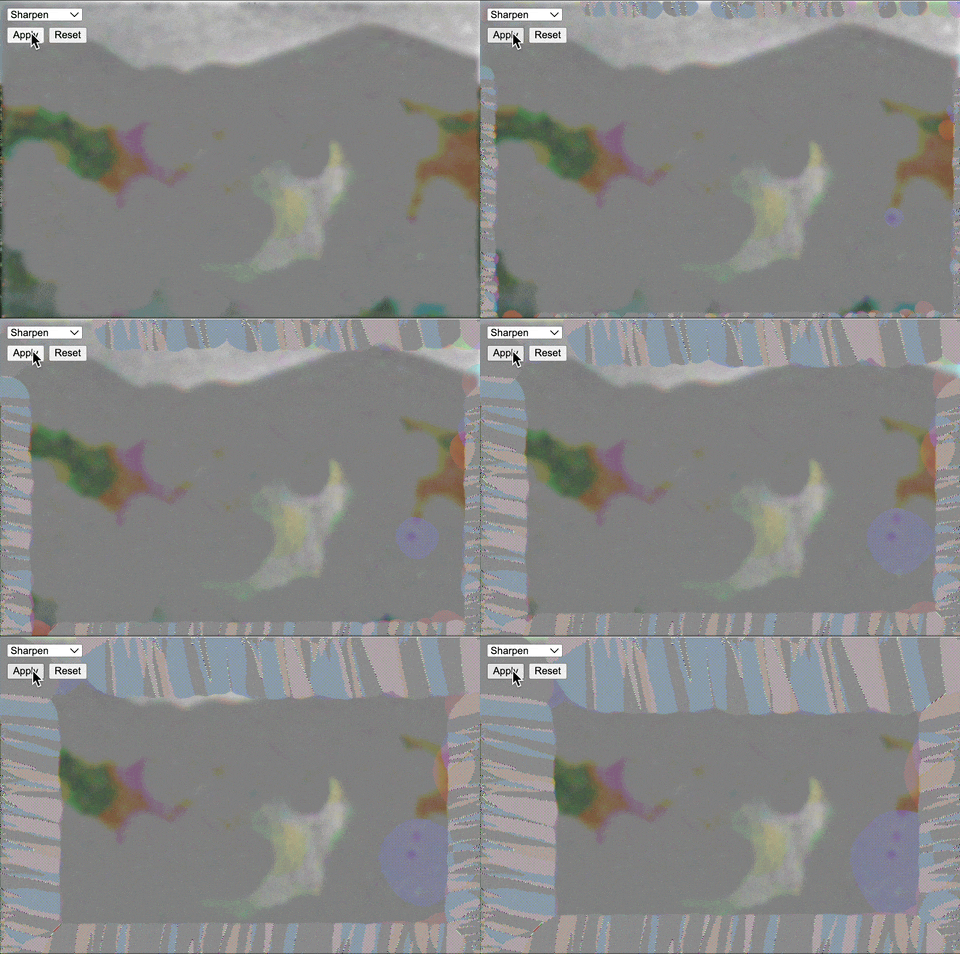
To increase the blur, I just have to increase the r variable. Here is a sketch that does just that!
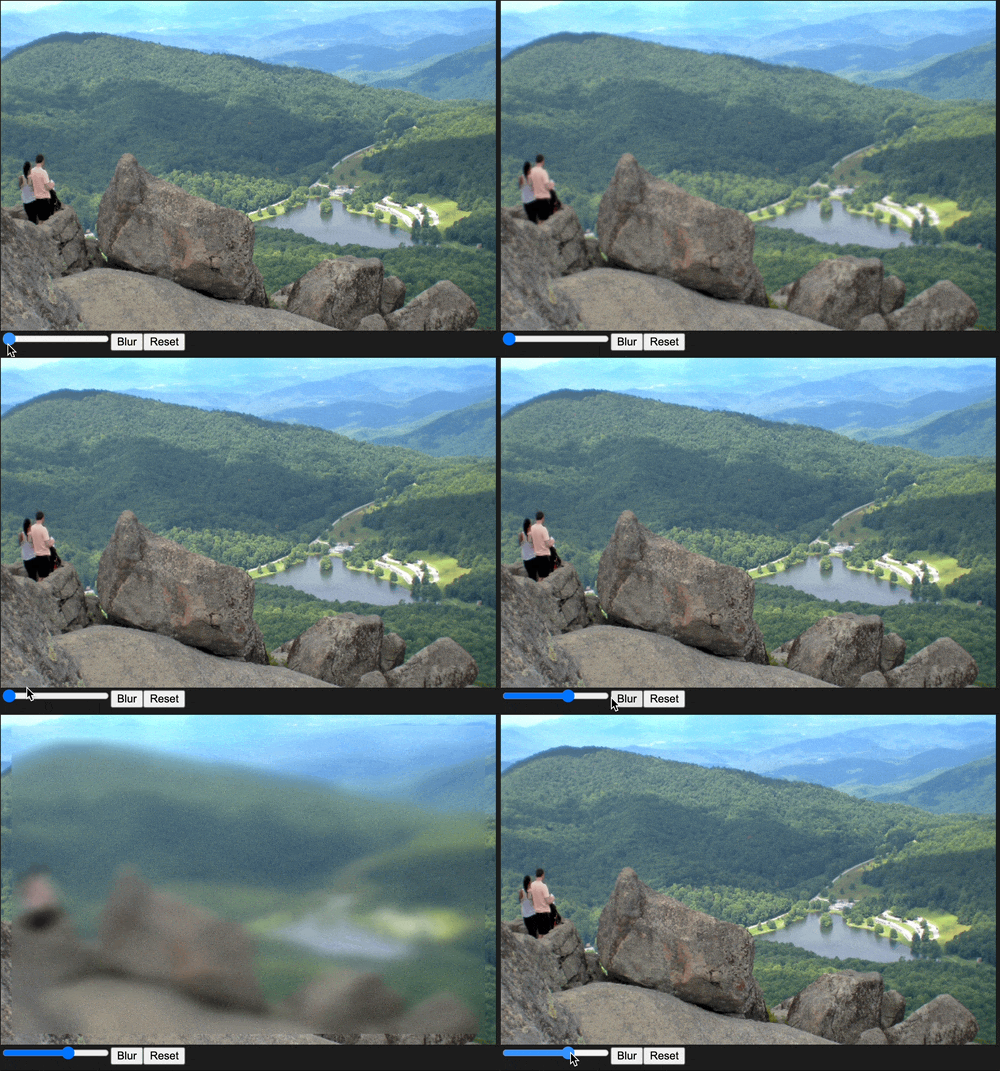
You can see that one of the problems is that the larger the radius (max of 20), the less of the image that gets affected because the start pixel is further offset.
So, in the future I would like to…
- Implement wraparound so that filters affect the entire image
- Implement neighborhood resizing for all effects, not just box blur.
- This would require having auto generated kernels or something because manually writing out a 20×20 kernel would be insane.
- Allow users to upload their own images
- Implement more complex algorithms that use multiple kernels (Sobel Operator)
The world of image filters is huge and I find the concept super interesting! I think it is super cool that from now on when I use a Gaussian blur in Photoshop or Premiere, I know (sort of) what is going on under the hood! This project also taught me the importance of taking breaks in coding. I was sitting for hours just trying to figure out what was wrong with my code and was getting to frustrated to work. Coming back the next day allowed me to code with a clear head and quickly tackle the issue.