Lab: Two-Way (Duplex) Serial Communication Using An Arduino and P5.js
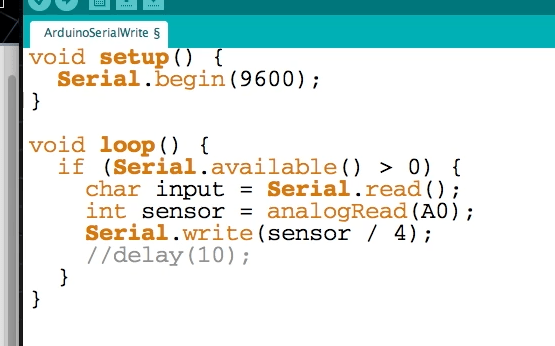
Video: what is char and why is it used here? This is a clip from Tom’s video Serial 6: Better Processing.

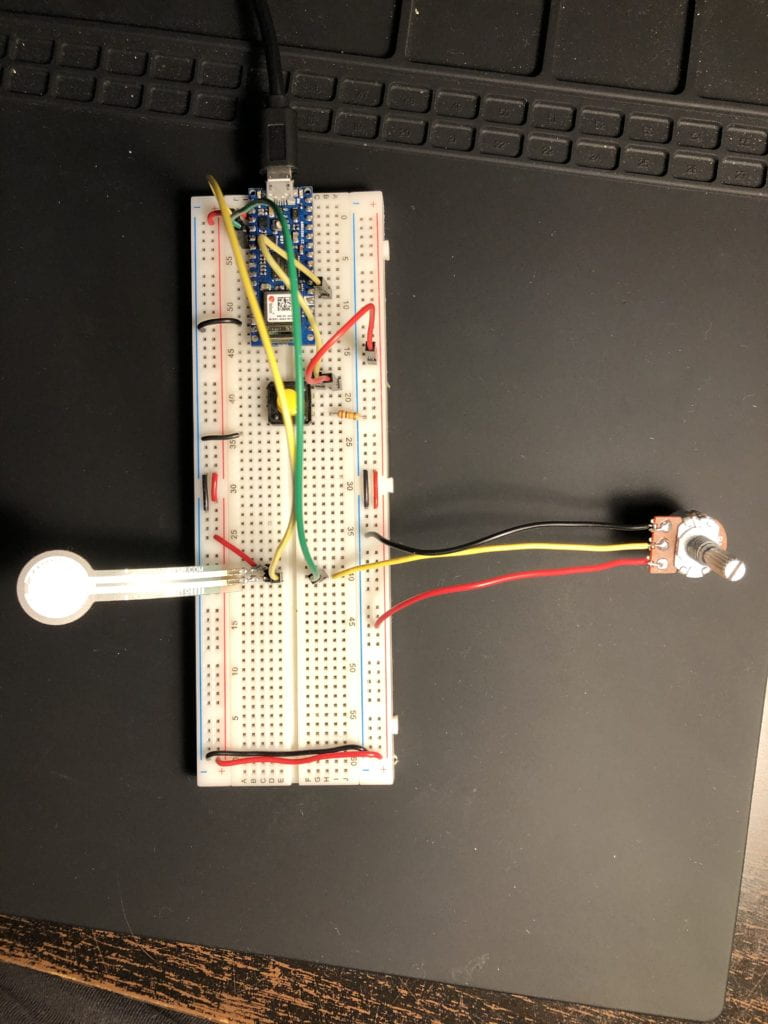
Setup board with Force Seeing Resistor, potentiometer and bush button.

Part A:
Ran program with just serial monitor and got the 3 numbers separated with ‘,’.
Part B: p5.js
Since I was not using the accelerometer in the Nano, I needed to change the values in serialEvent() so that the value ranges were applicable to the FSR and the potentiometer.
Receive Data in P5.js
Flow Control: Call and Response
The only challenge I had with this was getting the sketch to run. I needed to close all the open post (P5.js and P5 Serial Control) then upload the sketch to the Nano without testing the call and response within the serial monitor. Once that was done, I could open the port within the P5 Serial Control app then run the sketch in P5.js.
The sketch was smoother than the first because of the handshaking.
Question:
Why does the last sketch not work after the P5.js sketch is stopped then restarted? In order to get it to work again I have to close out of the serial control as well as uploading the Arduino sketch again. Then I reconnect the Serial Control and restart the sketch.