By Group E:
Yihan Zhao
Jeeyoon Hyun
Sam Heckle
Shannon Hu
Wasif Hyder
Elias Jarzombek
Kyungah Kim
Daniel Ryan Johnston
MeeNa Ko
By Group E:
Yihan Zhao
Jeeyoon Hyun
Sam Heckle
Shannon Hu
Wasif Hyder
Elias Jarzombek
Kyungah Kim
Daniel Ryan Johnston
MeeNa Ko
Final Project Documentation Part 1.
Initial Project Blog
Part 2
Inspiration:
After my initial idea of utilizing retired sex toys for a game of Operation, I found inspiration in Daniel Rozin’s Mirror pieces as well as the following:
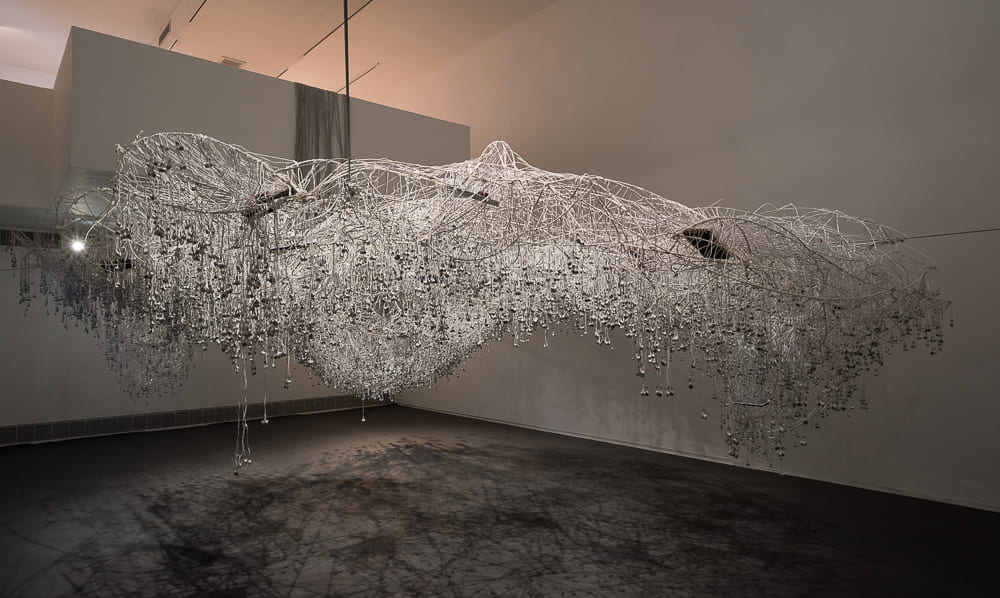
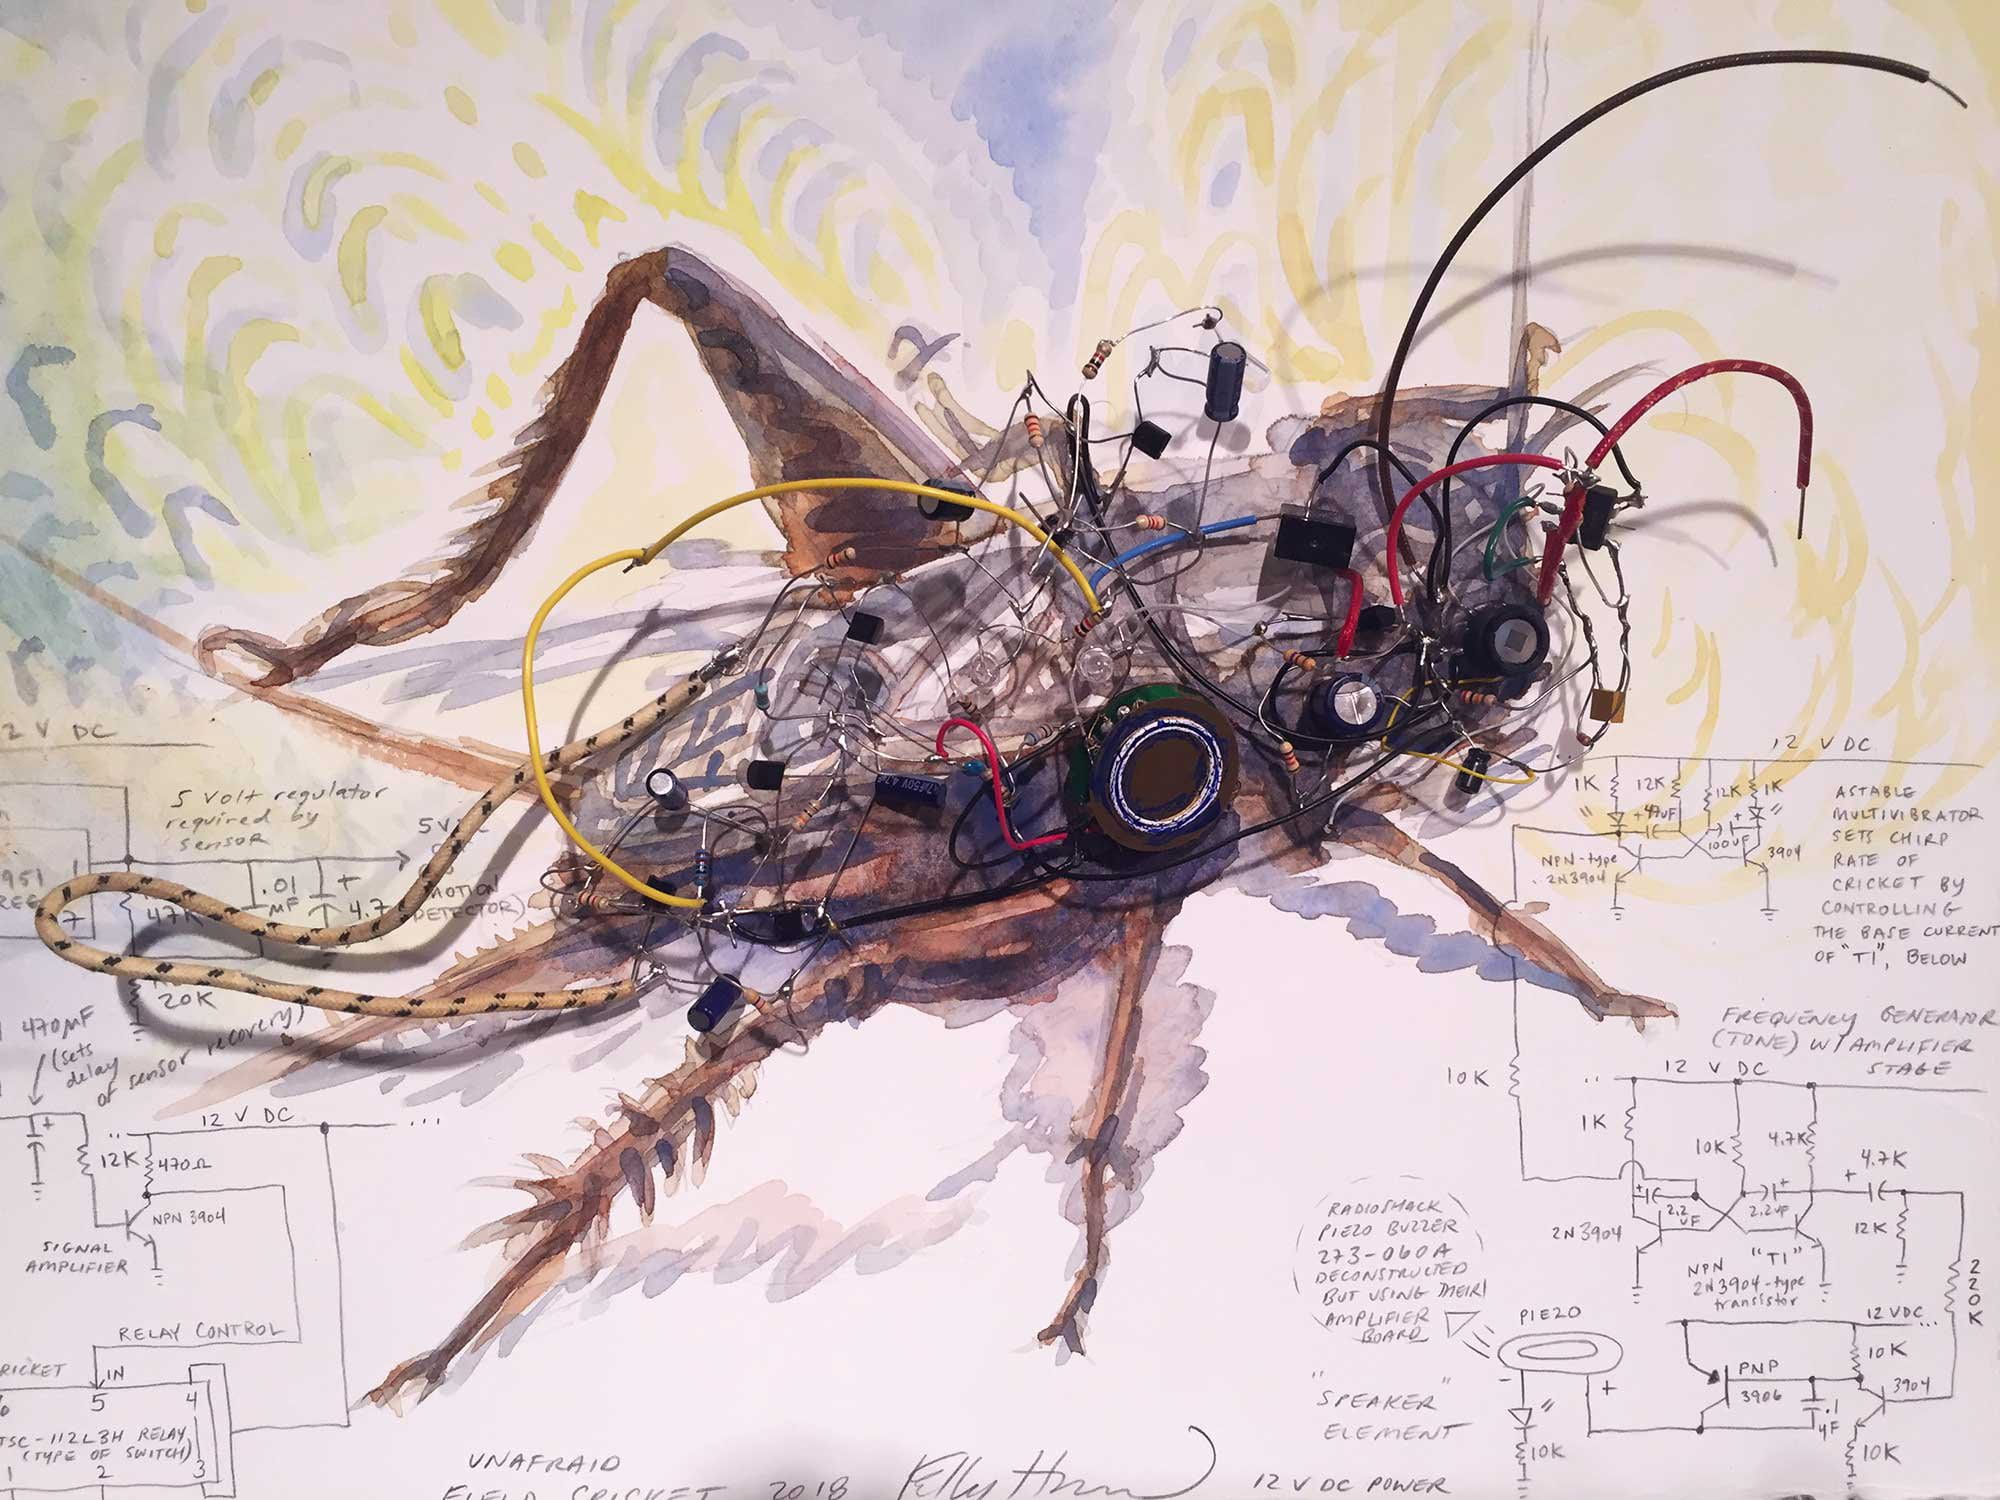
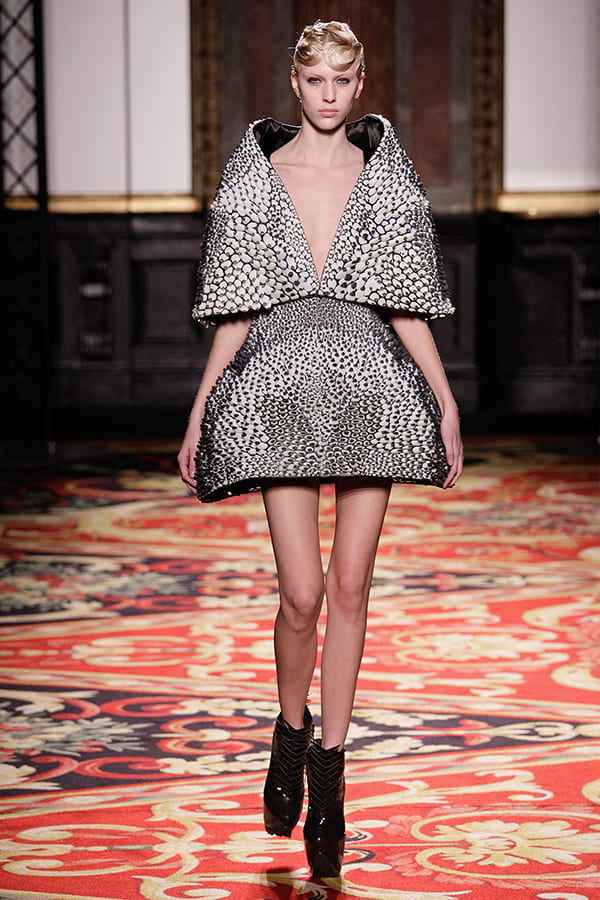
Once I had a good sense of where I was going, I moved forward with experimentation.
Tear-down of Headphones:
I used the following list of headphones. The Apple earpods were old ones from my apartment and the others were found for free on the junk shelf at ITP.
Referring to iFixit’s guide to Apple EarPods, I began but tearing down the sets I had on hand. I used an Xacto knife to get the casing off, making sure not to cut the wires before I was able to test their connections.
Working with Speakers:
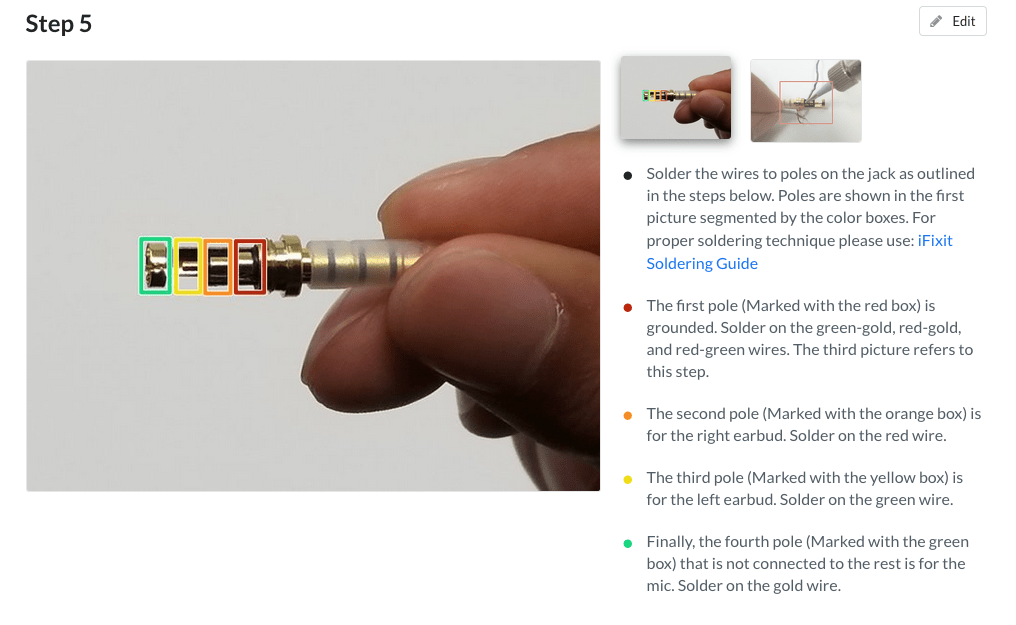
The above page was very helpful in figuring out the positive and negative wires for the speakers. This is from iFixit’s site and can be found here. All the speakers used a similar color coding for the wires. The in wires were all either red or either with bronze wires. The ground wires were all bronze. In order to test that I was assigning the wires correctly, I used the following site along with a multi-meter. This was specific to the Apple headphones but was transferable to the other sets as well.
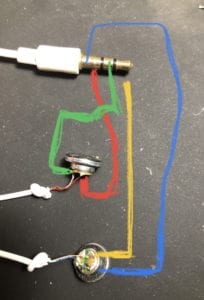
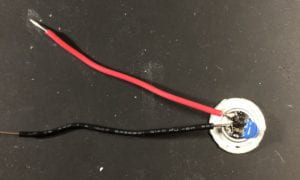
I did run into a challenge when soldering on the new wires (see below) where the soldering points would detach from the speaker casing. I was able to reattach it using hot glue but only for the one speaker. The second speaker shown below I have not been able to reattach that connection. Later, when building the final piece, I covered the connections in hot glue in order to protect them.
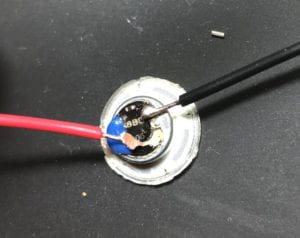
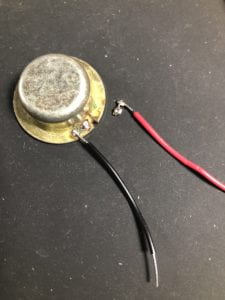
In the end, tear-down went as expected. Technology is not made to be taken apart. I used a small knife and pliers in order to get the casings off. I had to make sure not to tear a whole into the paper cones of the speakers when I was prying them apart.
Building the Circuit:
For all components, I started with one and scaled up. At the very beginning, I started with 1 Nano 33 IoT, 1 LED and 1 Photo Resistor. This lab from class was helpful in beginning this project.
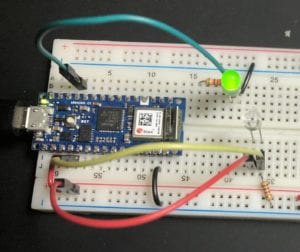
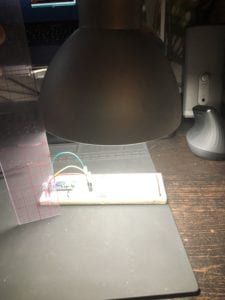
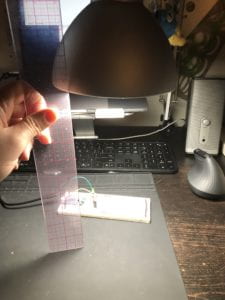
Next, I moved on to configuring the lighting rages in preparation for coding the interaction (varying distances from sensor would trigger different sounds and images). Using a 40W LED light bulb, I measured the following
5 LEDs and 5 Photo Sensor: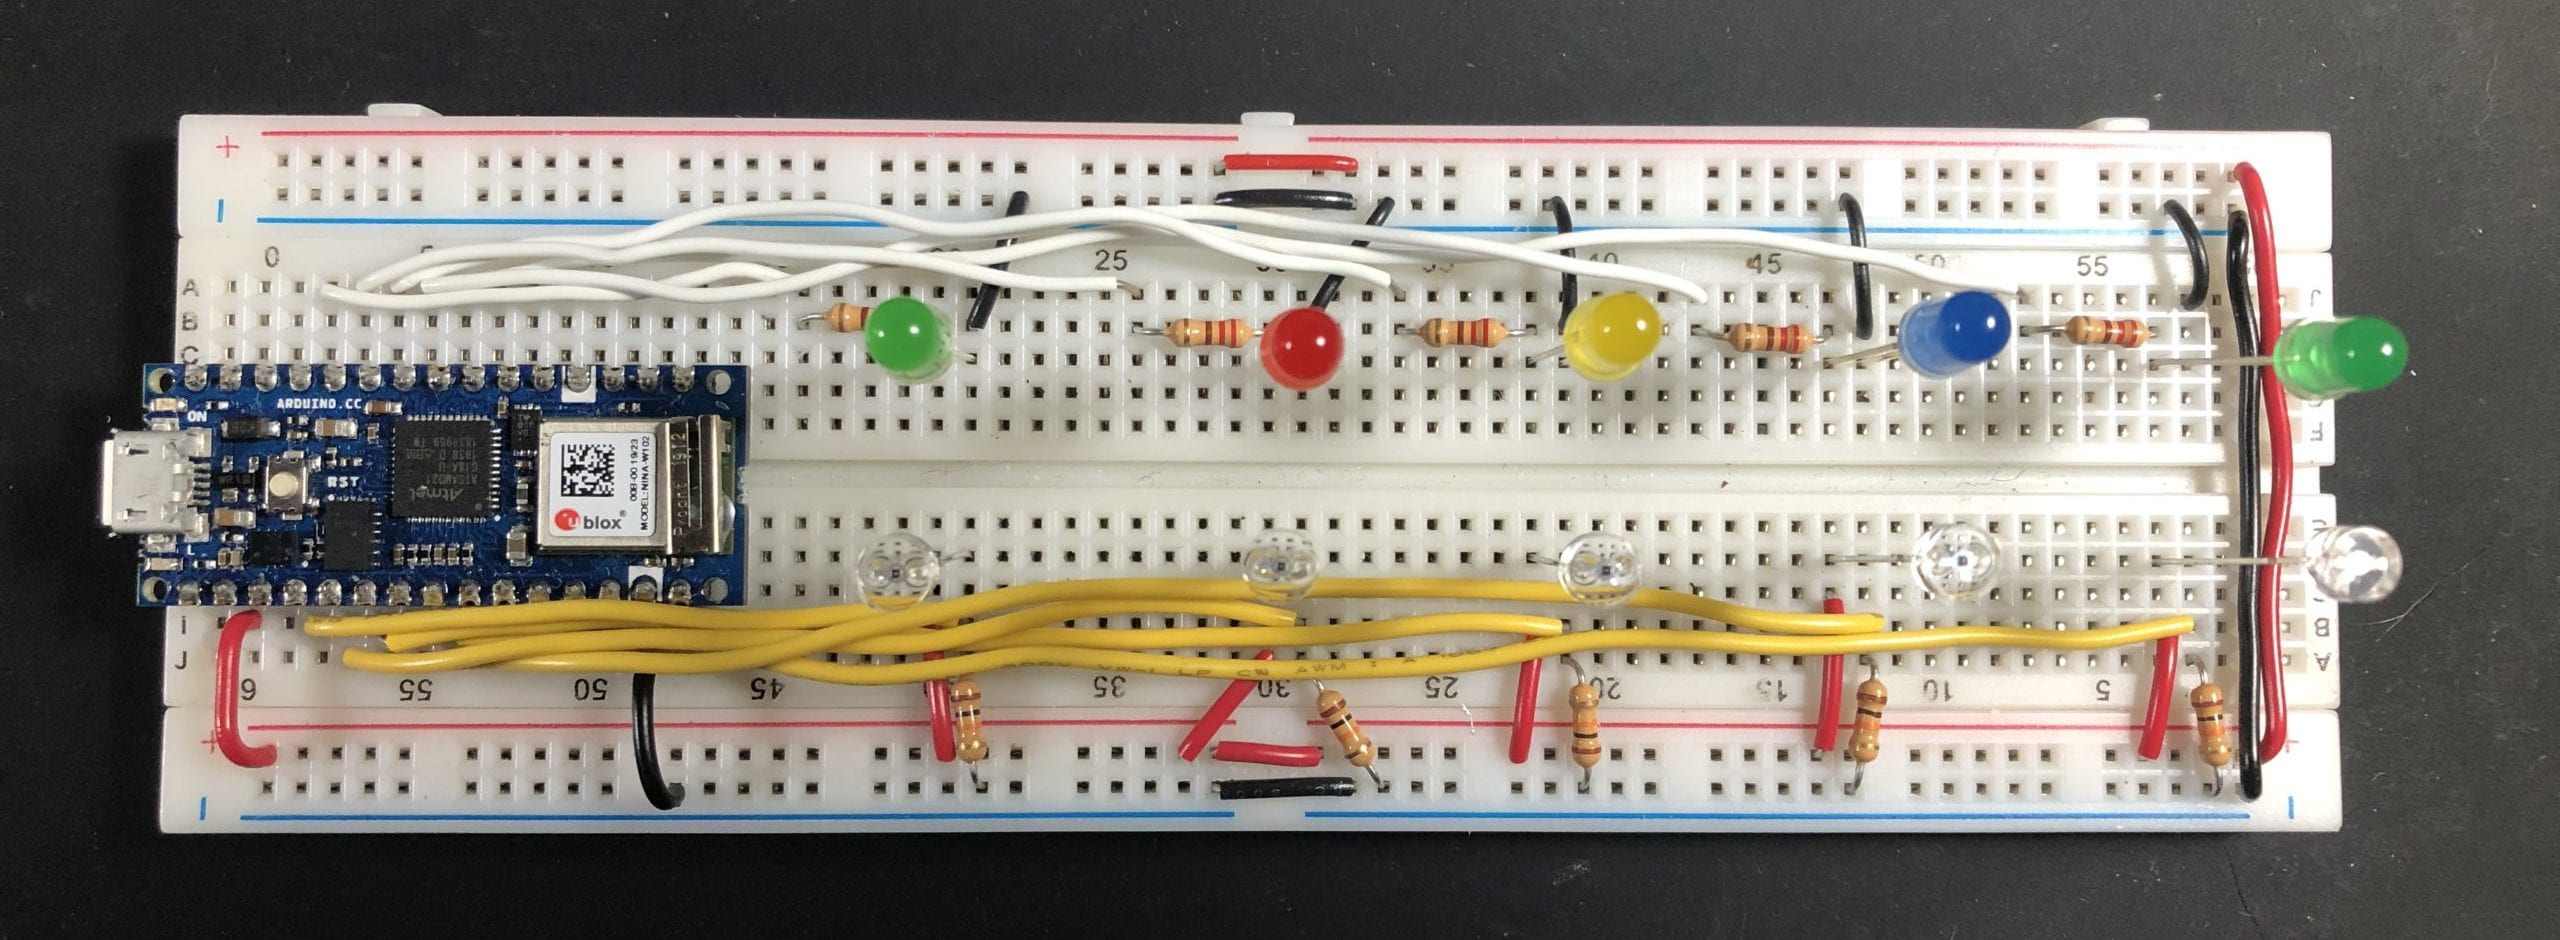
Breadboard Circuit 5 LEDS and 5 Photo Sensors
Adding Speaker to Circuit:
Testing Speaker:
I think these have a resistor built in.
Resistance: .037
* Used multimeter on tone to see if there is a connection between the two
De-solder the connection then add new wires for testing
* With the new wires: .039
* Show picture of new wires
* Caution
* When soldering the new connections onto the speaker, I think the iron was too hot and the tracing lifted up on the rest of the case. I will have to encase the backing with hot glue to prevent it from coming apart.
* Research:
* Driver: https://www.quora.com/What-is-the-driver-specification-of-apple-earpods?share=1
* Patent:
* https://www.patentlyapple.com/patently-apple/2013/01/apples-patent-for-their-revolutionary-earpods-comes-to-light.html
* http://patft.uspto.gov/netacgi/nph-Parser?Sect1=PTO2&Sect2=HITOFF&p=1&u=%2Fnetahtml%2FPTO%2Fsearch-bool.html&r=4&f=G&l=50&co1=AND&d=PTXT&s1=175588&s2=apple&OS=175588+AND+apple&RS=175588+AND+apple
Once the LEDS and photo resisters worked well together, I added a speaker. I used https://itp.nyu.edu/physcomp/labs/labs-arduino-digital-and-analog/tone-output-using-an-arduino/ for guidance setting up the circuit.
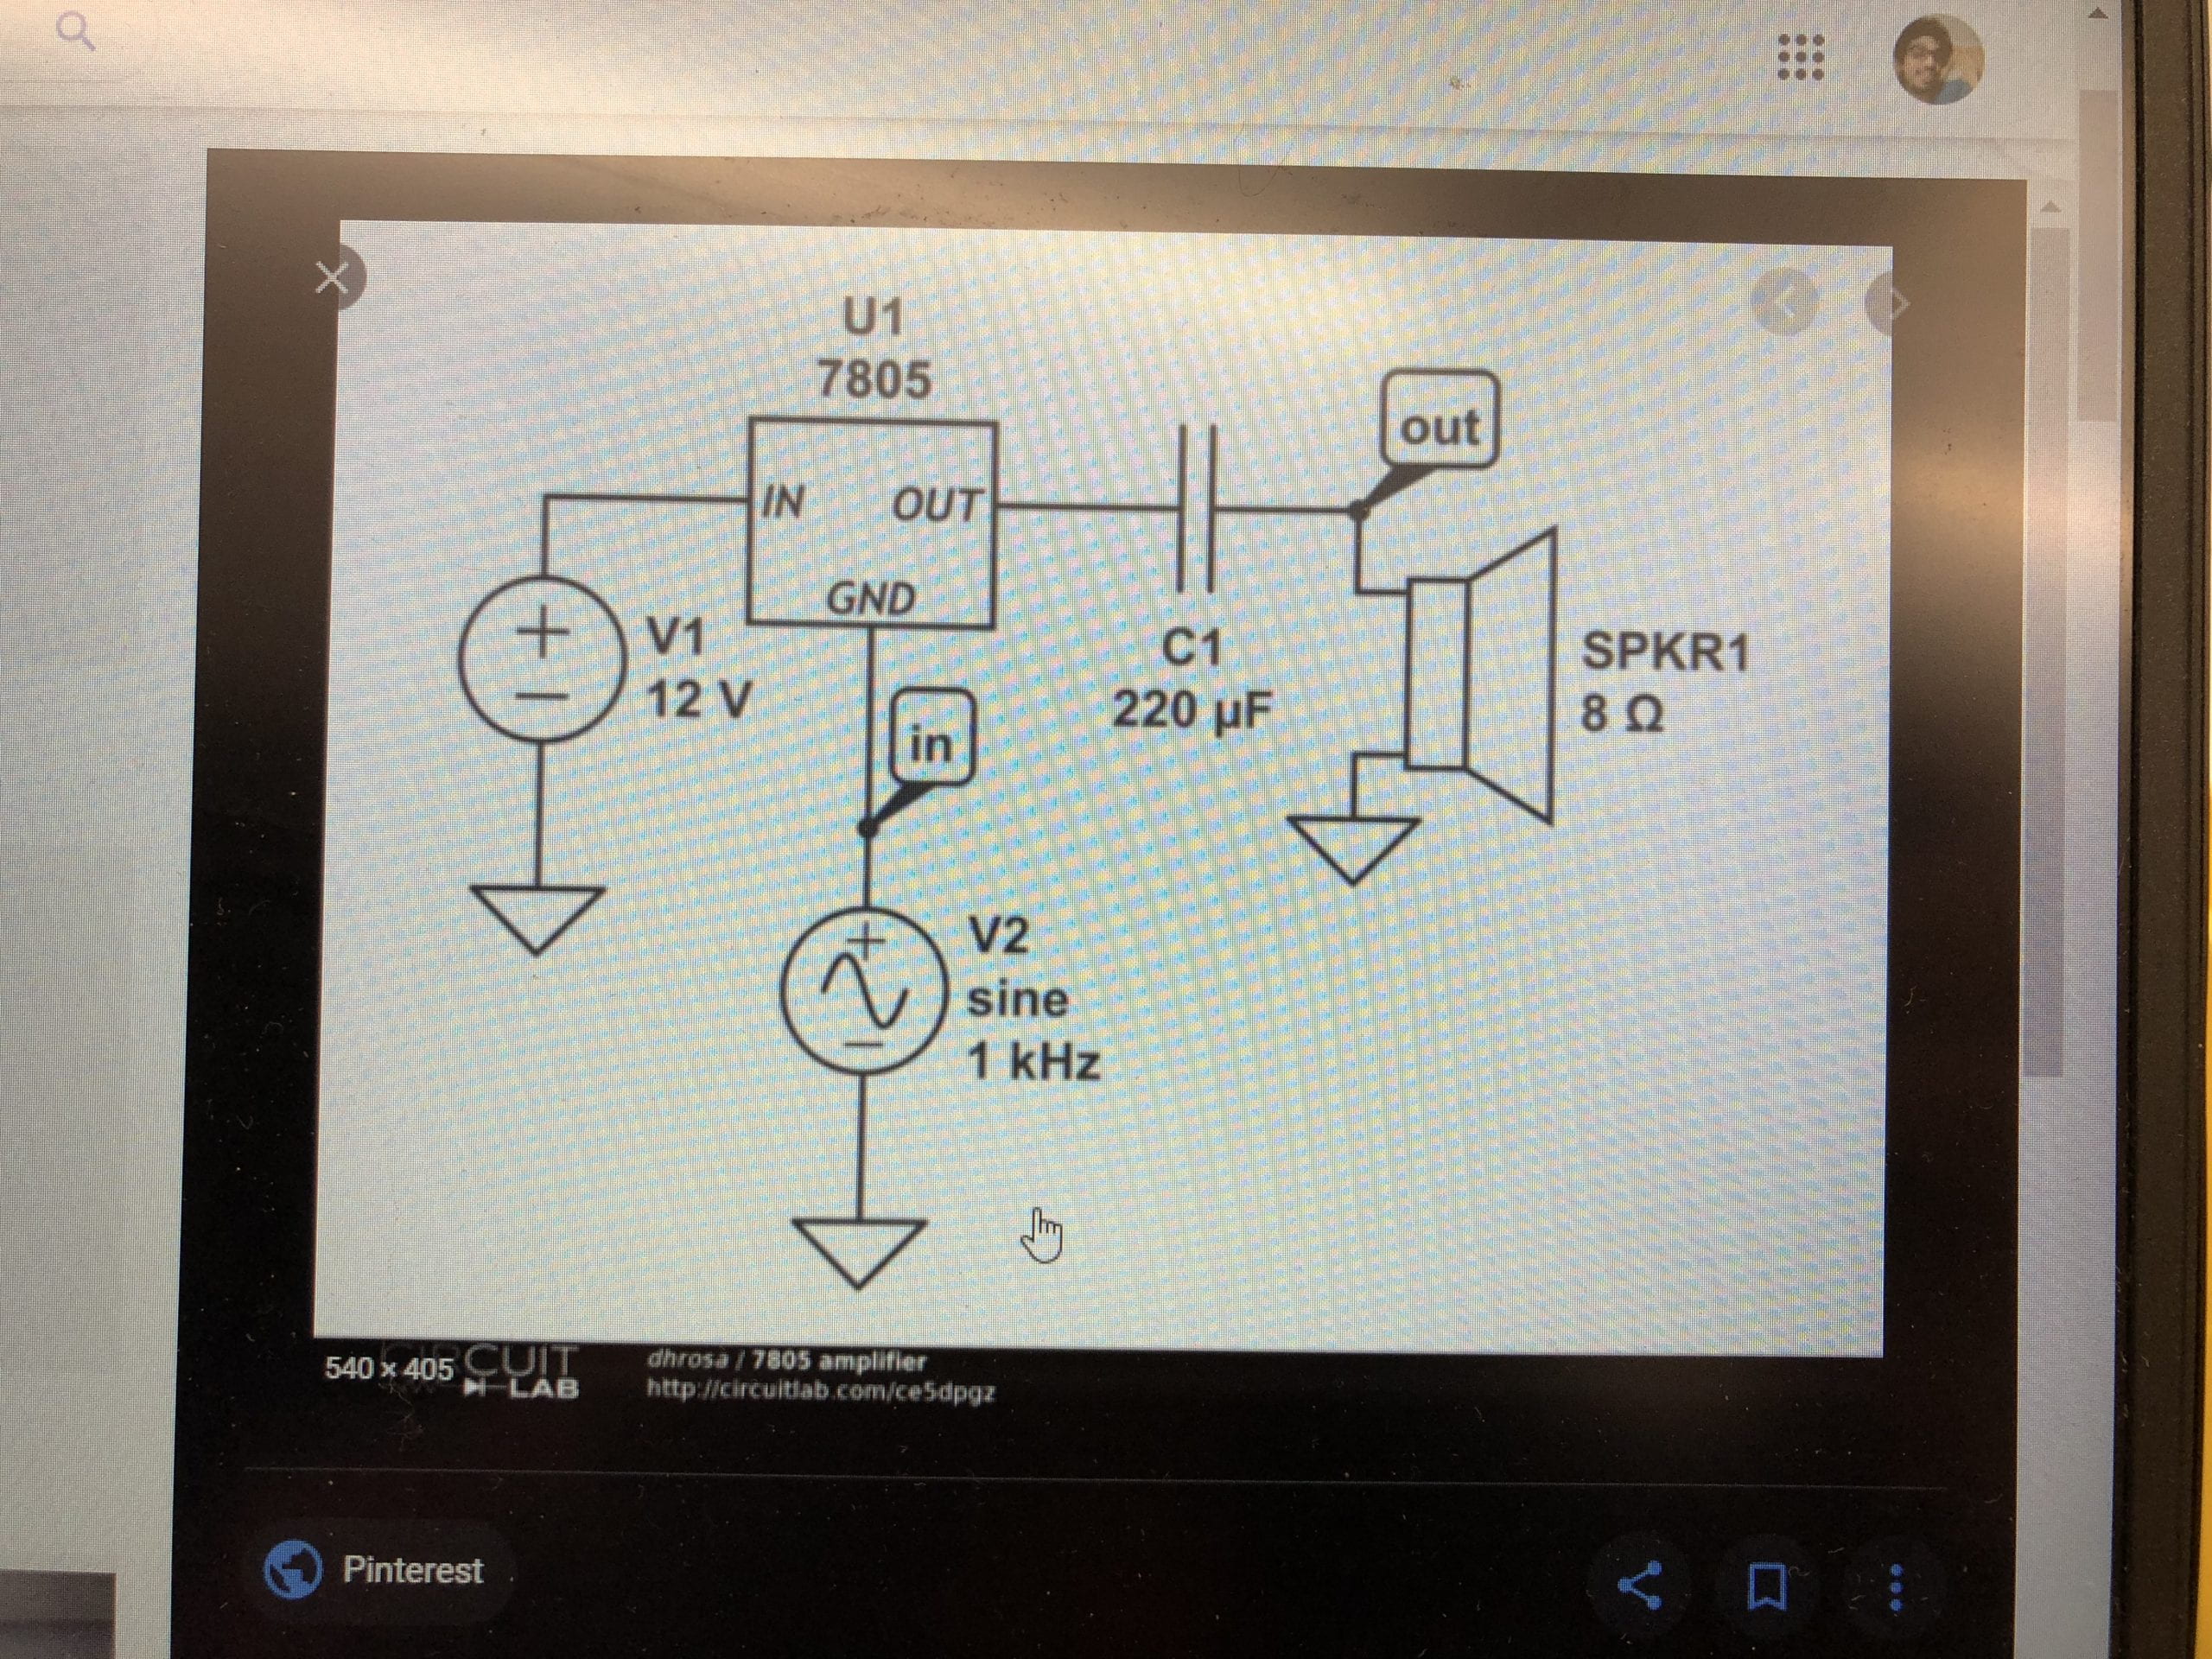
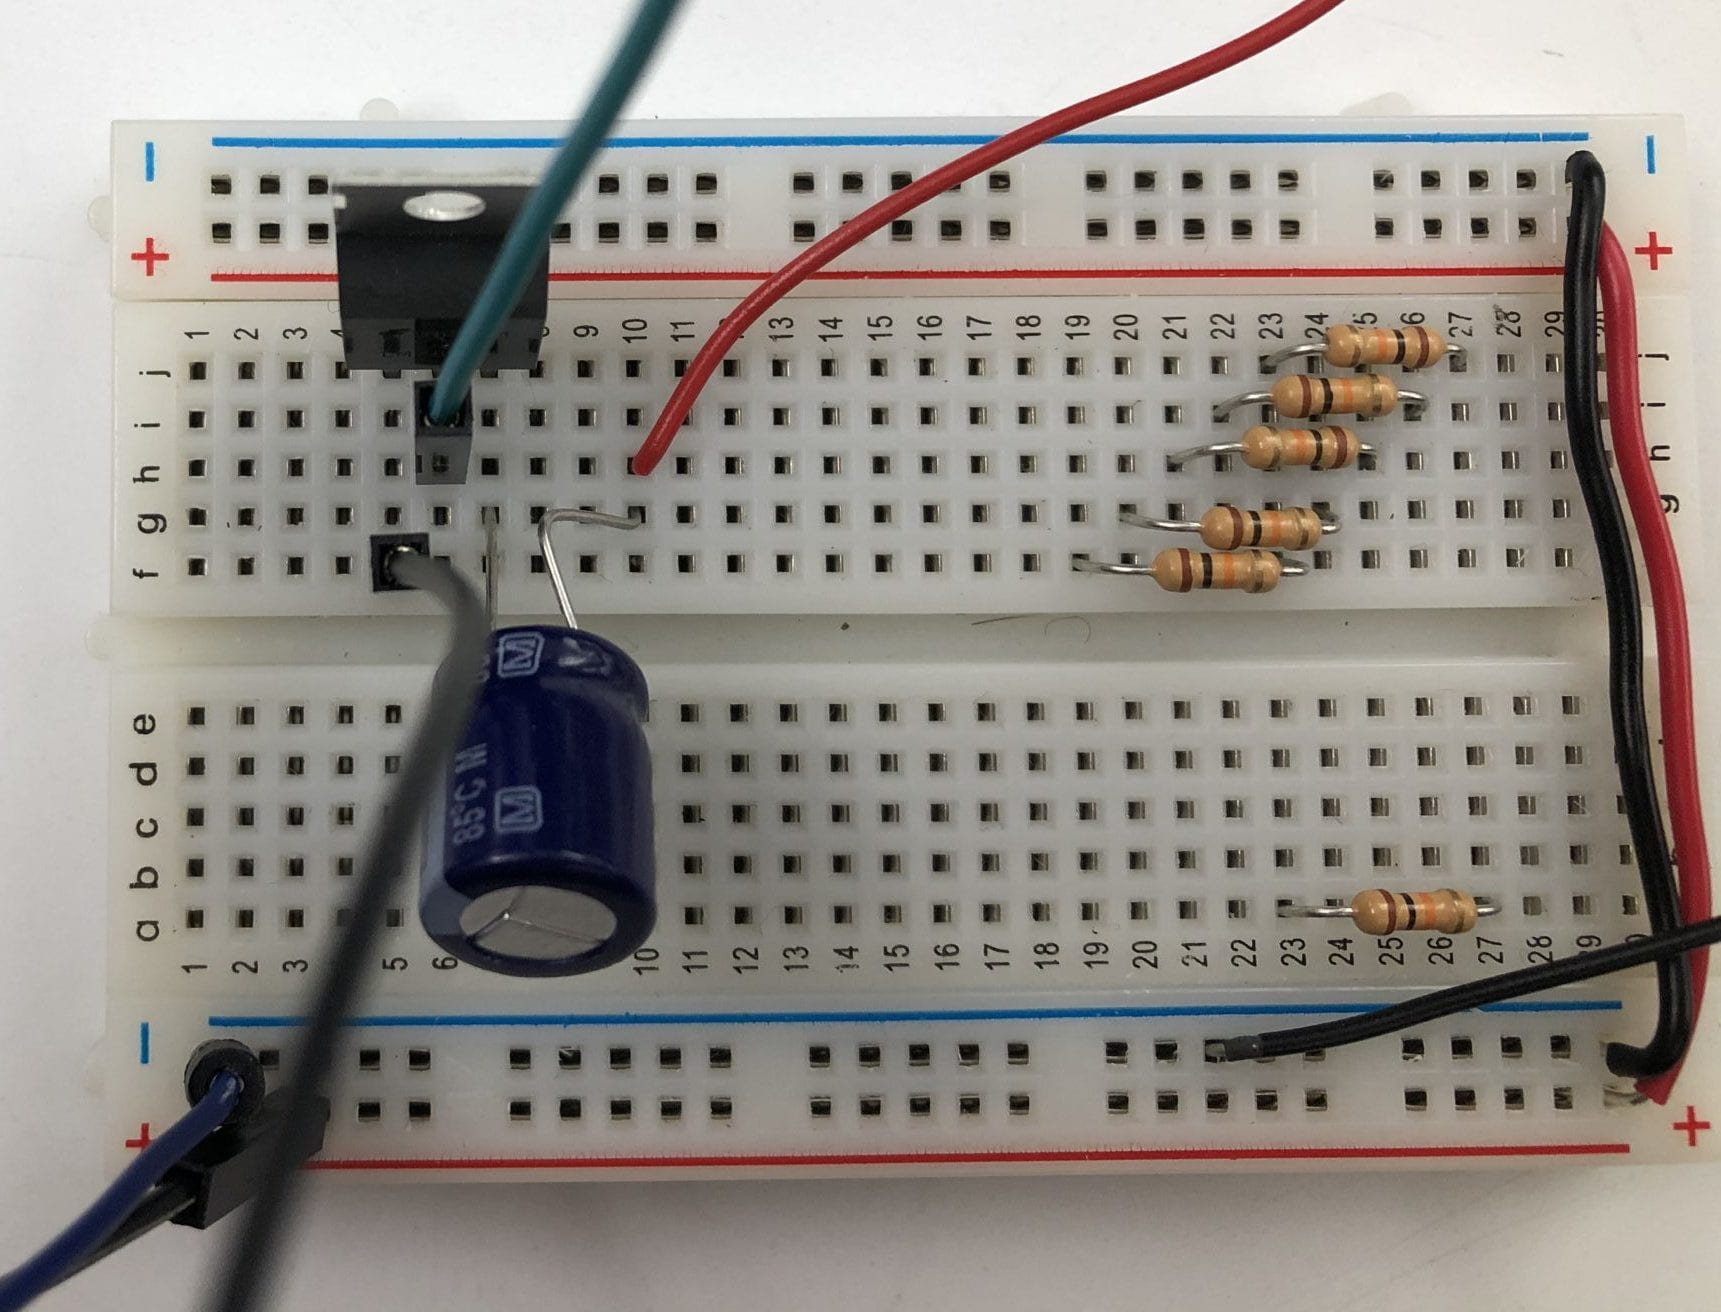
Schematic:
Arnab Chakravarty, ITP Resident, helped me to figure out the amiplification of the sound for the final installation. We used the following schematic for guidance.
Final Fabrications:
After measuring the diameters of the speakers, I created the layout in Illustrator then cut the mat board using the laser cutter. The speakers were glued down with hot glue. The bottom center speaker (small) was not connected to the circuit as the backing detached from the speaker.
Code:
The p5.js code and sketch are located here.
Next Iteration:
Questions:
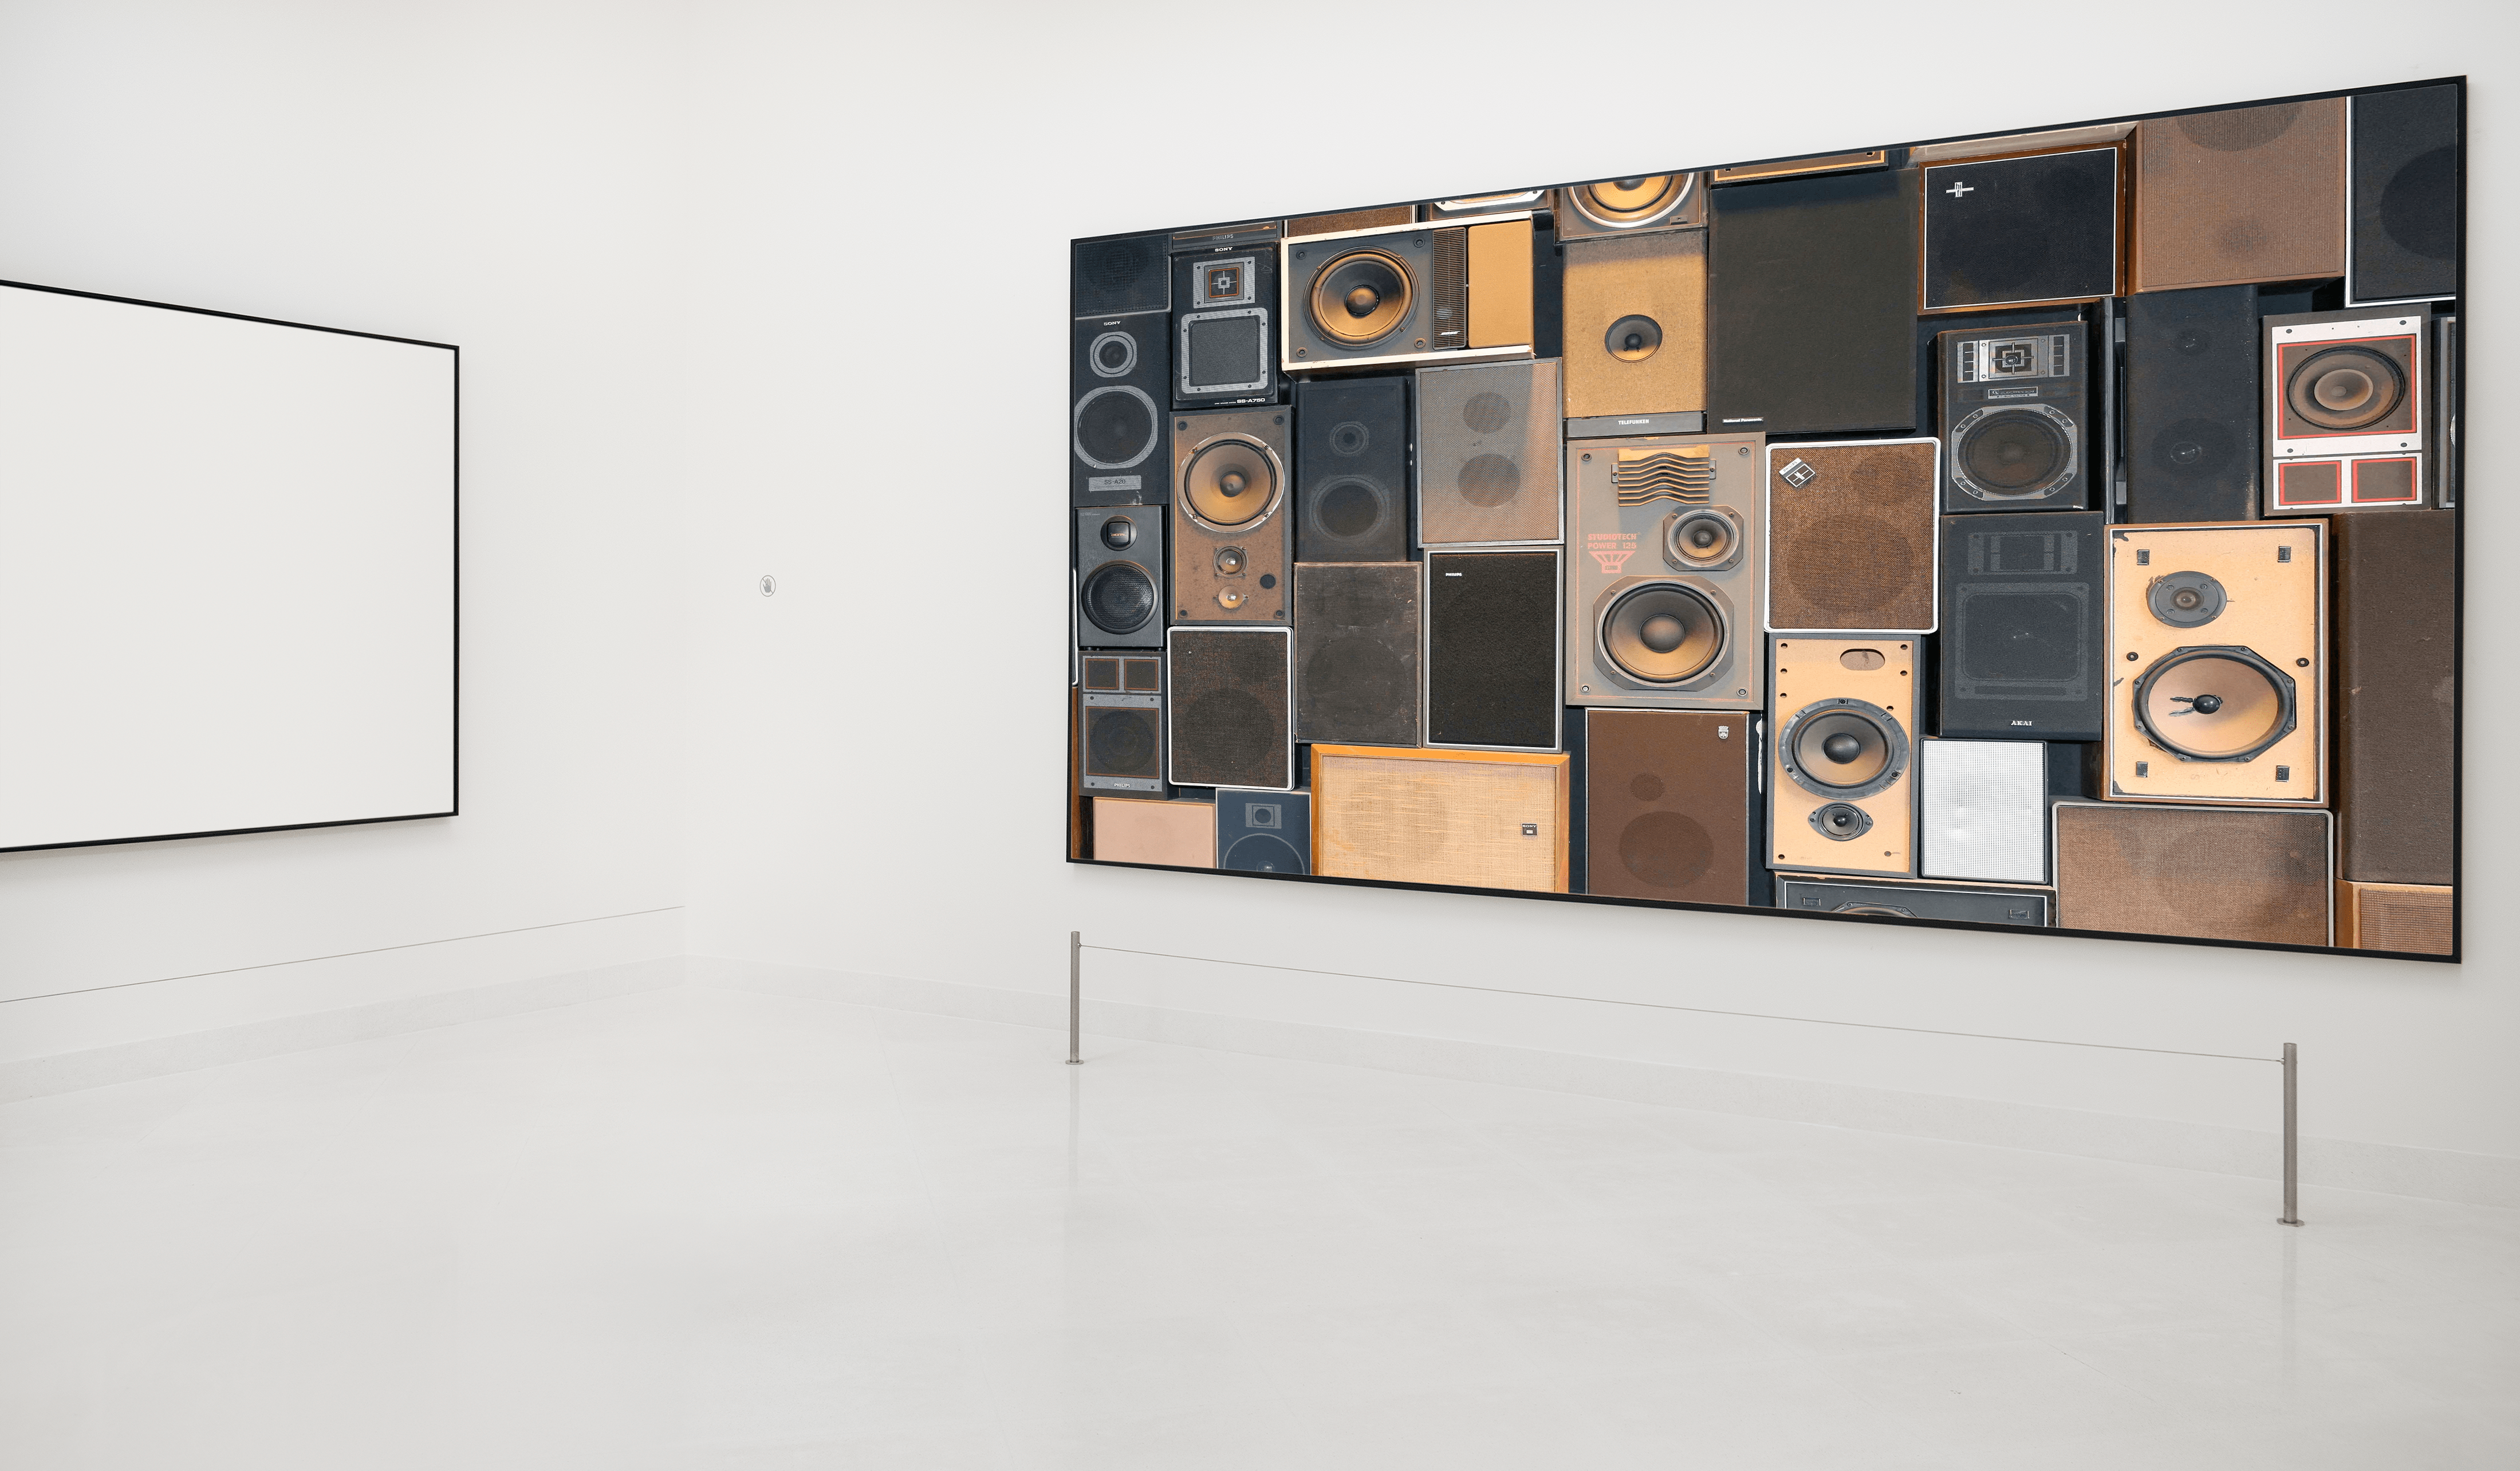
Check out the full experience here. The sketch uses the mouse position starting from the bottom of the screen. The code is located here as well.
The idea for this projected start with my work in my Physical Computing class. I began experimenting with hold headphones that I had in my apartment which no longer worked. Initially, I was playing with the idea of creating an interactive speaker matrix textile using e-waste. After experimenting with the components and Arduino, I narrowed the scope of my project down to its current status.
I have create a mock-up of a larger installation which uses speakers that have been thrown away and repurchases them into a fun experience. When the attendee enters the space, they are greeted with the sound of a slowed down version of the Jackson 5’s “I Want You Back.” As they move closed to the image on the wall, the speed of the song playback increases. Once close enough, the song plays at normal speed and it becomes a dance party.
I really wanted to create something that was purely fun and this surely has been to make. I think about what this would look like in an actual space and how the interactions would change when there are multiple people. When the party is going and someone enters, triggering the playback to go very slow again, will that person run up and join the party or will they feel awkward and leave the space.
On the physical side, the speakers will be playing a MIDI version of the song’s baseline which has been coded into Arduino. Currently, I am only using Arduino without a synthesizer so I am only able to play one speaker at a time. I have the Arduino coded to alternate the sound between speakers in relation with the attendees location in the room.
For room detection, I am currently working with ML5 to track the shoulder points. The distance between these pints will increase as the person gets closer to the camera which will set the playback rate.
Challenges:
The major challenges I’ve had relate to the fact that I have a lot going on currently in the code. With a particle system, ML5 and sound running, the sketch gets slowed down. I am still working to figure out how to clean up my code in order to smooth it all out. Originally, I had the particle colors picked from the image but chose to comment that out as it was tremendously slow.
The other challenge I am currently having is on the Arduino side. I am using code from Ton Igoe to code the music. I am having issues getting the code to alternate between speakers but should have that figured out soon.
Code and My Future Work:
I’ve really enjoyed learning to code, especially when concepts click in my head! Also, debugging my work is both frustrating and satisfying. In regards to my work in the future, I do plan to incorporate coding into my work mainly through physical components. I am also interested in data visualization so I do plan to explore that as well.
Below is a brief introduction to my final Physical Computing and Intro to Computation Media final project. There will be a full post coming in the next few days with detailed process documentation.
Part 1.
This particular project started out relatively far from where it ended. It started with using old sex toys to create a version of Operation followed by the first iteration of the speaker matrix. Initially, I was hoping to create an interactive textile using the speakers from old and unused headphones, mainly Apple Earpods (corded). I loved the idea of an interaction close to the body for the wearer and one for the audience, equally close to the wearer as well. The textile would either have the speaker facing inward to inform the wearer of how close someone thing or someone is to their body through use of the sound vibrations. I realized that the vibrations were to subtle to accomplish this as it stands. The other option of having the speakers face outward offered a different, yet close, interaction for those around. The speaker were quite low and would require the some close encounters. After experimenting with the speakers and continuing to think about the textile, I decided to go in a completely different direction.
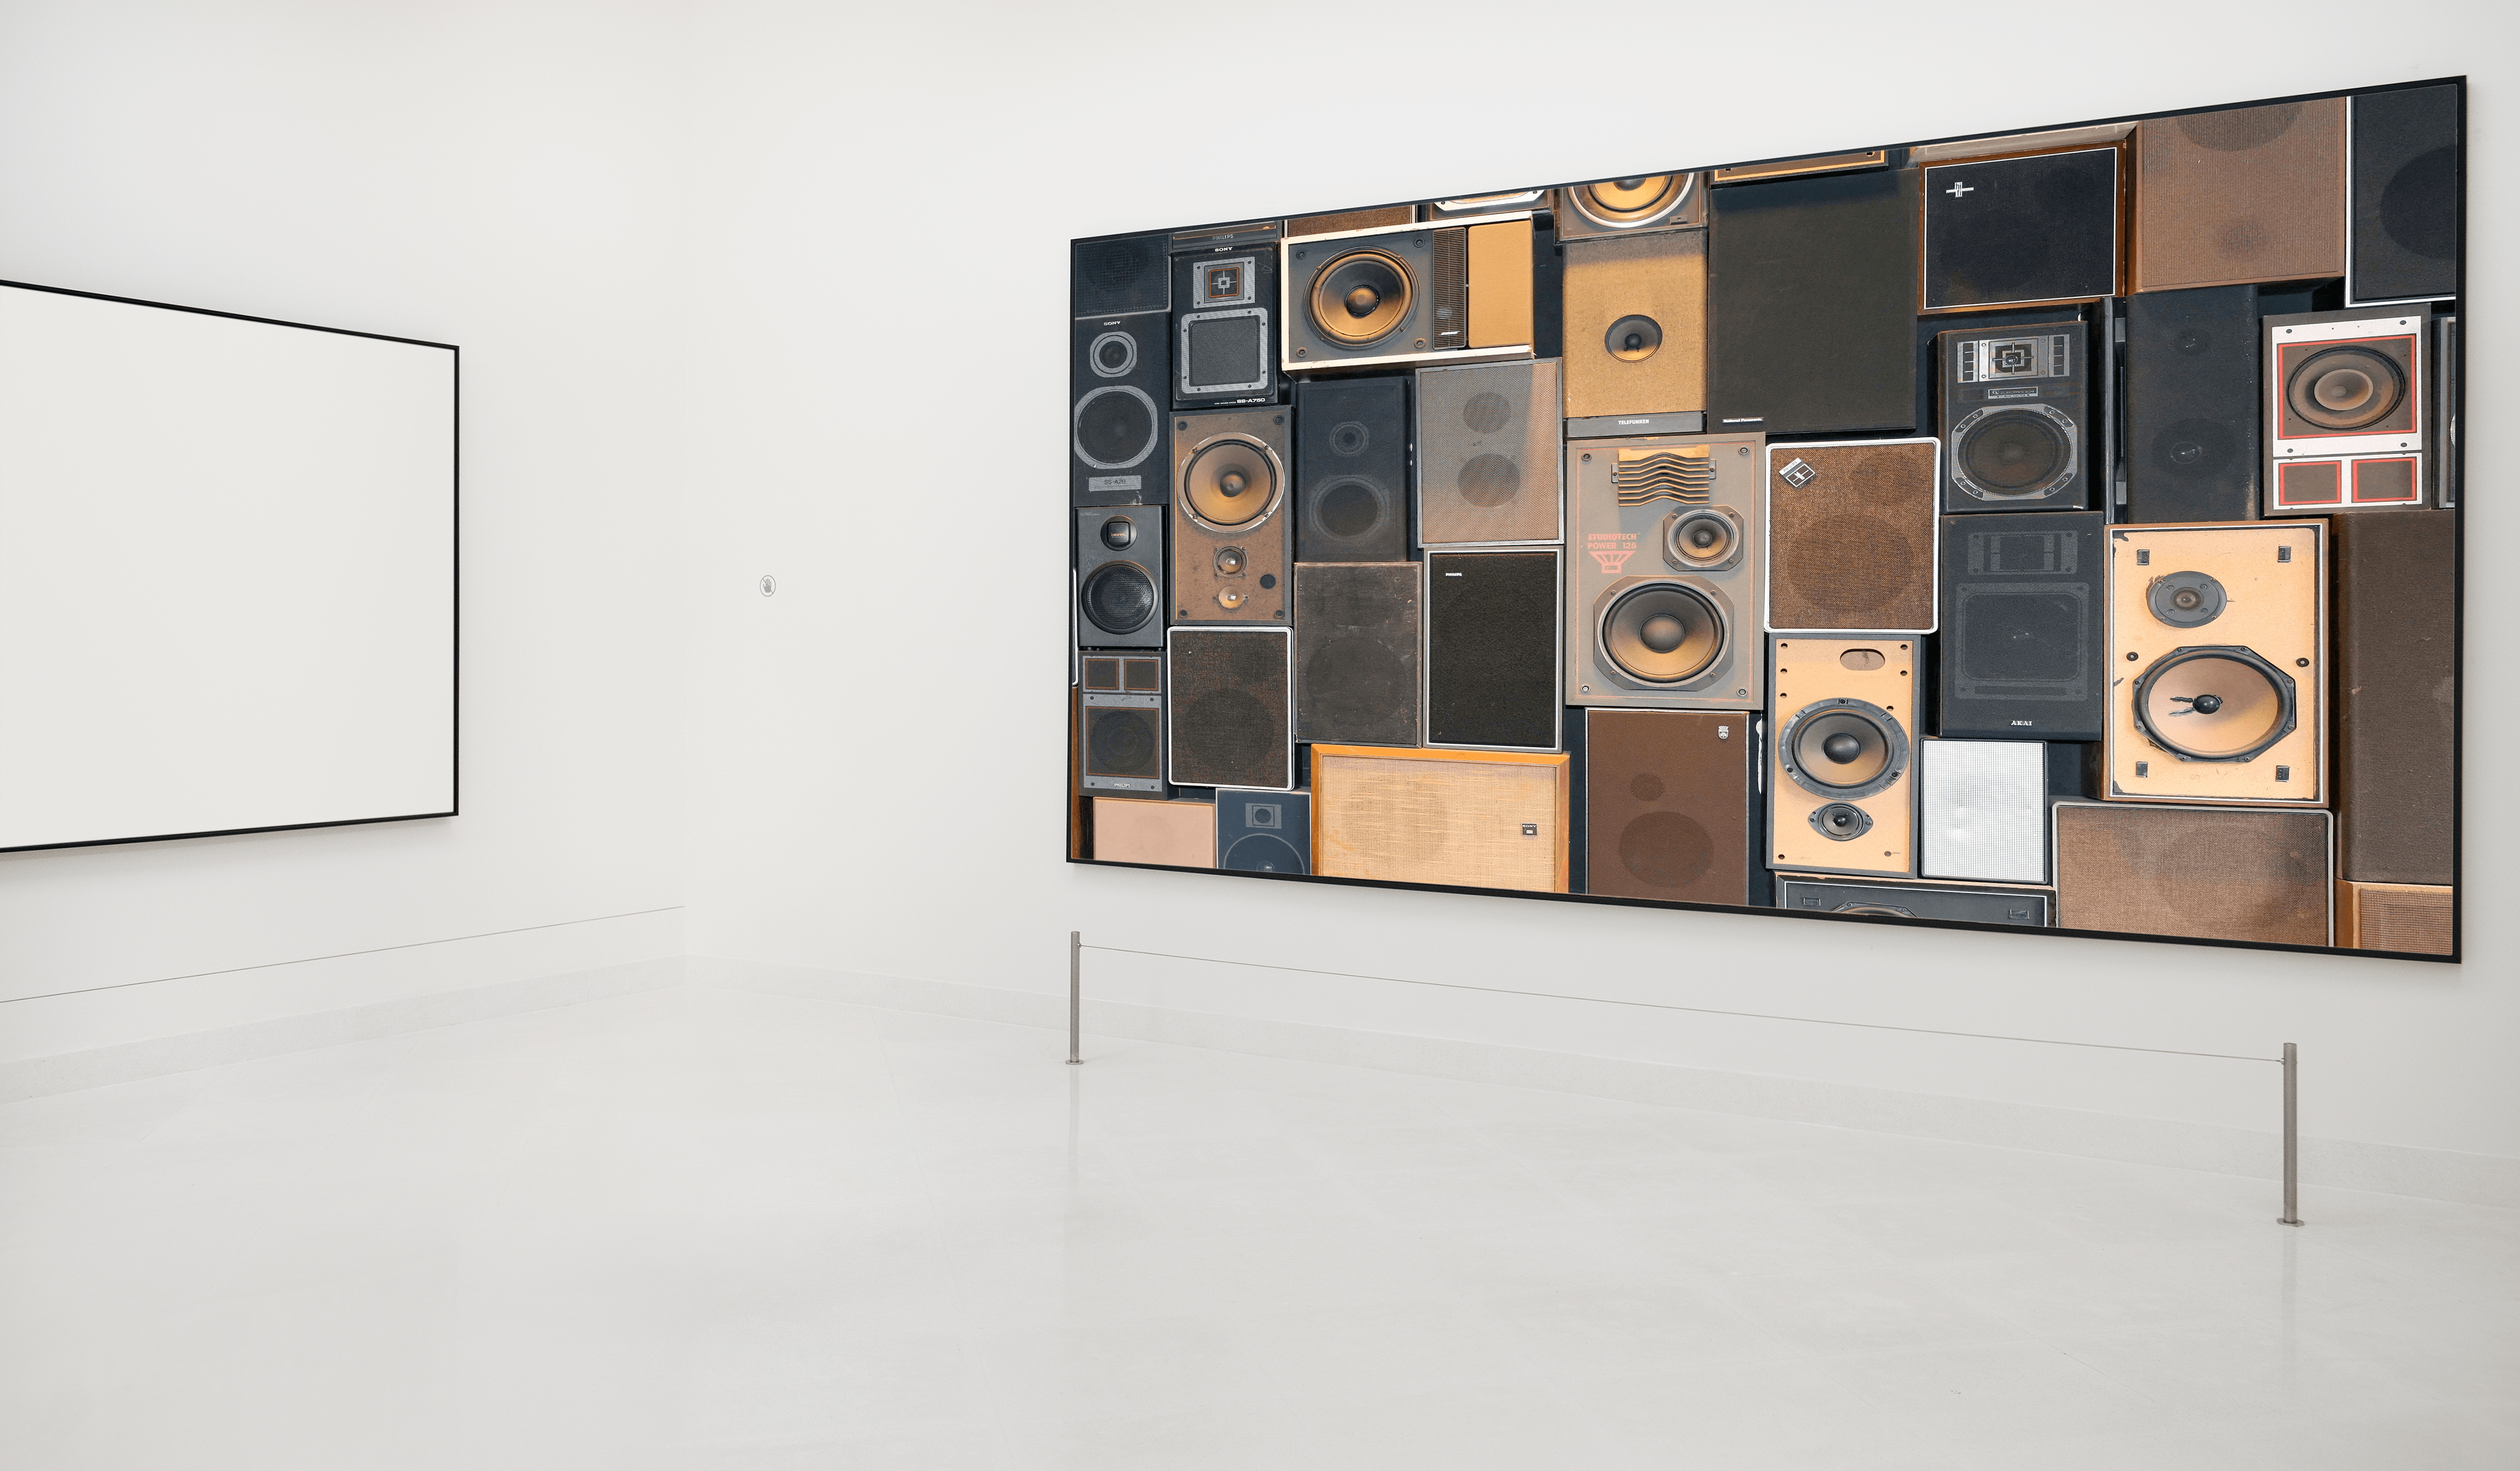
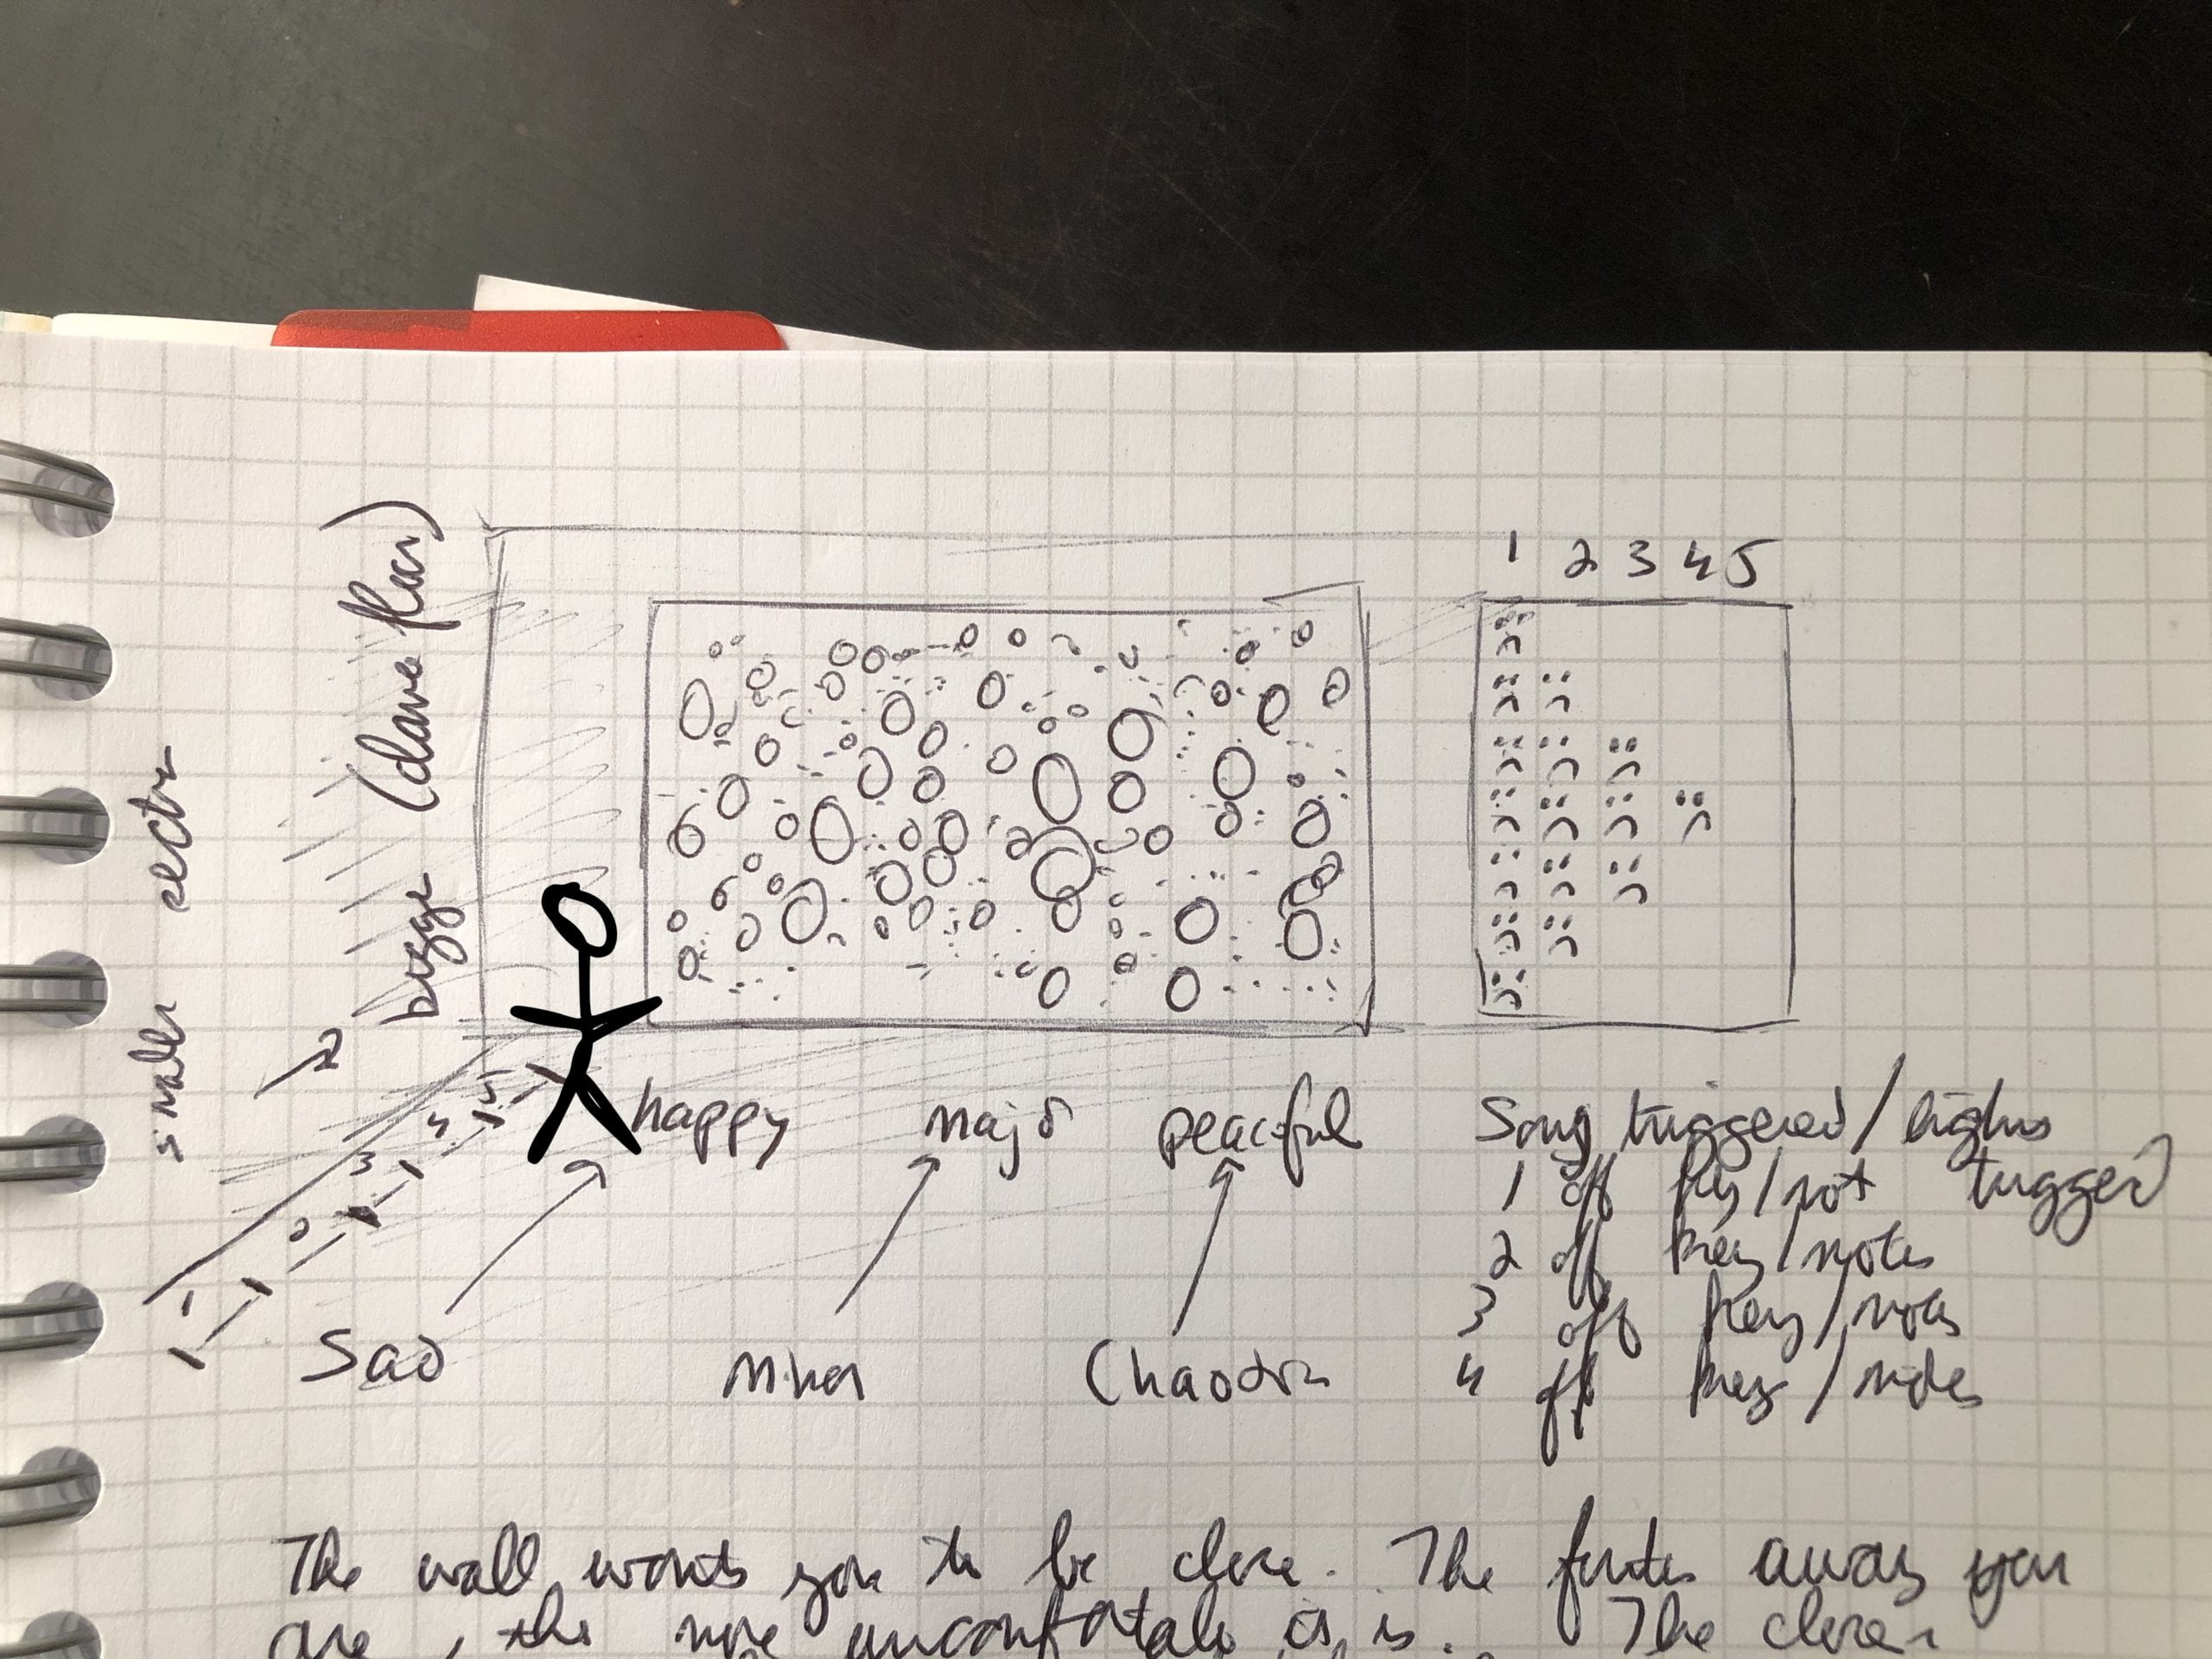
I wanted to create something that brought joy to myself and others. Above is an approximation of what I saw in my mind. Here we have a wall full of salvaged speakers inside a white gallery space. Upon encountering this room, one would hear the sound of a slow and barely recognizable song. If the guest chose to continue into the room further, the playback speed would increase so that they might start to pick up on the name of the song. My hope is that their intrigue into what was really happening would bring them to a few feet in front of the wall, initiating the piece’s dance party!
The dance party will feature club lighting, a disco ball and maybe some fun videos. With this piece, I wanted to bring someone out of their current state and into joy. Who doesn’t love a fun dance party?
There is opportunity for other interesting interactions between guests, besides dancing. If someone enters the room while another guest is in the dance party area, would the piece revert to the bright white room and slowed down some? How would that, supposed intruder feel and act? Would they run to the front and join them or flee to another room?
For this iteration, I have created a small scale mock-up to test the code and experiment with the components and have provided the following video.
For a full view of the image and to play with controlling the playback rate yourself, here is a full-screen version. The full p5.js code can be found here. The Arduino code can be found here.
In part 2 I will go through my process, inspiration and challenges as well as provide more technical details and resources.
12/15/2020 UPDATE:
I have successfully added PoseNet detection to the final code. Now you are able to control the playback rate of the song, trigger the dance part and move the speaker output between speakers with your body. The code will calculate the distance between your shoulder points to tell how far you are from the screen. The code can be found here.
I began this project by looking for available free 3D assets. I figured that would direct the theme and story of this animation. When I found Maksim Burgrimov’s fantasy rhino and flying tree, I knew I had a direction. I wanted to center the flying tree in a world where it was the keeper of information. This grew into having the Cornell box be a space ship traveling the galaxy featuring a curator exhibition of the tree’s favorite features/animals of Earth. I placed the fantasy rhino as the motor of the ship. Once I had that direction confirmed, I looked for additional assets and corresponding videos to showcase (see below for additional asset credits). My final piece brings to mind a few inspirations: Star Trek (space as well as the Borg), Mune: Guardian of the Moon (color pallet and animation) and Steven Universe (Pink’s Human Zoo).


Challenges:
Unity it’s self does not work very well on my laptop. I was hoping to have more lighting features but I was not able to bake the lighting into my scenes due to a repeated error of low ram. I had originally thought to do a scene animating light emitting orbs in addition to various characters. The orbs in the scene, as well as the outer box, have light emitting material but they are not able to truly appear as I see in my mind.
When filming, I also noticed that one of the orbs fell out of the box. I had a mesh collider (without material) to keep the orbs within the box. Unfortunately, the collider blocked access to the gameObjects attached to the button script.
I also had issues with the provided button script. I was unable to get the script to switch the boolean of the video player. I had designed it so that you can click on the individual characters in order to trigger a video. In the animation video provided, I was able to have multiple videos play only because of the hierarchy overrode the previous video. In the future, I would like to fix this error so that the user can switch between videos. Overall, I enjoy working within Unity. If I chose to pursue working within 3D environments, I will invest in a desktop computer solely for 3D animation and world building.
Asset Credits:
Fantasy Rhino and Flying Tree: Maksim Burgrimov
Animated Spire: [prism bucket]
Humpback Whale: Jan Pecnik
Spider Video: Deeana Creates from Pexels
Autumn Leaves Video: INNORECORDS PhotoVideos from Pexels
Whale Video: Nick Bondarev from Pexels
Ice River Video: Wilson Malone from Pexels
Blue River Video: Svanur Gabriele from Pexels
SpaceSkies (Skybox): PULSAR BYTES