Yona Ngo, Yonatan Rozin and I were paired together for this project and decided to create what came to be called the Social Distancing Crown. For more info on our initial planning, please check out my last PComp post here. You can also see Yona and Yony’s blog post here: Yona, Yony. (ATTACH LINKED POSTS).
Below is a breakdown of the project production by day.
Day 1:
Yona, Yony and I met on the ITP floor in Brooklyn to parse out each item. Once we figured out the individual components, we will meet again to combine them into one piece.
Yona – speaker and ultrasonic ranger
Yony – servo moto
Daniel – LEDs
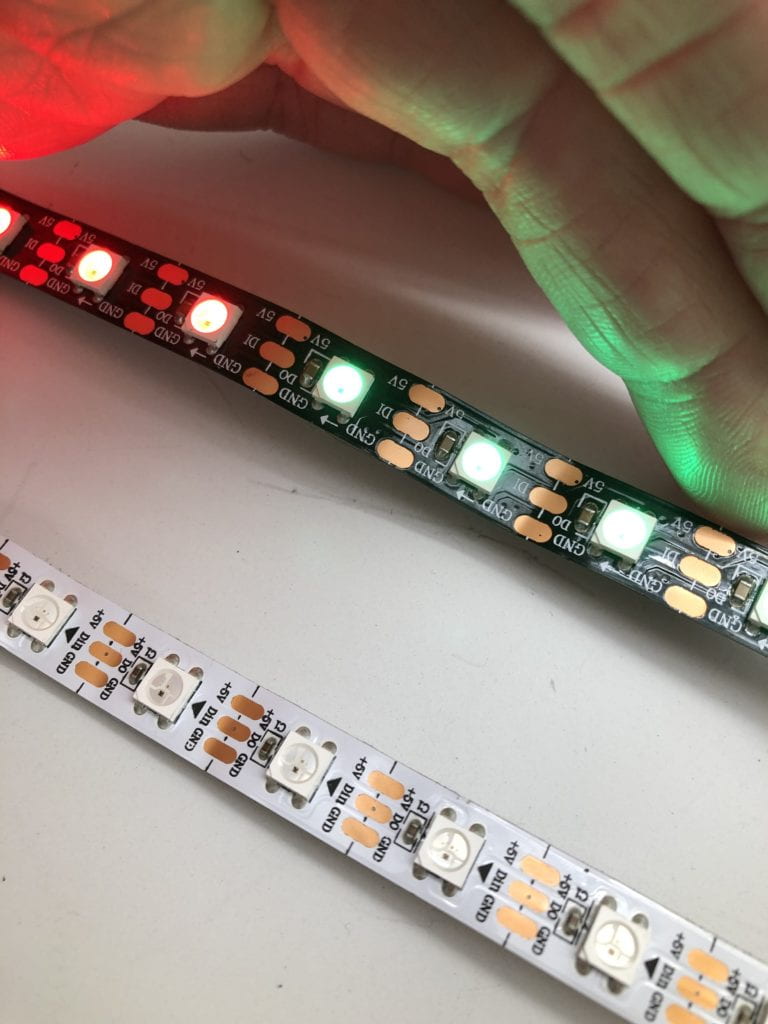
Yona found several LED NeoPixel strands on the free shelf so we decided to use those. I started by researching the specific strands and was able to find one of the strands info as it had the manufacturer’s name printed on it – Alitove. I was also able to find a guide which helped get me started. I learned that each NeoPixel draws 50mA of power and needs 5V 2A of power.
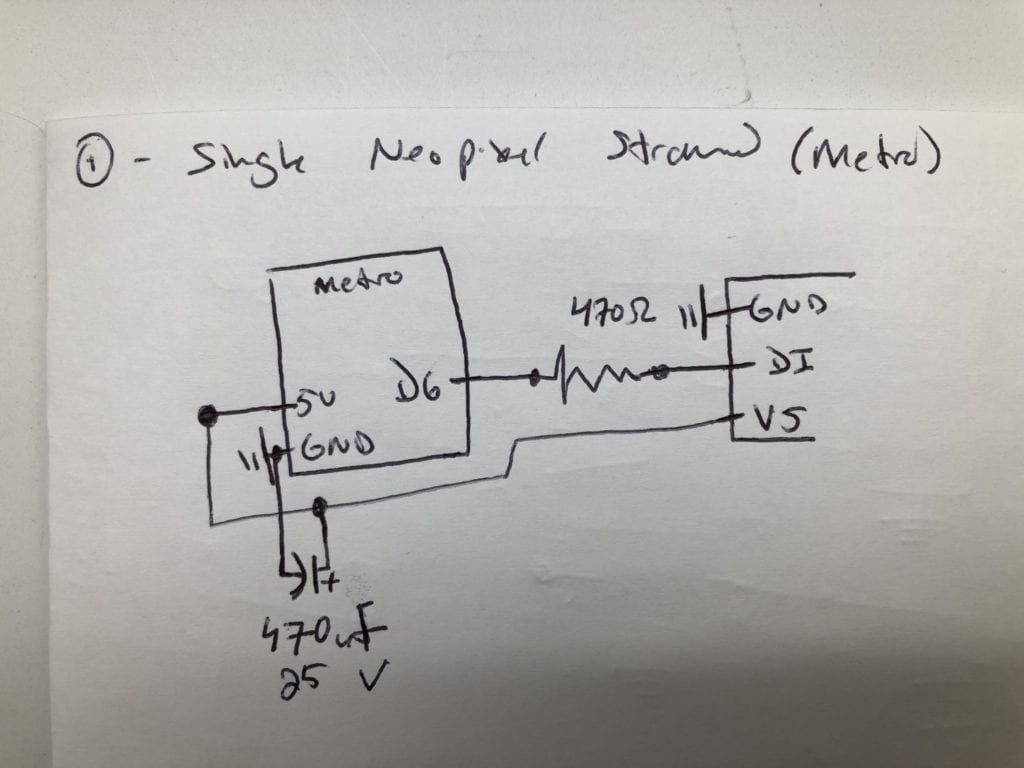
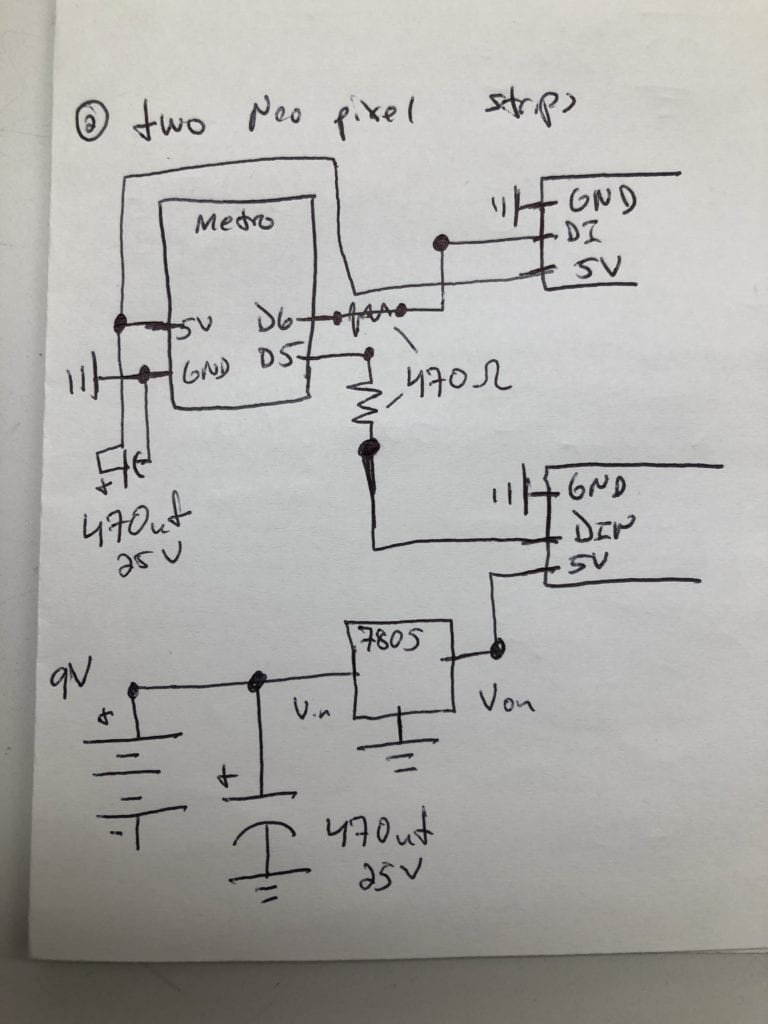
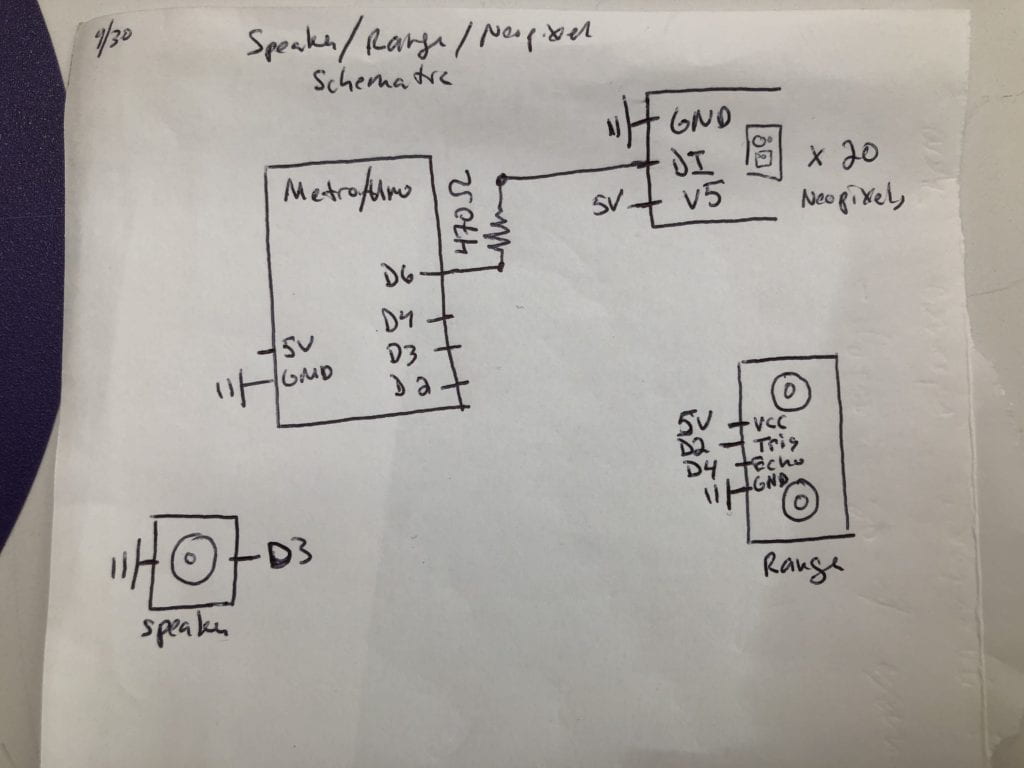
As a starting point, I used this drawing for the circuit as well as Adafruits NeoPixel guide:
Tried originally tried utilizing the code from randomnerdtutorials.com guide but that was not working for so I switch to Adafruit’s learning page from that point on.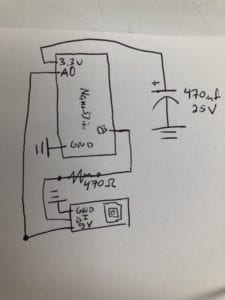
Day 2:
I started the day out trying to figure out the following questions:
Questions:
- Would I need a 3.3V Regulator if I wanted to power the Nano 33 IoT from the 9V battery as well?
- Answer: Yes, I would need a 3.3V regulator to power the Nano but I would also need to convert the 9V to 5V in order to power the NeoPixels.
- Do I need a logic level shifter per Adafruit (https://www.adafruit.com/product/2488) in order to use the Nano 33 IoT?
- Answer: Yes, but did I want to have to get one? No.
- Library: Would we want to use the Adaruit TiCoServo Library since we will be using a servo in the same sketch?
- Answer: Yes and No. (more to come on this later).
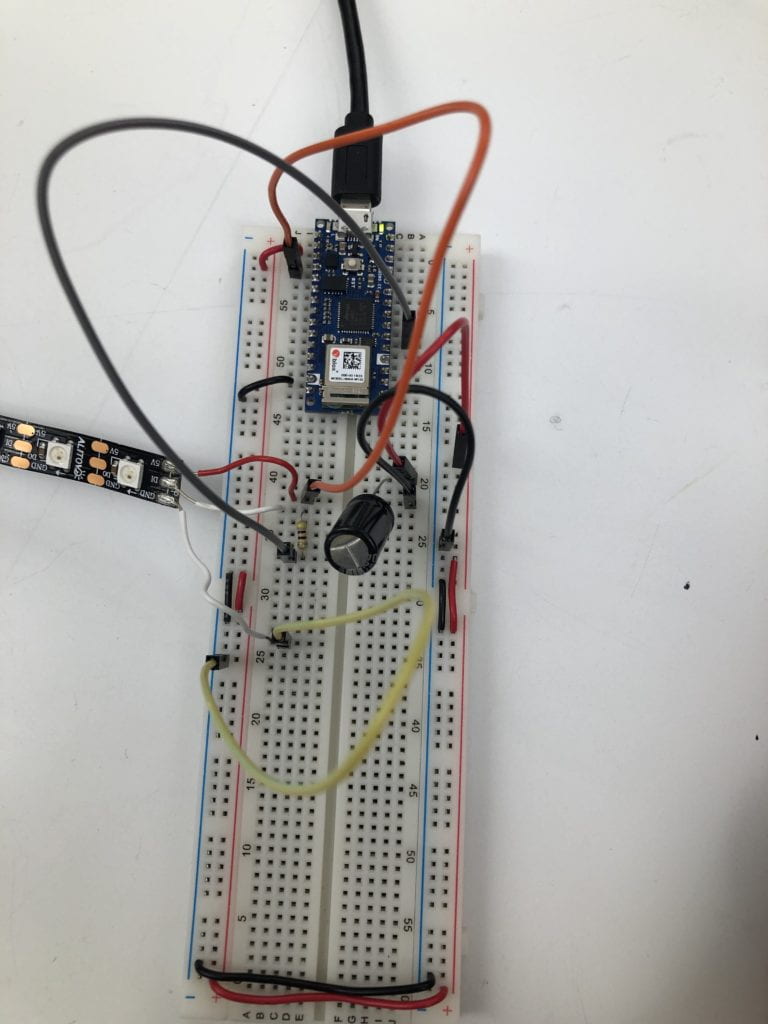
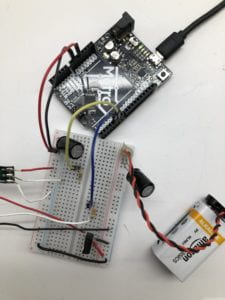
I attempted to configure the circuit using the Nano 33 IoT with little success. In order to I would need a logic level shifter for the NeoPixels and the Nano to be able to speak to each other as the NeoPixels need a 5V current for their coding as well as for power. I decided to switch to using an Adafruit Metro. The Arduino Nano 33 IoT runs on 3.3V and offers ways to run components off of 5V but it was the least complicated to to switch microcontrollers. Adafruit’s guide does mention that you would be able to run a short length of NeoPixels using 3.3V but it would only get more complicated one we added all the components.
Day 3:
I started the day by meeting with our professor, Dave Rios to discuss my progress with the NeoPixels. Dave suggested the following:
- Continue with the Metro or Uno since we were able to get them working during the meeting.
- Our biggest challenge will be in regards to powering the entire circuit once all the components are added.
- Get the components added one at a time instead of all together.
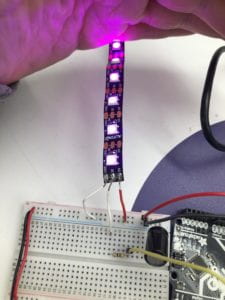
Later that day, I tested out setting the NeoPixel strips to a single color using Adafruit’s guide. I ran into one chaleneg with the colding: how do I use Color( )?
While testing out the coding from Adafruit’s NeoPixel library, I was only able to get color() to show various bightnesses of blue but was unable to get a different color. 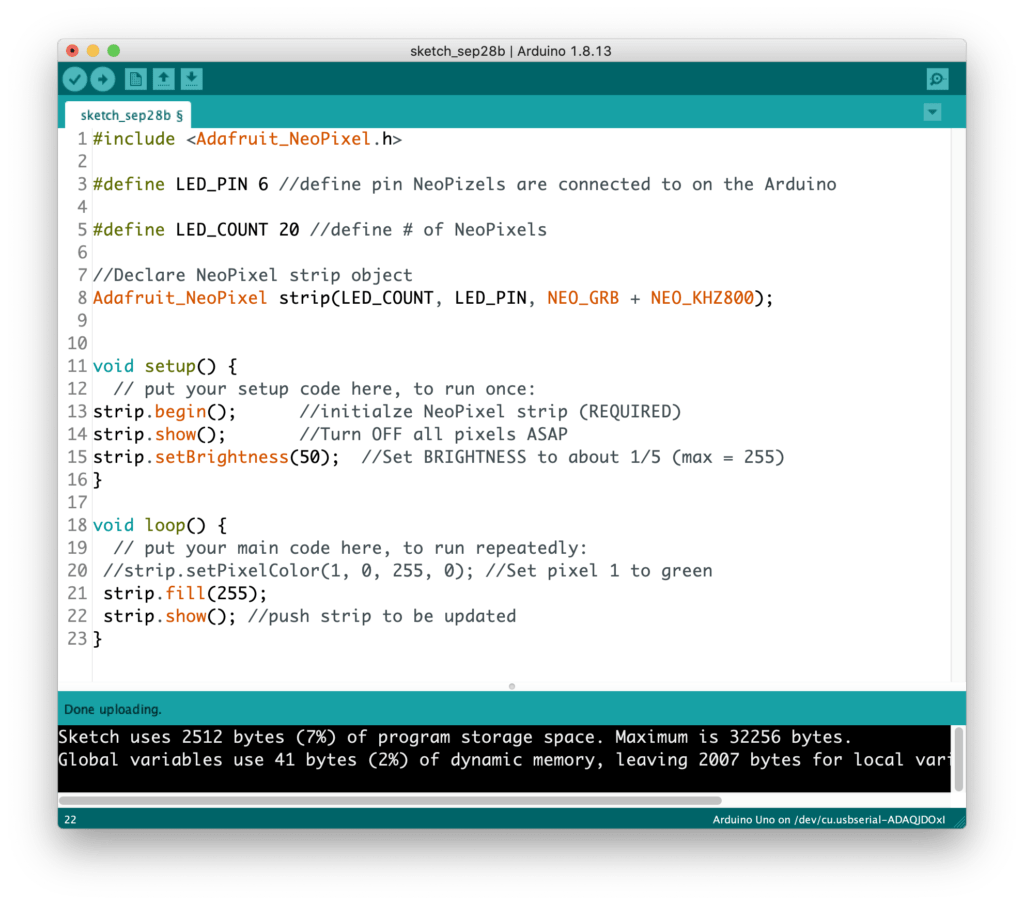
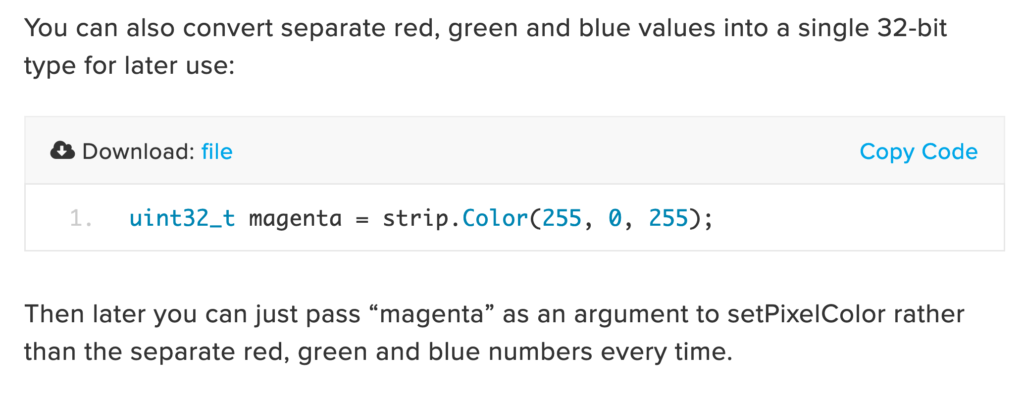
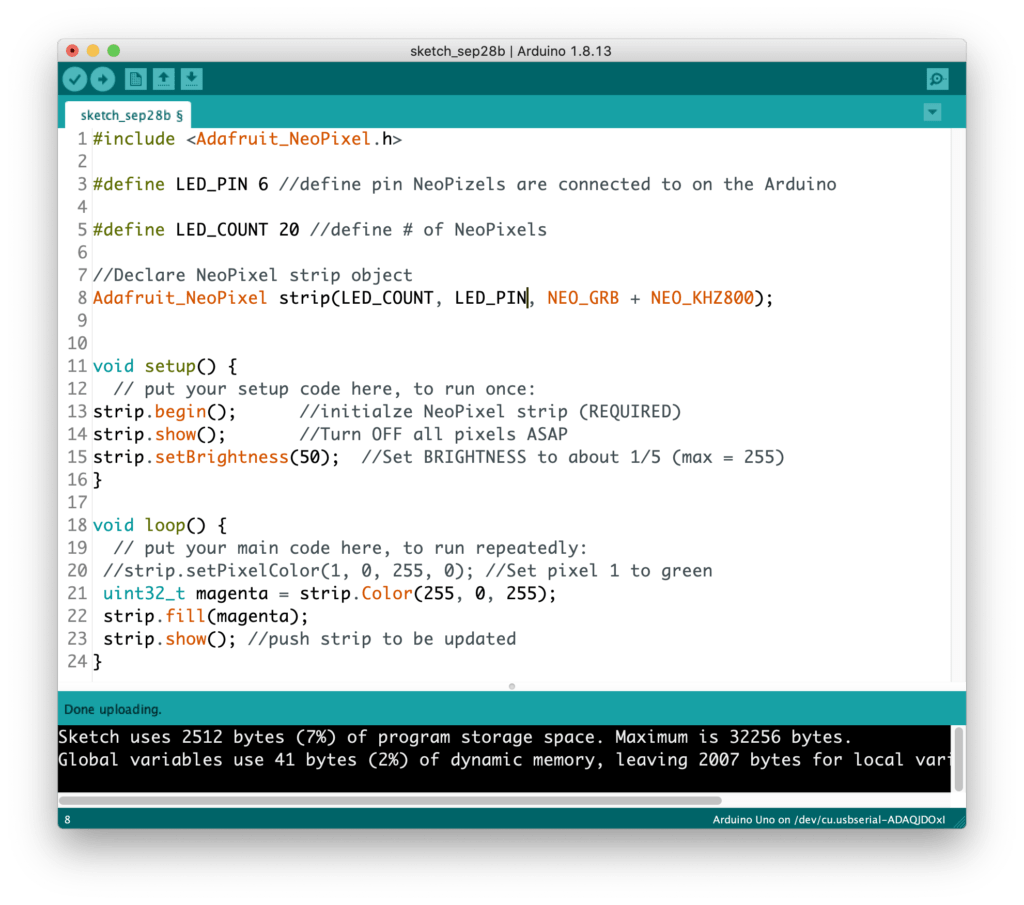
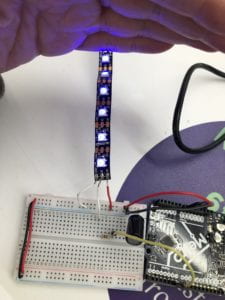 It took me a bit but I was able to find the following code which showed me how to define then update the colors of the NeoPixels:
Now that I was able to control the color of one NeoPixel strand, I wanted to test out how to have 2 NeoPixel strands on one board. I used the following code but was unsuccessful in having the black NeoPixel strip as Green and the white NeoPixel strip as Red.
![]()
Day 4:
I meet with ITP resident Arnab Chakravarty to go over my questions with the Adafruit library.
Adafruit uses the terms #define followed by LED_PIN 6 to establish that pin 6 will host the output. Per Arnab, this is the same as assigning using PinMode. Arnab was able able to walk me through utilizing the library and working with the two NeoPixel Strips.
Day 5:
Meet with Yona on the floor.
Added the ultrasonic ranger (w/o the speaker) to the NeoPixle circuit.
⁃ Added 9V battery with 5V regulator for Ultrasonic ranger
⁃ Updated code from earlier as I forgot to declare the NeoPixel strip object.
Test 1:
Taking into account changed items listed above. I was able to get the NeoPixel strip to start as green then turn red as I moved my hand closer to the ultrasonic ranger. I was not able to get the strip to turn back to green once out of range, however.
Test 2:
Changed (line 49)
else {
setNeoPixelToGreen(); //Sent NeoPixel to Green
}
to
else if (distance > 10 && previousValue > 10) {
setNeoPixelToGreen(); //Sent NeoPixel to Green
}
This was an attempt to get the NeoPixel to change back to green when distance is greater than 10 and the previousVaule greater than 10.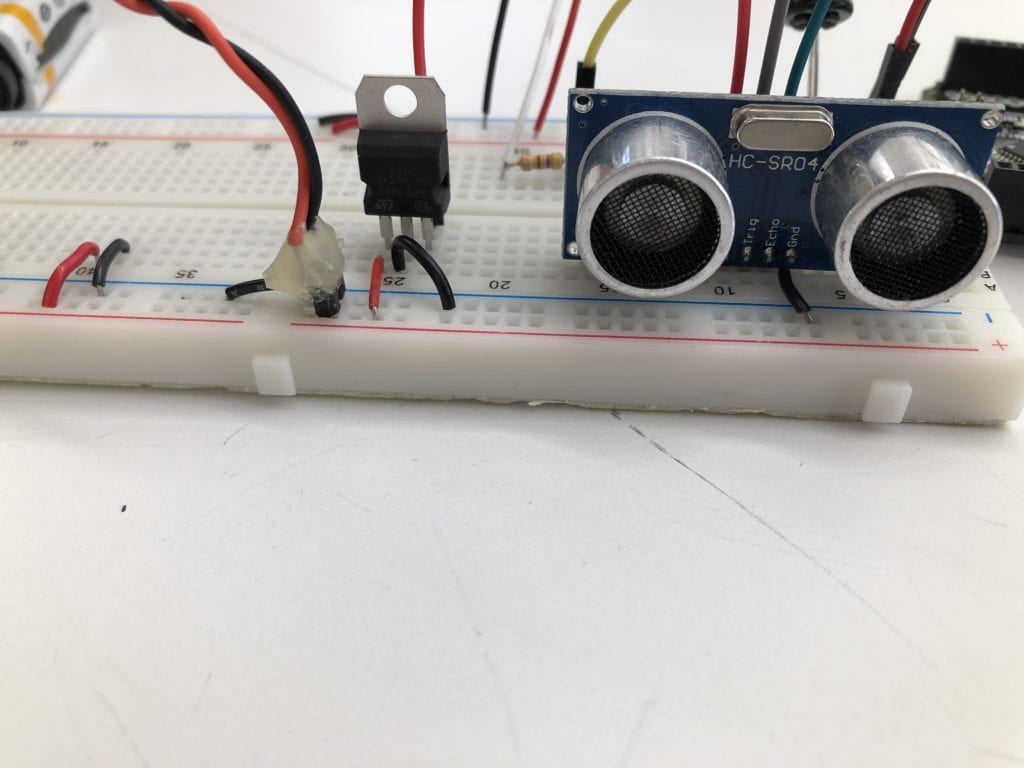
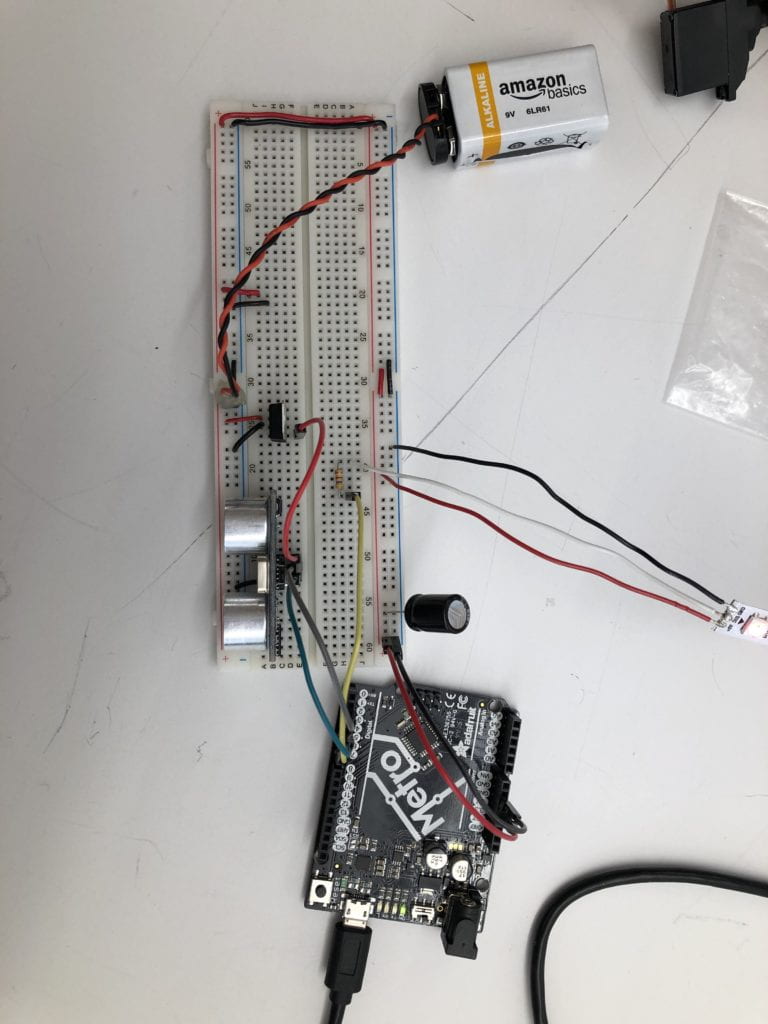
Test 3: Running sonic ranger off battery. The ranger was not reading properly whilte the lights working momentarily.
Test 4: Running NeoPixels off 9V battery. This was unsuccessful as the NeoPixels did not light up. (I realize on Day 6 that I was using a 3.3V regulator instead of the 5V regulator I needed for this to work).
Yona and I were finally successful in getting the sensor, speaker and NeoPixels to work together!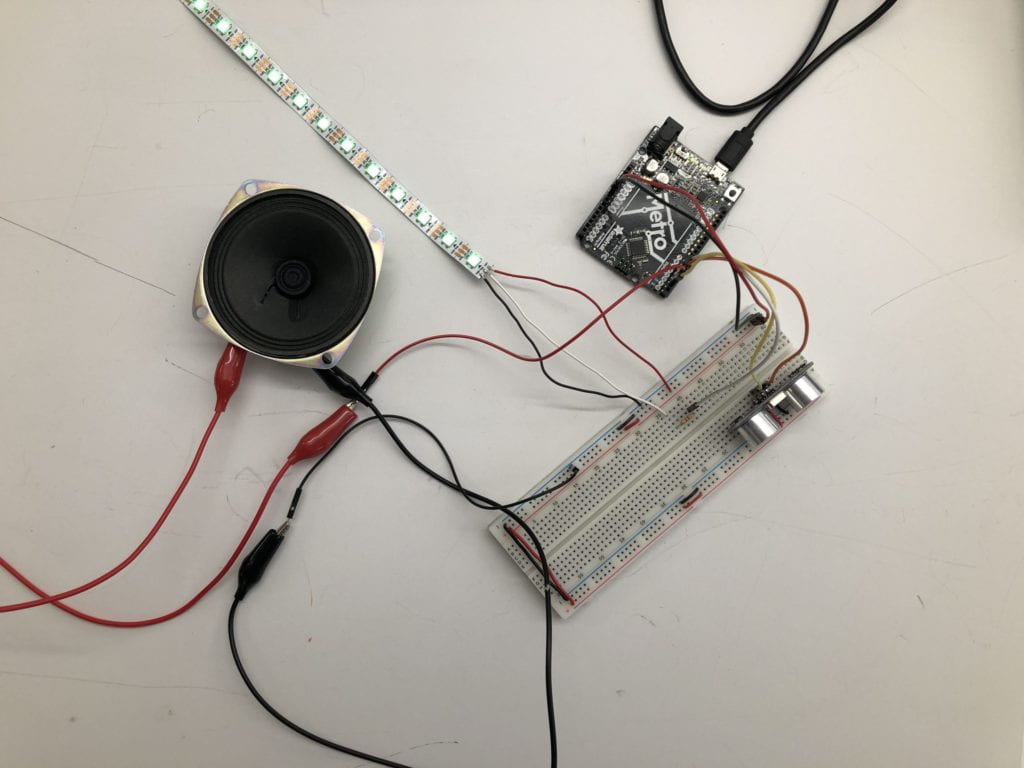
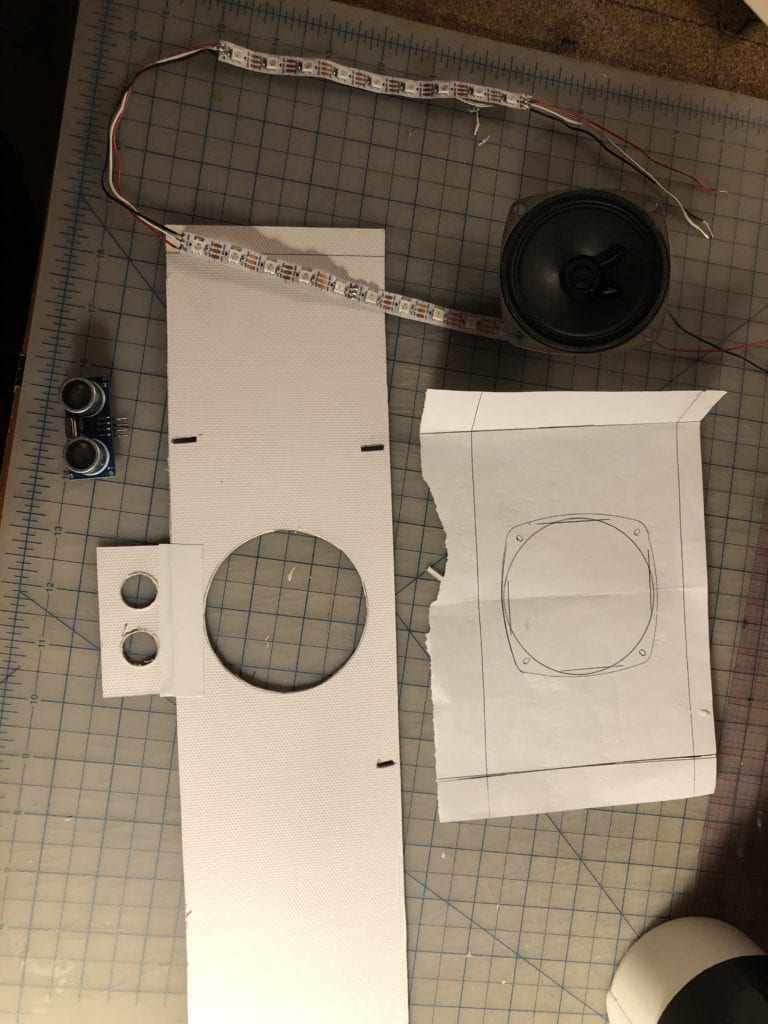
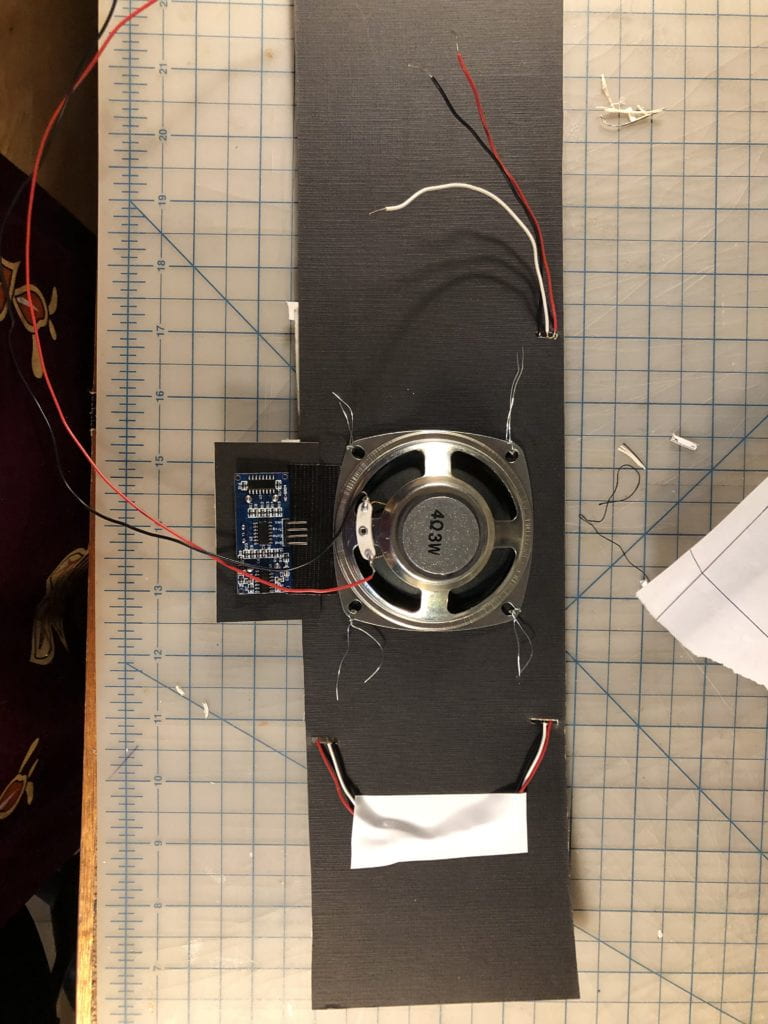
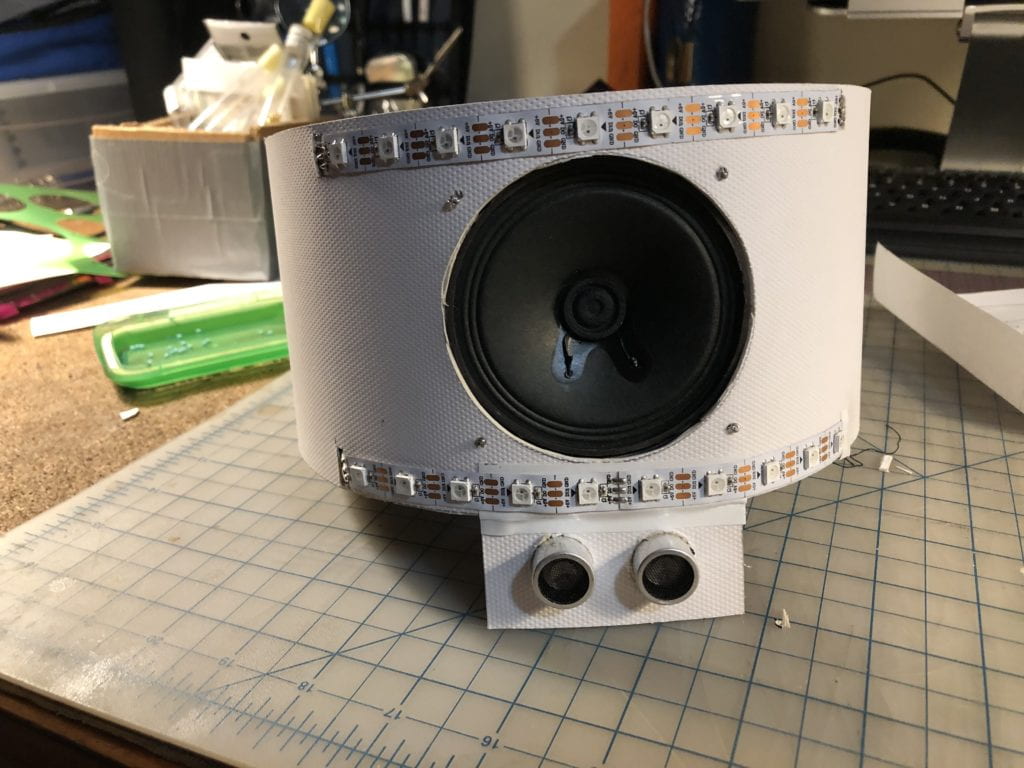
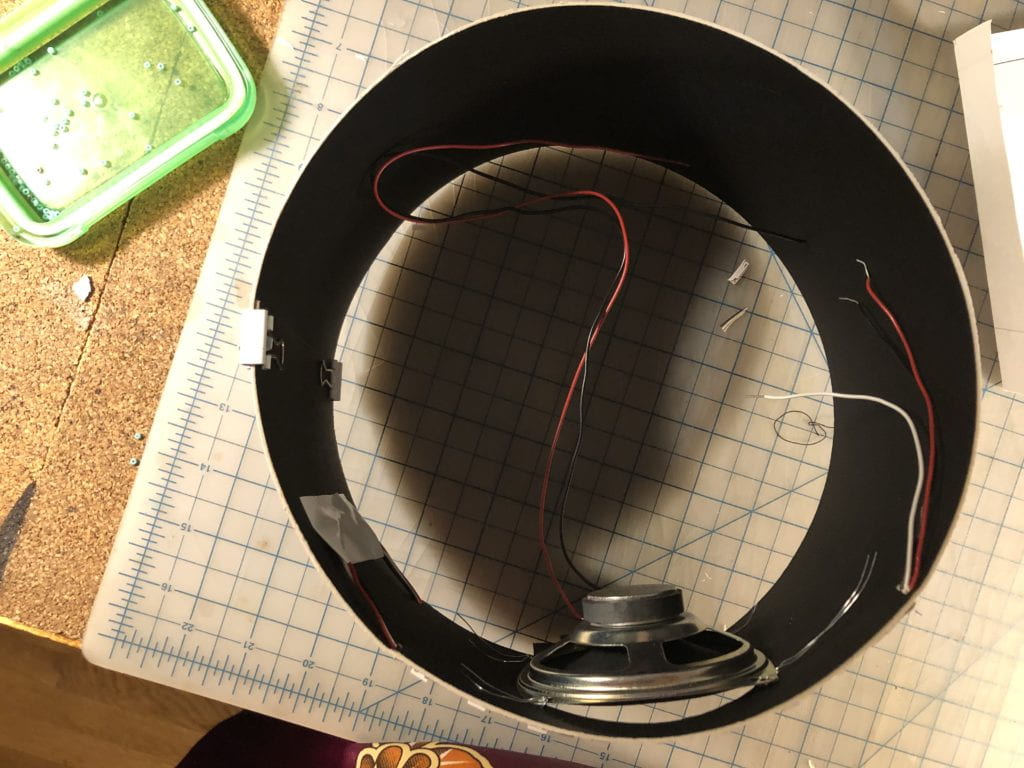
Next step was to build the housing for the components. Once built, I tested the wiring to make sure nothing came undone during this step. It was all working and ready for the servo motor.
Day 6:
Yona, Yony and I met at the ITP floor to complete the circuit by adding the servo code to the overall code.
We considered adding an Op Amp to the circuit so that the voice would be louder but, after reviewing the datasheet of the component, decided that this would best be left to another time. We were not sure even where to begin with working it into the circuit as the datasheet was not clear enough. Dave Rios suggest using fig. 22 on page 25 of the TL072P’s datasheet. Unfortunately, we were not able to fully decipher the schematic in time to implement into the finished project. If we pursue refining this project, we will invest in finding an amp to bring out the voice.
Test 1: servo moved at start but did not move again while the other components acted as desired Tested adding 9V battery for servo, unsuccessfully.
Test 2:
Realized that I had been using a 3.3v regulator in the circuit with the batter so I switched instead to a 5V regulator. Unfortunately, nothing still.
Test 3:
Checked the power for all by unplugging speaker and NeoPixels to test if the servo moves more than one. It did not.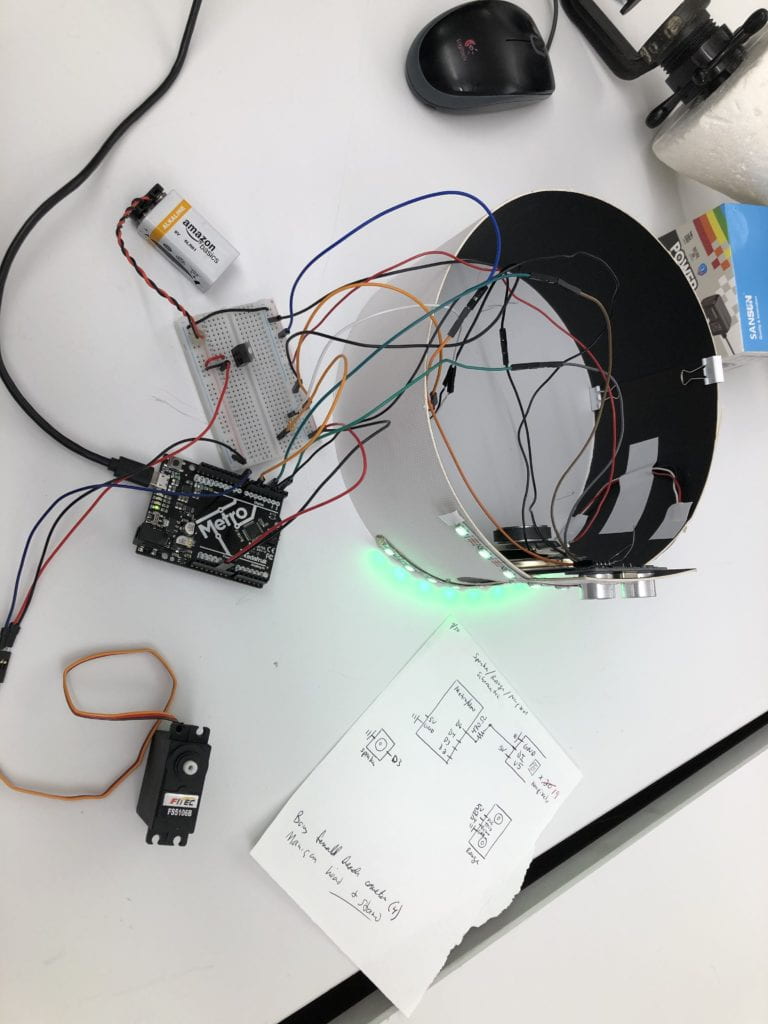
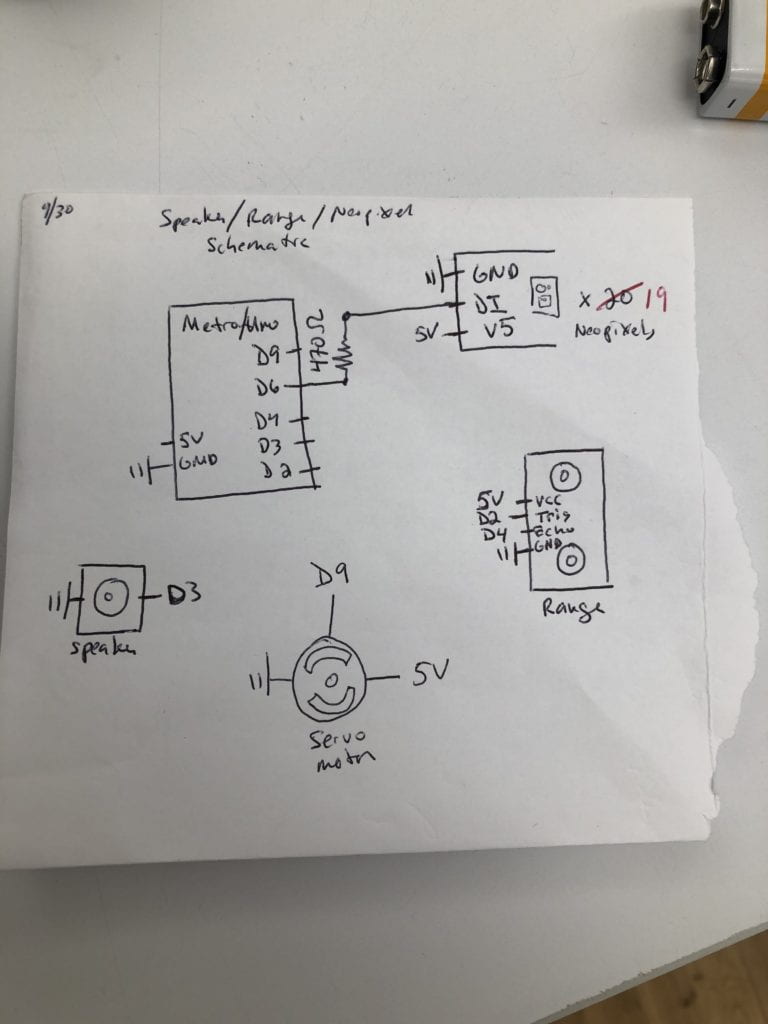
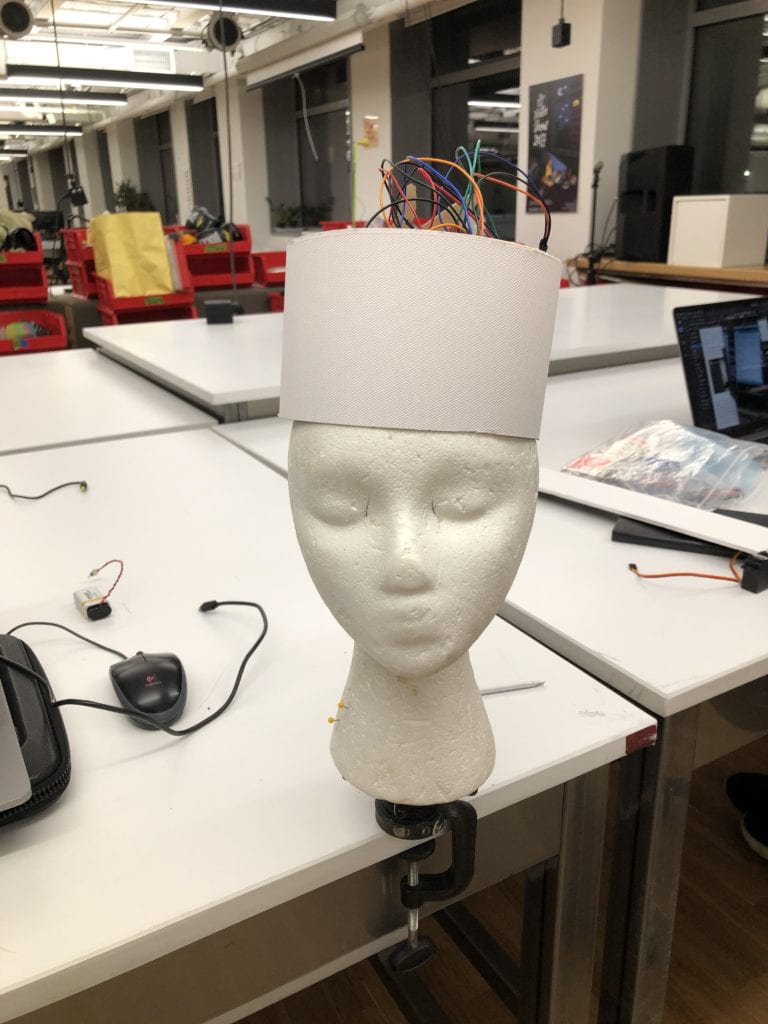
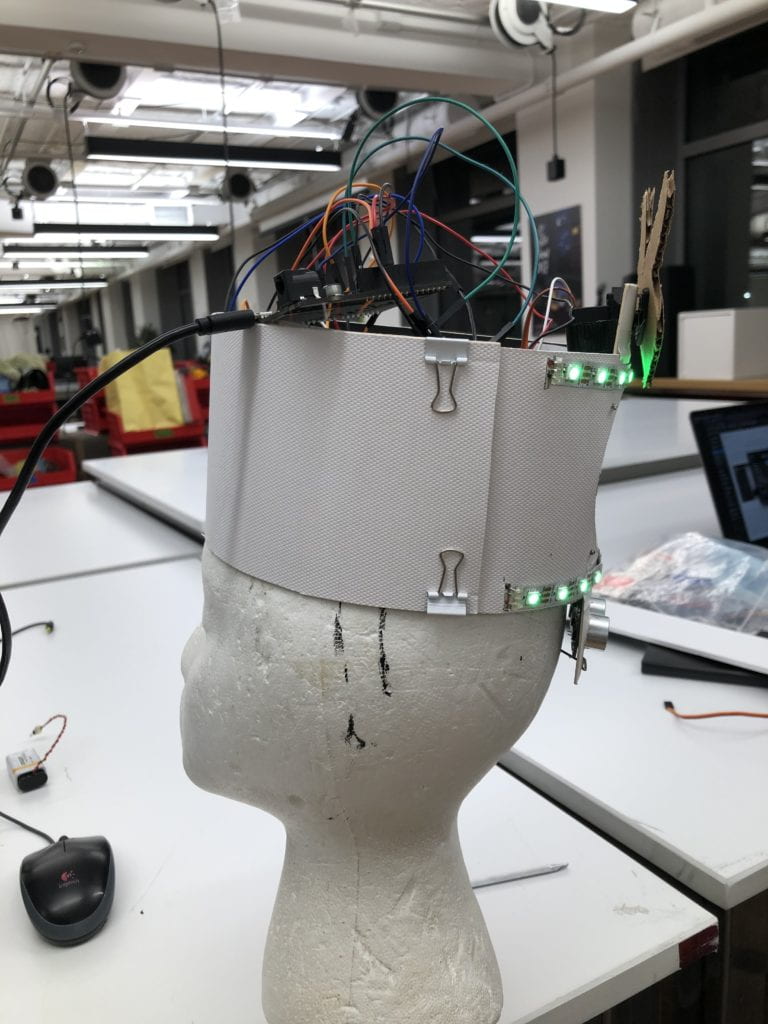
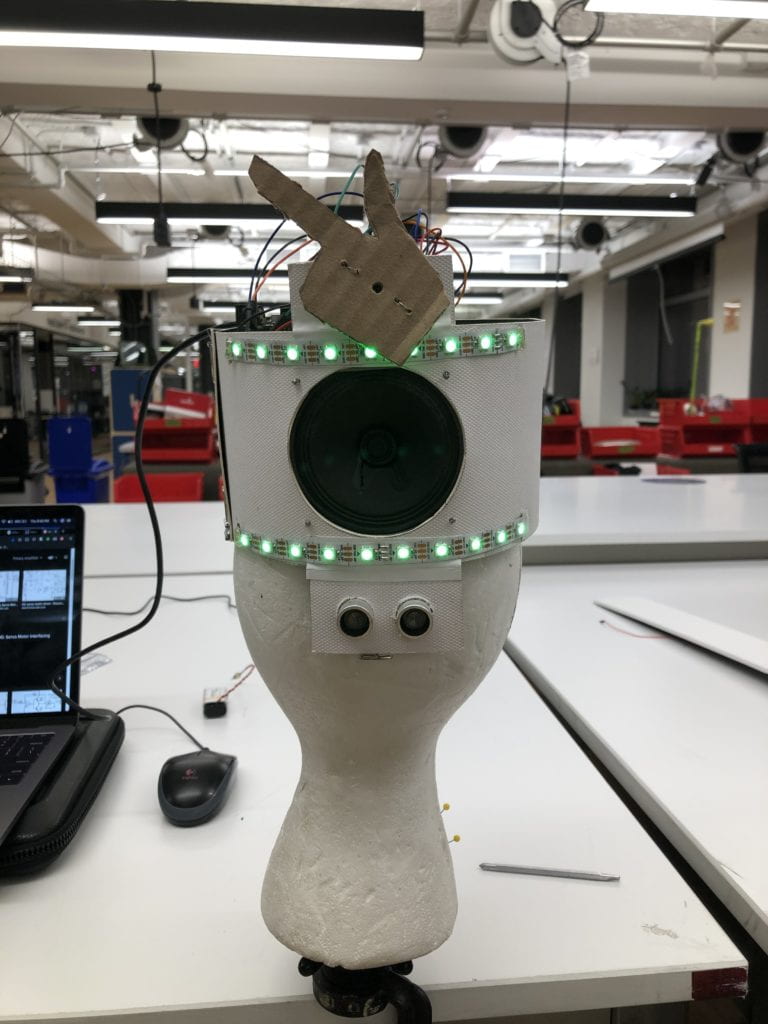
Conclusion:
We were unable to figure out why the servo only worked once in combination with the speaker and NeoPixels. We were however able to create a piece that works once!
We recorded 2 videos: (1) just the servo running its original program by Yony and (2) the final piece with the servo only running that initial time.
Questions for the next build:
- How do we implement the amp into the circuit?
- How do we get the lights to change, the voice to speak and the finger to wag without a delay?
- How do we properly power the entire circuit (this might have been the issue with the lag and the inability of the servo to function)?
- Besides drawing in Illustrator or photoshop, how can I improve on my schematic diagrams?
Additional Component Datasheets and Guides:
Sensor datasheet: https://cdn.sparkfun.com/datasheets/Sensors/Proximity/HCSR04.pdf
Servo datasheet: https://cdn-learn.adafruit.com/downloads/pdf/analog-feedback-servos.pdf
Nano 33 IoT:
https://itp.nyu.edu/physcomp/introduction-to-the-nano-33-iot/
NeoPixel Strands: https://www.alitove.net/product/ws2812b-300bk-np/