We have two Epilog laser cutters:
– Small 60W FusionEdge – for materials up to 12″ x 24″ inches
– Big 80W FusionPro – for materials up to 24″ x 36″ inches
The laser cutters can be used to engrave and cut a variety of materials, but we mainly use them for paper, cardboard, 1/8″ plywood, and acrylic/plexiglass. A list of materials that you can and cannot cut can be found here.
When it’s busy you can sign up to use the laser cutters here, but the machines are often available.
FusionEdge (12″ x 24″) Manual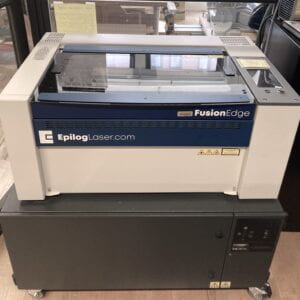 |
FusionPro (24″ x 36″) Manual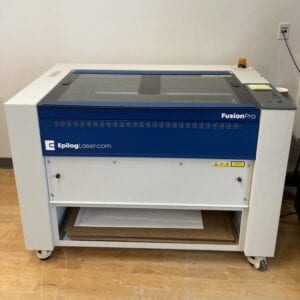 |
Formatting and Laser Cutting Instructions
If you created the file on your own computer, you can use one of our flash drives or email the file to yourself to transfer the file to the PC in the art studio that is networked to the laser cutters.
| In Adobe Illustrator, create a new file with an artboard the size of the material you are using. We recommend the Essentials Classic Workspace. |
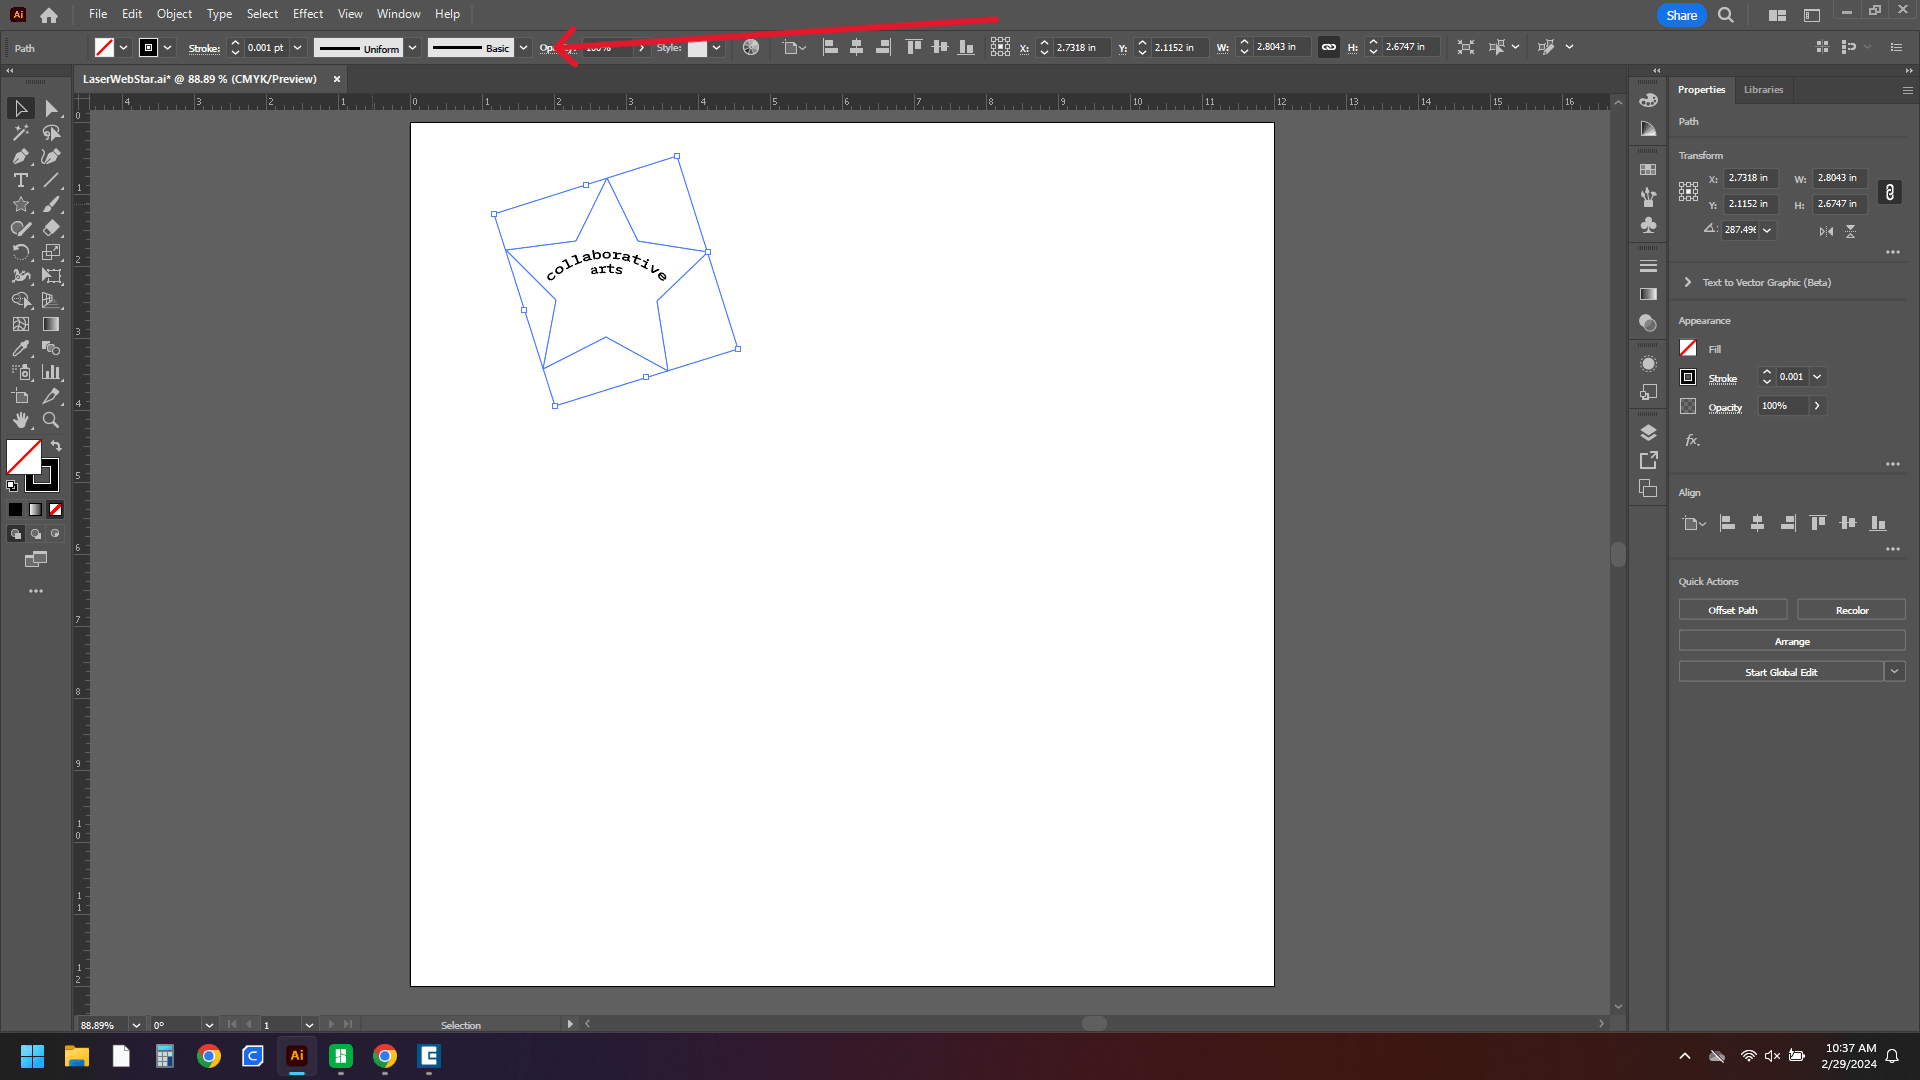 |
Once you have created your design, make sure that all lines you want to cut have the following profile:
|
 |
| For engraving shapes, there are many settings that you can use depending on the desired effect. Shades of gray or colors will engrave at their gray scale equivalent. Stroke width can be used to outline shapes. Images can also be engraved (.jpeg or .pdf) but not .png files. |
 |
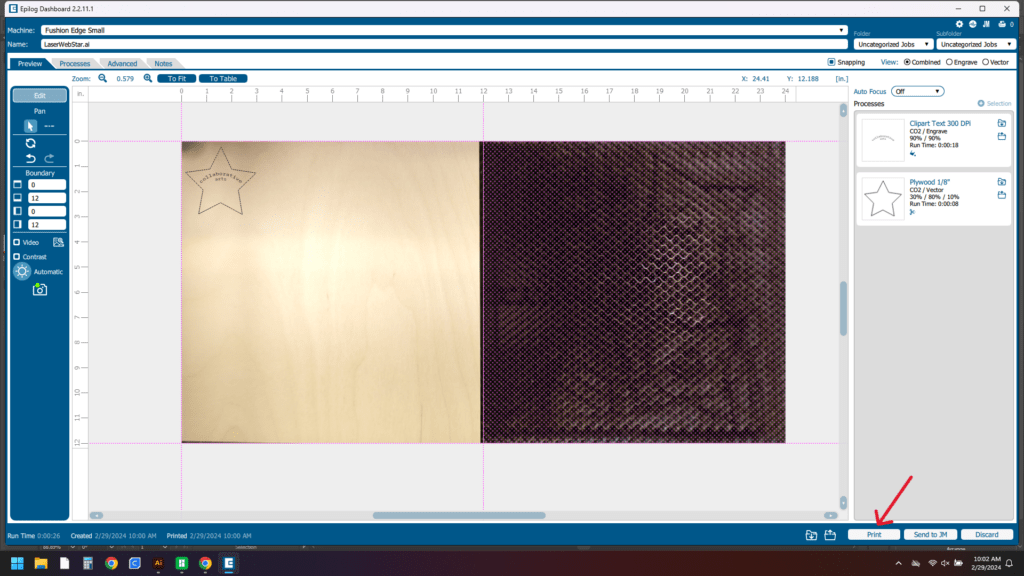
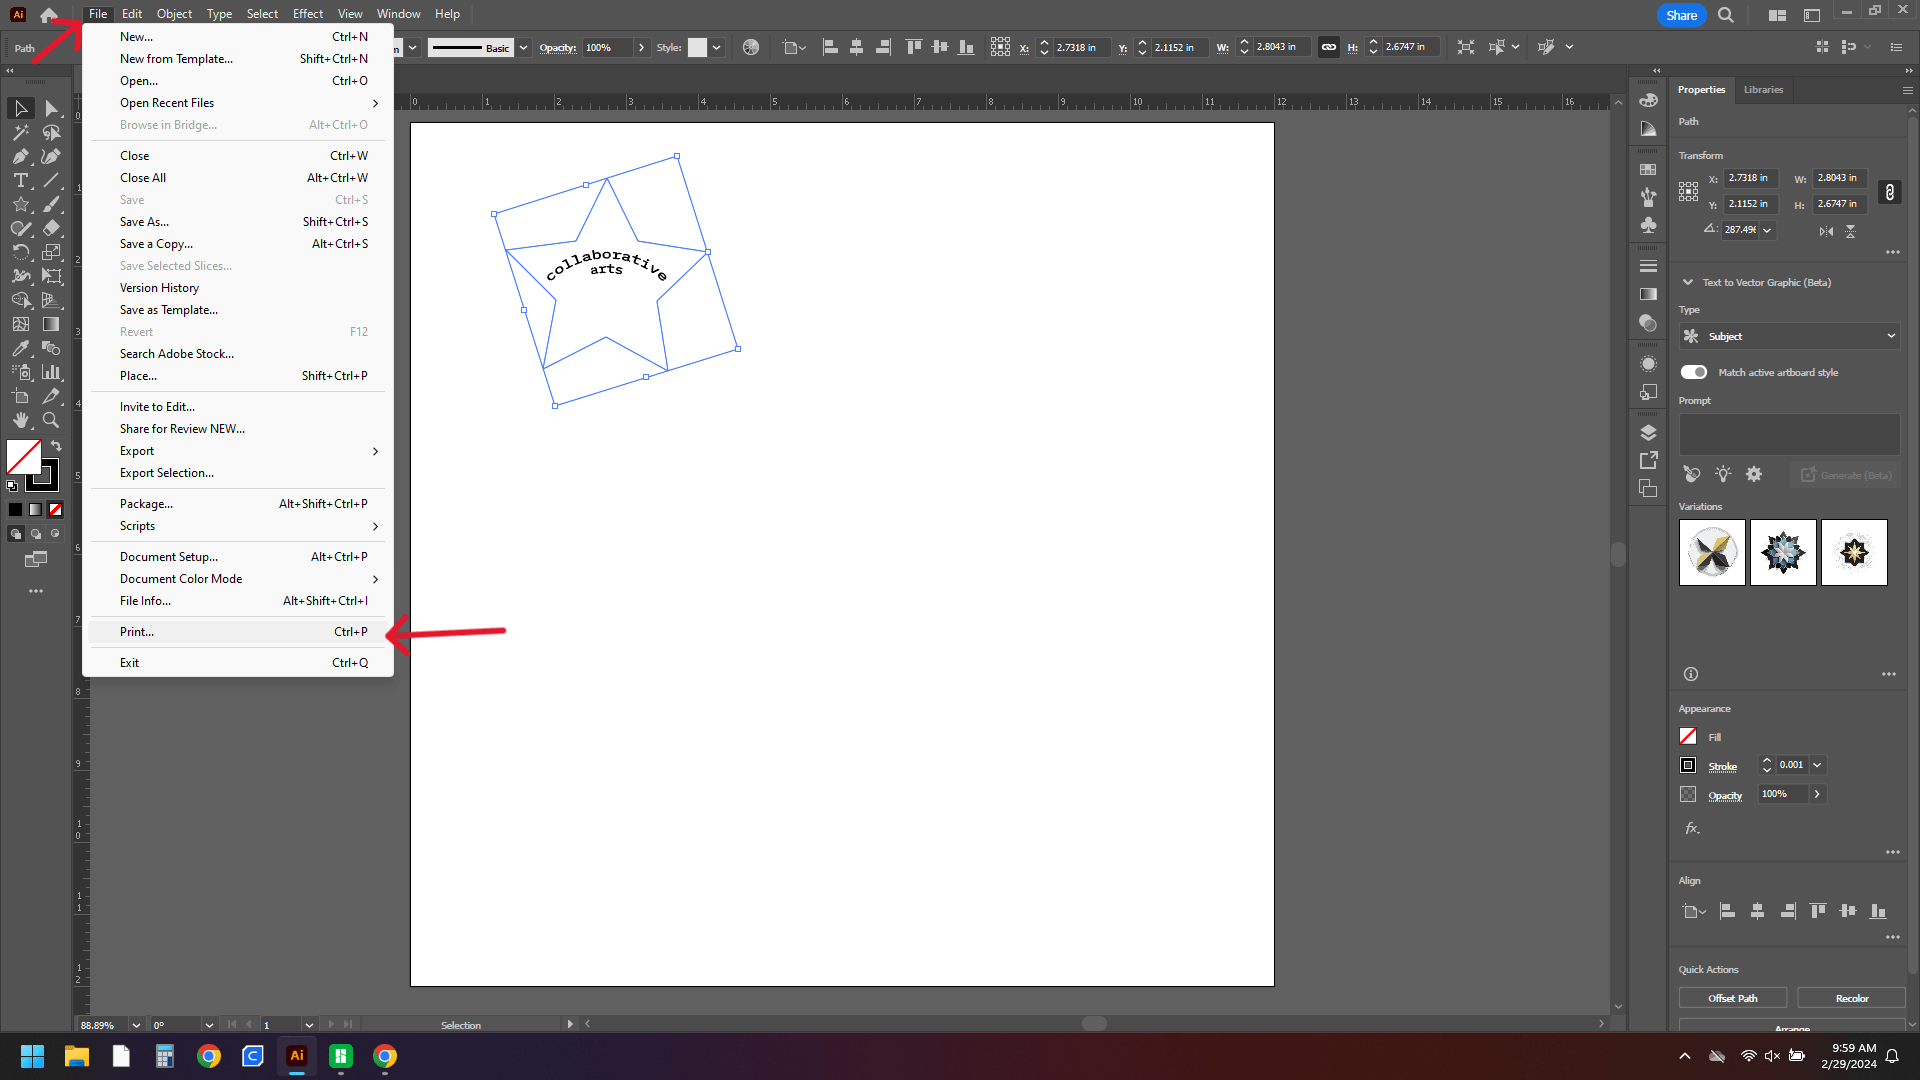
| To get your file to the laser cutter, select file and then print. |
 |
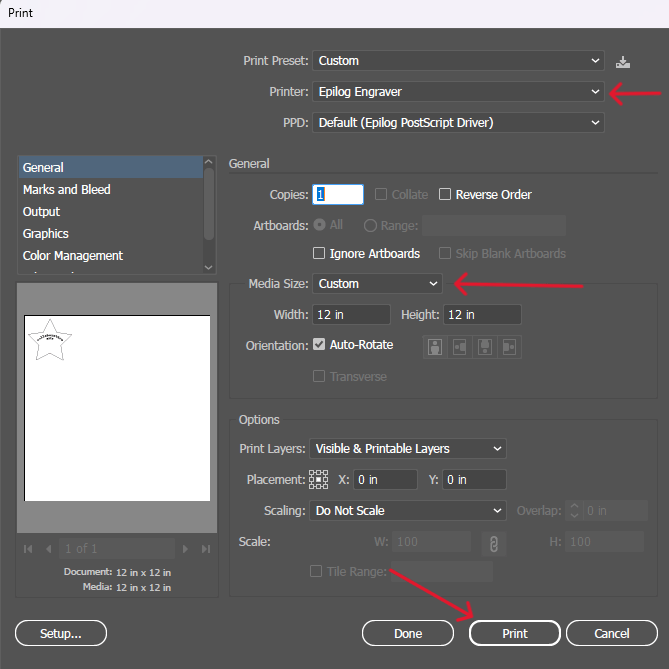
| Change the Printer to the Epilog Engraver Change the Media Size to Custom Then, select Print |
 |
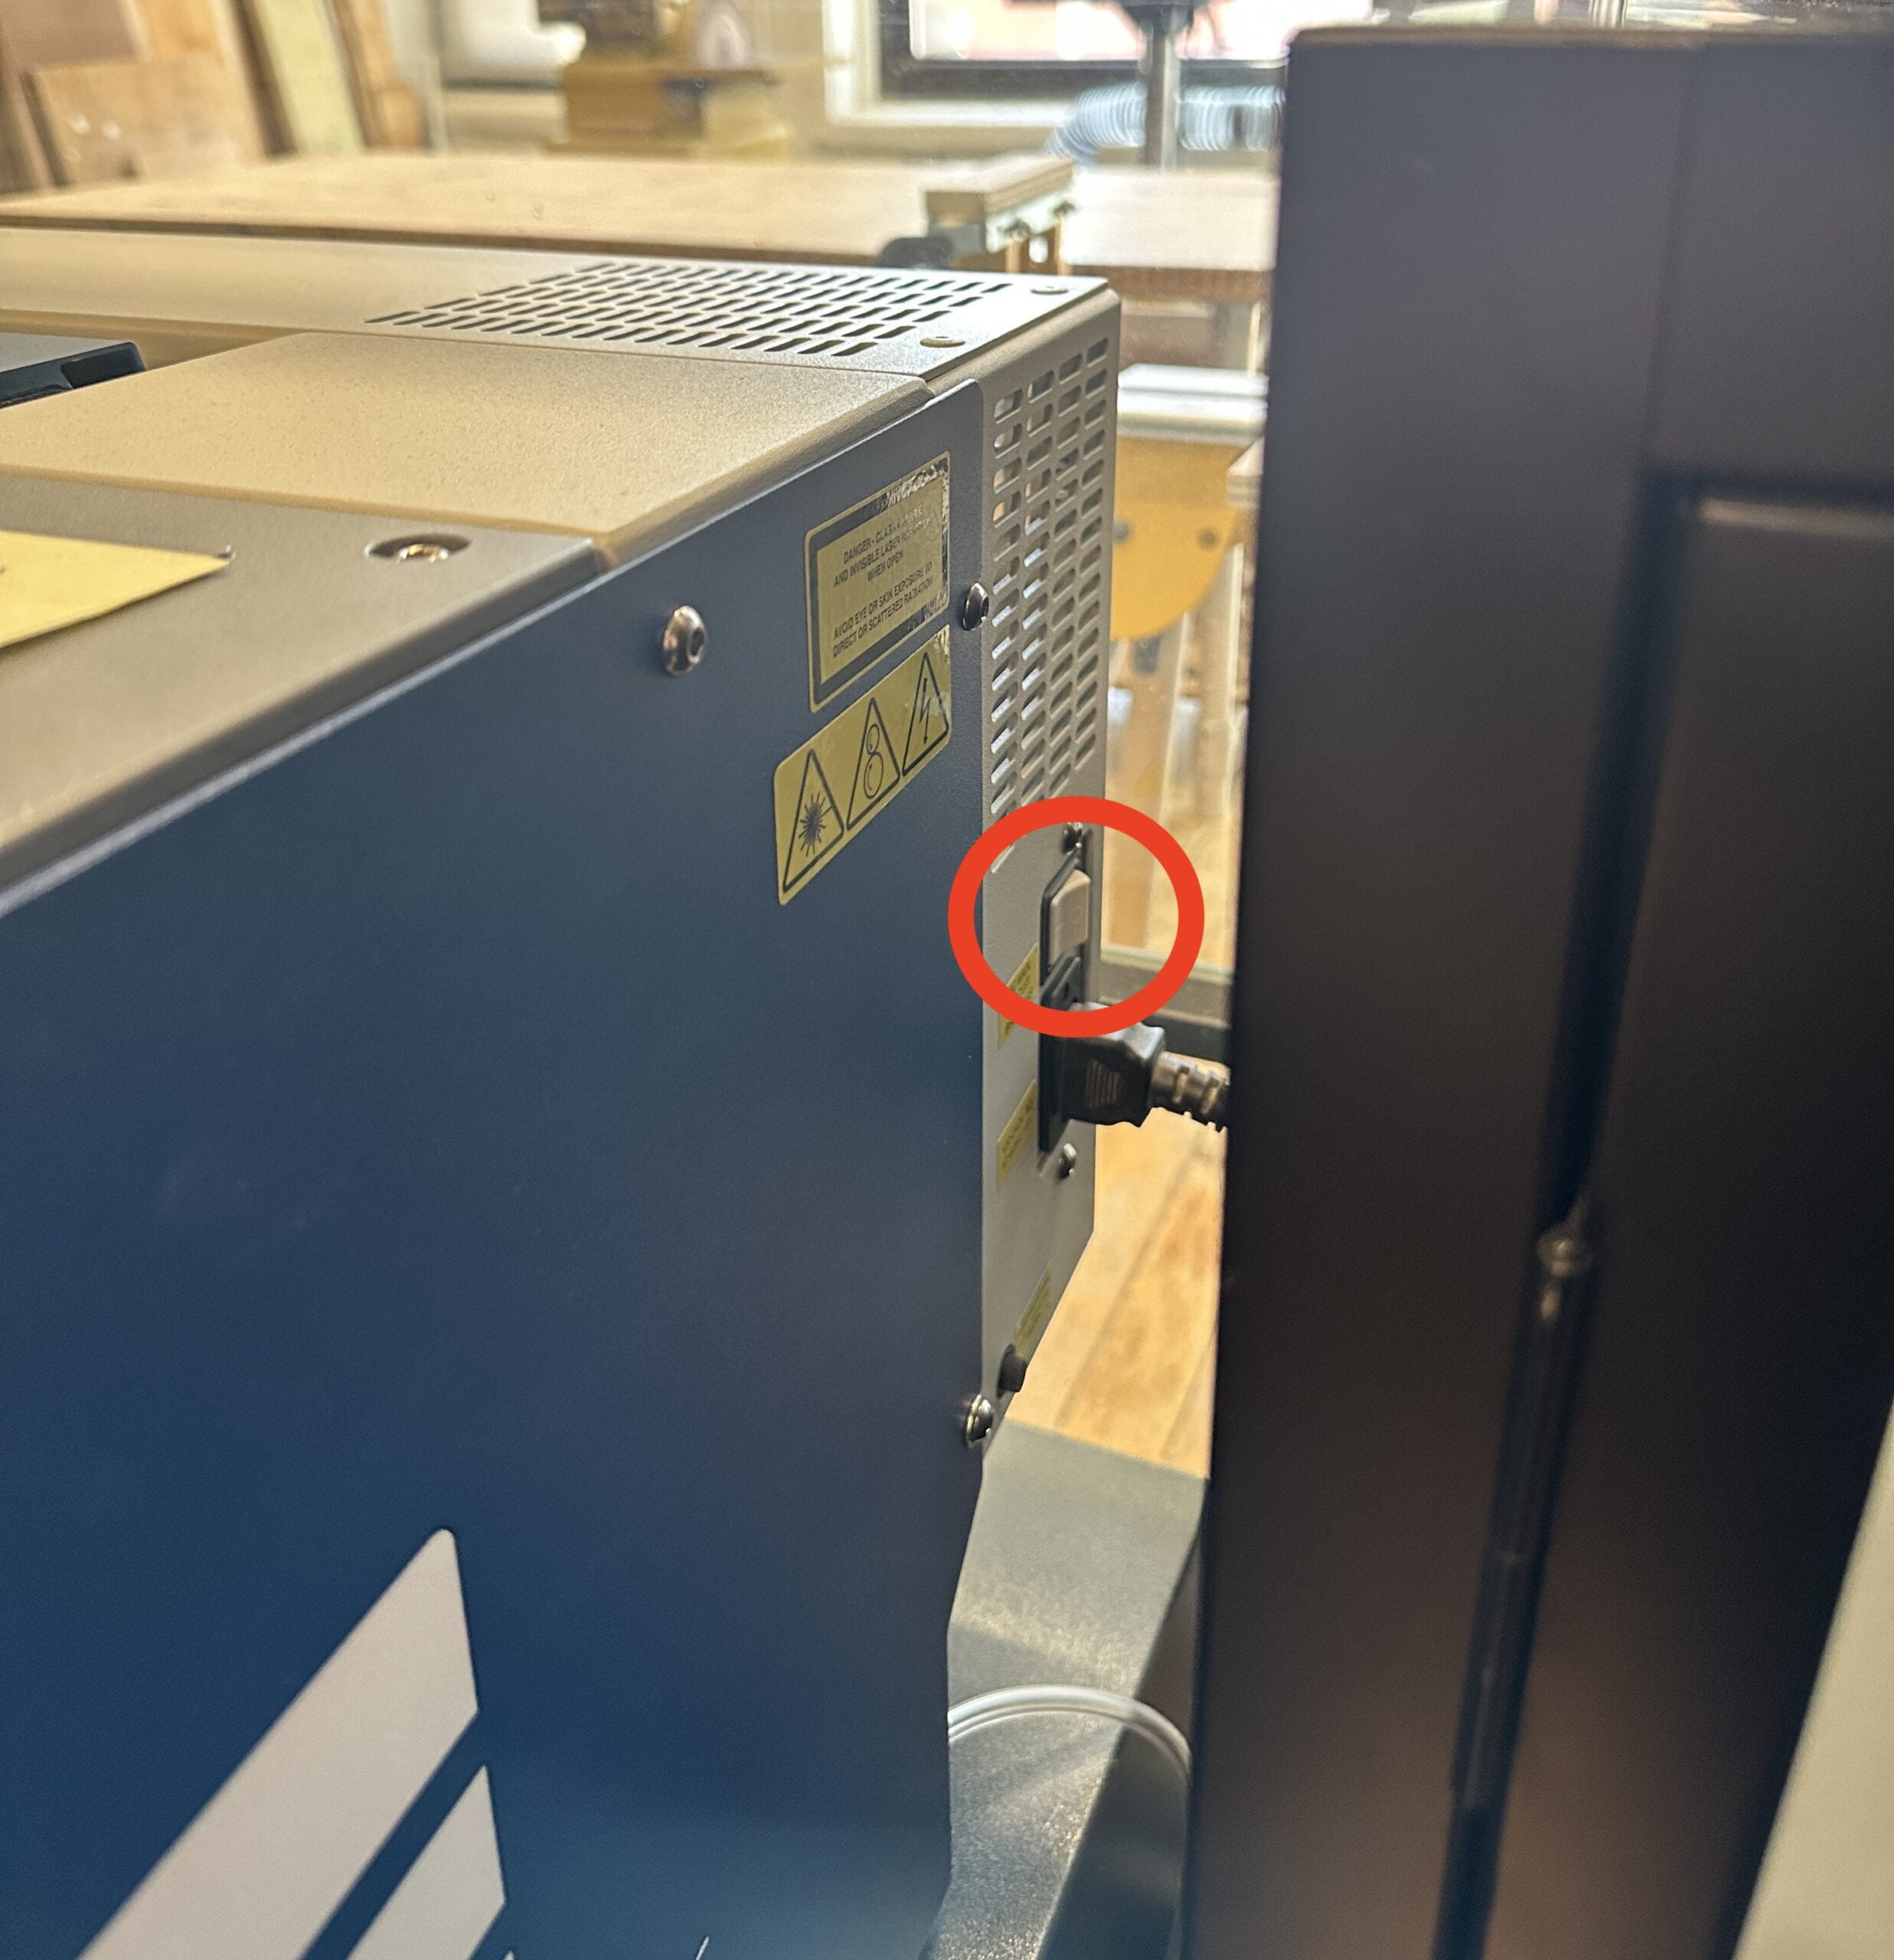
| Turn on the laser cutter you will be using Flip the power switch on the side of the machine. |
 |
| Turn on the Air Compressor. |
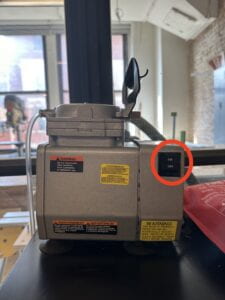 |
| Turn on the air filter. On the larger machine this button is red. |
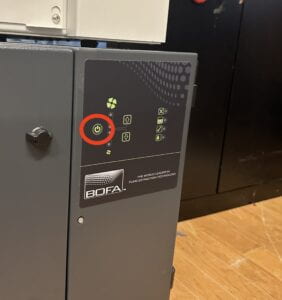 |
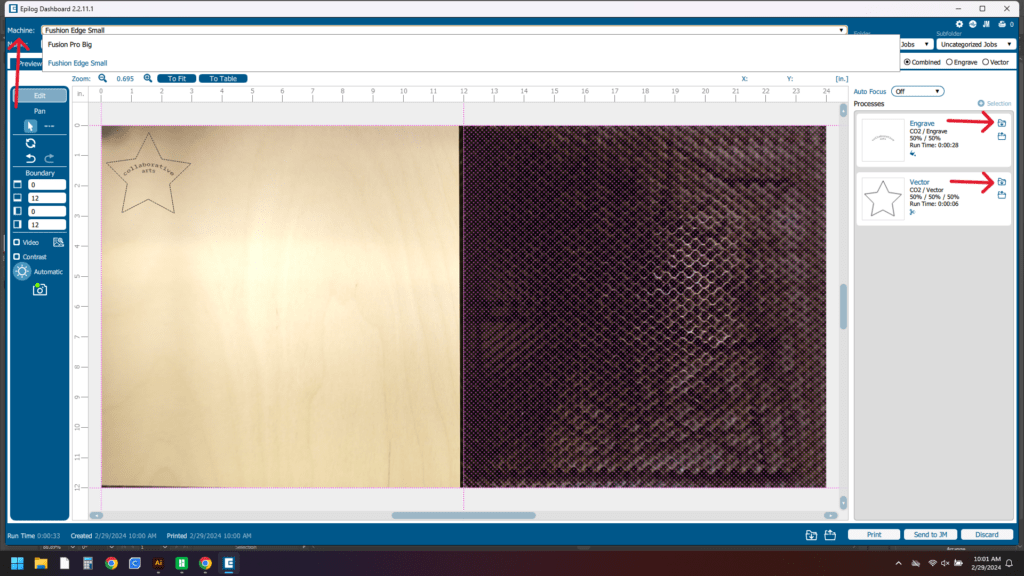
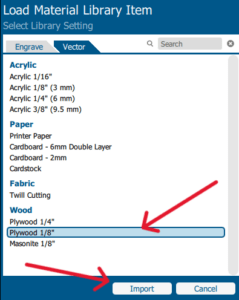
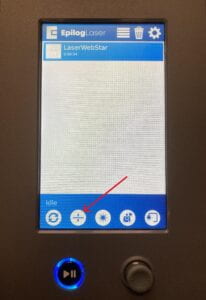
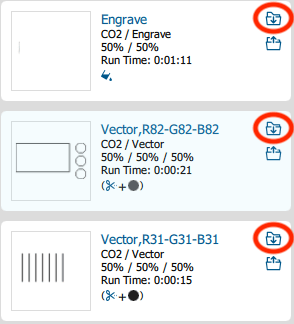
| Back on the computer, select the machine you will be using in the menu at the top of the page. Place your material in the machine and you should see it in on the computer via the camera. Then, import the engraving and vector cutting settings from the material library by clicking the small folder icon in the upper right corner of each process. |
||||||||||
|
Advanced Laser Cutting Settings
| Split by Color: For designs where you want to engrave at different depths or score vector cutting lines in to material, you can use color mapping to assign different settings to different colors in your artwork. Below is an example of one way you could color code the stroke color. |
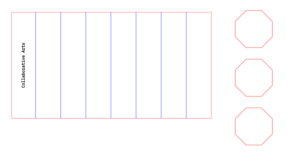 |
| Print your file to the Epilog Dashboard from Illustrator as detailed above. At the right, select the process you want to split and then Split by Color to separate the different parts of the cutting or engraving process. |
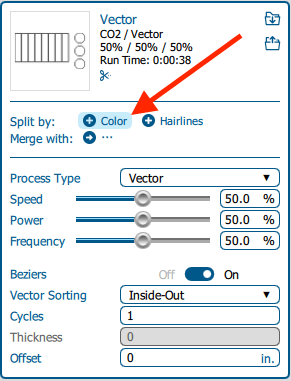 |
| You will now see the different colors split into separate processes that can be assigned cutting or engraving settings. Select the folder in the upper right corner of each process to assign it material settings. |
 |
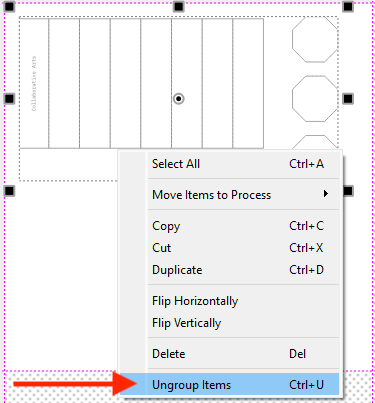
| Arranging Objects, Ungrouping Items:
In the Epilog Dashboard Software, you may want to rearrange elements in your file to better fit the material, adapt to used material, or delete them. |
 |
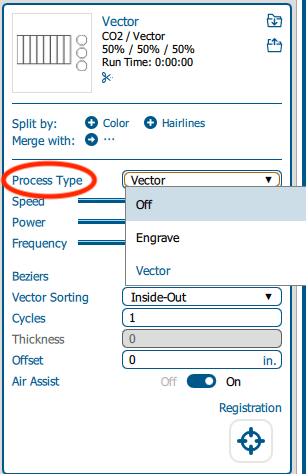
| Changing Process Type: If you want to change a process type from vector cutting to engraving or turn off part of the process completely, you can click on any of the processes on the right side of the screen, select Process Type, then select from any of the options shown. |
 |
| Engraving Images: Images that are not .png files can be engraved, like .jpeg or .pdf. To best understand what your image will look like, look at it in black and white first. If you are engraving a photo, consider increasing the contrast and removing anything in the background of your image for the clearest results. It’s always a good idea to test engrave your images, or a part of your image on scrap material first.For faster image engraving, you can lower the resolution. |
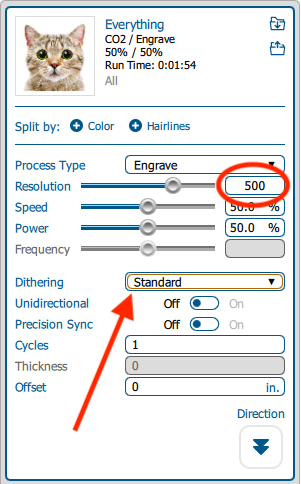 |
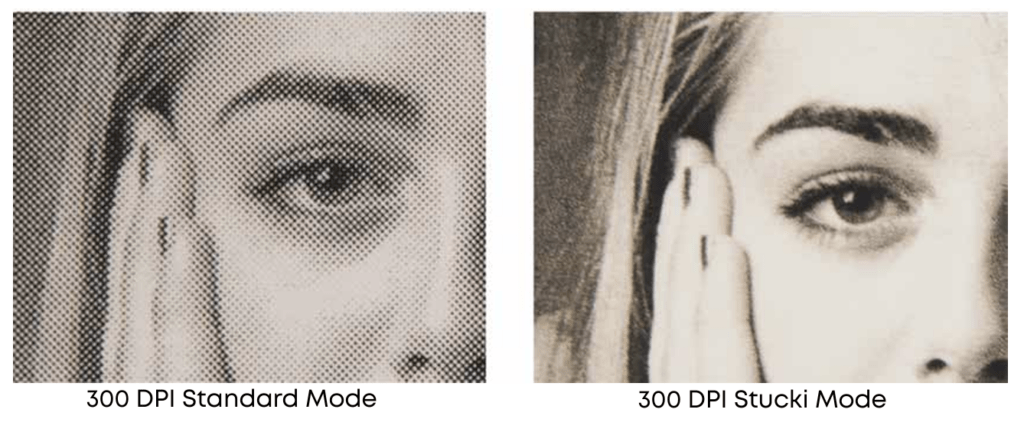
| Dithering is randomized noise that is added into images to make them render better. Below are examples. As you can see, the standard mode has a more structured pattern, as compared to the Stucki Mode which randomizes the white noise in the image to create a more natural look. For more info about the different photographic dithering options, see this guide. |
 |
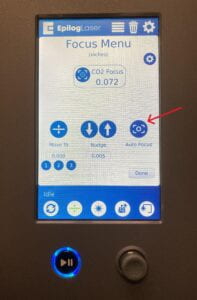
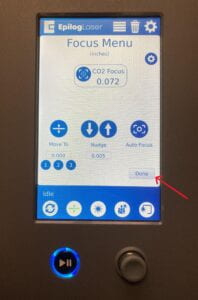
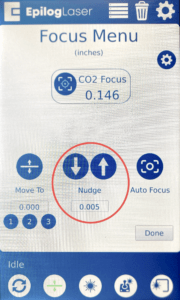
| Cutting Thicker Material: Material with a thickness of 1/4″ to 3/8″ will require more than one cutting pass to cut through. We cannot cut material thicker than 3/8″. For best results, you can try refocusing the laser cutter to the middle of the piece on the second cutting pass by using the nudge settings in the focus menu to adjust the focus, or refocus using the auto focus to a piece of material that is half the thickness of the material you are cutting. |
 |
