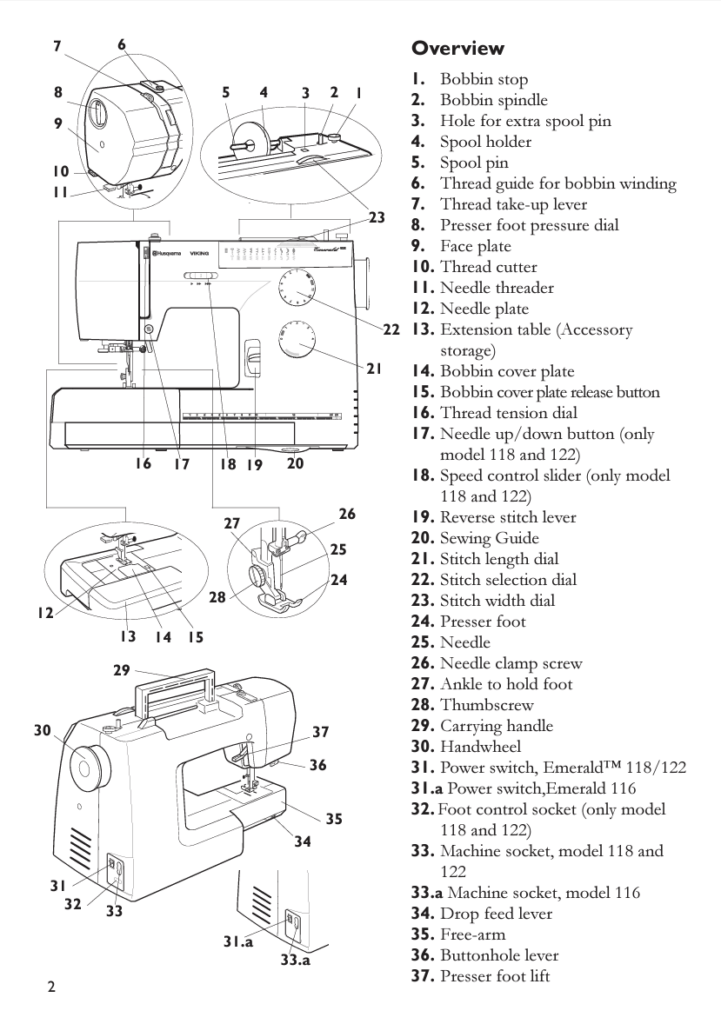
We have two of the Husqvarna Viking Emerald 118 sewing machines.

To begin sewing you need to have threaded machine and bobbin with thread that matches or compliments your piece. The photos below provide further explanation. After having pinned your materials together and selecting your stitch type, align your material to the machine and don’t forget to reach around to the back to lower the presser foot onto your material. The machine will not sew properly with the presser foot in the ‘up’ position and if something is going wrong this is often why. Also remember to reverse at the beginning and end of your stitches to strengthen them so they don’t un ravel.
Husqvarna Viking Emerald 118 Manual
Step by Step Machine Threading Instructions
|
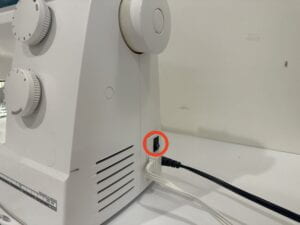
Turn on machine by flipping the power switch |
 |
|
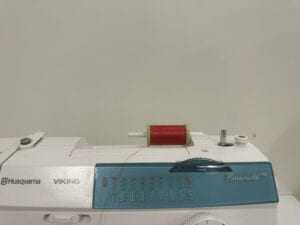
Place thread spool on spool pin |
 |
|
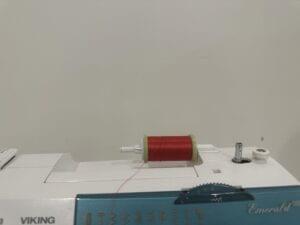
Place on the spool holder cap |
 |
|
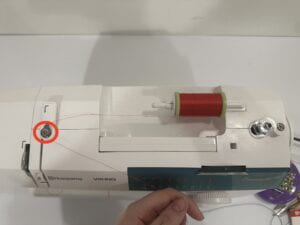
Wrap thread around the bobbin thread tension guide |
 |
|
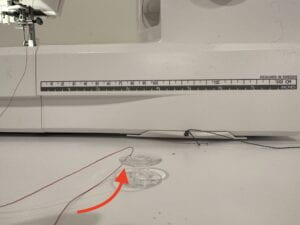
Thread the bobbin through the hole, coming from below and out the top |
 |
|
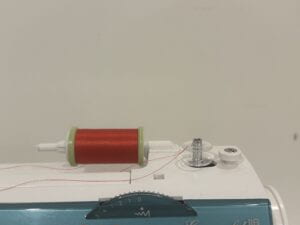
Place bobbin on bobbin winder |
 |
|
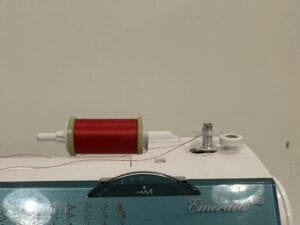
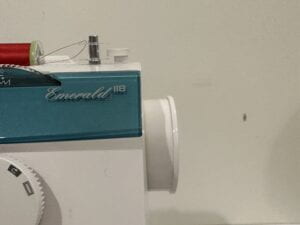
Push bobbin winder to the right |
 |
 |
|
|
Pull out hand wheel |
 |
|
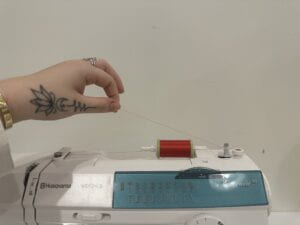
Hold end of thread up while pressing on the pedal allowing the thread to wind onto the bobbin |
 |
|
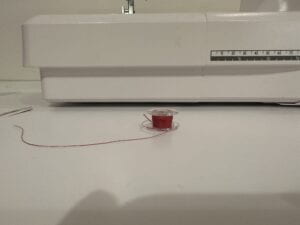
Remove bobbin once it is full and push the handle back in |
 |
|
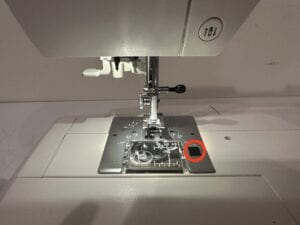
Remove plastic bobbin cover by pressing the black release |
 |
|
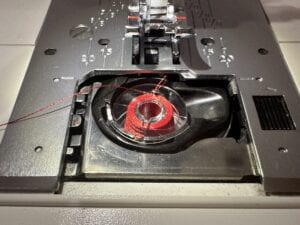
Place bobbin into bobbin case with string going up and left (counterclockwise) |
 |
|
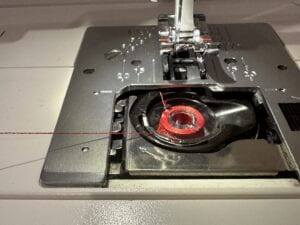
Guide thread into notch on the bobbin case, pulling the thread to the left |
 |
|
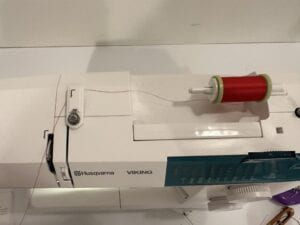
Bring thread from spool into the thread guide |
 |
|
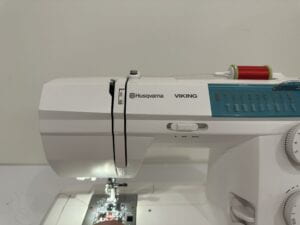
Pull thread down the guide |
 |
|
Bring thread back up towards the lever |
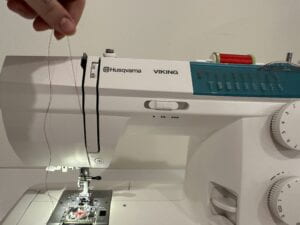 |
|
Hook thread into the lever from right to left |
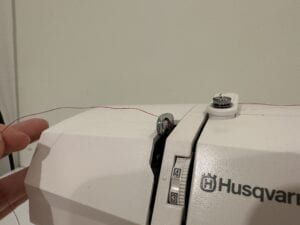 |
|
Bring thread down to the small hook above the needle and thread through back to front |
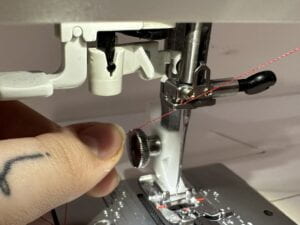 |
|
Thread eye of needle |
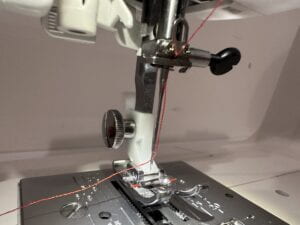 |
|
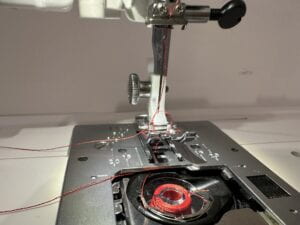
Hold top thread and crank hand wheel towards yourself until bottom thread from bottom comes up as a loop |
 |
|
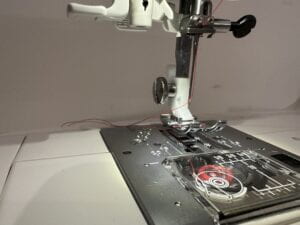
Grab loop to pull bottom thread out and replace bobbin cover |
 |
Videos:
Bobbin Threading
Machine Threading
Stitch chart explanations
Machine Diagram:
