These are the three models of Ultimaker 3D printers that we have:
Ultimaker 3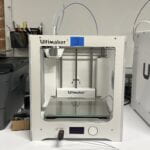 |
Ultimaker S3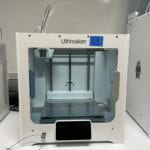 |
Ultimaker S5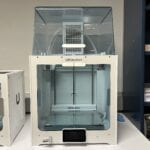 |
To get your 3D model to the 3D printer you need to export it to the correct model of printer in a slicer program. The UltiMaker 3D printers use a free slicer program called Cura. The printers are generally the same quality but have different colors of filament. Check in the art studio to see what we have.
In Cura, you can choose different settings like print resolution, infill, support, scale, rotation, and if you want to make multiple copies of your print. To get the file to the printer you will need to save it on one of our flash drives and transfer it to the printer of your choice.
Ultimaker 3 Manual
Ultimaker S3 and S5 Manual
Step by Step 3D Printing Instructions
|
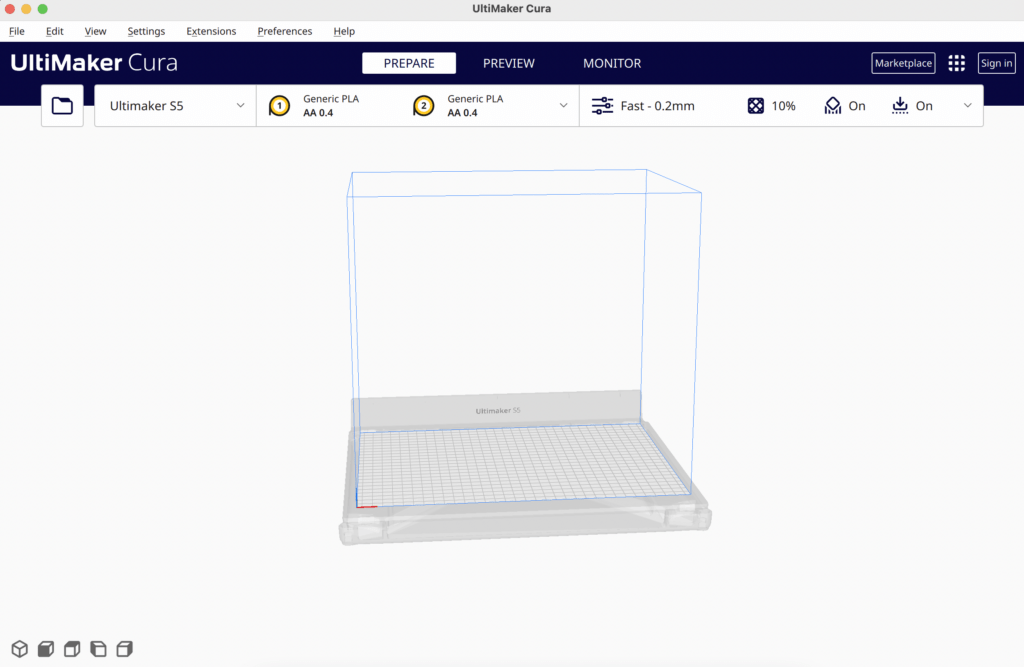
UltiMaker Cura |
|
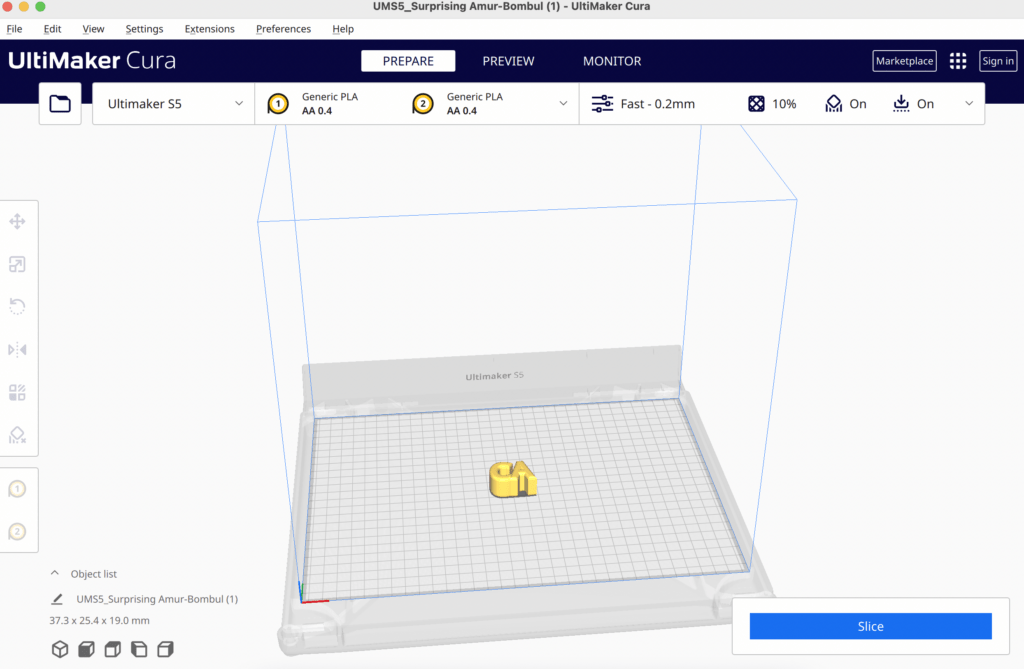
Drag in STL file |
|
Select the printer from the drop down menu in the upper left corner. Check in the shop which filament color is loaded in which printer to inform your decision. |
|
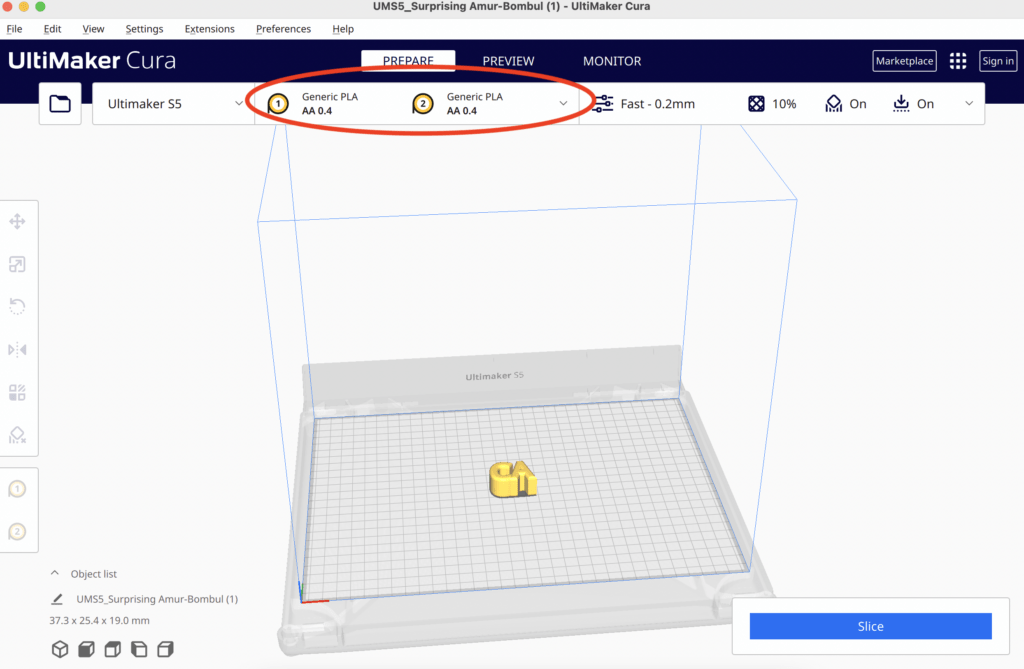
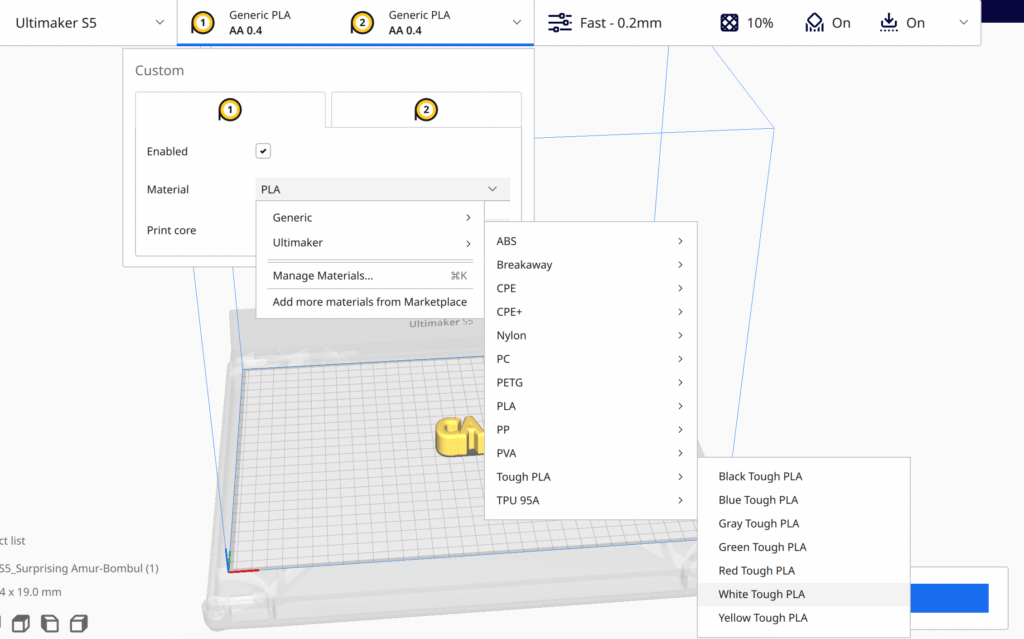
Click material dropdown |
|
Select the correct material based off of what is in the machine you are using. If you are using two colors repeat process for material two.
|
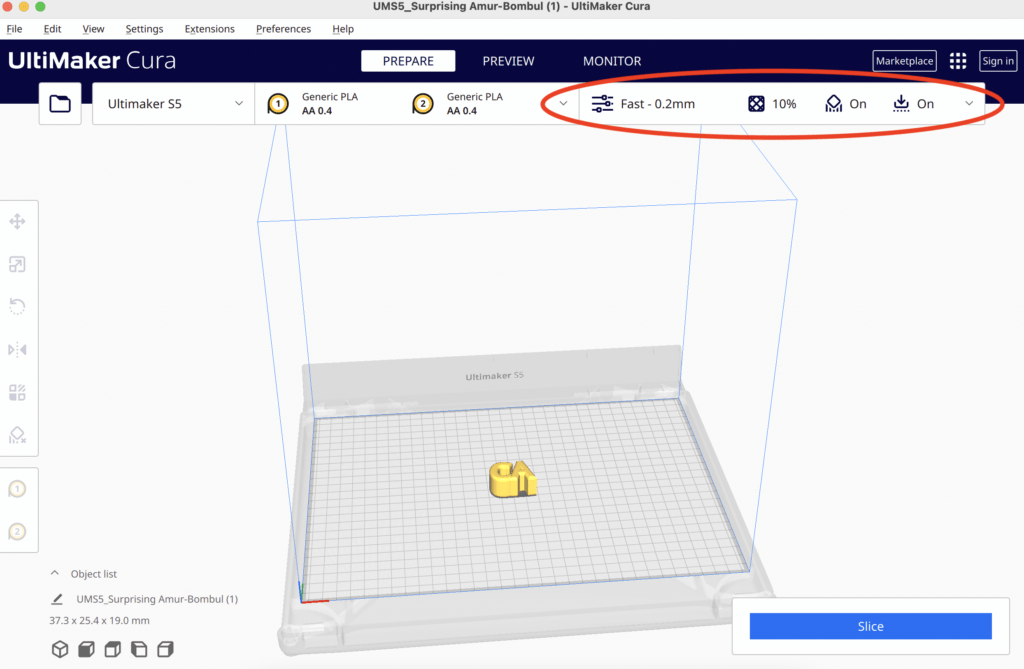
|
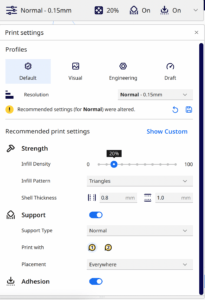
Click to adjust settings. |
|
Resolution will change the amount of time your print will take. |
|
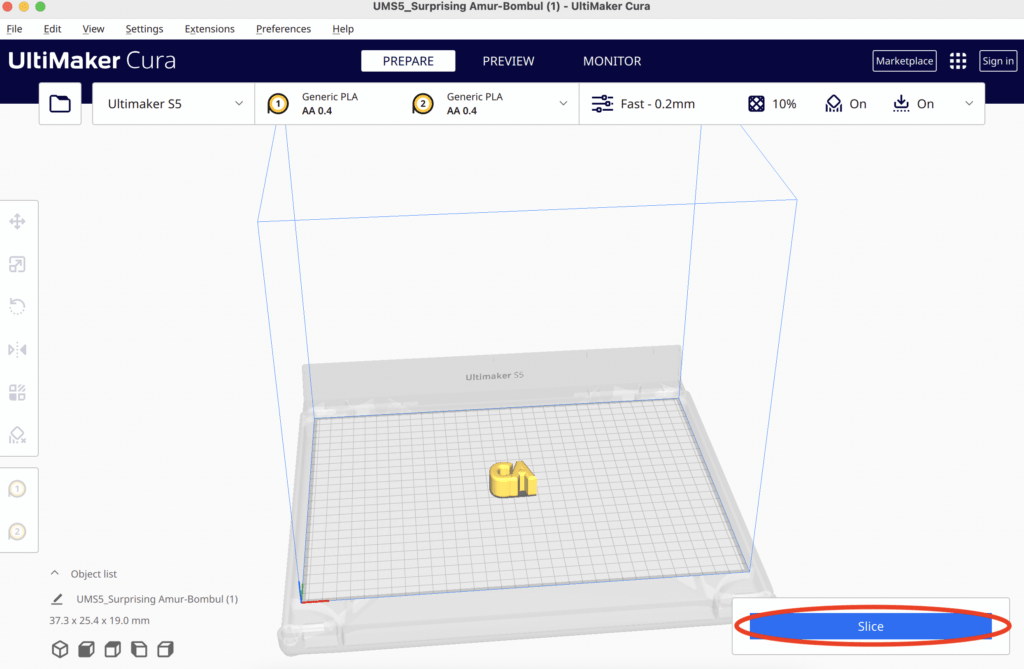
Click Slice |
|
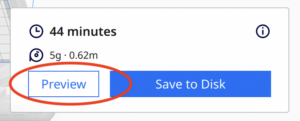
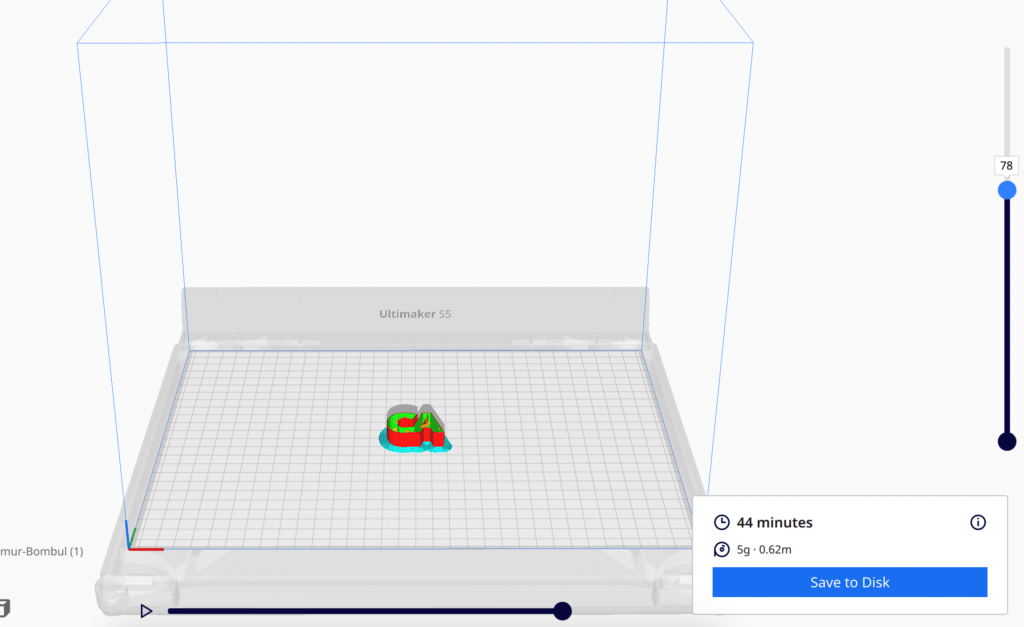
Preview to ensure everything looks correct before saving to disc |
|
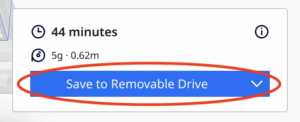
Plug flash drive into computer “Save to Disk” will change to “Save to Removable Drive” once the flash drive is connected. |
|
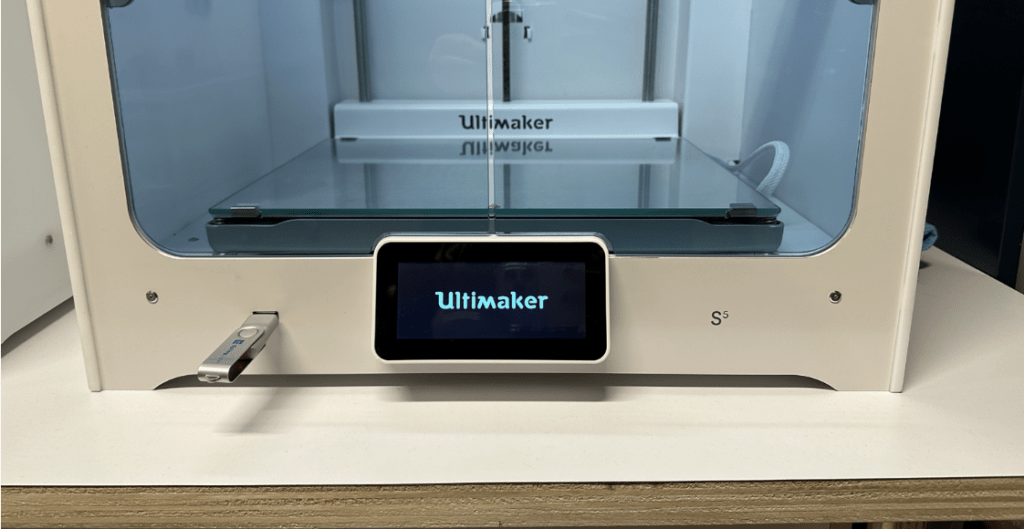
Insert flash drive into the correct printer. |
|
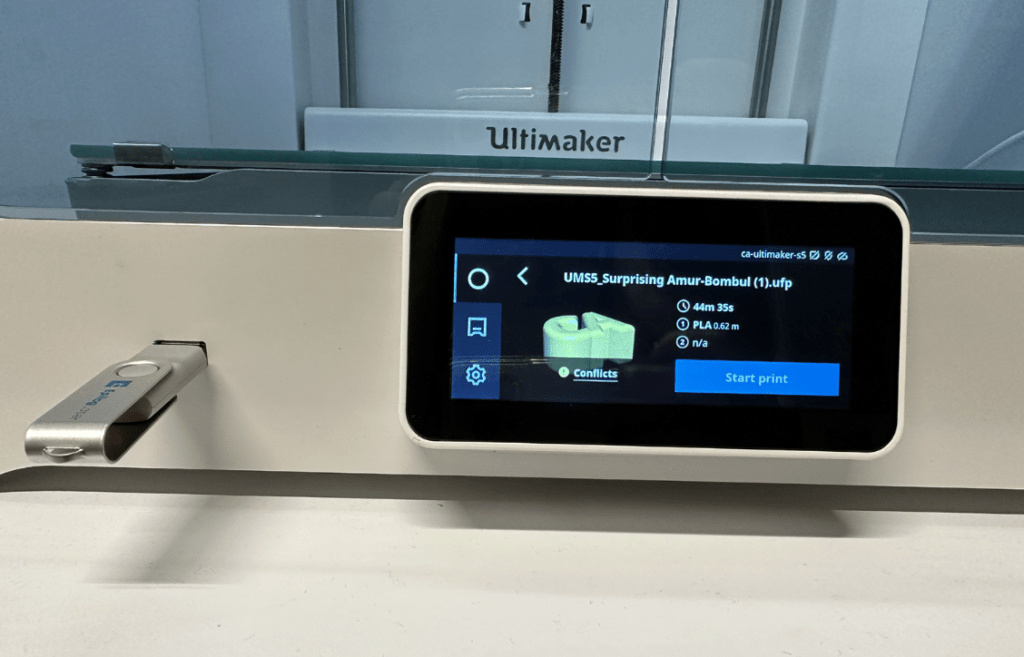
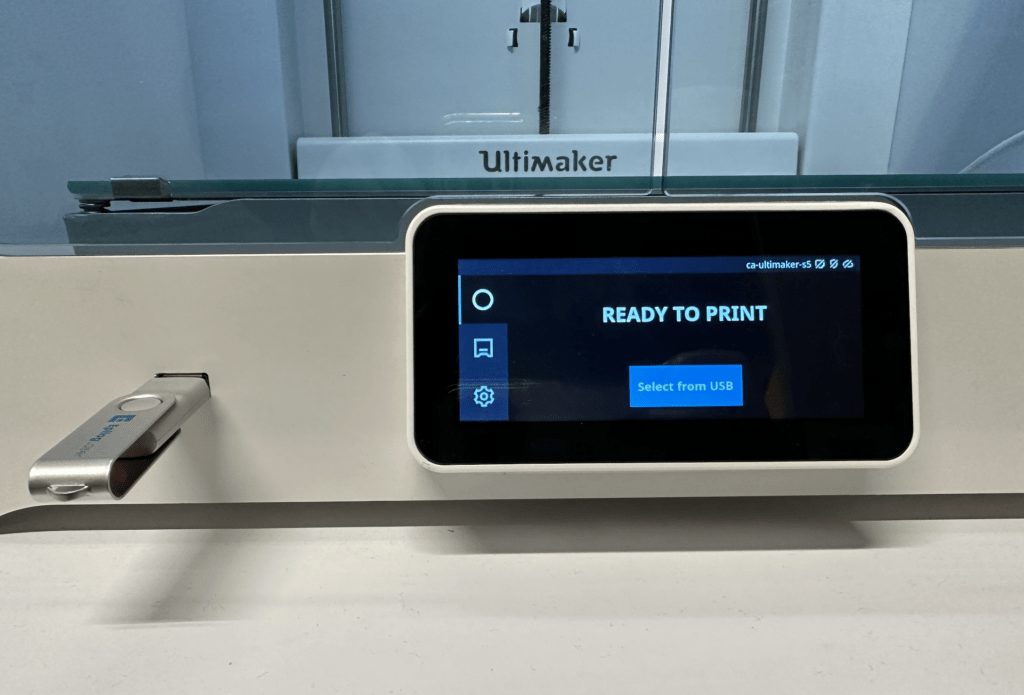
Click “Select from USB” and then select your print. |
|
Start Print |
|
Watch your print for the first layer to make sure it is printing properly, it is possible that the print could fail so continue to check in. |
