Whack-a-mole – Cissy Xie – Gottfried Haider
PART1 Significance:
(1)Inspirations:
This whack-a-mole machine is first inspired by the thing we made in the recitation4. The picture attached to the rotate link in the recitation4 keeps going up and down (see below) which kind of reminds me of the movement of the mole in the Whack-a-mole game. Also, one design on the website Instructable inspires me as well.
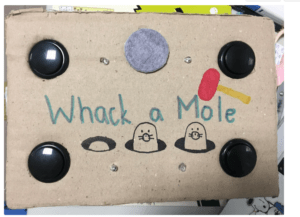
Arduino Whack a Mole
(By melodylilac)
(2)Recreating:
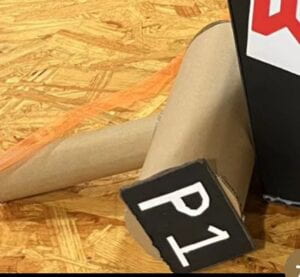
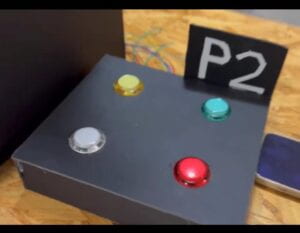
Our design is based on the existing game Whack-a-mole, but we made some adaptations to it. First, we made the previous one-player game into a two-players game by making player1 the hitter (hit the mole) and player2 the dodger (in control of the mole using buttons). Second, unlike the game shown above, instead of using LEDs as indicators of when to hit the mole, we actually make physical moles for the player to hit.
(3)Target audience:
Our focused topic is game-design, and is intended to let people have fun in a 2-player physical games, and get people engaged in games that require physical movement instead of sitting still with online video games.
PART2 DESIGN:
(1)Materials:
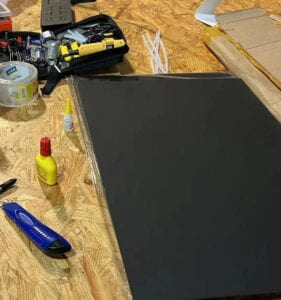
Considering that one user is going to hit the mole really hard, we decided that the cardboard in the lab is not strong enough to endure the hit. We bought our own cardboards and glues (though later found out that only rotate-link and rivets need to be substituted and enhanced).
(2)Actuators:
We at first chose the stepper motors but professor talked us out of it, because four stepper motors mean 4 H-bridge, which means 16*4 cables only for the actuators, and if one of them is disconnected, the whole project will end in tears. So, we chose servo, but the speed of the servo is fixed, which means that we can’t make the mole rise high(S=vt, for a fixed v, t will be larger if s increases), because it will be too easy for player 1 to hit. Sadly, we have to be content with things as they are.
PART3 PRODUCTION:
(1)Making;
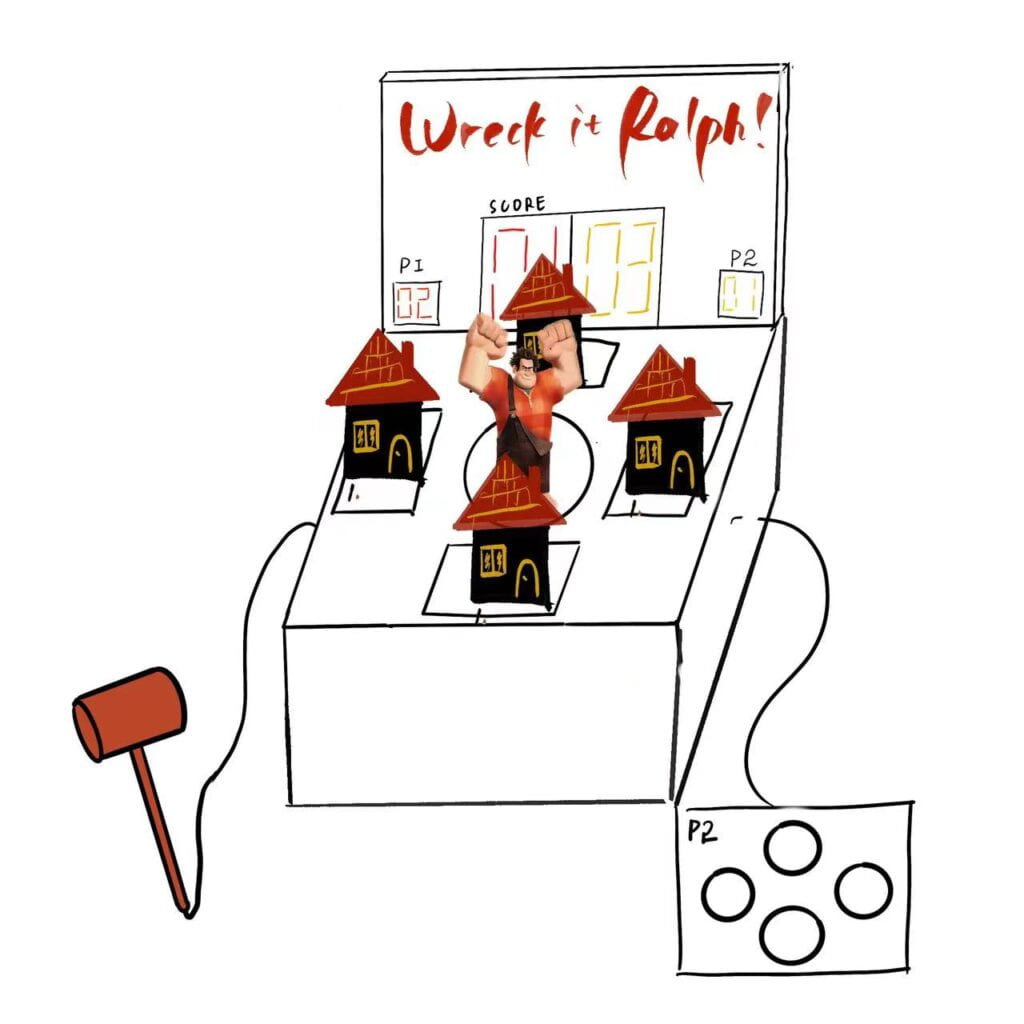
Step1: Begin with sketches
Step2: Building one mole to see if it works
We built the mole exactly like the one we built in the recitation4, but later changed the actuator from stepper motor into servo, which means that we have to adjust the size of the prototype by using extra pieces of cardboard and also tape to stabilize it. Below is the first prototype we built. When the button is pressed, the mole will go up and down. As you can see in the picture, we attached a force sensor on top of it, though later changed it into a vibration sensor(see in step2).
Step3: Deciding on the sensor
Force sensor: In order to decide on what kind of sensor we can use, we first started with the force sensor, but the biggest problem is that the sensor is not stable (when it was not pressed, the value printed out was not always 0). Also, I didn’t know back then that I could debounce it.
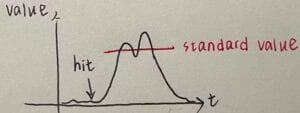
Vibration sensor: So we switched to vibration sensor later. This kind of sensor is more stable, so I don’t need to debounce it. But a new problem is that, when it is being hit only once, the output value of the sensor might go like this (see below), leading the score to add up by 2 (the scoring part of the code can be seen below). So the scoring process is not very accurate.
int score1;
int valone;
int prevalone;
valone = analogRead(A0);
if (valone & gt; 50 & amp; & prevalone & lt; 50) {
  score1++;
}  //the standard value here is 50
prevalone = valone;
“Switch” sensor: See in the “Possible improvement” part.
Step4: Building the body
We built the main body of the machine.
Step5: Feedback
We first decided on using the Seven-segment display to show the actual score, but due to a lack of time, I used the buzzer to indicate the winning of player1 during the user testing.
Step6: Changes made after the user testing
- Stability:
During the user testing, one of the moles’ rotate link disconnected because the rivet fell out. So, in order to increase the stability, we changed the rivets into wires. And we also put more tapes around the rotate link. (We now realized that the rotate links and the rivet connection parts are the weakest)
- Feedback system:
Before the user testing, our feedback system only includes player1’s score, because 4 moles’ cables are connected to 4 different Arduinos and the vibration sensors cables are connected to the 5th Arduino. Since Arduinos can’t talk to each other, we can’t keep track of both users’ score at the same time. So, in order to solve this problem, I reconnected all the wires onto one Arduino, so the scoring part can keep track of both users’ scores. And I also put 2 LEDs to indicate the winning of 2 players. (Below is the score-keeping part and the score-comparing part of the code)
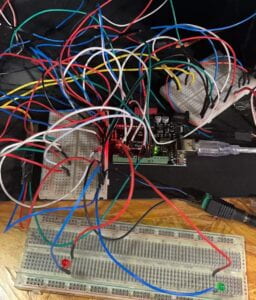 (Only one Arduino)
void score() {  //count and compare the score
  int valone;
  int valtwo;
  int valthree;
  int valfour;

  valone = analogRead(A0);
  valtwo = analogRead(A1);
  valthree = analogRead(A2);
  valfour = analogRead(A3);
  if (valone & gt; 50 & amp; & prevalone & lt; 50) { score1++; }
  if (valtwo & gt; 50 & amp; & prevaltwo & lt; 50) { score1++; }
  if (valthree & gt; 50 & amp; & prevalthree & lt; 50) { score1++; }
  if (valfour & gt; 50 & amp; & prevalfour & lt; 50) { score1++; }
  prevalone = valone;
  prevaltwo = valtwo;
  prevalthree = valthree;
  prevalfour = valfour;
  if (score2 > = 10) {

    if (score2 - score1 < = 3) {
      digitalWrite(5, HIGH);
      delay(4000);
      digitalWrite(5, LOW);
      score1 = 0;
      score2 = 0;
    }
    if (score2 - score1 & gt; 3) {
      Serial.println(score1);
      digitalWrite(6, HIGH);
      delay(4000);
      digitalWrite(6, LOW);
      score1 = 0;
      score2 = 0;
    }
  }
}
- 2-players game Indicators:
In the user test, we found out that people don’t know it is a 2-player game, so I put some signs”P1″,”P2″ to indicate that it is a 2P game.
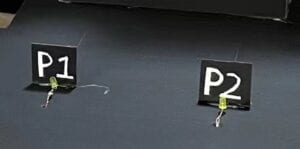
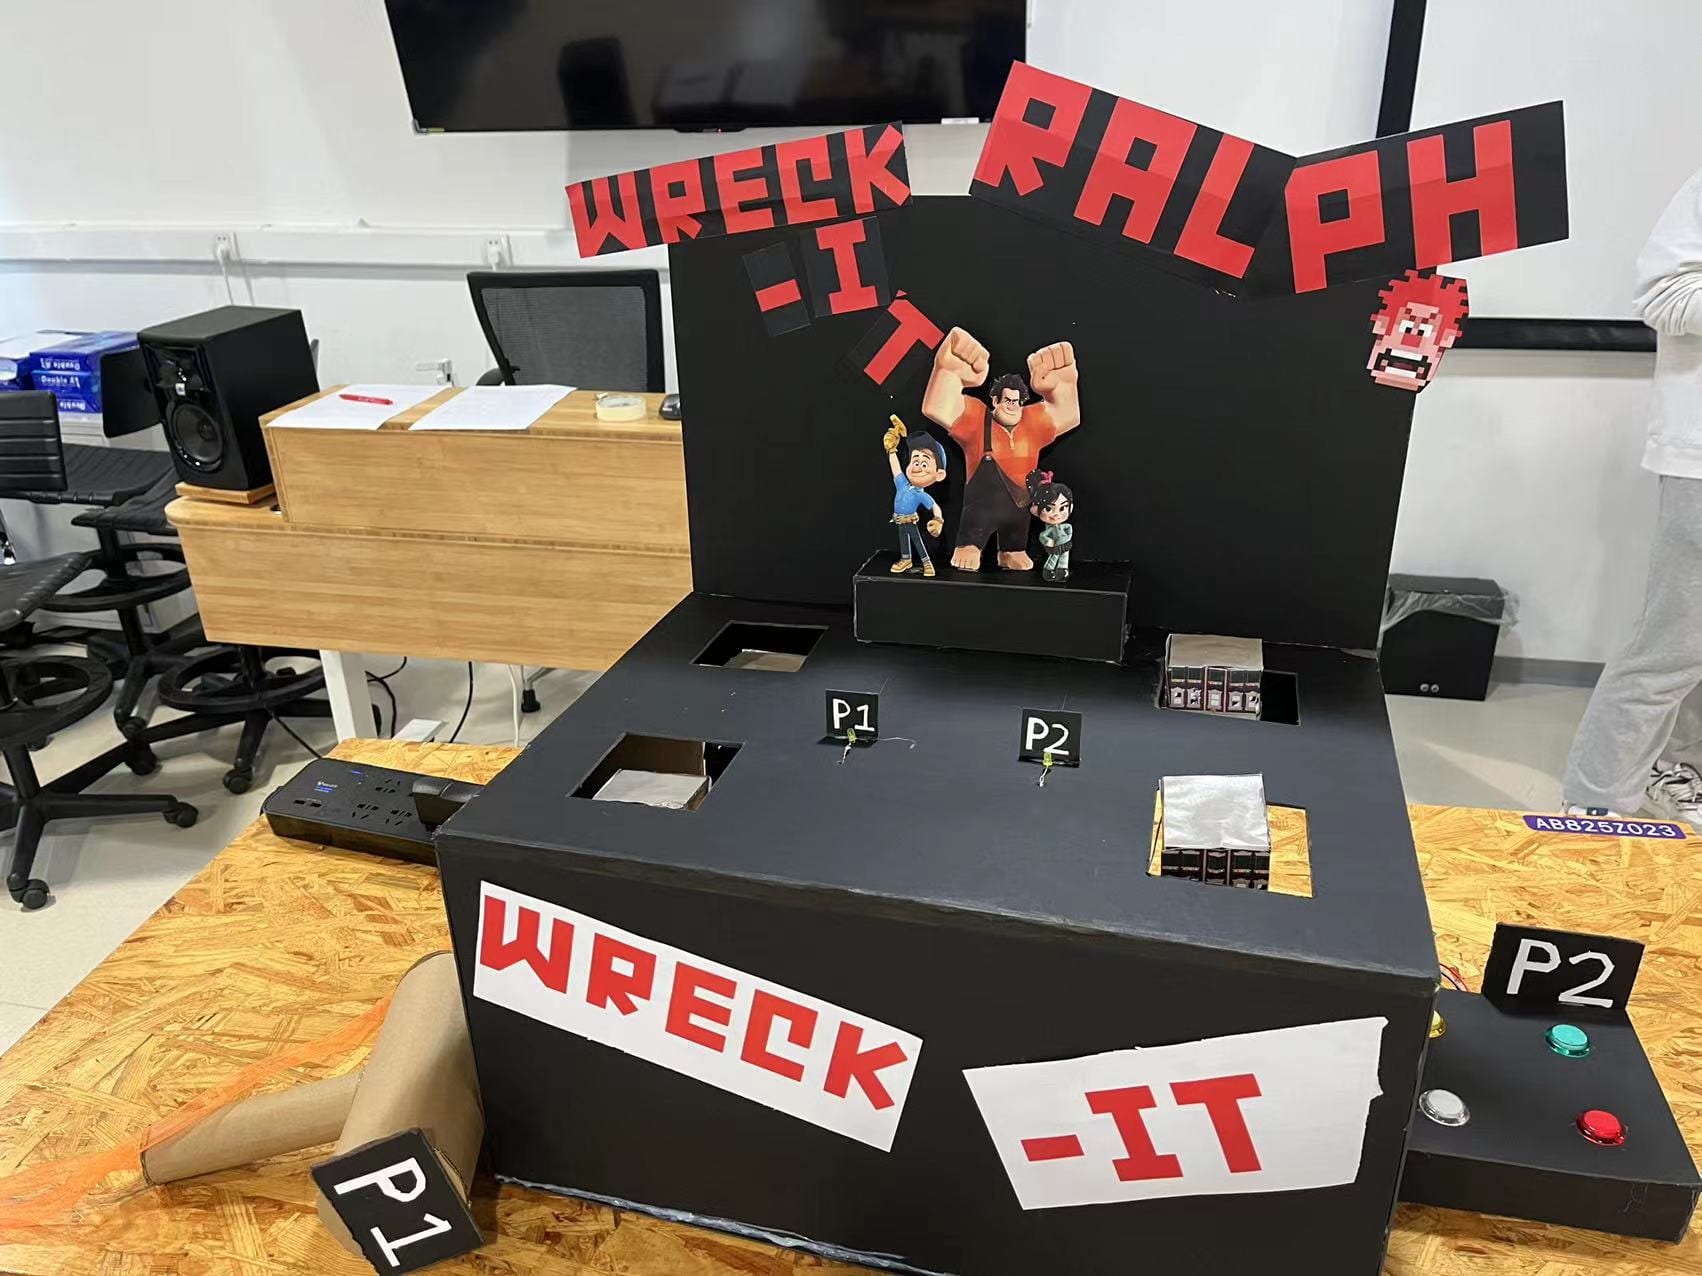
The final project!!

PART4 CONCLUSION:
(1)Goal:
My project aims to make the already existing game Whack-a-mole more fun and engaging by allowing not only the “conversation” between the machine and the players but also the “conversation” between player1 and player2. Competitions between the players make the game more intense and fun.
Below is a user interacting with our project:
(2)Possible improvement:
- The Speed of the Mole: Due to the fixed speed of the servo, it is impossible for the mole to rise high. We cannot use stepper motors even if we figure out a way to avoid the disconnection problems, because the H-bridge requires a lot of cables, meaning we cannot connect all the wires onto one Arduino. So, maybe there exists another kind of more ideal actuator.
- A New Kind of Sensor (“switch” sensor):
In the user testing, one of the fellows brought up a question: what is the use of the hammer? Is it only for aesthetic purposes? It suddenly struck me that maybe the hammer can be the solution to the unstable sensor problems. What if I put copper tapes on one side of the hammer, copper tapes on the head of the moles, and connect the tapes with metal wires? So when player1 hits the mole with the hammer, the circuit will connect, indicating that player1’s score should add by1. So the sensor is basically a switch staying clear of the instability problems of any kind of sensor.
- Feedback Visualization:
One of the players during the presentation told us that he had no idea when he will win. So, we thought it would be better if we can give users their actual scores instead of LEDs as feedback. So, if we have time, we may switch to a Seven-segment display, so that the user can know their scores.
- Surface Design:
We first thought of using the character Ralph on the surface as he is the character in the movie Wreck it Ralph whose main goal is to wreck the buildings. But when we added other characters like Felix and Vanellope, it started to get a little confusing. There isn’t a clear relation between the game and the cartoon characters. So, if we have time, we may come up with some self-design characters, making it more obvious what we want the users to do.
(3)Gains:
Throughout the whole making process, we found a lot of problems coming up which we weren’t expecting at all. So, I guess what we learn the most is that “Action speaks louder than words”, and that we should always learn by doing.
Also, I learn from a lot of coding mistakes (see as below):
- Debug using “Serial.println”
 //Serial.println(valone);
  Serial.println(valtwo);
  //Serial.println(valthree);
  //Serial.println(valfour);
When we were testing the sensors, some weren’t functioning well, so in order to find out the broken ones, I adopted the “Serial.println” to see which sensor isn’t outputting.
- servo.write why not rotate 180°?
void loop() {
  myservo.write(0);
  delay(300);

  myservo.write(180);
  delay(300);
}
With this coding, the servo can’t actually reach 0° and 180°, because the servo whose speed remains unchanged can’t reach 180° in time during the “delay” session.
- a buzzer error (millis)
long starttime = 0;
void loop() {
  if (buttonState == HIGH) {
    starttime = millis();
    if (millis() - starttime & lt; 1000) {
      tone(8, 400, 1000);
    }
    if (millis() - starttime & lt; 2000 & amp; & millis() - starttime & gt; 1000) {
      tone(8, 500, 1000);
      Serial.println(millis() - starttime);
    }
    if (2000 & lt; millis() - starttime & lt; 3000 & amp; & millis() - starttime & gt; 2000) {
      tone(8, 600, 1000);
    }
  }
}
There are two errors in this loop function. First, the buzzer won’t play a three-note song as intended. Instead, it will keep playing the first note. What happens is that the loop function keeps looping with the tone on for 1s, making the program simply skip the second and the third “if”s and set the starttime again to millis(). So, the program is always at the first “if”. Second, the song will start even without the button pressed,
So, the right thing to do is to put only “starttime = millis();” inside the button-pressed conditional. So, the starttime won’t reset with every loop. And set the starttime to -1 as stopped. So, the buzzer won’t start to play right away until the button is pressed.
long starttime = -1;
void loop() {
  if (buttonState == HIGH) {
    starttime = millis();
  }
  if (starttime != -1 && millis() - starttime < 1000) {
    tone(8, 400, 1000);
    delay(1000);
  }

...
}
- Another error
if (millis() - starttime4 == 1000) {
  score2++;
}
delay(10);
millis() - starttime4 == 1000only works if the Arduino goes through the loop at the very instant … but the program sleeps 10ms at the bottom, so there is a large chance that it could be asleep then, and only come back around after 1000, and the score2 won’t increase.
The right thing to do:
if (millis() - starttime1 > 1000) {
      score2++
      starttime = -1;
    }
Mark starttime as inactive again – this prevents us from going through this again in the future (unless there is another button press)
PART5 ANNEX:
 (us working til midnight every day:)
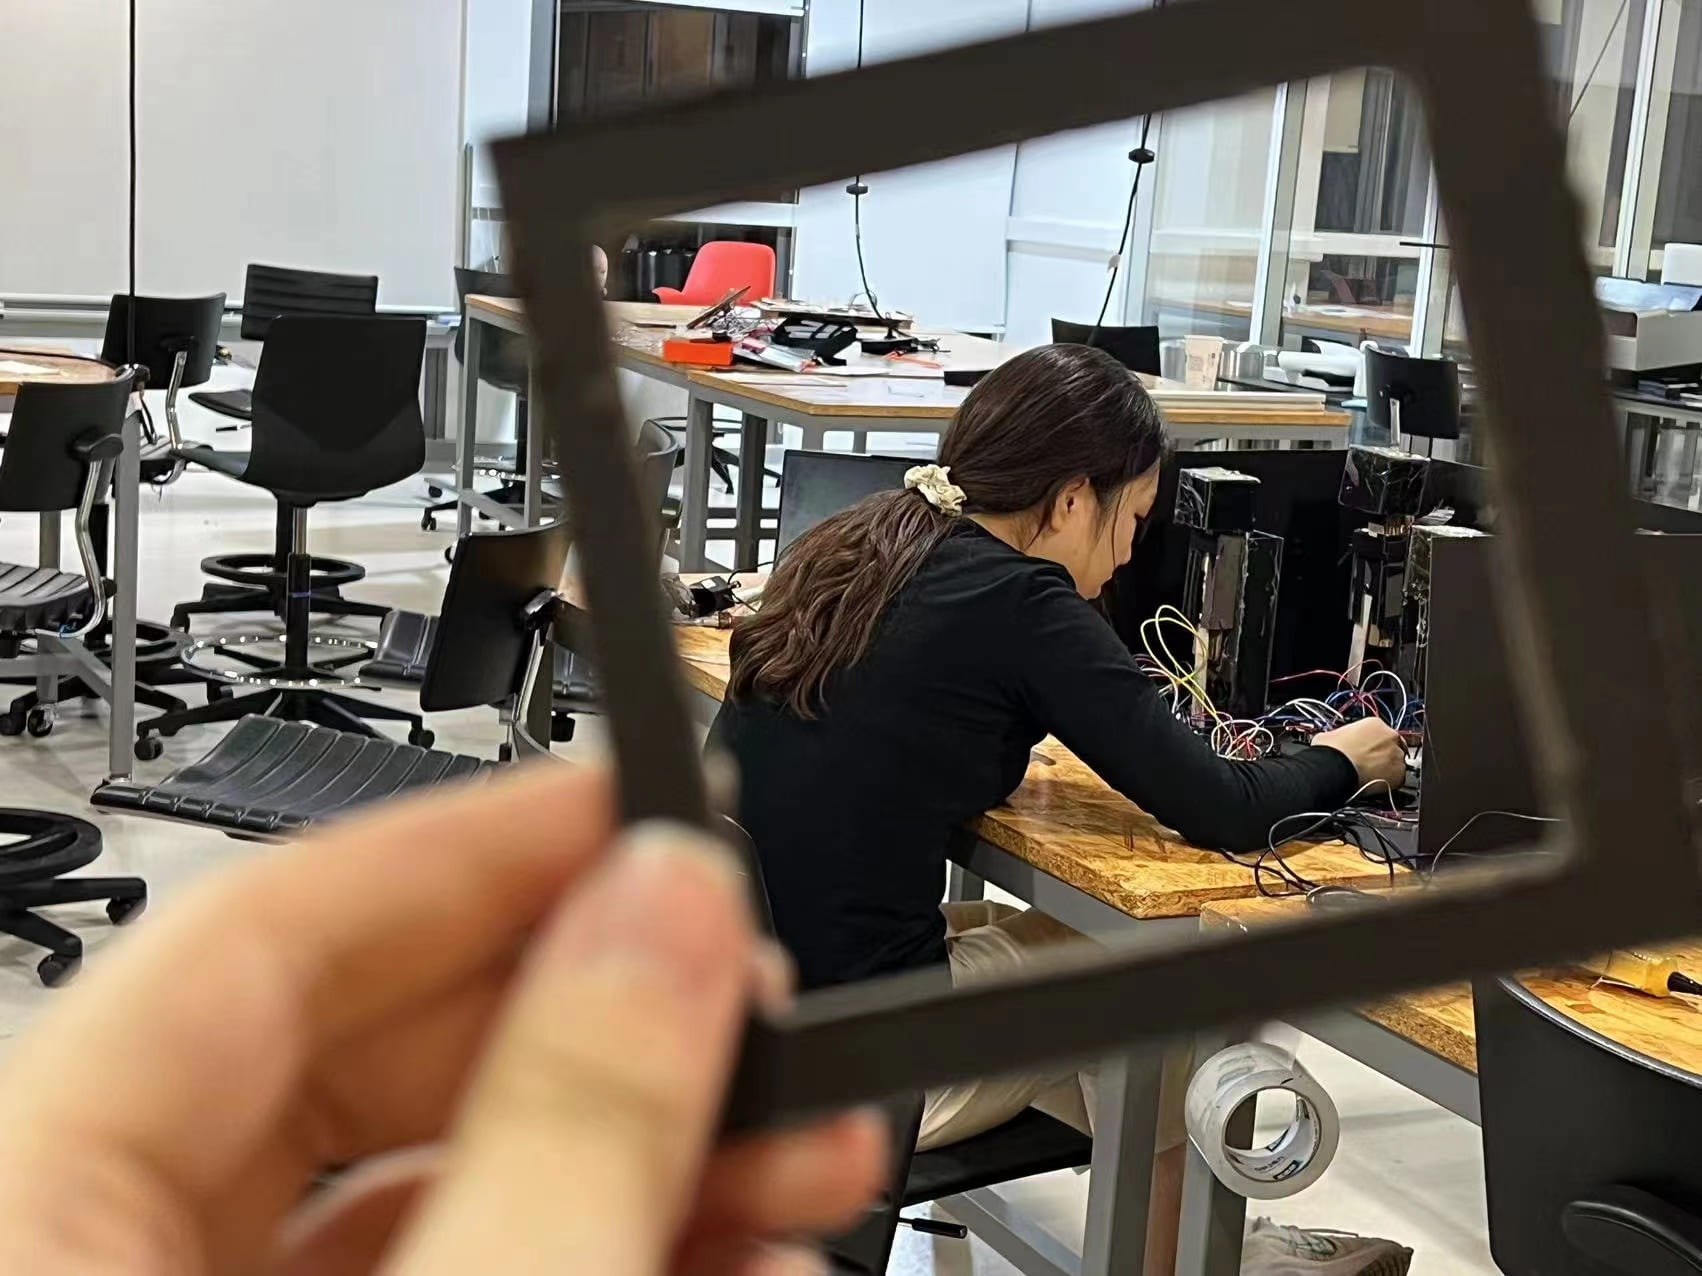 (me connecting the wires:)
The full code:
#include
long starttime1 = -1;
long starttime2 = -1;
long starttime3 = -1;
long starttime4 = -1;
Servo myservo1;
Servo myservo2;
Servo myservo3;
Servo myservo4;
int score1;
int score2;
int prevalone;
int prevaltwo;
int prevalthree;
int prevalfour;

void setup() {
  Serial.begin(9600);
  myservo1.attach(9);
  myservo2.attach(10);
  myservo3.attach(11);
  myservo4.attach(12);
  pinMode(2, INPUT_PULLUP);
  pinMode(3, INPUT_PULLUP);
  pinMode(4, INPUT_PULLUP);
  pinMode(8, INPUT_PULLUP);
  pinMode(6, OUTPUT);
  pinMode(5, OUTPUT);
}
void loop() {
  int buttonState1 = digitalRead(2);  // the code to control the mole 1
  if (buttonState1 == LOW) {
    starttime1 = millis();
  }
  if (starttime1 != -1) {
    if (millis() - starttime1 < 500) {
      myservo1.write(180);
    }
    if (millis() - starttime1 < 1000 && millis() - starttime1 > 500) {
      myservo1.write(0);
    }
    if (millis() - starttime1 >= 1000) {
      score2++;
      starttime1 = -1;
    }
  }

  int buttonState2 = digitalRead(3);  // the code to control the mole 2
  if (buttonState2 == LOW) {
    starttime2 = millis();
  }
  if (starttime2 != -1) {
    if (millis() - starttime2 < 500) {
      myservo2.write(180);
    }
    if (millis() - starttime2 < 1000 && millis() - starttime2 > 500) {
      myservo2.write(0);
    }
    if (millis() - starttime2 >= 1000) {
      score2++;
      starttime2 = -1;
    }
  }


  int buttonState3 = digitalRead(4);  // the code to control the mole 3
  if (buttonState3 == LOW) {
    starttime3 = millis();
  }
  if (starttime3 != -1) {
    if (millis() - starttime3 < 500) {
      myservo3.write(180);
    }
    if (millis() - starttime3 < 1000 && millis() - starttime3 > 500) {
      myservo3.write(0);
    }
    if (millis() - starttime3 >= 1000) {
      score2++;
      starttime3 = -1;
    }
  }


  int buttonState4 = digitalRead(8);  // the code to control the mole 4
  if (buttonState4 == LOW) {
    starttime4 = millis();
  }
  if (starttime4 != -1) {
    if (millis() - starttime4 < 500) {
      myservo4.write(0);
    }
    if (millis() - starttime4 < 1000 && millis() - starttime4 > 500) {
      myservo4.write(180);
    }
    if (millis() - starttime4 >= 1000) {
      score2++;
      starttime4 = -1;
    }
  }

  Serial.println(score2);
  score();
  delay(10);
}


void score() {  //count and compare the score
  int valone;
  int valtwo;
  int valthree;
  int valfour;

  valone = analogRead(A0);
  valtwo = analogRead(A1);
  valthree = analogRead(A2);
  valfour = analogRead(A3);
  if (valone > 50 && prevalone < 50) { score1++; } if (valtwo > 50 && prevaltwo < 50) { score1++; } if (valthree > 50 && prevalthree < 50) { score1++; } if (valfour > 50 && prevalfour < 50) { score1++; } prevalone = valone; prevaltwo = valtwo; prevalthree = valthree; prevalfour = valfour; if (score2 >= 10) {

    if (score2 - score1 <= 3) { digitalWrite(5, HIGH); delay(4000); digitalWrite(5, LOW); score1 = 0; score2 = 0; } if (score2 - score1 > 3) {
      Serial.println(score1);
      digitalWrite(6, HIGH);
      delay(4000);
      digitalWrite(6, LOW);
      score1 = 0;
      score2 = 0;
    }
  }
}