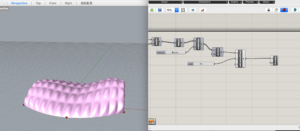
Based on the previous project, we continue work on Glowworm. We wanted to continue the previous concept of soft emotions and bones, so we still used wool and paper clay to shape the spine.
Meanwhile, based on our previous prototype inspired by a wooden crocodile toy, we used paper as a medium to connect the wool to the bone. We wrapped the wool around the outside, but it was a little too thick to allow the whole device to move flexibly.
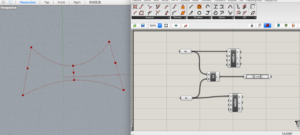
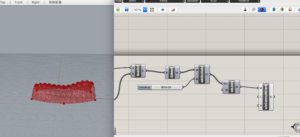
At first, we let the pressure sensor read the value directly and reflected it in the motor movement, but under Marcela’s guidance we realized that it would be better to use the pressure sensor as a trigger, so we changed the code. (I actually thought about using the pressure sensor as a trigger at first but when I wrote the if statement I didn’t realize that the else wasn’t necessary and I tried many times to get the code to work the way I wanted it to, but all I had to do was remove the else condition.TT )
Original code and its condition
#include <Servo.h> //header for controller servo
Servo servo; //keeping name of servo SERVO itself
int sensorvalue =0;
void setup(){
pinMode(A2,INPUT); //force sensor value input
pinMode(9,OUTPUT); //PWM output to servo
servo.attach(9); //telling where signal pin of servo attached(must be a PWM pin)
}
void loop(){
sensorvalue = analogRead(A2); //read analog value from sensor
 servo.write(sensorvalue/3); //set servo position based on ADC result
}
Code we are using now
#include <Servo.h> //header for controller servo
Servo myservo; //keeping name of servo SERVO itself
int pos = 0;
int sensorvalue = 0;
void setup() {
  pinMode(A2, INPUT); //force sensor value input
  pinMode(9, OUTPUT); //PWM output to servo
  myservo.attach(9); //telling where signal pin of servo attached(must be a PWM pin)
}
void loop() {
  sensorvalue = analogRead(A2); //read analog value from sensor
  //set servo position based on ADC result
  if (sensorvalue >500){
     moveServo();
  }

  //moveServo();
  //myservo.write(180);
}

void moveServo() {

  for (pos = 30; pos <= 150; pos += 1) { // goes from 0 degrees to 180 degrees
    // in steps of 1 degree
    myservo.write(pos);              // tell servo to go to position in variable 'pos'
    delay(10);                       // waits 15 ms for the servo to reach the position
  }
  for (pos = 150; pos >= 30; pos -= 1) { // goes from 180 degrees to 0 degrees
    myservo.write(pos);              // tell servo to go to position in variable 'pos'
    delay(10);                       // waits 15 ms for the servo to reach the position
  }
}
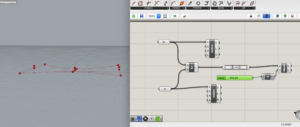
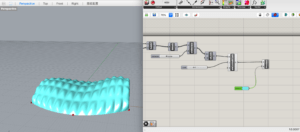
This is our initial result. To immobilize the spine, we designed a neck collar to make the whole device wearable. z This prototypeg did not work very well for several reasons:
1. The paper in the middle is too thick causing the whole device to be not very flexible
2. The distance between the bones and the bones is too large in so swinging when they can not touch each other to drive the movement
3. The motor is placed below (We haven’t realized at that time)
4. The motor is doing the curved movement and we swing the wooden crocodile toys when the action is actually a little different, perhaps better for linear movement. (We also haven’t realized at that time)
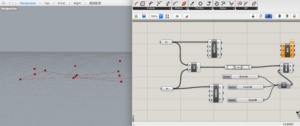
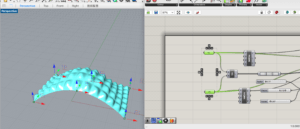
So based on the first two problems, we made another prototype to test. It is a scaled-up version of the model we used in the previous exercise.
We found that it was difficult to return the paper to its proper position after bending, and this problem seemed to be insurmountable for a while, so we needed to think about replacing the structure. Meanwhile, we hope to improve our prototype through 3D printing.
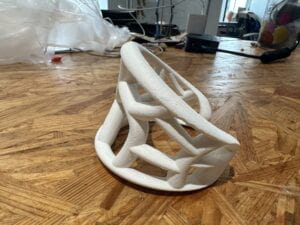
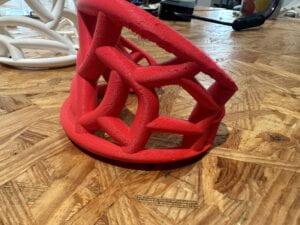
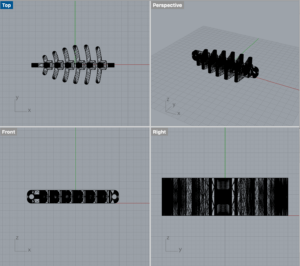
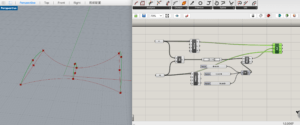
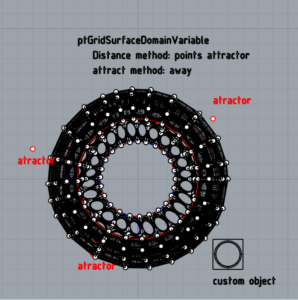
We found a model of a fish skeleton on Thingiverse, replaced the scale and trimmed the parts to make our new version of the skeleton prototype, and learned how to use the 3D printer in the process.
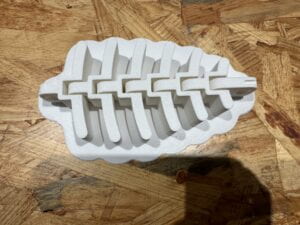
We tried to change the position of the motor to put it above, so that gravity will have less impact on the device. Now the model can be returned to the right position.
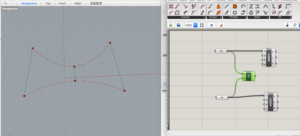
In addition, in order to transform the curved motion of the motor into a linear motion, we looked up information and found the Peaucellier-Lipkin Inversor.
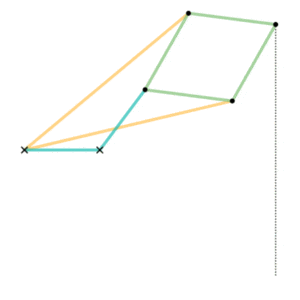
We found an approximate model in Thingiverse and improved it (adding slides and make the model consistent with the theory)
For further improvement, we would like to make the model of the motor part smaller so that it can be worn on the body. At the same time, we need to replace the design of the skeletal joints so that they can be naturally connected to the motor part.
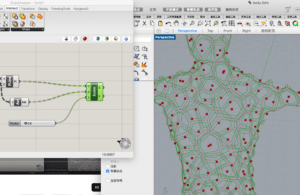
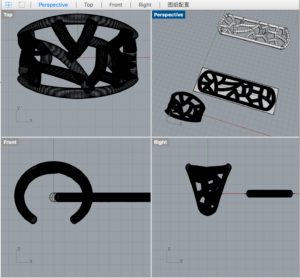
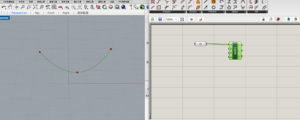
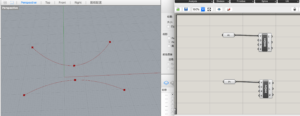
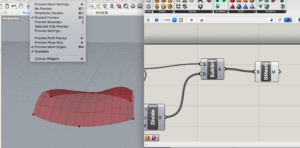
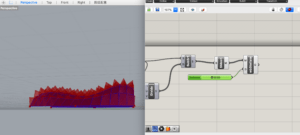
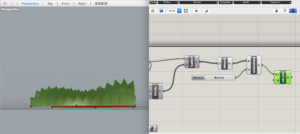
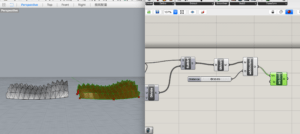
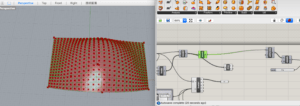
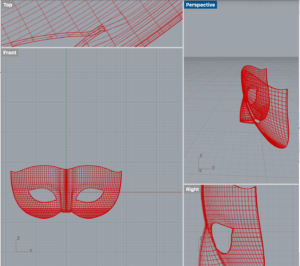
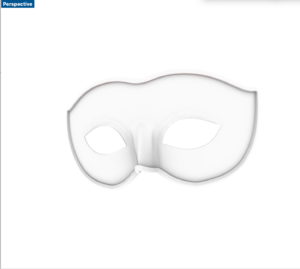
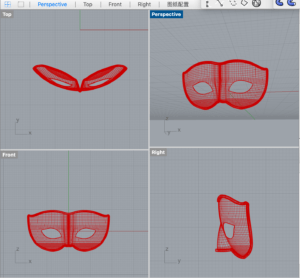
 Exercise
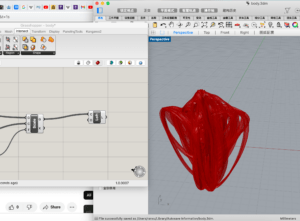
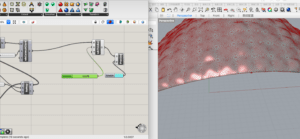
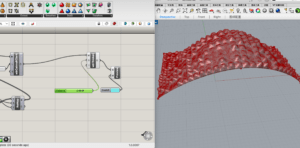
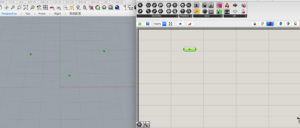


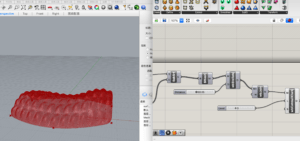
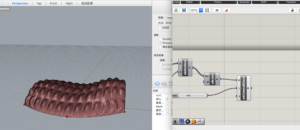
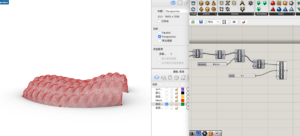

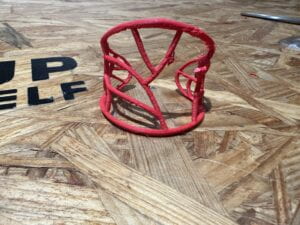
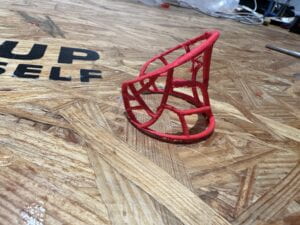
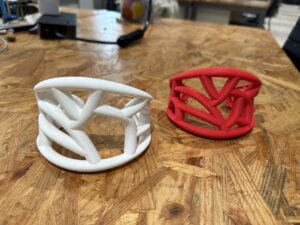
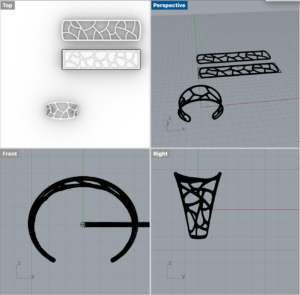 But when I really print it out, I find that it is easy to break. I need to change the width of the pipe (I use 15 in this version and 40 later) And I also wonder whether this problem is caused because the size of the model, so I change the size of the bangle. (To tell the truth, I haven’t realized that width of 11 centimeters and 7 centimeters in height is actually too big for a bangle.)