Project Link and Brief Description
Here is the p5 link: https://editor.p5js.org/CassieHuang/sketches/YPrShsIQy
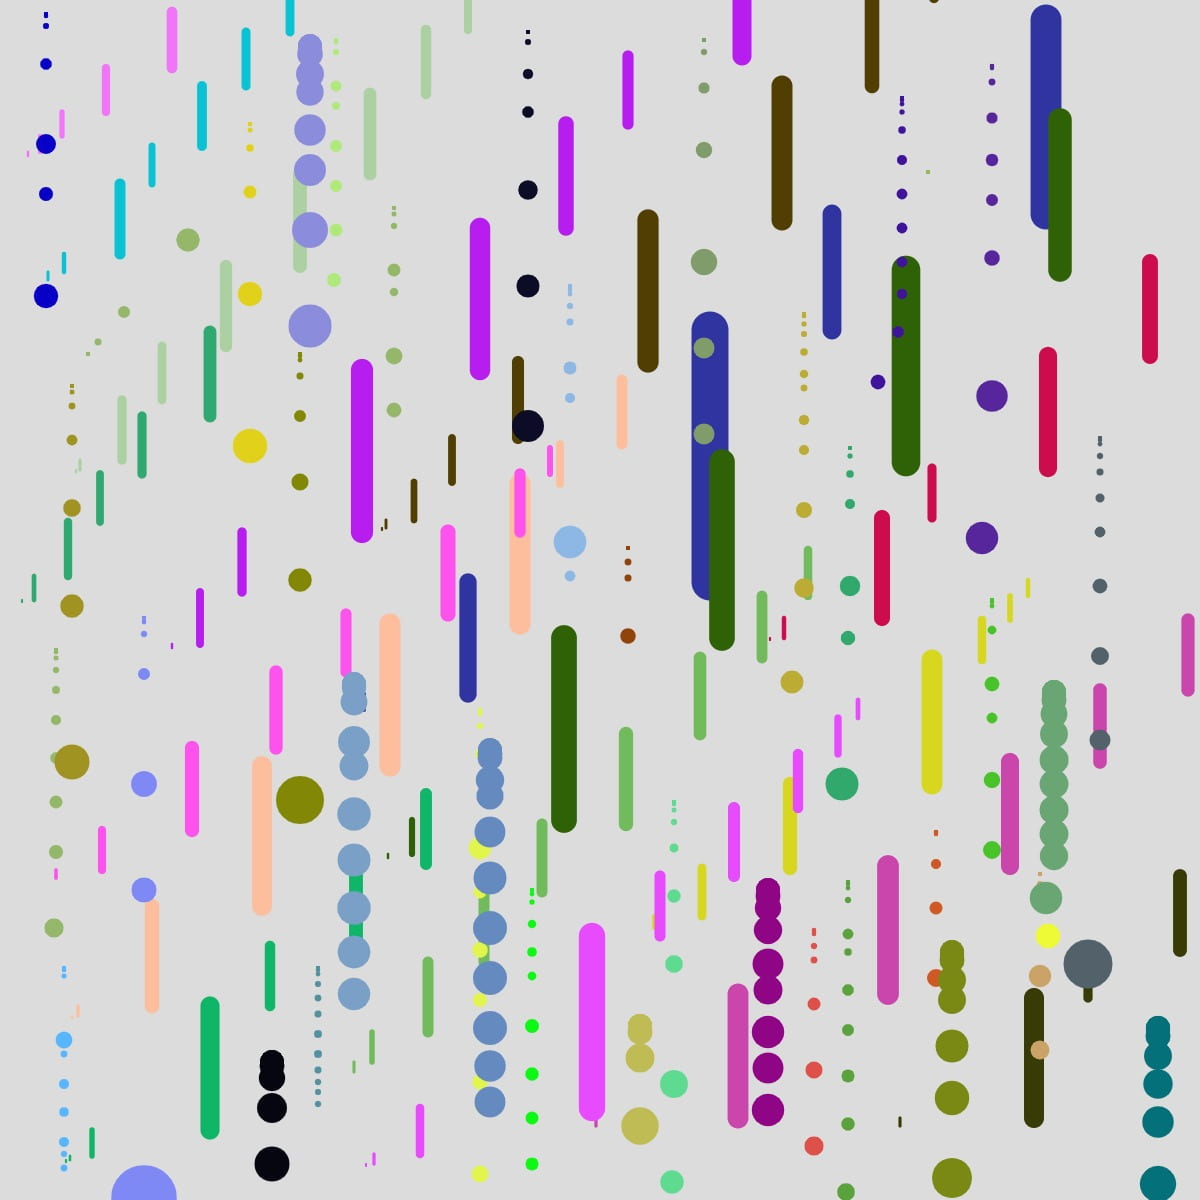
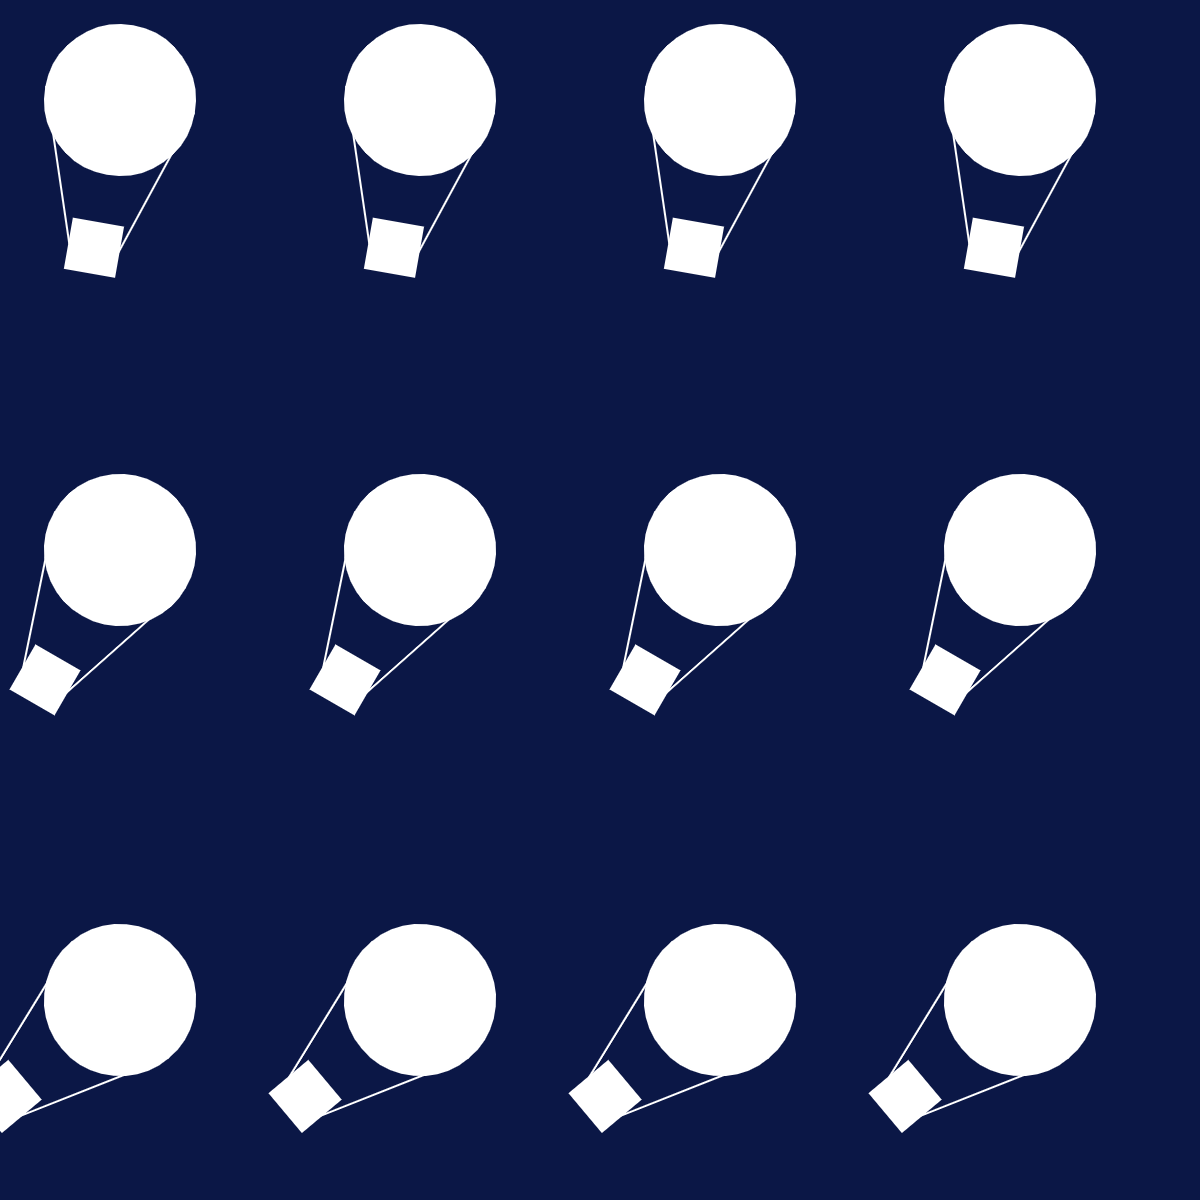
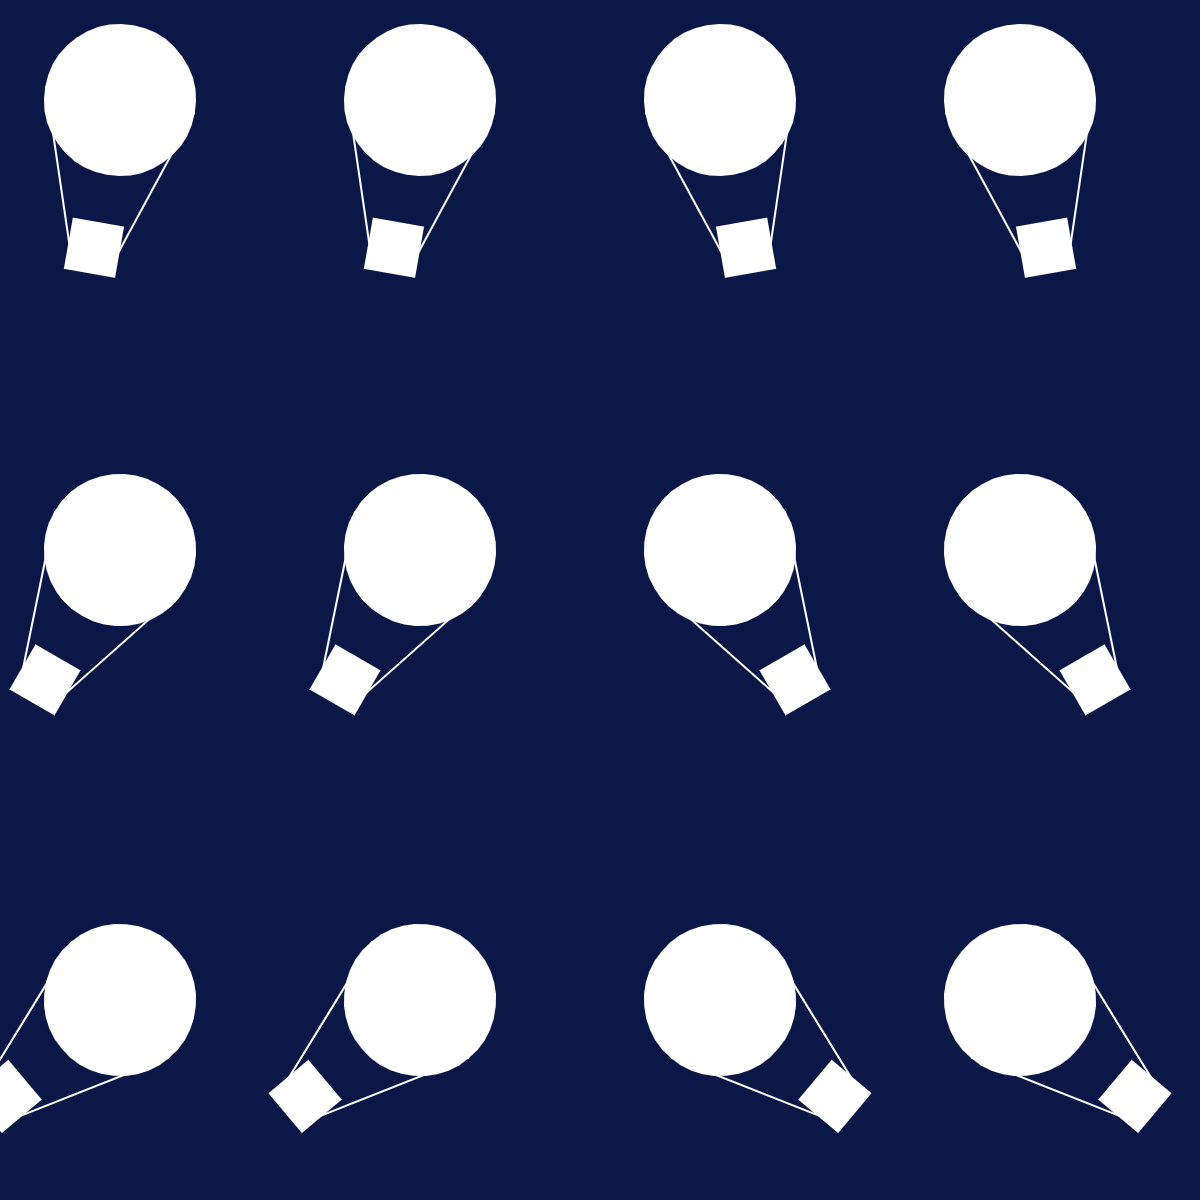
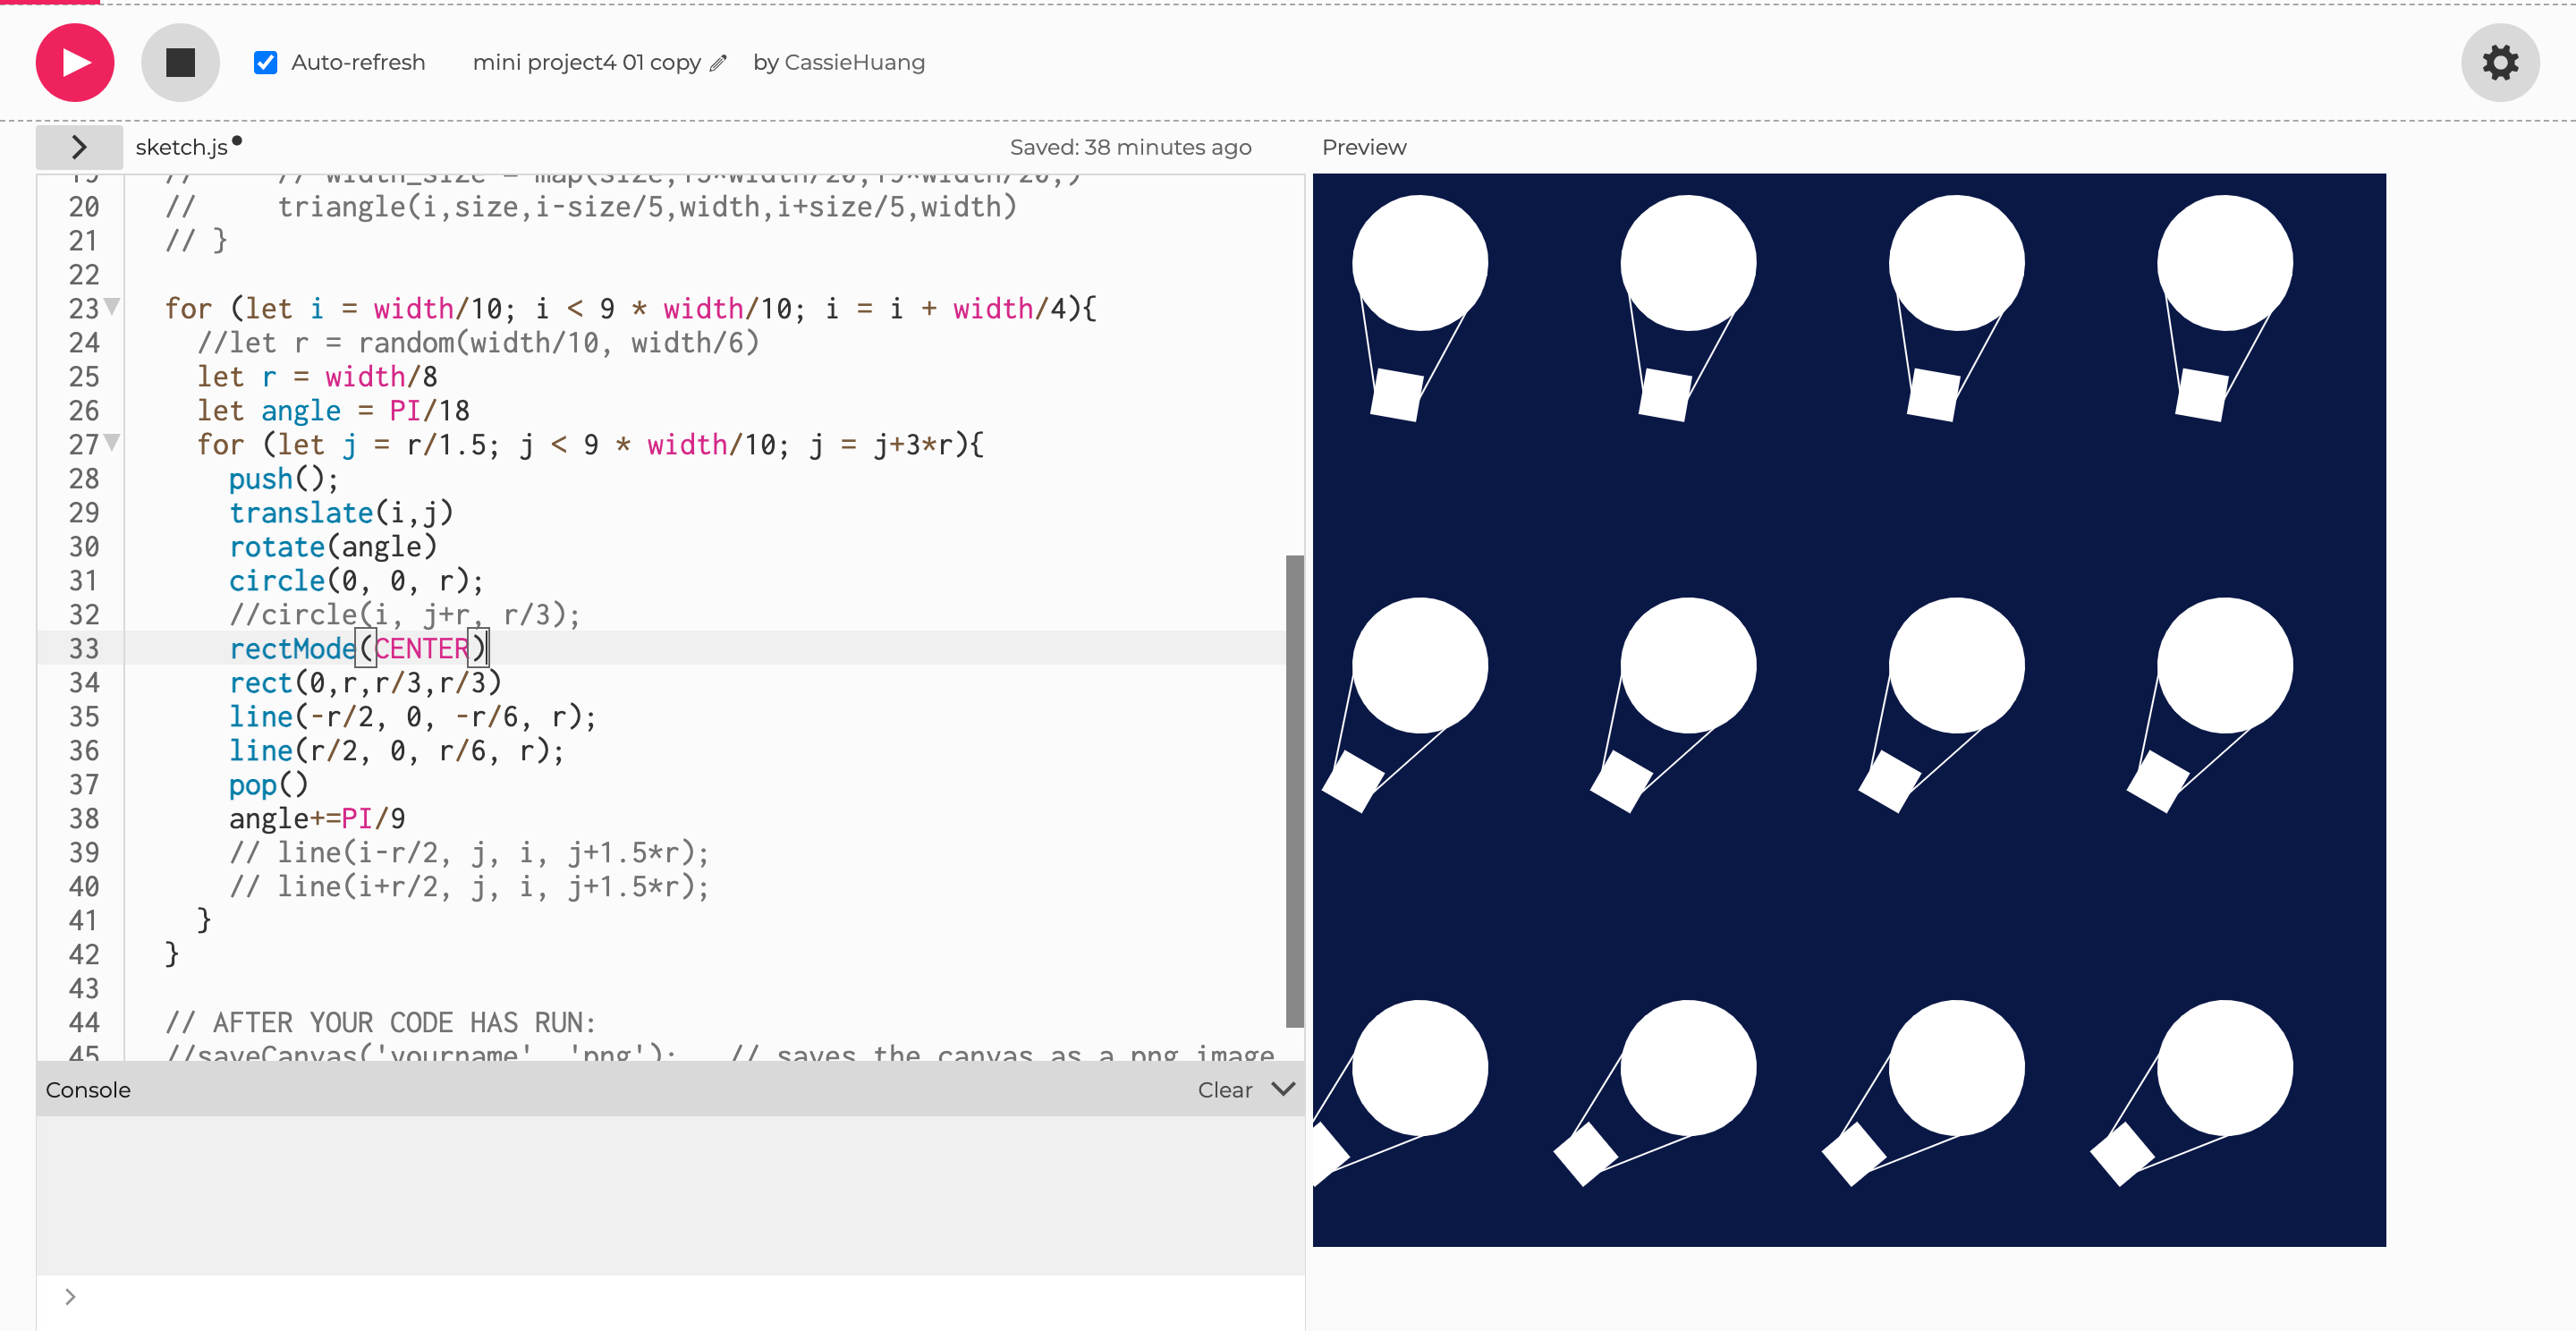
In the first set of three images (Shown in Visual Output), I delved into geometric shapes, utilizing circles, rectangles, and lines. By randomizing some of the variables while adjusting key variables, I carefully controlled the position and size of these shapes.
In a subsequent set of three images, I moved into the realm of rotation. I chose a shape from the initial set and applied three different rotations: an even rotation with a fixed angle, an incremental rotation with an increased angle, and a reverse rotation with a negative angle.
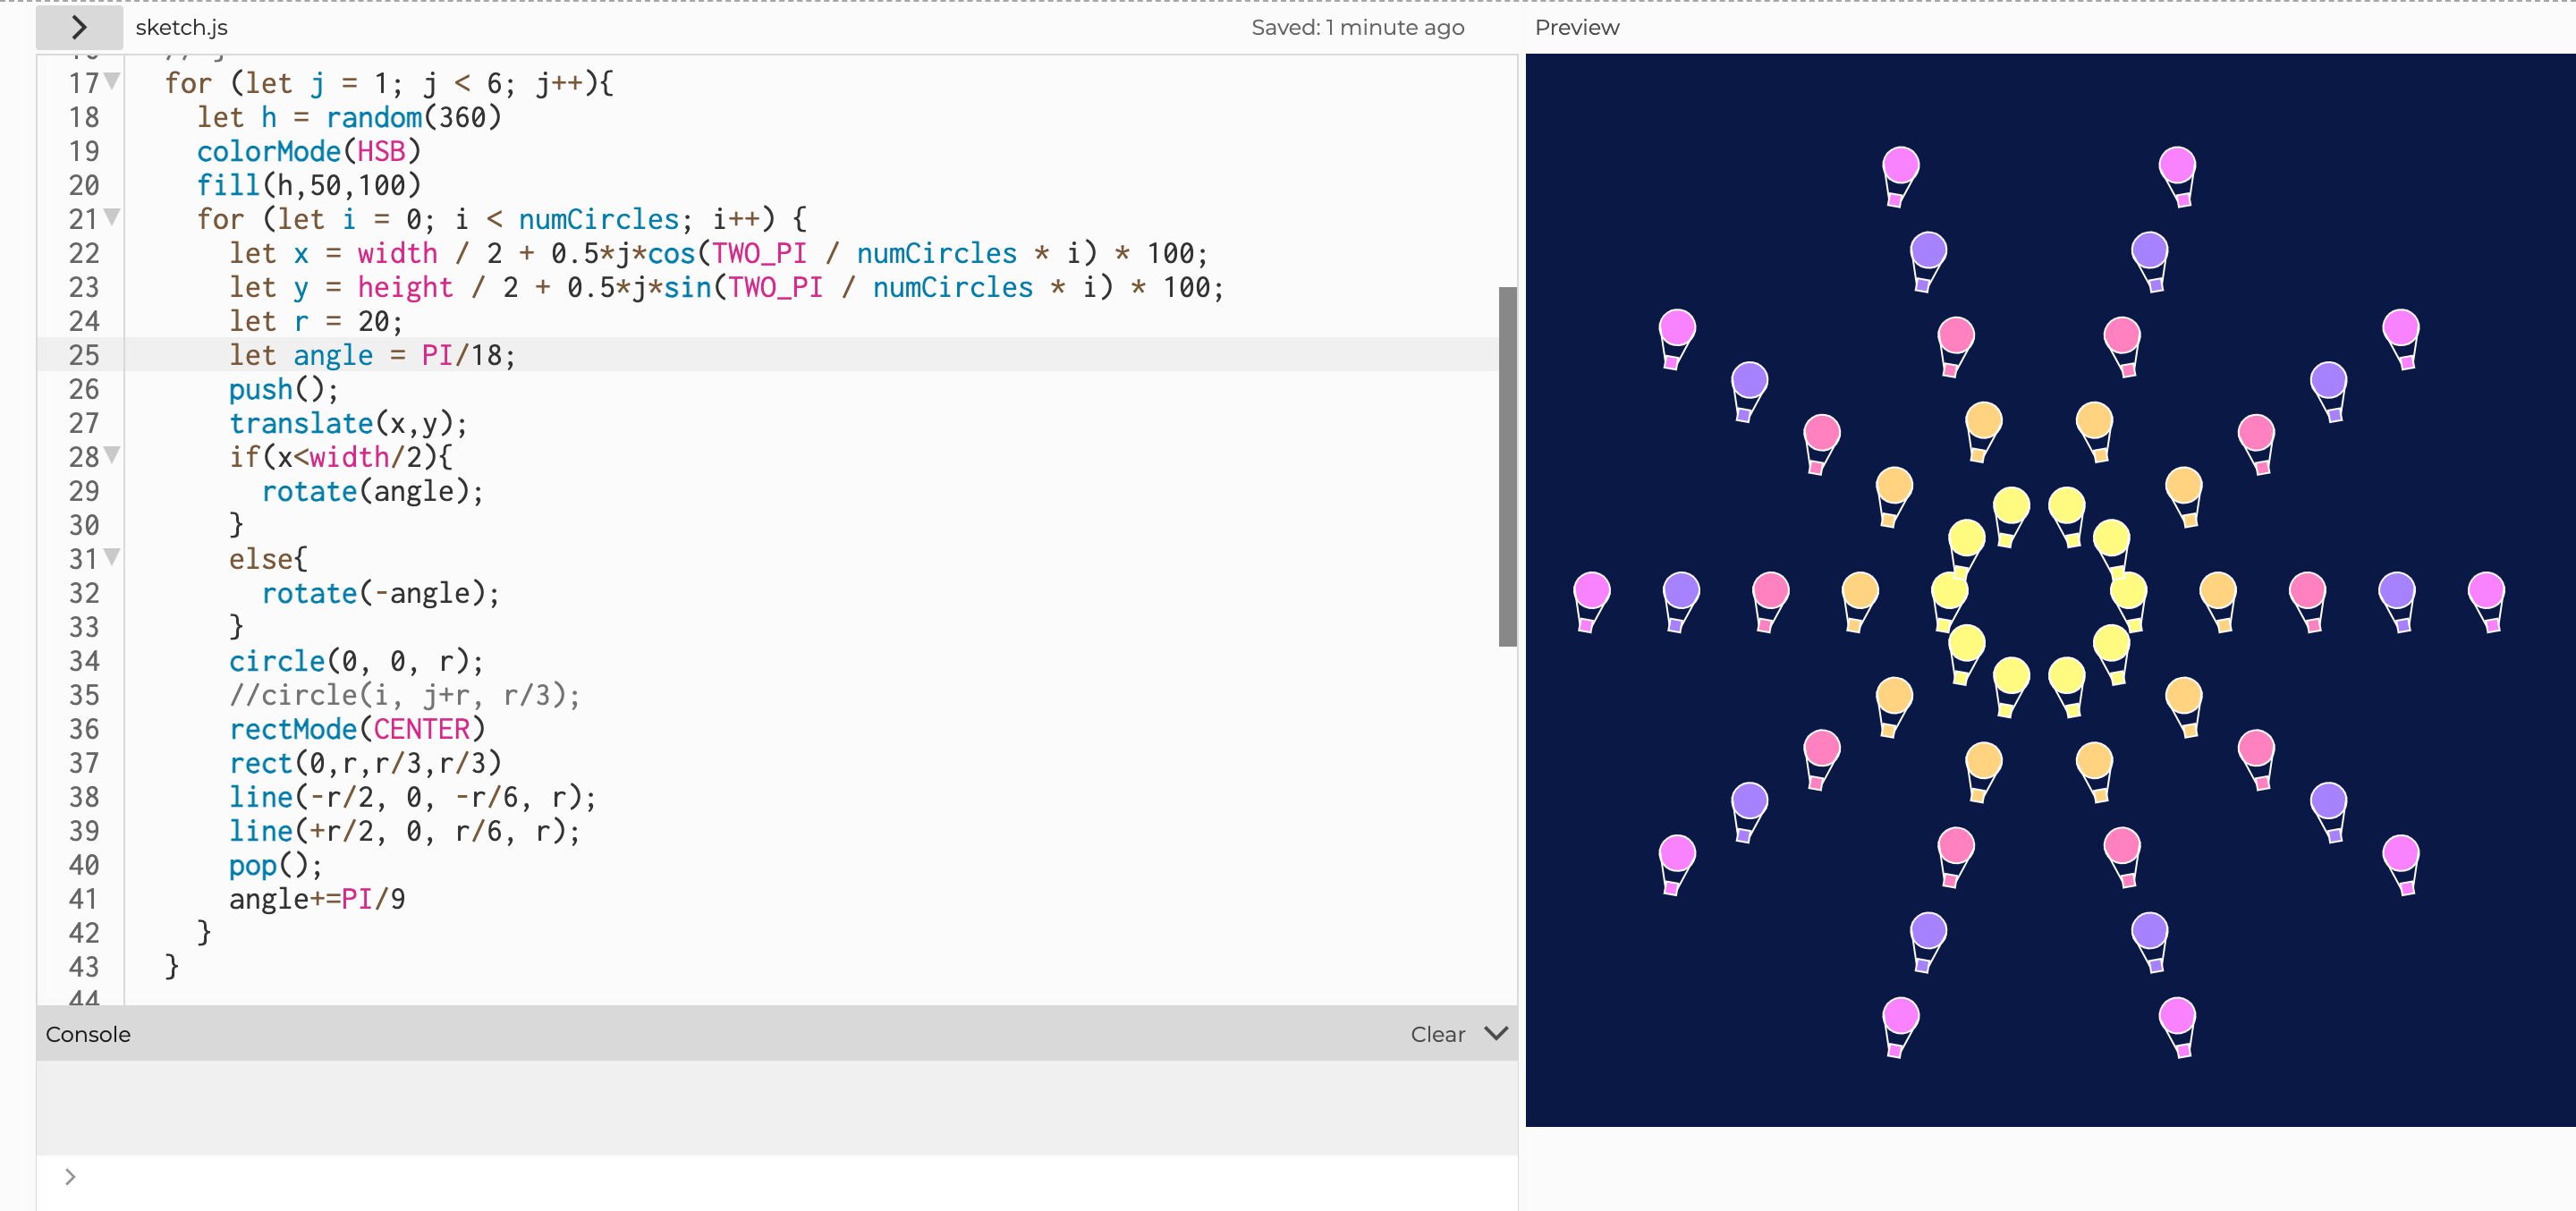
For the final three sketches, I utilized loops and mathematical functions like sin() and cos() to arrange the shapes into circular patterns. By changing the order of these loops, the shapes in the circles were able to be filled with different sets of colors. These images focus on a synthesis of code, symmetry, and mathematical elegance, providing a visually cohesive yet diverse set of patterns.
All in all, this project embodies the essence of exploratory programming, where variables and functionality blend seamlessly together to create nine static images, each proving a delicate balance between repetition and surprise.
Visual Output
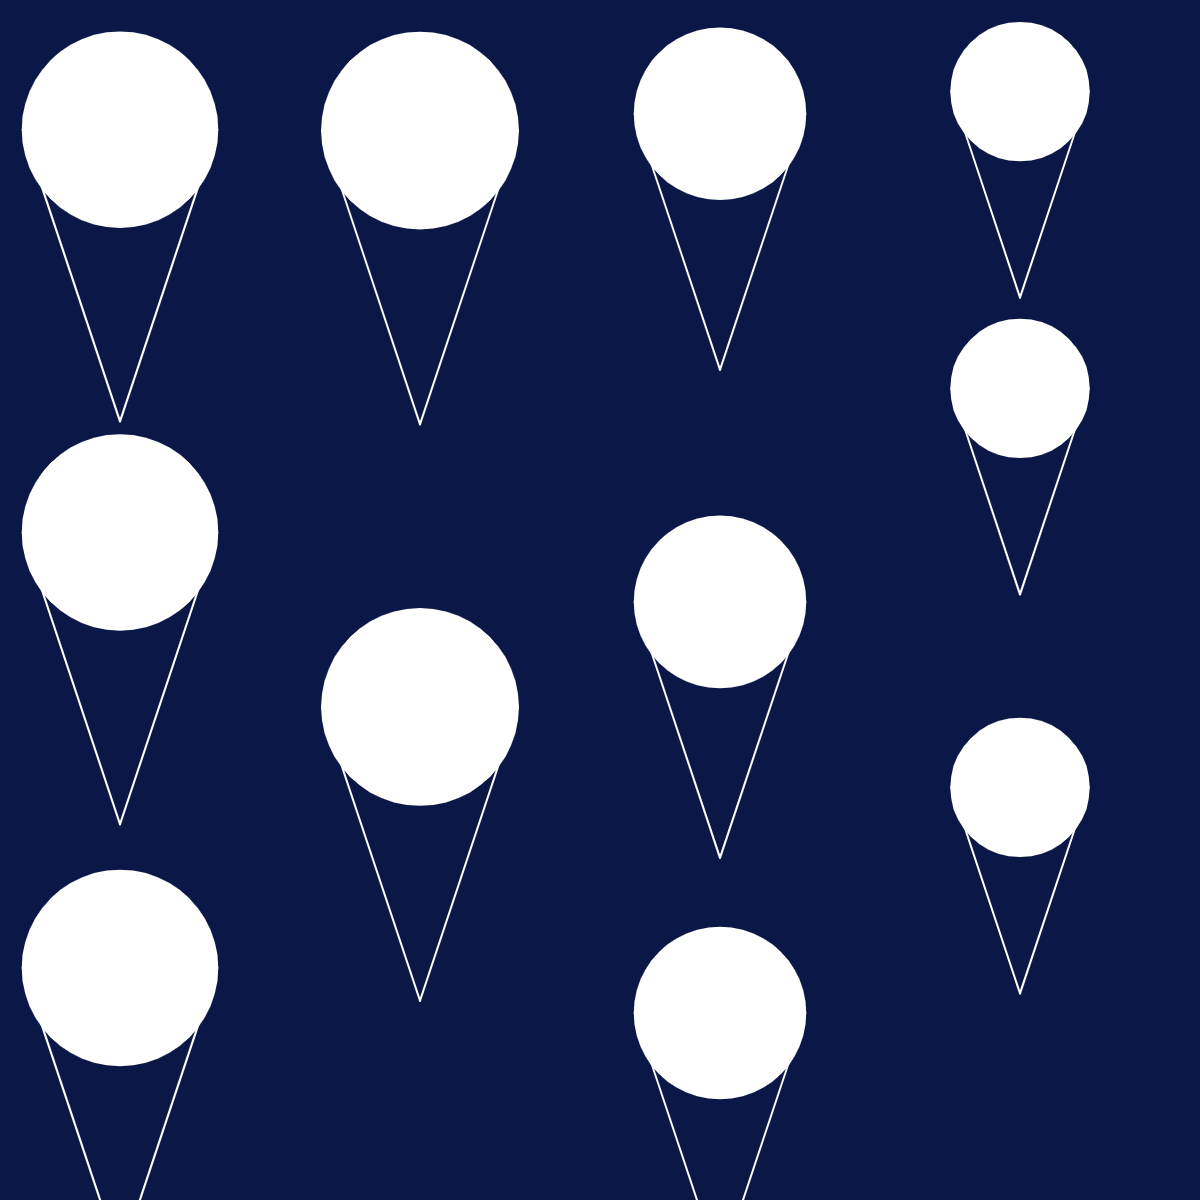
01
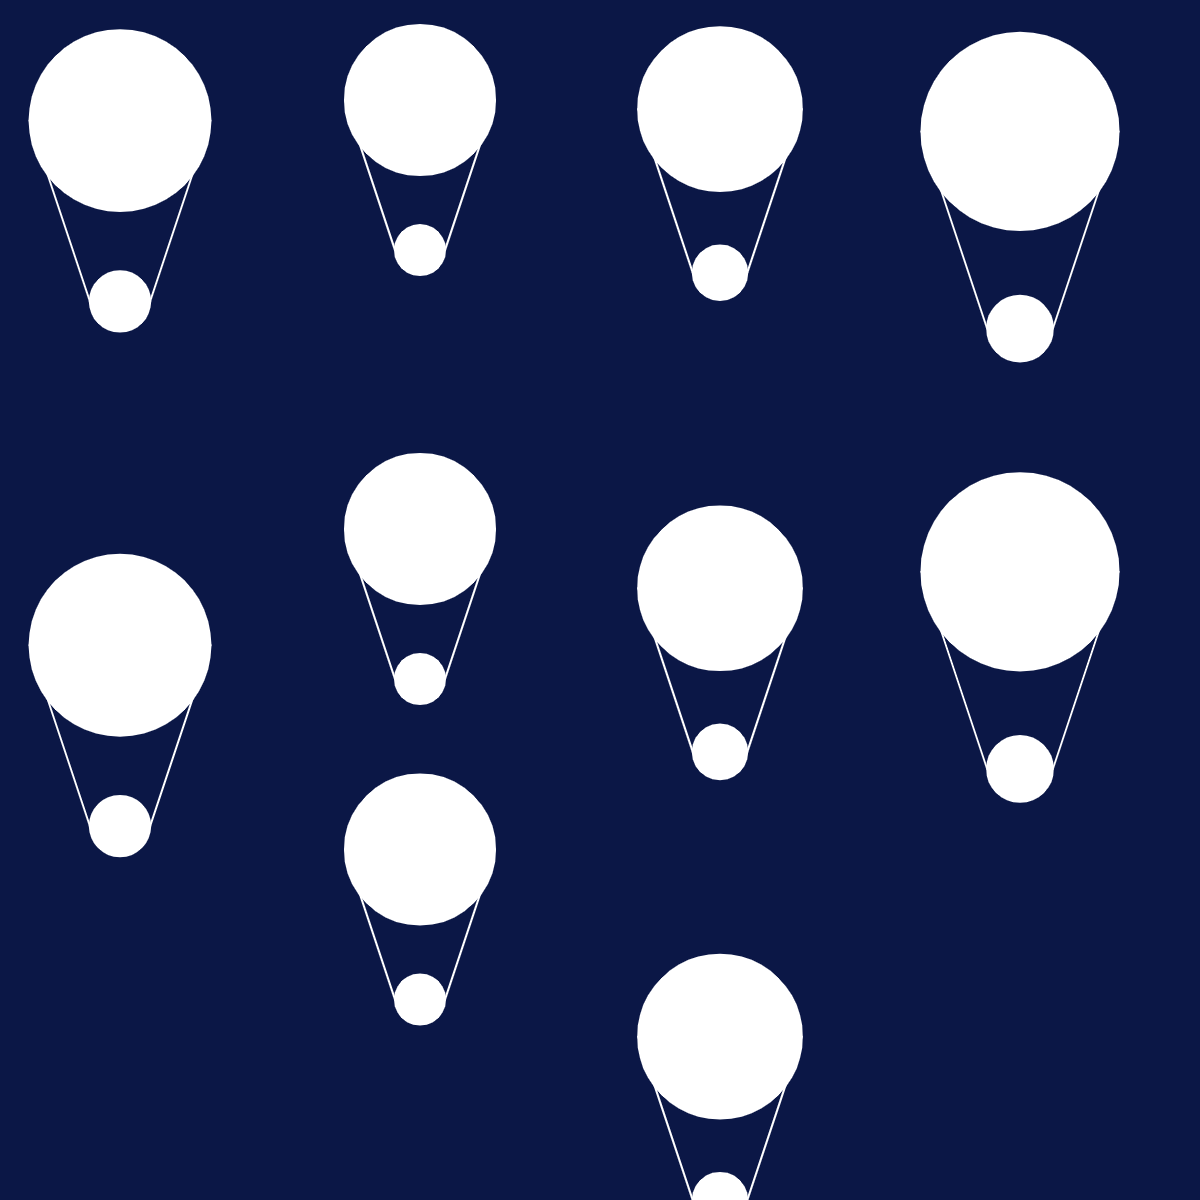
02
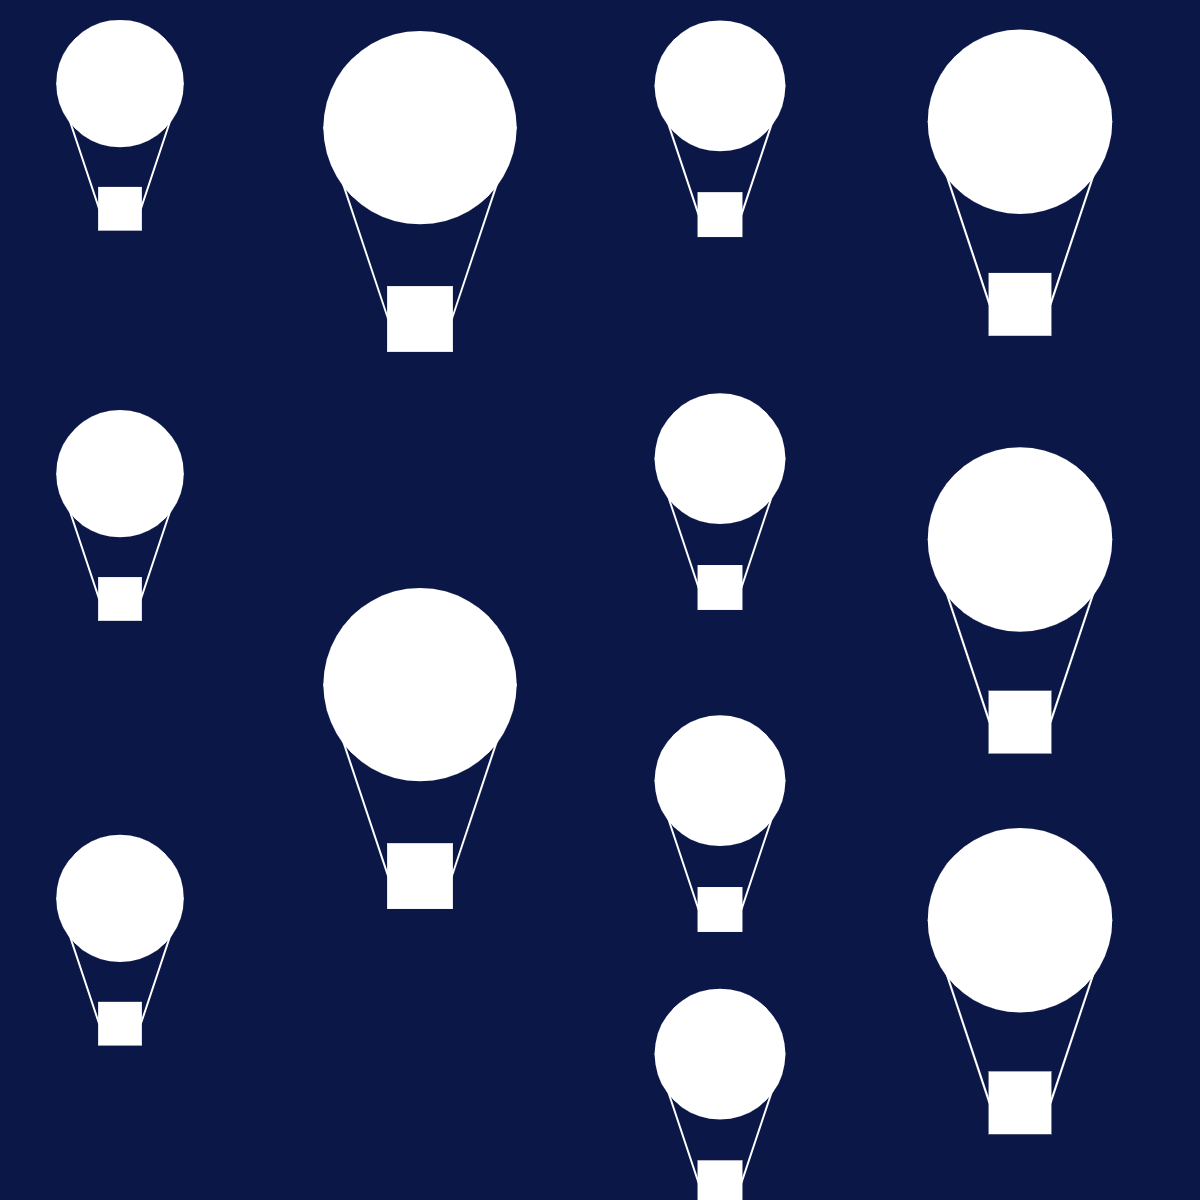
03
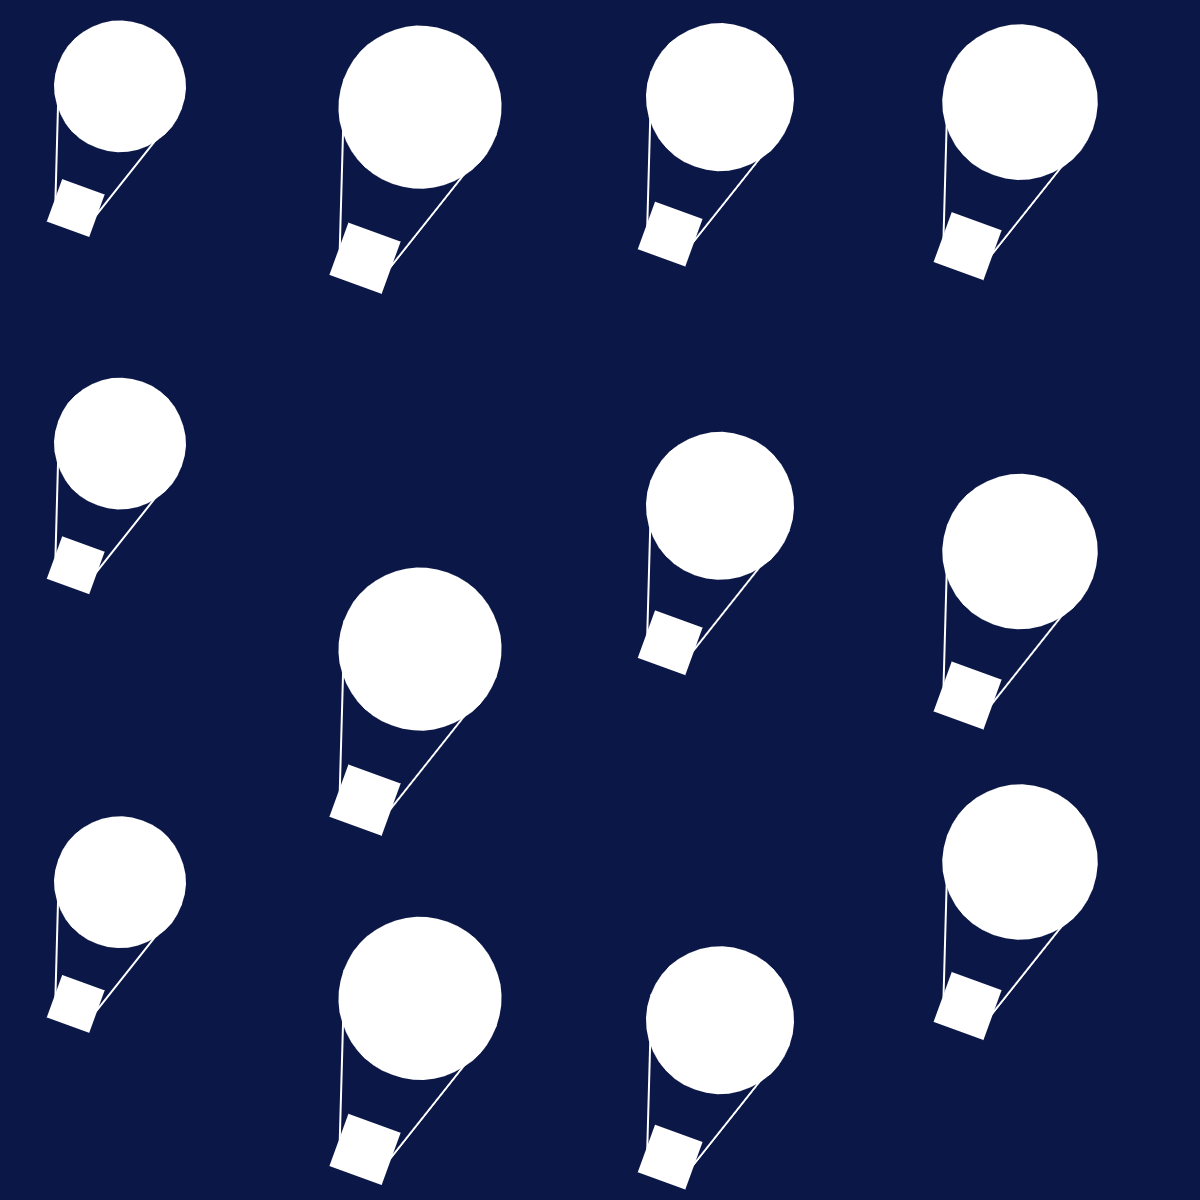
04
05
06

07
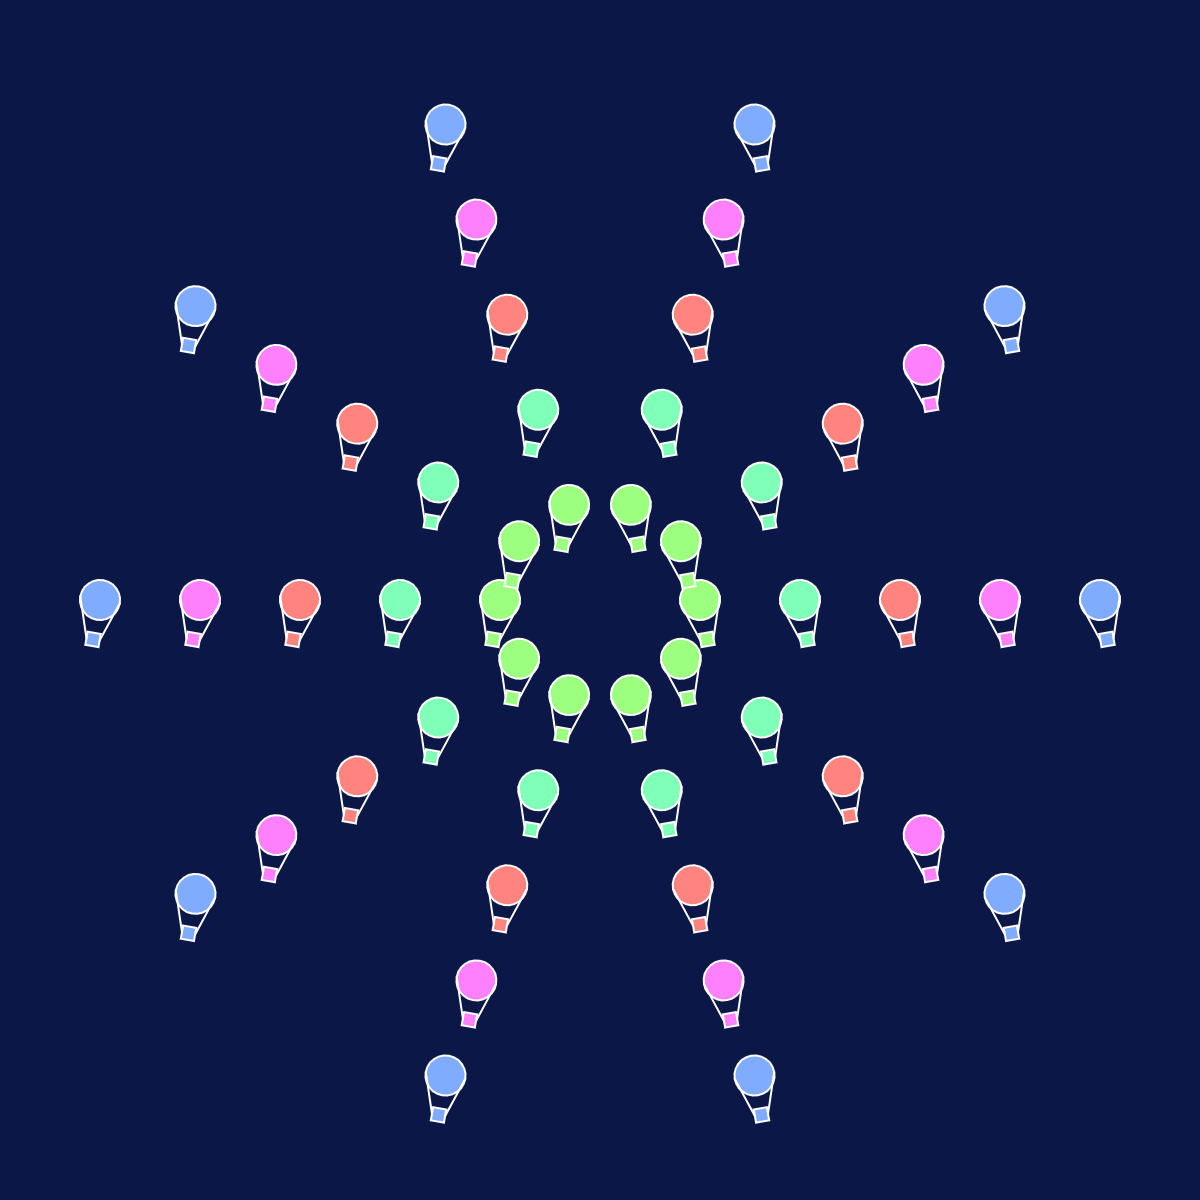
08
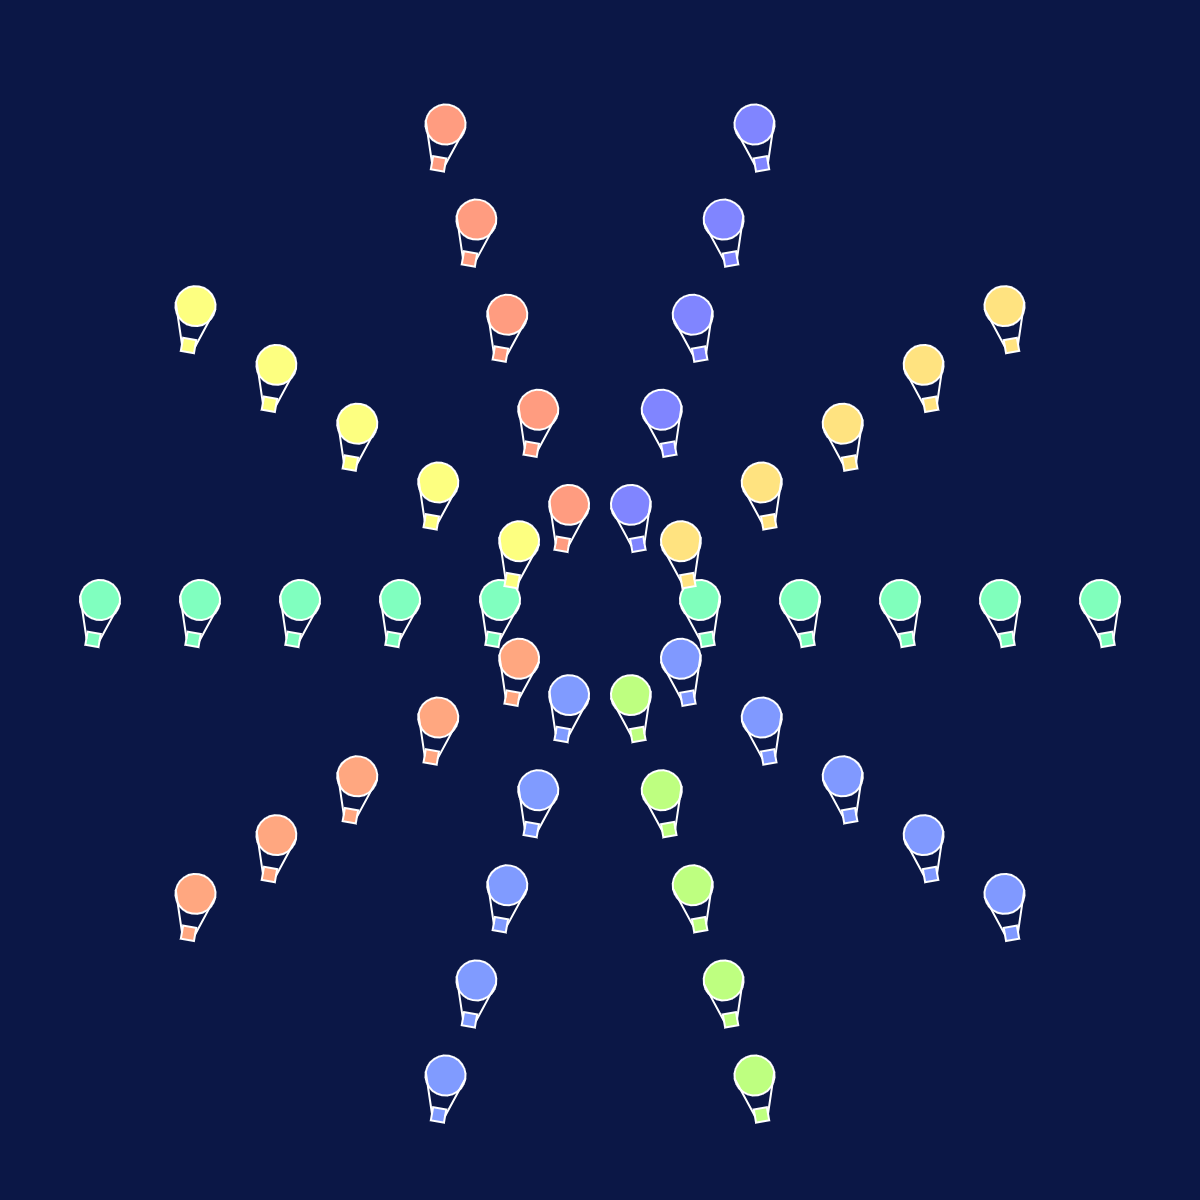
09
Coding Snippet
The first screenshot below shows how I did the angle accumulation.
angle accumulation
This screenshot below shows how I used nested loop to arrange such a pattern. At first, I knew that I needed to change the radius of the circle arranged to get such a visual output, so I tried to add j to both x and y. It turned out, however, that the newly formed circle was not larger, but merely a translation of the original circle. Thus, I kept experimenting and figured the following code out at the end.
math functions and loop application
Reflection
- Drawing by hand through observation and writing computer programs to draw are two distinct but interrelated creative processes. When drawing by hand, I am in direct contact with the physical medium, relying on my sensory perceptions and manual skills to bring my imagination to the paper. In contrast, drawing with computer programming introduces an abstract medium. I provide precise instructions in the form of code that defines shapes, patterns, and behaviors. While computerized execution lacks the inherent human touch, it provides a unique ability to create complex, scalable art. At the same time, because of the indirect nature of programming, I can sometimes get unexpected surprises.
- Throughout the project, I experimented with a range of attributes in repetition, resulting in interesting visual effects. By manipulating variables that control shape type, position, size, and color, I observed how each adjustment produced a different image. Changing the position variable resulted in changes in spatial arrangement, sometimes symmetrical, sometimes asymmetrical. Modifying the size parameter introduced changes in scale, allowing me to play with depth and perspective. My exploration of color brought about different palettes and moods, effectively changing the emotional impact of the pattern. These observations emphasize the subtle and profound impact that parametric manipulation can have on the interplay between repetition and novelty, offering rich possibilities for creative expression.
- In reflecting on what makes a good generative pattern, I came to appreciate a few basic characteristics. First, the pattern should skillfully combine repetition and novelty to ensure that it remains visually appealing. Second, it usually benefits from a sense of order or symmetry, providing the basis for visual coherence and appeal. Third, a clear and understandable structure is essential to allow the viewer to understand the pattern. This structure may derive from mathematical relationships, systematic variations, or well-defined rules. Finally, variations in color, scale, and shape should be used purposefully to add complexity and depth while maintaining visual harmony. In essence, a compelling generative pattern skillfully balances predictability and the element of surprise, allowing the viewer to delve into its complexity and beauty.