This guide is available as a printable PDF.
- Use Illustrator to make your files. The vinyl cutter software works with vector files — raster images in Photoshop will not work. Illustrator is the simplest program to use.
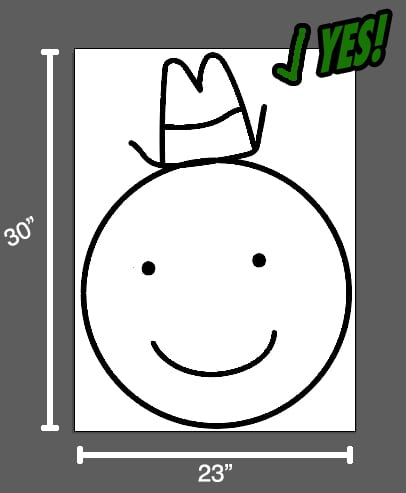
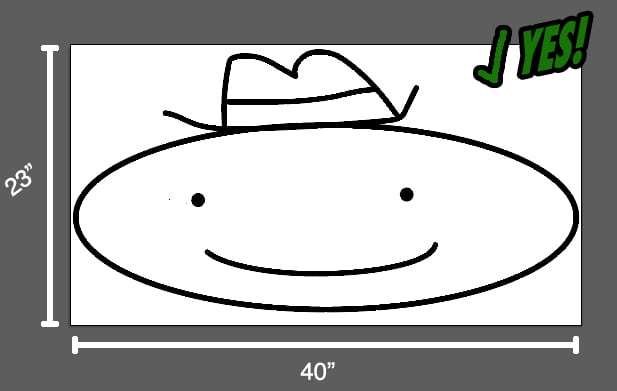
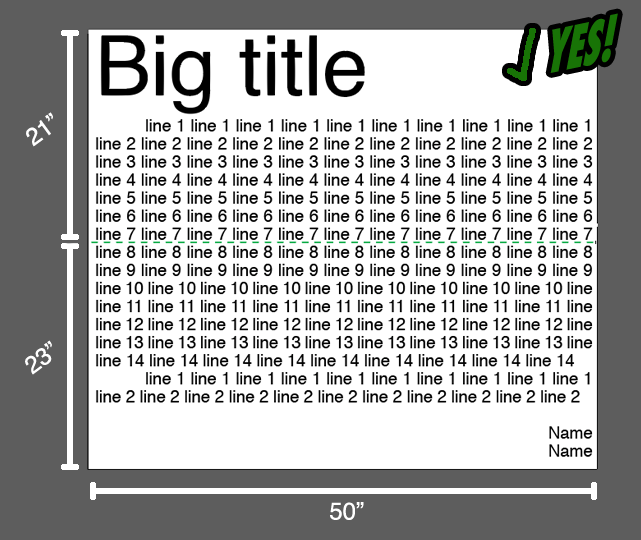
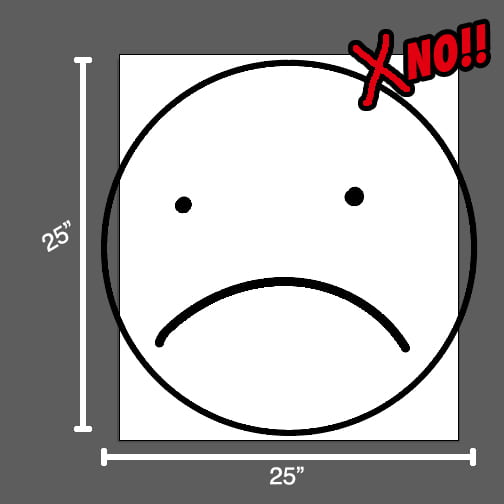
- Design your files at a 1:1 scale. Keep an eye on the width of your design — people often mistakenly make vinyl that’s longer than intended when working with text. Note: The cutting area of the vinyl cutter is approximately 23 inches wide, by any length. Make sure your design will fit, or can be divided to fit.
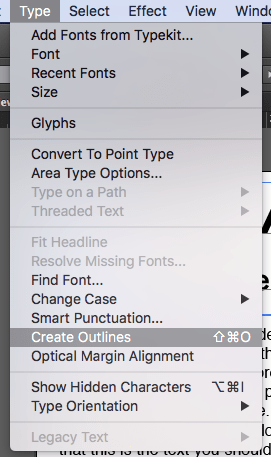
- All text must be converted to outlines. Select your text (with the black arrow selection tool), go to “Text” in the top menu, and choose “Create Outlines”. Proofread your text first, and consider saving a copy before creating outlines. Text cannot be edited after this point.
- Go to View -> Outline Mode and look over your file to check your file. The lines you see are what the vinyl cutter software will import. Use Pathfinder (found under Window -> Pathfinder) to merge any overlapping shapes, and go to Object -> Expand Appearance to make any lines made with the paintbrush tool into shapes. When everything looks good, you can go back to View -> Preview.
- If your design needs to be broken up into multiple sections due to the 23” size limit, create separate documents for each piece. Using layers or artboards in the same document will not work. Note that vinyl in excess of 120” (10 feet) becomes very difficult to work with and may fail while cutting. Consider doing designs longer than this in multiple pieces. Your cutting files should have all guides cleared. They do not import well into the Roland software.
- If you’re working with text (or lots of other small shapes) it’s recommended that you use the rectangle and line tools to draw “weeding lines”. These are lines dividing the negative space, to make it easier to peel off excess vinyl after it has been cut. (Note: lines must have a stroke on them to be read by the Roland software — color and point size don’t matter).

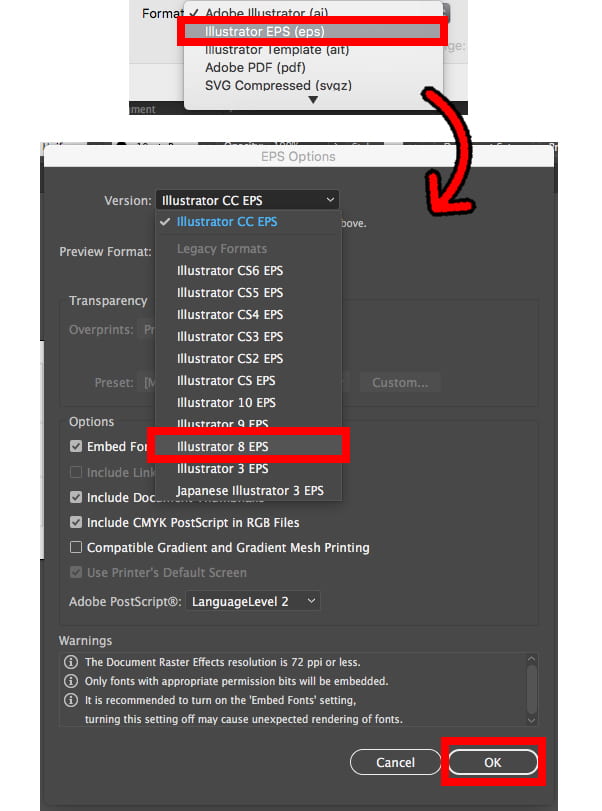
- Go to File -> Save As. In the format dropdown at the bottom of the window, choose .eps. This will bring up a new window for “EPS Options,” which has a drop down list for “Version.” Choose “Illustrator 8.” Click “OK” to save. A pop up may come up warning that saving the document to an older format may convert type to point type. Click OK.
