Resizing Images
Your images should be scaled to the desired print size before sending them for printing. To correctly resize images, students should open their file in Photoshop, then do the following:
1. Go to Image → Image Size
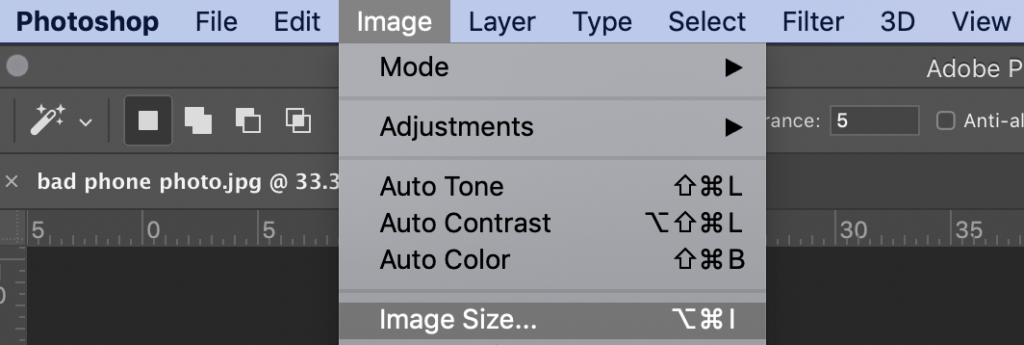
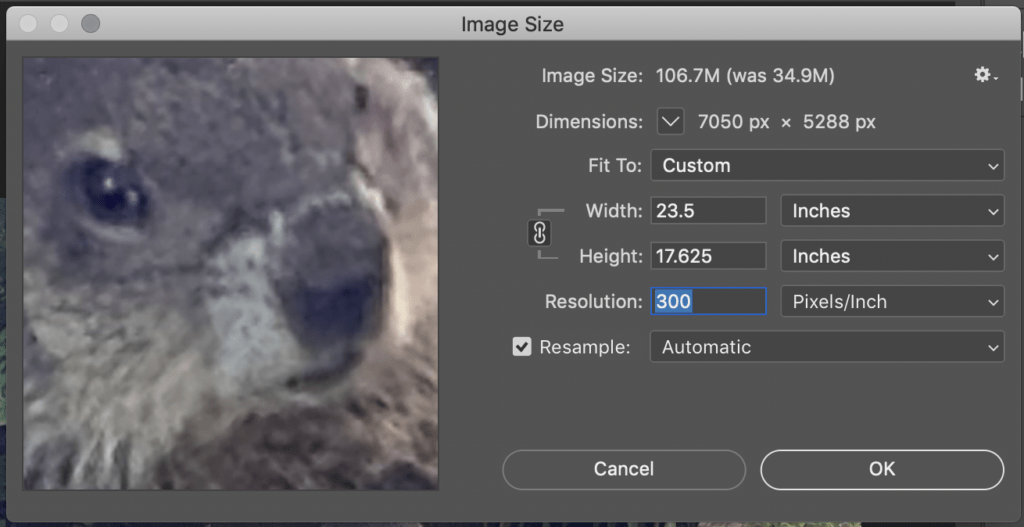
2. Entire the desired dimension for the print. Your image must be ¼ inch smaller than the width of the paper. If your paper is 24 inches wide, your smallest dimension cannot exceed 23.75 inches.
3. With the Resample box checked, enter an appropriate resolution. Many images have the default resolution of 72 pixels/inch, which is screen resolution. The minimum PPI (pixels per inch) for printing is generally 300 pixels/inch.
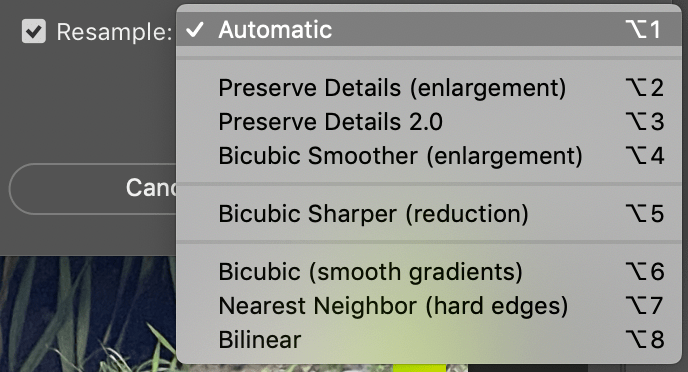
4. In the drop down list next to Resample, there are multiple selections for which algorithm photoshop can use to enlarge or reduce the image. You can experiment with several to decide which method works best with your image. There is no one best option — the level of detail present and the original size of your image will influence which choice looks best.
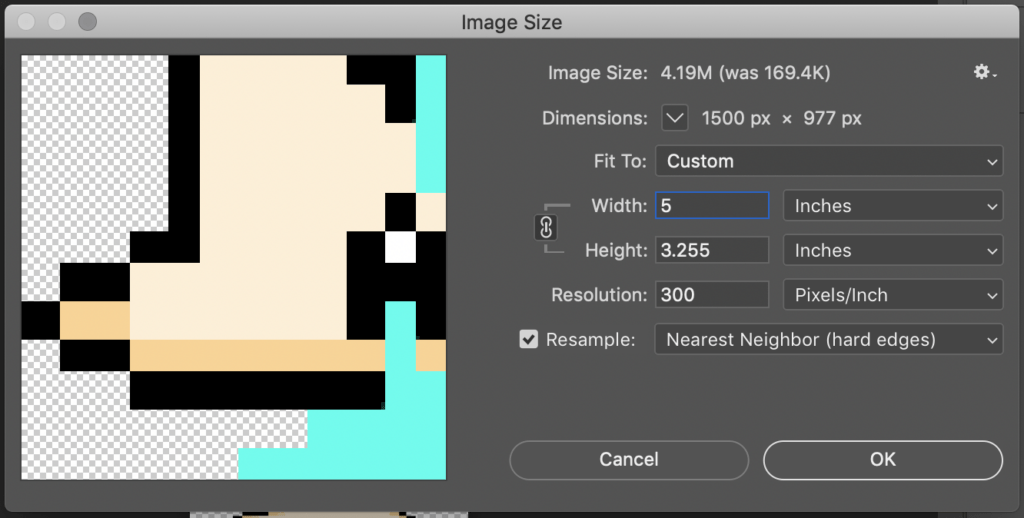
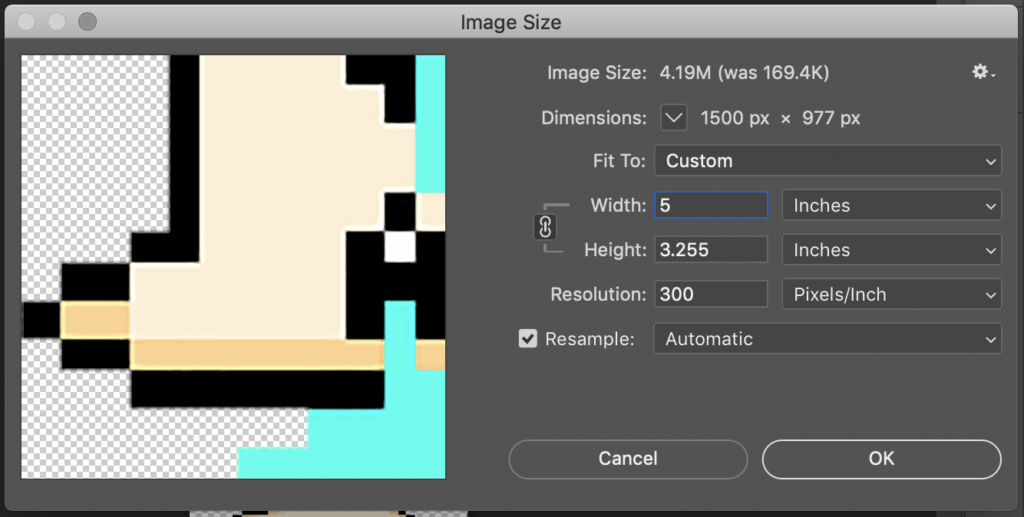
While automatic resampling often works well for photos, it can create a halo of distorted color when working with a highly graphic image like pixel art. Nearest neighbor preserves clean lines and shapes.
5. Make sure to check your image in the preview at 100%. You can drag the image in the preview box to check the most important sections, to ensure that all components of the image look good at the size and settings you’ve chosen.
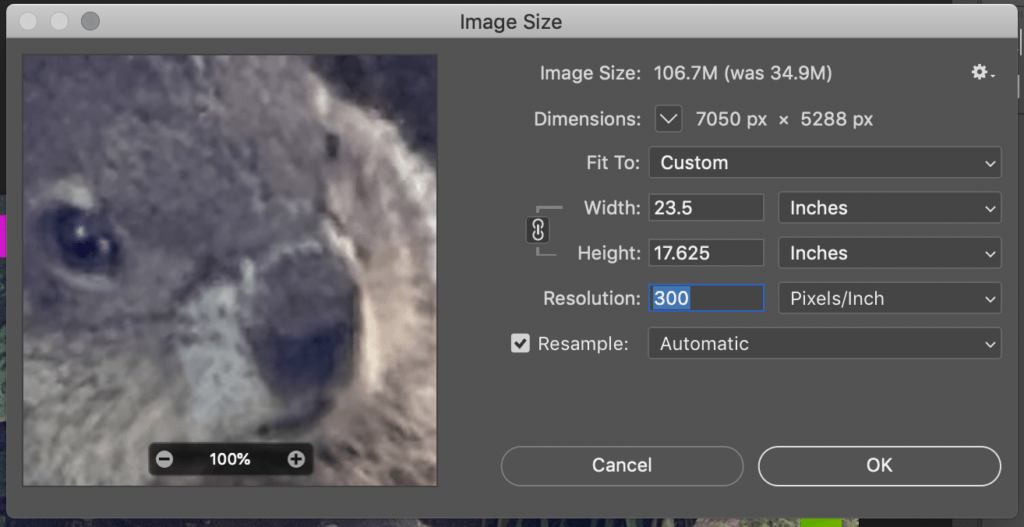
Checking to see that the face is not too pixellated or too blurred.
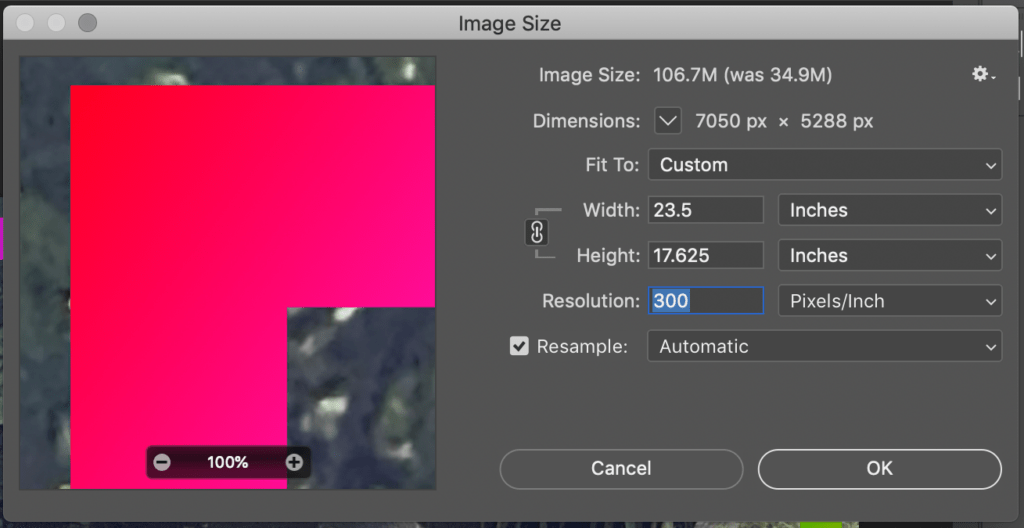
Checking to see that digital components added to the image don’t have any added halo.
Color Proofing for Printing
Note that without a color-calibrated monitor, color proofing will never be exact. There are, however, steps that can be taken to better predict the color of your print. While the 9900 printers are capable of producing a large range of colors, no printer is able to exactly reproduce colors as they appear on a computer screen. Very bright colors will often appear darker or tinted to a different shade. To see which colors will be affected, open the image in photoshop and do the following:
1. Download the Epson paper profiles by clicking this link.
2. Unzip the file, then install it by copying the Pro9900_7900.profiles file into the folder Macintosh HD > Library > ColorSync > Profiles.
3. In Photoshop, go to View → Proof Setup → Custom

4. If the profiles were installed successfully, you should now see a list of Epson papers in the Device to Simulate drop down list. Choose the paper type you intend to use. Paper types that end in _MK are for printing with matte black ink, and paper types that end in _PK are for printing with photo black ink. The ink type should match the finish of the paper.
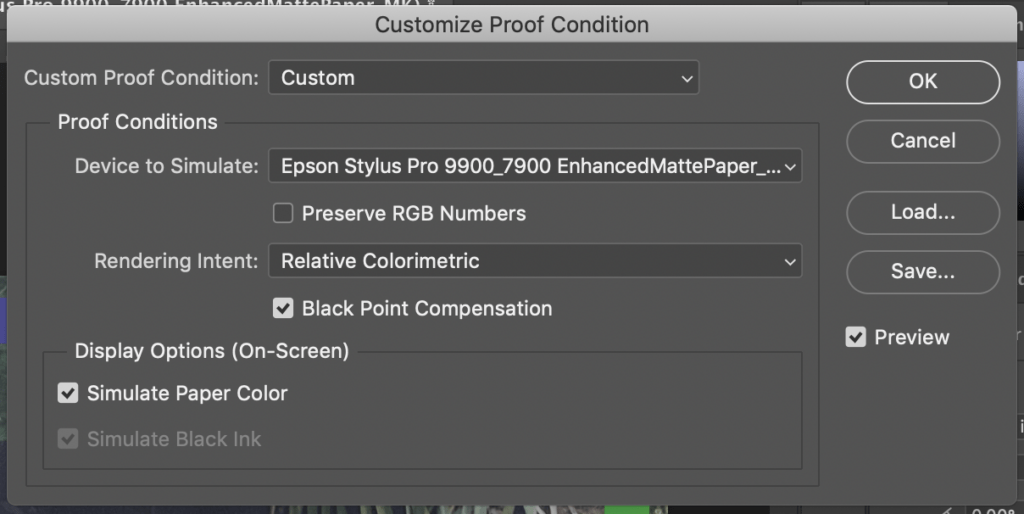
5. After hitting OK, Photoshop should now simulate what your image will look like when printed.
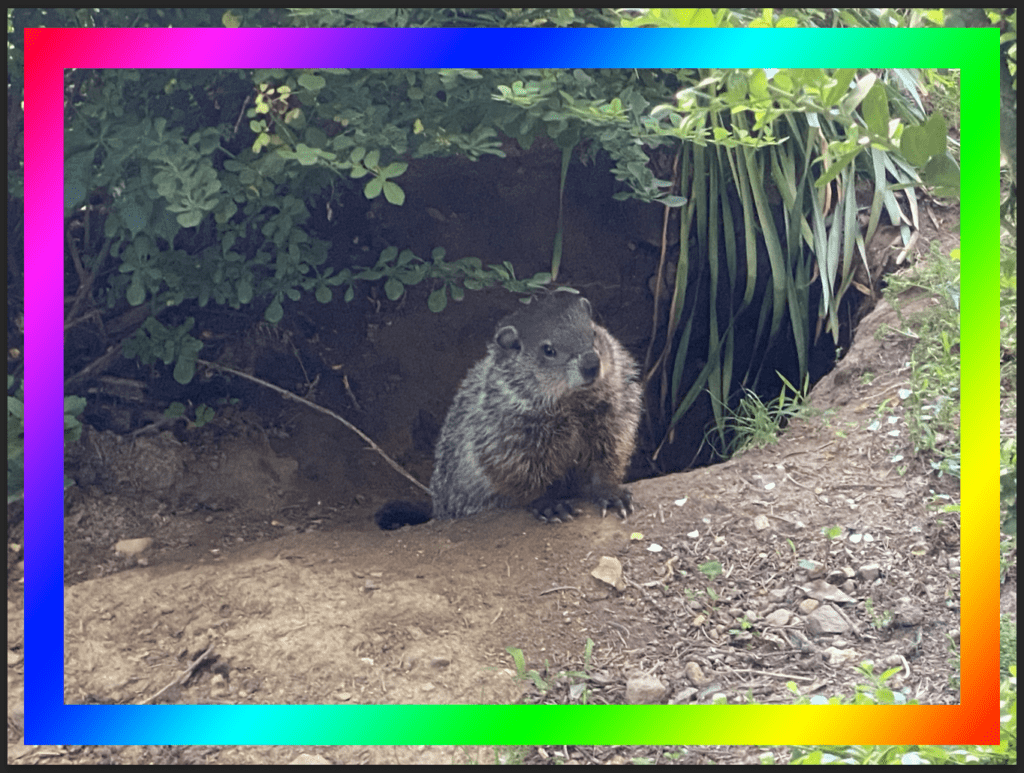
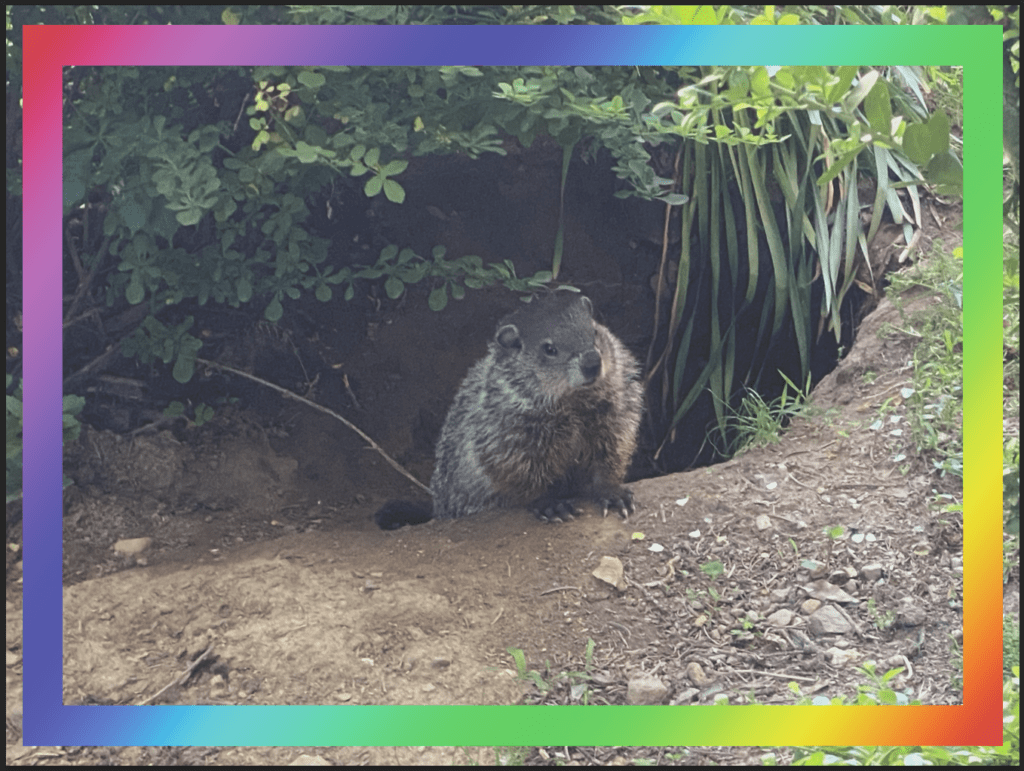
Before and after changing the Proof Setup.
6. To easily see which areas have had their color changed, go to View → Gamut Warning. Photoshop will show which colors are out of the printer gamut, which is the technical term for the range of color the printer can produce. These out of gamut areas are highlighted in gray. These areas will still print in color, it is just a warning of which colors will not be accurately reproduced.
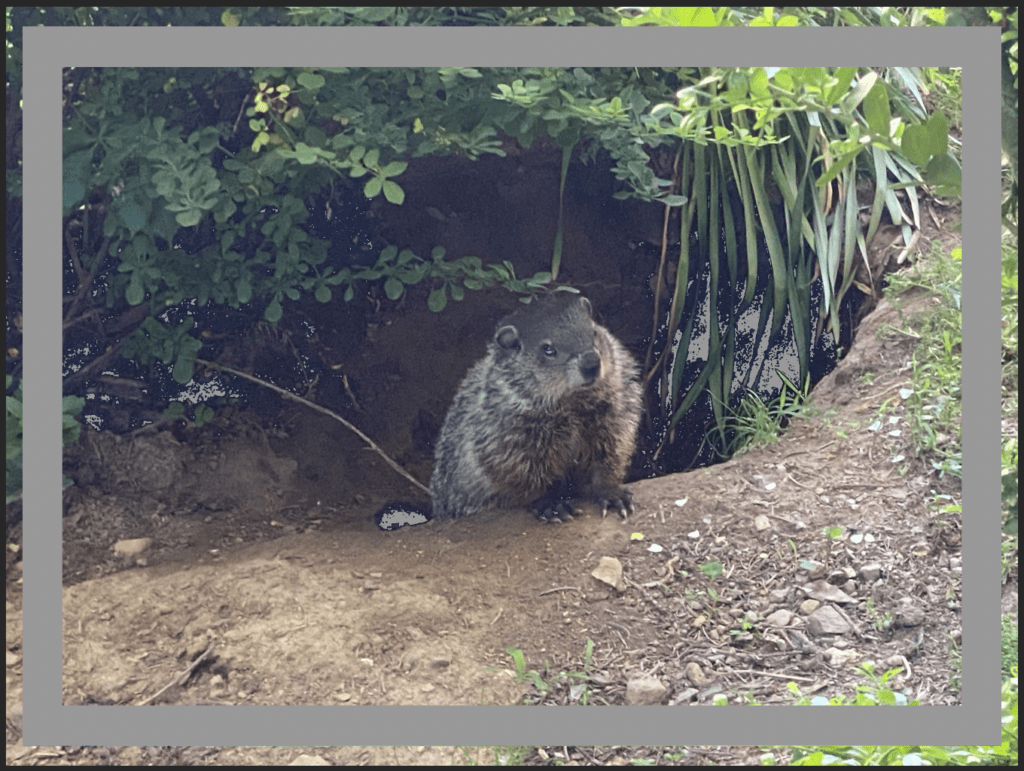
Photographs are usually less affected by the printer’s color limitations, while high-saturation colors in digital work are often out of gamut. Desaturated colors fare better.
7. You may wish to readjust the colors or contrast in your image after seeing the print preview. Do this as you normally would.