Pressure Sensors

This week’s labs had us build circuits that are activated by some sort of analog input.  I enjoy working with pressure sensors, so I decided to stick with them.

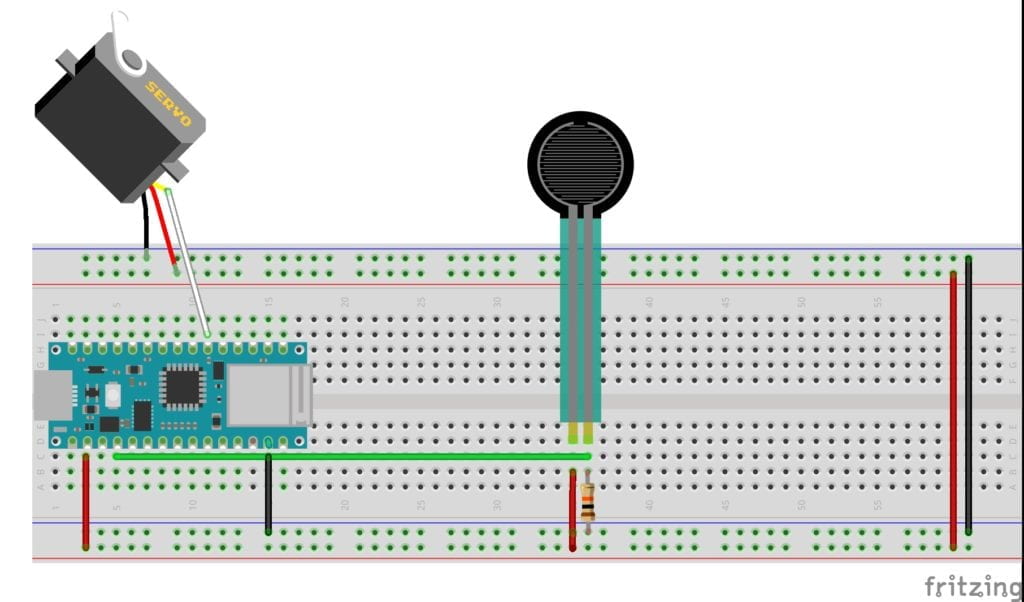
The first lab had me running a servo motor. The wiring and code seemed straightforward, and I was confident that I would get it up and running quickly. Unforchentely, I ran into a problem that I couldn’t explain. The servo wouldn’t turn on. I started my troubleshooting by mapping out the pressure sensor to make sure I was getting a reading. The pressure sensor was working correctly. I checked power to the servo next. I had power. Usually, my problem comes from my code, so I checked and re-checked it. Everything looked to be in order, so I decided to tear apart the circuit and rebuild it. After the rebuild, the servo was still not working. At this point, I needed a break. The next day a few of my classmates troubleshot the circuit with me. Eventually, someone mentioned that the servo might be broken. Quickly we switched it out, and everything worked perfectly. I tried two other servos, and they also worked. Lesson learned. 

Top down sketch of a breadboard layout. A pressure sensor is running a servo.


Video: Servo

The second lab was to run tones through a speaker and control them with sensors. 

Again, I couldn’t get the final device to activate. Power was running to my sensors and the speaker, but no sound was coming out. I thought back to my last lab and tested to see if my speaker was functioning and that my solder was good. Everything checked out. Something had to be wrong with my code. Eventually, I noticed that I had not mapped the sensor range correctly. After correcting for the proper mapping, the speaker worked! A much quicker fix then the servo lab. 

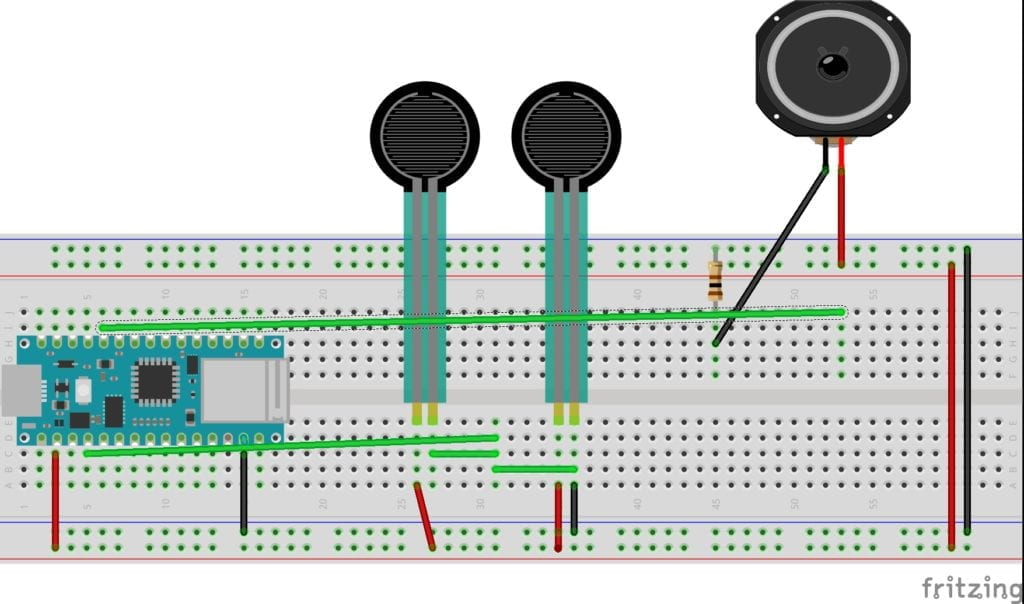
Example 1: Two pressure sensors running a speaker. 

Top down sketch of a breadboard layout. Two pressure sensors running a speaker.

Video: Two pressure sensors running a speaker

Video: “pitches.h” library example

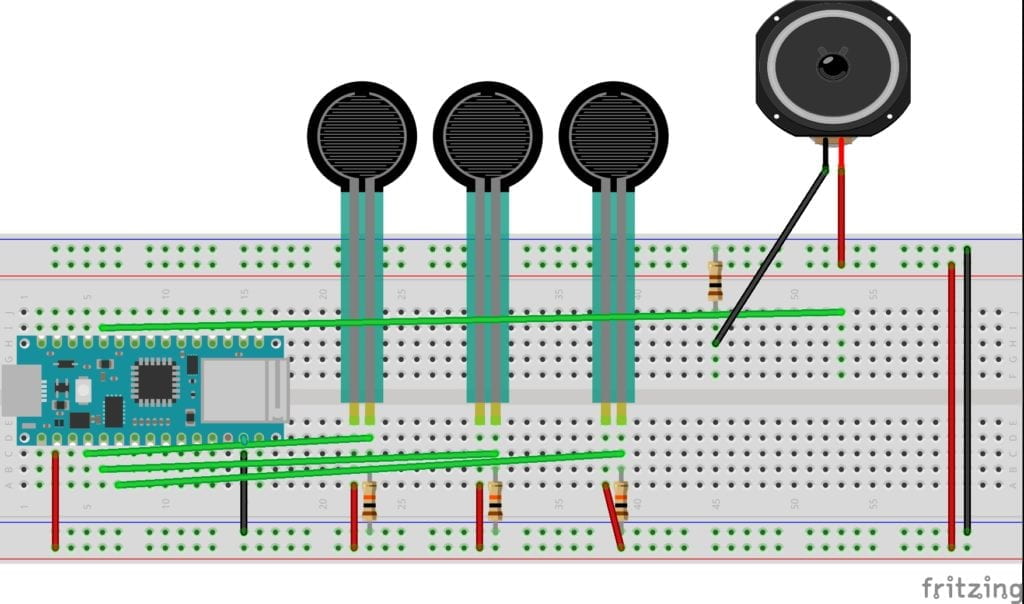
Example 2: Three pressure sensors running a speaker.

Top down sketch of a breadboard layout. Three pressure sensors running a speaker.

Video: Three pressure sensors running a speaker

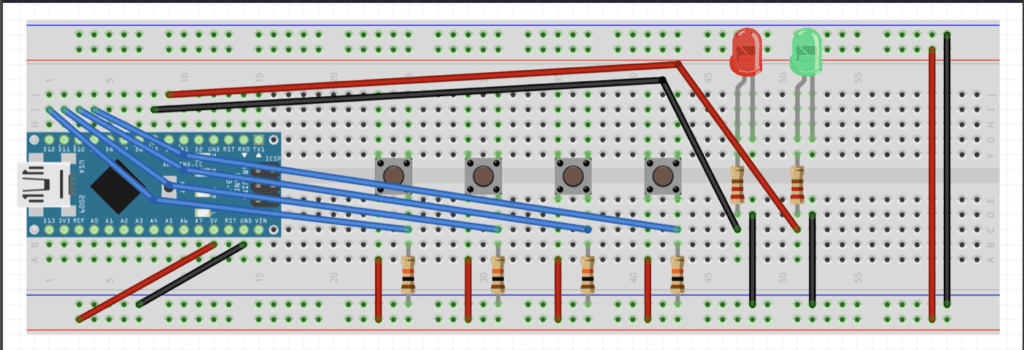
To wrap up this week my partner Stephanie Chen and I started to design our first project. We decided to make a padlock using four buttons. We started researching how to make this happen and developed a basic circuit sketch. We hope to get the circuit running, then change out the controls and build nice housing. 

Top down sketch of a breadboard , four switches, 2 LEDS.

Rollover – Button – Slider

This week we were teamed up to “make a rule-based animation that incorporates motion and interaction and includes a user interface element of your design.” Jenny and I collaborated. Luckily we both are working in NYC and could safely meet on the floor to spend an entire day focusing on the project. 

We set out to make a button that when you hover over it, bouncing balls appear on the screen. This undertaking seemed both challenging and executable. We knew that we needed to use if statements to constrict the bouncing balls to the canvas, so we started there.

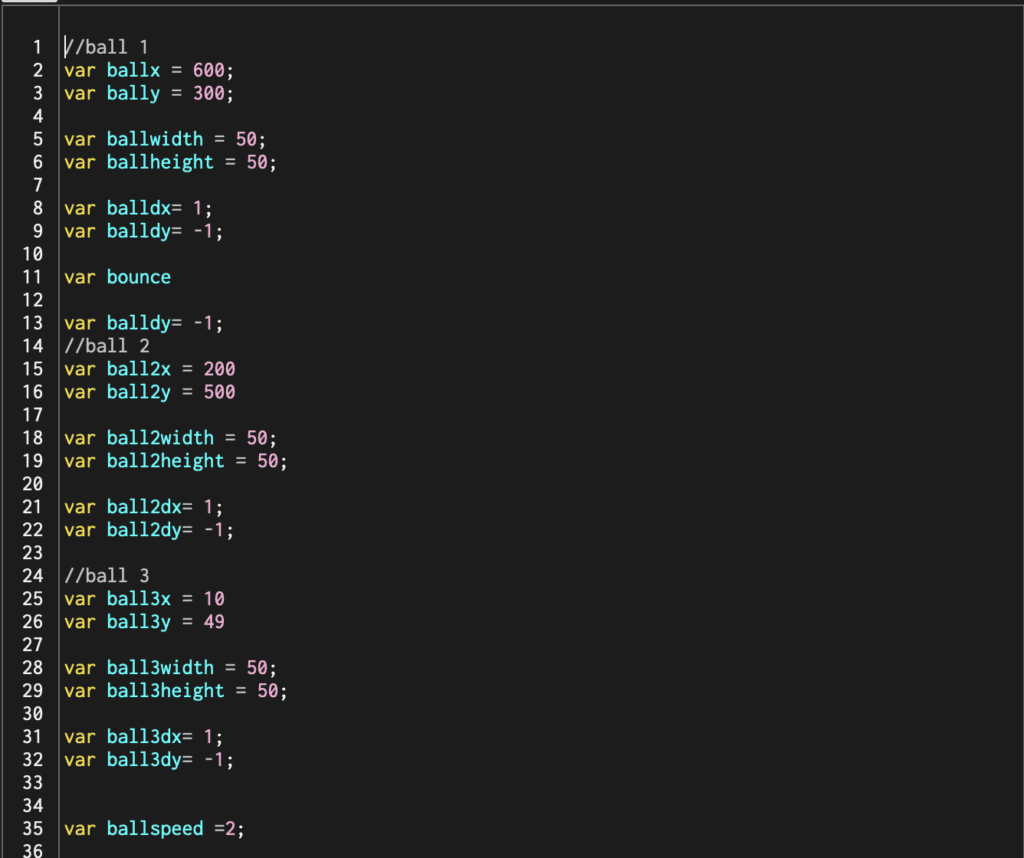
First, we set up all our variables. 
A list of variables in p5js editor.

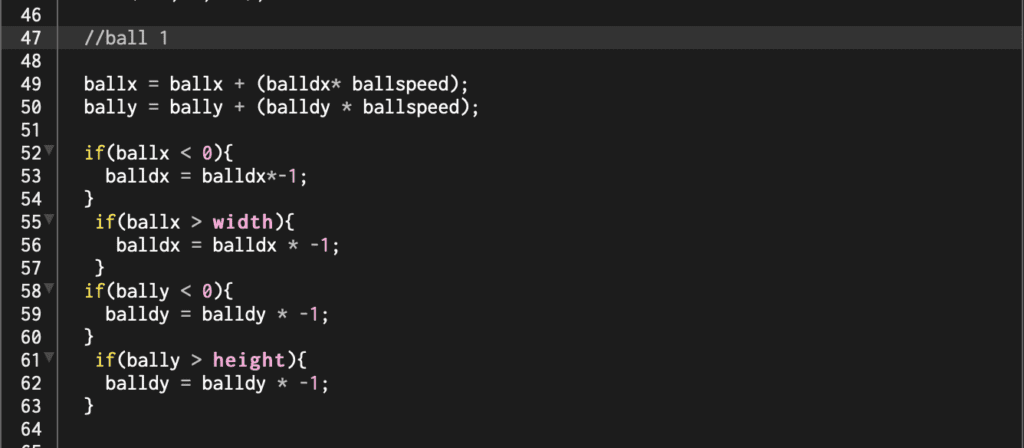
Next, we started writing out our if statements one for each side. We thought that if the ball reached the edge, we would multiple the direction by -,1 reversing it.  This worked great, but the code seemed very long. 

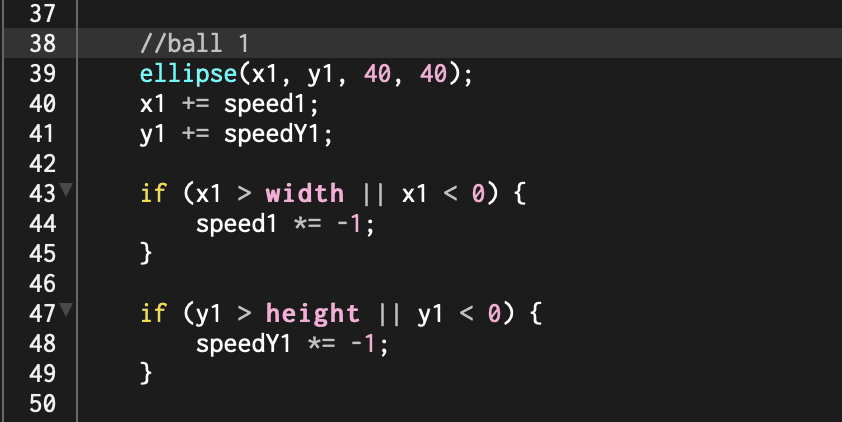
After giving it some thought, we came up with a way to shorten everything down. Instead of writing out an if statement for each side, we used an if statement containing || (or). This modification cut our code down significantly and made it easier to read. p5js sketch using or statements.

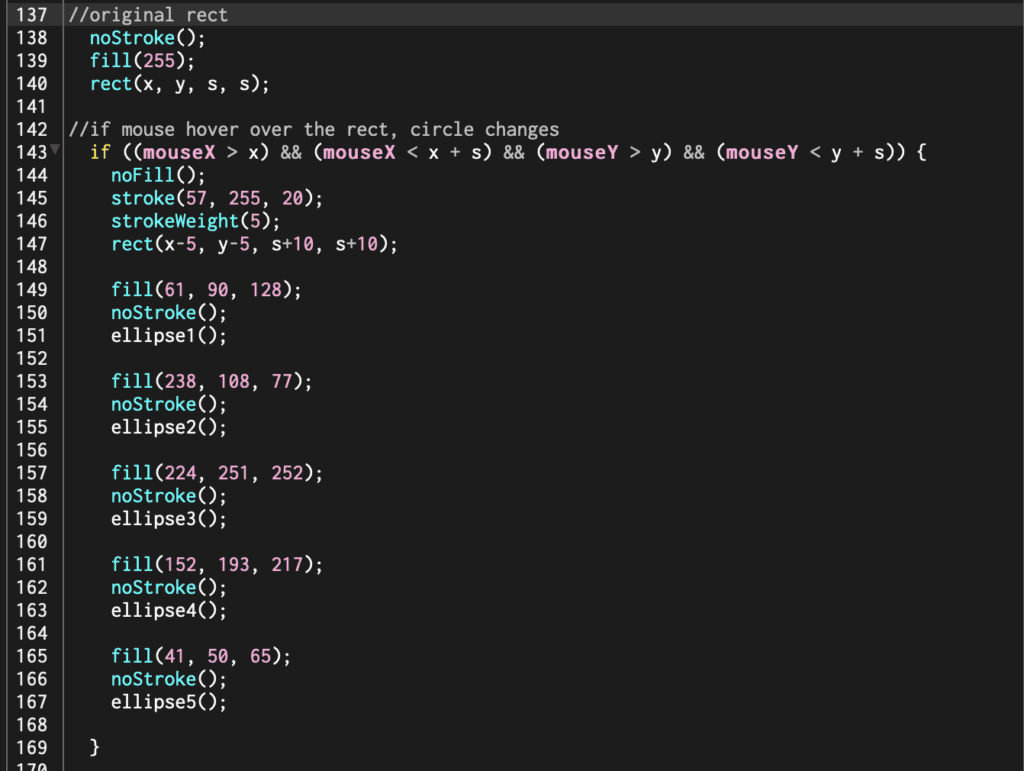
The final step was to make the rectangle that would activate the bouncing balls. 

Mouse activated button on a p5js sketch.

After we completed the sketch we wanted something just a little more dynamic. So we decided to add one more statement which changes ball size back and forth.

p5js sketch show a shifting circle size function.

Click here to see the final sketch. 

I had a great time pairing up on this project. It was fun collaborating, bouncing ideas off each other, and having someone to help troubleshoot. Every week I develop a much deeper appreciation for every button, switch, and component of a computer. 

Final Assignment Storyboard

For our final assignment, our group that includes Stuti Mohgaonkar, Sara Ro, and myself decided to create an interactive video installation. We chose to challenge ourselves and design the experience within Unity. All three of us are new to the software but are excited to tackle the task. 

The deck below describes how our world will work. 

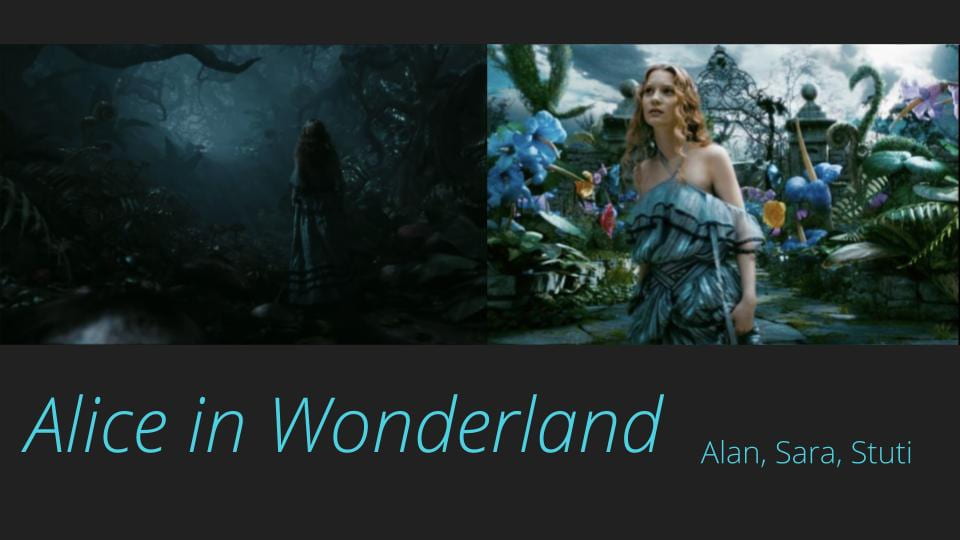
Opening slide to a deck on Alice and Wonderland

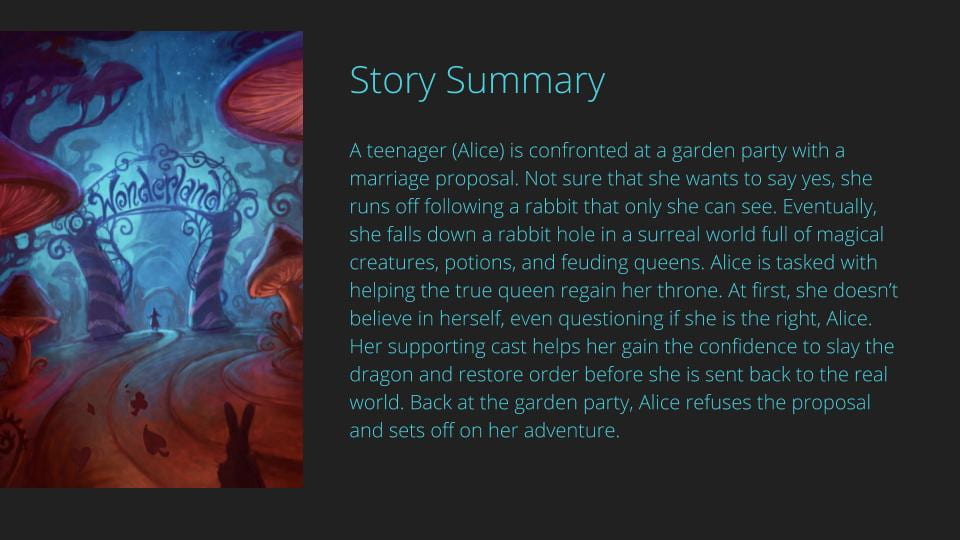
Slide describing the story line of Alice in Wonderland

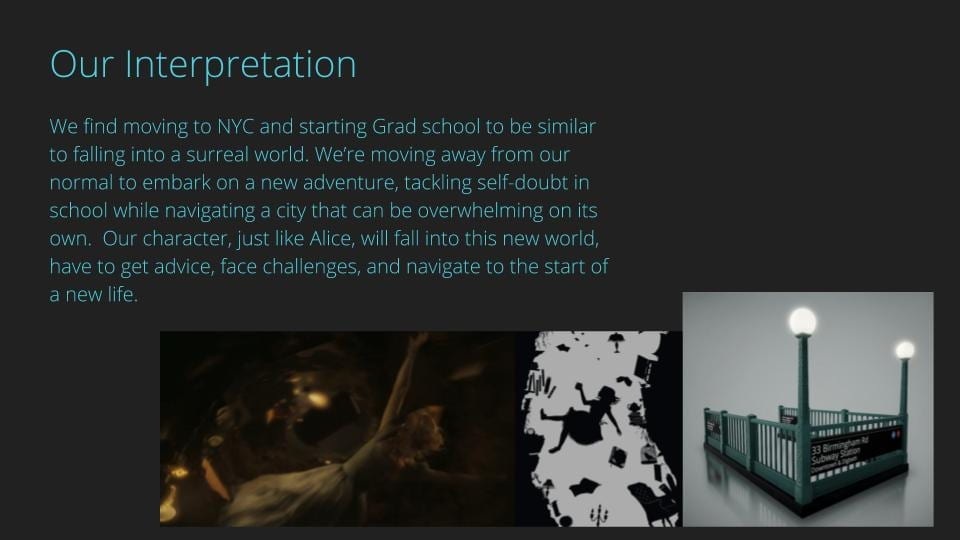
Slide describing out our group will be using Alice in Wonderland as a reference

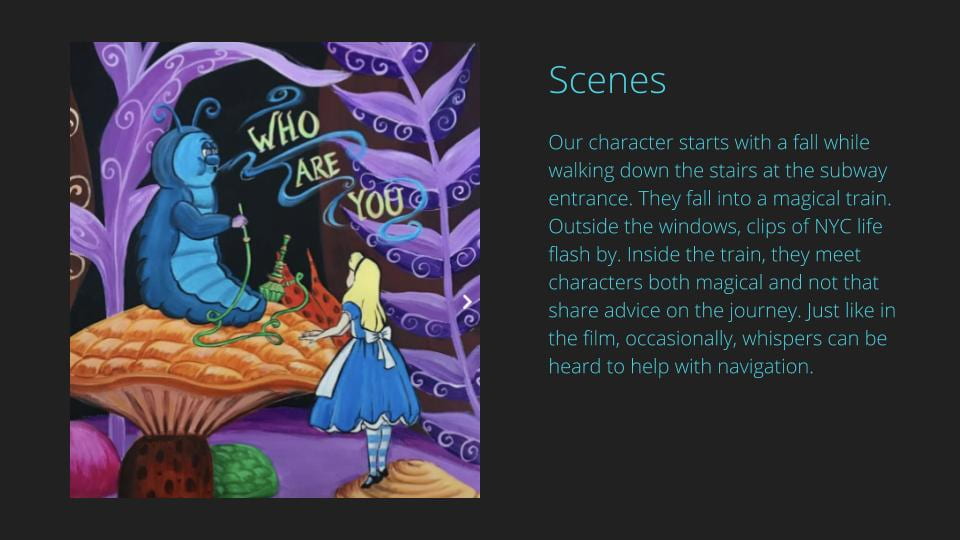
Slide describing the scenes of our Unity walk

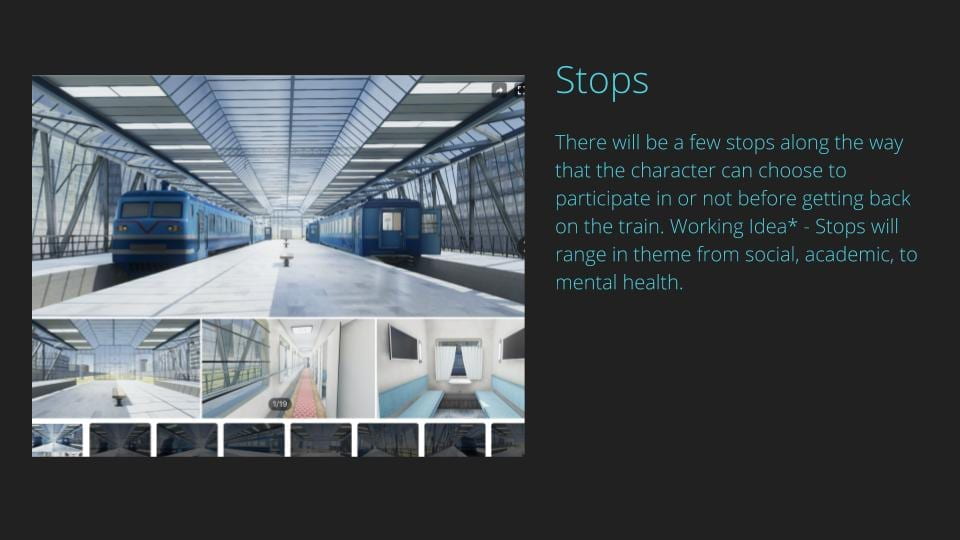
Slide referencing the stops that the magical train will take

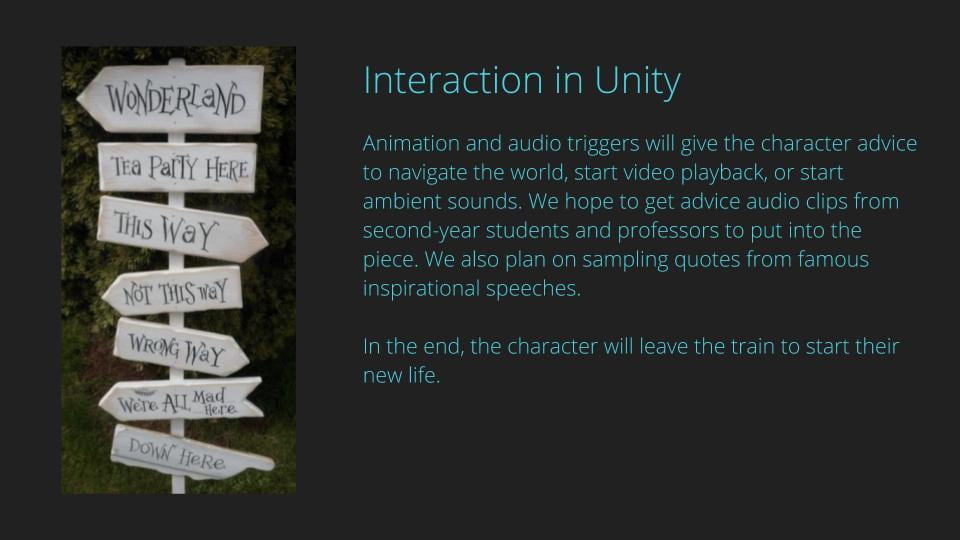
Slide describing how we will use Unity as an interactive tool

Before creating the deck, we watch Ira Glass speak on Storytelling, and we watched the 2010 Tim Burton Alice in Wonderland remake. Both sources gave us inspiration and clarity on how to weave a storyline throughout a narrative. While discussing this project we flagged and are being conscious of how we could easily just focus on creating a visually interesting world without creating the story arc.