Design Analysis

I remember being blown away when I first saw the Moonlight movie poster at my local subway station. So let’s jump into breaking down this (in my opinion) beautiful poster.

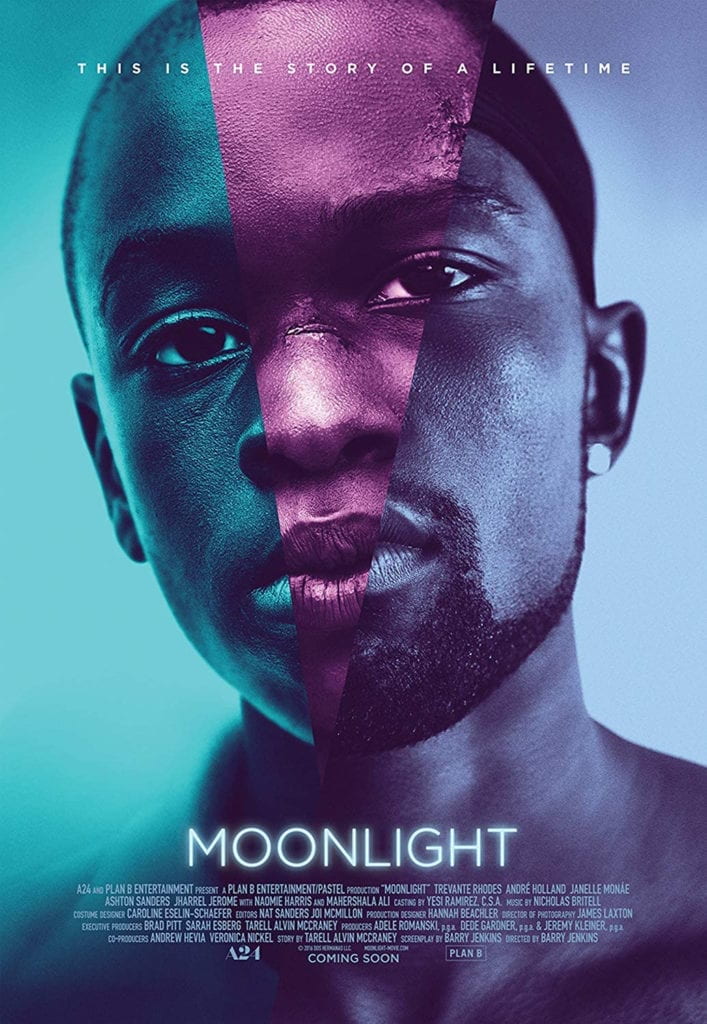
At first glance, I’m drawn to the design’s simplicity—the portraits dominating the majority of the frame and are almost seamlessly stitched together. At a glance, you might miss that the images depict a man in three life stages youth, adolescents, and adulthood.  This is confirmed with the small text at the top of the frame that reads, “This is the story of a lifetime.”

His eyes stare directly into the camera, almost encouraging the viewer to take his stare back. 

Moonlight movie poster

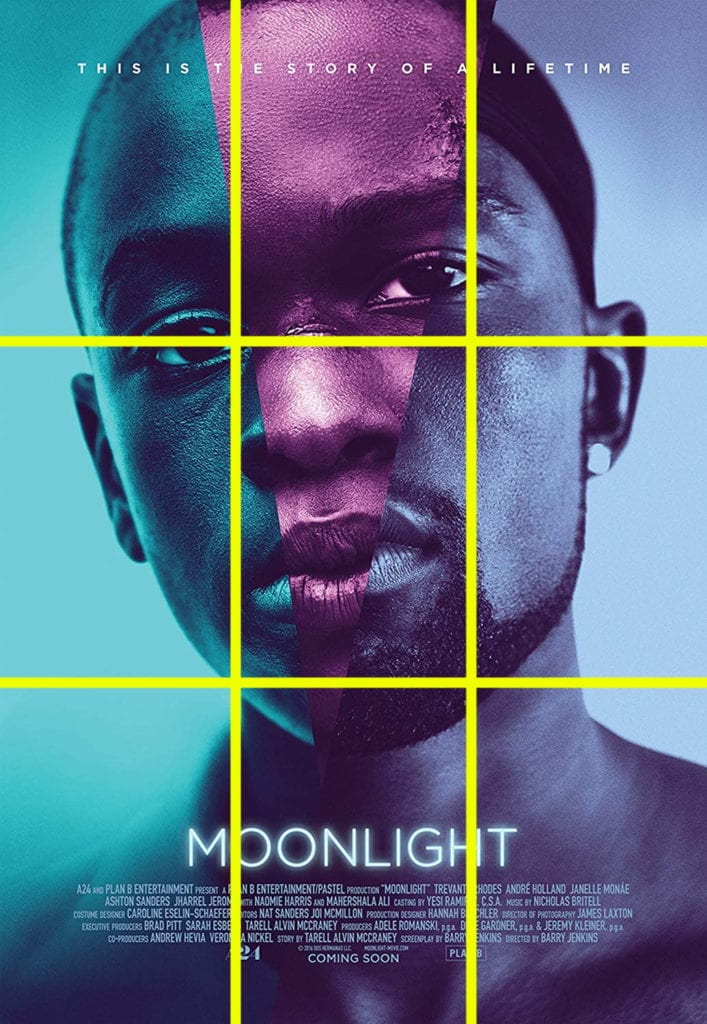
By breaking the poster down with a grid, we can see that it’s framed with the classic rule of thirds composition with the subject’s eyes placed on and near the converging lines. 


Moonlight movie poster with framing layout lines

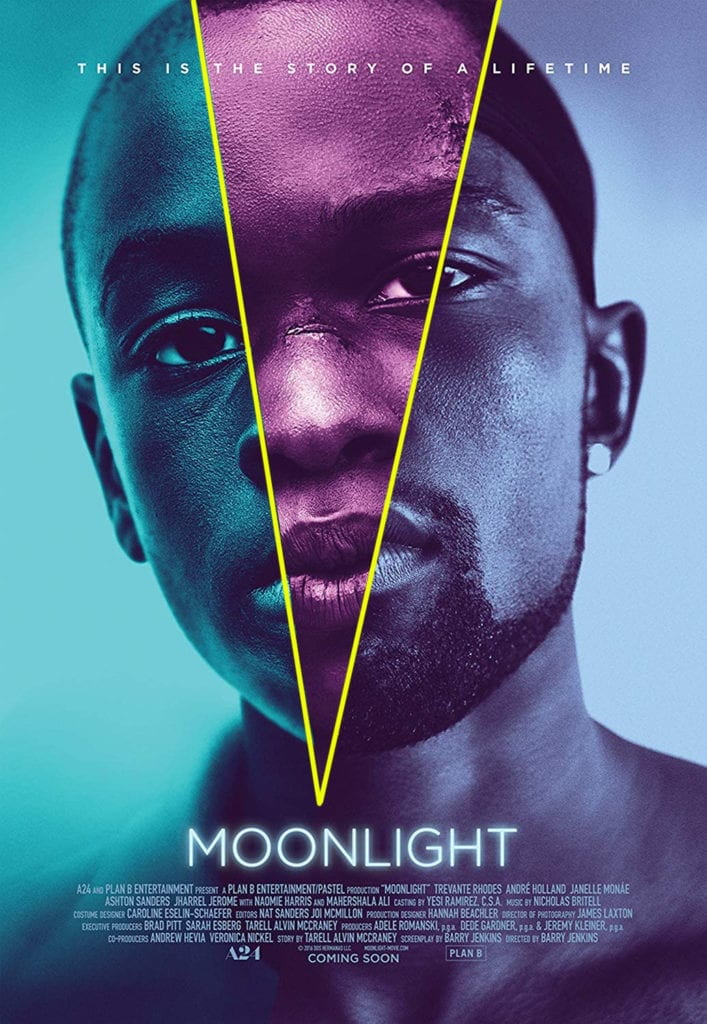
A second V-shaped grid breaks the portrait into thirds. The point of V emergences from the title and when drawn out resembles a light beam. Here too, the lines cut through the subjets eyes.


Moonlight movie poster with framing layout lines

The negative space further highlights that the designer wanted the viewers to focus solely on the portrait. By having nothing else to look at, I’m drawn back to the eyes of the subject. 

Moonlight movie poster with negative space cut out.

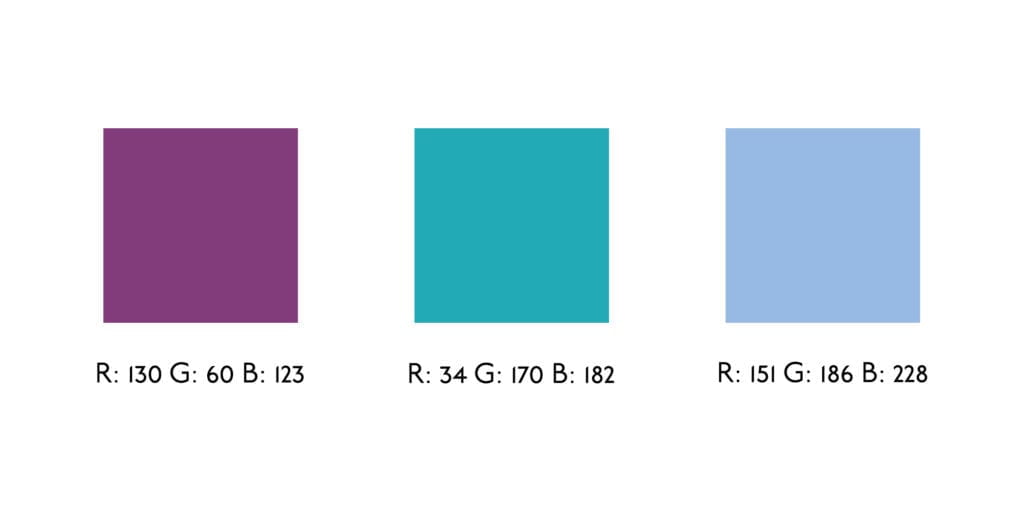
Three colors are used to distinguish the different life stages of the subject.  The colors are all cool and resemble the color grading in the different stages of the actual movie. Three color swatches representing the main colors in the moonlight movie poster
Simple, clean, and small. The Underground Book font is used only to convey necessary information like the title and single line. 

Font description used for the moonlight movie poster


Animation Assignment 1

FLASH WARNING…


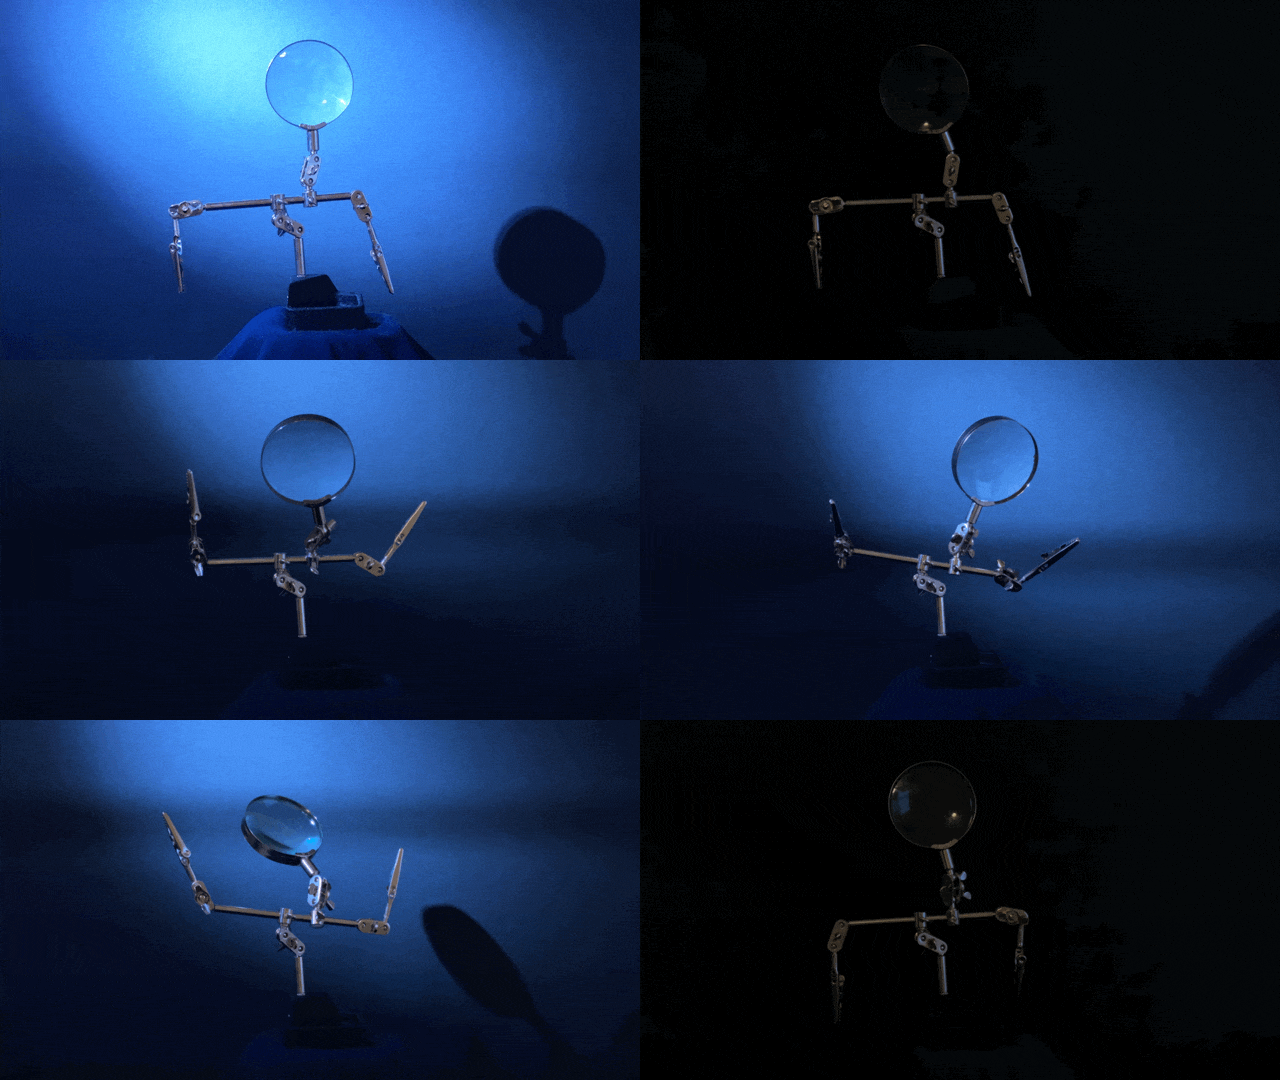
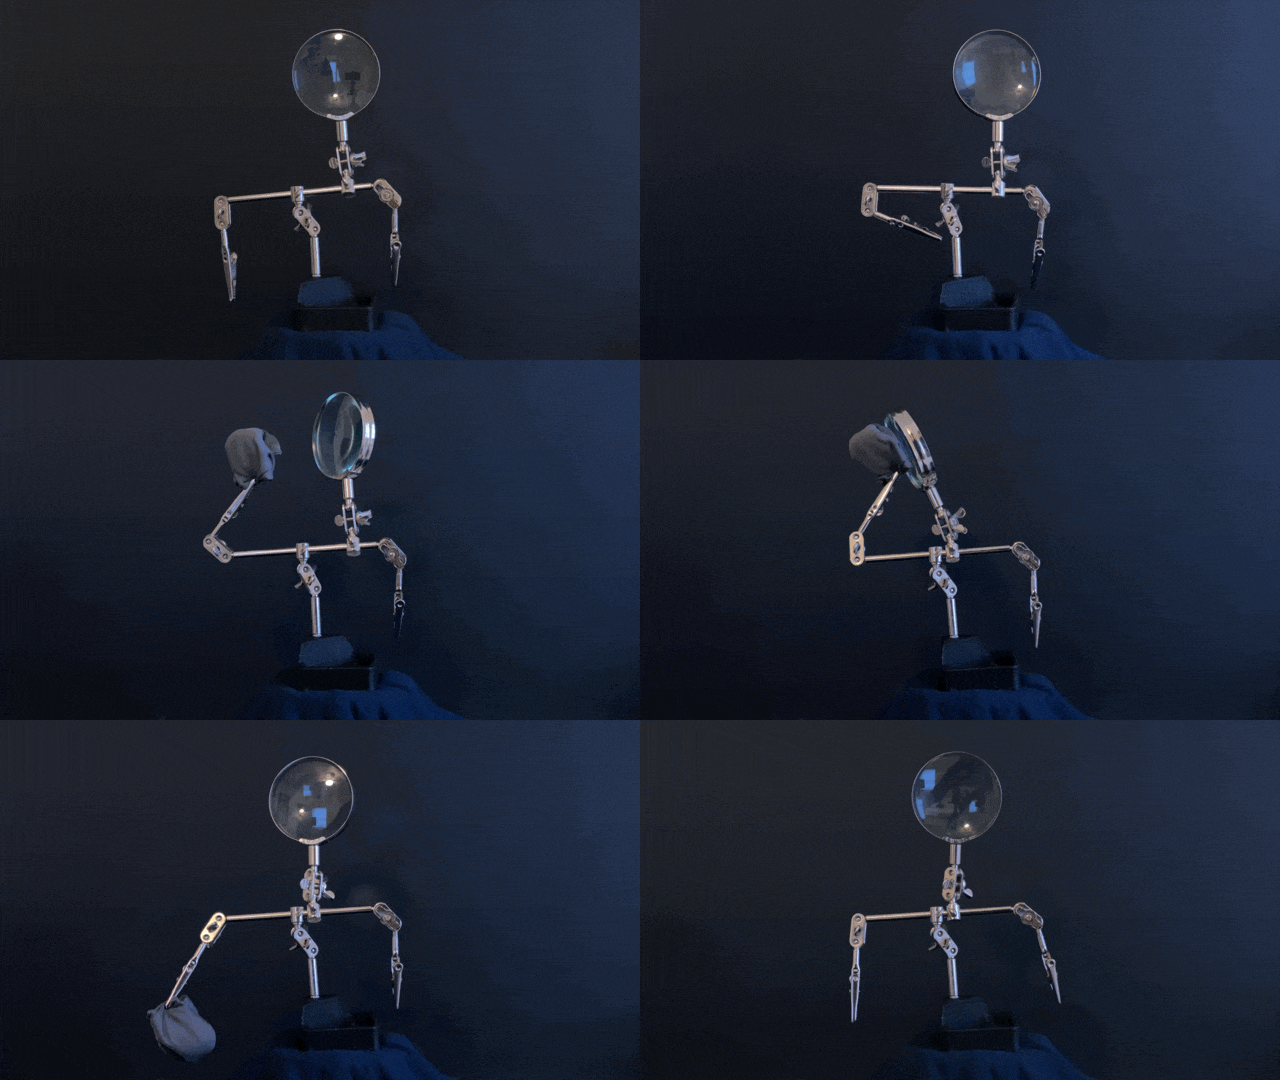
The first thing that came to my mind when I got this assignment was animating my helping hands. They look like humans, and they have joints to move around, but what could they be doing? After sitting and staring at them for a while, two things kept circulating in my mind the endless smudges I get on the magnifying glass and how I miss going out and dancing. So I decided to use those thoughts as inspiration. 

First, I worked on the dancing character. On my first attempt, I ran into a couple of creative problems: 

  • Framing: I tried cropping it afterward but getting all the frames cropped the same way in this software was really difficult. It really bothered me when the platform moved at all.
  • Lighting: I underexposed the image to make it feel more like the character was in a bar, but it needed more. I grabbed my flashlight and turned it on every other frame to give it a strobe light effect on the second go.

Animated gif of a helping hands dancing

For the second gif, I wanted to have the helping hands clean its own magnifying glass. While storyboarding it out, I didn’t think the lens cloth appearing would work, but after creating it, I really like. 

animated gif of helping hands cleaning it glass

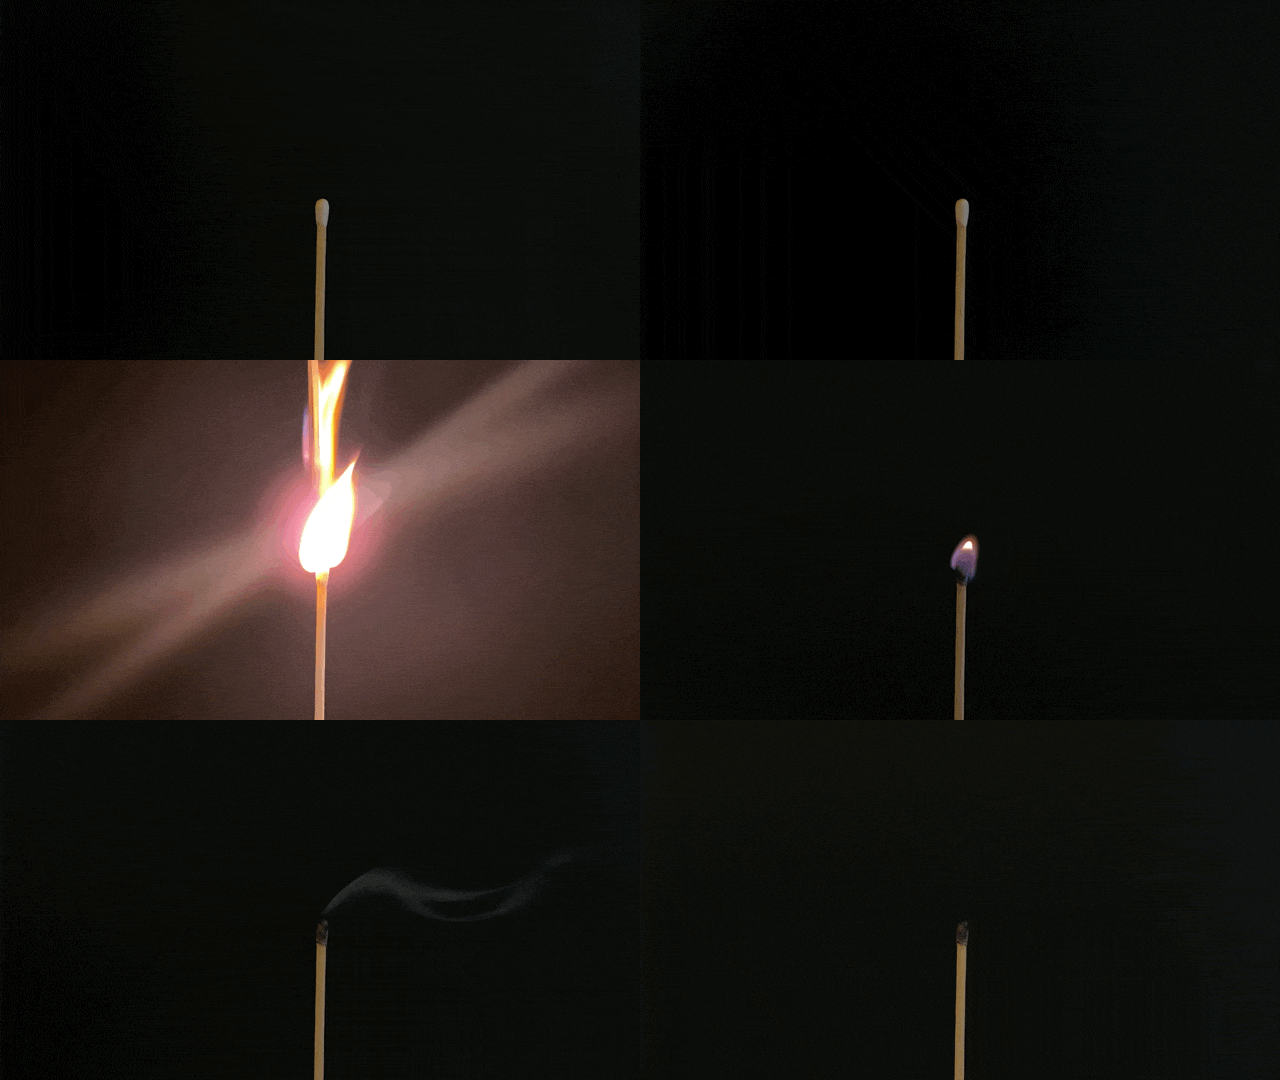
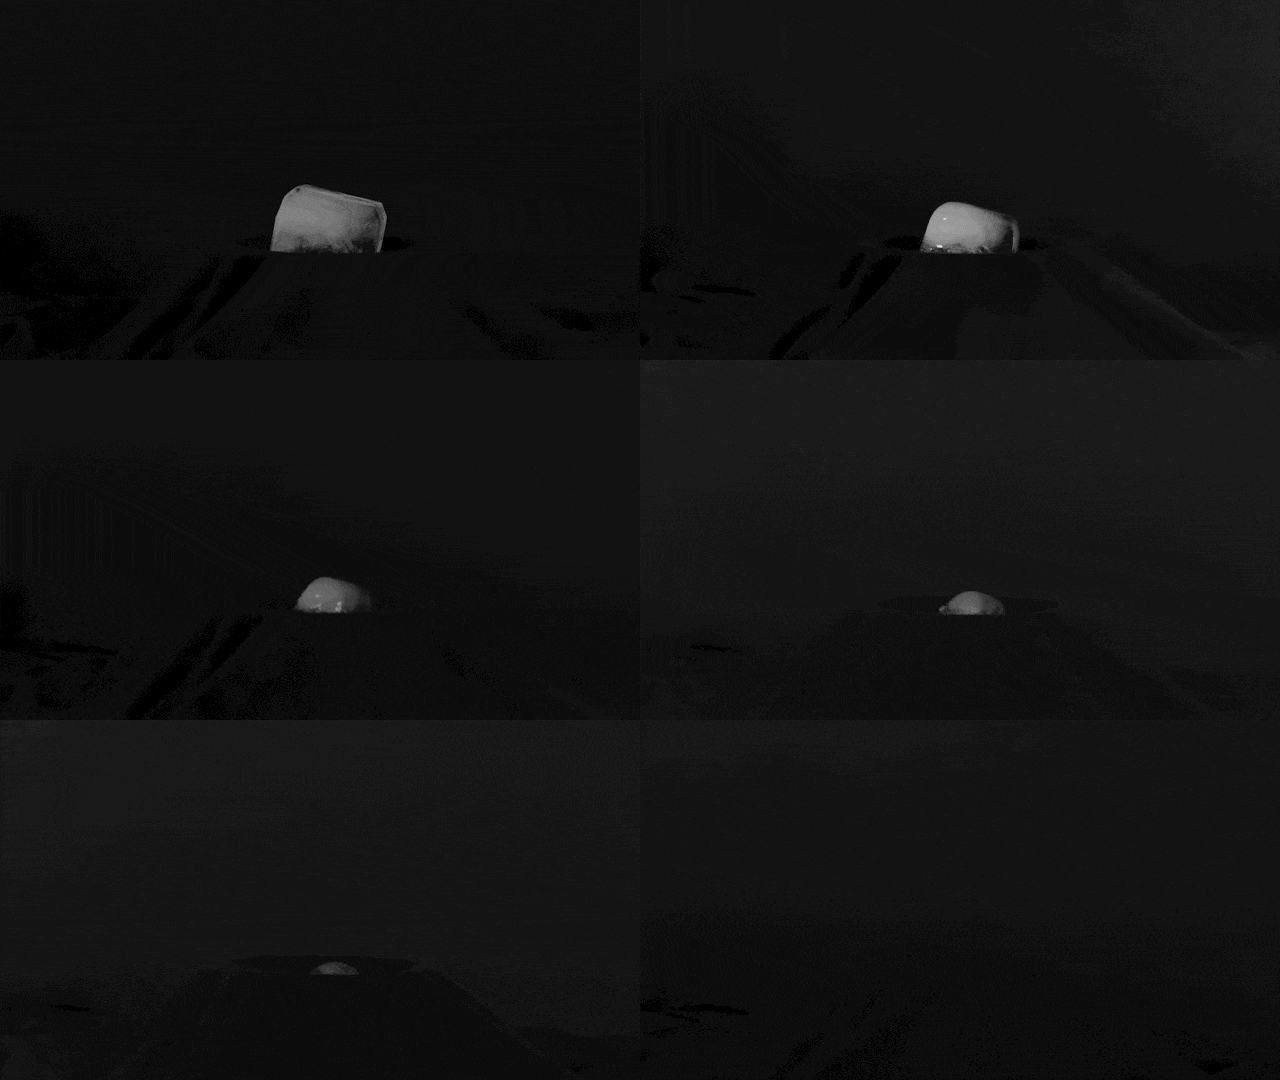
For the second set, I wanted to work with fire and ice. To get the shots, I ended up using the time-lapse feature in both setups. For the match, the interval was set to 1 second and ended up taking only a couple of seconds. For the ice, the interval was set to 60 seconds and took just under two hours.

When I evaluate both images, time was really against me. I would have liked to shoot a faster interval for the match to capture more of the flame. I needed to light the set with artificial lighting instead of window light to correct the light shifting throughout the day for the ice. 

animated gif of a match lighting.

animated gif of a piece of ice melting

All in all, I really loved making these gifs. Some software limitations got frustrating, like the slow interval timer, the cropping feature, and my camera not being supported (I ended up using my phone), but it got the job done. 


Sound Collage and Readings

Sound Collage Study: 

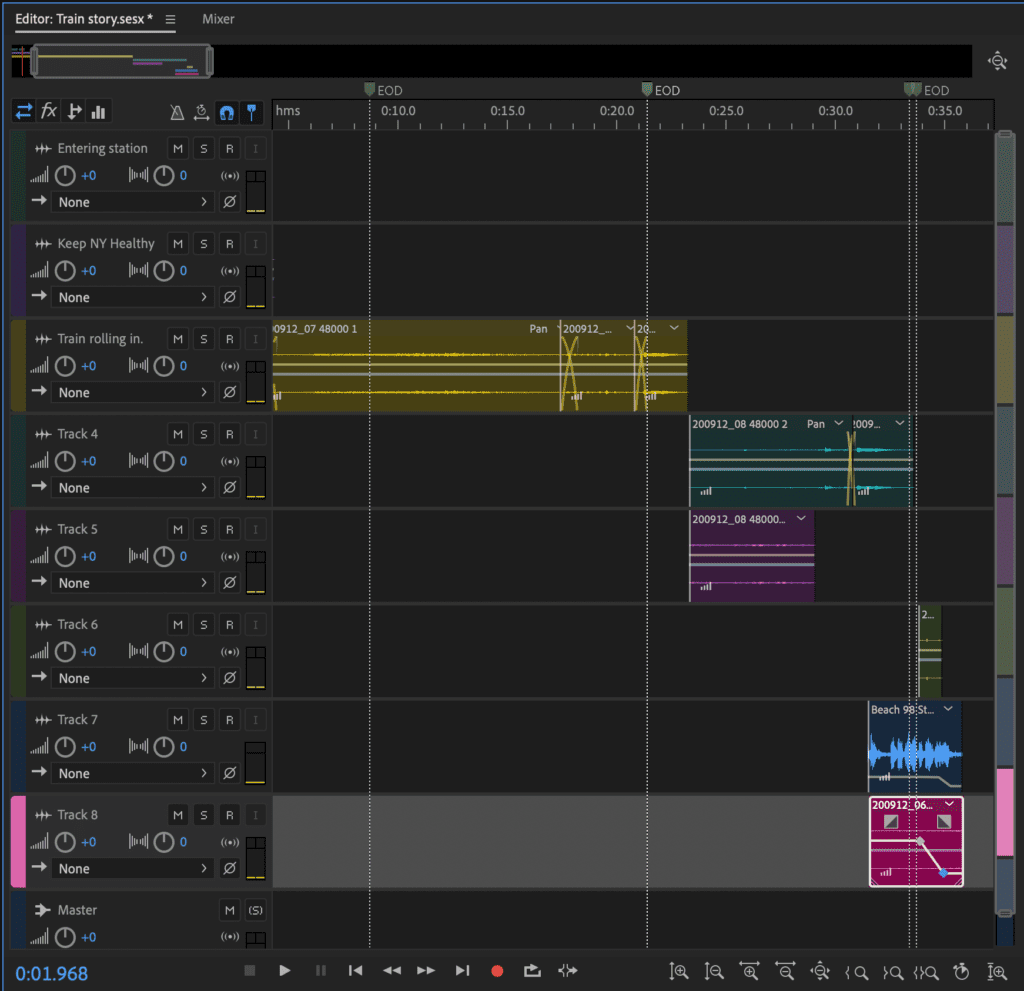
For my first assignment, I made a recording of a subway journey. This past year I haven’t been riding the subway very much at all, which is strange. I got thinking of this assignment, layering sounds, and the subway kept popping into my mind. I wanted to record the familiar sound of the conversations on the train, the clicking of the turnstile, the ding of the closing door, and of course, the screeching of the wheels. Usually, I pop in my headphones and drown out the sound, but I missed them, so I set out for the first time in months to ride the train.  Back home, I used Audition to layer the clips because, just like the rest of NYC, everything is crammed together fitting vying for attention. 

A screen shot of an Adobe Audition file to show the layering of sounds.

I would like to dive deeper into transitions and cleaning up sound. I feel that my audio cuts are far too noticeable. 

____________________________________________

Thoughts on “The Danger of a Single Story”:


I’m moved by novelist Chimamanda Adichie’s TED talk on the harmful impacts of telling a single story. She spoke on how we naturally create stereotypes of other people and cultures by only tuning in or listening to available stories. By not investigating entirely how a culture, country, continent, or person is made up, we go down a path of miscommunication and misunderstanding. This is something that we are all guilty of and need to work harder on understanding to prevent. I appreciate that she shared her own experiences both as a person being stereotyped and as someone who is stereotyping. I don’t believe that single stories are ever going away; instead, everyone needs to learn to identify and openly speak about them. By doing so, we can all get a little better. 

Two of my favorite quotes from the talk are: 
“So that is how to create a single story, show a people as one thing, as only one thing, over and over again, and that is what they become.”

“The single story creates stereotypes, and the problem with stereotypes is not that they are untrue, but that they are incomplete. They make one story become the only story.”

____________________________________________

Thoughts on “The History of Sound Art”:


A History of Sound Art from J Milo Taylor on Vimeo.

This entire composition was challenging to digest. I found myself being removed from the piece entirely during the long stretches of what seemed to be random and disconnected noise samples. To make some sense of the non-speaking sections I started to listen for interesting single sounds and effects that I would like to include in my work. At roughly 12mins 29secs, there is a beautiful scratching sound for example. These individual sounds brought up memories, sparked emotion, and sometimes just sounded interesting. I thought that the comment at 28mins 02 sec “With our whole being we can be responsive to sound. It doesn’t have to be communication of some deep thought.” was fitting for the way I was experiencing the piece. 

Overall, I enjoyed the artist’s explanations of their work and process, for example, the one description of how the performer was scratching, cutting, and distorting records to produce new works. However, I continued to be pulled out when quotes were getting repeated or harsh noises were played over the tops of what they were saying. 


Components – Breadboards – Switches

The first set of labs for Physical Computing was all about the basics of electricity, including measuring it, understanding components, terminology, and making simple circuits like lighting an LED and using switches. I was eager to jump into the building after reading and watching all the necessary materials. 

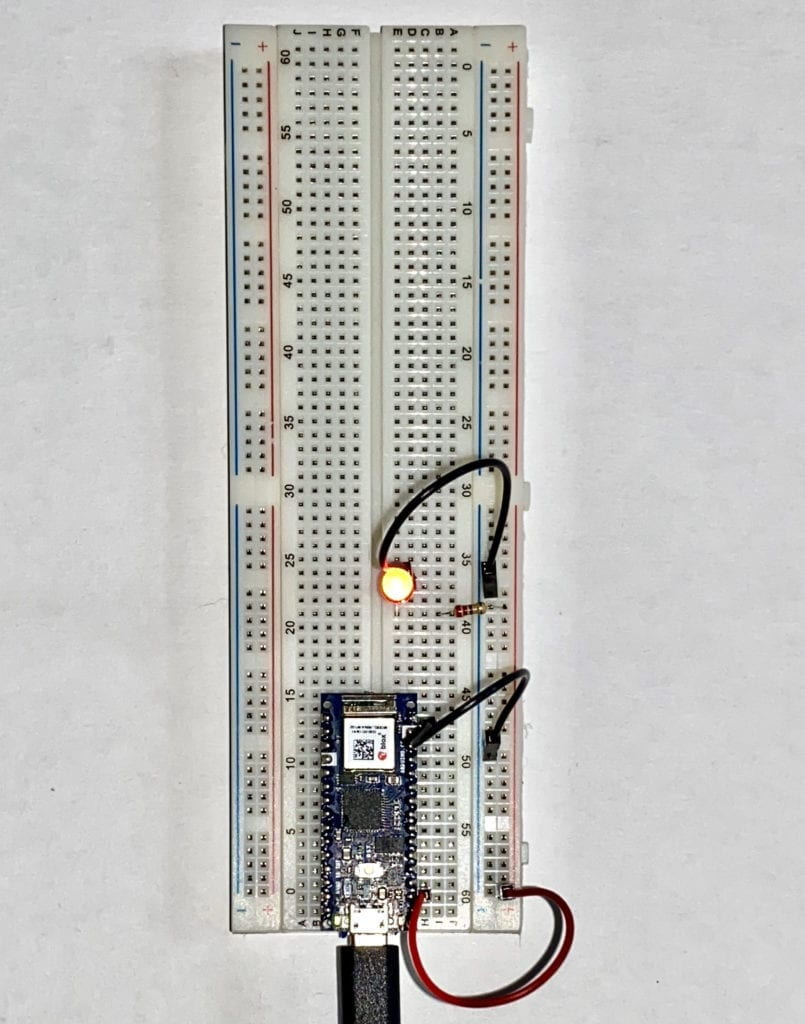
My first simple circuit was a huge success. 

A simple circuit lighting up one LED.

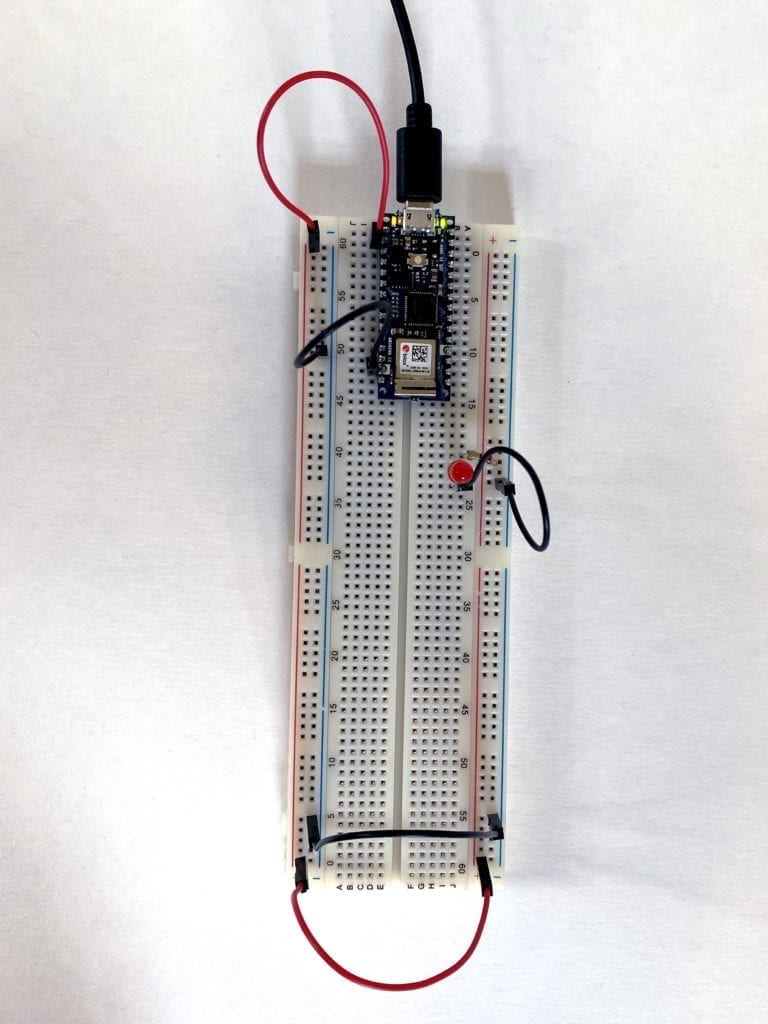
I soon ran into a problem with my second circuit. I attempted to move the LED to the other side of the Breadboard. I thought if I connected jumper wires at the bottom from the left side to the right, it would work correctly. It didn’t.

A failed circuit with the LED not lit up.

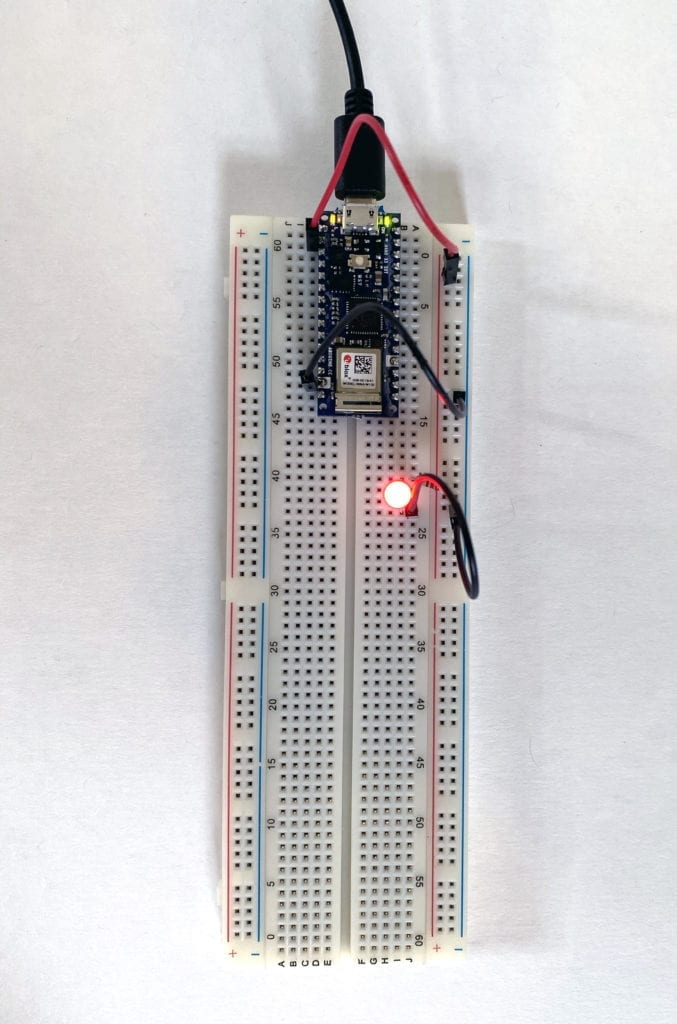
I started to experiment by removing the lower jumper cables and plugging the power and ground to the same side as the LED. Success! I now knew the Breadboard worked, and I was doing something wrong. 

A simple circuit lighting up one LED.

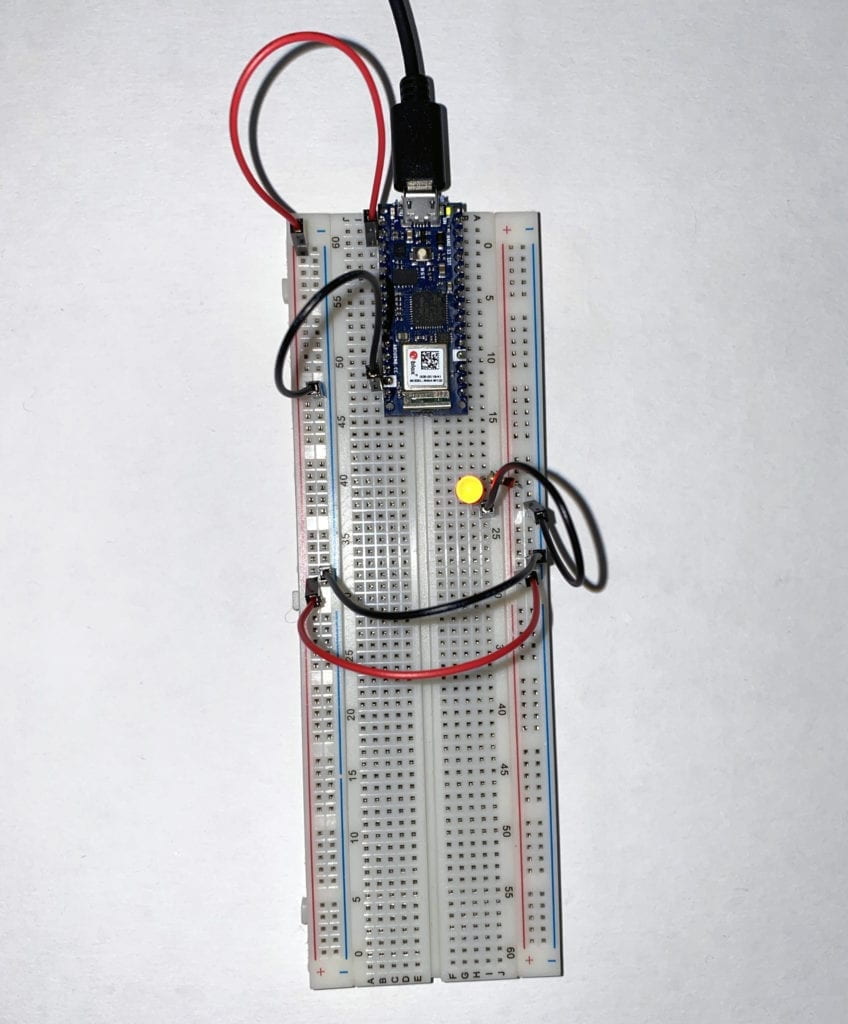
After looking at the Breadboard a little longer, I noticed a larger gap at hole 30 on both the left and right sides. I had a feeling that the + and – columns were not connected all the way. To test this, I moved the power and ground back to the left side and used jumper cables at hole 29, connecting the sides. Success again!

A simple circuit lighting up one LED.

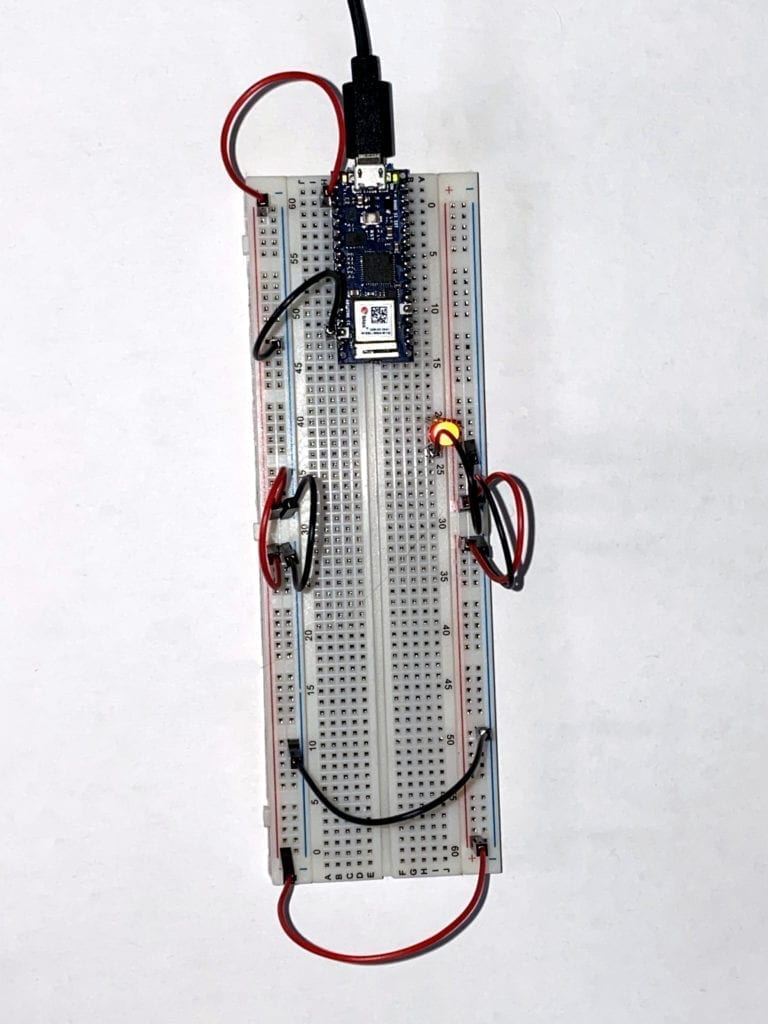
Armed with this new insight, I tried to connect the Breadboard entirely around. Success! 

A simple circuit lighting up one LED.

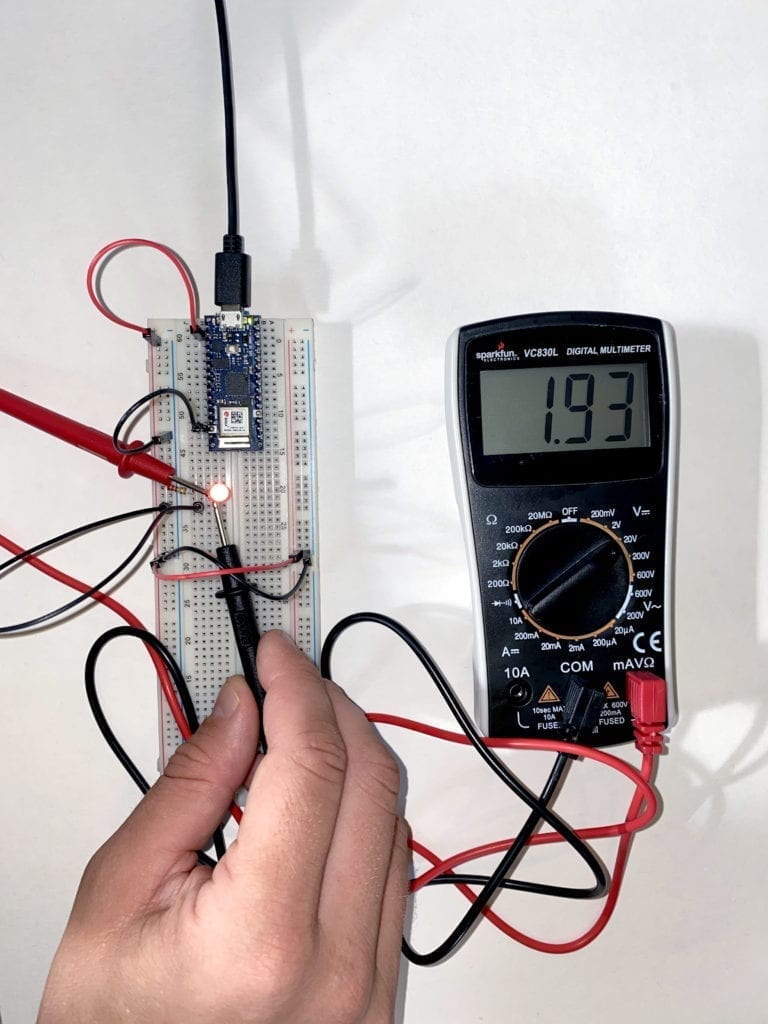
Feeling more confident, I moved on to the next section of the Lab that had to do with measuring currents. 

An image of a multimeter measuring the current running to and LED on a breadboard.

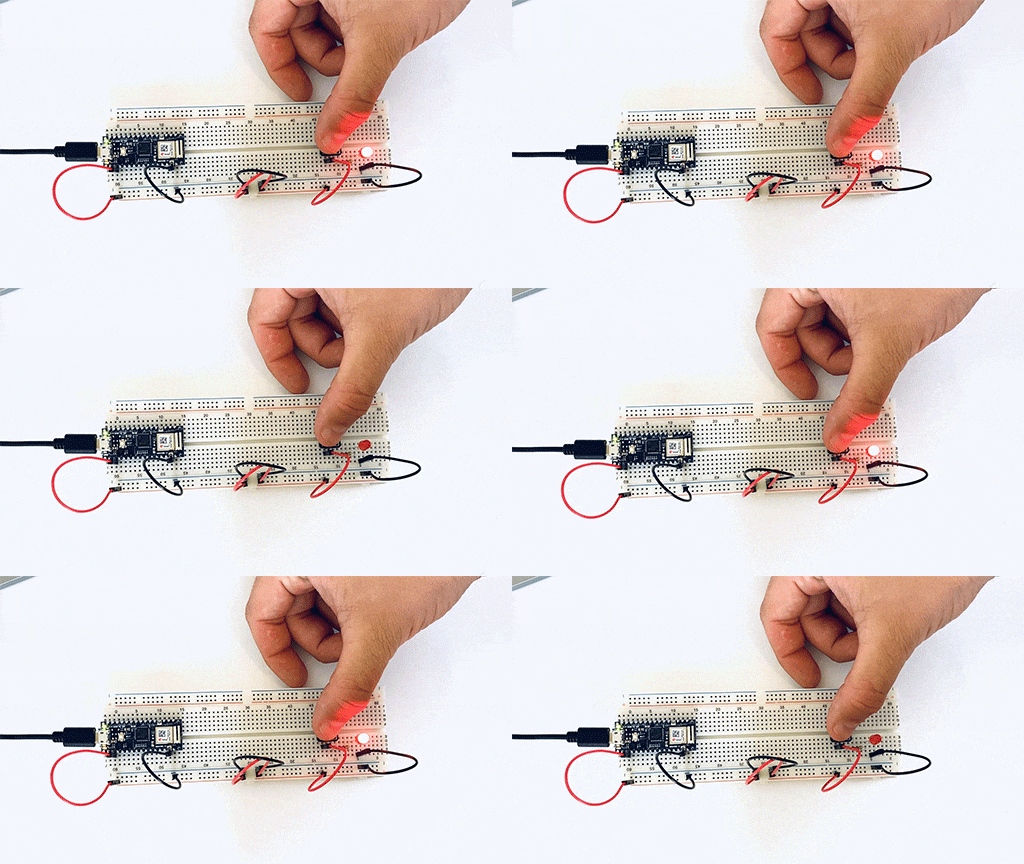
Then to switches and adding components in a series to see how the power would or would not be diminished. 

A gif of a breadboard wired with one switch and one LED.

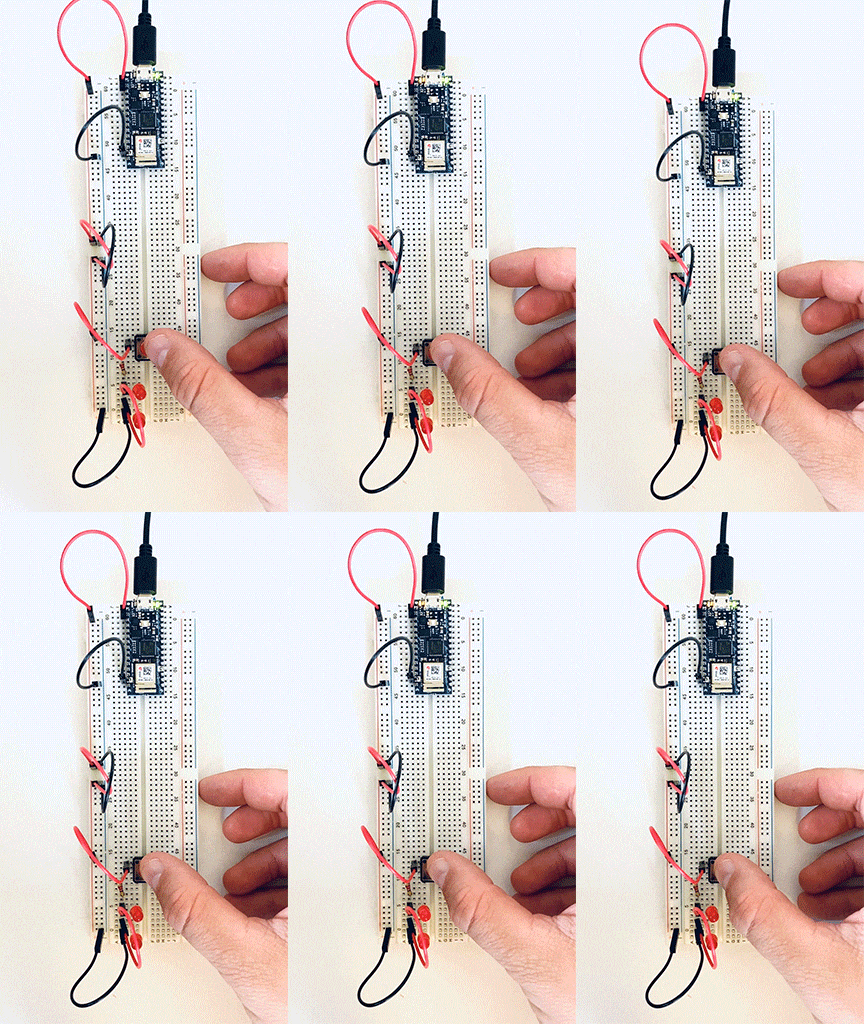
As I continued to add components in a series, I noticed a voltage a luminance drop throughout the circuit. 

A breadboard wired with a switch and two LEDs in a series.However, when I place the LEDs in parallel, I didn’t see the drop in power or luminance. 
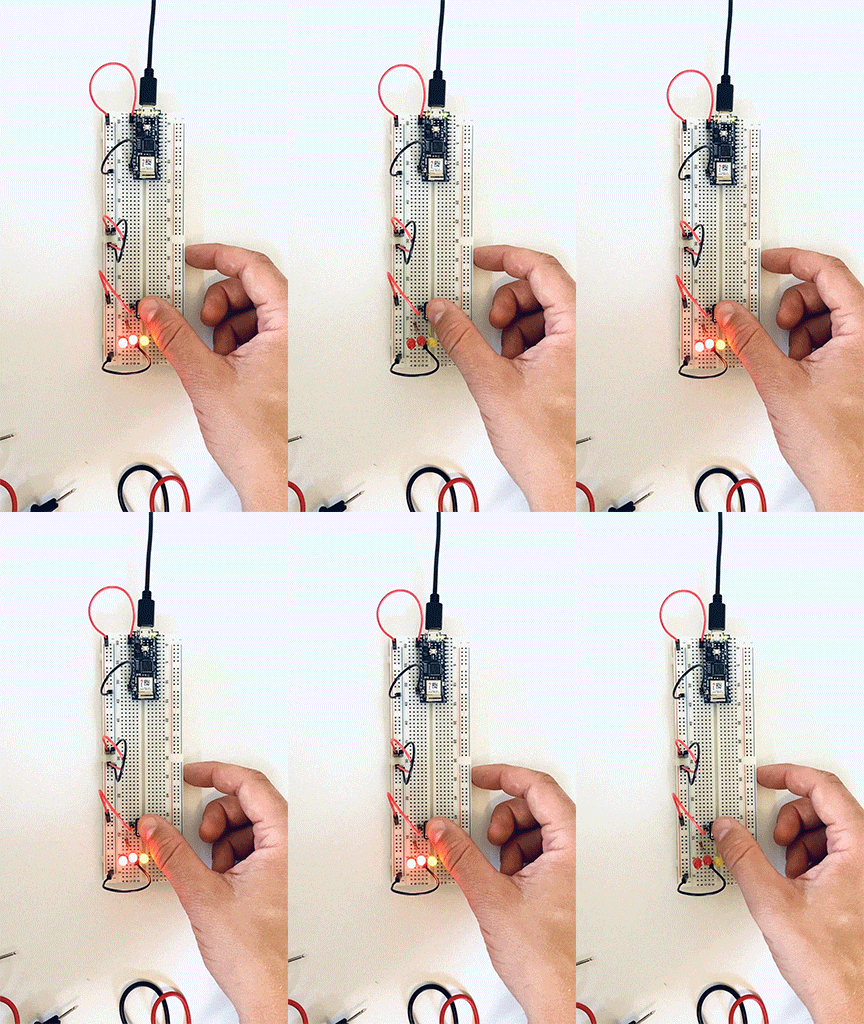
A gif of a breadboard with a switch and three LEDs wired parallel.

Next, I moved on to measuring variable voltage by using a potentiometer. There was a constant power reading between the two side points, but when I measured between a side point and the middle point, there was a change depending on how much I turned the wiper.

A gif of a breadboard wired to a potentiometer and a LED.

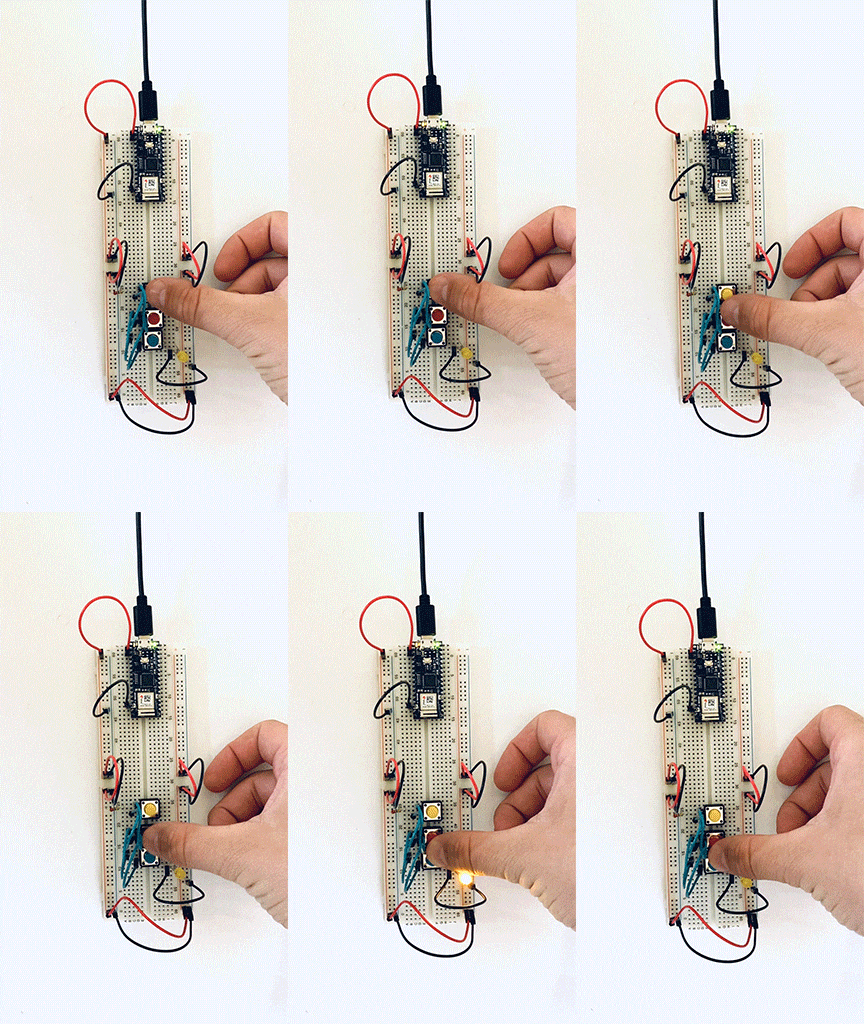
I then moved on to working with switches first in parallel than in a series. This first switch, I had to wire three times before I got the circuit correct. 

A gif of breadboard with three buttons and two LEDs. The switches are wired in parallel.

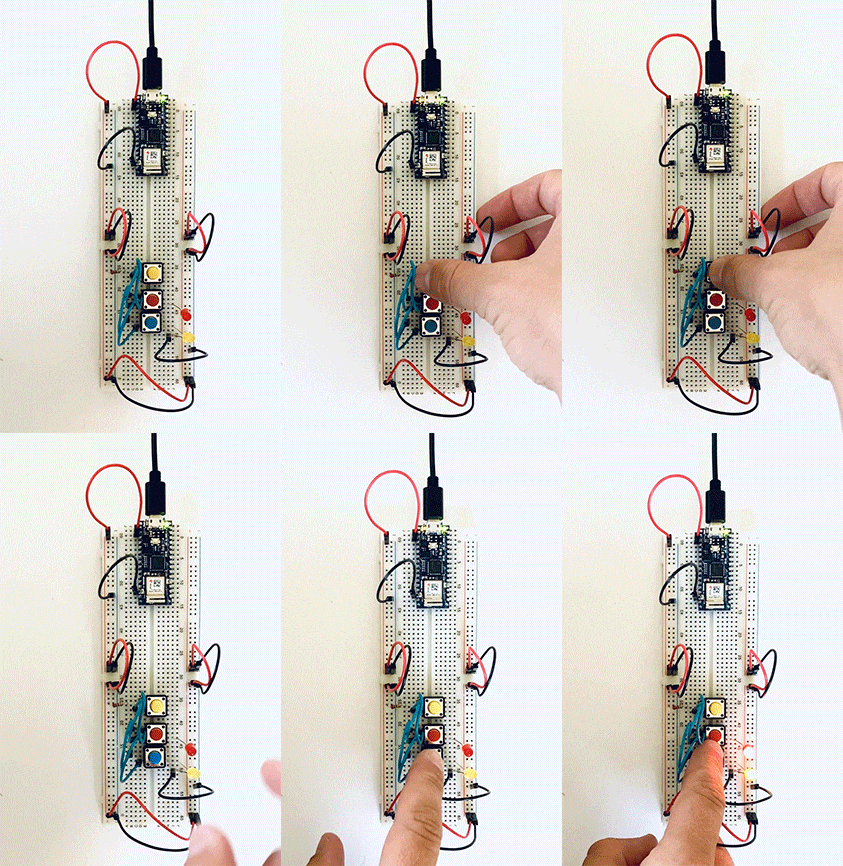
Another example of three switches in parallel, but this time, I added a second LED. 

A gif of breadboard with three buttons and two LEDs. The switches are wired in parallel.

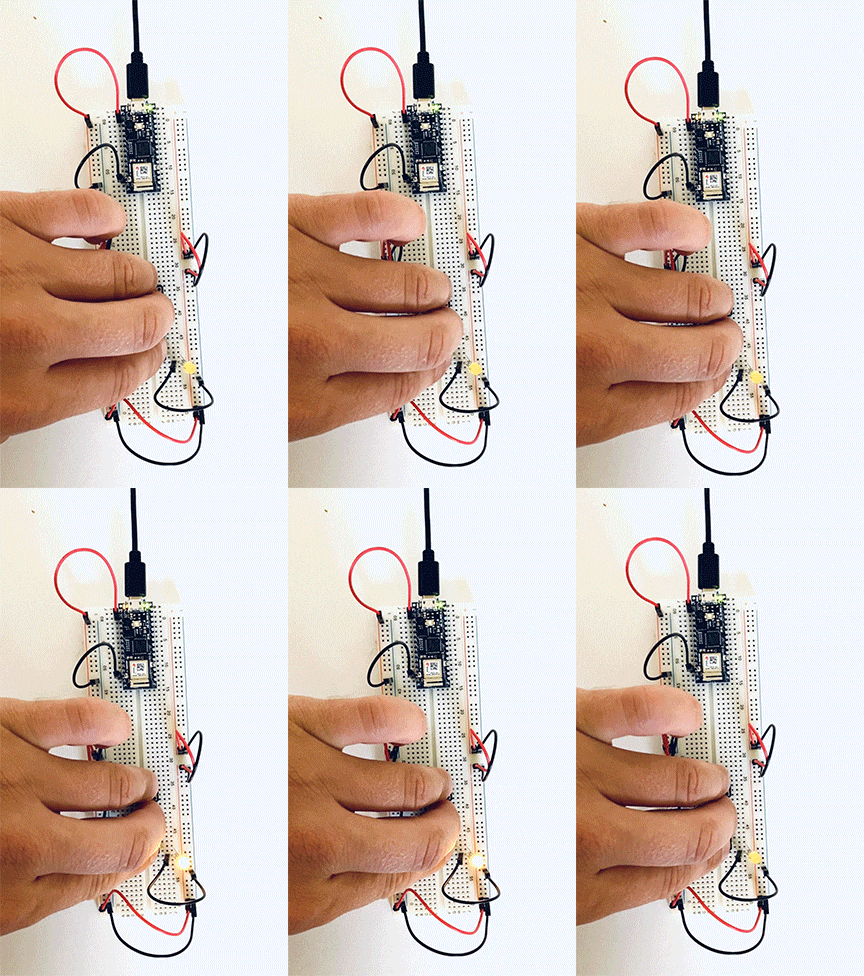
Three switches in a series. The user needs to activate all three switches to complete the circuit. 

A gif of a breadboard wired with three buttons in a series with one LEDHere I placed one independent switch and two in a series on the same circuit. 
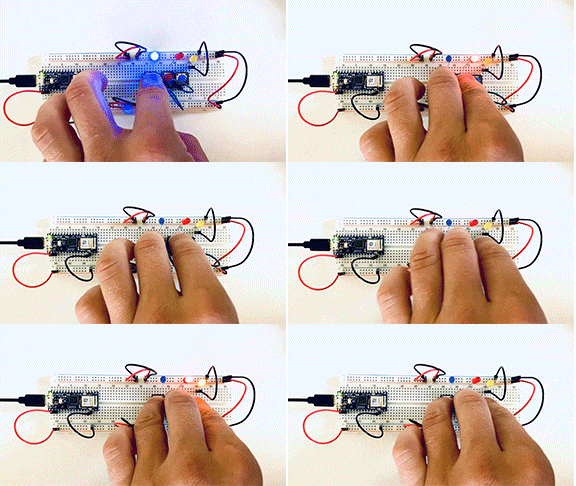
A gif of a breadboard wired with three buttons and three LED's, two buttons are in a series one is independent.

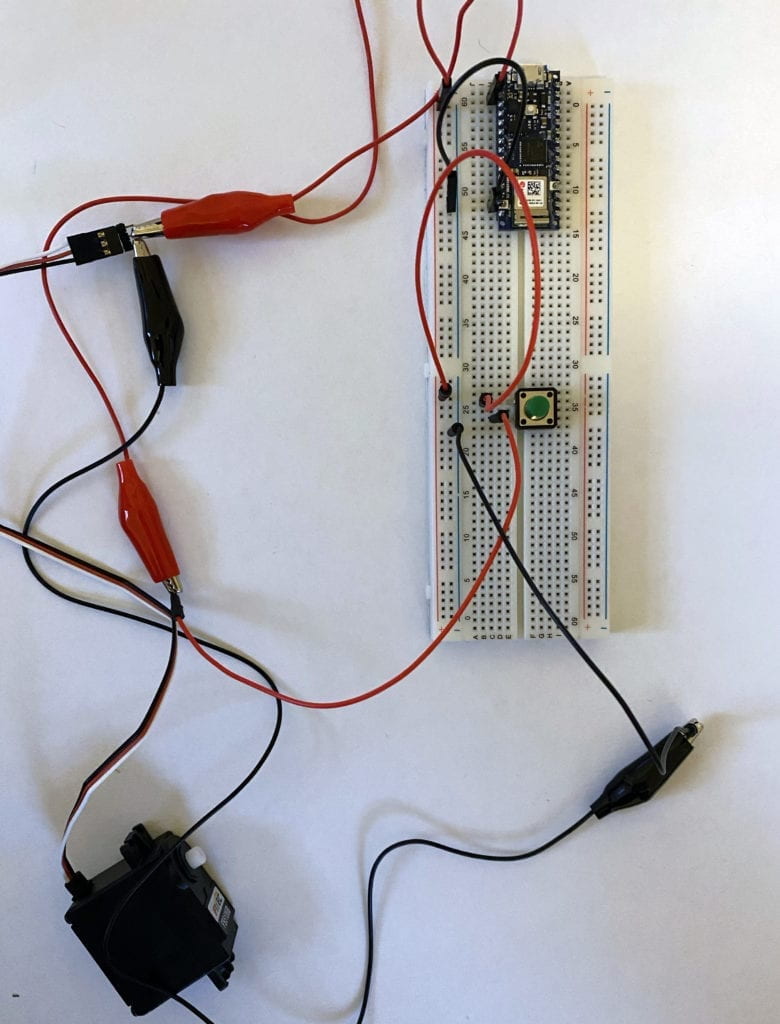
My attempt to add a motor failed. I don’t fully grasp the signal wire and believe that it needs to be coded into the Arduino. I spoke to some of my classmates, and they confirmed this.

I’m looking forward to investigating this more to get it up and running. 

Failed attempt to wire motor into a breadboard with a switch.

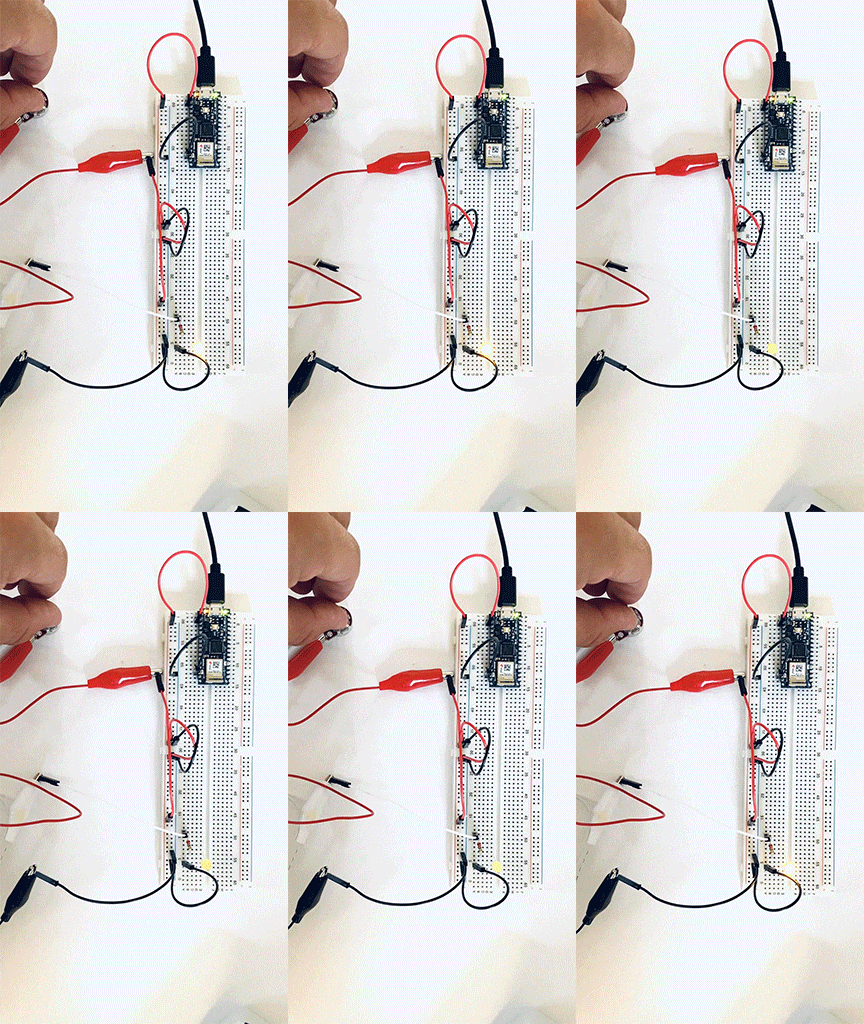
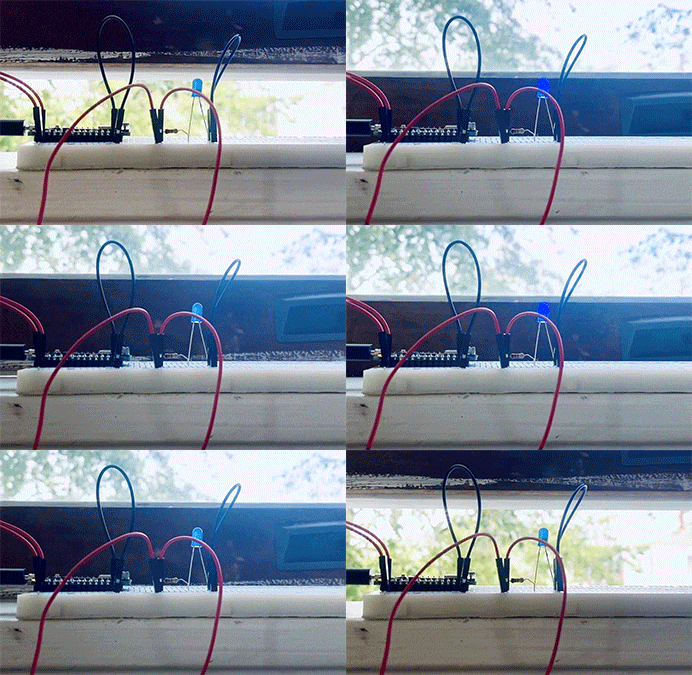
To wrap up the labs, I made a custom switch – The Window Switch; when the window is closed, the LED lights up. 

A gif of a breadboard and an LED wired to a window.