Physical Pixel Art

For this week’s assignment, we were asked to make a physical pixel image. After some thought, I landed on the idea of punching holes in a piece of paper to slowly create my image. For me, the piece’s production was just as interesting as the final, so I decided to create a short video. 

To my surprise, my favorite part of the entire piece is the sound of the pencil breaking through. 

Below are two versions of the piece the full uncut “performance” and a sped-up version. 

Uncut:

Sped-Up


PCOMP Final


For my PCOMP final, I decided to combine a few of my favorite things, data visualization, and surfing. My goal was to measure my acceleration on a wave, graph the data, and present it in a physical form. 

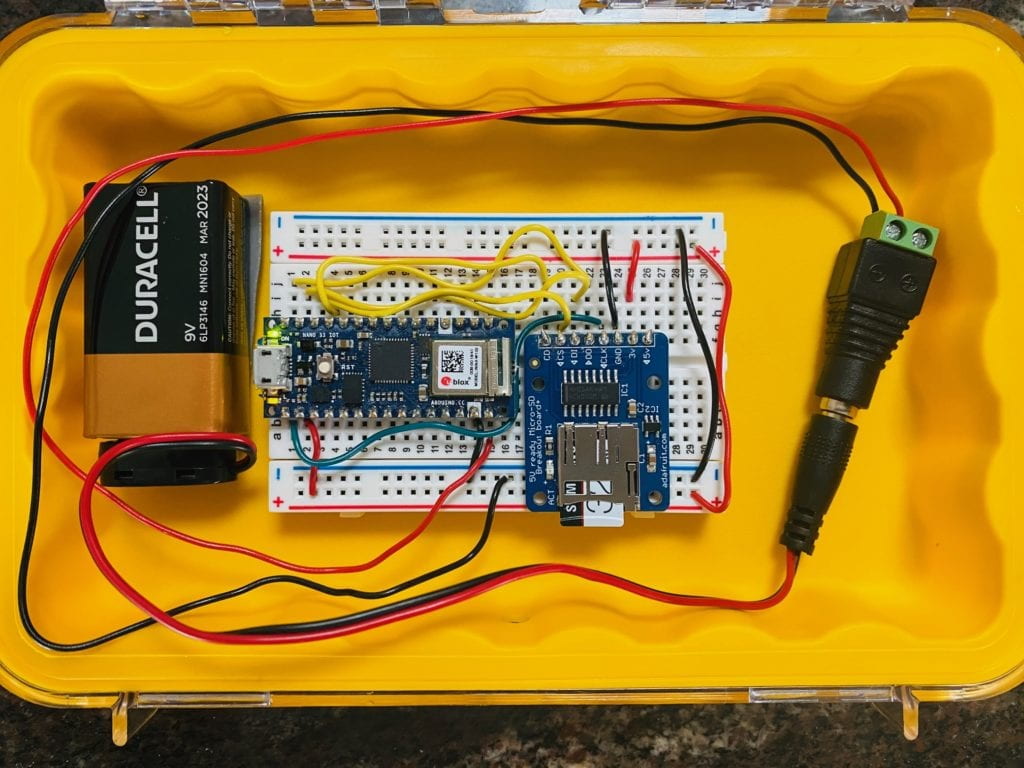
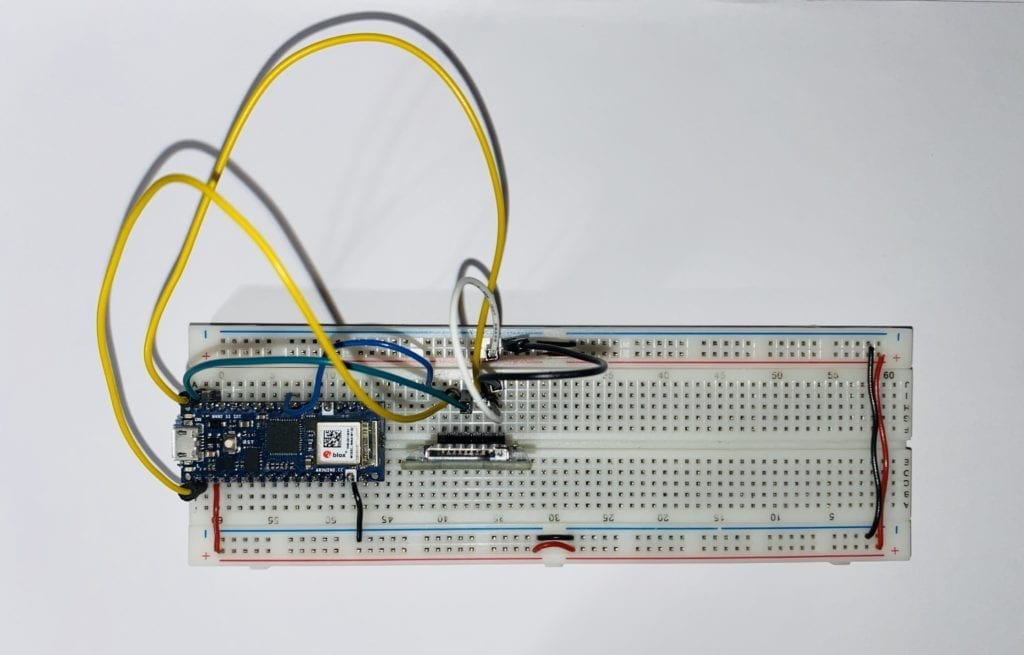
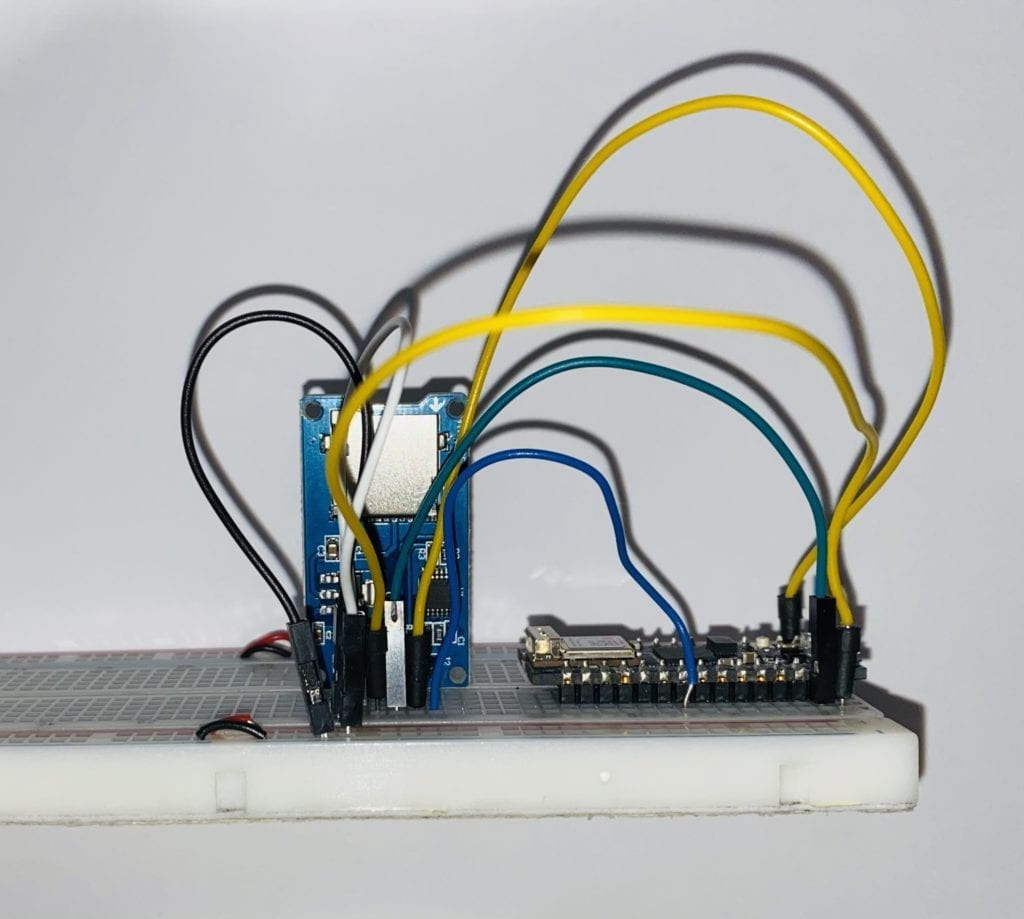
The first step was to get the circuitry up and running on dry land before taking it out in the water. This didn’t prove easy because I couldn’t get the SD card reader to link up with my Arduino Nano 33 IoT. After spending just under a week working on the problem and going to office hours, I decided to try a new board—Sarah Ro to the rescue with a board that worked immediately with the same wiring. I still have no idea if the original boards were faulty or I was doing something wrong, but that’s a problem to figure out over break. With the board up and running, I put my setup in a waterproof housing and got it down to the beach. 

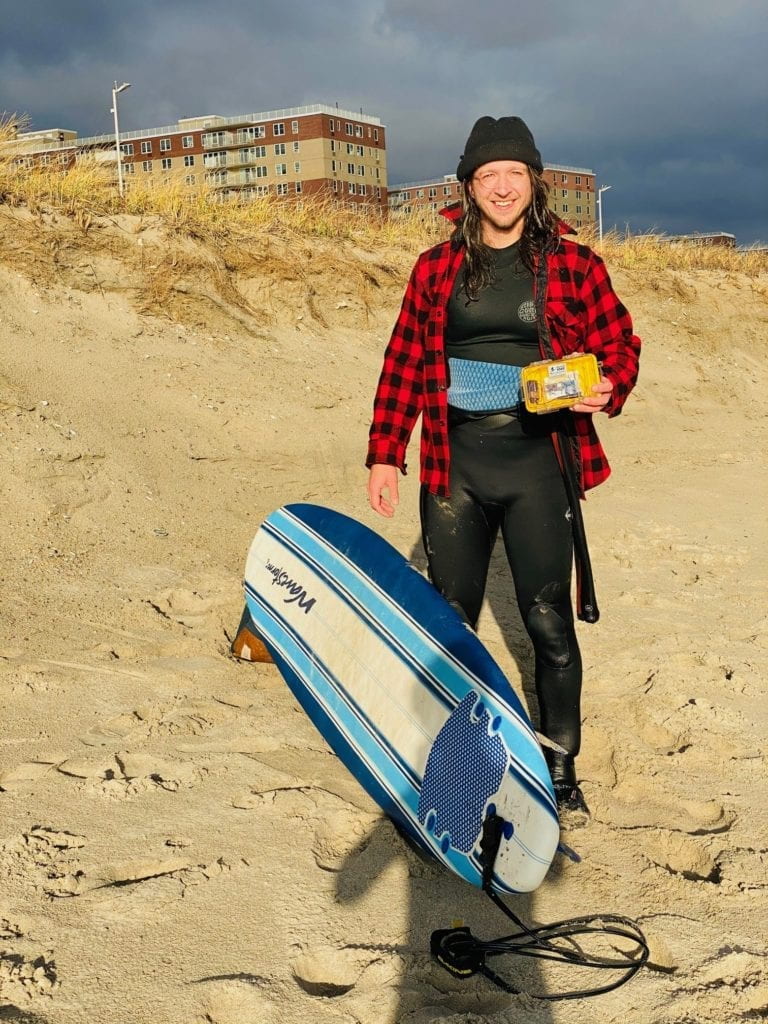
It was a cold December afternoon, but I was determined to get out in the water and test it out. I couldn’t find a way to mount the device to my board successfully, so I decided to put it inside my wetsuit. With everything all set, I paddled out, hoping that the case was waterproof, the circuit would keep working in the rough water, and it was recording data. 

*I got a lot of weird looks with a rectangle shape on my back. 

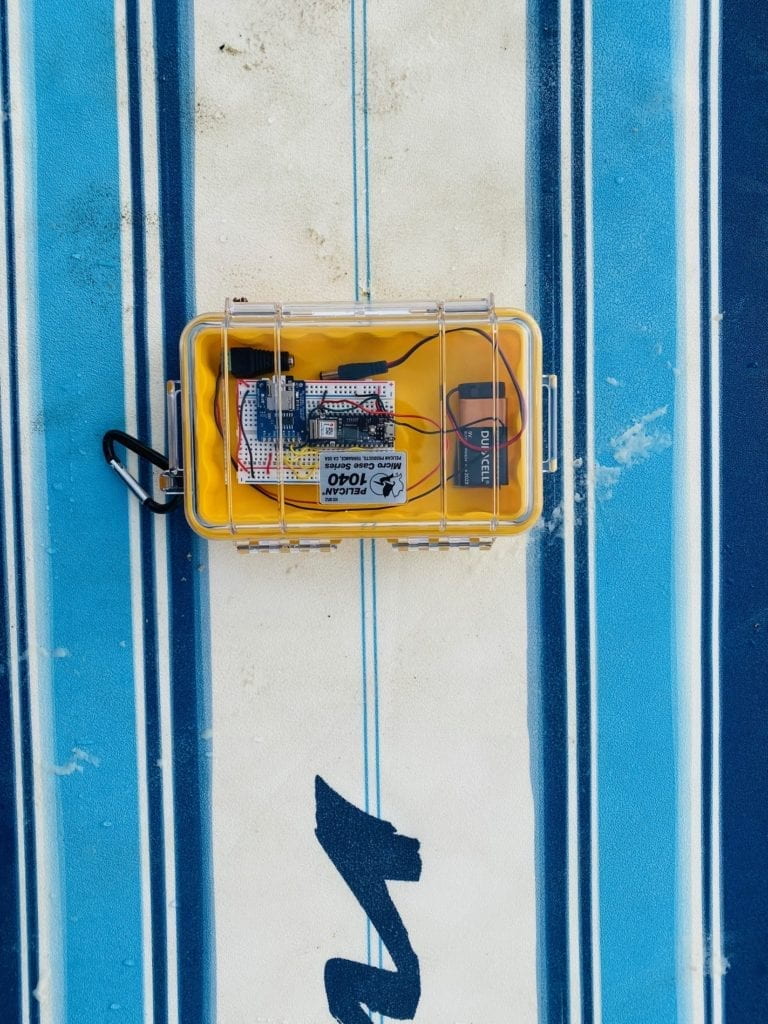
Surfboard and Arduino

Just under an hour, I paddled back in the cold and hoping for the best. To my surprise, everything was still working. The glue came undone, and the board was rattling around, so I need to address that later. 

Surf Board Installation

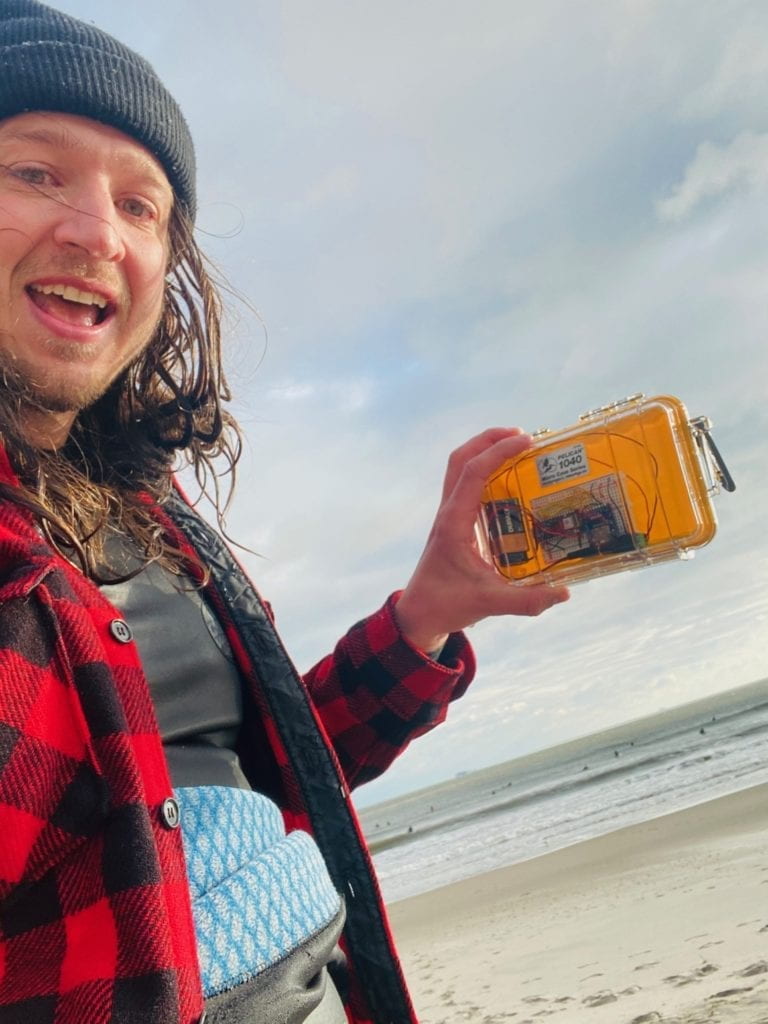
My excitement caught the attention of some strangers on the beach who took my photo after explaining what I was doing. 


Surf Board Installation

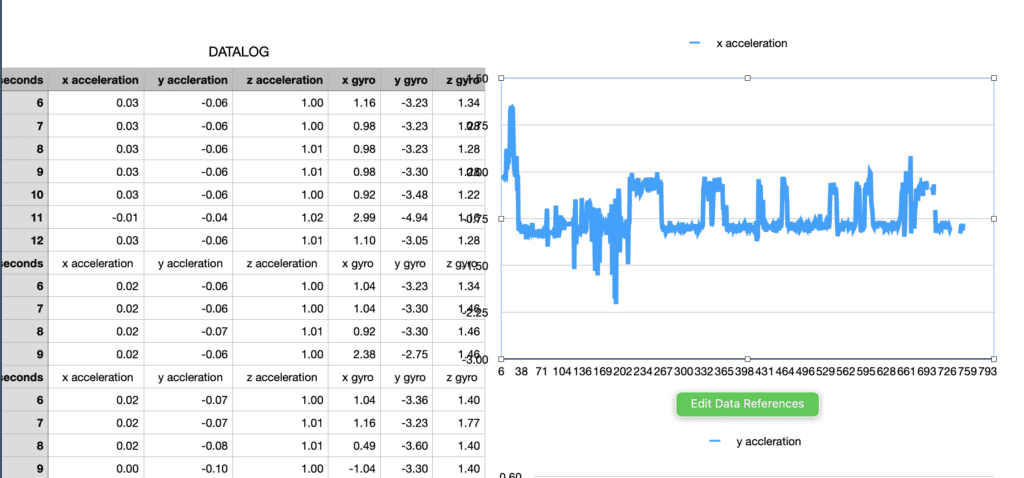
Back home, I was able to upload and explore the data, which all came through!

Data Sheet 1

Data Sheet 2

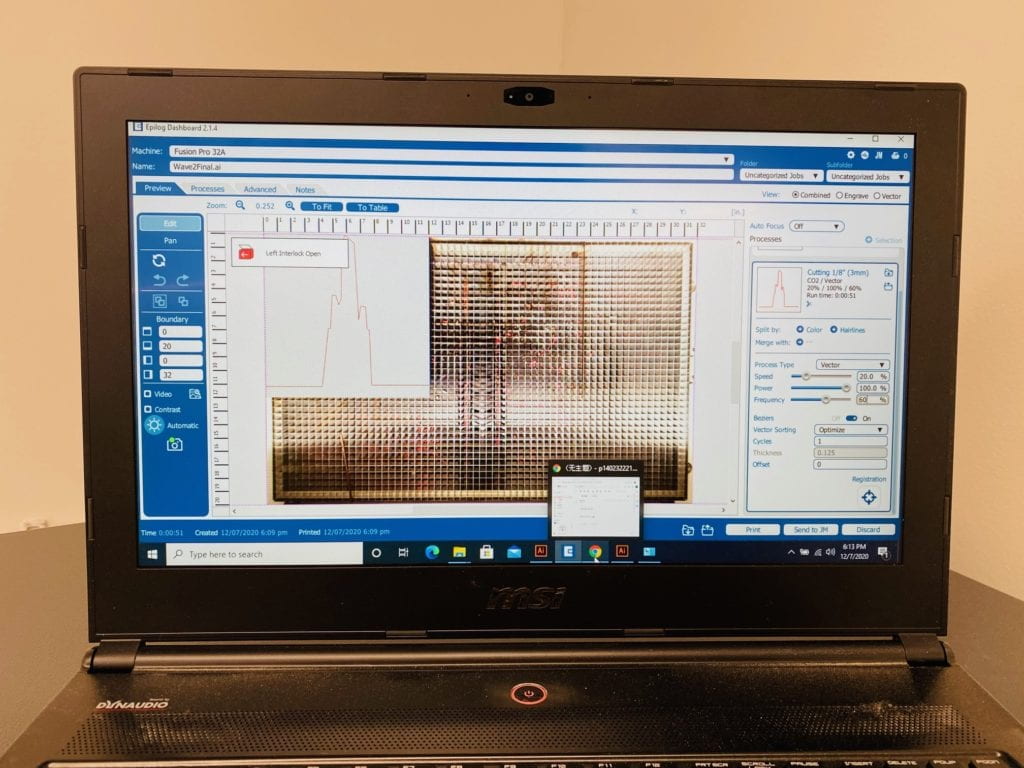
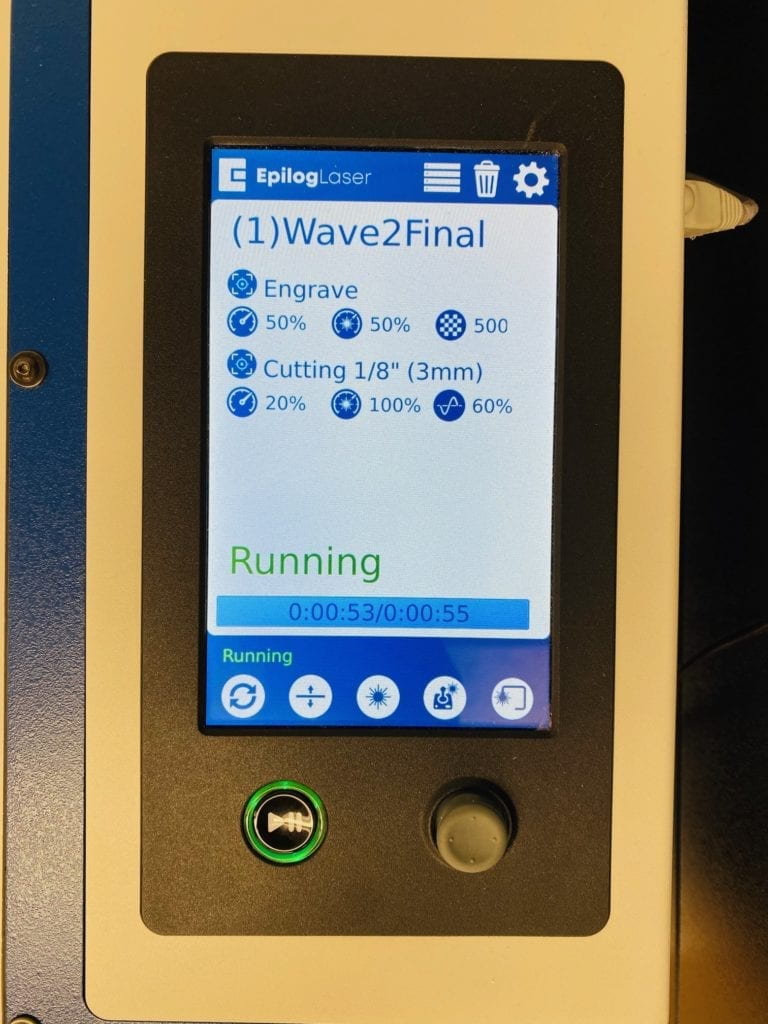
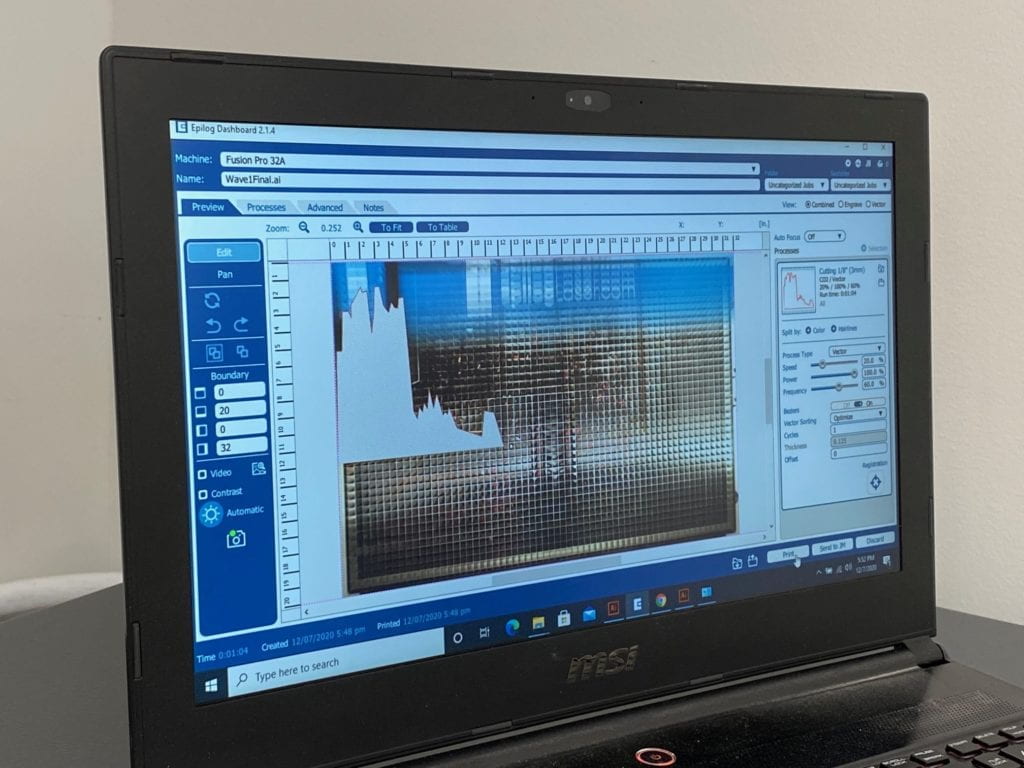
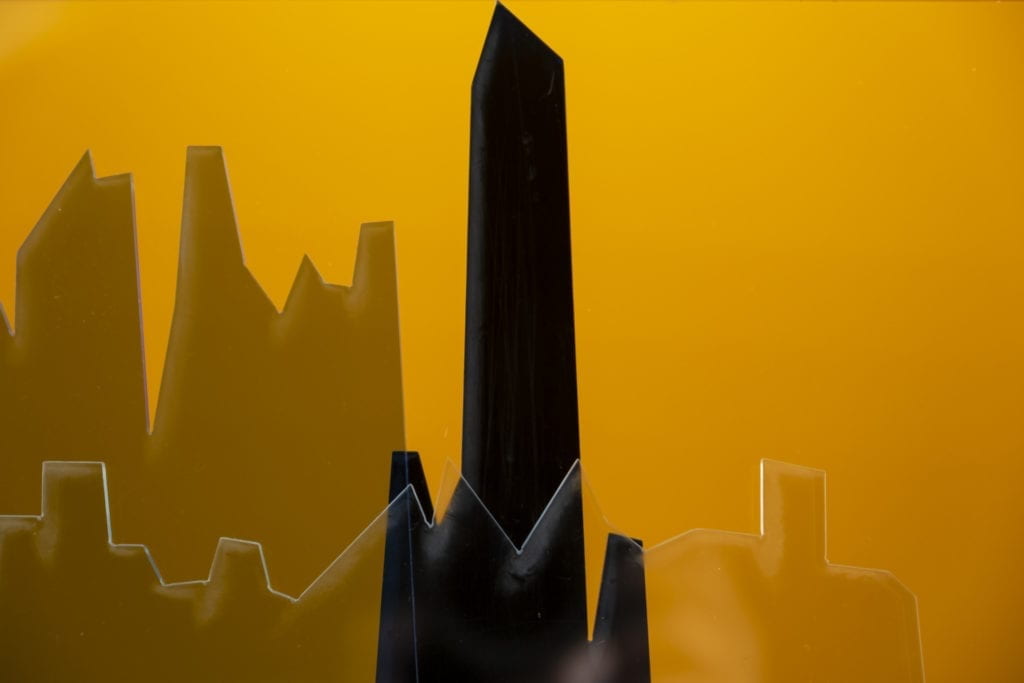
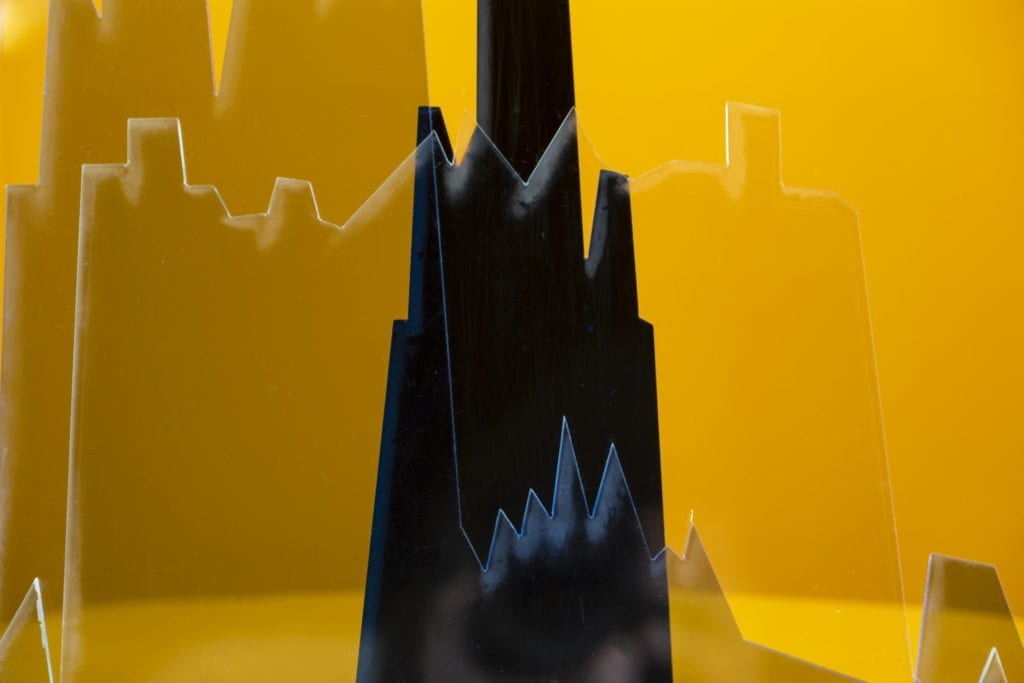
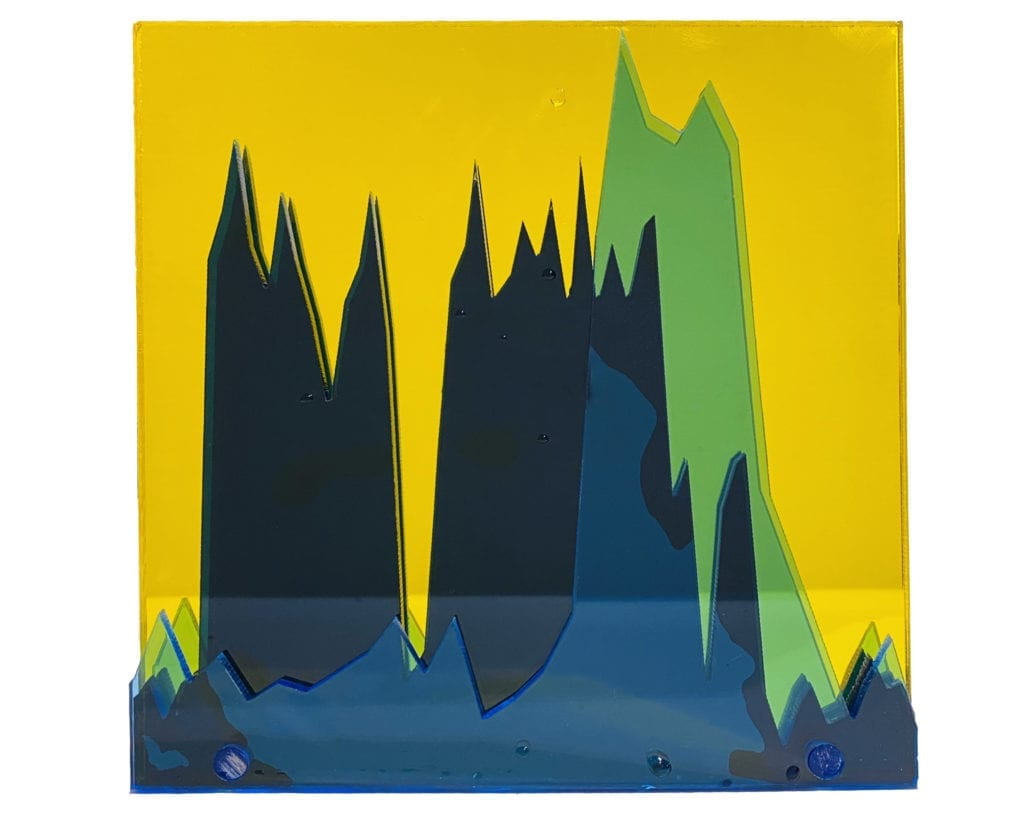
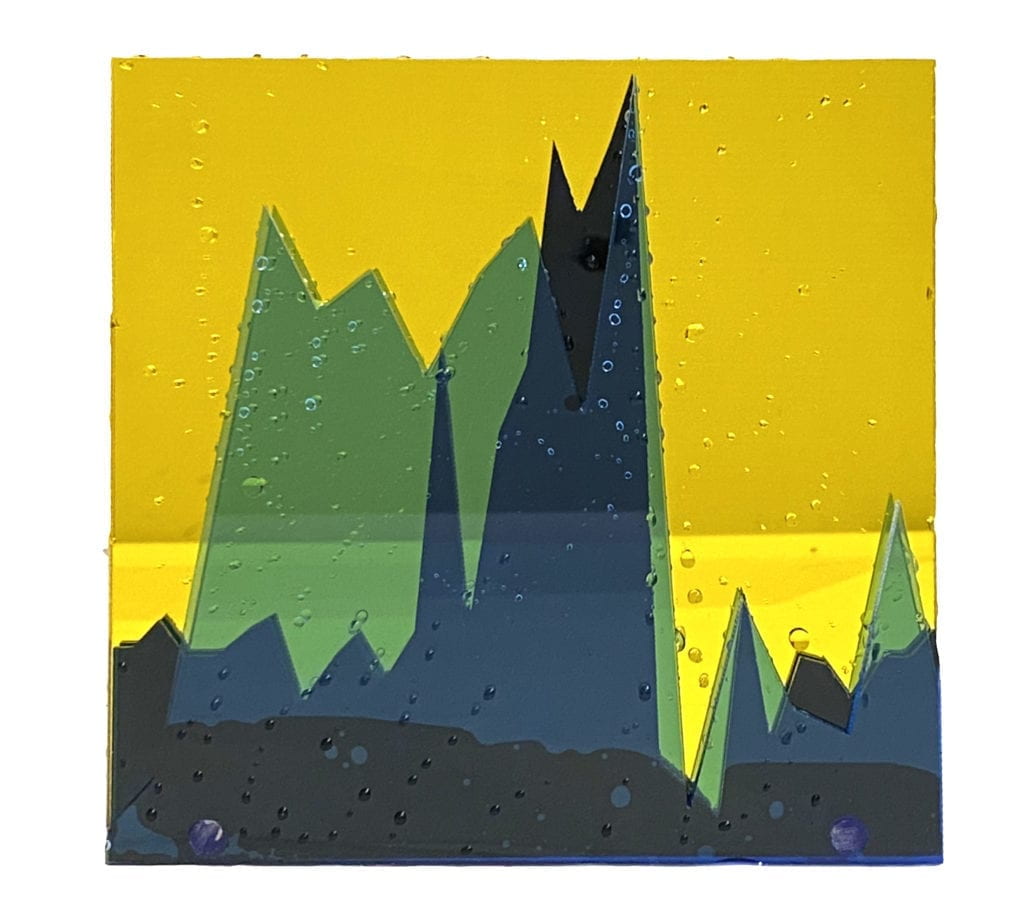
The next step was to make a physical product of the data. In illustrator, I used the Pen Tool to make a path of three waves that I rode in the session. I then put each wave on its own blue acrylic plastic piece and cut them in the laser cutter. 


Laser Cutter Screen

Laser Cutter Screen

Laser Cutter Screen

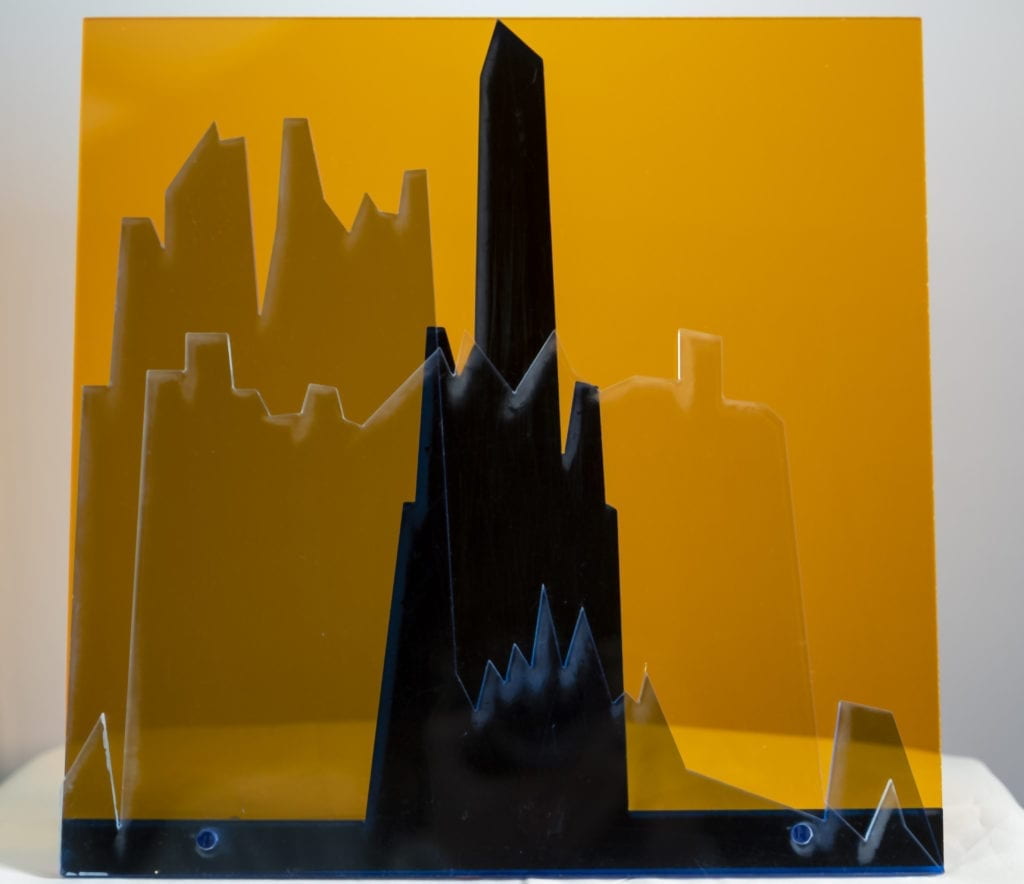
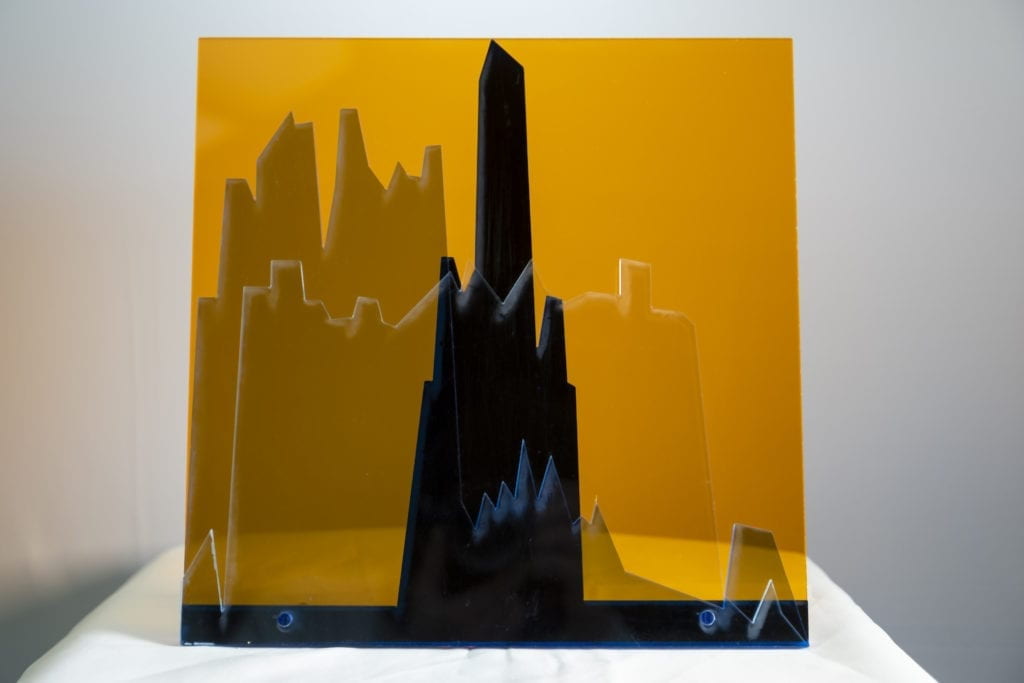
For the final construction, I layered the three-wave diagrams on top of each other and all three on orange backing. 

Final Laser Cut Piece

I laser cut a .23 diameter hole through the pieces and pressed an acyclic dowel in to hold the piece together.

Final Laser Cut Piece

The acrylic dowel was 4 inches long and also acted as a stand for the piece. 

Final Laser Cut Piece

Final Laser Cut Piece

Close up view.

Final Laser Cut Piece

I’m thrilled with how this piece turned out in the end! There are a few things that I would like to consider in future iterations. 

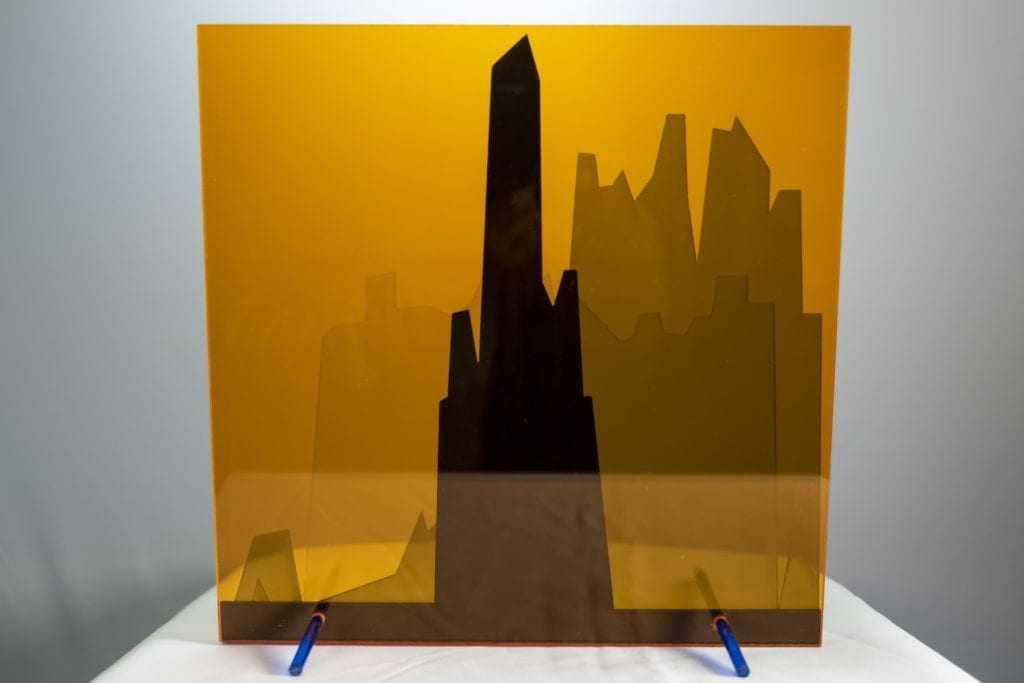
  • Possible build the piece backward – I really like how it looks through the acrylic. 
  • Run a strip of LED lights on the bottom to illuminate the entire piece. 
  • Figure out why the laser cutter leaves a fog around the edge of a cut. 

Version 2:

Acrylic waves in blue on a mirrored yellow background Acrylic waves in blue on a mirrored yellow background

PComp Final First Steps

Big steps forward and backward. 

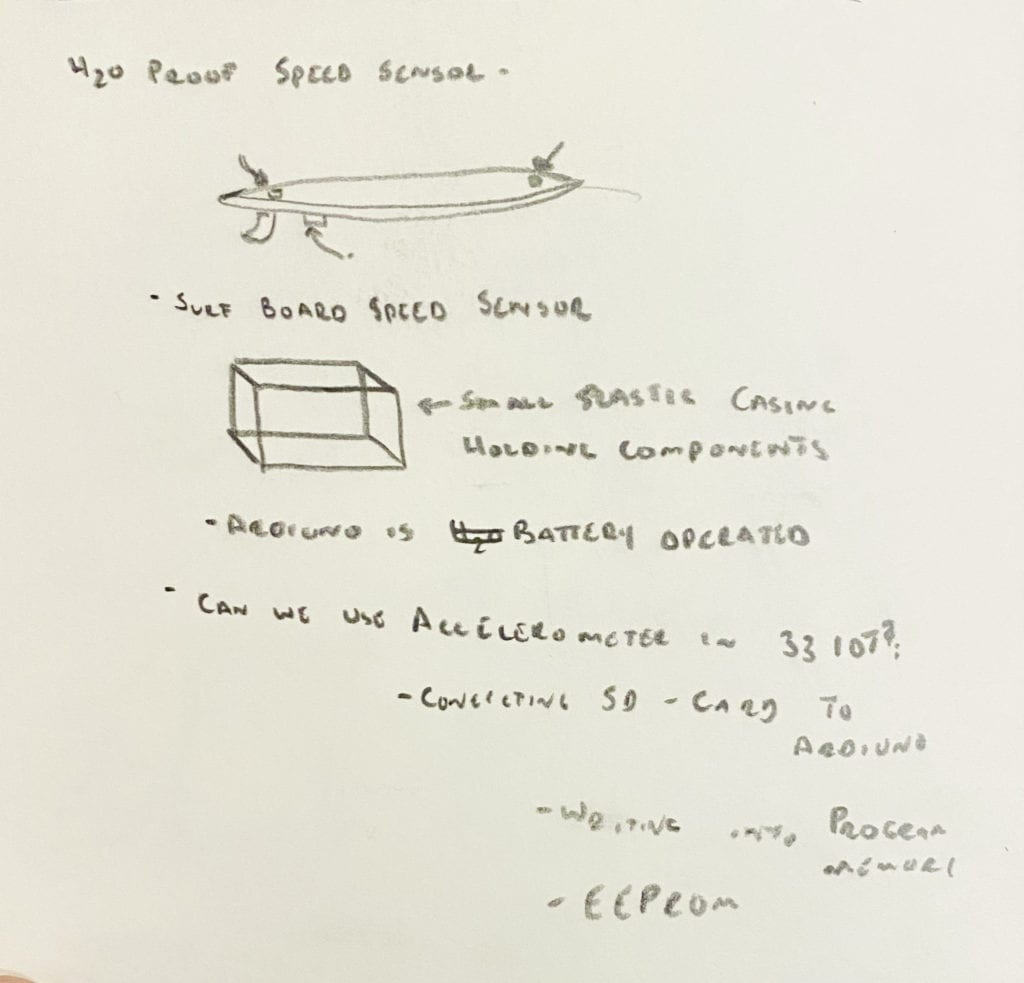
I landed on my final PCOMP project which will record the acceleration of a surfboard on a wave. I will then take this data and produce a physical model of the largest waves the rider surfed in that session. Currently, I have the code for the accelerometer working along with the ability to run the entire board off battery power. 


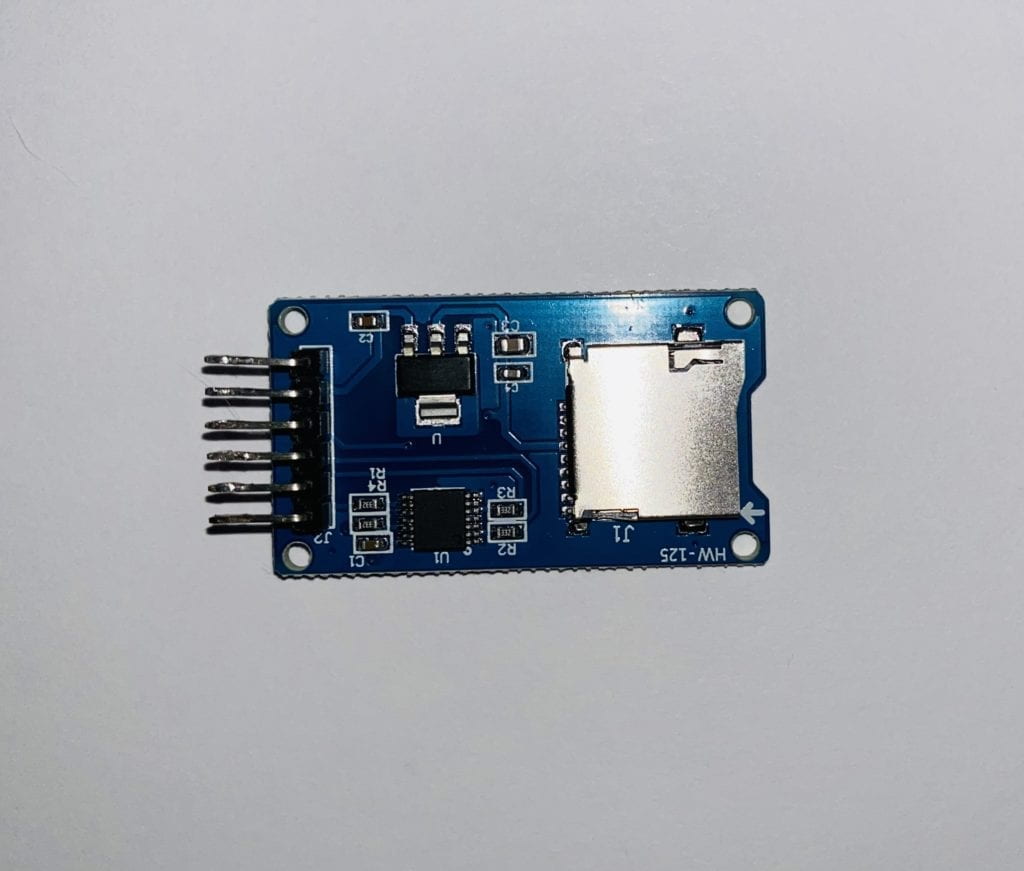
I can’t for some reason get my SD card reader up and running. I have tried multiple SD card libraries and readers to no avail. Once I get this up and running I will be able to test the system before taking it out in the water. 


Arduino w/ sd chip


Arduino w/ sd chip


SD Chip


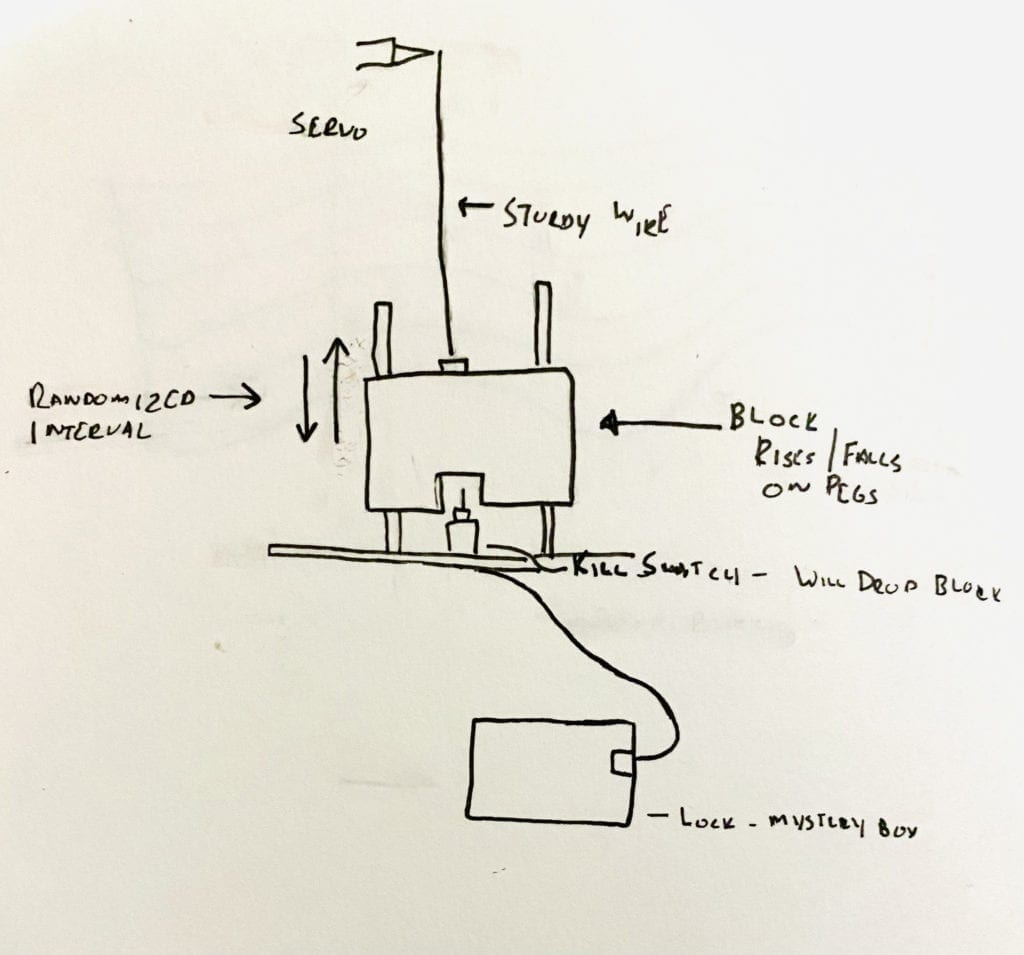
Pcomp Project 3 Idea


Lockbox mystery

Lockbox mystery

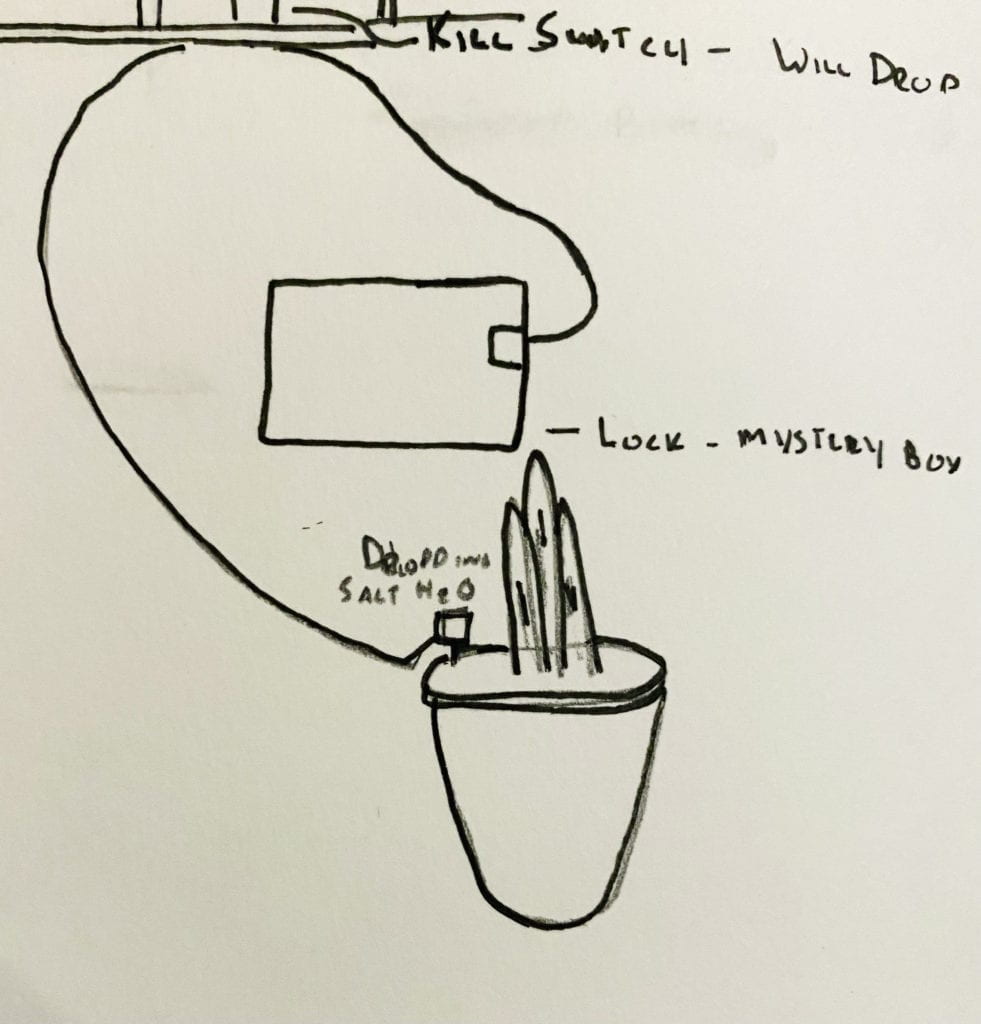
This device encourages the user to attempt to flip a kill switch to see the inside of a mystery box. If the switch is successfully flipped, the locking mechanism will release. However, the block will dropdown. 

Version two would be unless the kill switch is activated, saltwater is dripped into a plant, eventually killing it. Questioning whether the viewer will risk discomfort and possible failure to save the plant.

Surfboard sketch
I believe that the data will be wave-shaped while the rider is on the wave. A rapid acceleration followed by a gradual slow down until followed by a sudden drop-off. I then want to take this data and print them, presenting a graphical representation of the waves caught. 

Motors, Motors, Motors

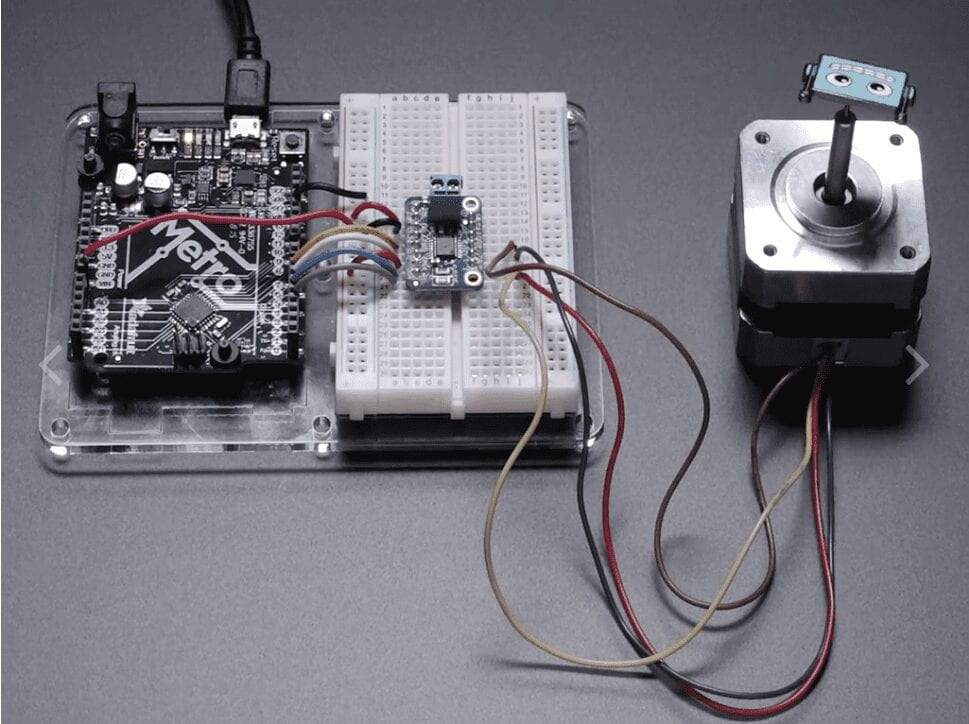
This week I worked on the motor labs setting up three different systems. It was interesting using different motors than the servos I’ve been experimenting with for my previous projects. 

pcomp circuit board

I was having a hard time with my power source, so I took out the power supply to make sure that the motors were, in fact, working correctly. They were. It turns out I needed to re-wire my power source. 

pcomp circuit board

With the power source sorted, everything was smooth sailing. 

Introduction to H-Bridge:

pcomp circuit board

I really enjoyed the dancing motor on the table.  

pcomp circuit board

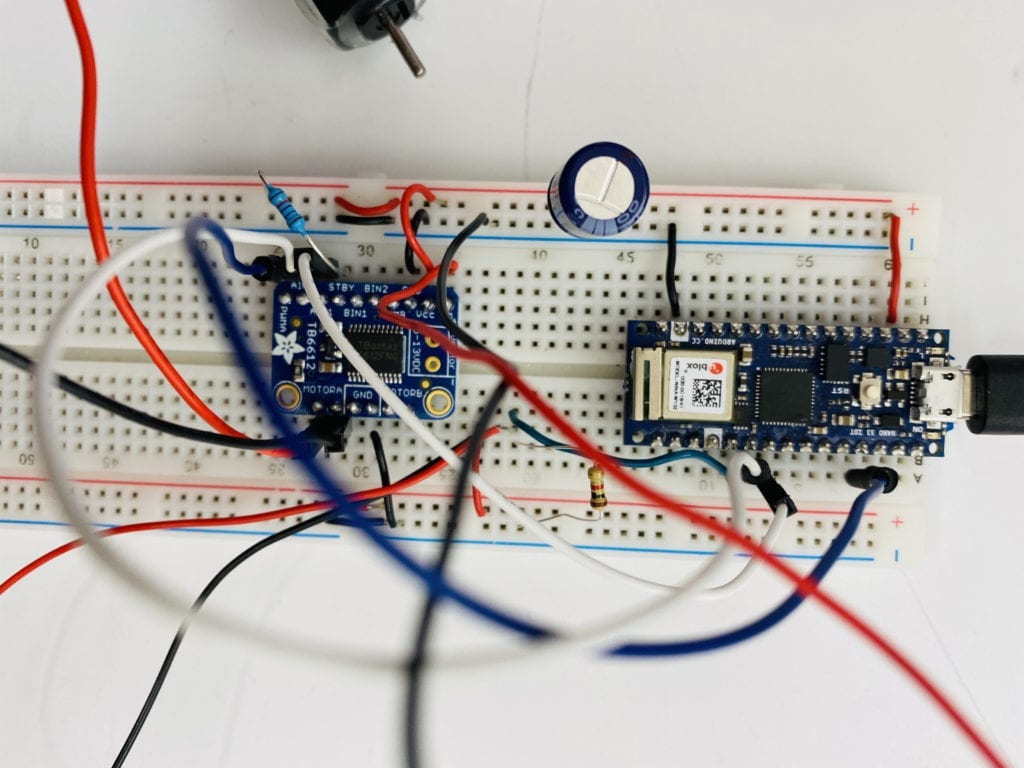
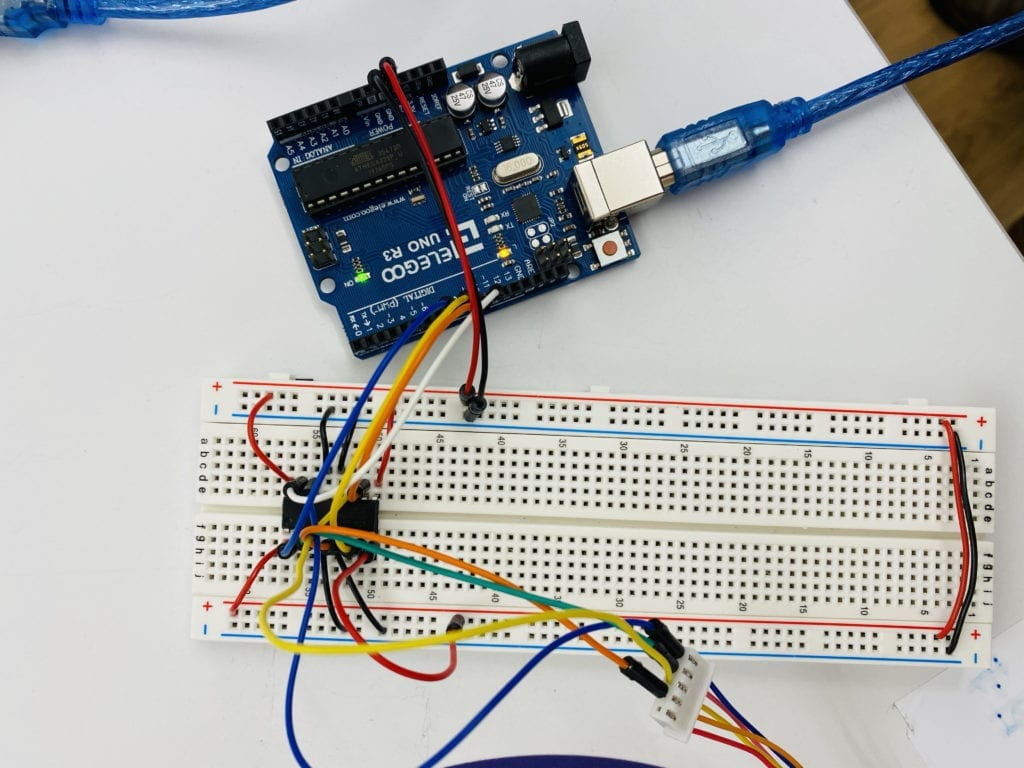
I ended up collaborating on the last two circuits because everyone had to share parts. It was fun to test out a different board and H-Bridge. 

pcomp circuit board

It was late when we finished this last lab up. We wanted to laser cut a shape to spin, but the lab was shut down. In the junk pile, we found this doll with a plaster head. After a little modification, we got it mounted on the motor. It was silly, but we had fun. 


Project 2 – Lab 7

Project 2: 

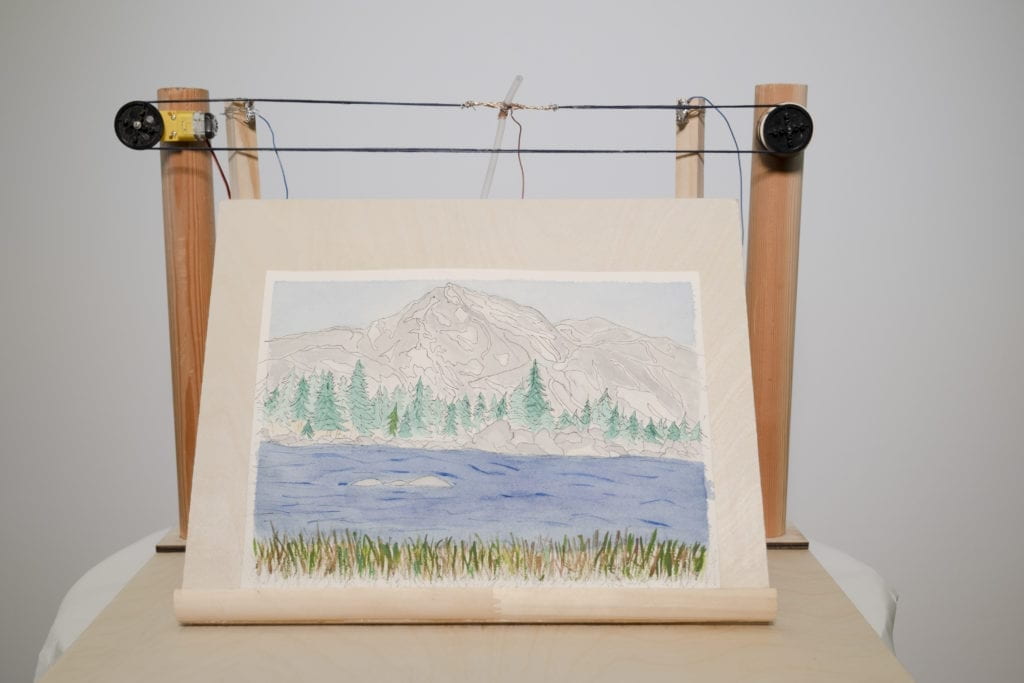
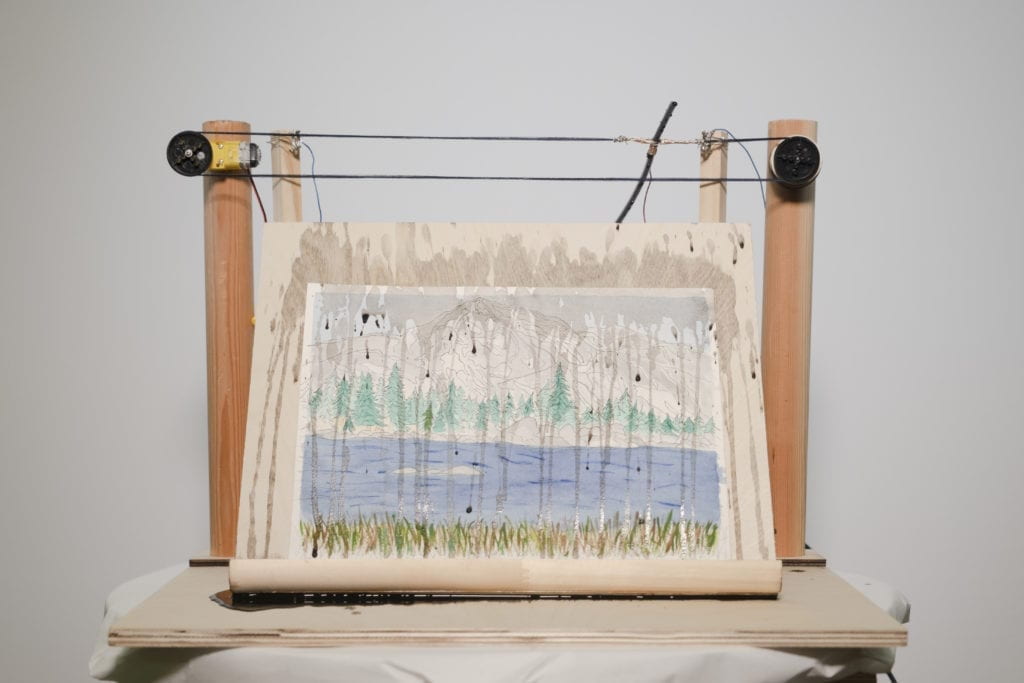
I have been interested in both environmental issues and the destruction of my own art for a long time. Over the years, I have found that by combining the two, I can explore visually presenting scientific data on the climate crisis. This exact project has been rolling around in my head for years and I’m really excited to start working on it. 

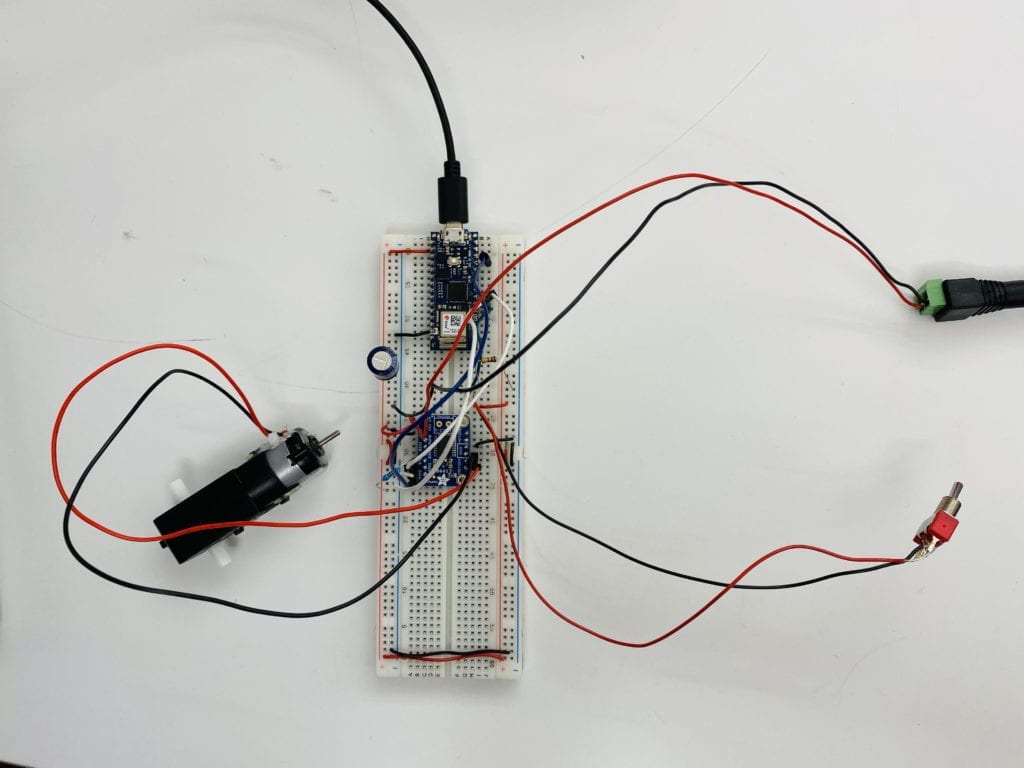
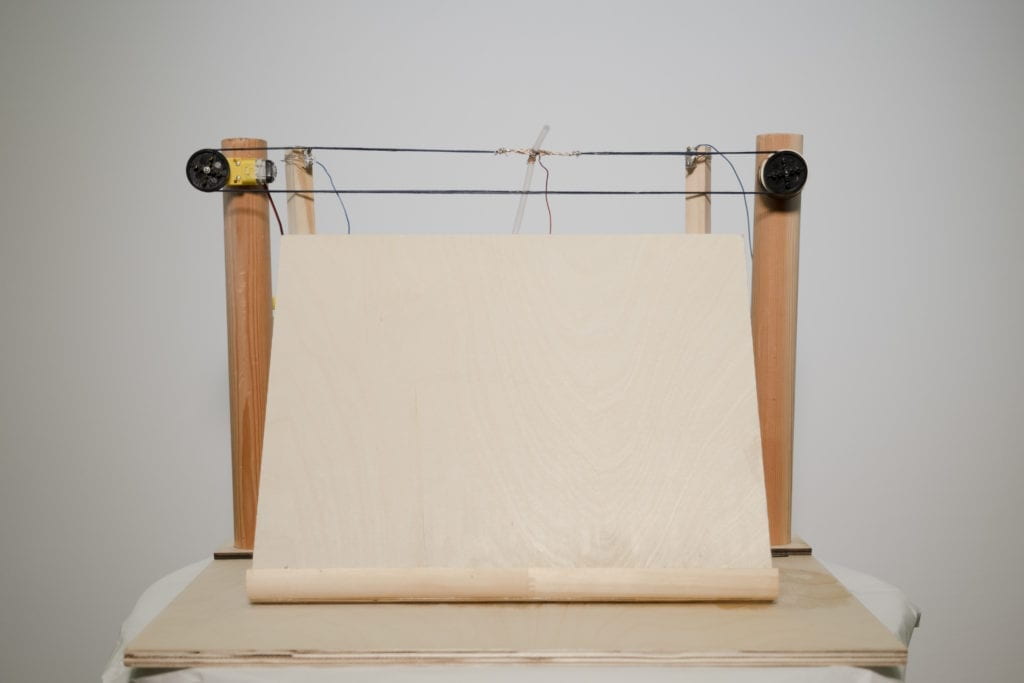
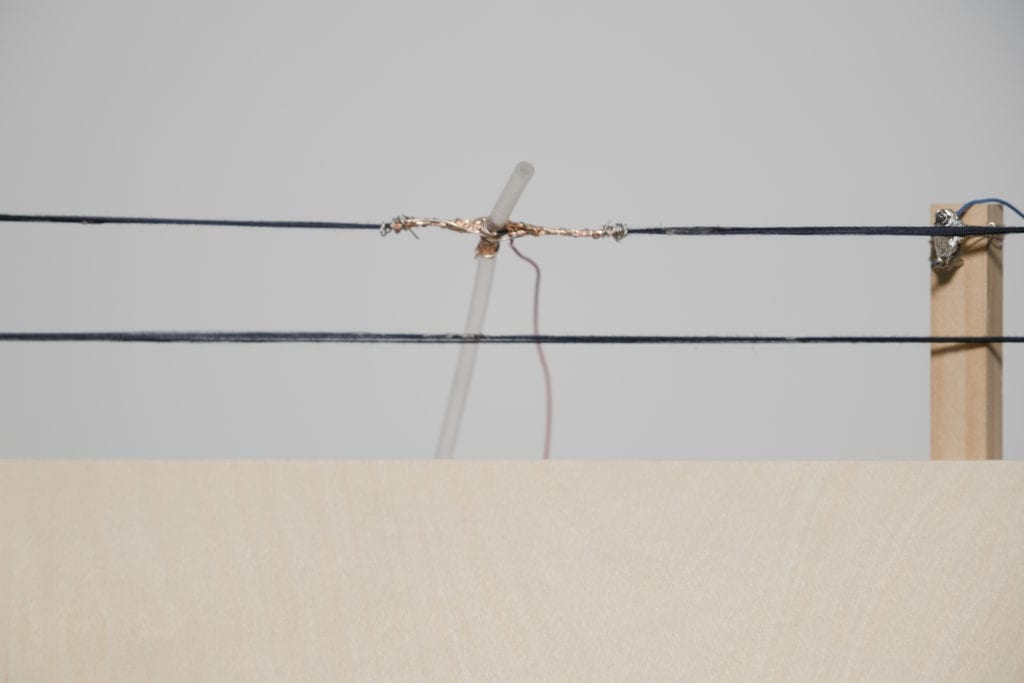
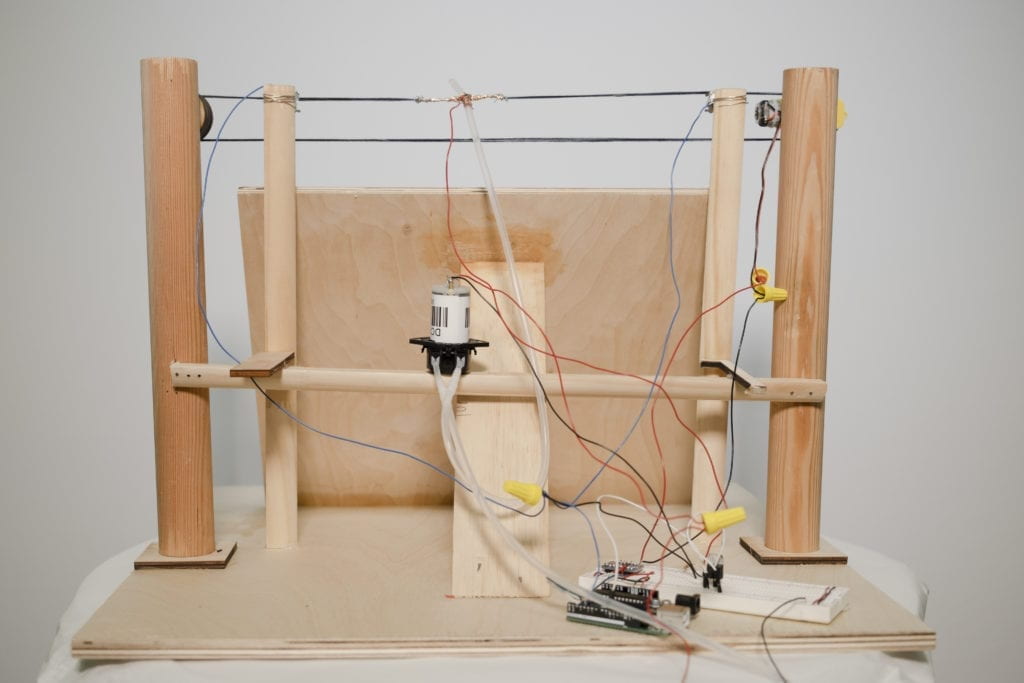
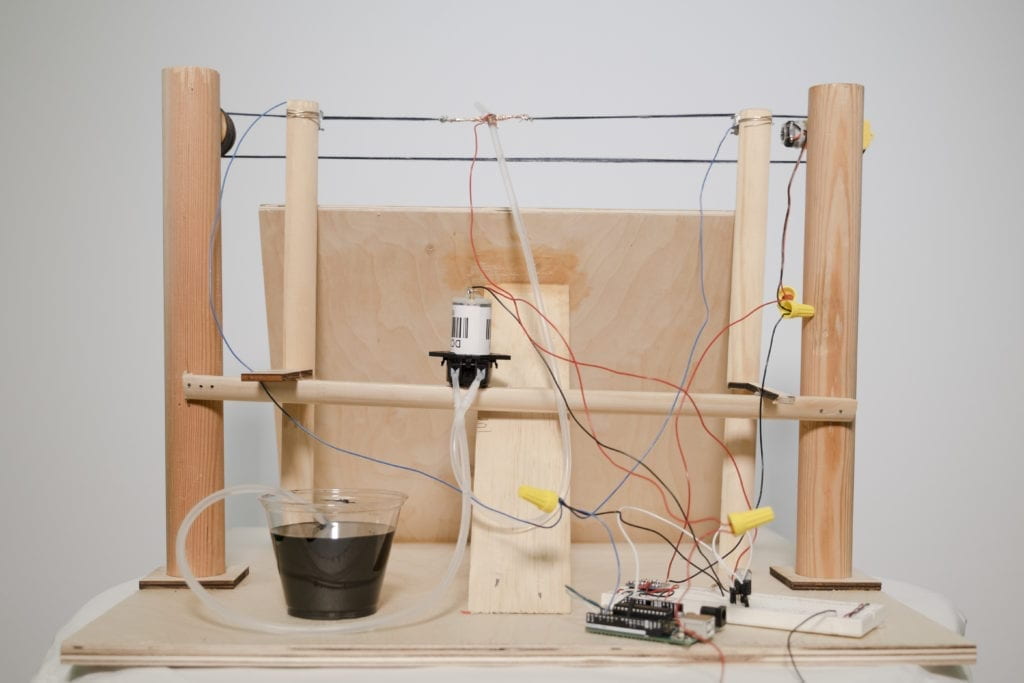
For this project, I plan on producing a painting or drawing of a threatened/endangered environment. The completed piece will be placed on an easel. Above the easel will be a pulley system with a hose attached in the middle. The hose will run down the back of the painting to a pump, where the second intake line will be in a container of black paint. 

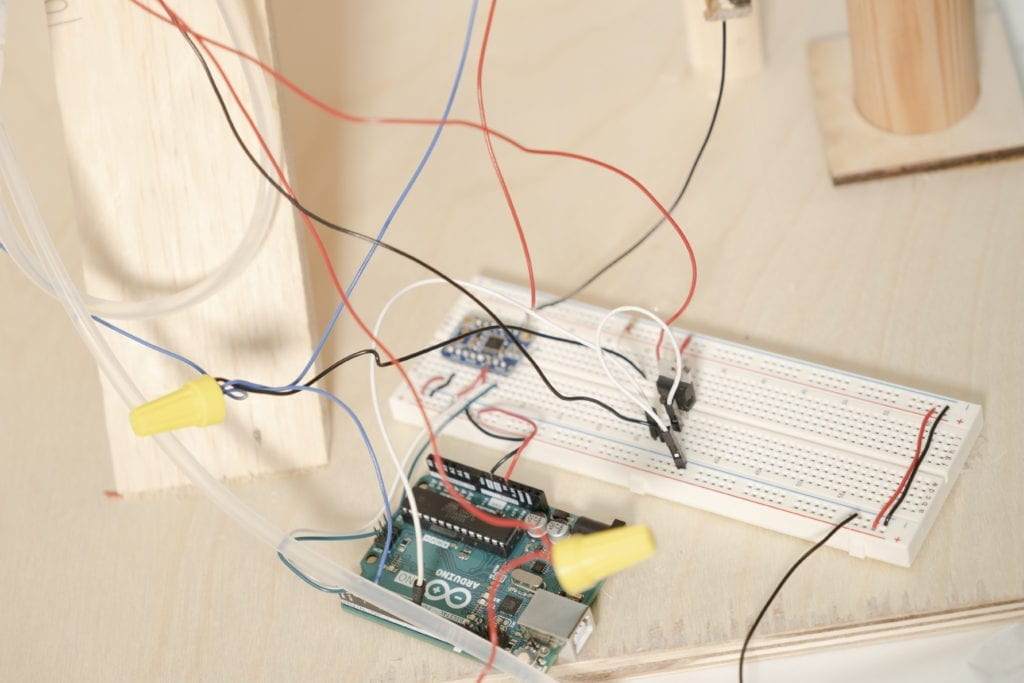
The pump and pulley system will be run off an Arduino Nano 33 IoT. Over the course of the performance, the pump will turn on and dispense paint randomly over the painting, destroying it. To calculate the destruction I will be basing the operation on the predicted extinction of the painted environment. 
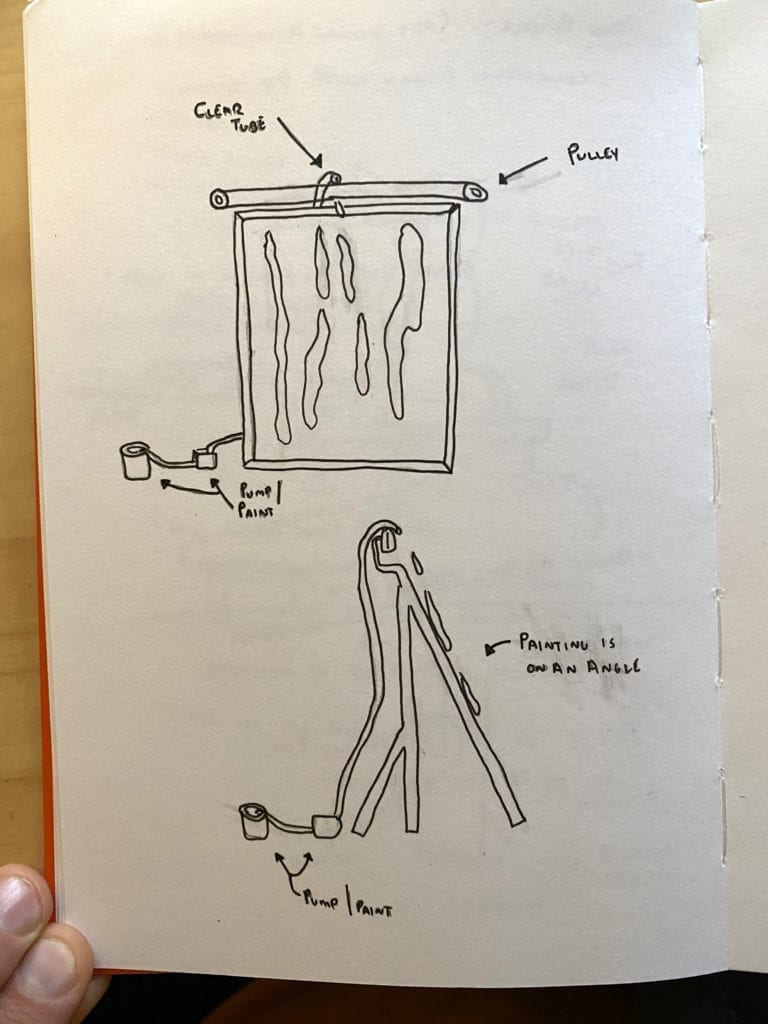
Sketch of a easel and painting getting sprayed with ink.

A completed rough sketch of the layout. 
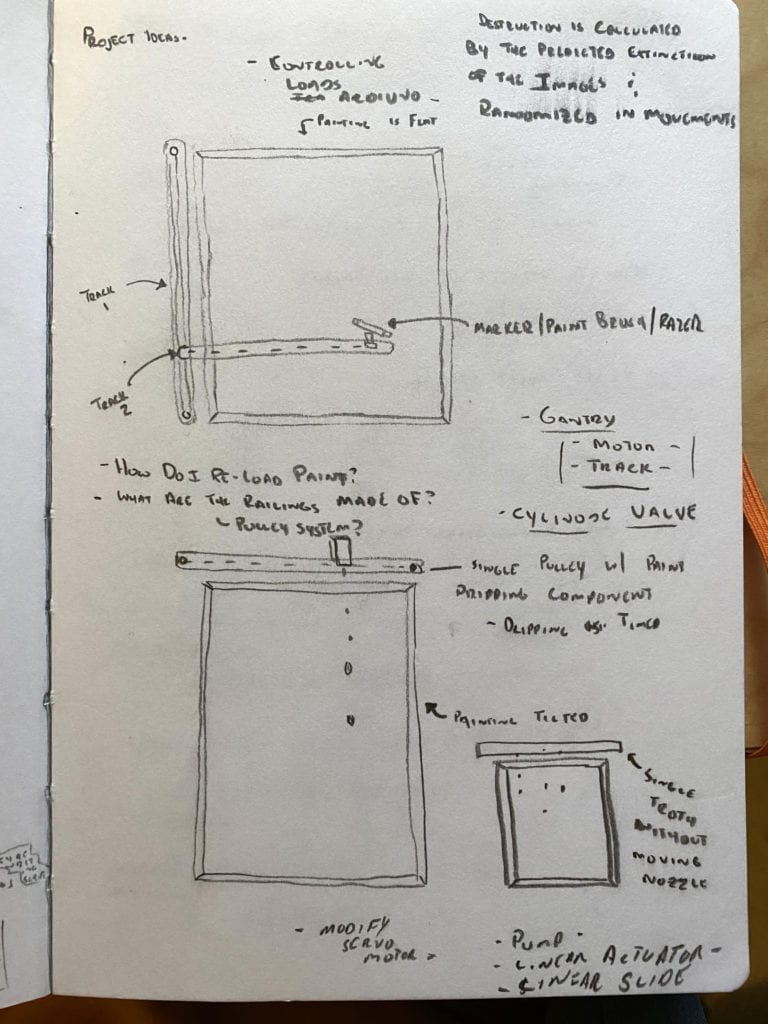
Early prototype drawings: To expand this project I might add a vertical arm that can control other tools, including a marker, paintbrush, or razor.

 Being new to this whole process I’ve ordered parts that I think will get the job done but will still take a fair amount of experimentation.  The parts come this week, so I can get started!

Peristaltic liquid pump with silicone tubing will draw the paint from the container to the top of the painting. 
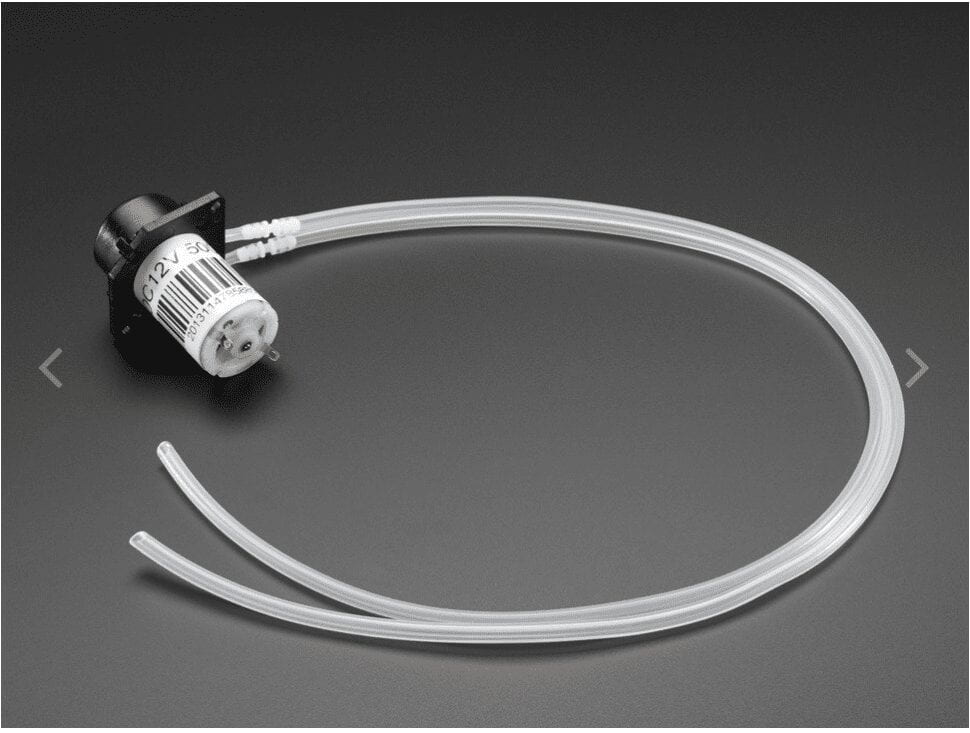
Peristaltic liq. pump. image

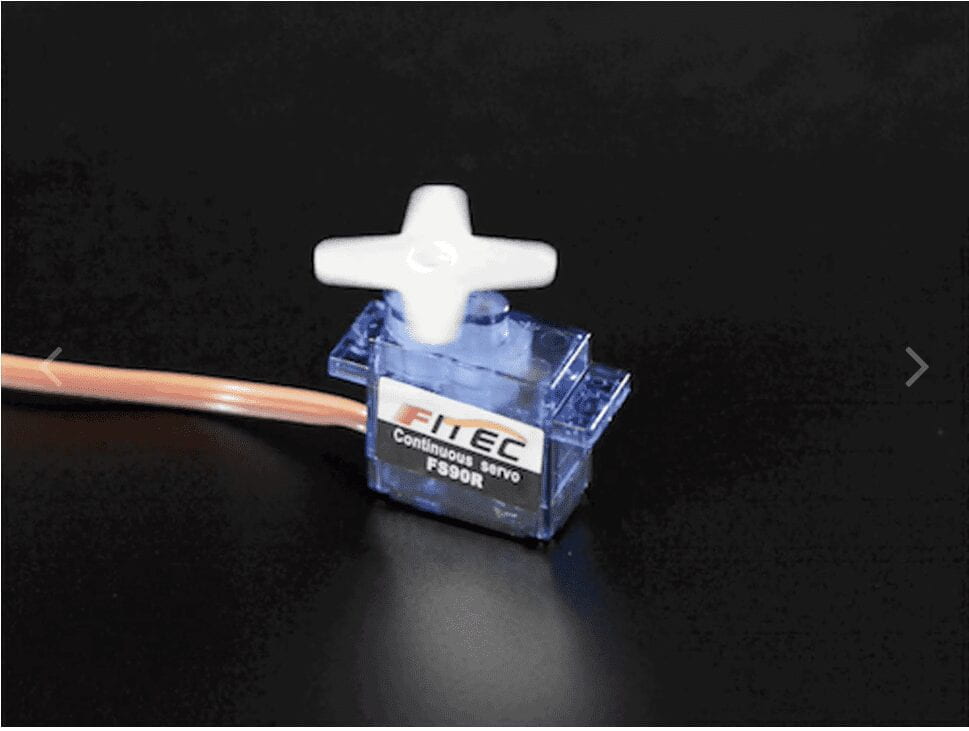
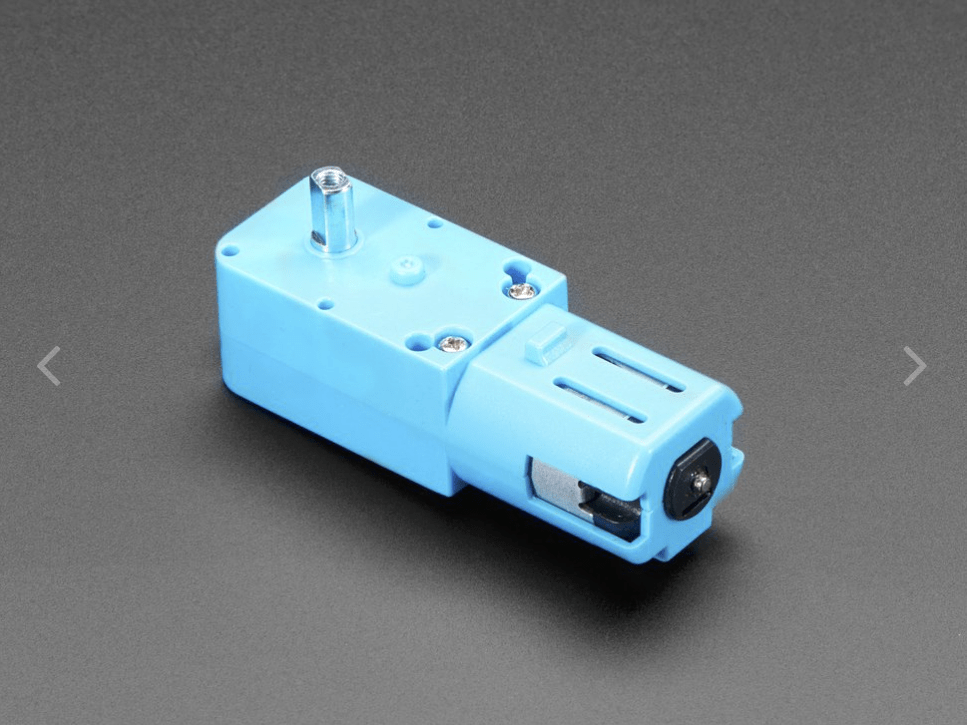
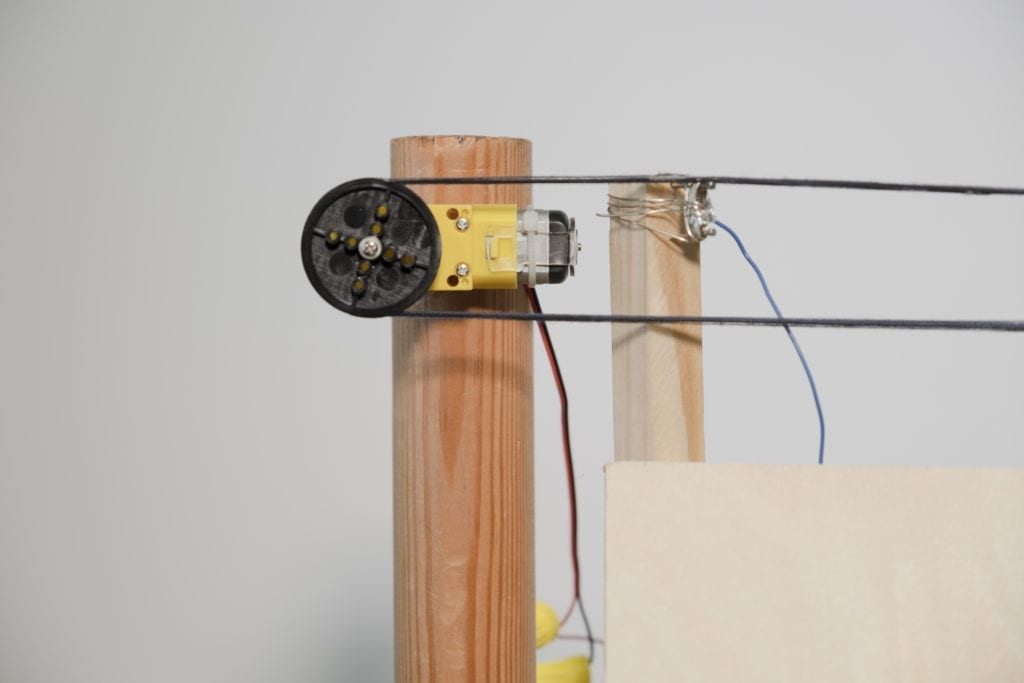
DC Gearbox Motor -TT Motor with a TT Motor Pulley or Continuous Rotation Micro Servo or TT Moto All-Metal Gearbox and a Moto Drive Breakout Board will run the pulley system. 
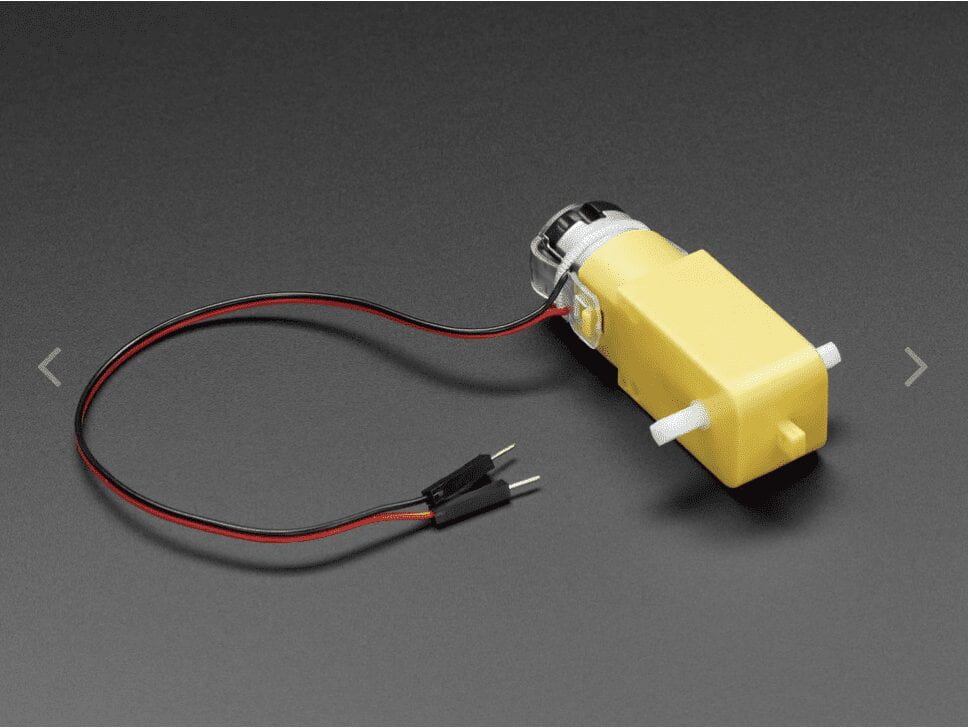
DC Gearbox Motor - "TT Motor" - 200RPM -

Continuous Rotation Micro Servo - FS90R

TT Motor All-Metal Gearbox - 1:90 Gear Ratio

Questions: 

Does the overall concept make sense immediately? 

How does the destruction of a painting/drawing make you feel? How does it make you feel in context to habitat destruction? 

Should the mechanical components be hidden behind a frame of some sort or be exposed? 

Would a fast or slow performance be more impactful? 

Would another destruction method be more impactful? Example: A razor. 

____________________________________________

Two – Way Duplex Lab: 

I had a hard time getting this lab up and running. I kept getting errors that I couldn’t troubleshoot. See below: 
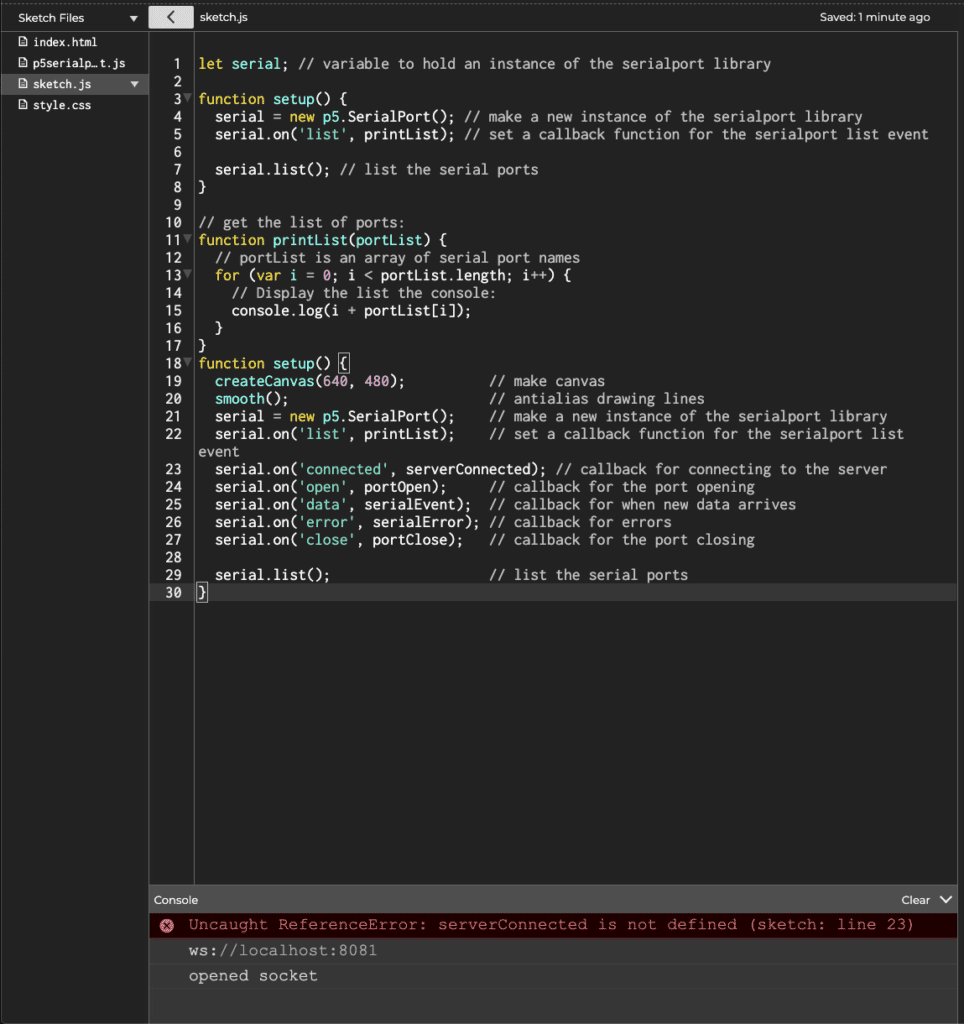
P5JS sketch with error message

I did however get the Sending Multiple Serial Data using Punctuation section working.  I can see how using punctuation to break up the values can be really helpful for viewing. 

Serial monitor output

Arduino sketch

After an office hour session, Danny sent me over a new sketch to try and get this up and running. The code worked perfectly. This is a good thing because now I know that there is something wrong with my code not with my SerialControl or hardware. My next step is to go over this code again looking for my error. 
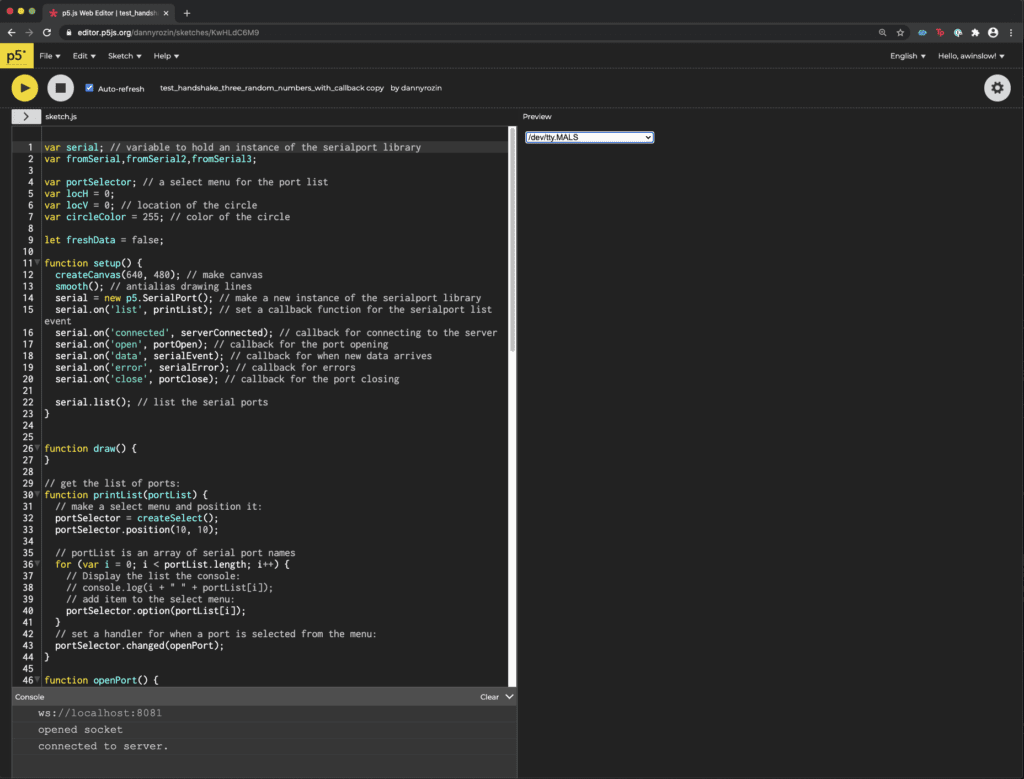
p5js sketch working

p5js sketch working

Getting Creative: 

Two projects that I thought could use analog sensors that affect X and Y are:

Any Surface Pen: A pen that will store a drawing that can later be uploaded to the cloud or your device. No need for paper to jot down notes or remember your brilliant ideas. 

Balance Board Simulator: Using the IoT accelerameter on a balance board as a game controller. The player needs to stay in the center or they’ll crash in the game. This project ssems like it could be paired well with a Unity game. 
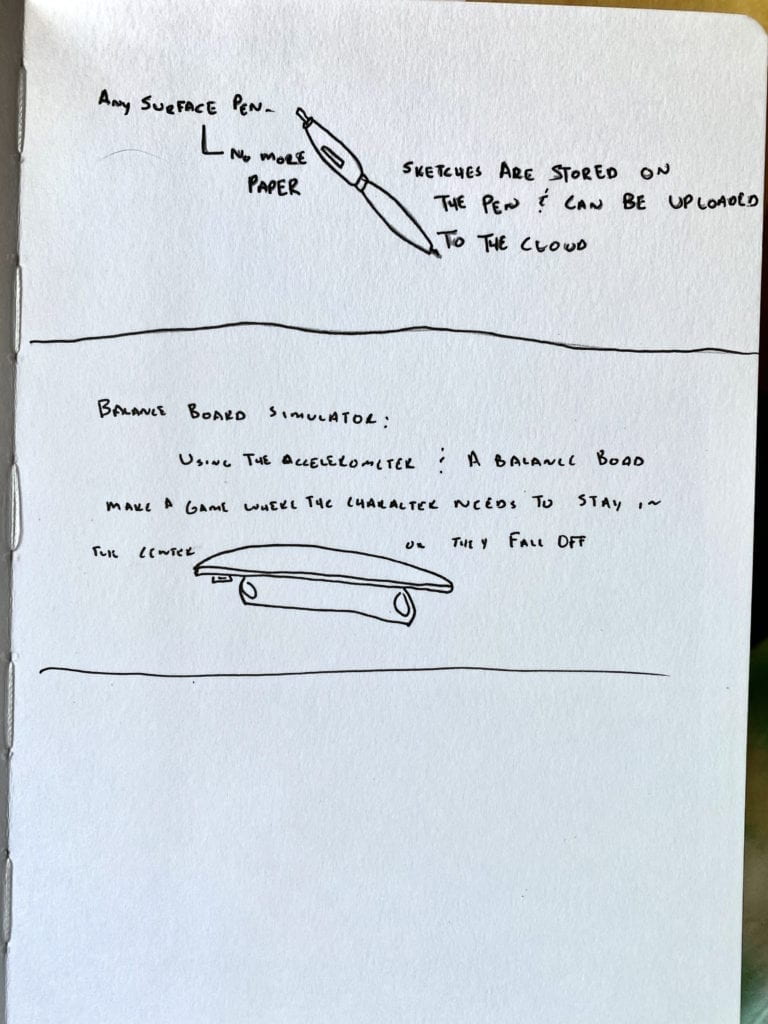
 

Serial Communications

This was a tough week of labs, but I can see serial communication’s huge potential once I iron things out. 

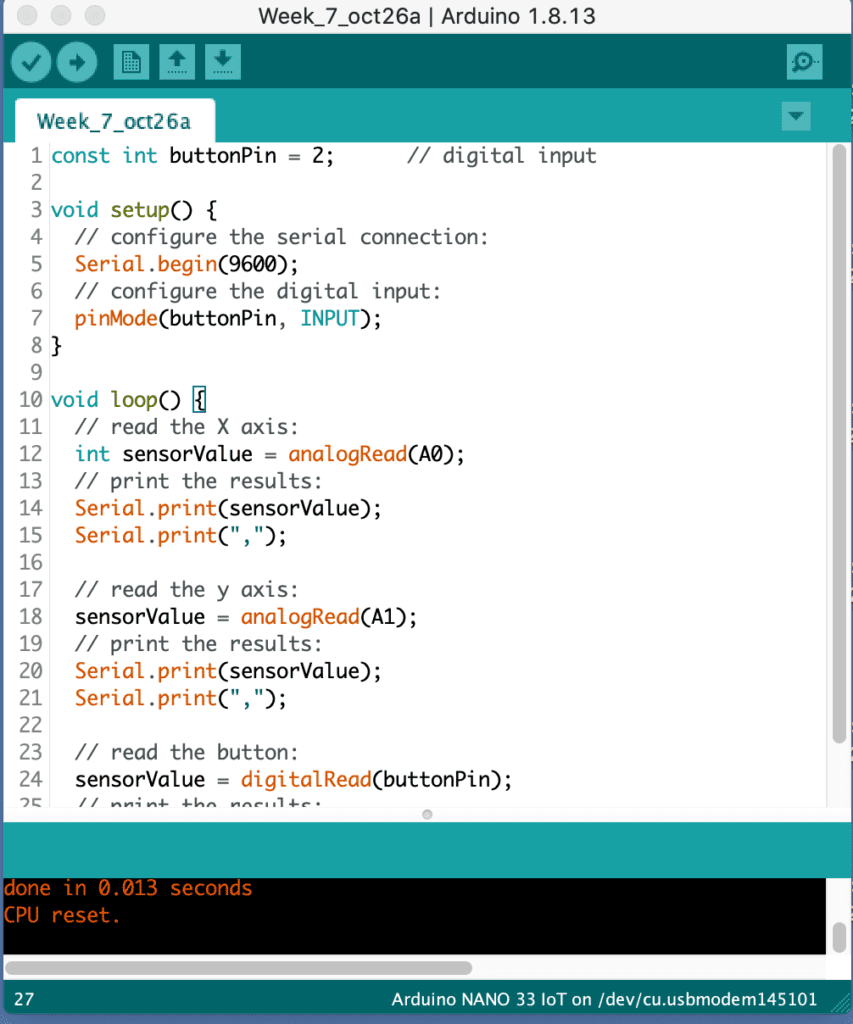
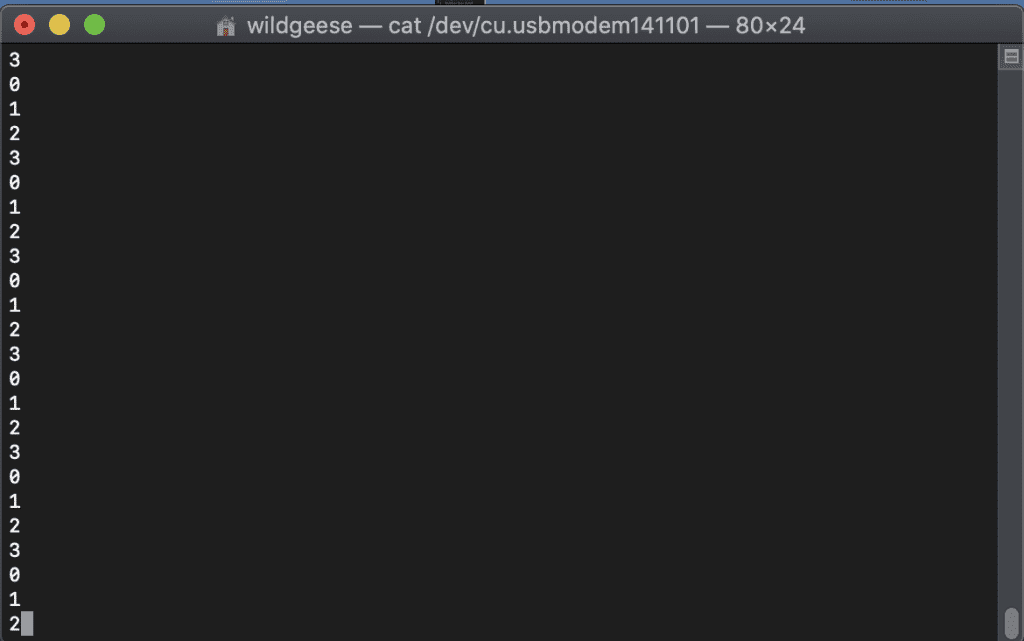
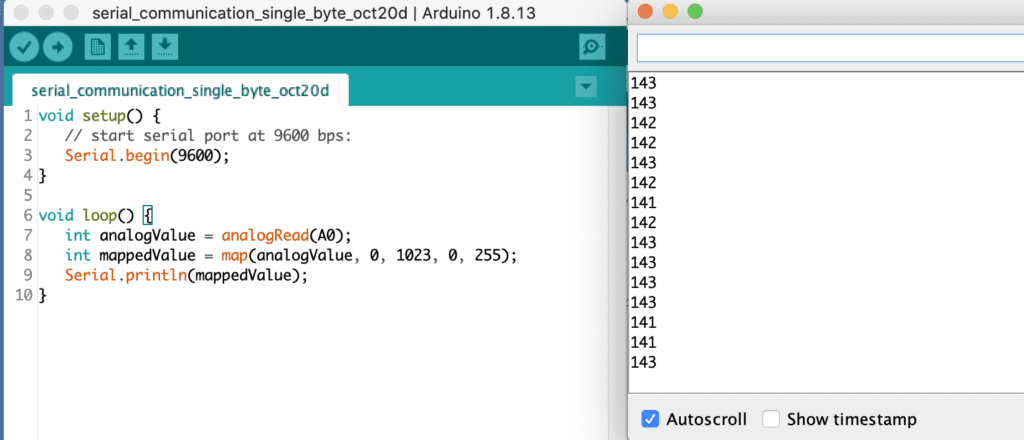
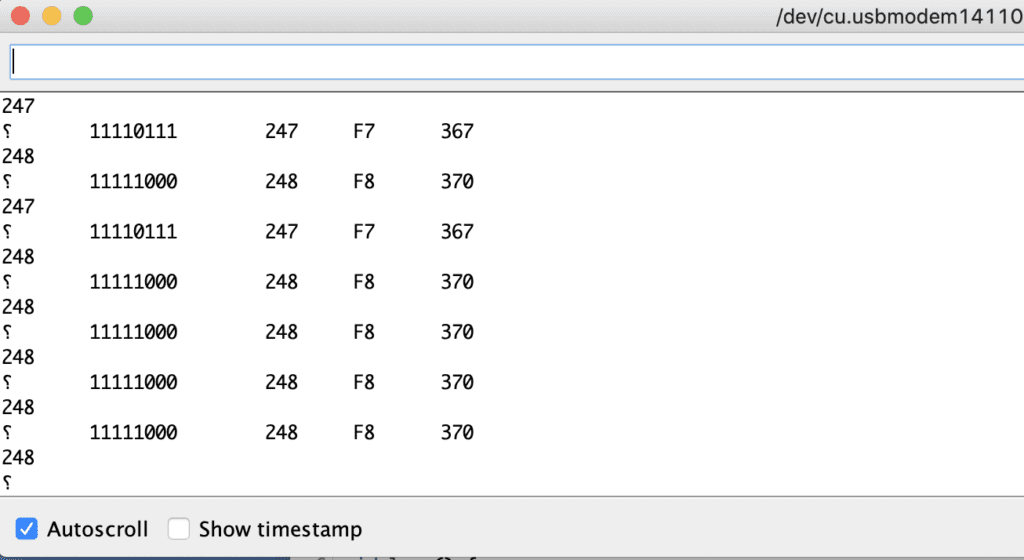
Everything worked well in the Intro to Asynchronous Serial Communications lab. I connected the circuit, map out my readings, and test ways to send data in different formats. After doing some extra readings, the code started to make more sense as did the Terminal App interaction. 


Screen shot of serial monitor

Terminal app repeating serial output. 


Screen shot of serial monitor

Mapping the output to a single byte.

Screen shot of serial monitor

Testing Serial.write

Screen shot of serial monitor

Sending values in different formats. 

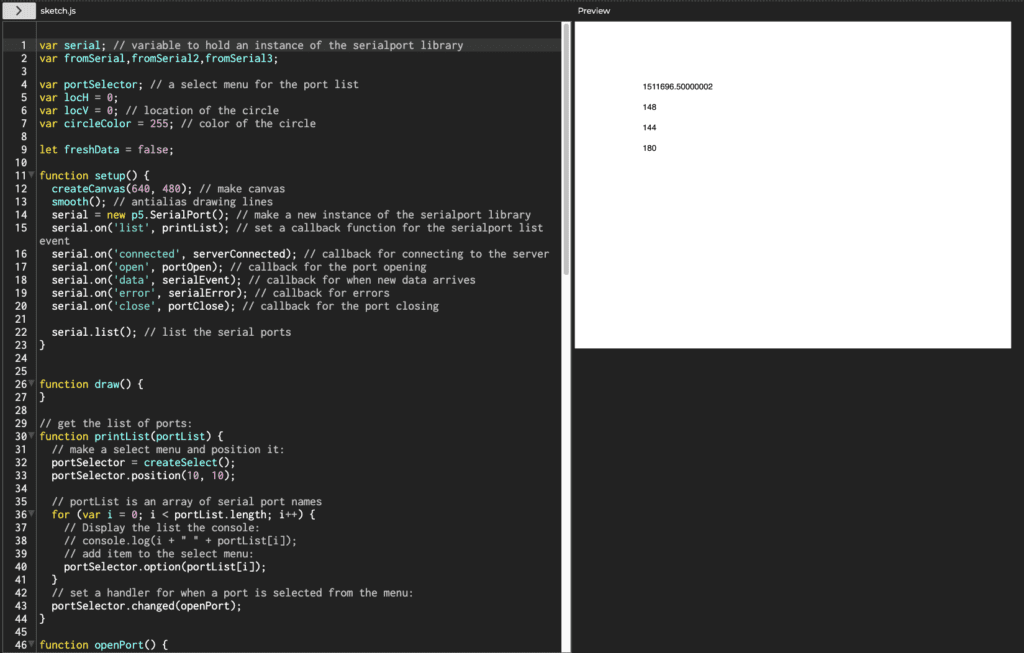
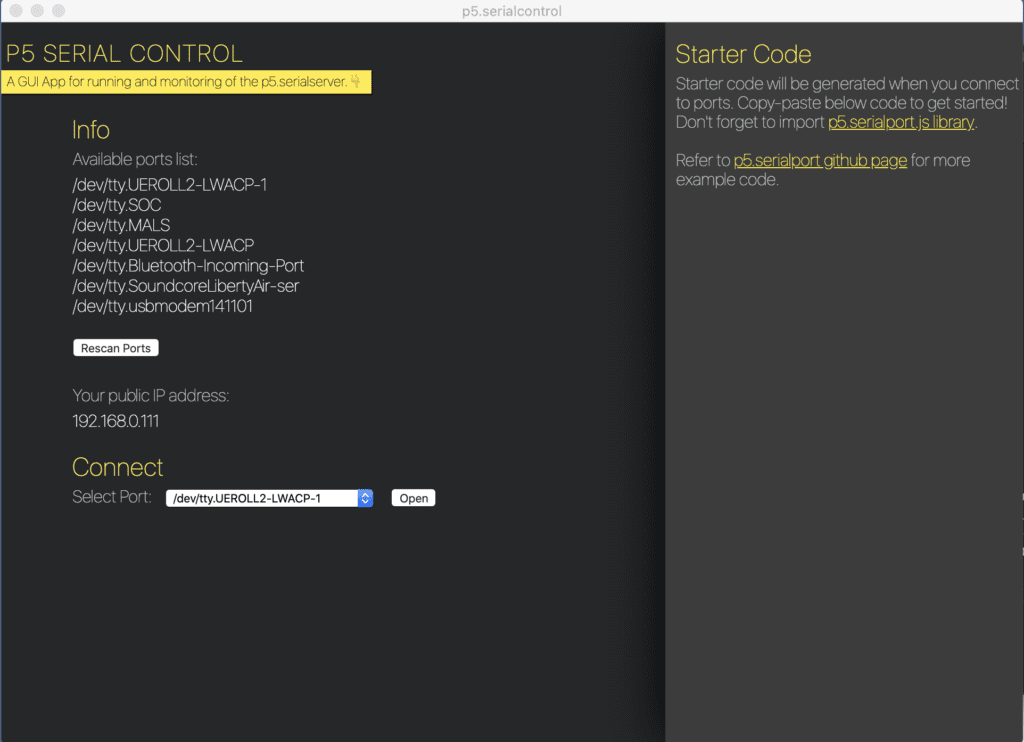
My problems started when I integrated P5 into my workflow. I was able to download the serial control software and the libraries needed to complete the lab fine. However, when I started to code in P5 I kept receiving error messages including “undefined is not a constructor (evaluating ‘new p5.SerialPort()’) (sketch: line 5).” 

I plan on discussing the errors in class so that I can re-run these labs. 

Screen shot of P5 serial control

Lockbox Process


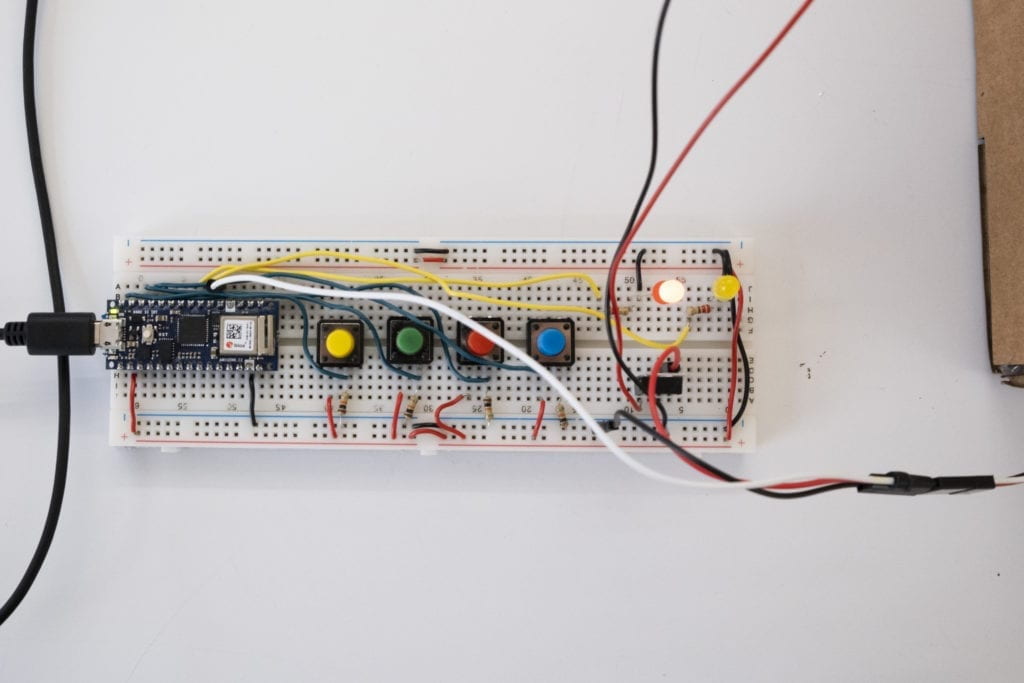
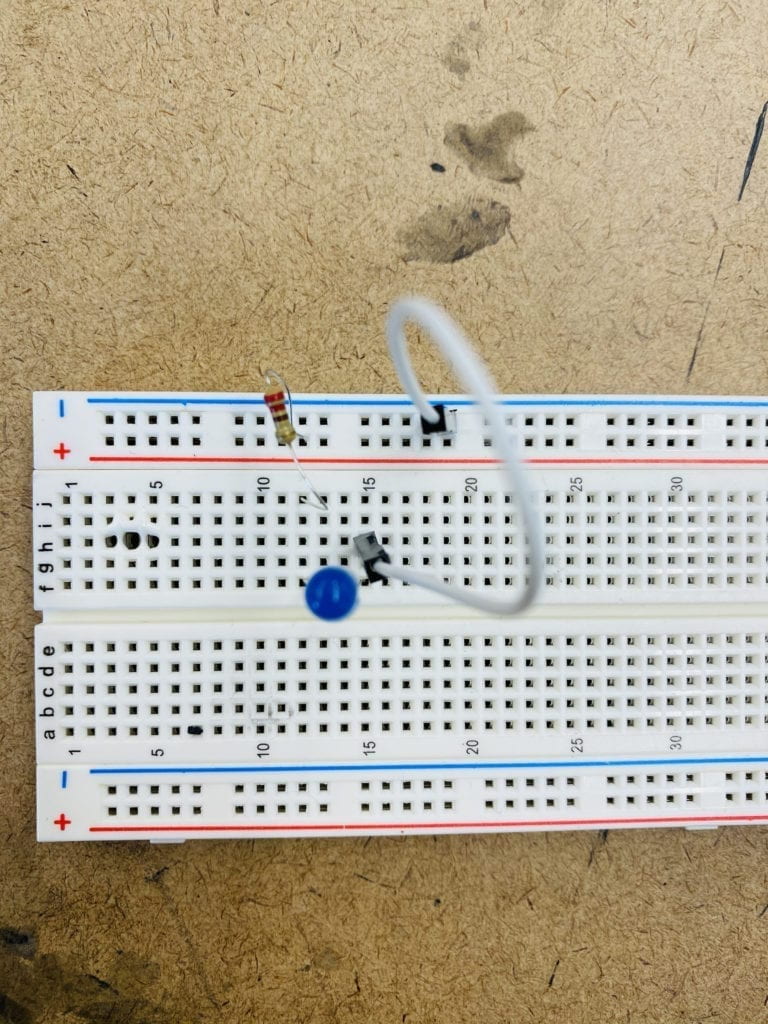
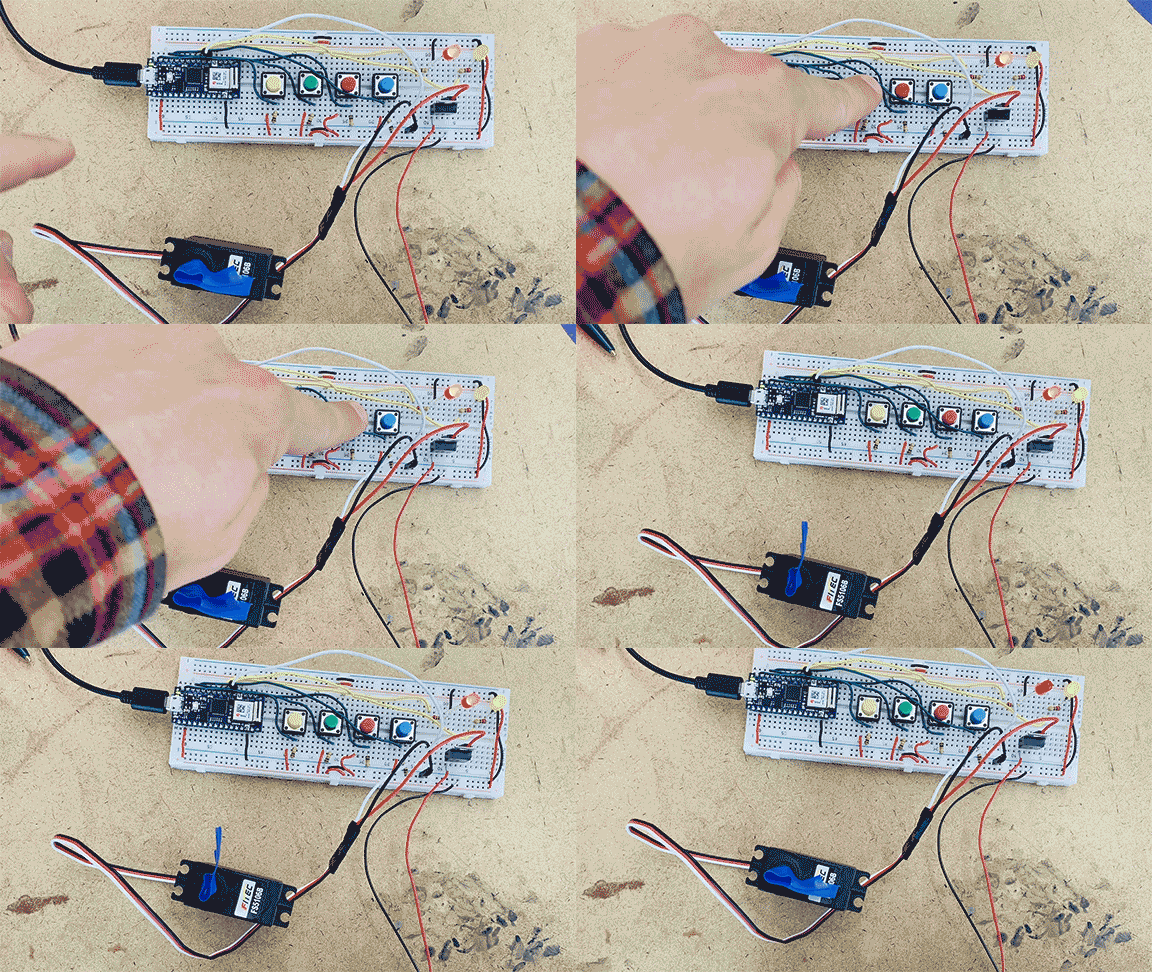
For my first project, I decided to make a lockbox. I figured making a custom for button arrangement would be a challenge for my coding and construction skills so I broke this project down into small stages. First, I wanted to just get the switches up and running using LED’s. If the user punches in the correct code, the LED would switch from red to yellow. The password, in this case, is 2,1,3,4, but don’t share that. 
Breadboard with four buttons and one LED lit

Below is an example of the lights working. 


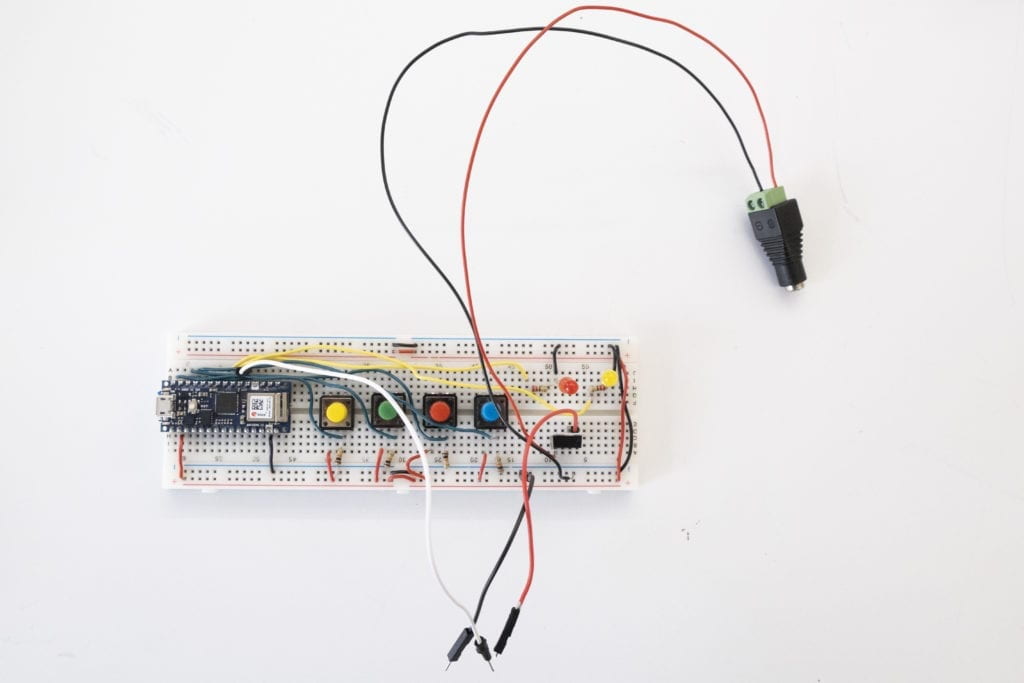
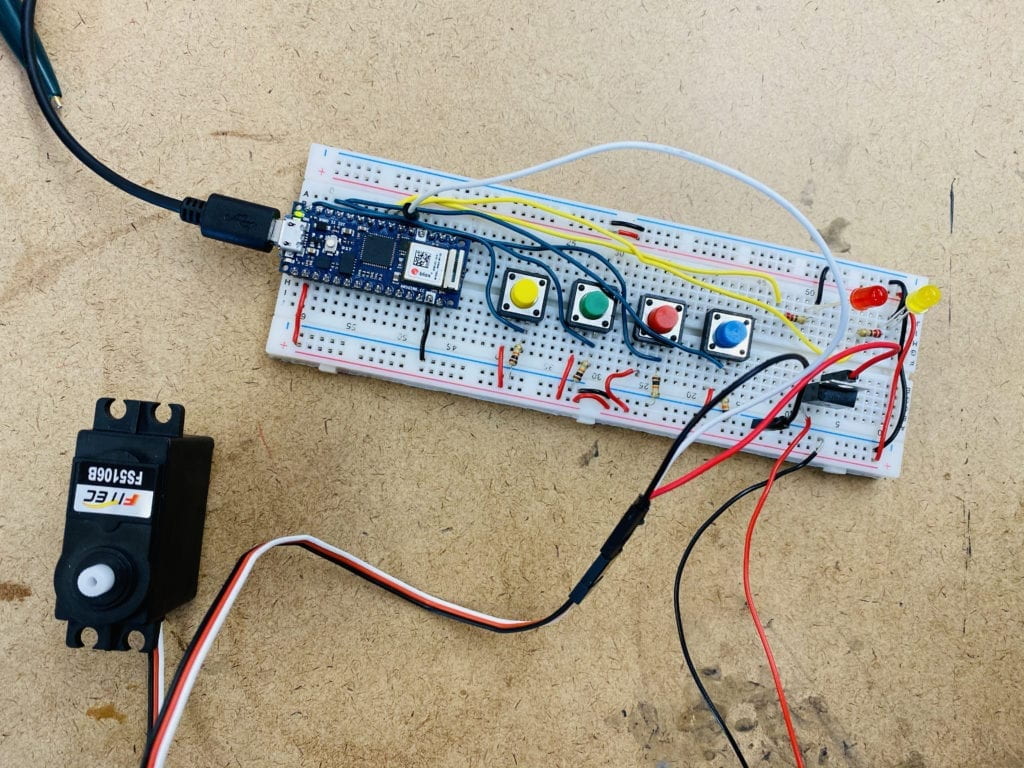
Servos have been my nemesis over the last couple weeks so I wanted to take this project another step and include one as a locking mechanism.  

Breadboard with four buttons and socket wired

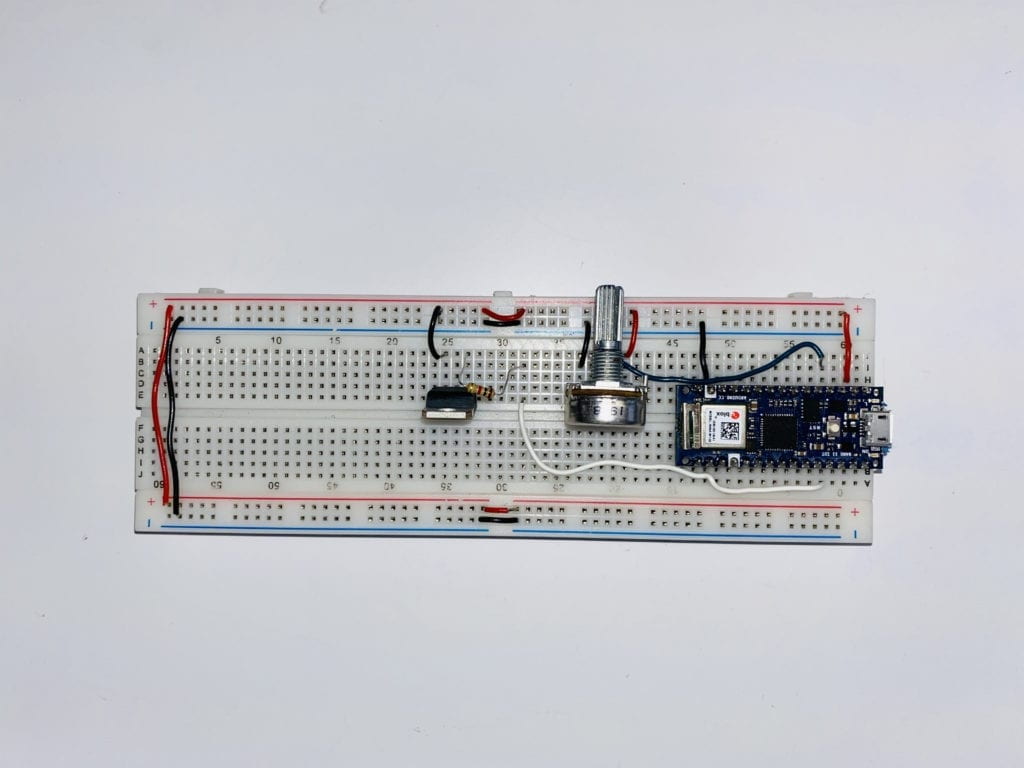
To achieve this, I needed more voltage to run my servo. The Arduino Nano couldn’t get the job done. I went over to the junk pile on the floor to find a power supply that would work.  

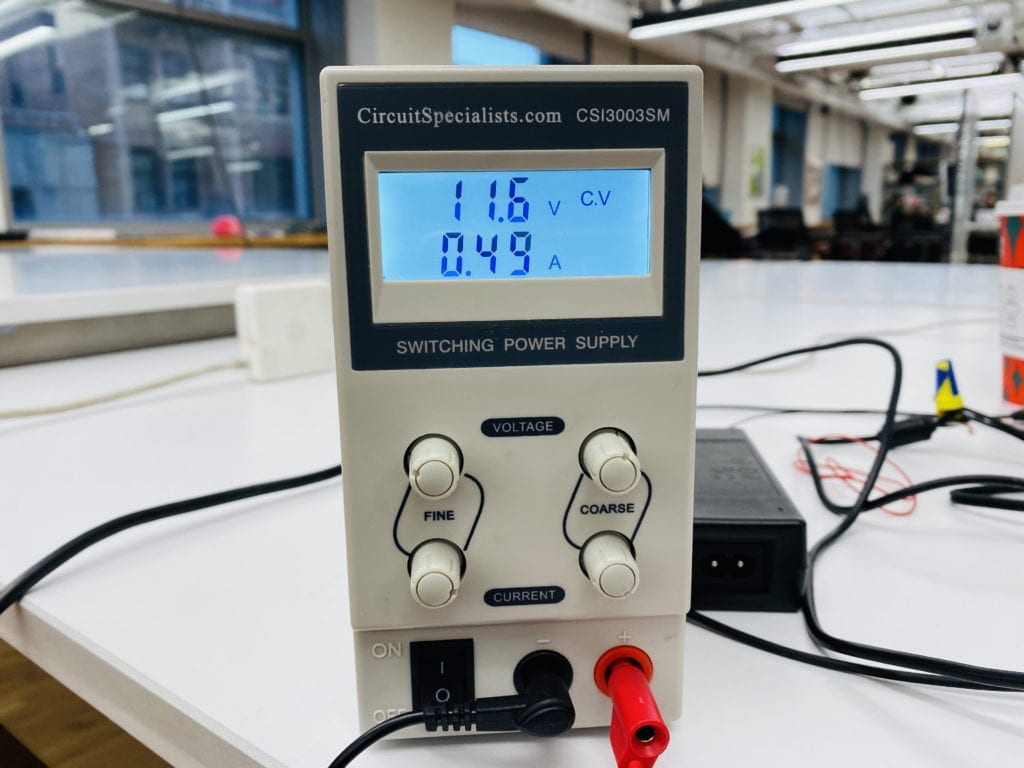
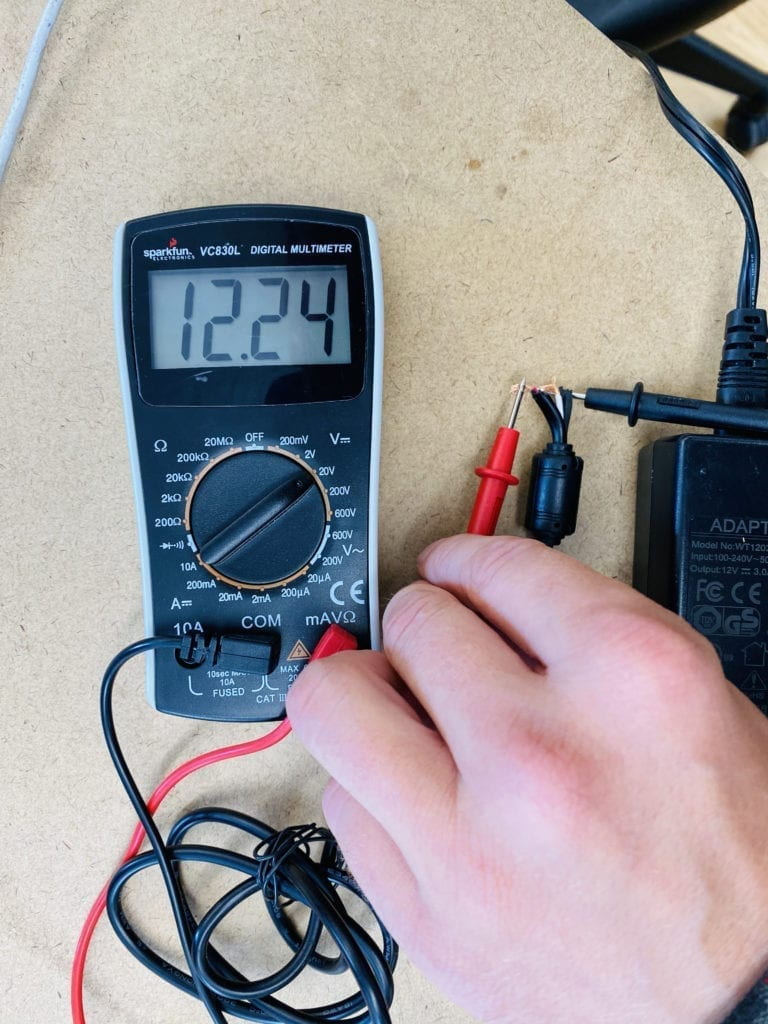
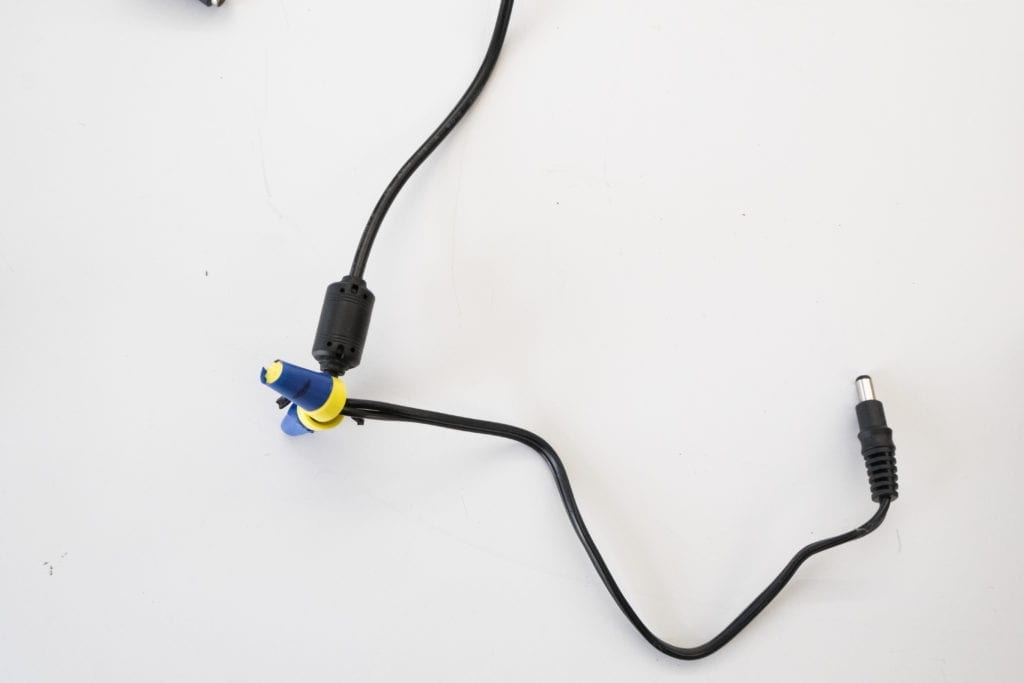
The power supply was 12 volts and just raw wires. Luckily I found more components that I could wire together once I knew I was getting the proper voltage. 

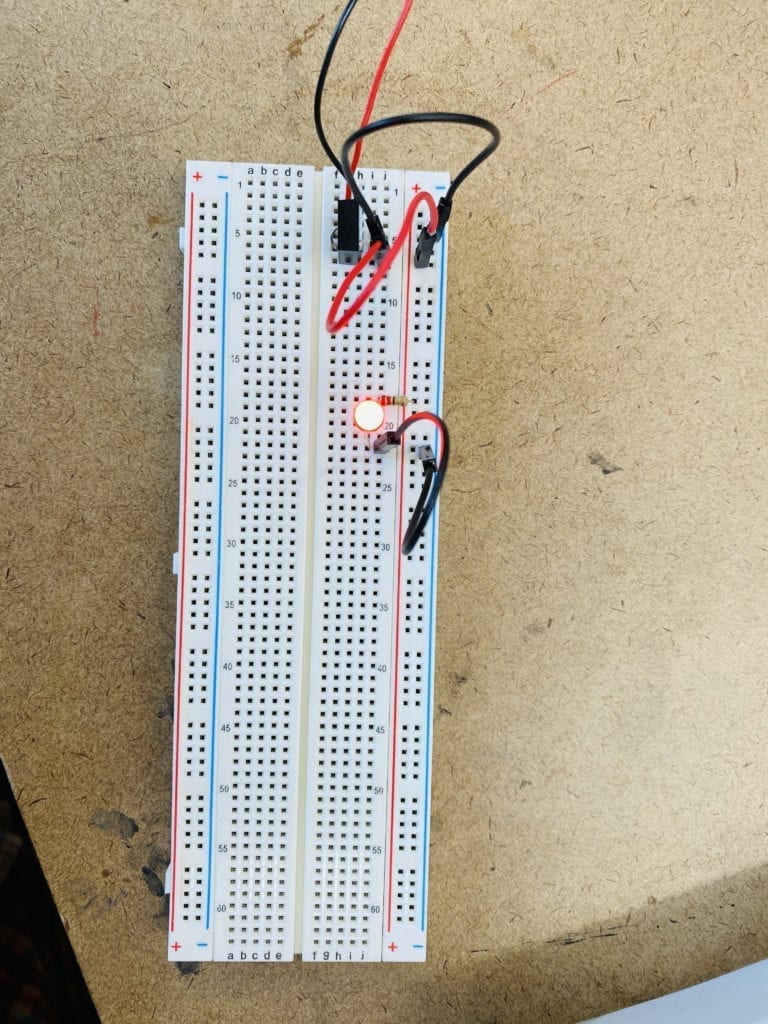
 I have never used a voltage regulator, so I got a spare breadboard out and attempted to light just a single LED. I wired the regulator wrong so instead of converting 12v to 3.5v I melted my board. I misread the datasheet. 

With new components, I was up and running correctly.

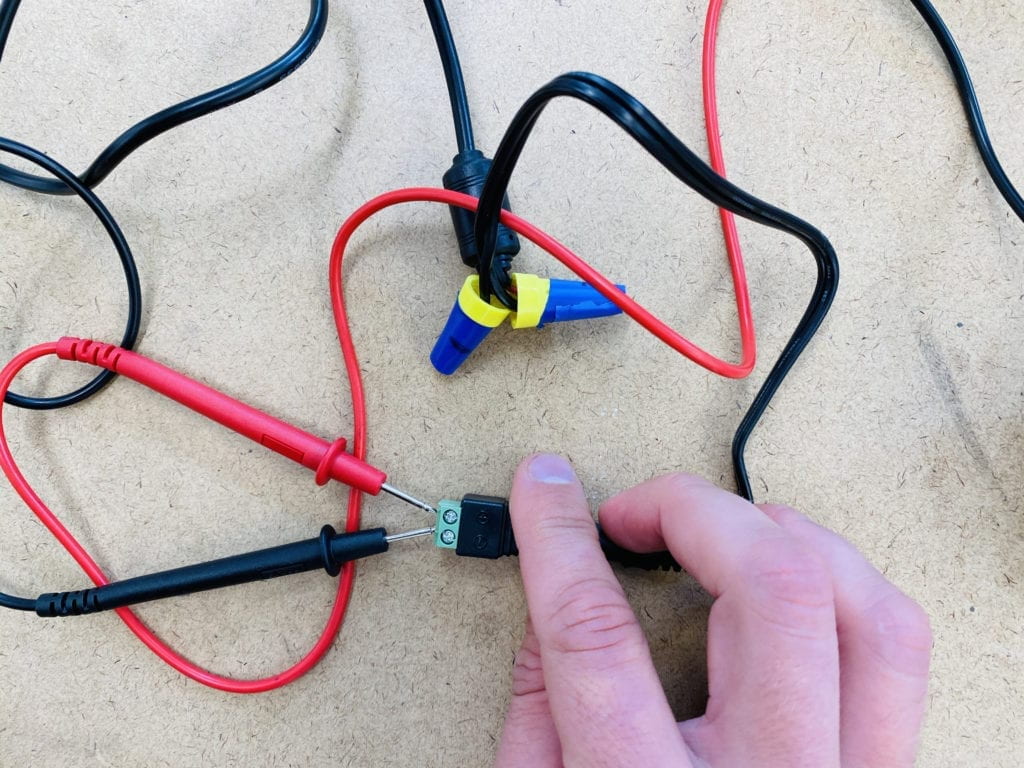
New wiring for old parts. Wiring with two wire caps

Modified breadboard. Breadboard with four buttons and socket wired

Servo attached to the breadboard. 

Servo up and running with the correct code.

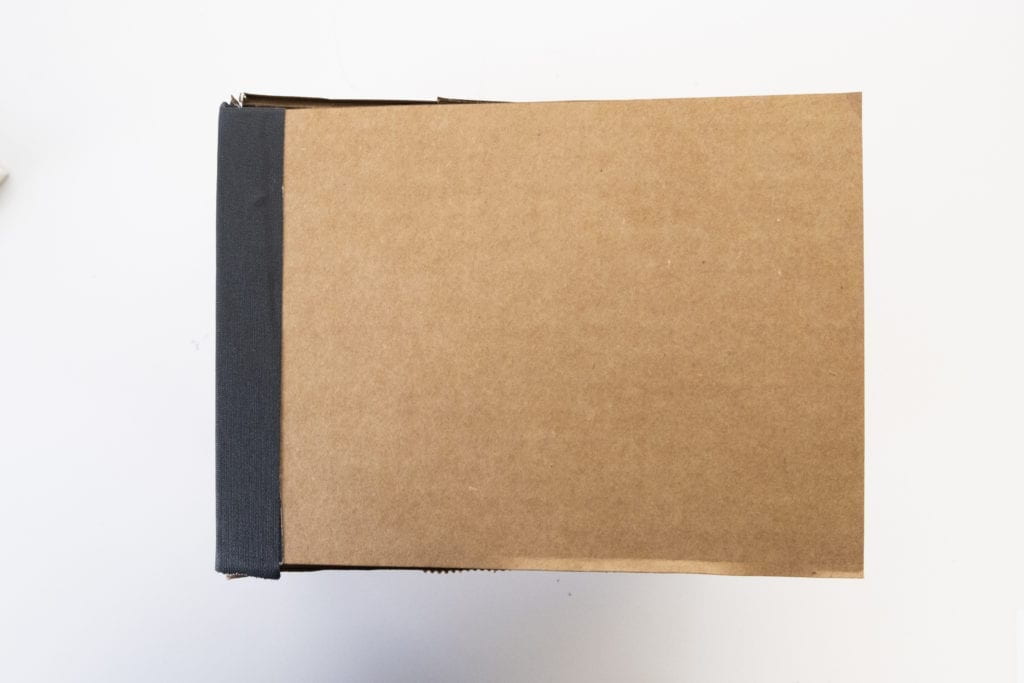
My rough laser cut box. Laser cut cardboard safe

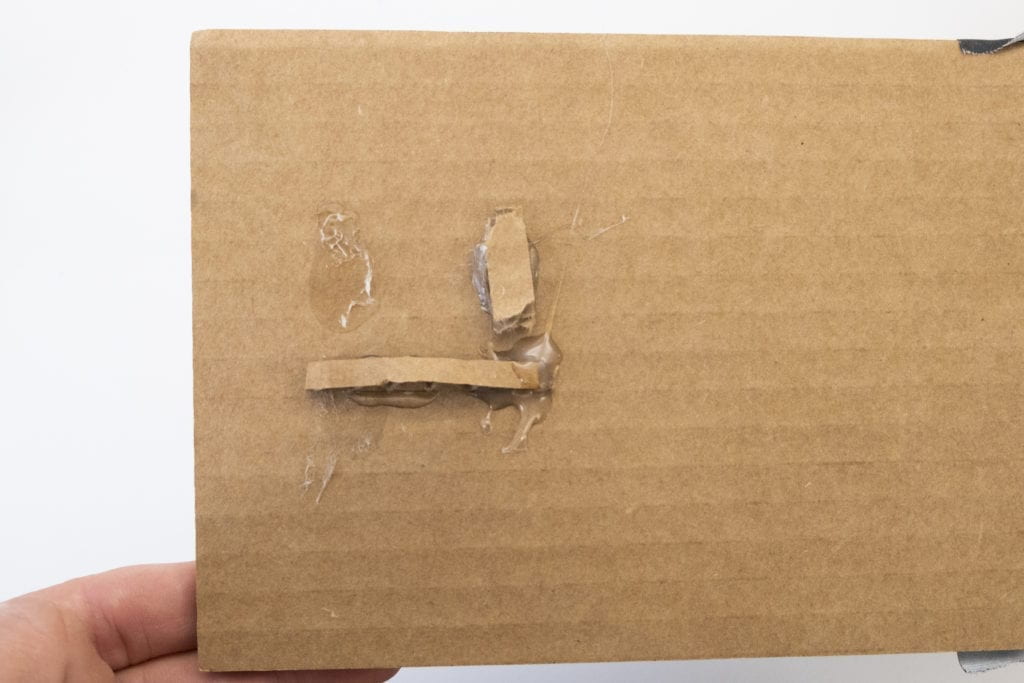
Latch on the interior of my box. 

Cardboard lock

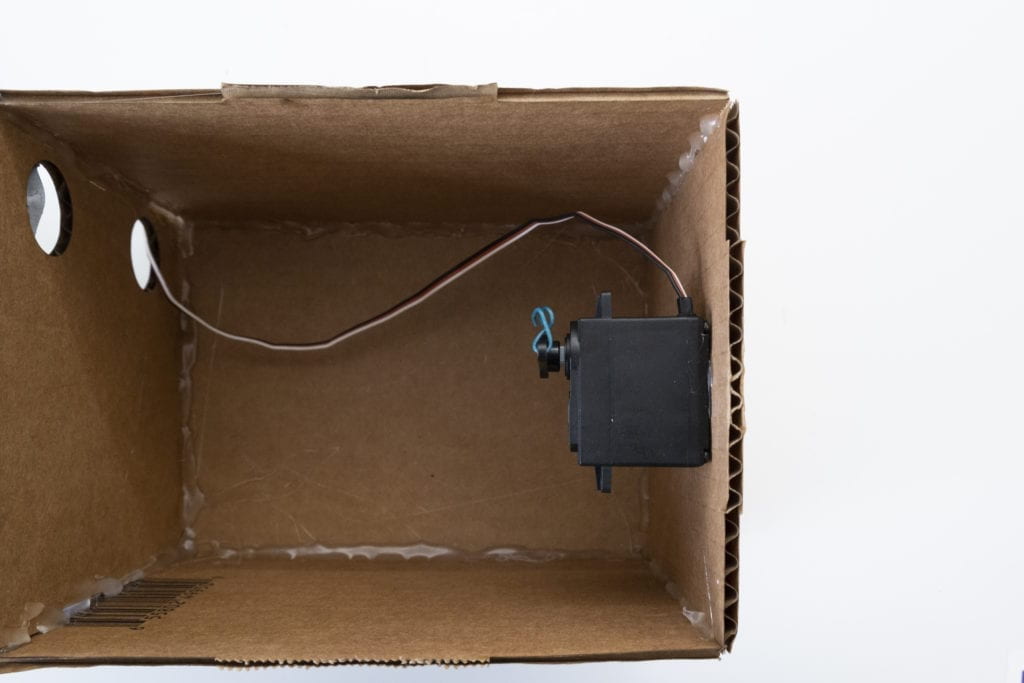
Servo inside the lockbox. 

Servo inside a lock box

The servo and locking hook activated after the code is typed in. 

And here is the piece in full use. 

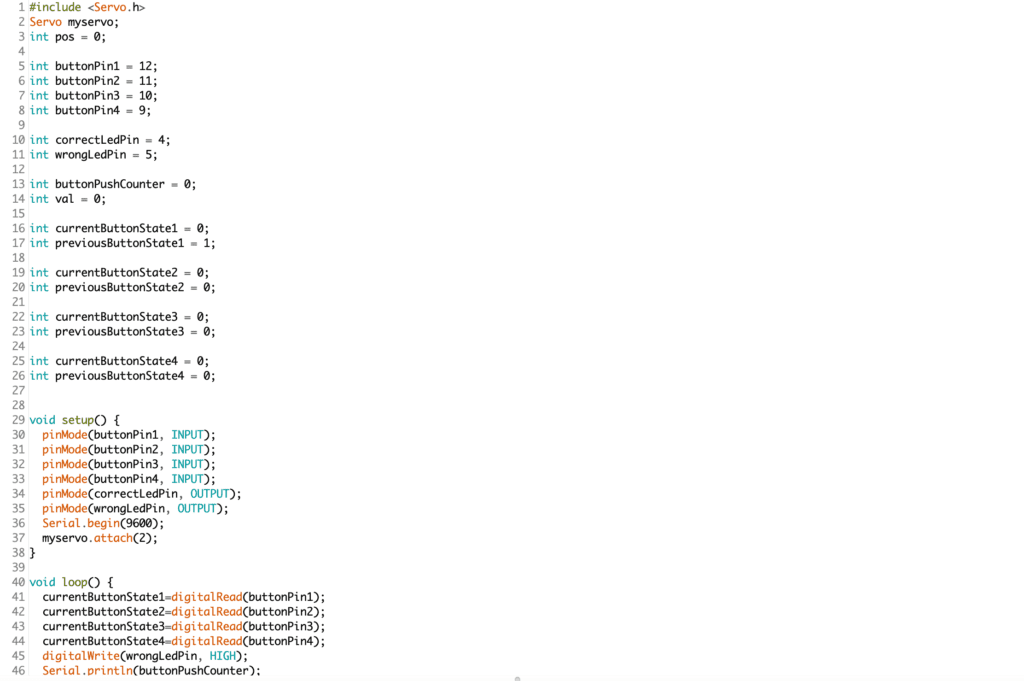
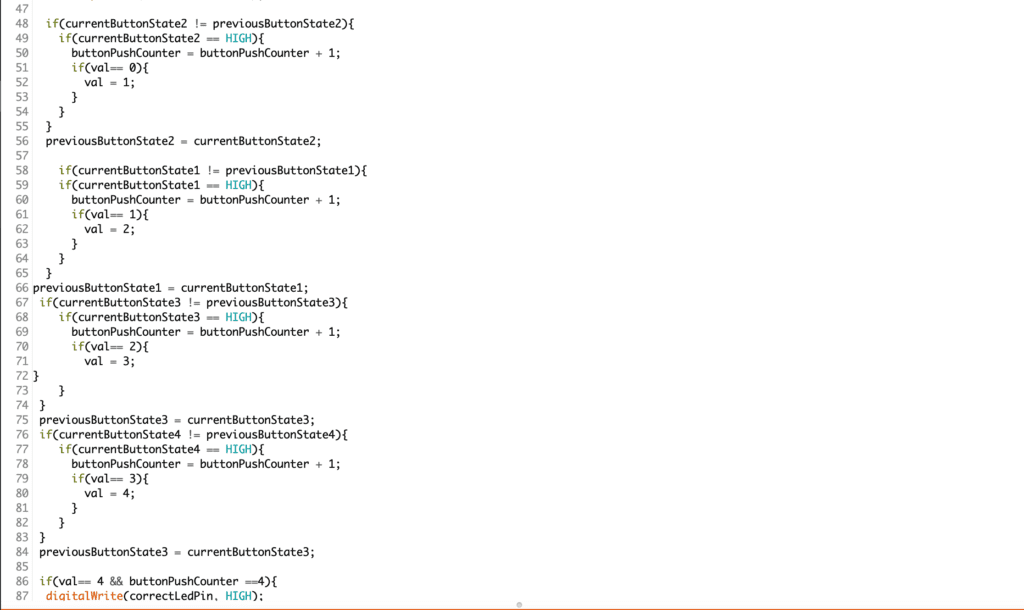
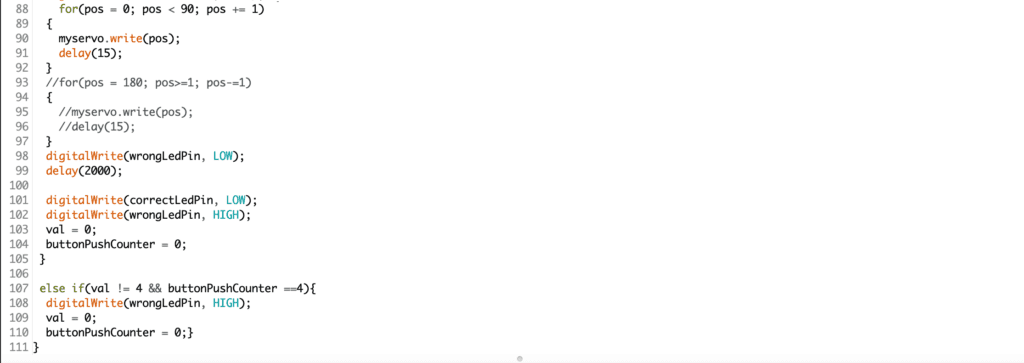
Below is my code of the project: Arduino code 1 Arduino code 2 Arduino code 3

I referenced several projects to help get this code up and running. Below are links to all those projects. 

https://highvoltages.co/tutorial/arduino-tutorial/combinational-lock-using-push-button-and-arduino/

Button Combination Lock

http://lizastark.com/physcomp/week-4-controlling-led-outputs-using-a-combination-of-buttons/

Going forward:

To make this project more user friendly and interesting, I am considering the following changes.

  • Bring the breadboard inside the box and custom make a button that can sit outside. 
  • Have a reset button either with time or an actual button if the user hits the wrong button. 
  • Have a better locking mechanism. I was thinking of fabricating an eye hook. 
  • Have the ability to relock the box with the servo rather than by hand. 
  • Code the ability to change the combination. 

Pressure Sensors

This week’s labs had us build circuits that are activated by some sort of analog input.  I enjoy working with pressure sensors, so I decided to stick with them.

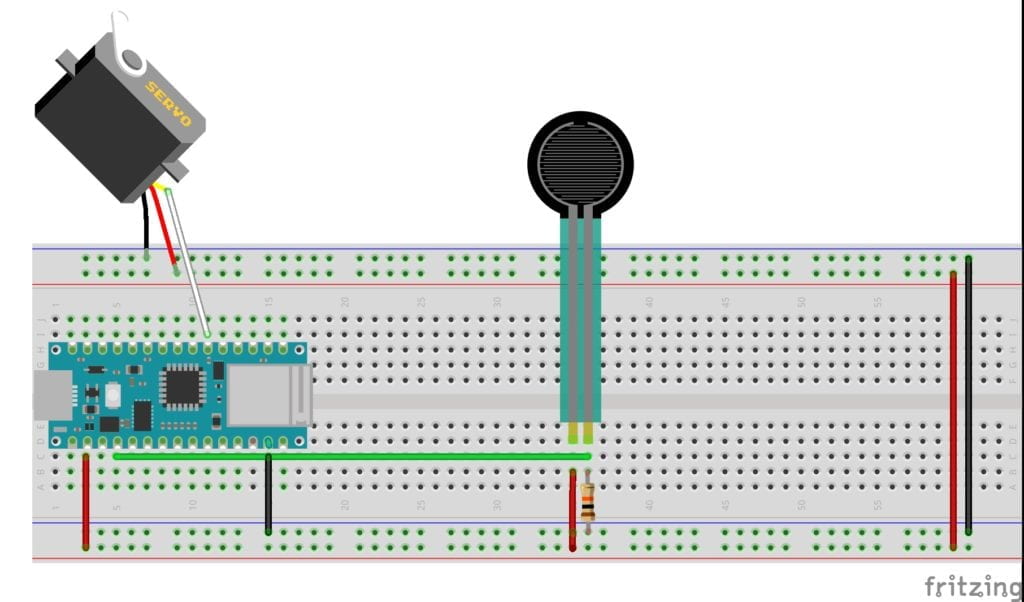
The first lab had me running a servo motor. The wiring and code seemed straightforward, and I was confident that I would get it up and running quickly. Unforchentely, I ran into a problem that I couldn’t explain. The servo wouldn’t turn on. I started my troubleshooting by mapping out the pressure sensor to make sure I was getting a reading. The pressure sensor was working correctly. I checked power to the servo next. I had power. Usually, my problem comes from my code, so I checked and re-checked it. Everything looked to be in order, so I decided to tear apart the circuit and rebuild it. After the rebuild, the servo was still not working. At this point, I needed a break. The next day a few of my classmates troubleshot the circuit with me. Eventually, someone mentioned that the servo might be broken. Quickly we switched it out, and everything worked perfectly. I tried two other servos, and they also worked. Lesson learned. 
Top down sketch of a breadboard layout. A pressure sensor is running a servo.


Video: Servo

The second lab was to run tones through a speaker and control them with sensors. 

Again, I couldn’t get the final device to activate. Power was running to my sensors and the speaker, but no sound was coming out. I thought back to my last lab and tested to see if my speaker was functioning and that my solder was good. Everything checked out. Something had to be wrong with my code. Eventually, I noticed that I had not mapped the sensor range correctly. After correcting for the proper mapping, the speaker worked! A much quicker fix then the servo lab. 
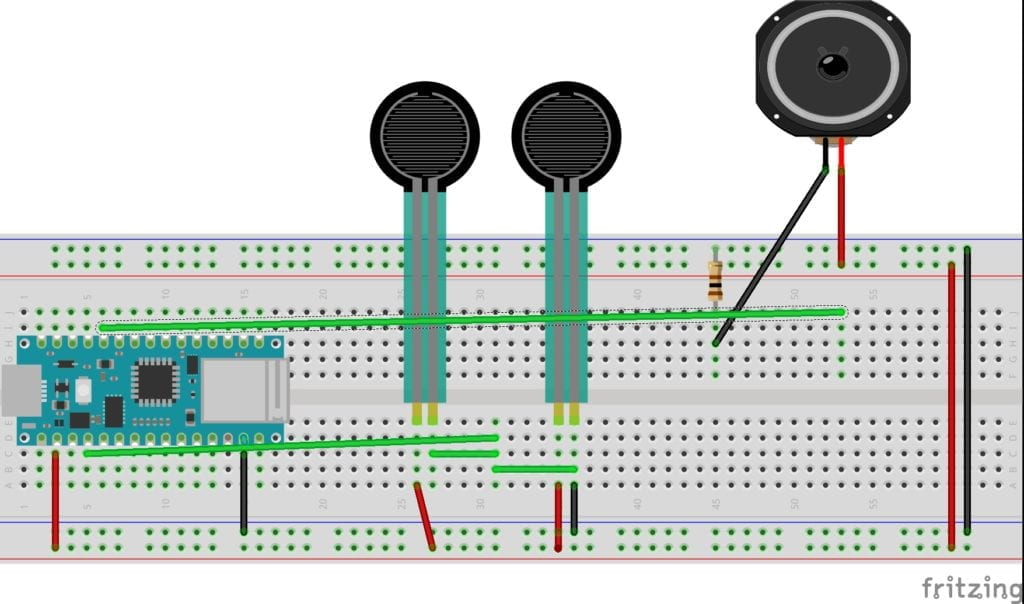
Example 1: Two pressure sensors running a speaker. 

Top down sketch of a breadboard layout. Two pressure sensors running a speaker.

Video: Two pressure sensors running a speaker

Video: “pitches.h” library example

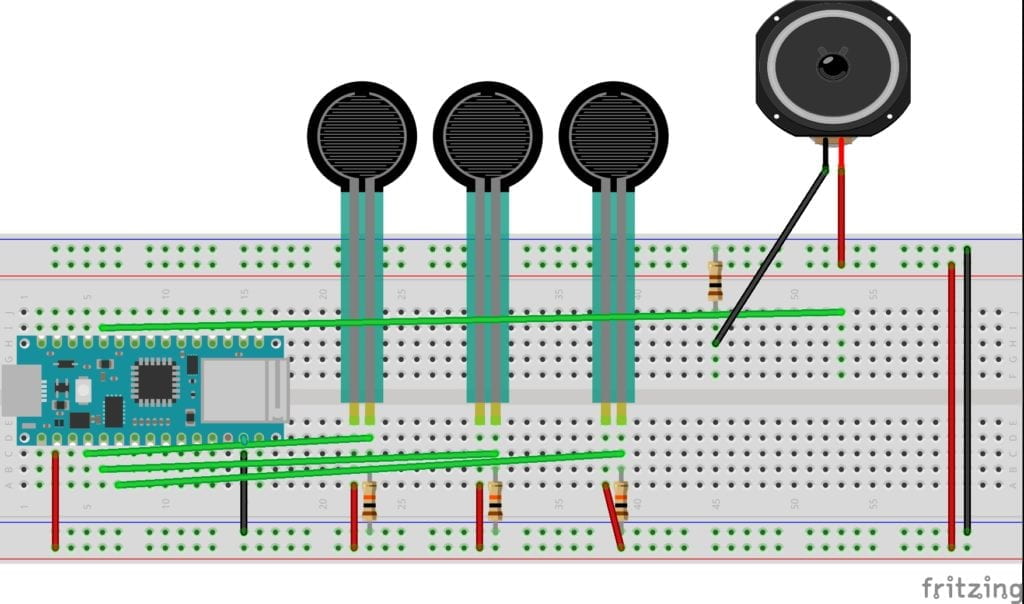
Example 2: Three pressure sensors running a speaker.

Top down sketch of a breadboard layout. Three pressure sensors running a speaker.

Video: Three pressure sensors running a speaker

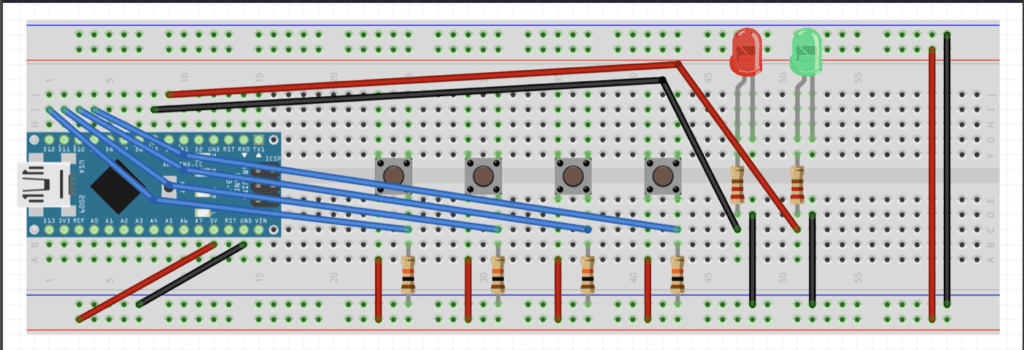
To wrap up this week my partner Stephanie Chen and I started to design our first project. We decided to make a padlock using four buttons. We started researching how to make this happen and developed a basic circuit sketch. We hope to get the circuit running, then change out the controls and build nice housing. 

Top down sketch of a breadboard , four switches, 2 LEDS.