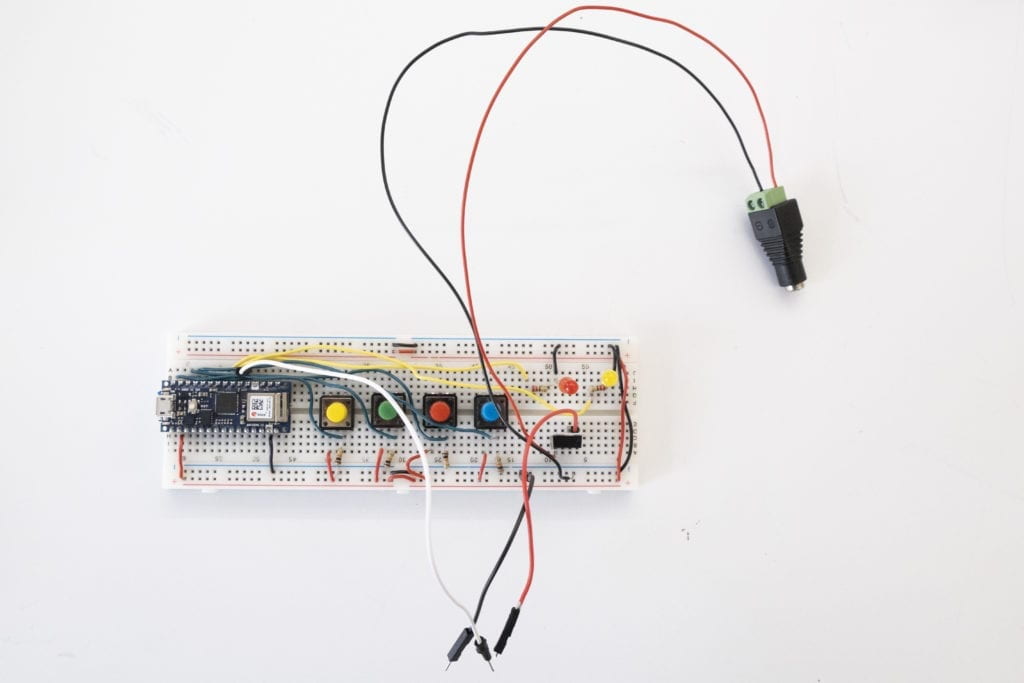
For my first project, I decided to make a lockbox. I figured making a custom for button arrangement would be a challenge for my coding and construction skills so I broke this project down into small stages. First, I wanted to just get the switches up and running using LED’s. If the user punches in the correct code, the LED would switch from red to yellow. The password, in this case, is 2,1,3,4, but don’t share that.
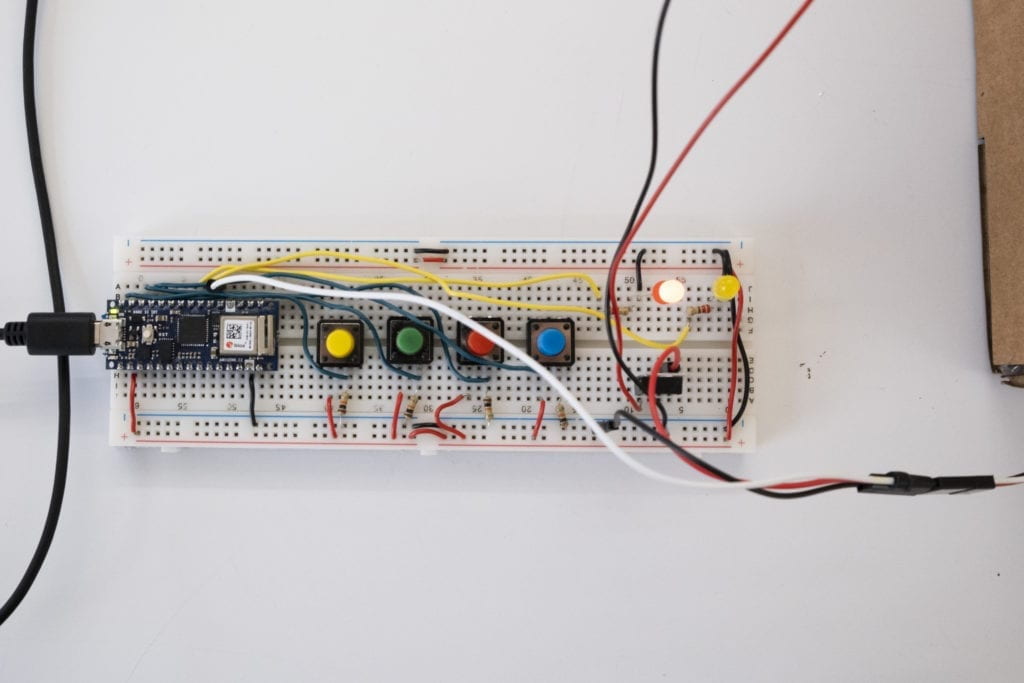
Below is an example of the lights working.
Servos have been my nemesis over the last couple weeks so I wanted to take this project another step and include one as a locking mechanism.
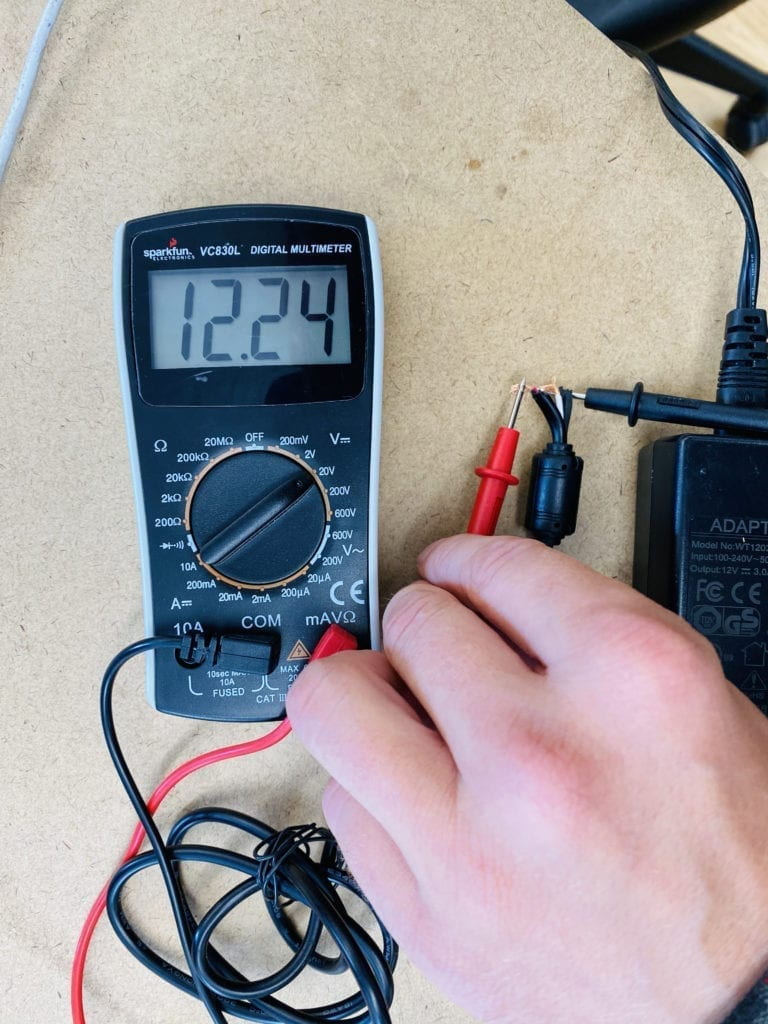
To achieve this, I needed more voltage to run my servo. The Arduino Nano couldn’t get the job done. I went over to the junk pile on the floor to find a power supply that would work.
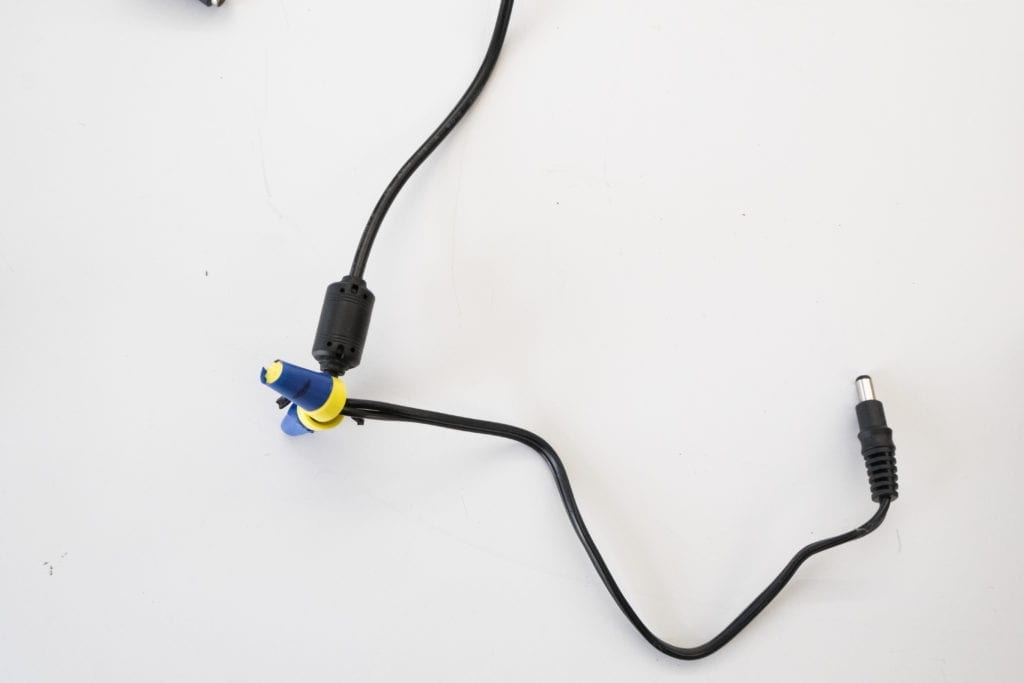
The power supply was 12 volts and just raw wires. Luckily I found more components that I could wire together once I knew I was getting the proper voltage. 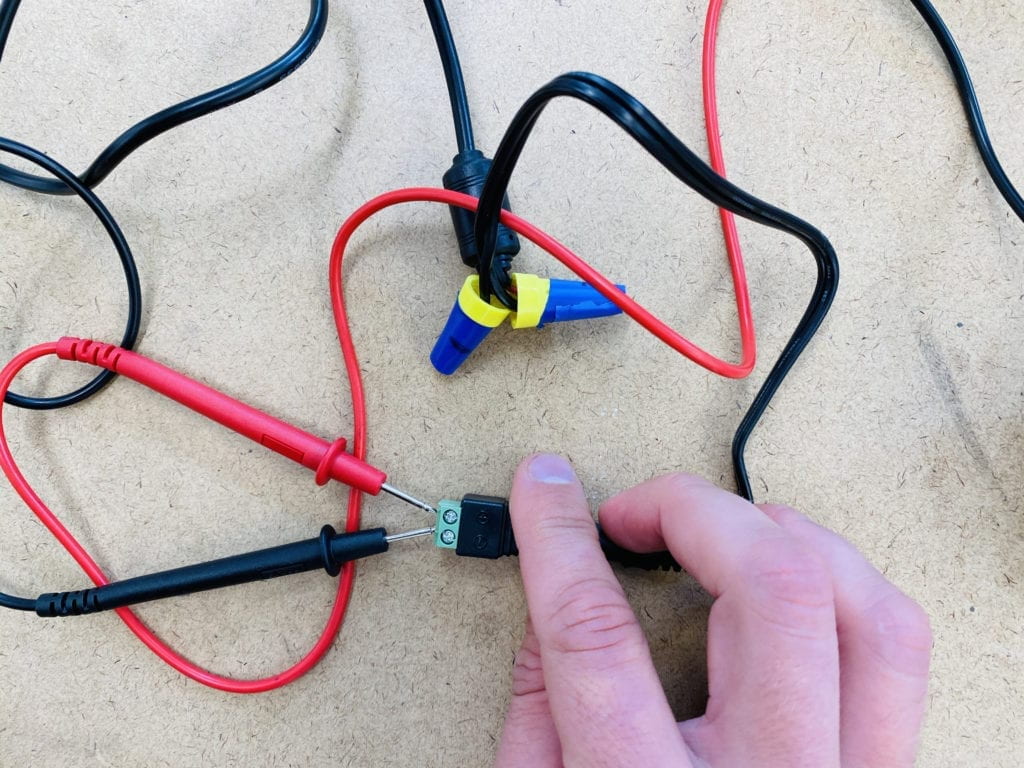
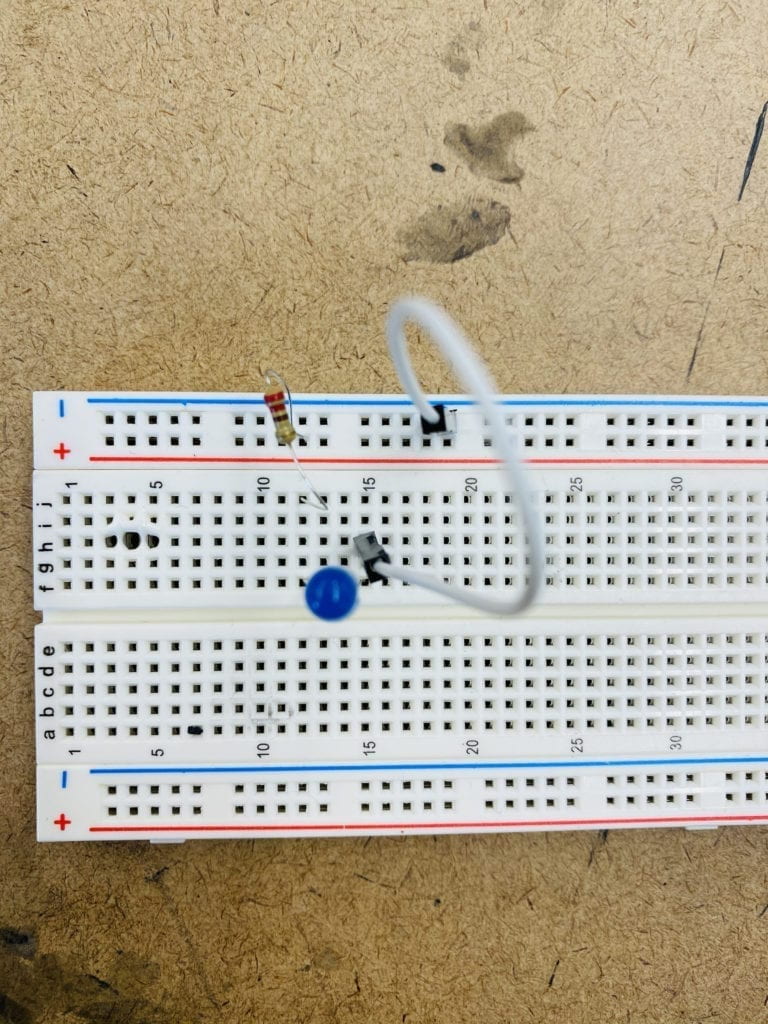
I have never used a voltage regulator, so I got a spare breadboard out and attempted to light just a single LED. I wired the regulator wrong so instead of converting 12v to 3.5v I melted my board. I misread the datasheet.
With new components, I was up and running correctly.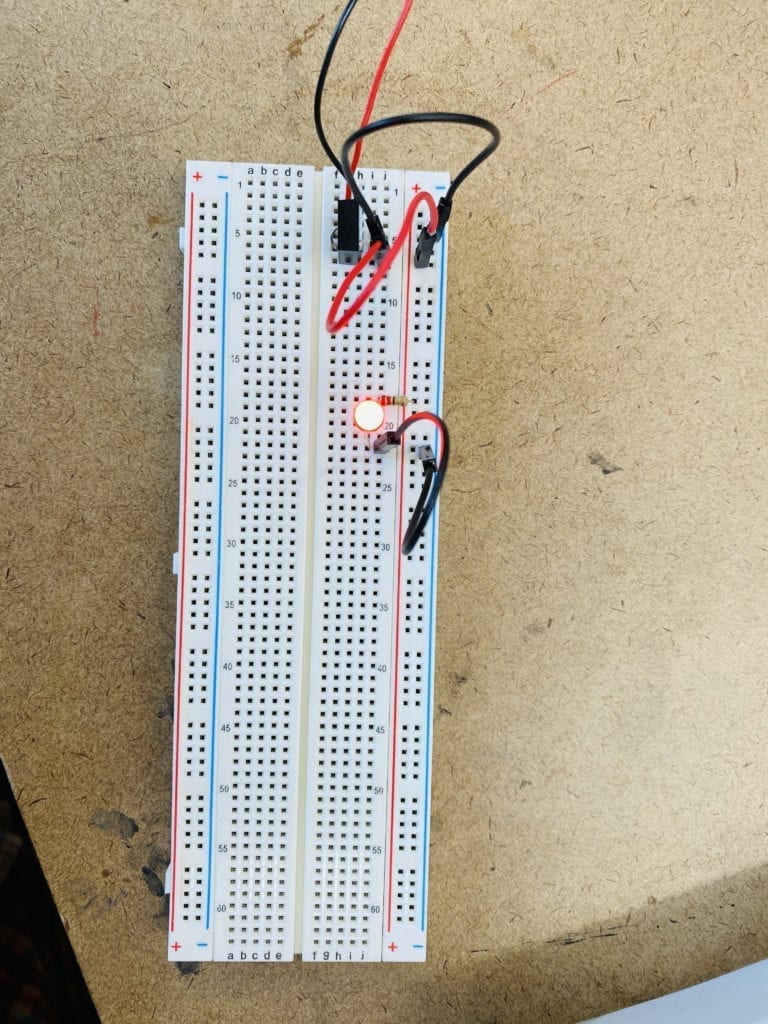
Servo attached to the breadboard. 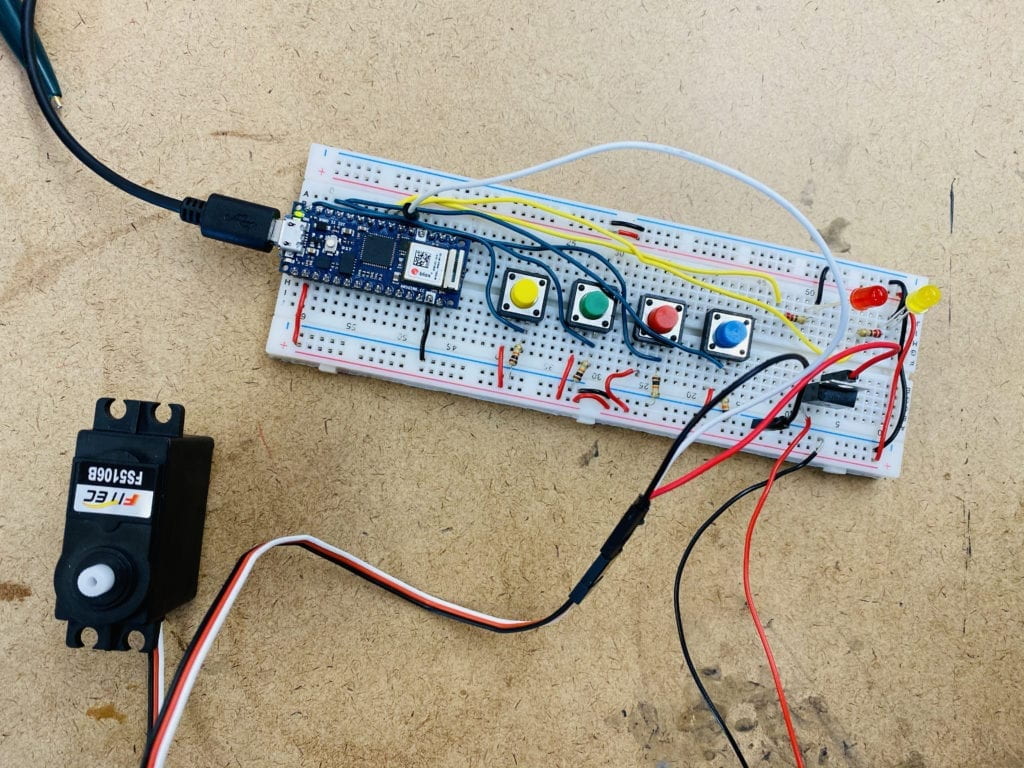
Servo up and running with the correct code.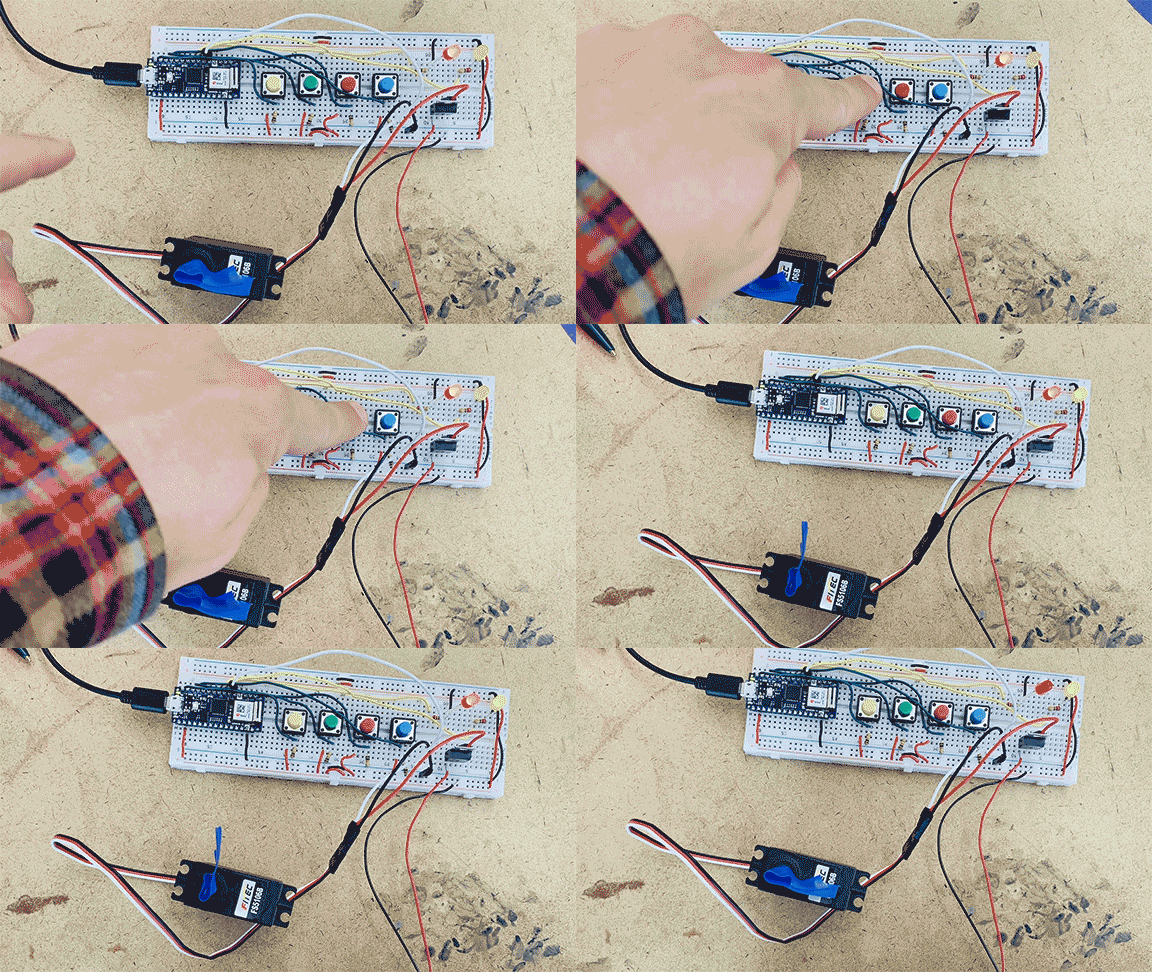
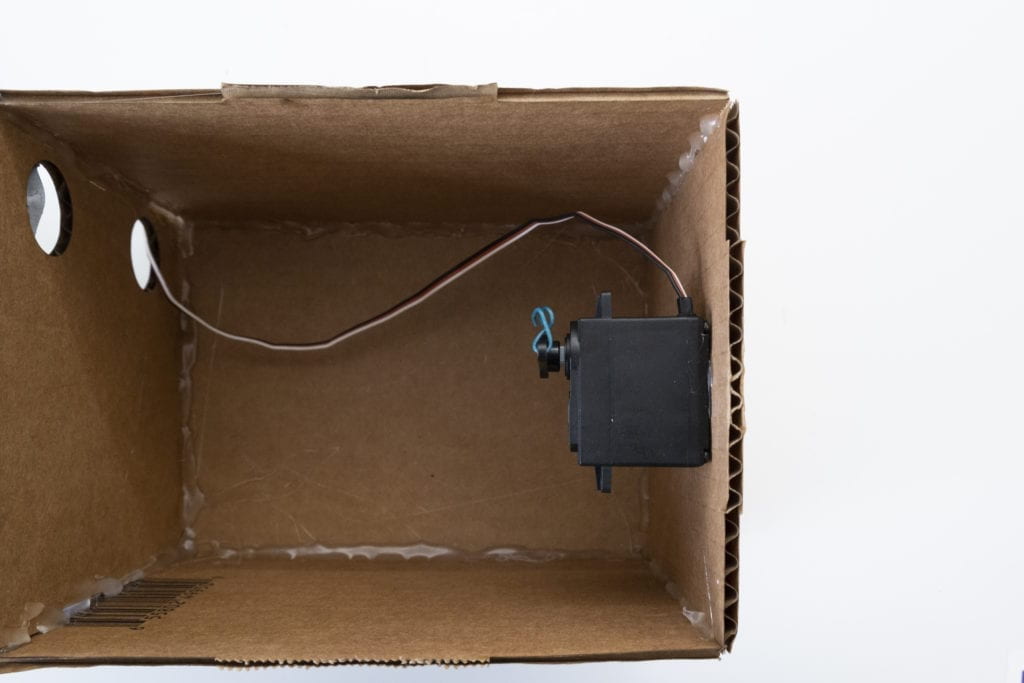
Latch on the interior of my box.
Servo inside the lockbox.
The servo and locking hook activated after the code is typed in.
And here is the piece in full use.
Below is my code of the project: 


I referenced several projects to help get this code up and running. Below are links to all those projects.
https://highvoltages.co/tutorial/arduino-tutorial/combinational-lock-using-push-button-and-arduino/
http://lizastark.com/physcomp/week-4-controlling-led-outputs-using-a-combination-of-buttons/
Going forward:
To make this project more user friendly and interesting, I am considering the following changes.
- Bring the breadboard inside the box and custom make a button that can sit outside.
- Have a reset button either with time or an actual button if the user hits the wrong button.
- Have a better locking mechanism. I was thinking of fabricating an eye hook.
- Have the ability to relock the box with the servo rather than by hand.
- Code the ability to change the combination.

