Drawing Game

This week I worked on developing a drawing game in Processing from scratch. It was slow-moving but a lot of fun to experiment with. 

To change the shapes and background, I played with different input keys. 

a – draws circles

b – draws a tight spike from the top left

c – draws triangles

d – draws squares

e – draws a tight spike from the bottom right

s – saves the frame

mouse click – erases the whole scene and draws a random background-color

 Demonstration video: 

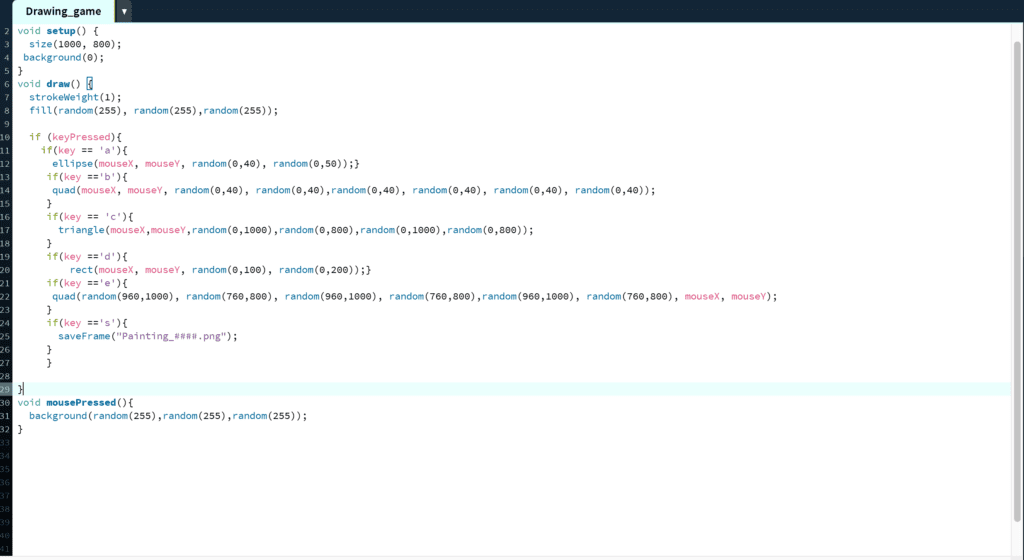
Code: 

Drawing game processing code

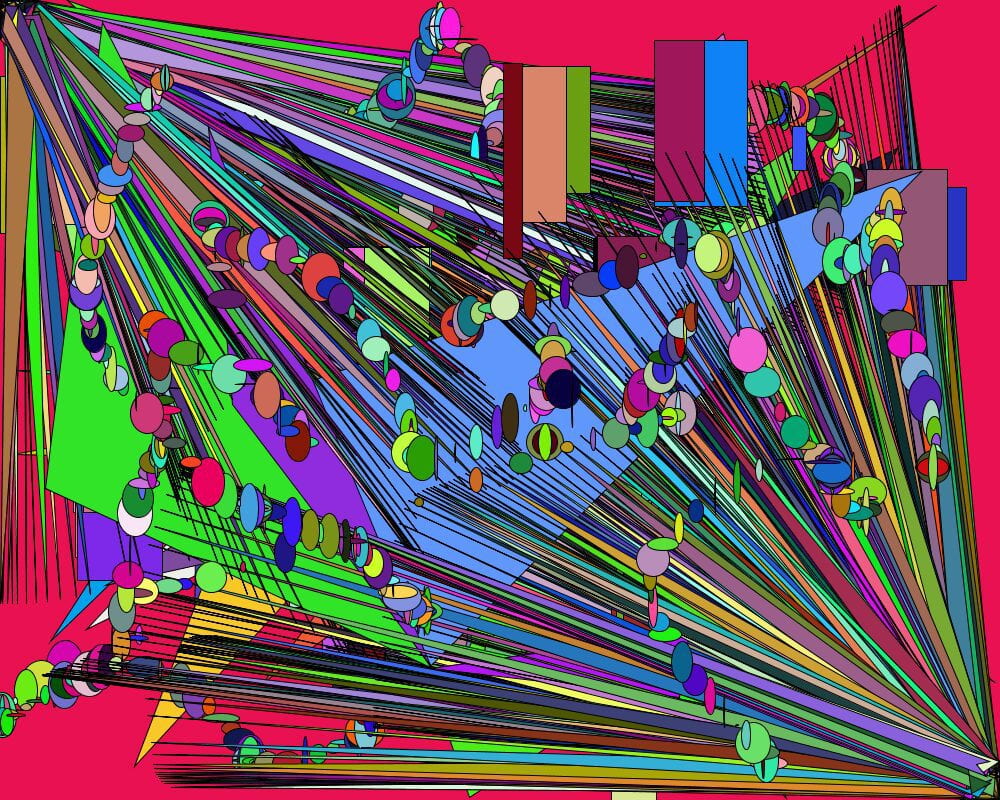
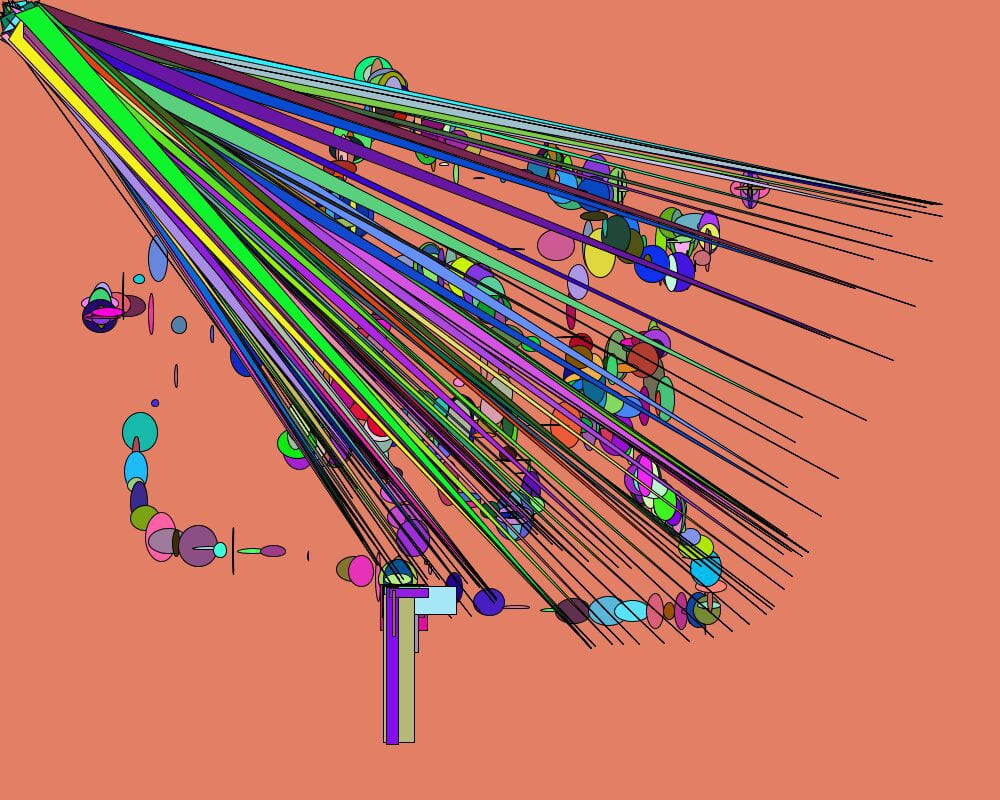
Saved Drawings: 

Example of drawing game

Example of drawing game

PComp Final First Steps

Big steps forward and backward. 

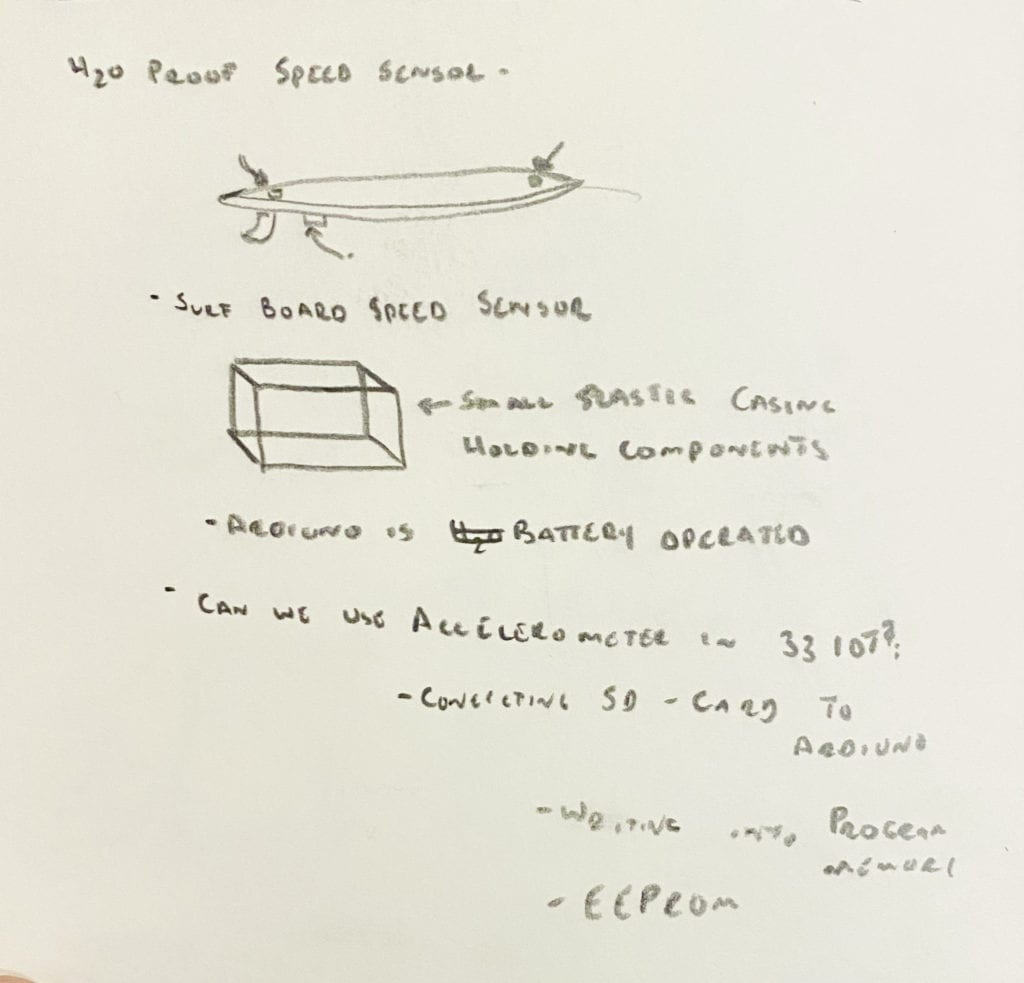
I landed on my final PCOMP project which will record the acceleration of a surfboard on a wave. I will then take this data and produce a physical model of the largest waves the rider surfed in that session. Currently, I have the code for the accelerometer working along with the ability to run the entire board off battery power. 


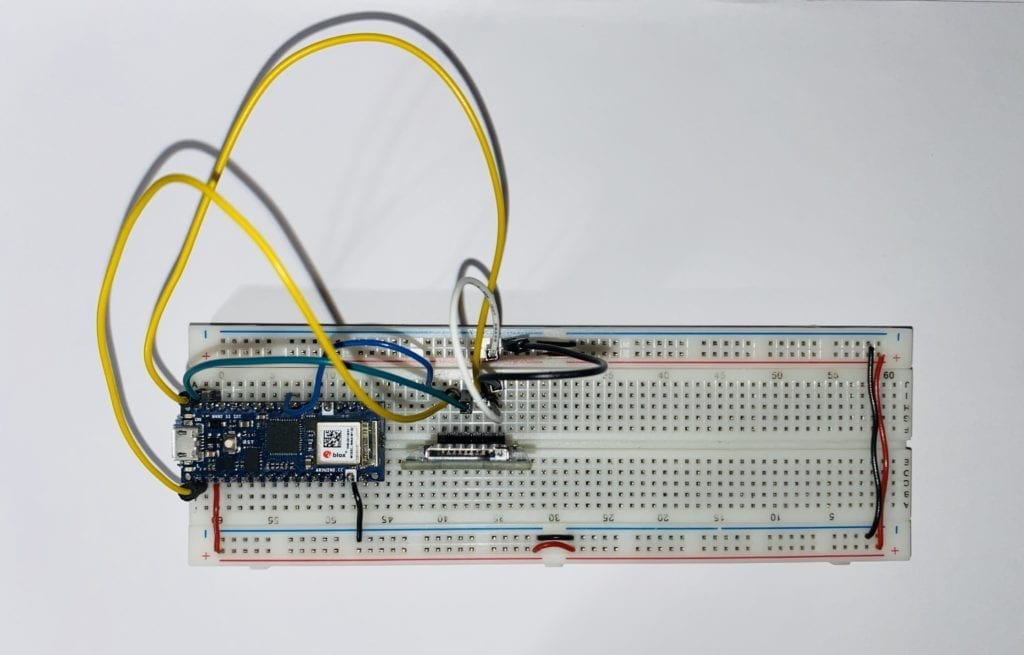
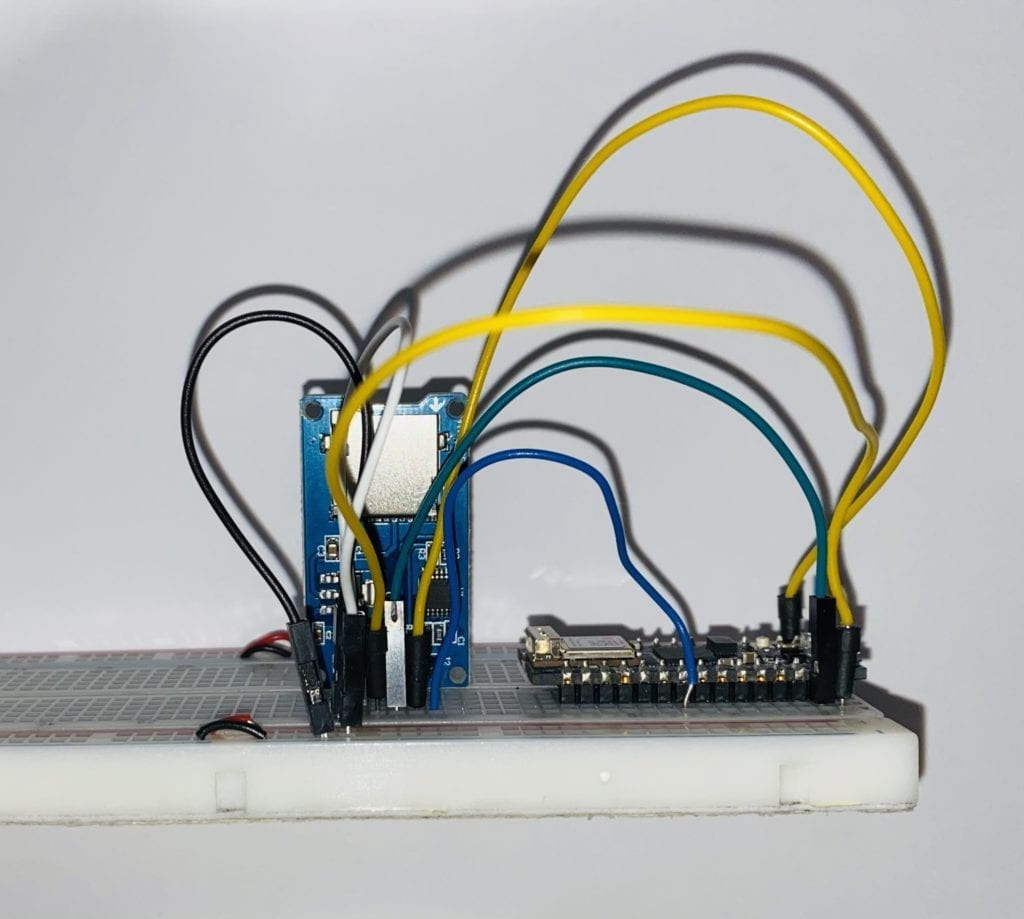
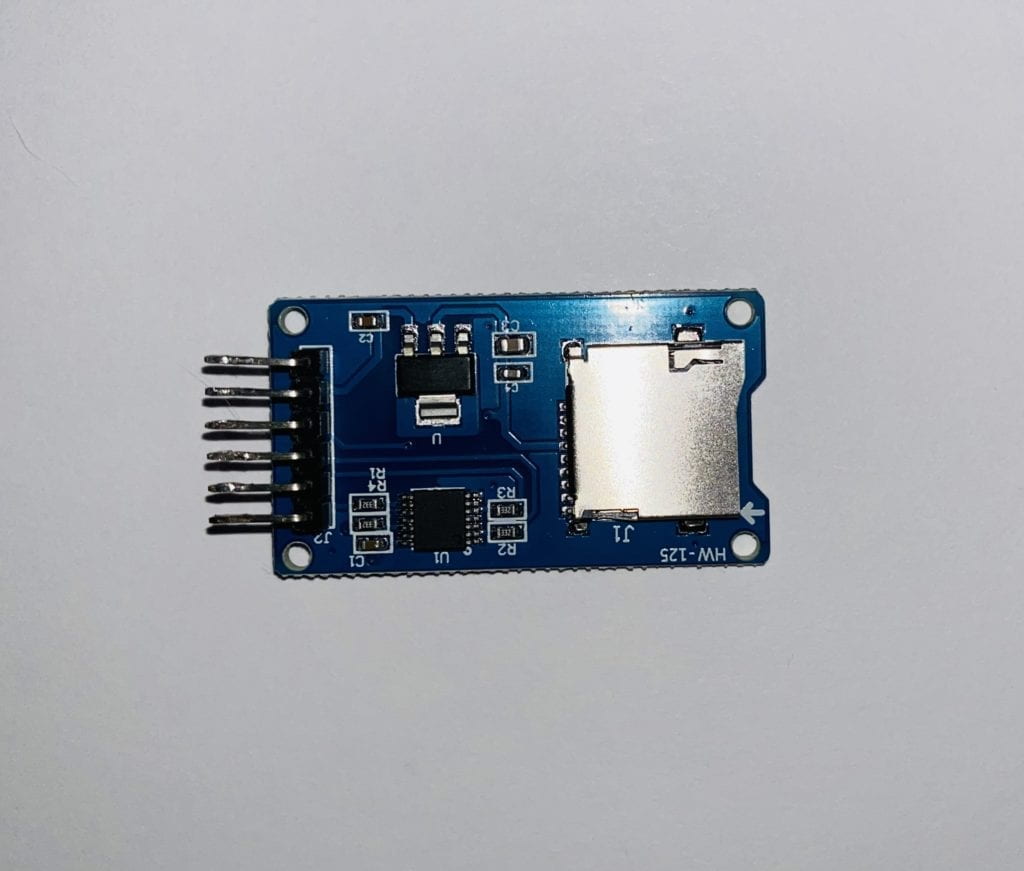
I can’t for some reason get my SD card reader up and running. I have tried multiple SD card libraries and readers to no avail. Once I get this up and running I will be able to test the system before taking it out in the water. 


Arduino w/ sd chip


Arduino w/ sd chip


SD Chip


ICM Final Project

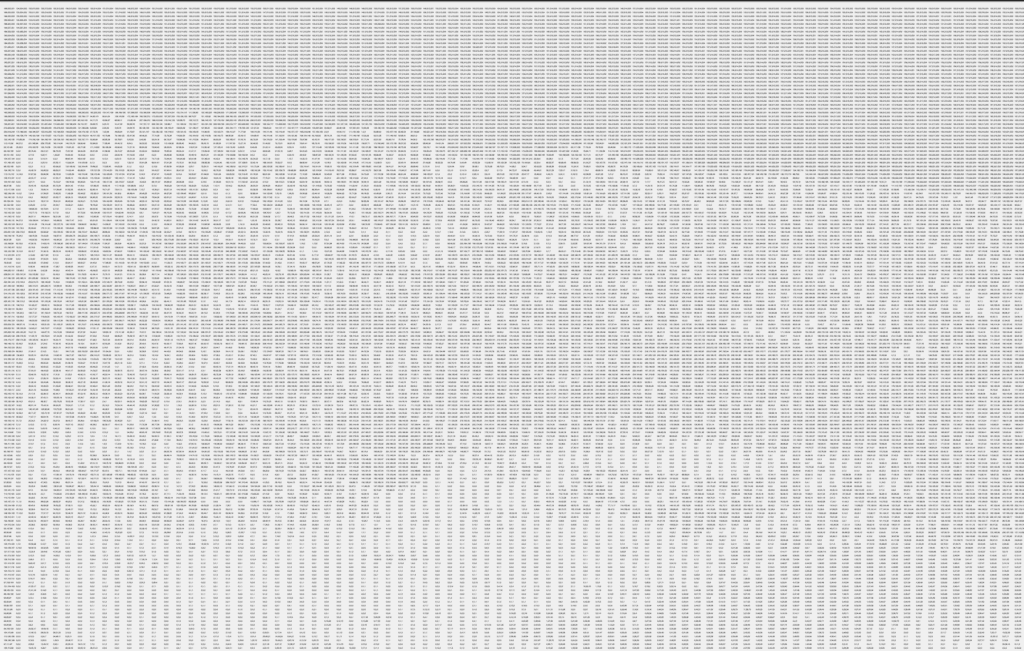
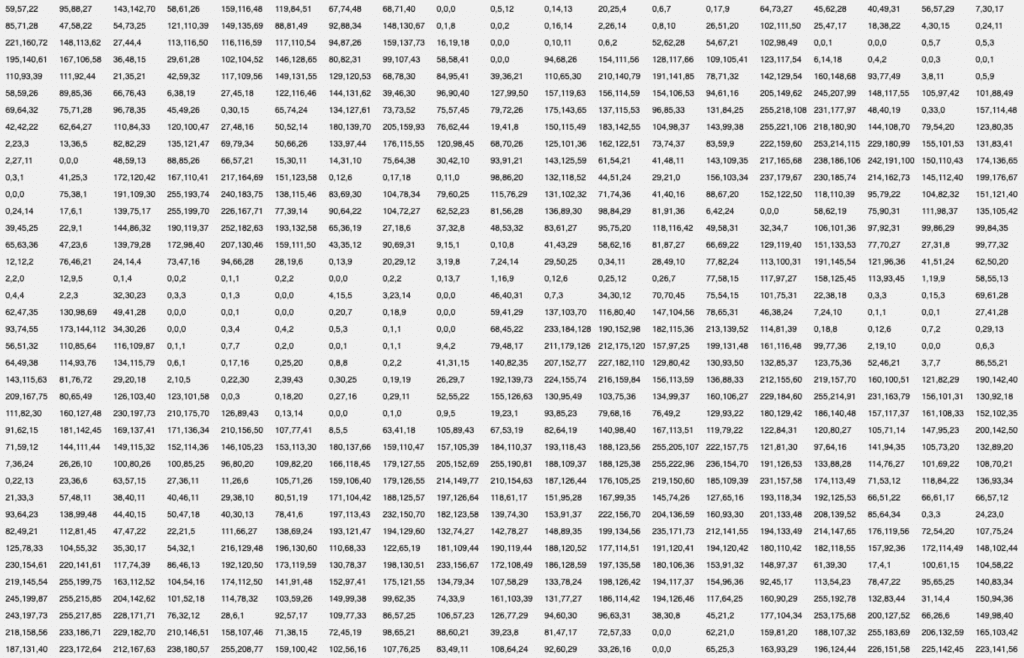
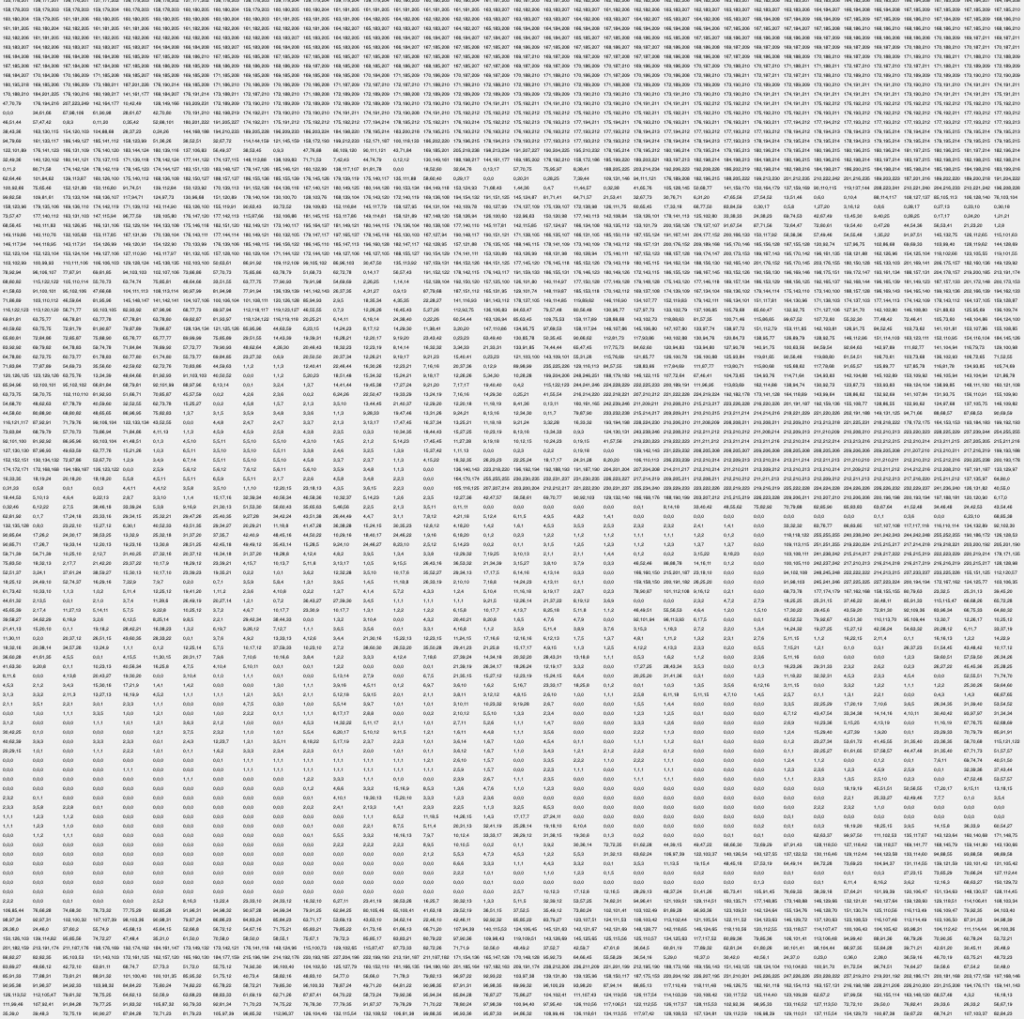
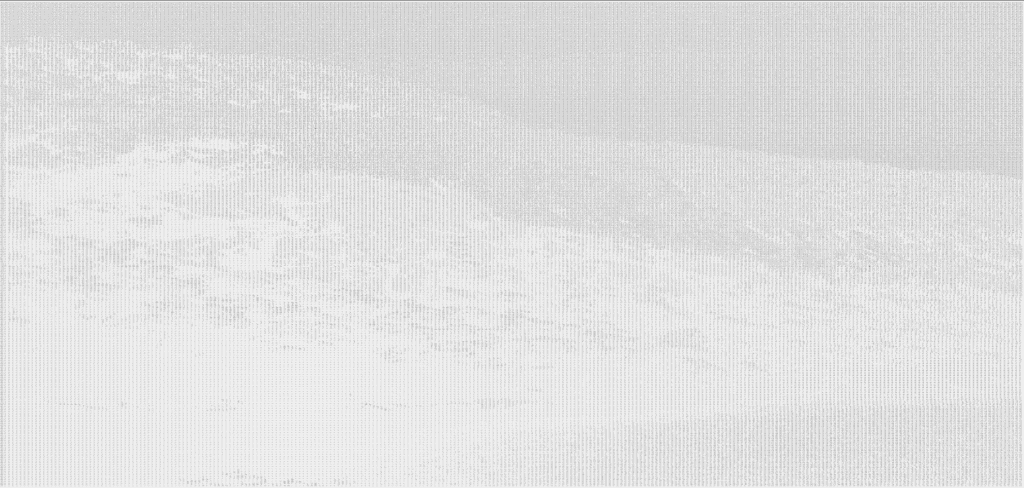
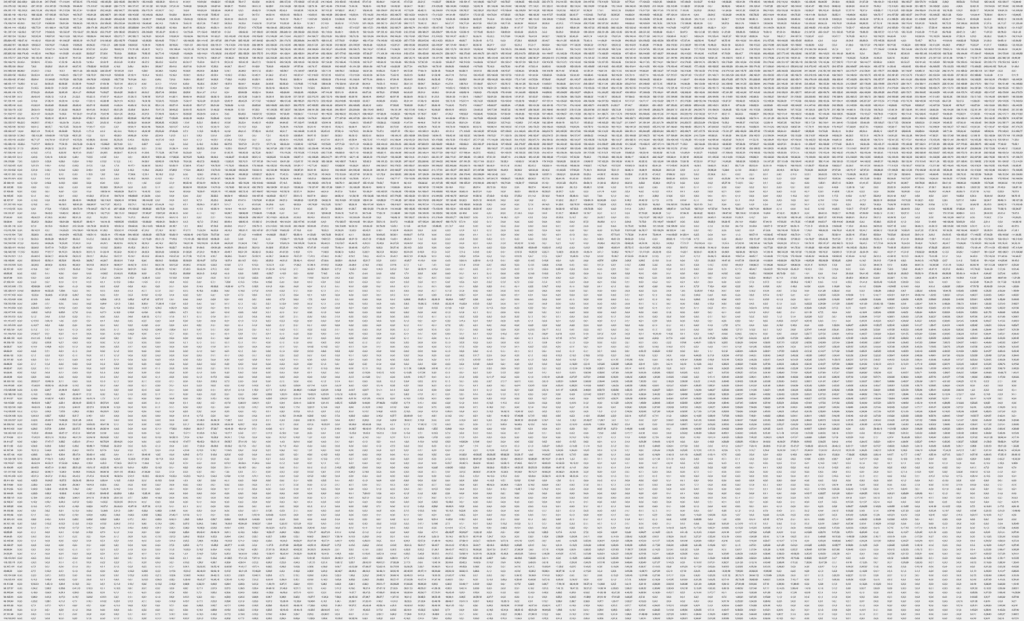
My final project for ICM will be a continuation of my RGB conversion process script. In this script, I import an image, and the script displays the RGB value of every pixel that makes up the image. I was pleasantly surprised at the beautiful patterns that the numbers made. Each image drastically different depending on its original color pallet. 

Script improvements and modifications: 

  • Change the color of every pixel reading from black to the color it represents. 
  • Change the font size/canvas size to proper proportions of printing.
  • Export the new images from my script.
  • Print the images – 20×24.
  • Sort the pixels by color value from light to dark.
  • Make a digital version that is interactive. Example: When you scroll over a value it increases in size. 
  • Experiment with other ways in presenting this data. 

Below are two examples of the data from one image. 


Cornell Box

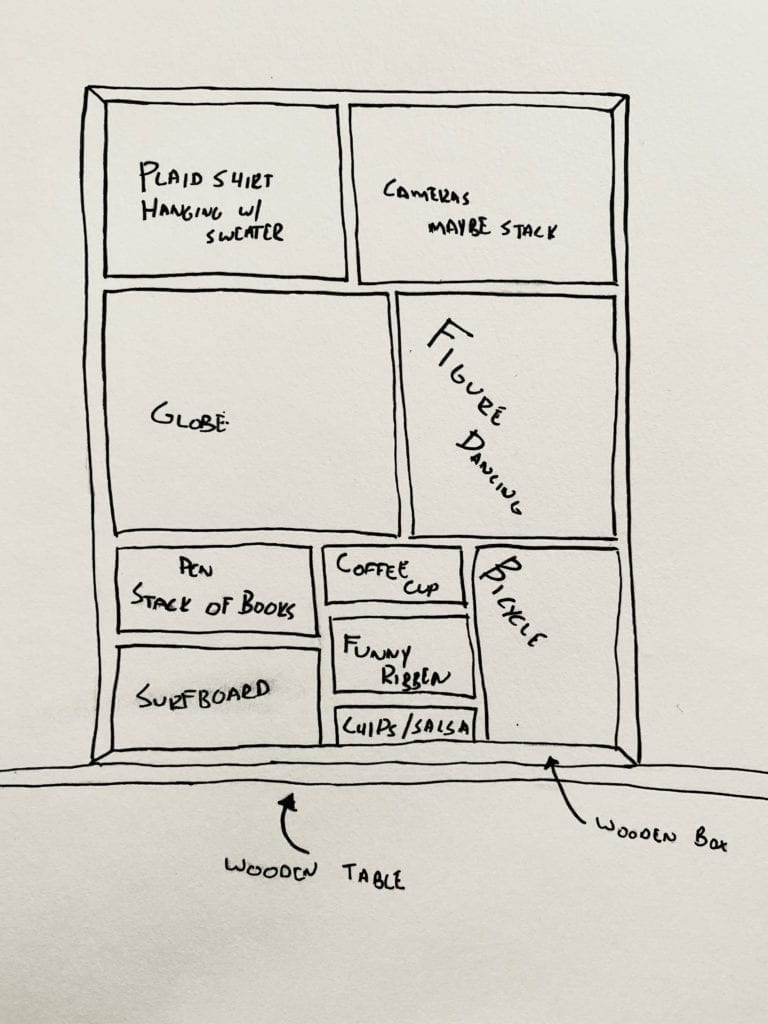
Over the holiday weekend, I asked some friends and family to name an object that reminded them of me. I really opened myself to some jokes with that question. All jokes aside, I got some sweet and fun answers. I took the responses and designed my Cornell Box. 

To fill the box, I plan on scanning some of my personal objects and use found 3D objects. I also plan on scanning myself dancing. 

This weekend I have started experimenting with Capture and Scandy Pro to 3D scan my personal objects. I’m running into problems getting clean scans. I’m finding the front-facing camera difficult to work with. 

Sketch of my Cornell Box

 To scan me, I’m using in3D. This is also proving to be slightly difficult. I still haven’t been able to get a clean scan. To rig and put a motion to my character, I’m editing myself in Mixamo. 

Pcomp Project 3 Idea


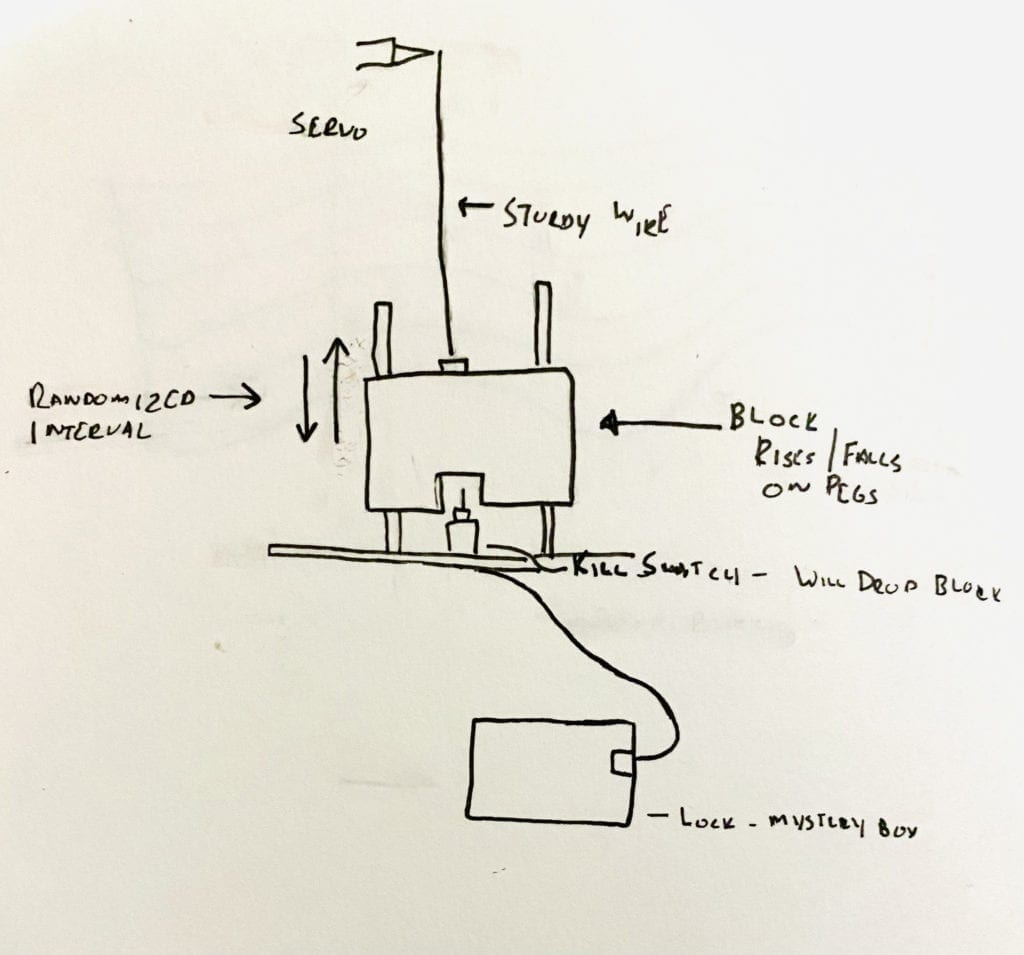
Lockbox mystery

Lockbox mystery

This device encourages the user to attempt to flip a kill switch to see the inside of a mystery box. If the switch is successfully flipped, the locking mechanism will release. However, the block will dropdown. 

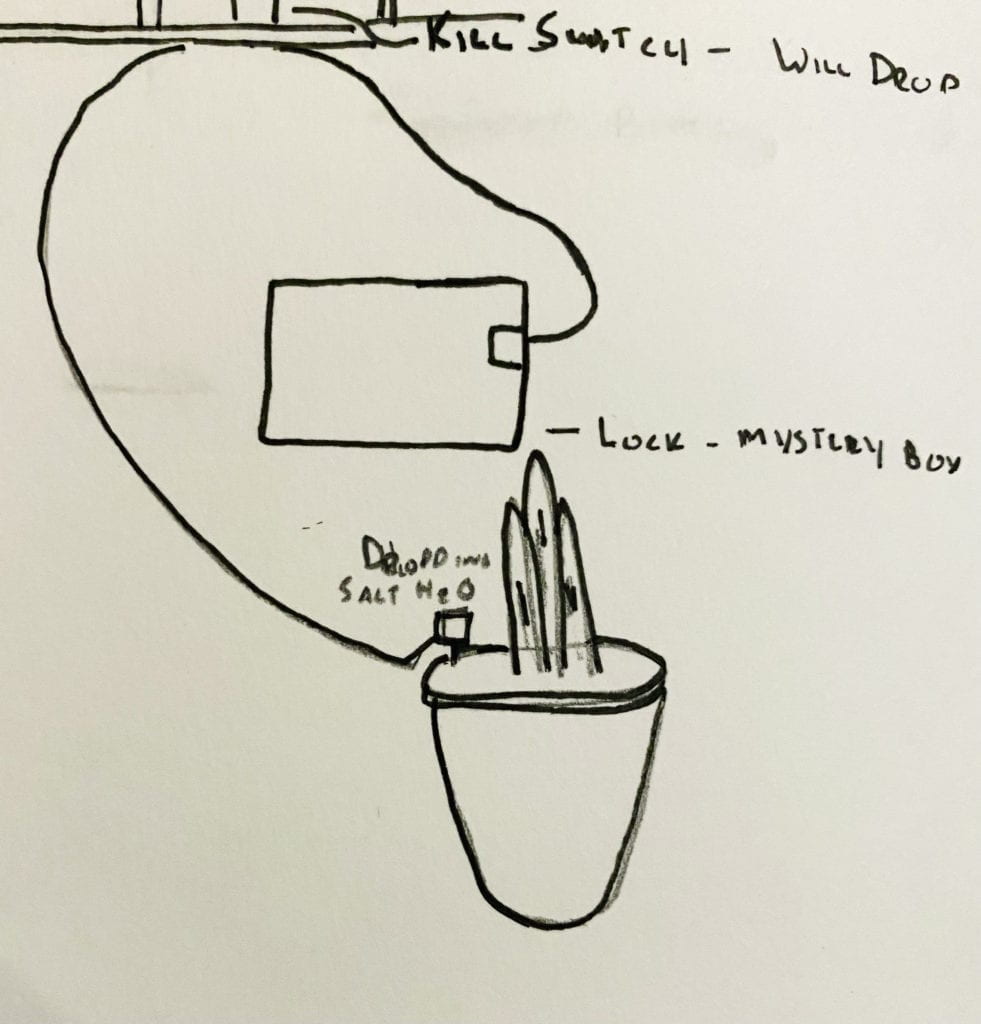
Version two would be unless the kill switch is activated, saltwater is dripped into a plant, eventually killing it. Questioning whether the viewer will risk discomfort and possible failure to save the plant.

Surfboard sketch
I believe that the data will be wave-shaped while the rider is on the wave. A rapid acceleration followed by a gradual slow down until followed by a sudden drop-off. I then want to take this data and print them, presenting a graphical representation of the waves caught. 

Frank the Gowanus Canal Monster

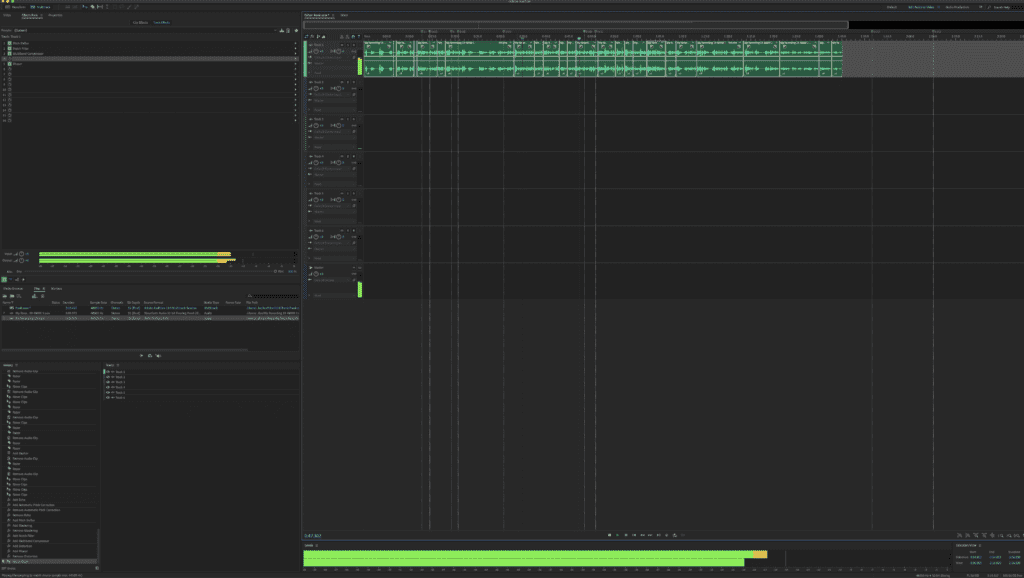
For this assignment, I decided to visit an old friend of mine Frank, the Gowanus Canal Monster.  To make this piece, I recorded myself and edited the file in Adobe Audition. I then took that MP3 file and used it in my P5 sketch to control Frank’s mouth movements. 

I hope you learn something new about the Gowanus Canal and laugh a little. 

Adobe Audition file

Click here to see a fullscreen version. 

Click here to see the code. 

Click the restart button below to start the piece. 

Motors, Motors, Motors

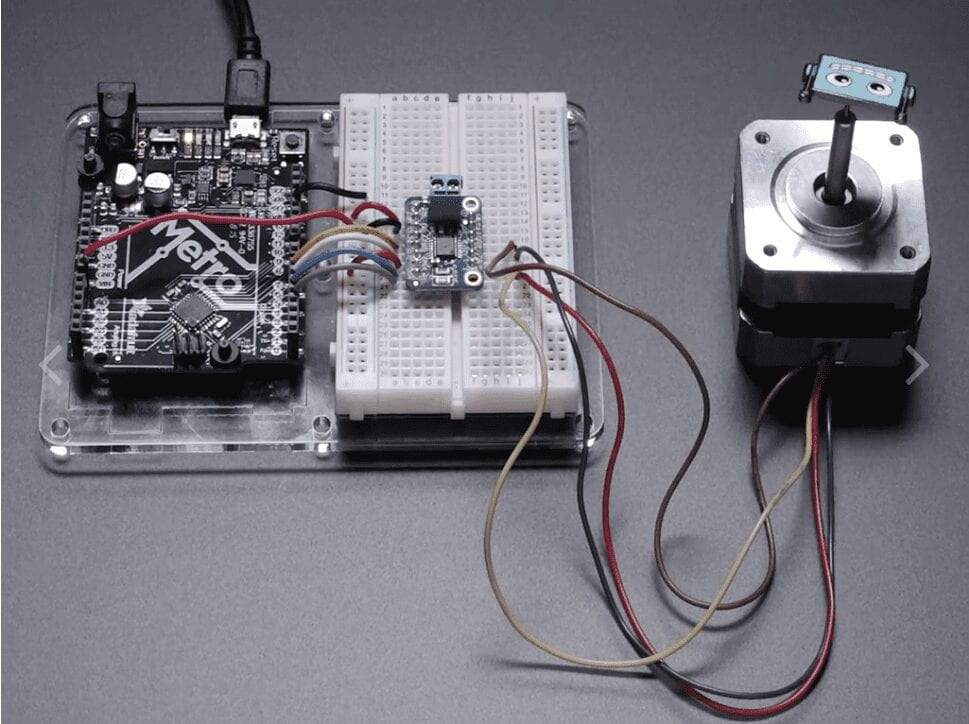
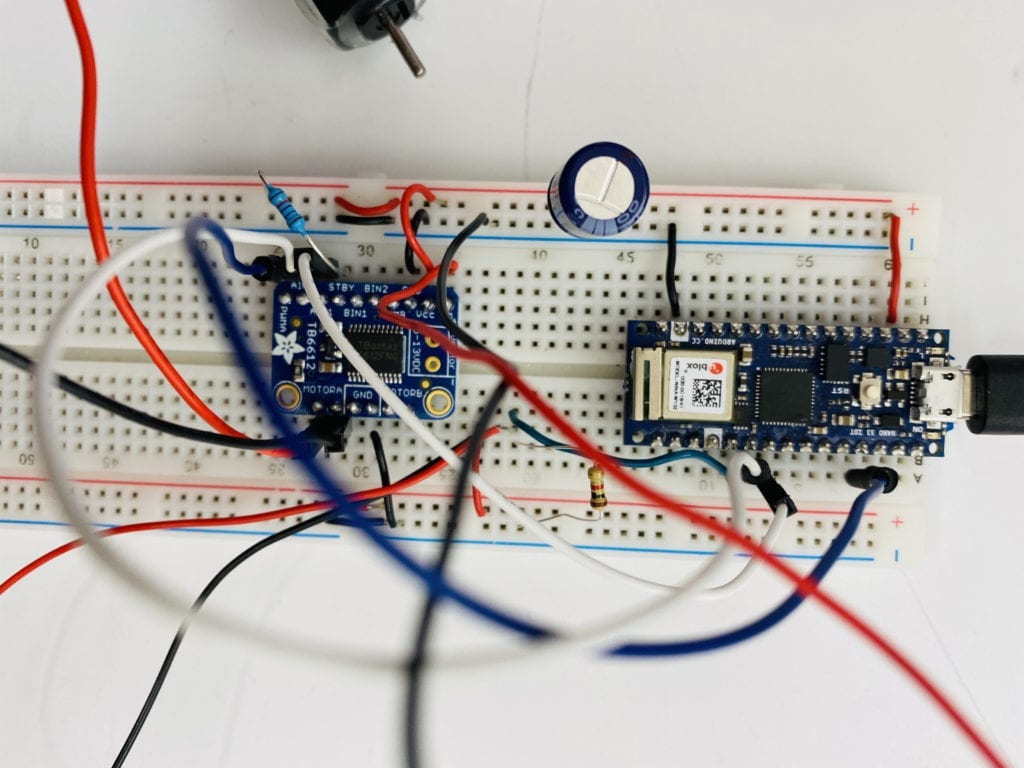
This week I worked on the motor labs setting up three different systems. It was interesting using different motors than the servos I’ve been experimenting with for my previous projects. 

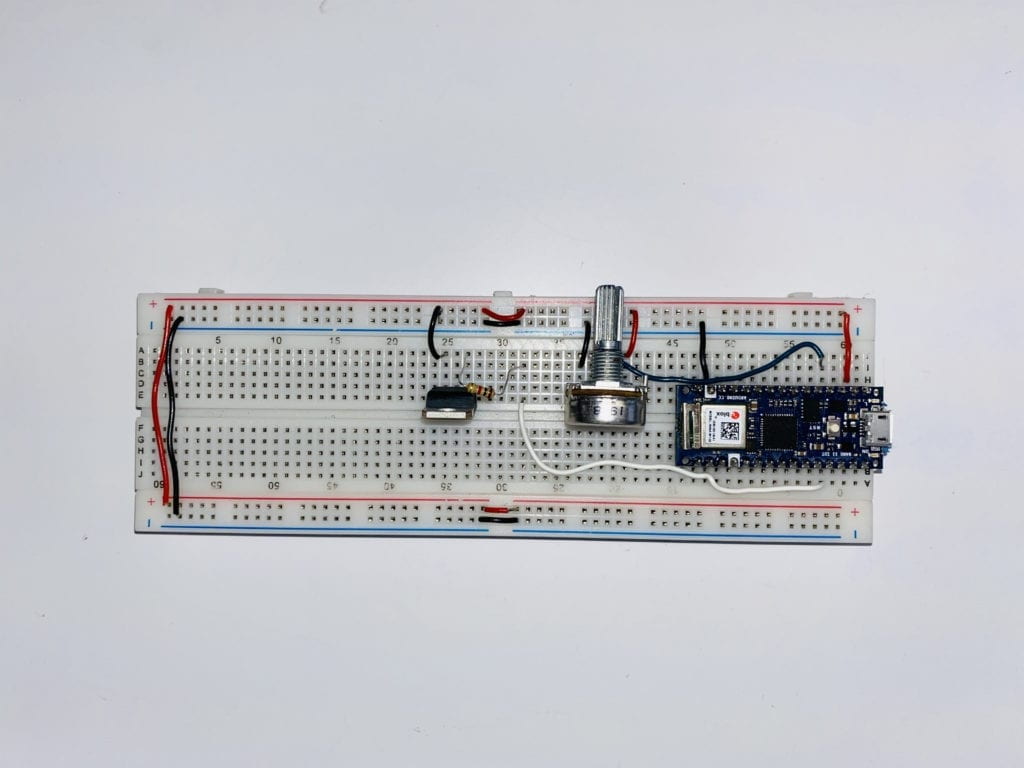
pcomp circuit board

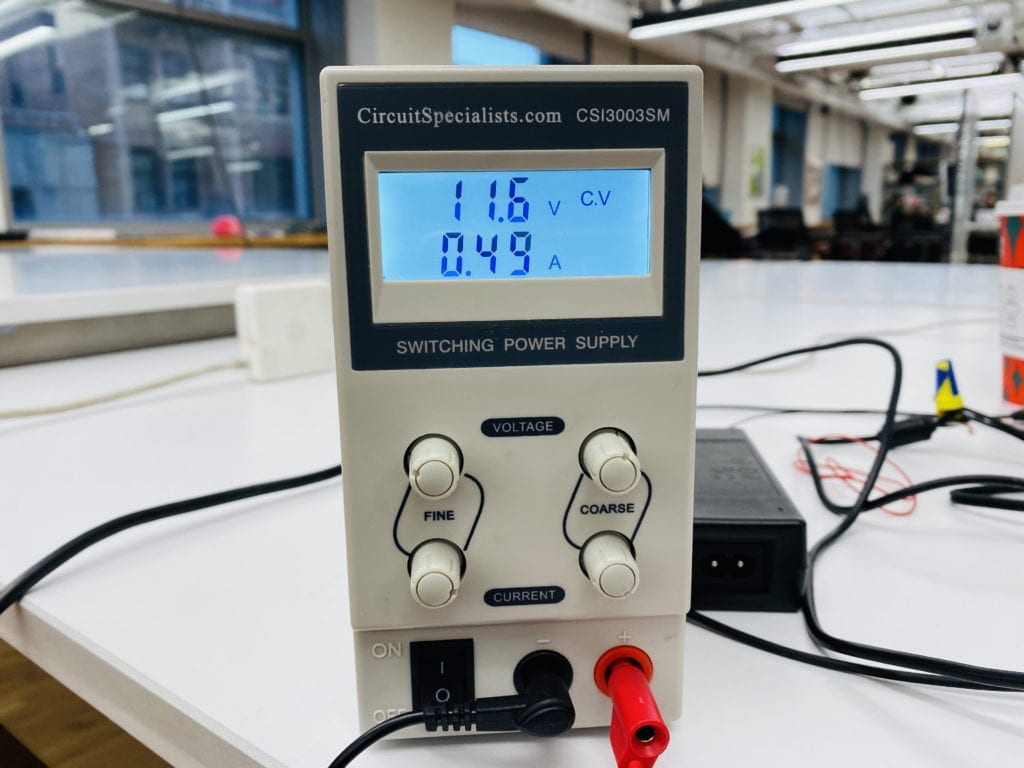
I was having a hard time with my power source, so I took out the power supply to make sure that the motors were, in fact, working correctly. They were. It turns out I needed to re-wire my power source. 

pcomp circuit board

With the power source sorted, everything was smooth sailing. 

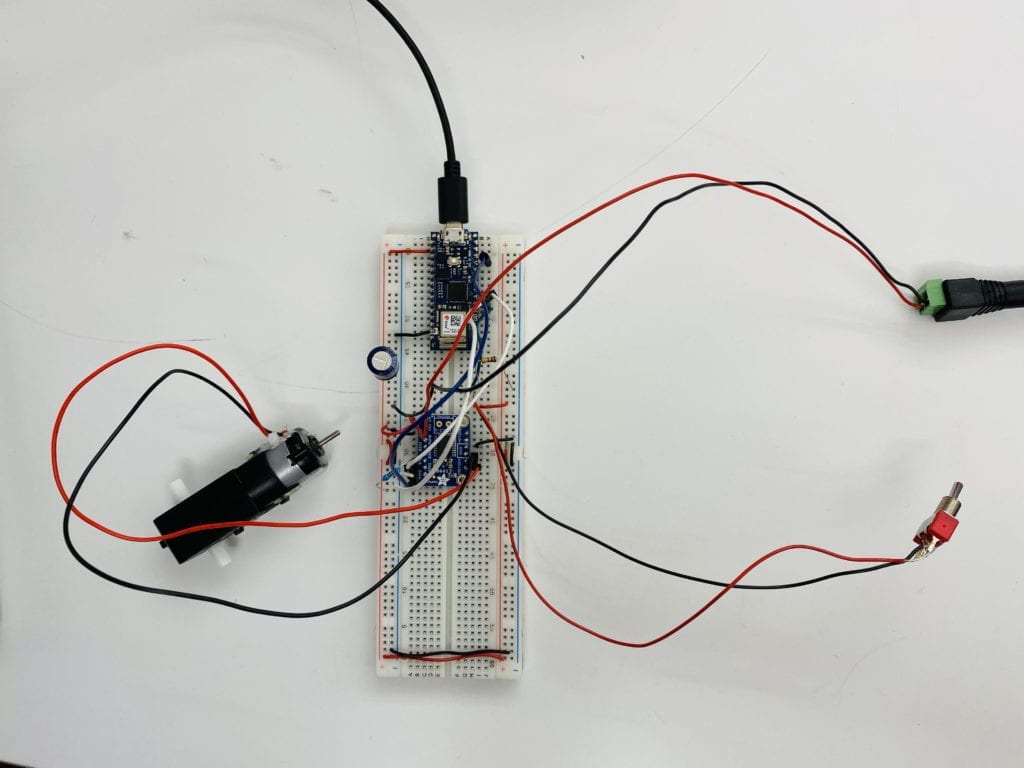
Introduction to H-Bridge:

pcomp circuit board

I really enjoyed the dancing motor on the table.  

pcomp circuit board

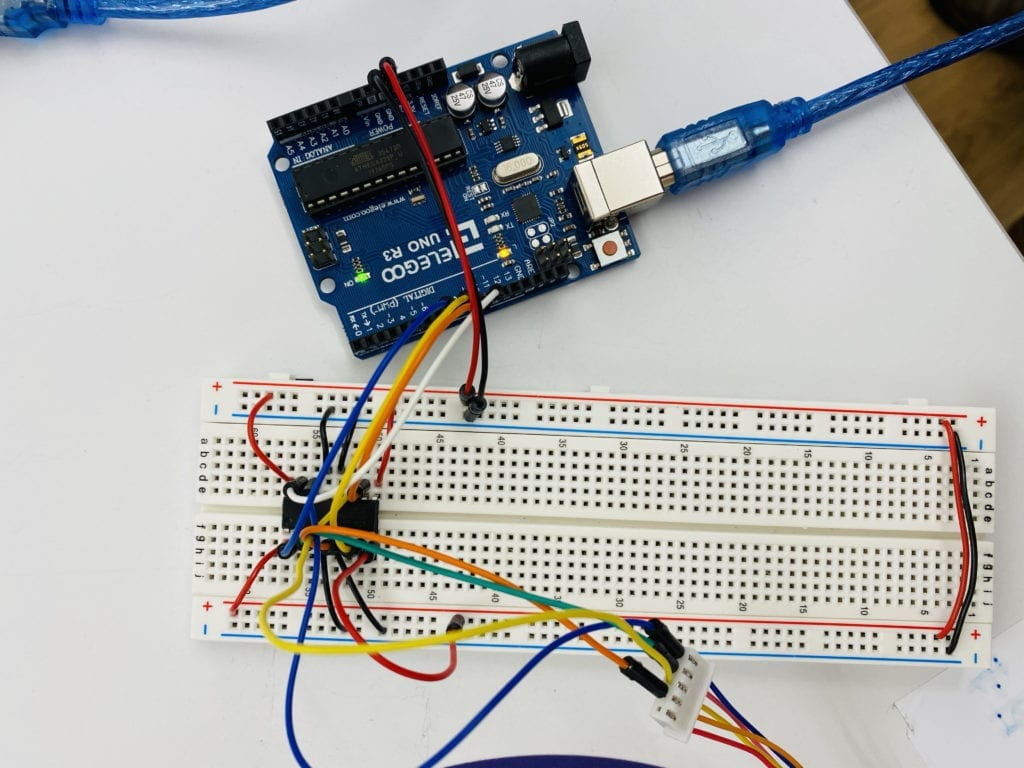
I ended up collaborating on the last two circuits because everyone had to share parts. It was fun to test out a different board and H-Bridge. 

pcomp circuit board

It was late when we finished this last lab up. We wanted to laser cut a shape to spin, but the lab was shut down. In the junk pile, we found this doll with a plaster head. After a little modification, we got it mounted on the motor. It was silly, but we had fun. 


Images and Pixels

The prompt for this assignment was to manipulate images or video on the pixel level. For a while now, I have been thinking about how we are inundated with images as a society. It would be difficult to go an entire day without seeing one. Does this make images less impactful? I think, to a certain extent, yes. Take Ansel Adams work in Yosemite as an example his black and white photographs shocked and awed people so much that they helped develop the National Park Service. Now we get a photo of Yosemite on our computer when we update operating systems. Does that image have the same impact as Ansel Adams? It’s technically perfect and aesthetically pleasing, but we’ve seen so many images of that same location that I think they’ve lost something. Don’t get me wrong I still believe that an image is one of the best storytelling devices, but sometimes it’s fun to experiment. 

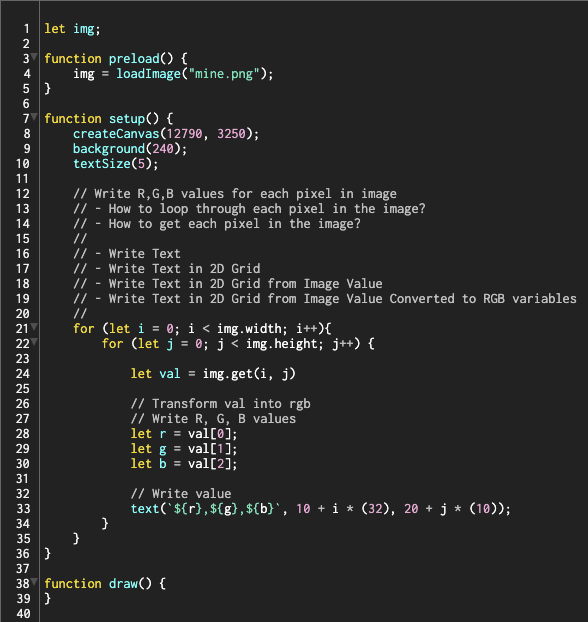
I wanted to take an image and break it down to its invidious R, G, B values per pixel for this project. With the hopes that we can take a fresh look at often photographed locations. To me, each one of these written values is a grain that we use to look at with a loop in the darkroom. 

Here is the code: 

screenshot of a p5js script.

The Results: 

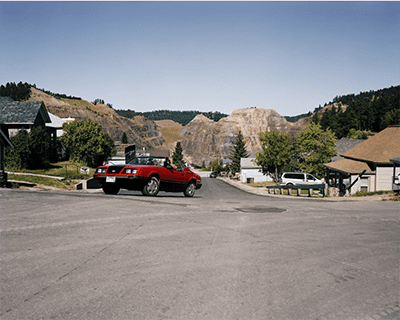
Image of a red car driving up a hill.

Entire Piece:  https://editor.p5js.org/awinslow/present/dLGWTX_QuRGB values written in a grid.

Zoomed in View: 
RGB values written in a grid.


____________________________________________

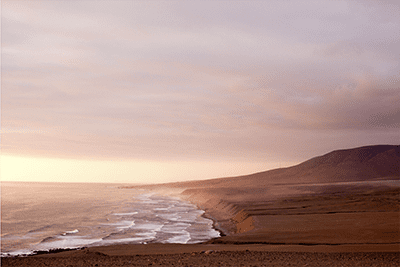
Image of the Adacama Dessert

Entire Piece:  https://editor.p5js.org/awinslow/present/dLGWTX_Qu

RGB values written in a grid.

____________________________________________


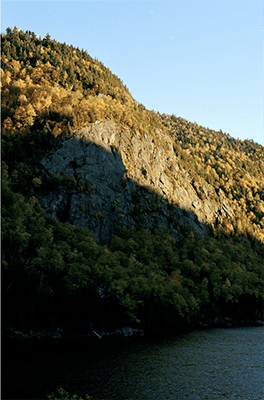
Image of the Adirondack Park

Entire Piece:  https://editor.p5js.org/awinslow/present/dLGWTX_Qu

RGB values written in a grid.

Zoomed In View: 

RGB values written in a grid.

____________________________________________

Entire Piece: https://editor.p5js.org/awinslow/present/QXxllhi2D

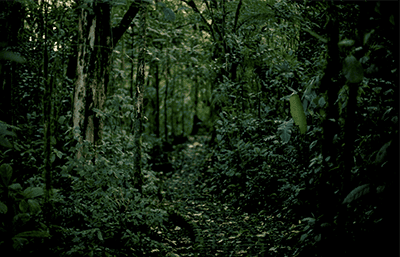
Image of the rain forest

RGB values written in a grid.

I was pleasantly surprised at the patterns and movement in the numbers in each of the final pieces. I will be feeding more images into this program. 


Project 2 – Lab 7

Project 2: 

I have been interested in both environmental issues and the destruction of my own art for a long time. Over the years, I have found that by combining the two, I can explore visually presenting scientific data on the climate crisis. This exact project has been rolling around in my head for years and I’m really excited to start working on it. 

For this project, I plan on producing a painting or drawing of a threatened/endangered environment. The completed piece will be placed on an easel. Above the easel will be a pulley system with a hose attached in the middle. The hose will run down the back of the painting to a pump, where the second intake line will be in a container of black paint. 

The pump and pulley system will be run off an Arduino Nano 33 IoT. Over the course of the performance, the pump will turn on and dispense paint randomly over the painting, destroying it. To calculate the destruction I will be basing the operation on the predicted extinction of the painted environment. 
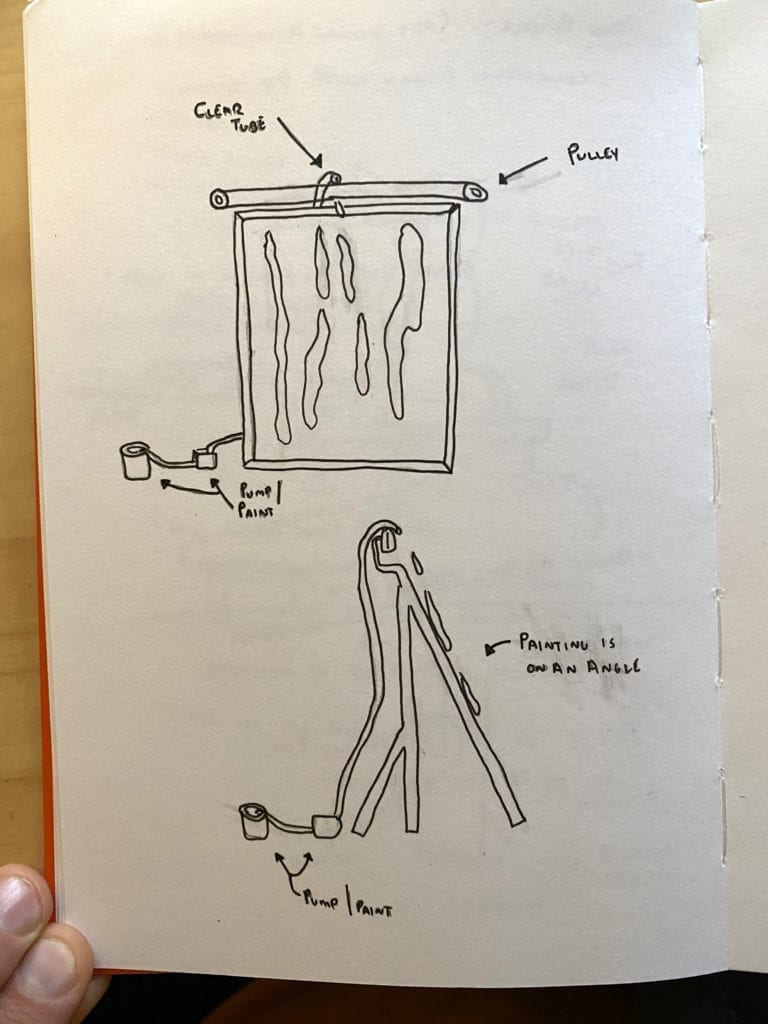
Sketch of a easel and painting getting sprayed with ink.

A completed rough sketch of the layout. 
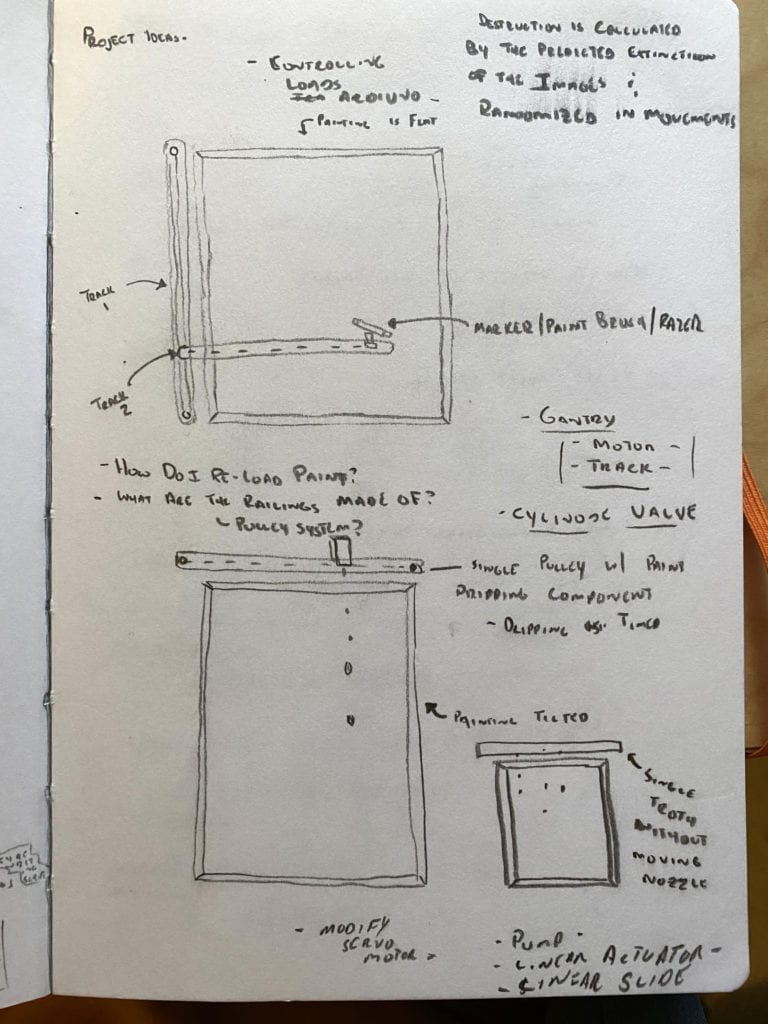
Early prototype drawings: To expand this project I might add a vertical arm that can control other tools, including a marker, paintbrush, or razor.

 Being new to this whole process I’ve ordered parts that I think will get the job done but will still take a fair amount of experimentation.  The parts come this week, so I can get started!

Peristaltic liquid pump with silicone tubing will draw the paint from the container to the top of the painting. 
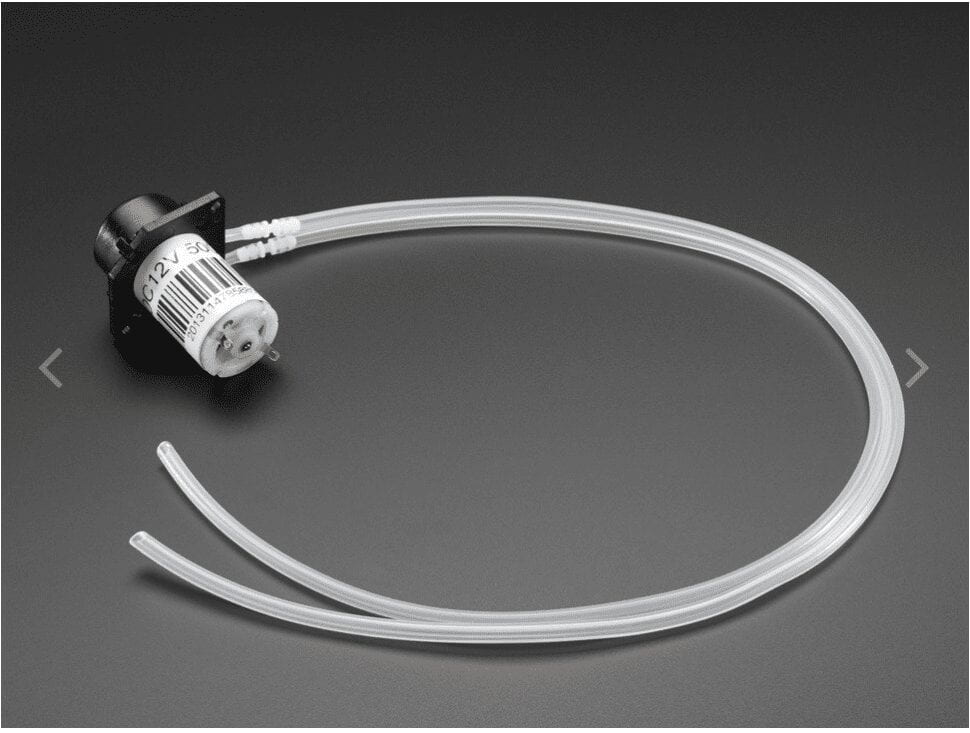
Peristaltic liq. pump. image

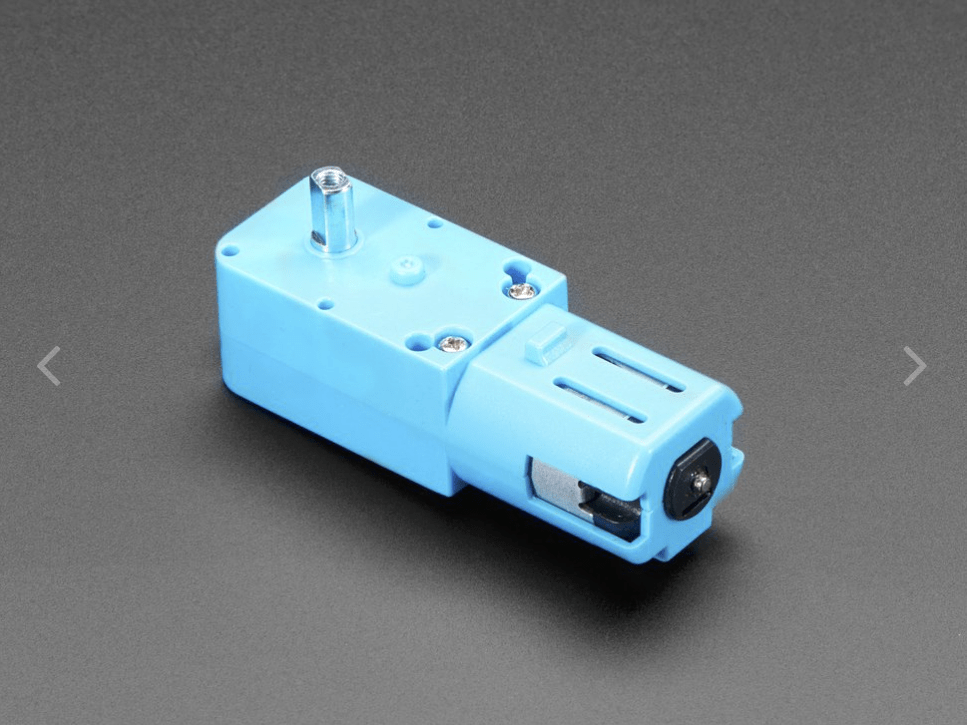
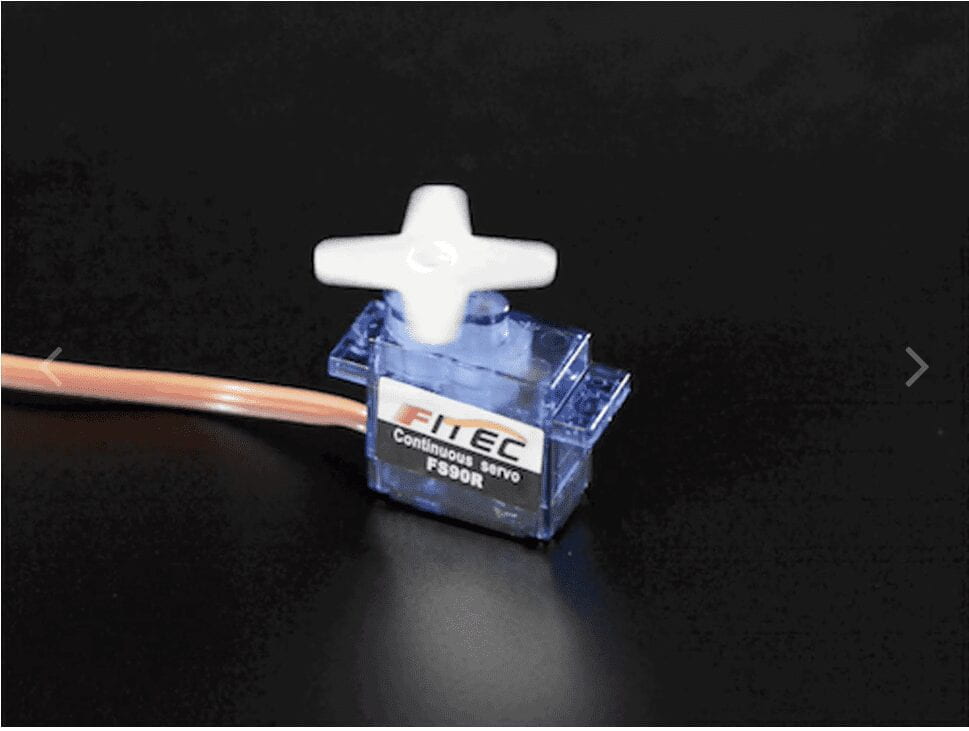
DC Gearbox Motor -TT Motor with a TT Motor Pulley or Continuous Rotation Micro Servo or TT Moto All-Metal Gearbox and a Moto Drive Breakout Board will run the pulley system. 
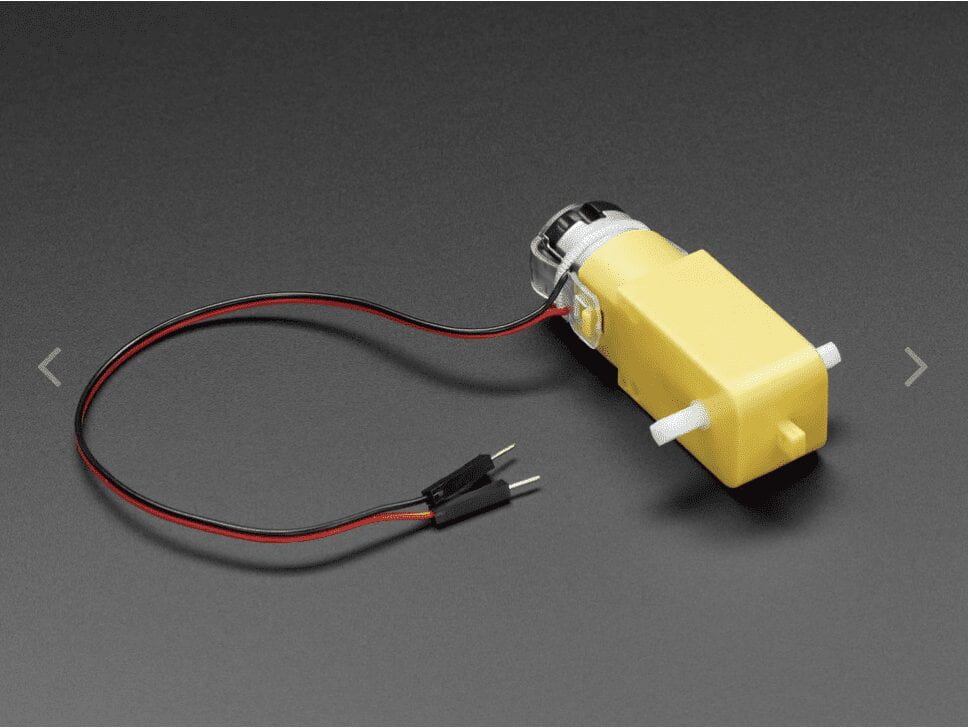
DC Gearbox Motor - "TT Motor" - 200RPM -

Continuous Rotation Micro Servo - FS90R

TT Motor All-Metal Gearbox - 1:90 Gear Ratio

Questions: 

Does the overall concept make sense immediately? 

How does the destruction of a painting/drawing make you feel? How does it make you feel in context to habitat destruction? 

Should the mechanical components be hidden behind a frame of some sort or be exposed? 

Would a fast or slow performance be more impactful? 

Would another destruction method be more impactful? Example: A razor. 

____________________________________________

Two – Way Duplex Lab: 

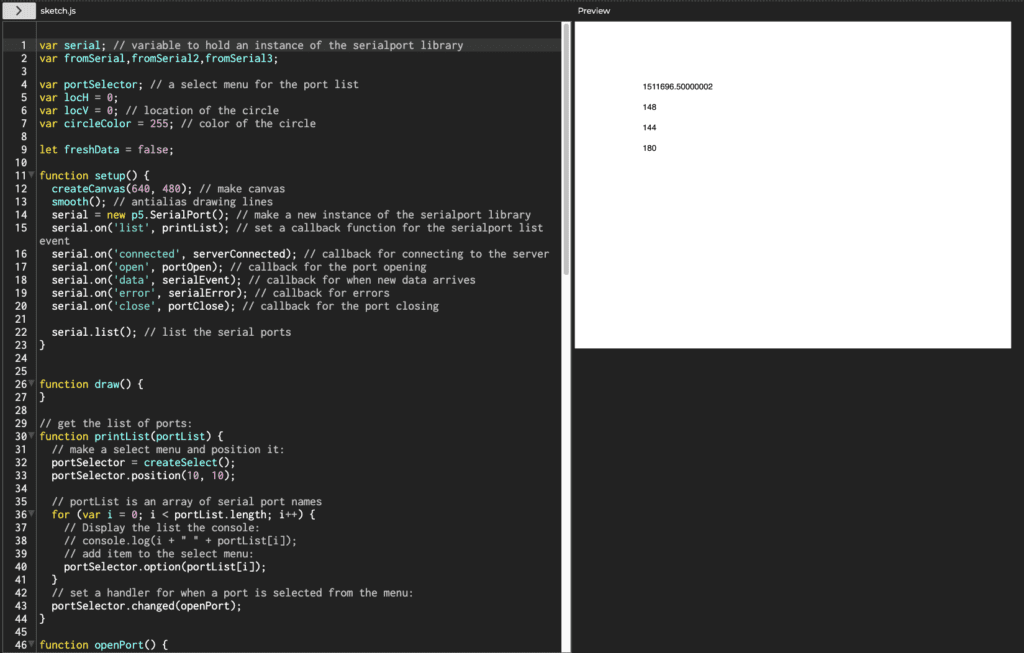
I had a hard time getting this lab up and running. I kept getting errors that I couldn’t troubleshoot. See below: 
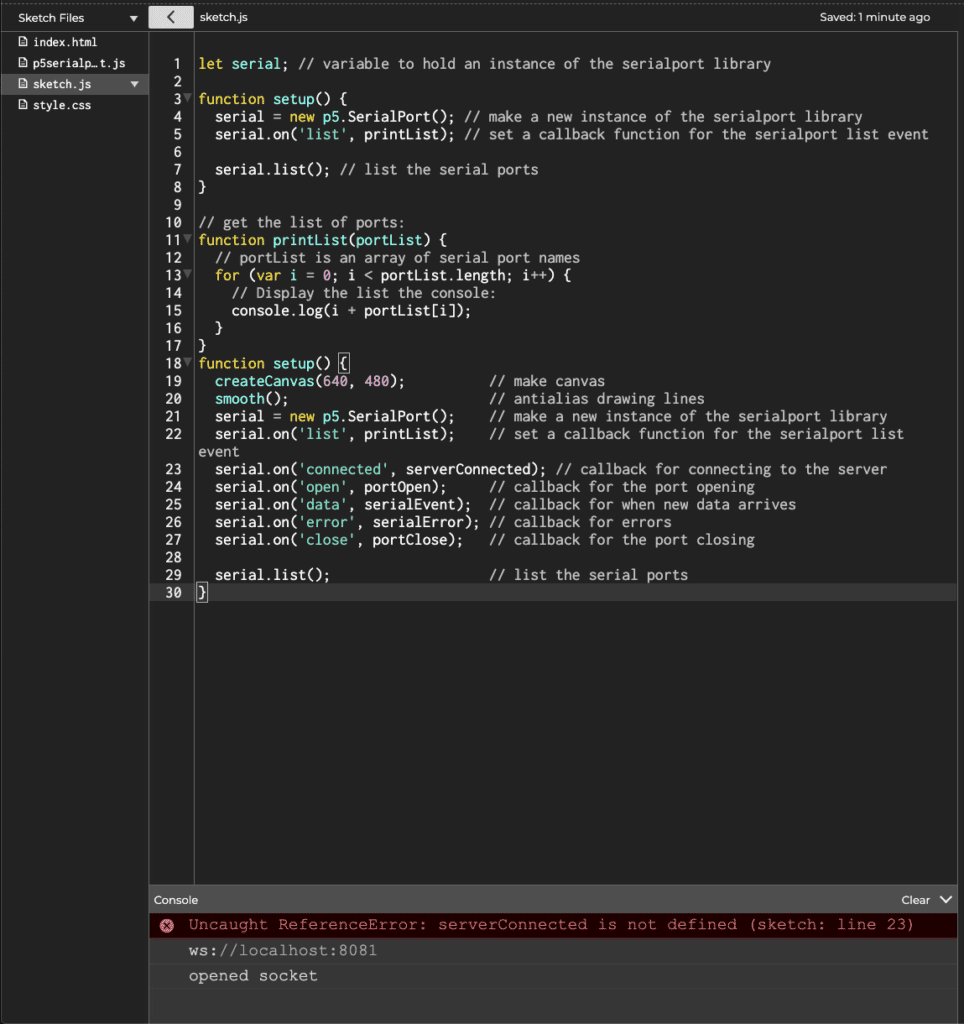
P5JS sketch with error message

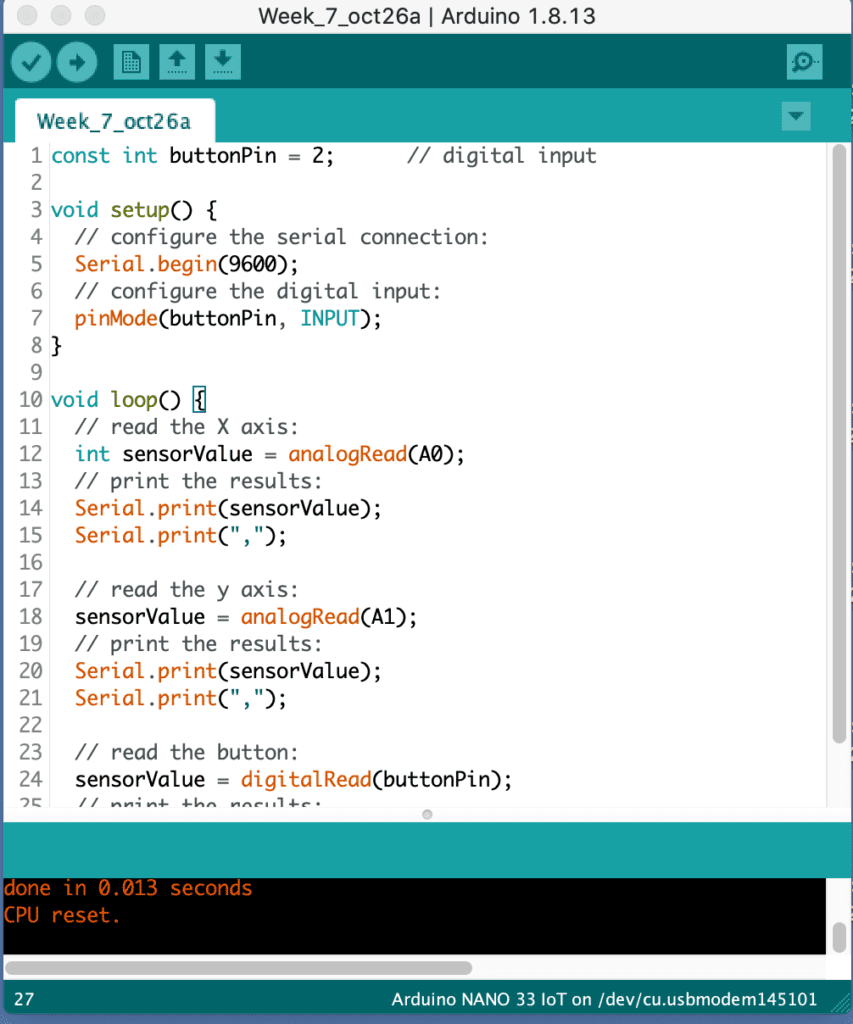
I did however get the Sending Multiple Serial Data using Punctuation section working.  I can see how using punctuation to break up the values can be really helpful for viewing. 

Serial monitor output

Arduino sketch

After an office hour session, Danny sent me over a new sketch to try and get this up and running. The code worked perfectly. This is a good thing because now I know that there is something wrong with my code not with my SerialControl or hardware. My next step is to go over this code again looking for my error. 
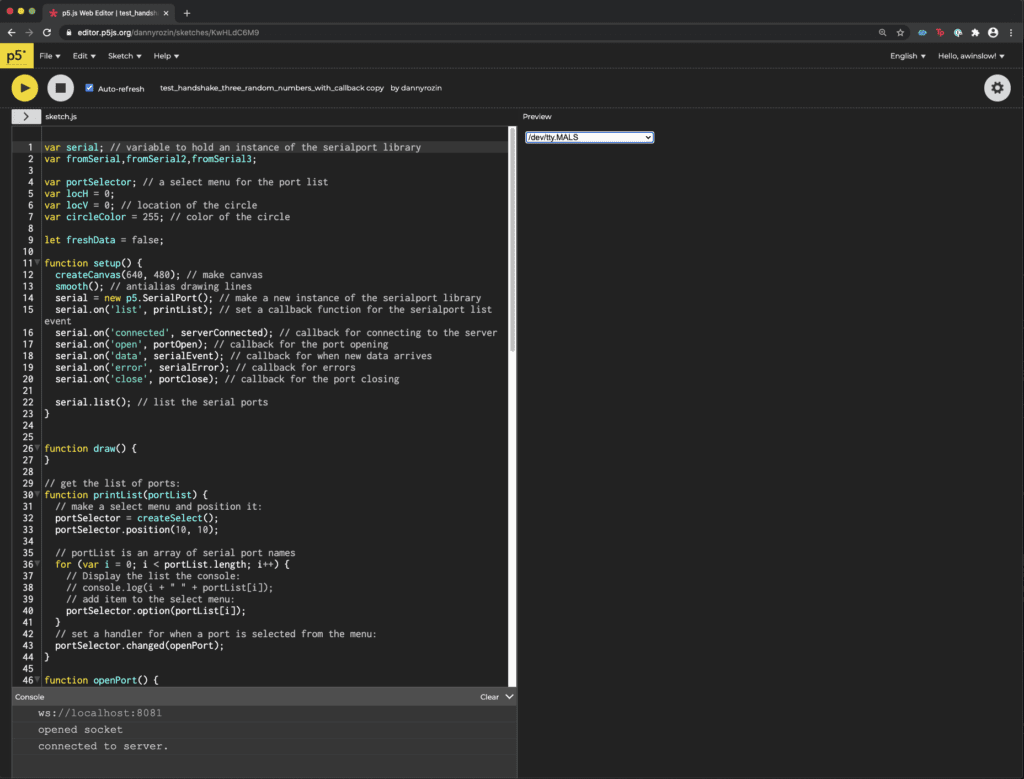
p5js sketch working

p5js sketch working

Getting Creative: 

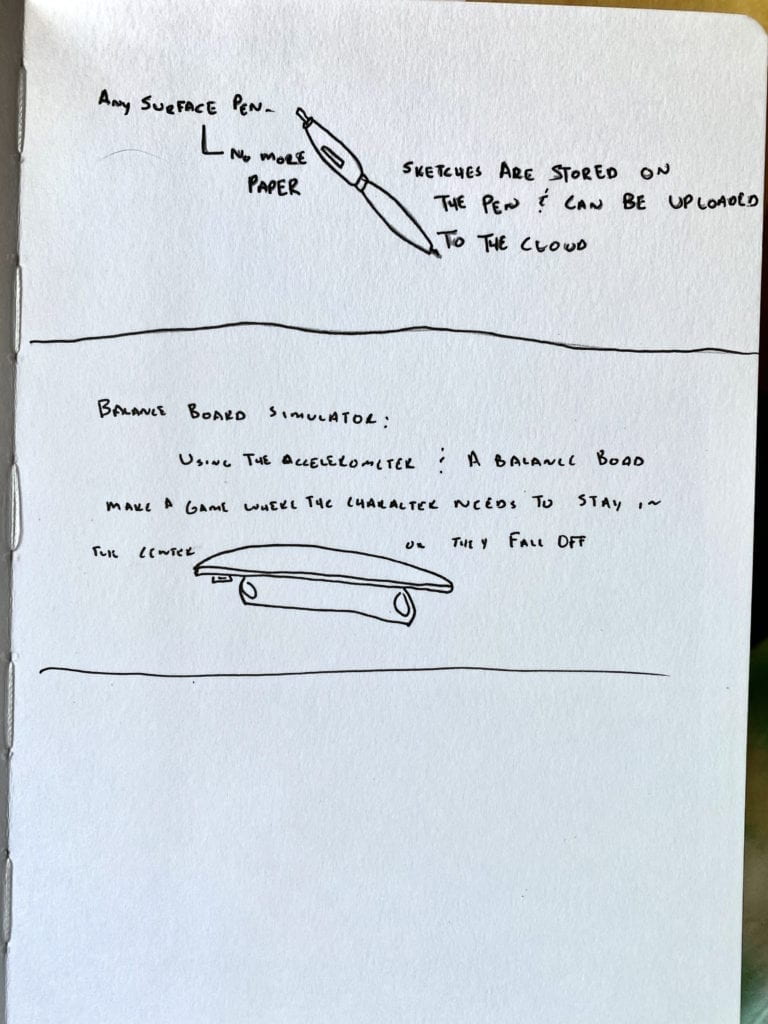
Two projects that I thought could use analog sensors that affect X and Y are:

Any Surface Pen: A pen that will store a drawing that can later be uploaded to the cloud or your device. No need for paper to jot down notes or remember your brilliant ideas. 

Balance Board Simulator: Using the IoT accelerameter on a balance board as a game controller. The player needs to stay in the center or they’ll crash in the game. This project ssems like it could be paired well with a Unity game. 
 

Objects and Arrays

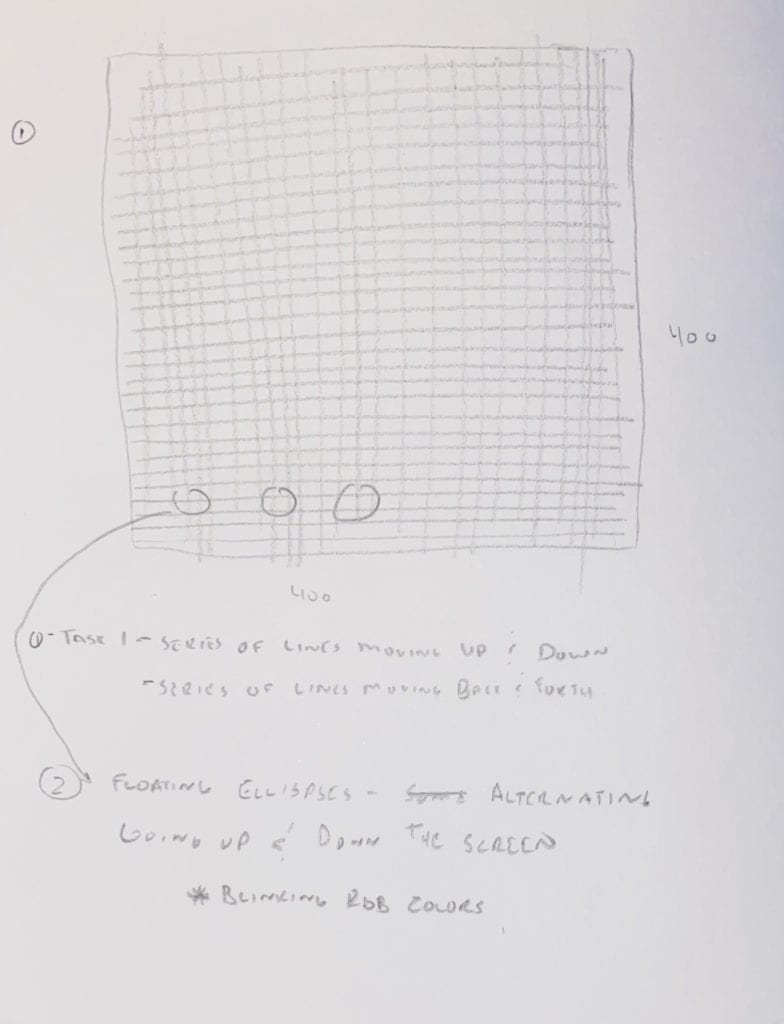
After going over the week’s tutorials, I felt confused. I understood the fundamentals but couldn’t think of a project to do. I re-watched the tutorials and searched the web for some inspiration but was blocked. Finally, I just started sketching in my notebook, reminding myself to think of a simple program that I could test things out. It’s not the most exciting script, but I came up with a thatch type grid with ever repeating colorful ellipses.

Here is my primary sketch. 

notebook sketch of a p5js file

After a great deal of trial and error, I was able to hobble my way to a completed sketch based on my drawing with a few modifications. 

  • I wanted half of the ellipses to go up and a half to go down.
  • I wanted the lines to turn around once they’ve reached the opposite side. 

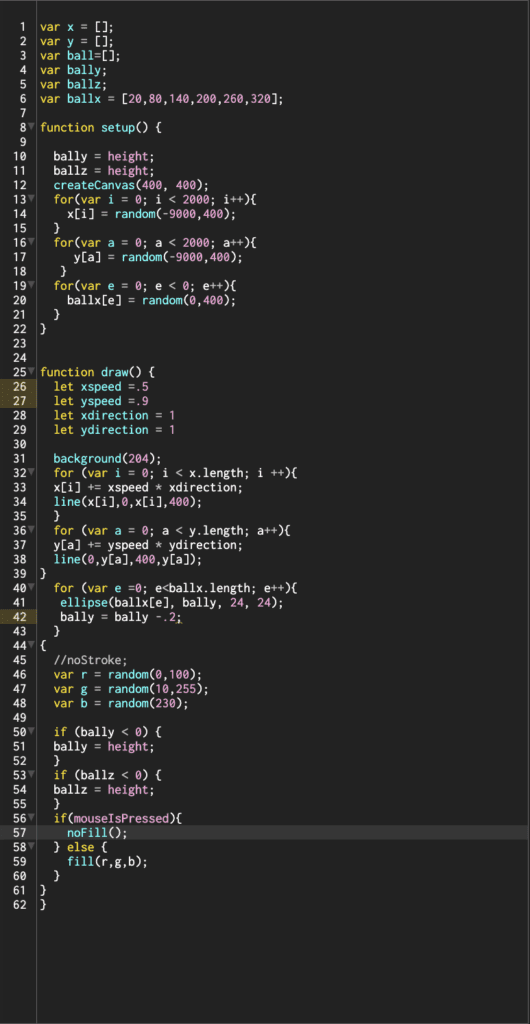
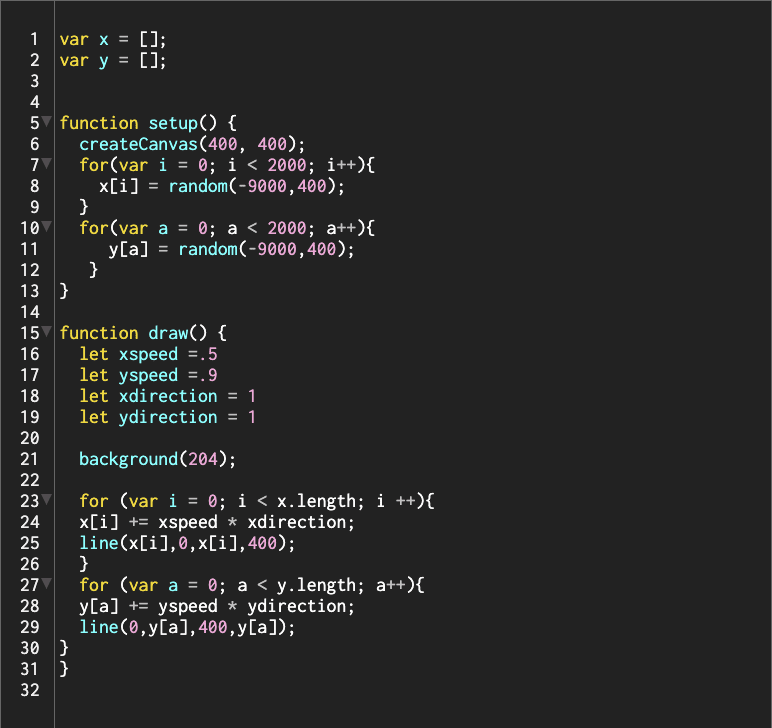
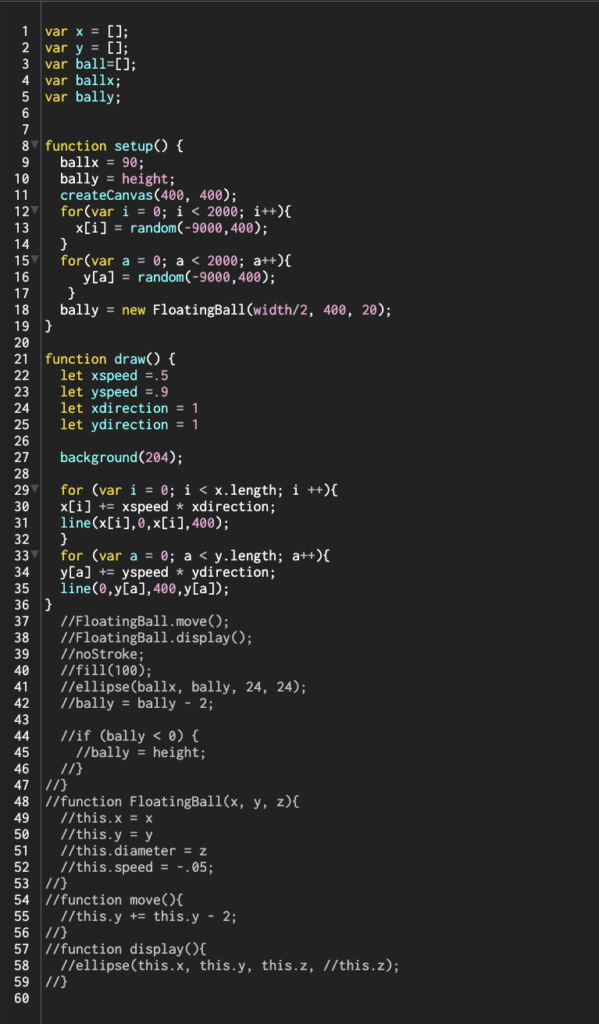
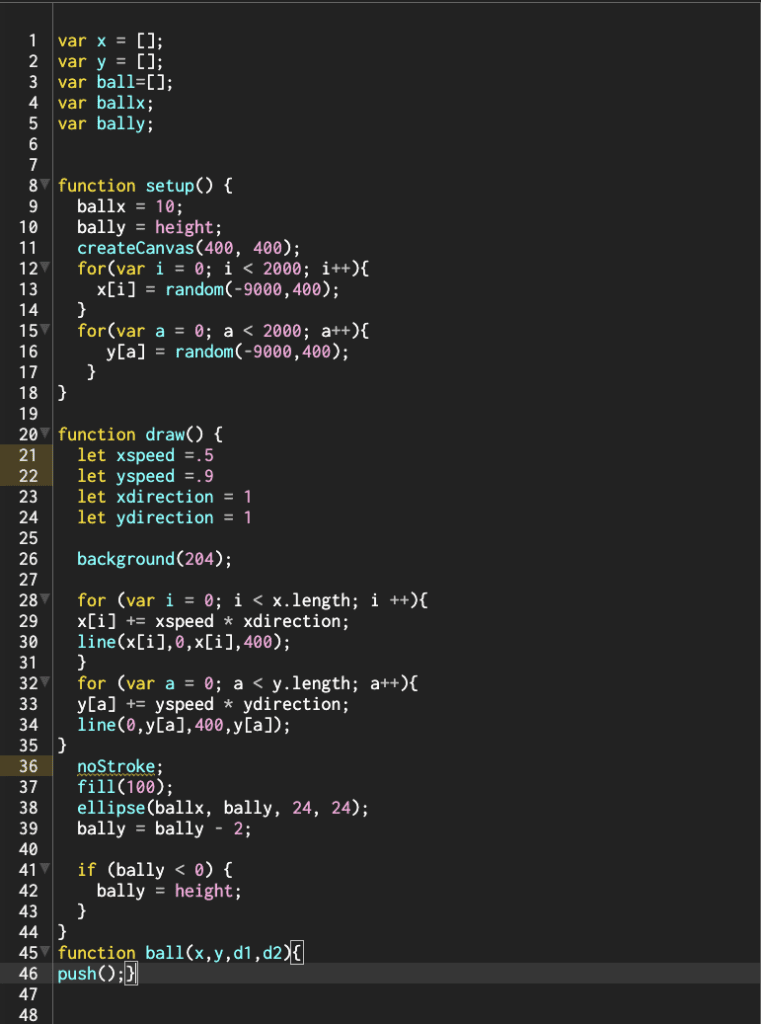
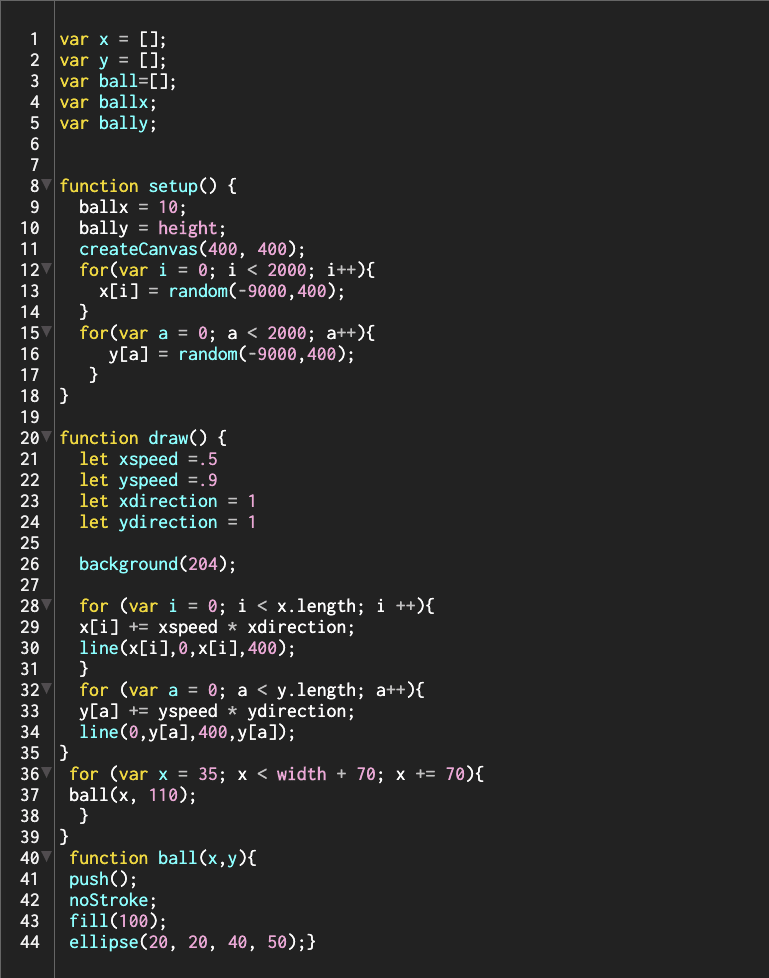
Because I tried so many different approaches and saved them separately, my final code became really confusing, with oddly named variables and useless code. 
screen shot of p5 sketch

It was important for me to work on this alone to figure out what I really need to work on. This proved to a very frustrating challenge. 

Below are the sketches I saved throughout this process.

Warning, they are full of errors.

screen shot of p5 sketch

screen shot of p5 sketch

screen shot of p5 sketch