For my PCOMP final, I decided to combine a few of my favorite things, data visualization, and surfing. My goal was to measure my acceleration on a wave, graph the data, and present it in a physical form.
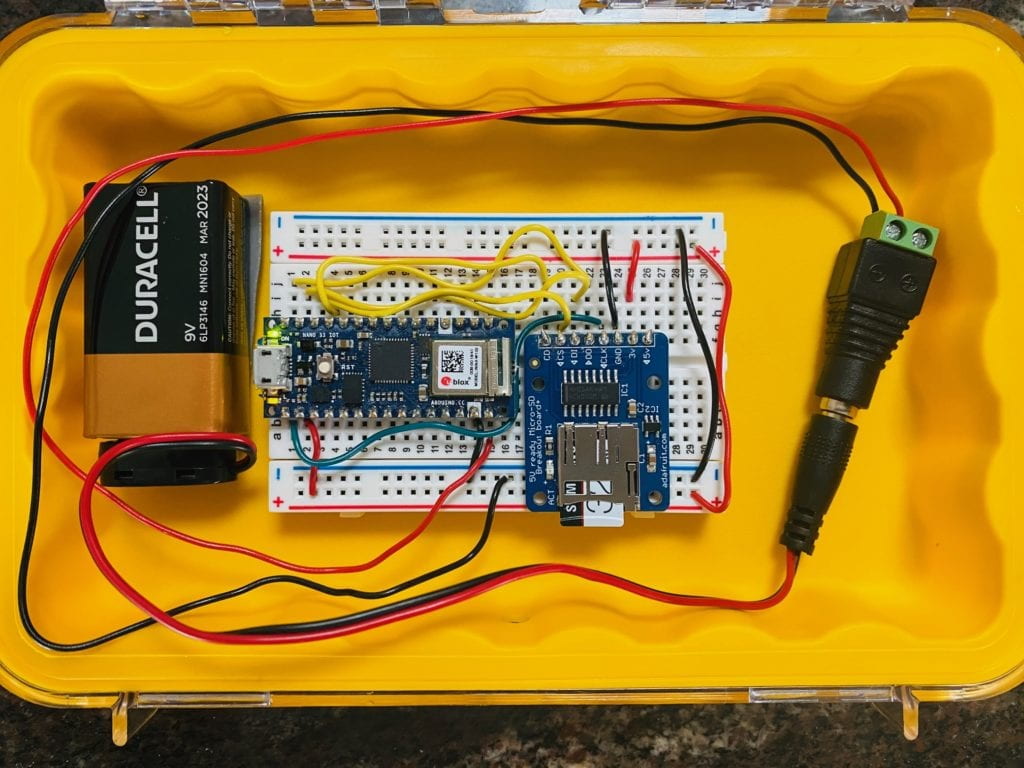
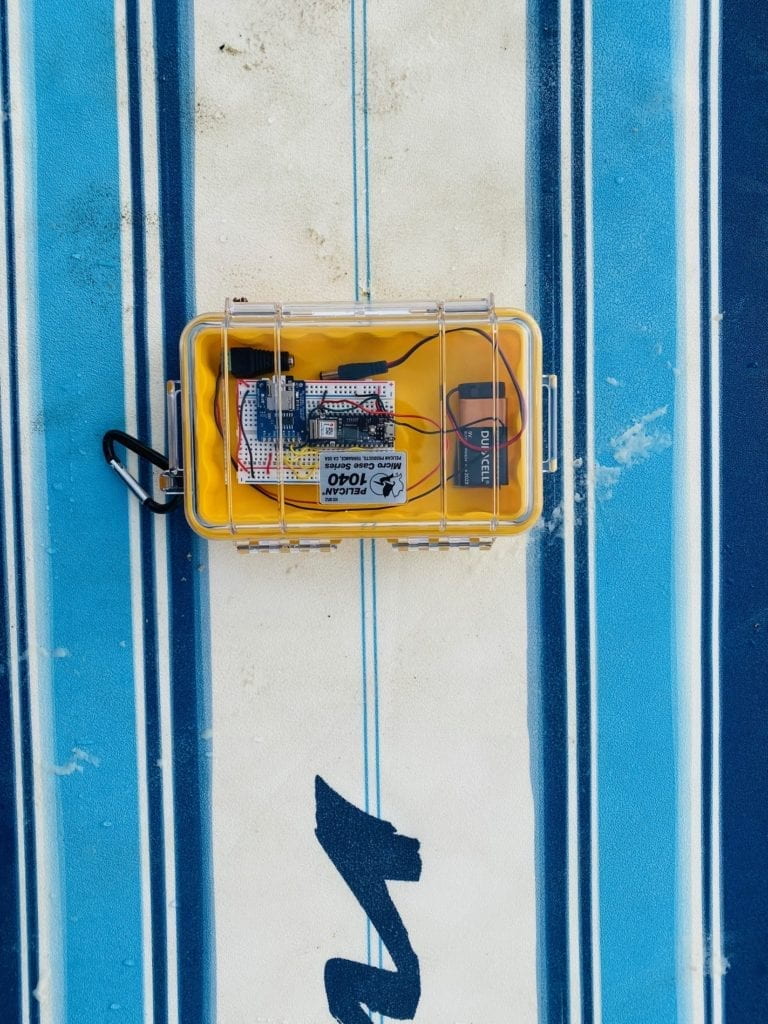
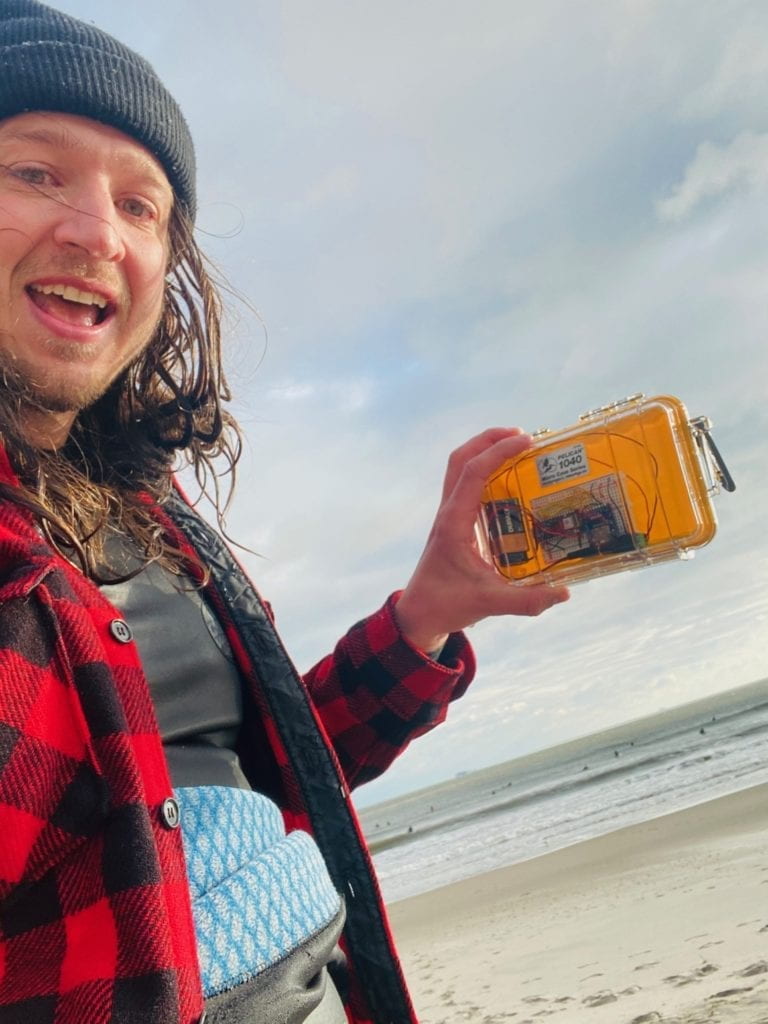
The first step was to get the circuitry up and running on dry land before taking it out in the water. This didn’t prove easy because I couldn’t get the SD card reader to link up with my Arduino Nano 33 IoT. After spending just under a week working on the problem and going to office hours, I decided to try a new board—Sarah Ro to the rescue with a board that worked immediately with the same wiring. I still have no idea if the original boards were faulty or I was doing something wrong, but that’s a problem to figure out over break. With the board up and running, I put my setup in a waterproof housing and got it down to the beach.
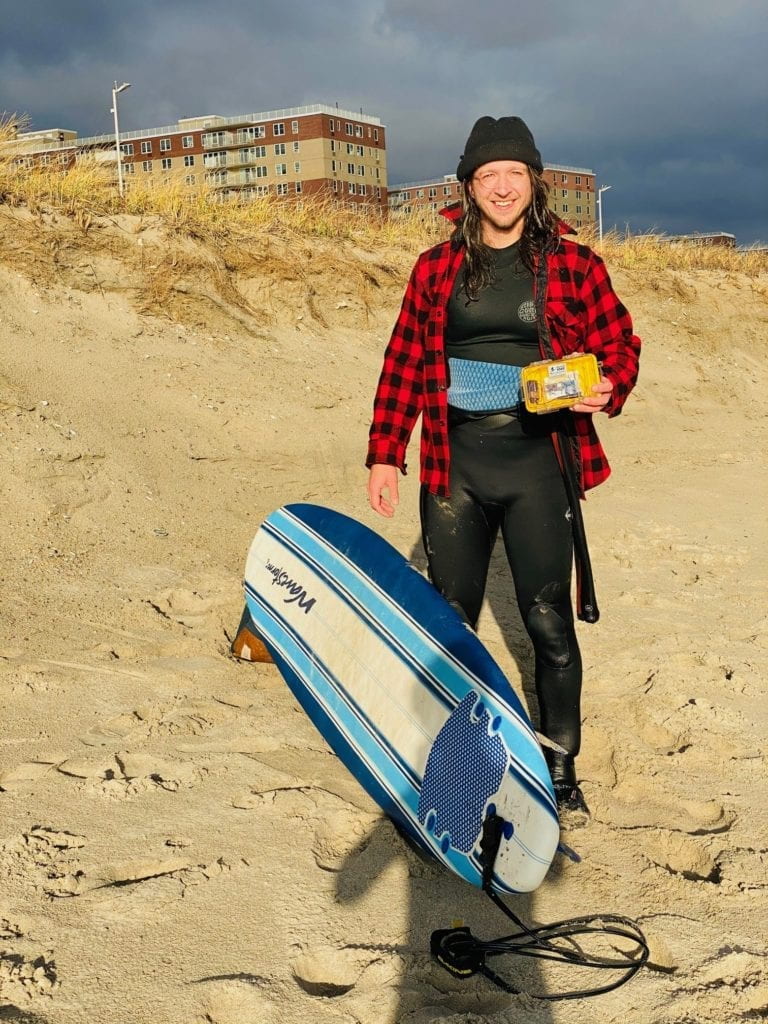
It was a cold December afternoon, but I was determined to get out in the water and test it out. I couldn’t find a way to mount the device to my board successfully, so I decided to put it inside my wetsuit. With everything all set, I paddled out, hoping that the case was waterproof, the circuit would keep working in the rough water, and it was recording data.
*I got a lot of weird looks with a rectangle shape on my back.
Just under an hour, I paddled back in the cold and hoping for the best. To my surprise, everything was still working. The glue came undone, and the board was rattling around, so I need to address that later.
My excitement caught the attention of some strangers on the beach who took my photo after explaining what I was doing.
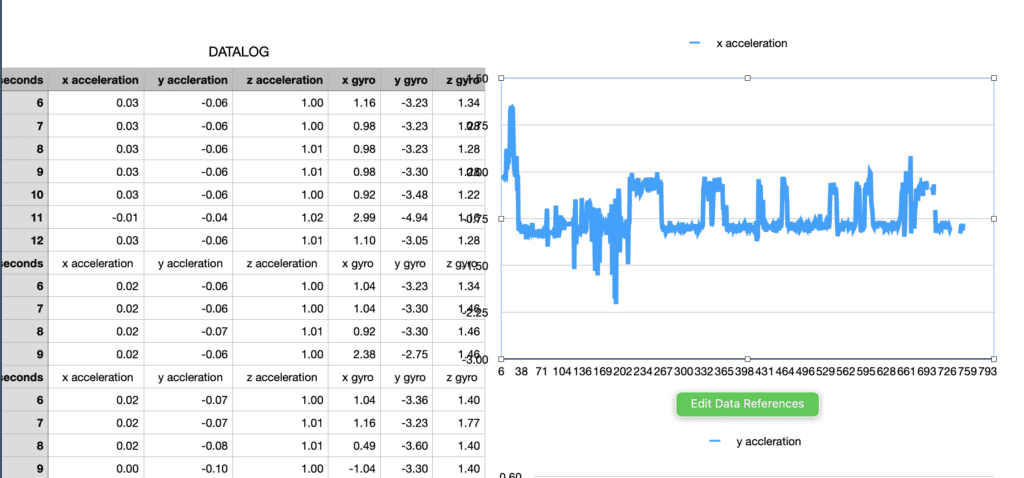
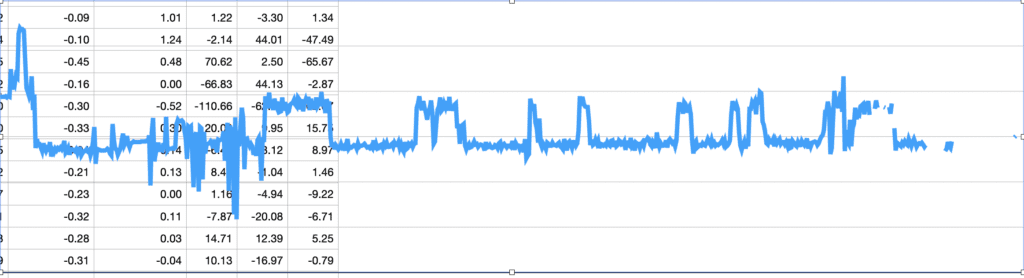
Back home, I was able to upload and explore the data, which all came through!
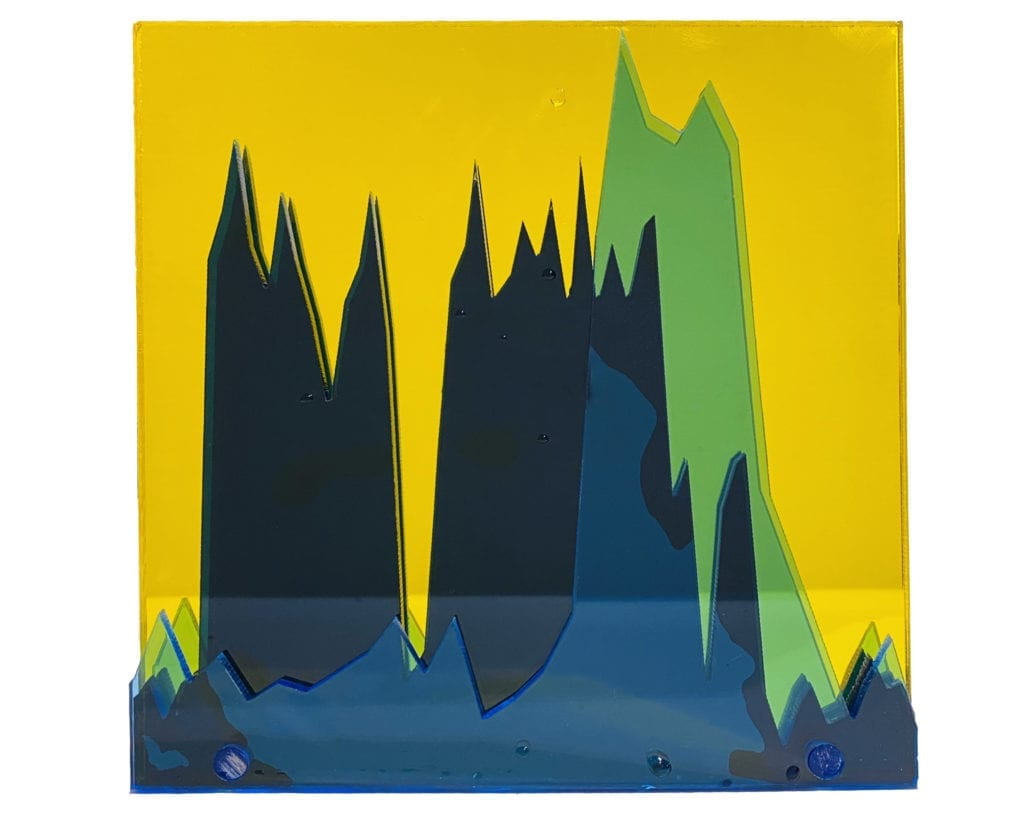
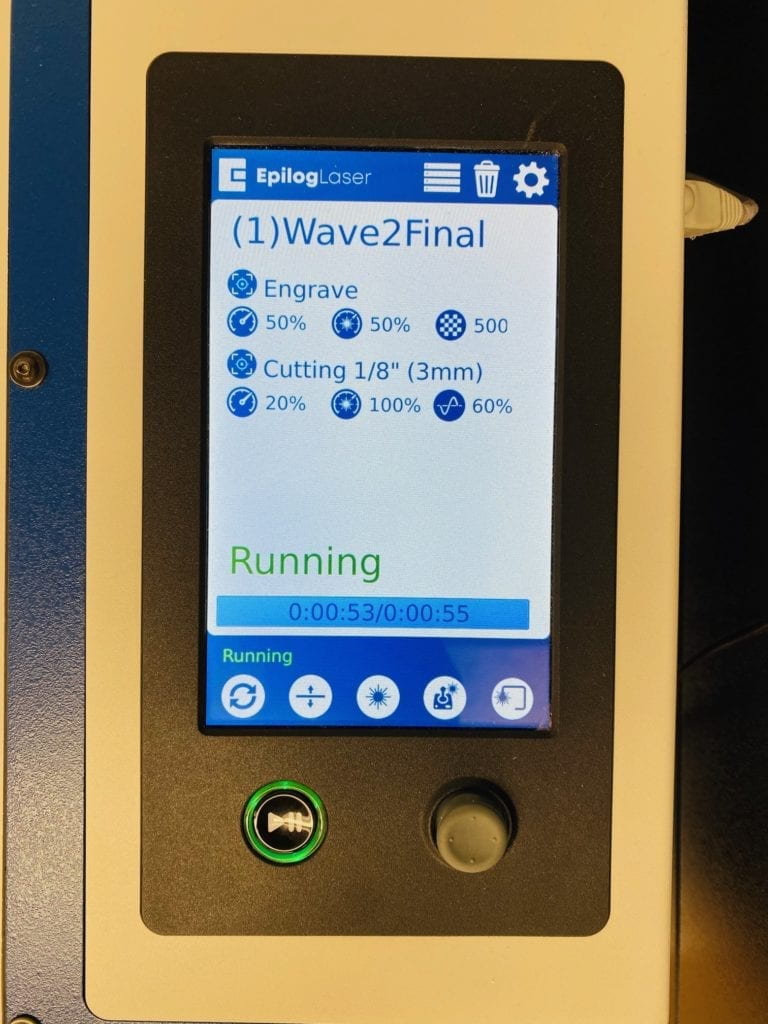
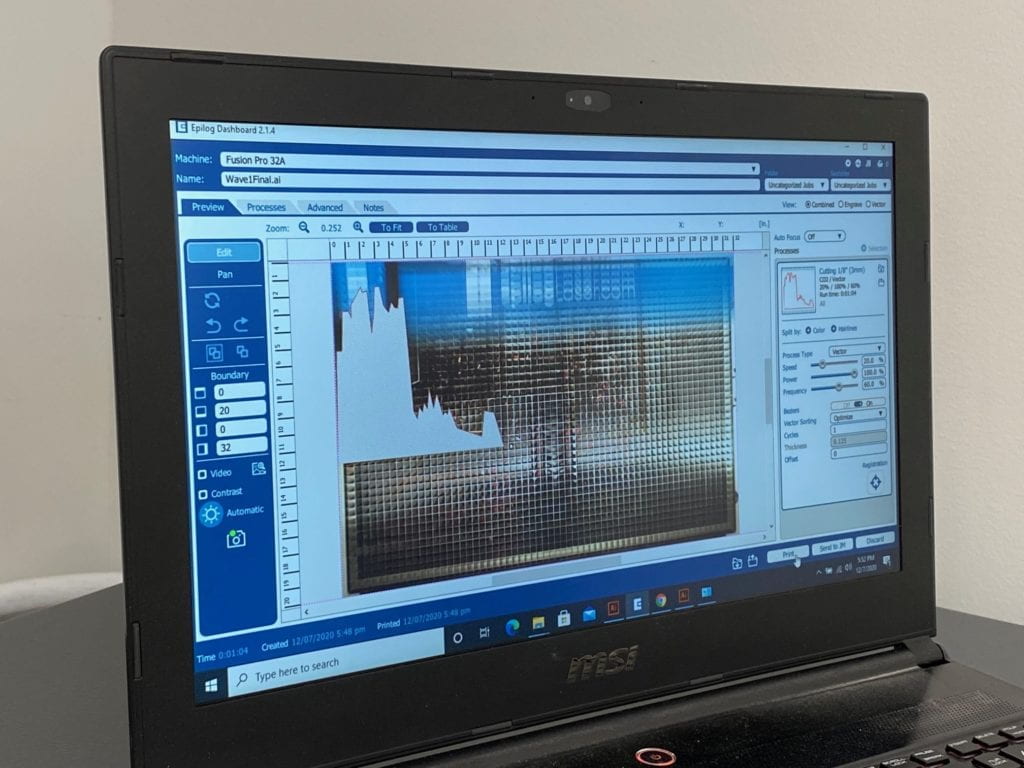
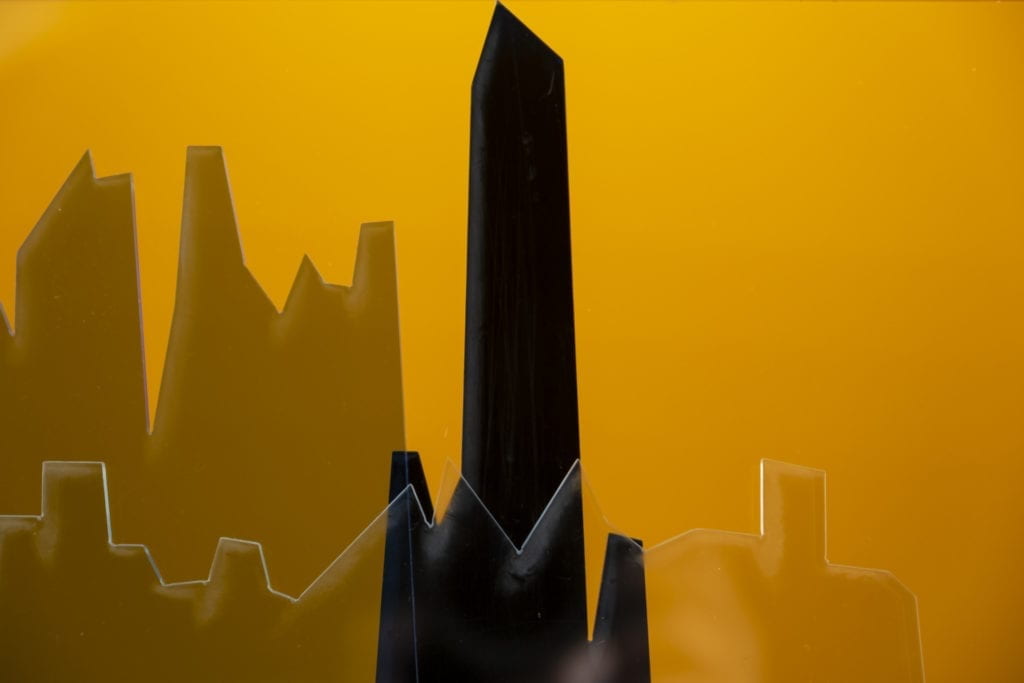
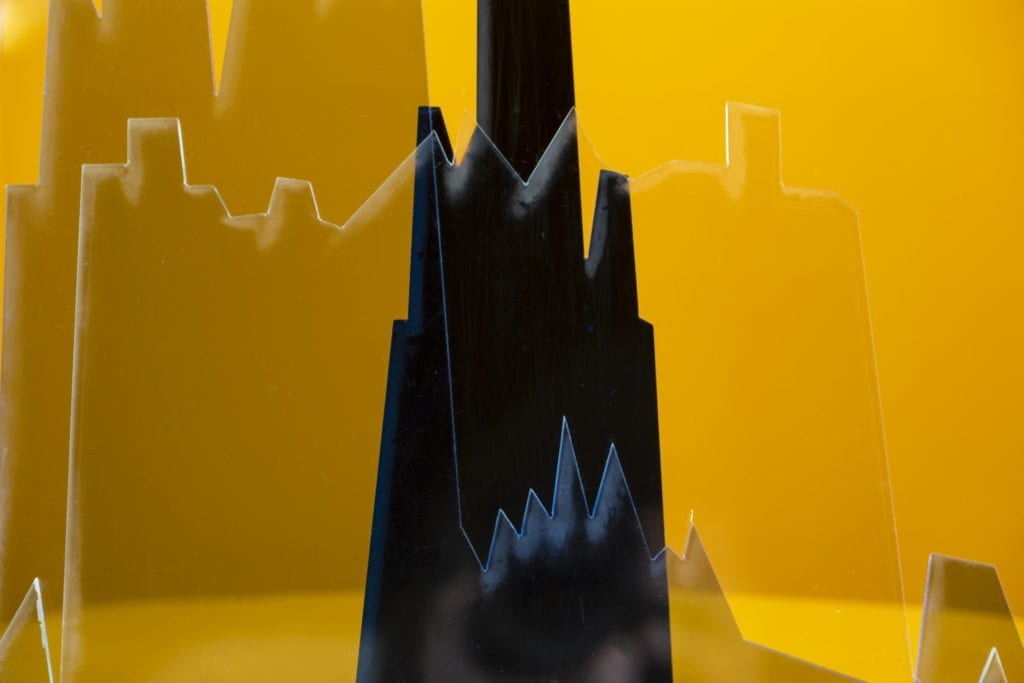
The next step was to make a physical product of the data. In illustrator, I used the Pen Tool to make a path of three waves that I rode in the session. I then put each wave on its own blue acrylic plastic piece and cut them in the laser cutter.
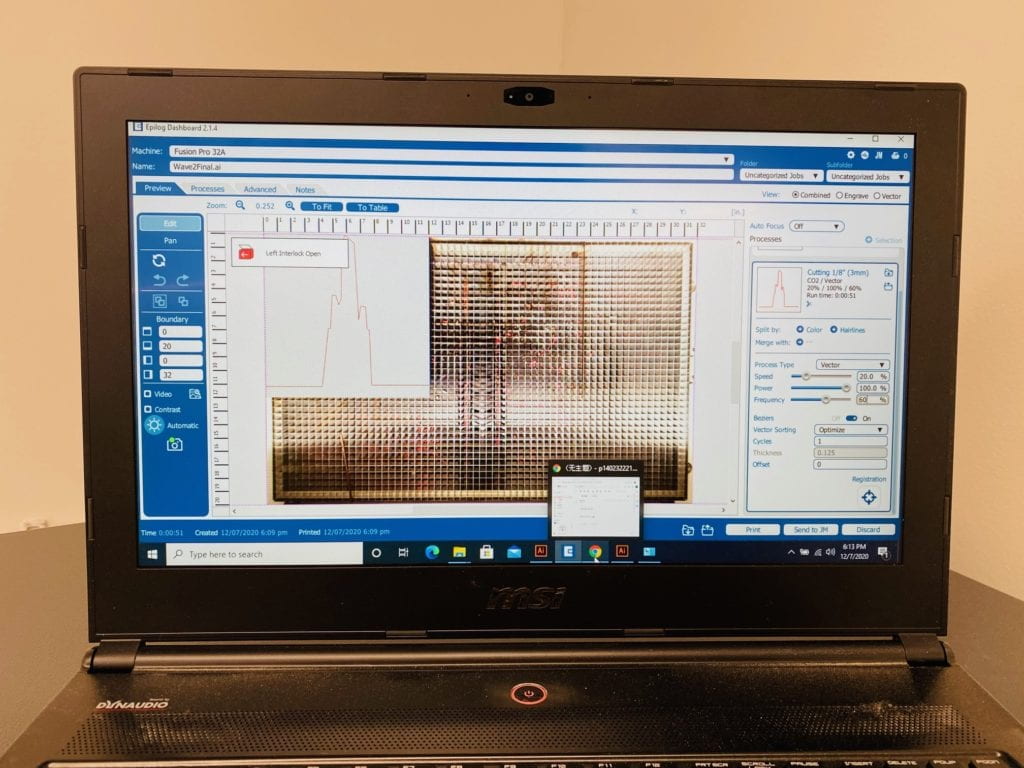
For the final construction, I layered the three-wave diagrams on top of each other and all three on orange backing.
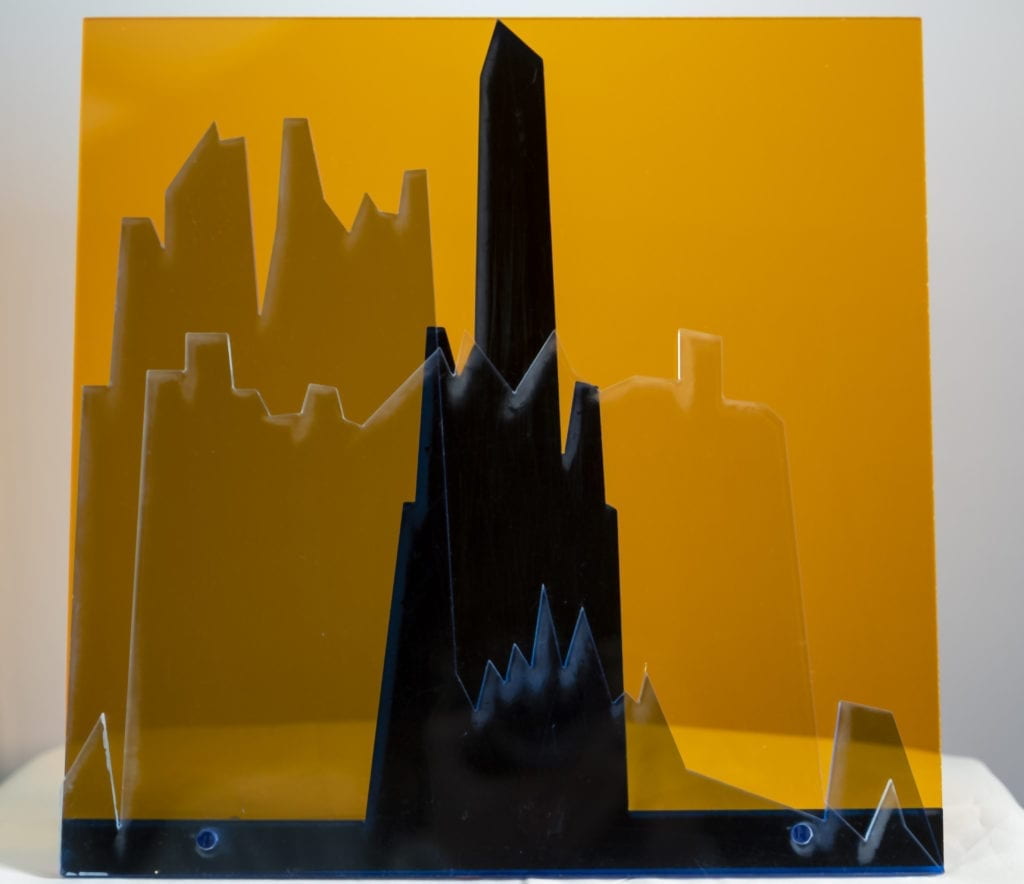
I laser cut a .23 diameter hole through the pieces and pressed an acyclic dowel in to hold the piece together.
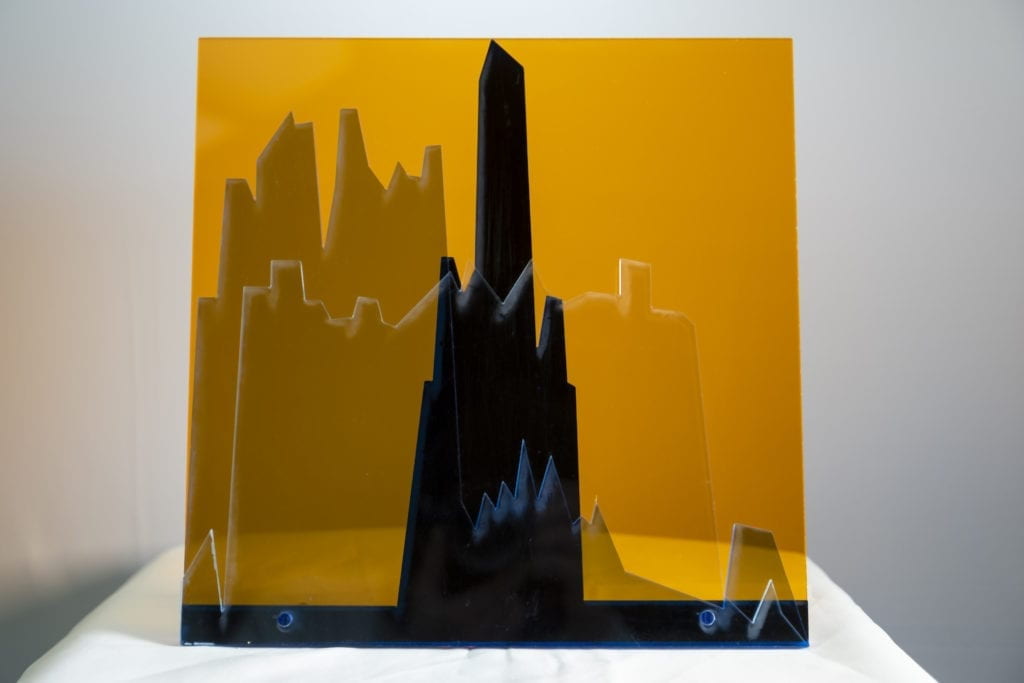
The acrylic dowel was 4 inches long and also acted as a stand for the piece.

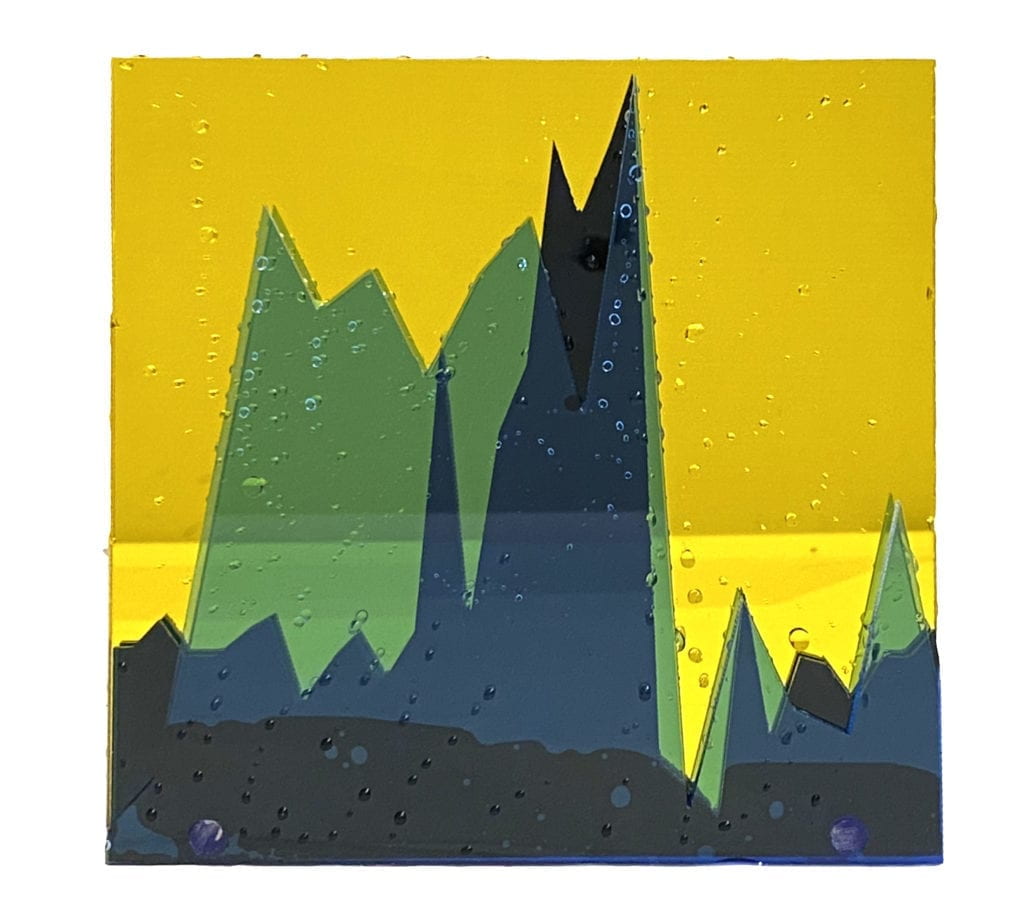
Close up view.
I’m thrilled with how this piece turned out in the end! There are a few things that I would like to consider in future iterations.
- Possible build the piece backward – I really like how it looks through the acrylic.
- Run a strip of LED lights on the bottom to illuminate the entire piece.
- Figure out why the laser cutter leaves a fog around the edge of a cut.
Version 2: