Project 2 – Progress

With my parts finally arriving, I got to work breaking down my Project into what I thought were manageable steps that I can build off of.

– Wire the Motor Breakout Board and my TT Motor.

–  Get the TT motor running in both directions. 

– Get the water pump working. 

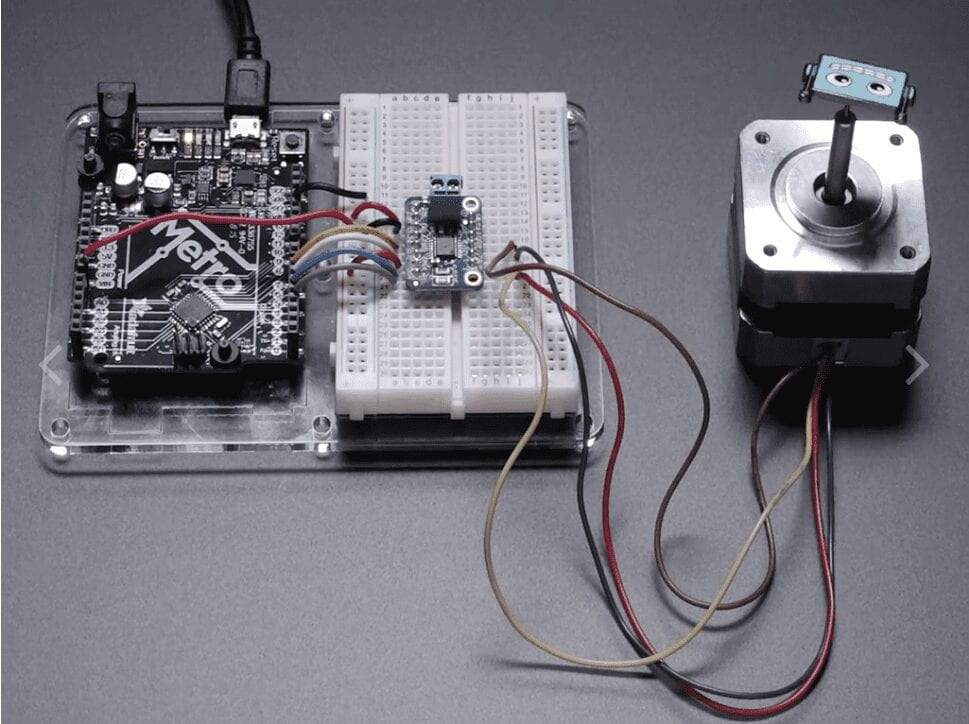
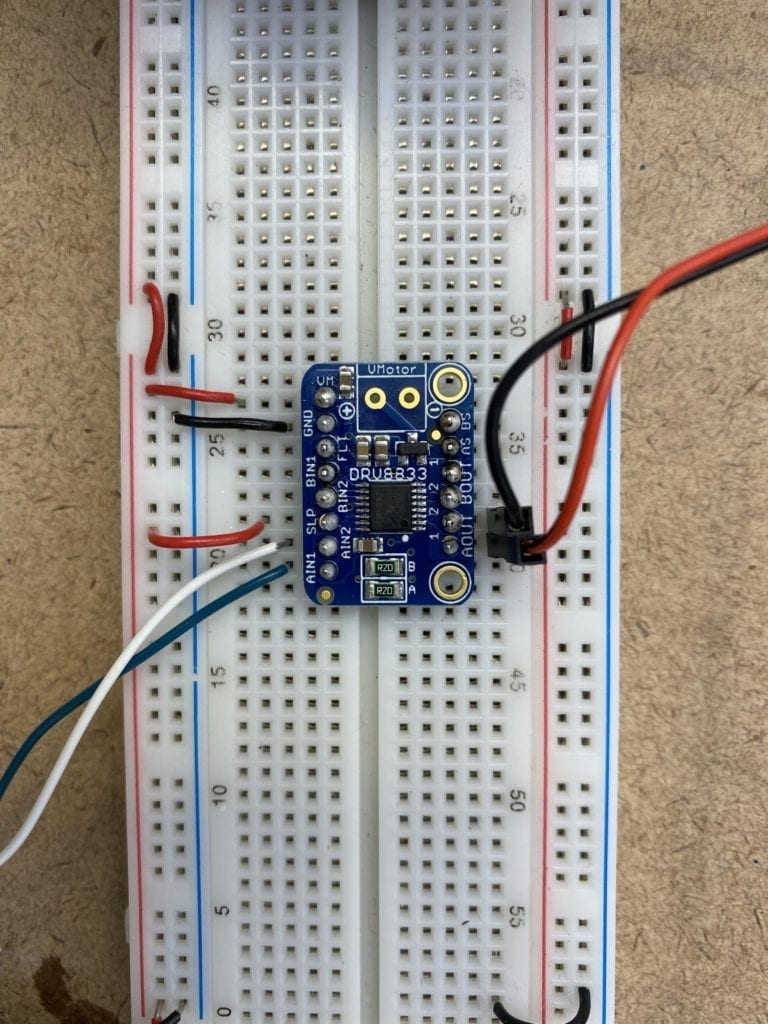
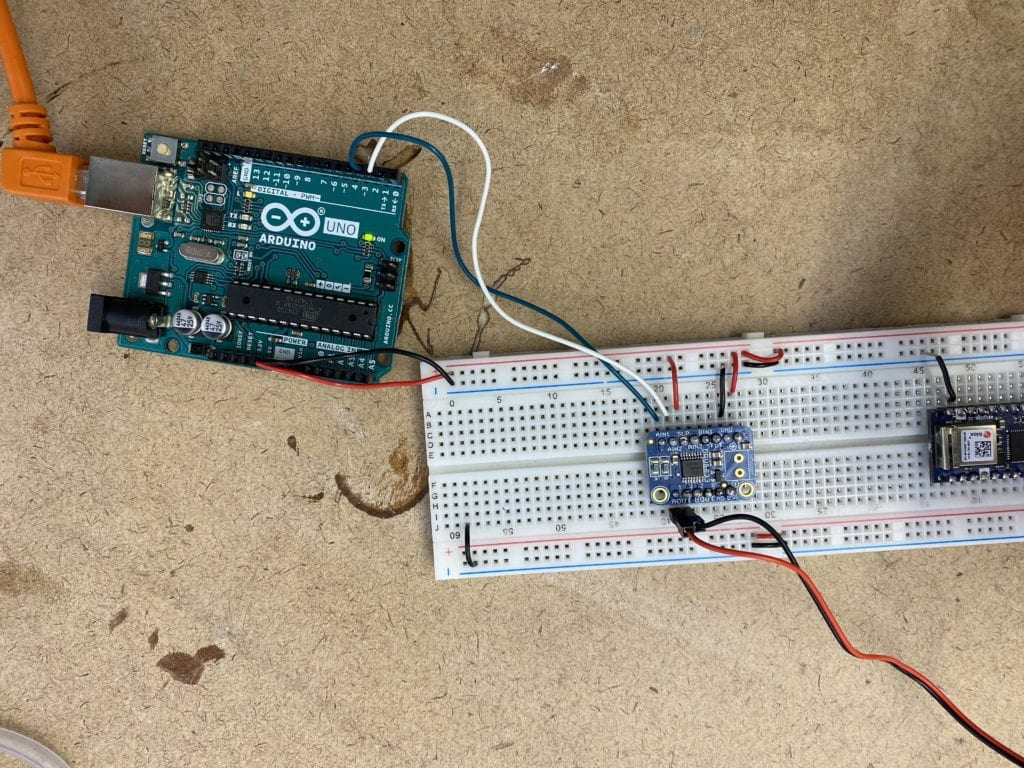
I decided to run the project using an Arduino Uno instead of the IoT 33 because my water pump is 12v. After that, I got to work wiring the breakout board to the TT motor. 

H Bridge wiring with a motor breakout board

Arduino Uno wired into a breadboard and h bridge

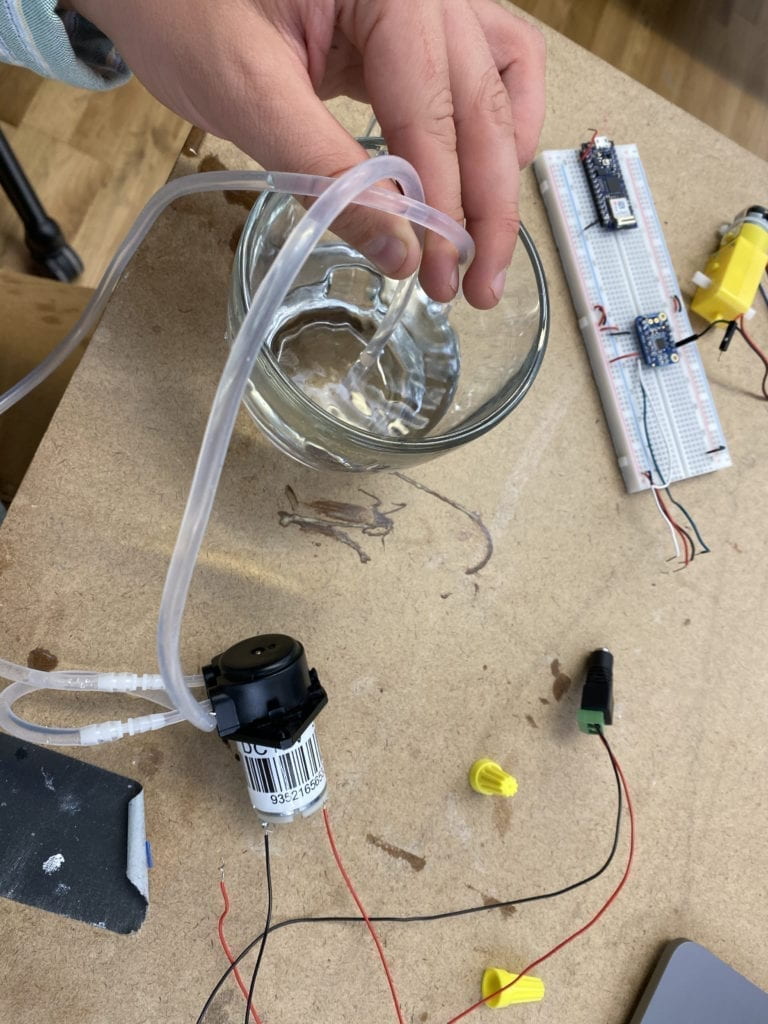
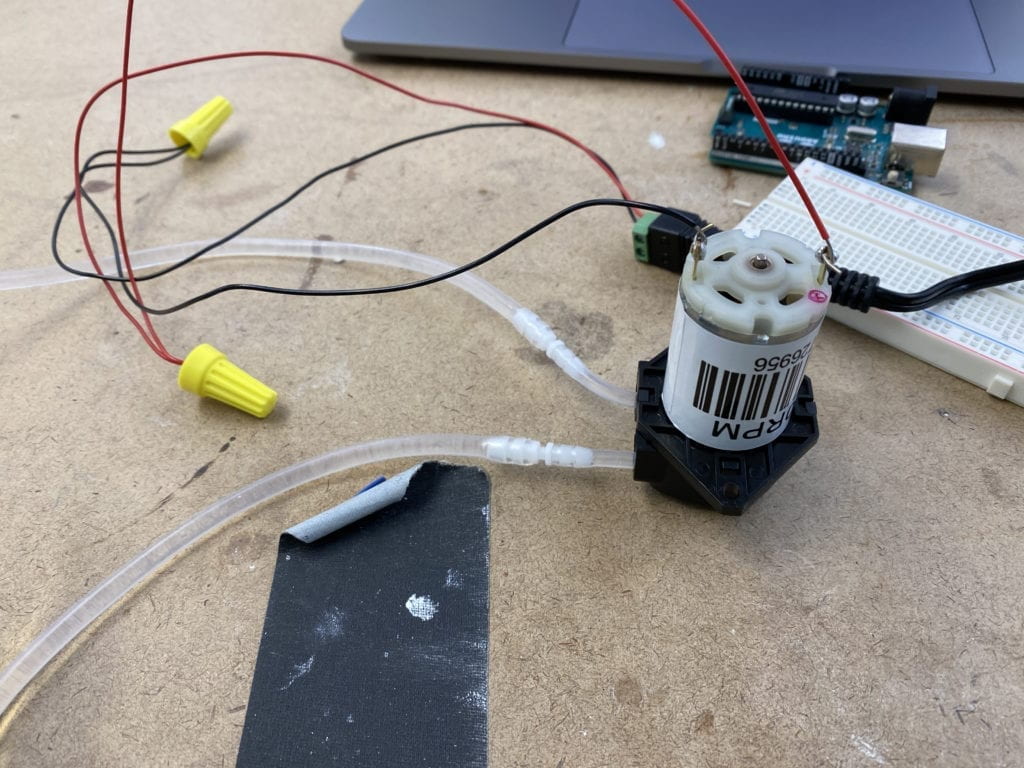
Next, I wanted to test the pump so I quickly wired it into my 12v power supply. It started right up. 

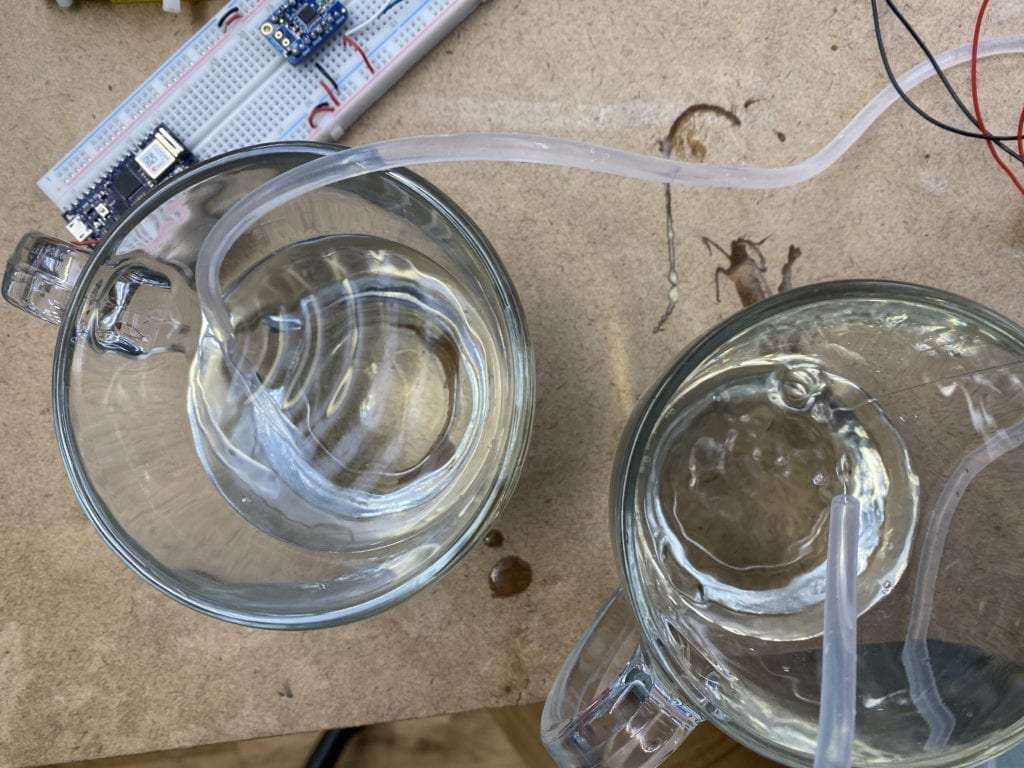
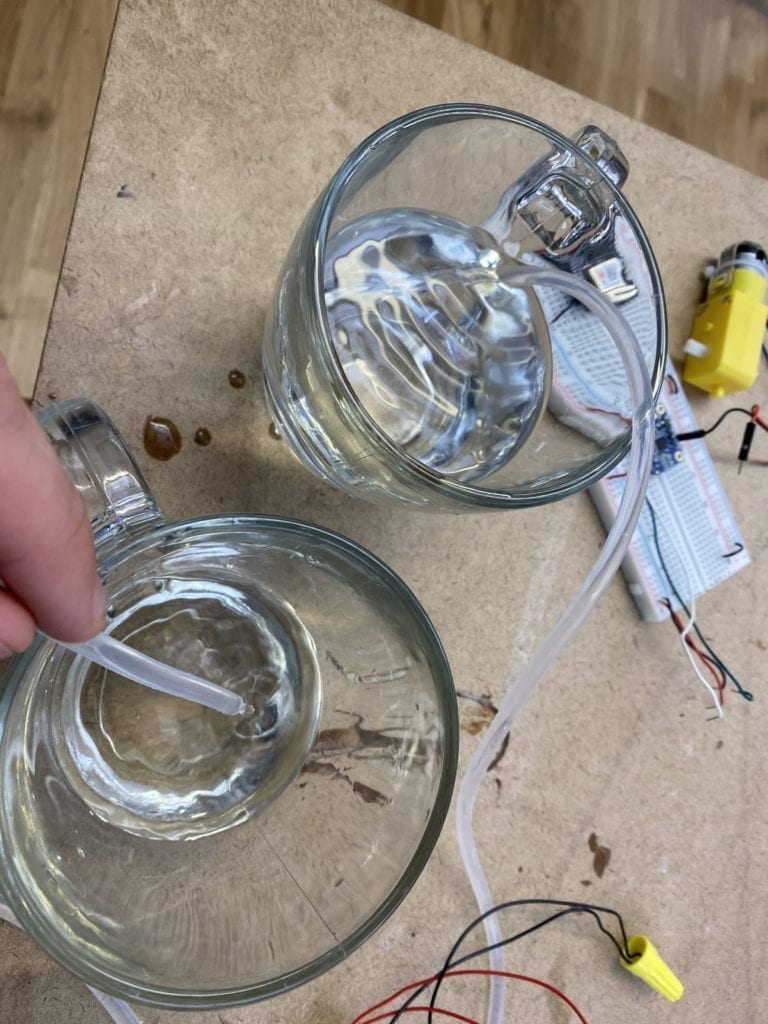
Water pumping running off Arduino

Water flowing from one cup to another using water pump

Water pump test

Finally, I wired the motor into my Arudino with some simple code to turn it on, and it was up and running. 

Water pump working

Next, I need to figure out how to do the following: 

– Build the pulley system.

– Figure a way to have the motor switch direction when it hits the end of the range. 

– Control the spraying of the water on a timer. 

– Make the painting.

– Construct the device housing. 

Design Analysis

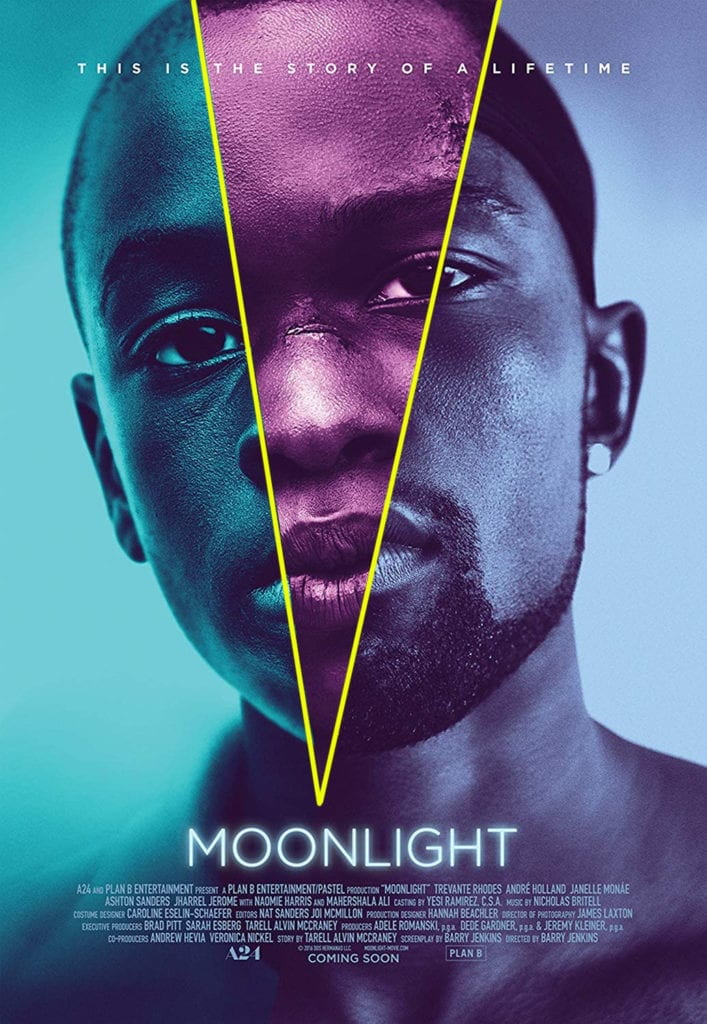
I remember being blown away when I first saw the Moonlight movie poster at my local subway station. So let’s jump into breaking down this (in my opinion) beautiful poster.

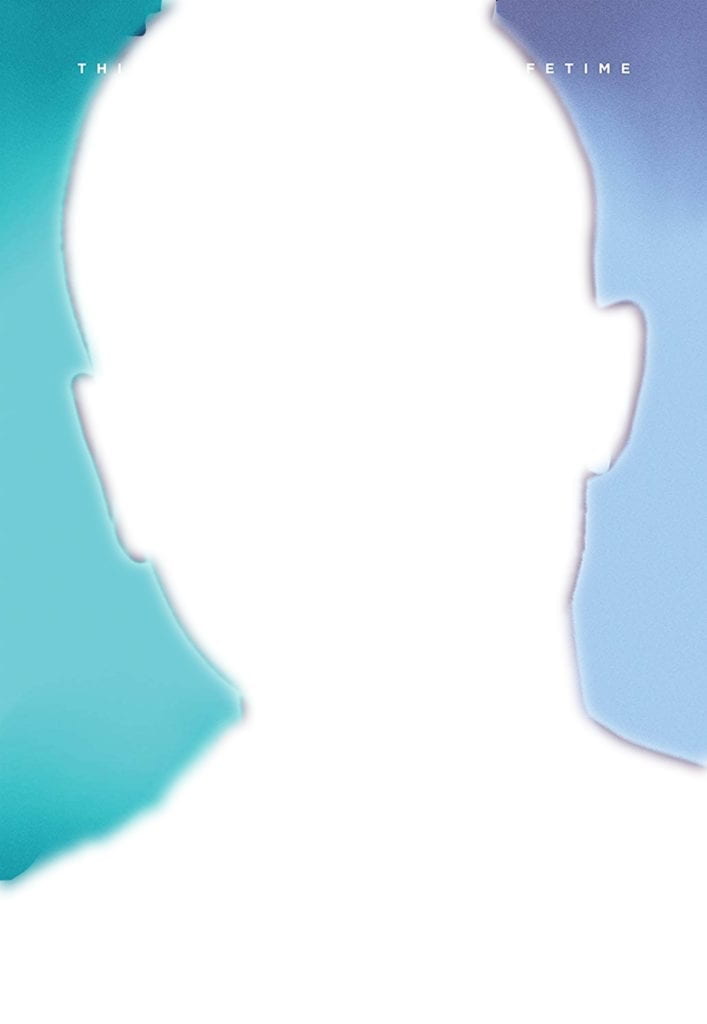
At first glance, I’m drawn to the design’s simplicity—the portraits dominating the majority of the frame and are almost seamlessly stitched together. At a glance, you might miss that the images depict a man in three life stages youth, adolescents, and adulthood.  This is confirmed with the small text at the top of the frame that reads, “This is the story of a lifetime.”

His eyes stare directly into the camera, almost encouraging the viewer to take his stare back. 

Moonlight movie poster

By breaking the poster down with a grid, we can see that it’s framed with the classic rule of thirds composition with the subject’s eyes placed on and near the converging lines. 


Moonlight movie poster with framing layout lines

A second V-shaped grid breaks the portrait into thirds. The point of V emergences from the title and when drawn out resembles a light beam. Here too, the lines cut through the subjets eyes.


Moonlight movie poster with framing layout lines

The negative space further highlights that the designer wanted the viewers to focus solely on the portrait. By having nothing else to look at, I’m drawn back to the eyes of the subject. 

Moonlight movie poster with negative space cut out.

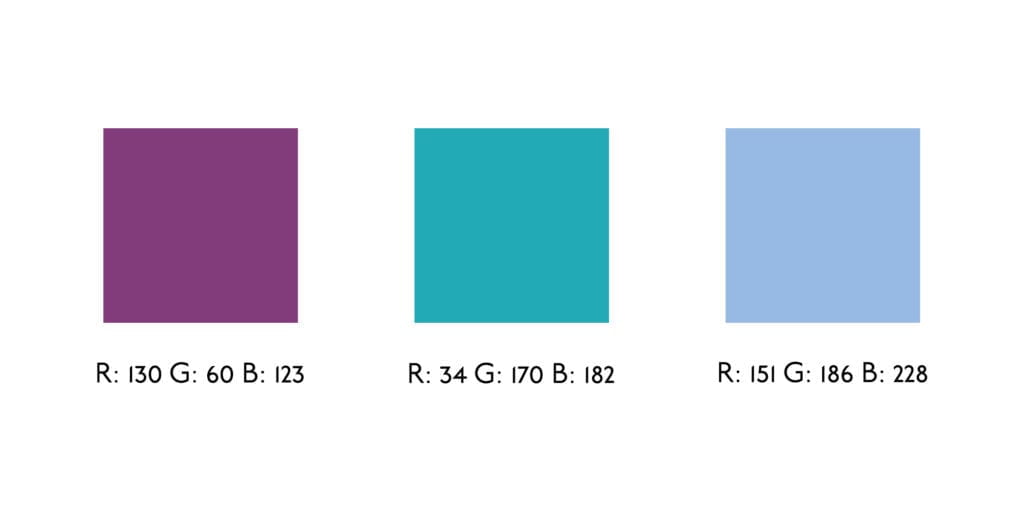
Three colors are used to distinguish the different life stages of the subject.  The colors are all cool and resemble the color grading in the different stages of the actual movie. Three color swatches representing the main colors in the moonlight movie poster

Simple, clean, and small. The Underground Book font is used only to convey necessary information like the title and single line. 

Font description used for the moonlight movie poster


Animation Assignment 1

FLASH WARNING…


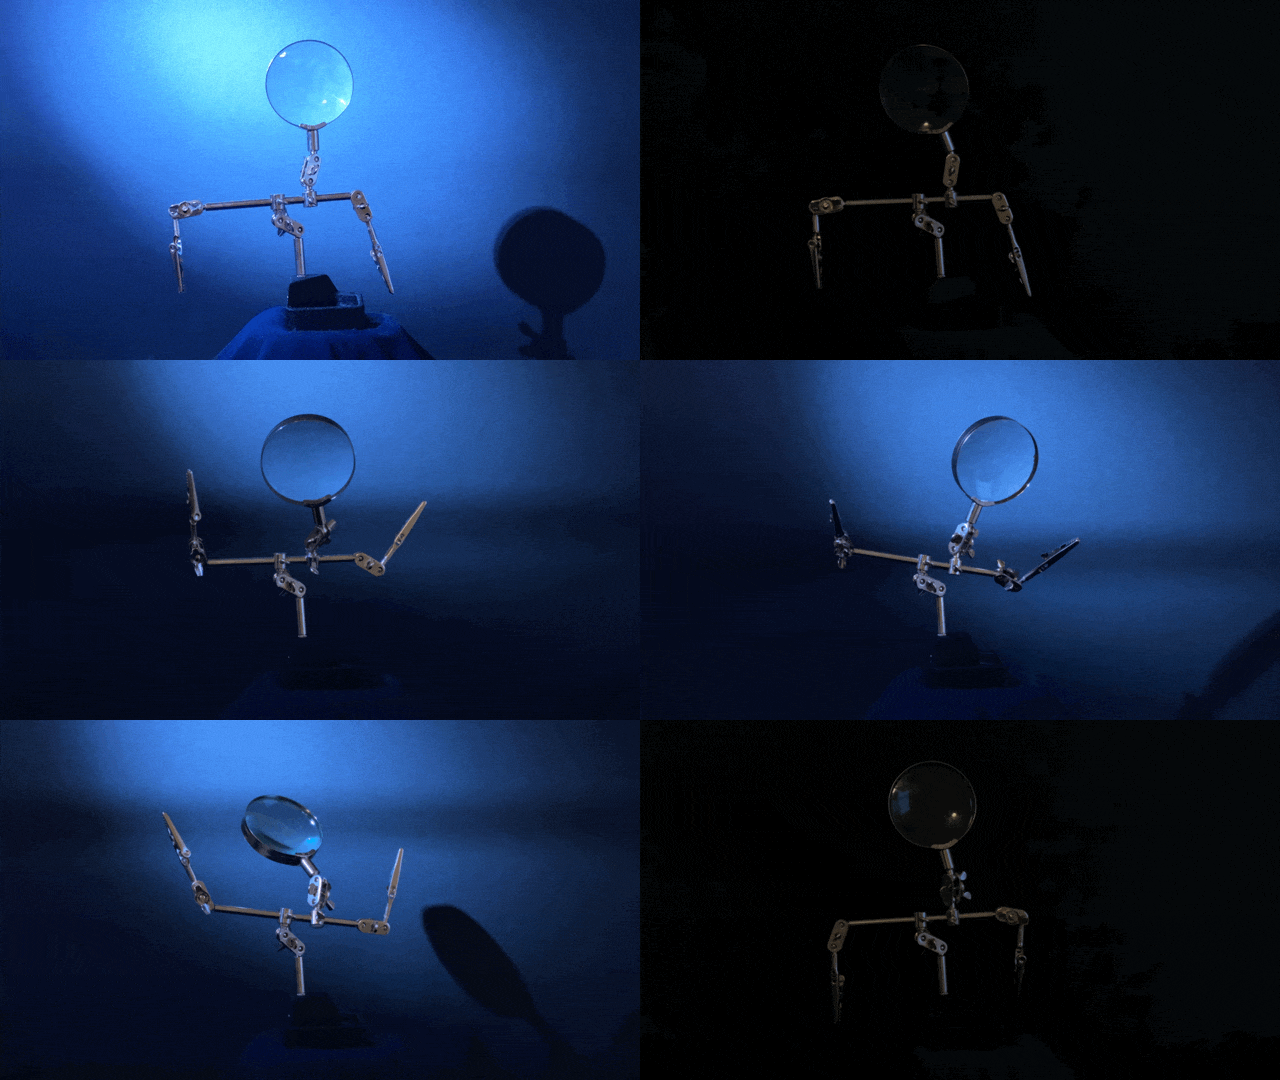
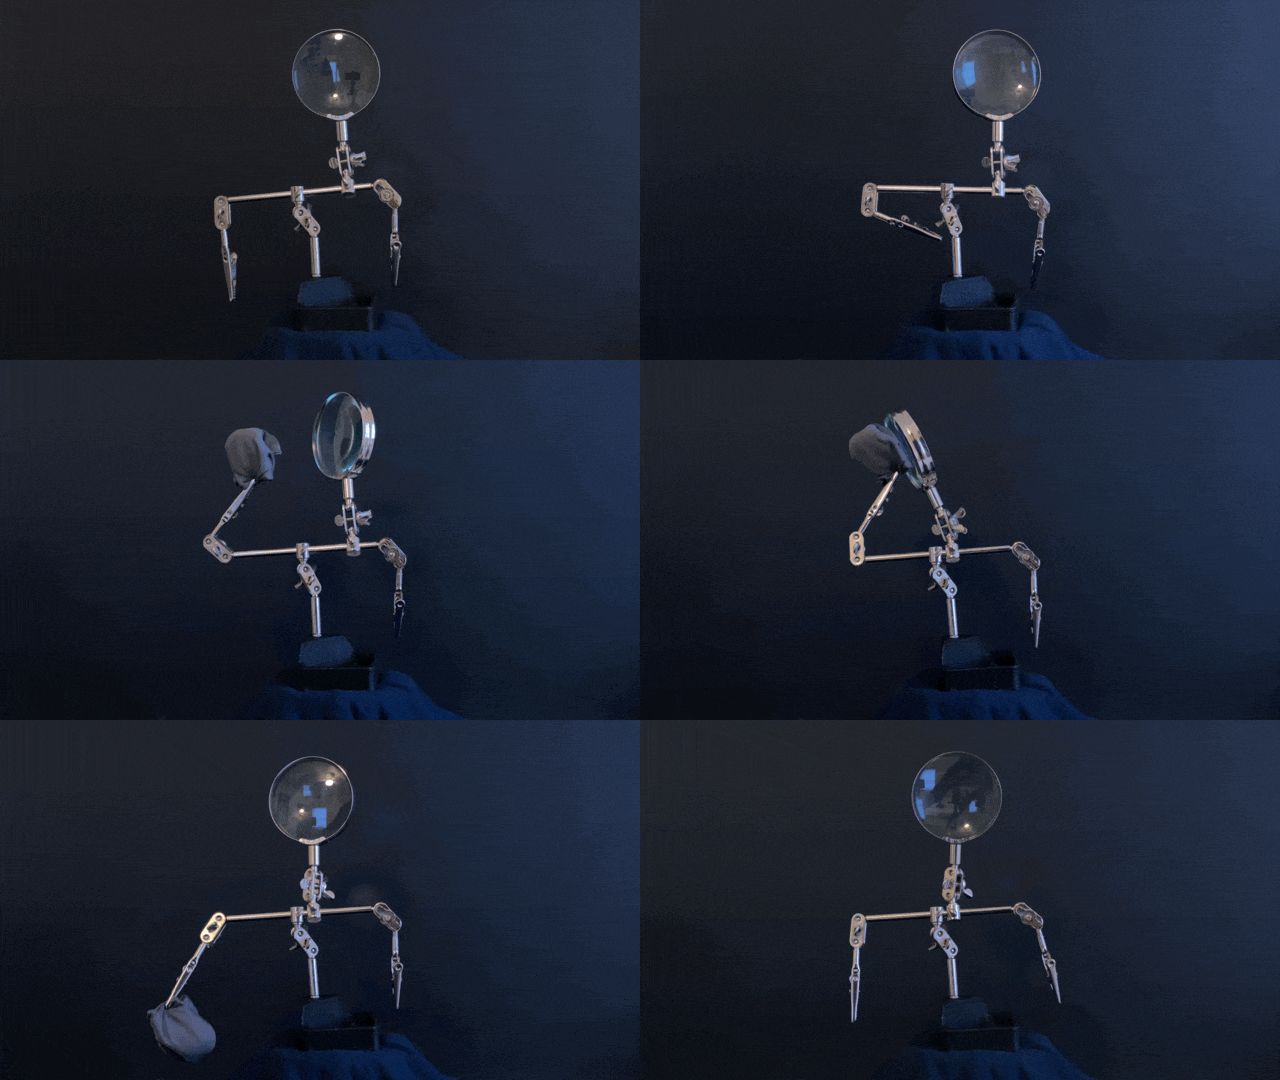
The first thing that came to my mind when I got this assignment was animating my helping hands. They look like humans, and they have joints to move around, but what could they be doing? After sitting and staring at them for a while, two things kept circulating in my mind the endless smudges I get on the magnifying glass and how I miss going out and dancing. So I decided to use those thoughts as inspiration. 

First, I worked on the dancing character. On my first attempt, I ran into a couple of creative problems: 

  • Framing: I tried cropping it afterward but getting all the frames cropped the same way in this software was really difficult. It really bothered me when the platform moved at all.
  • Lighting: I underexposed the image to make it feel more like the character was in a bar, but it needed more. I grabbed my flashlight and turned it on every other frame to give it a strobe light effect on the second go.

Animated gif of a helping hands dancing

For the second gif, I wanted to have the helping hands clean its own magnifying glass. While storyboarding it out, I didn’t think the lens cloth appearing would work, but after creating it, I really like. 

animated gif of helping hands cleaning it glass

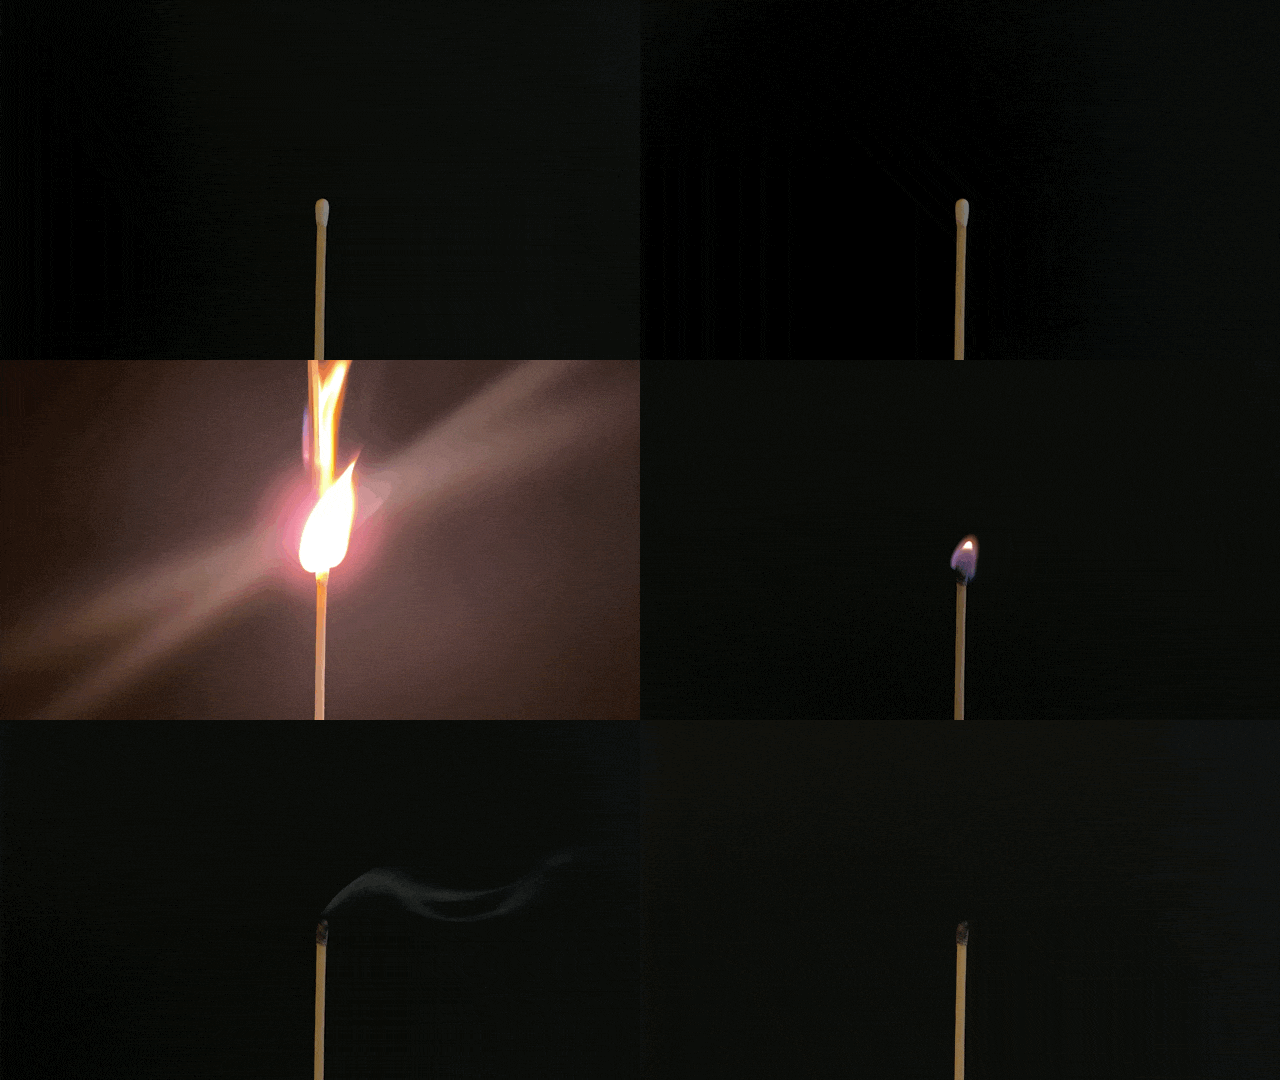
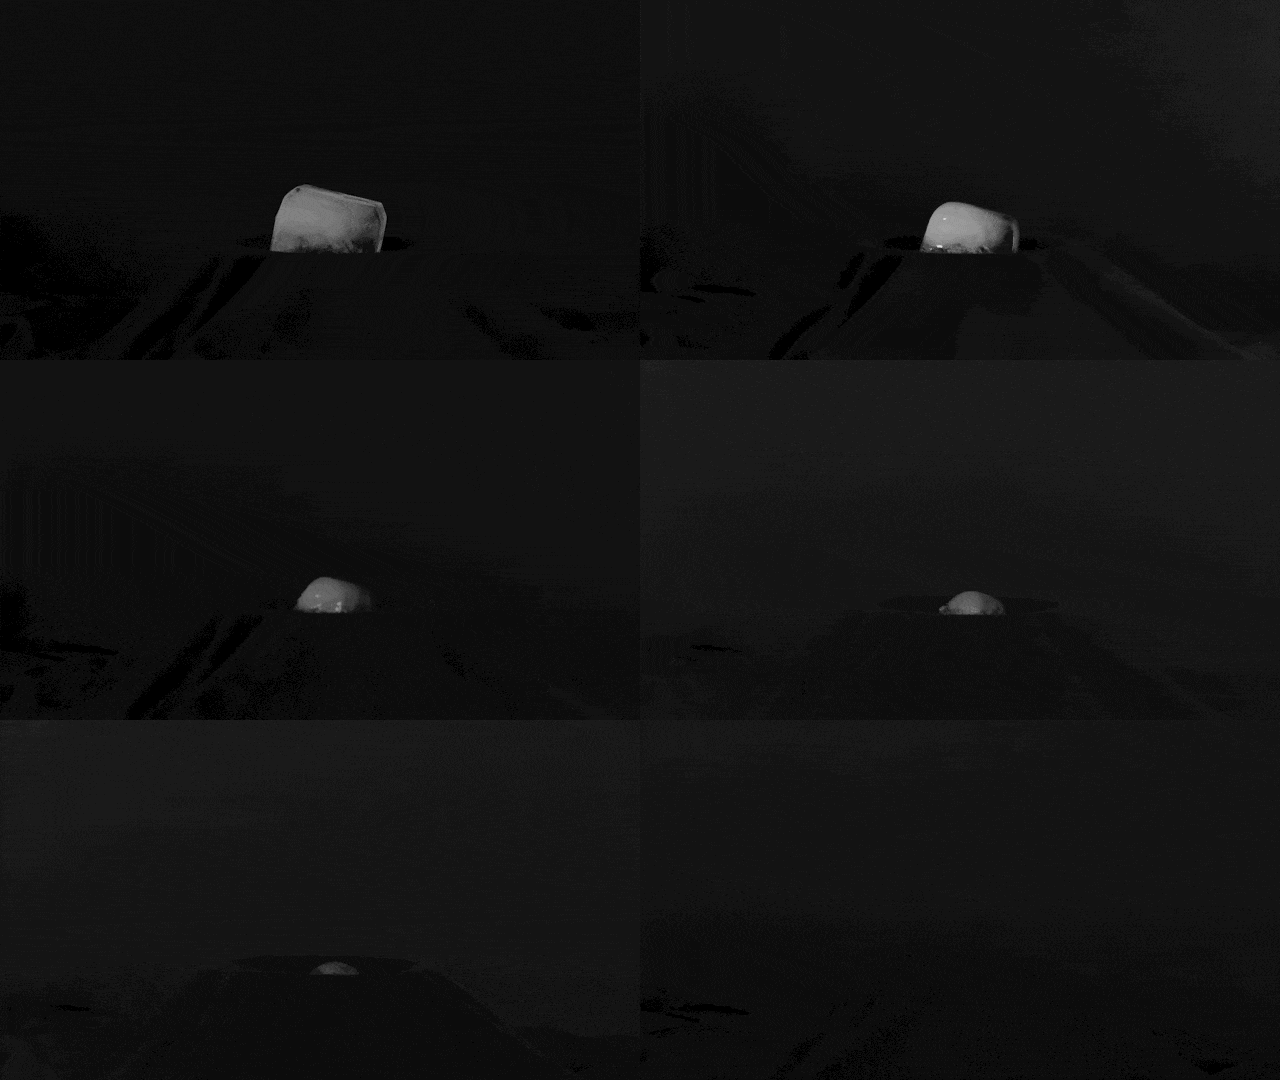
For the second set, I wanted to work with fire and ice. To get the shots, I ended up using the time-lapse feature in both setups. For the match, the interval was set to 1 second and ended up taking only a couple of seconds. For the ice, the interval was set to 60 seconds and took just under two hours.

When I evaluate both images, time was really against me. I would have liked to shoot a faster interval for the match to capture more of the flame. I needed to light the set with artificial lighting instead of window light to correct the light shifting throughout the day for the ice. 

animated gif of a match lighting.

animated gif of a piece of ice melting

All in all, I really loved making these gifs. Some software limitations got frustrating, like the slow interval timer, the cropping feature, and my camera not being supported (I ended up using my phone), but it got the job done. 


Project 2 – Lab 7

Project 2: 

I have been interested in both environmental issues and the destruction of my own art for a long time. Over the years, I have found that by combining the two, I can explore visually presenting scientific data on the climate crisis. This exact project has been rolling around in my head for years and I’m really excited to start working on it. 

For this project, I plan on producing a painting or drawing of a threatened/endangered environment. The completed piece will be placed on an easel. Above the easel will be a pulley system with a hose attached in the middle. The hose will run down the back of the painting to a pump, where the second intake line will be in a container of black paint. 

The pump and pulley system will be run off an Arduino Nano 33 IoT. Over the course of the performance, the pump will turn on and dispense paint randomly over the painting, destroying it. To calculate the destruction I will be basing the operation on the predicted extinction of the painted environment. 
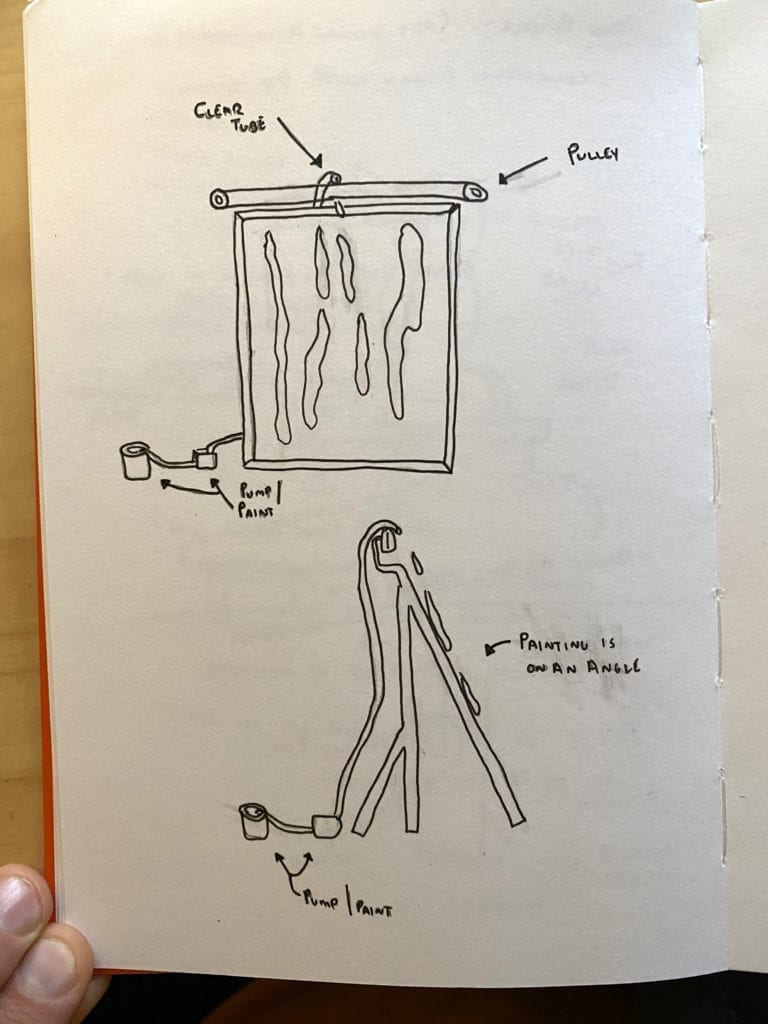
Sketch of a easel and painting getting sprayed with ink.

A completed rough sketch of the layout. 
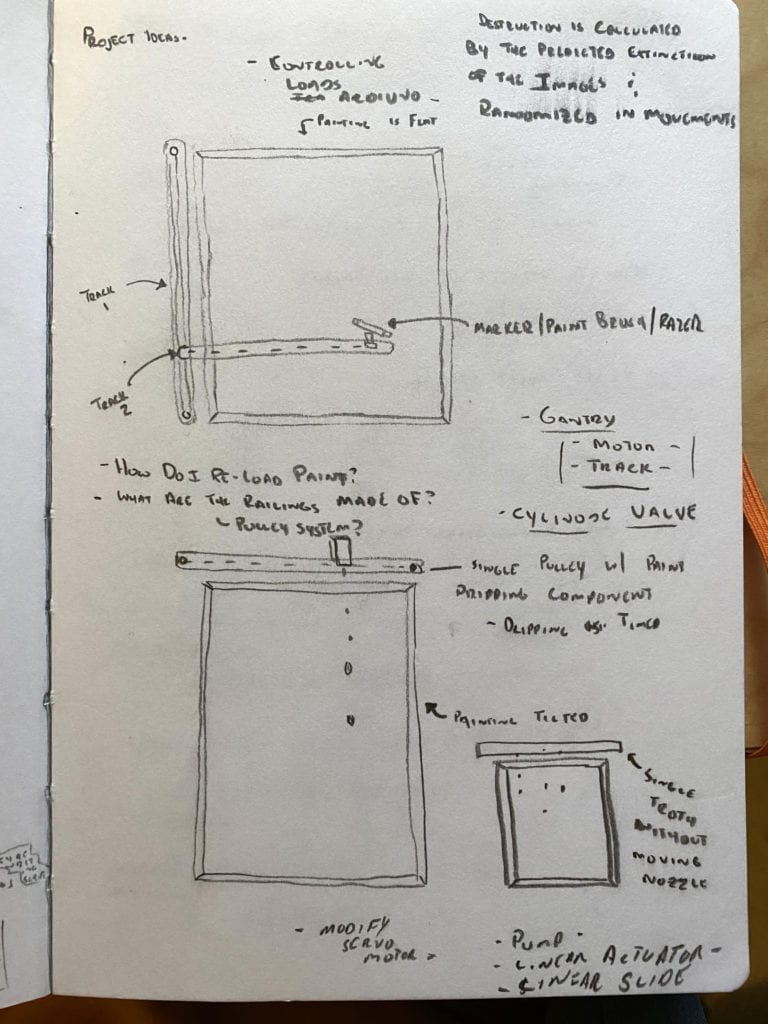
Early prototype drawings: To expand this project I might add a vertical arm that can control other tools, including a marker, paintbrush, or razor.

 Being new to this whole process I’ve ordered parts that I think will get the job done but will still take a fair amount of experimentation.  The parts come this week, so I can get started!

Peristaltic liquid pump with silicone tubing will draw the paint from the container to the top of the painting. 
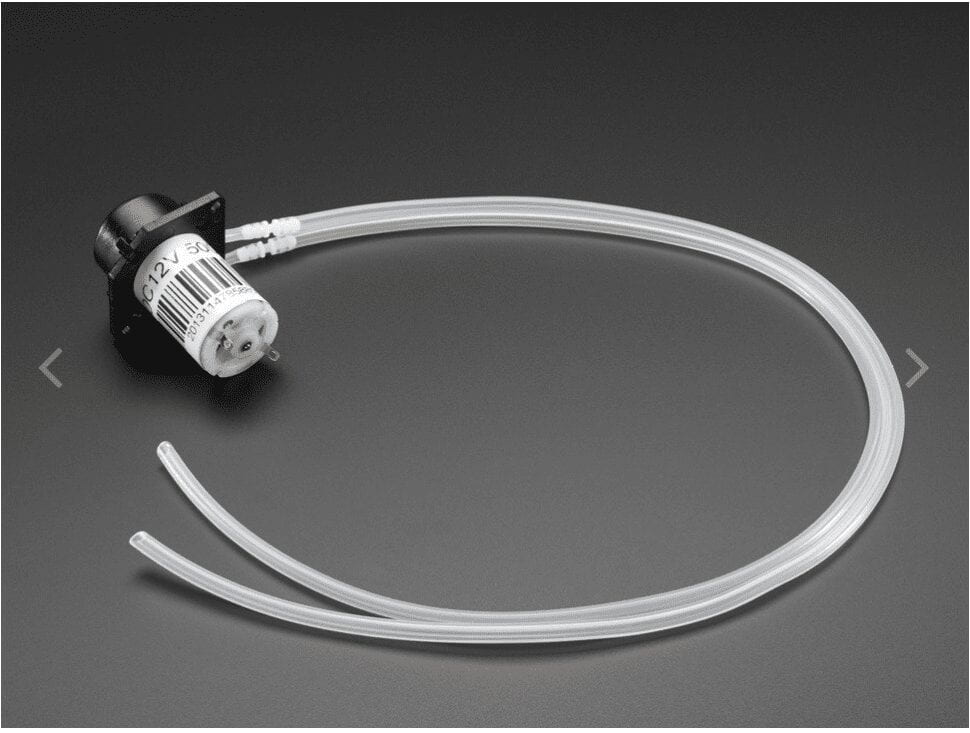
Peristaltic liq. pump. image

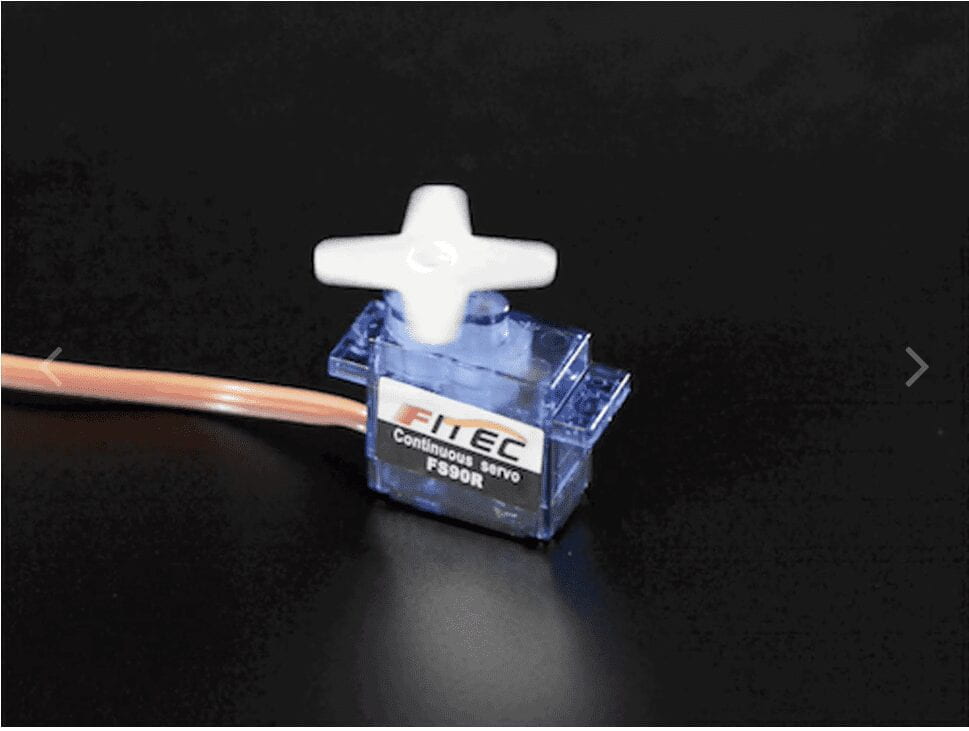
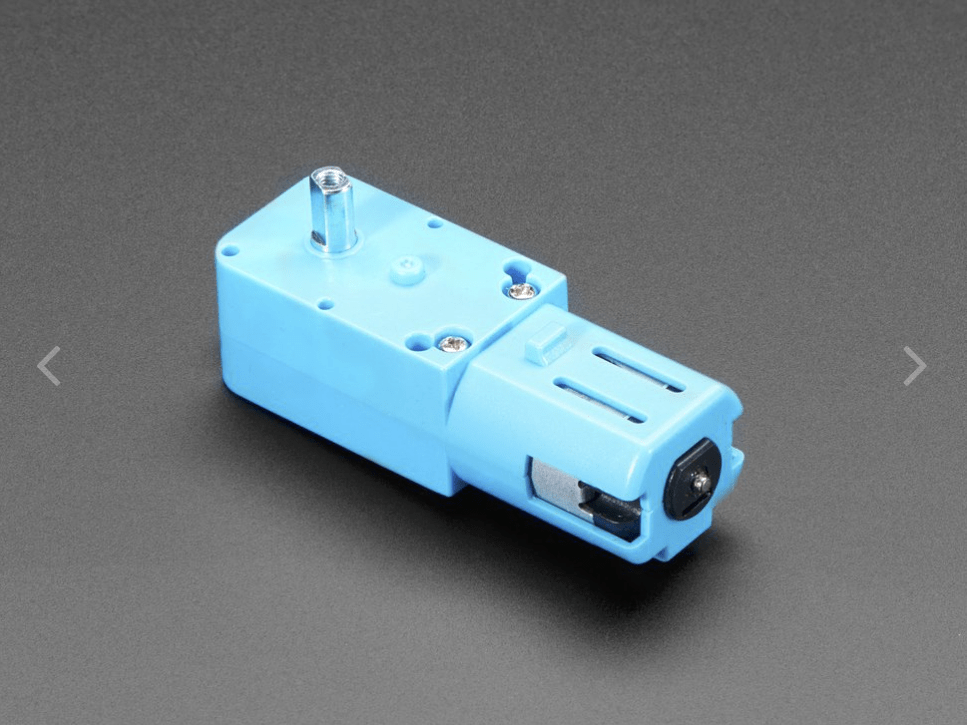
DC Gearbox Motor -TT Motor with a TT Motor Pulley or Continuous Rotation Micro Servo or TT Moto All-Metal Gearbox and a Moto Drive Breakout Board will run the pulley system. 
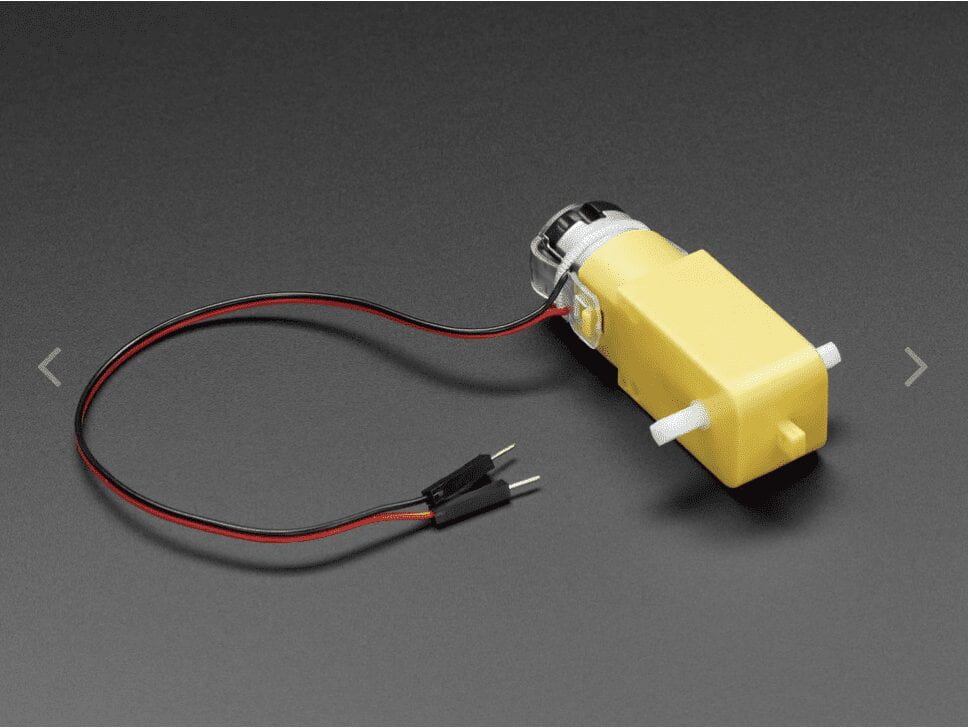
DC Gearbox Motor - "TT Motor" - 200RPM -

Continuous Rotation Micro Servo - FS90R

TT Motor All-Metal Gearbox - 1:90 Gear Ratio

Questions: 

Does the overall concept make sense immediately? 

How does the destruction of a painting/drawing make you feel? How does it make you feel in context to habitat destruction? 

Should the mechanical components be hidden behind a frame of some sort or be exposed? 

Would a fast or slow performance be more impactful? 

Would another destruction method be more impactful? Example: A razor. 

____________________________________________

Two – Way Duplex Lab: 

I had a hard time getting this lab up and running. I kept getting errors that I couldn’t troubleshoot. See below: 
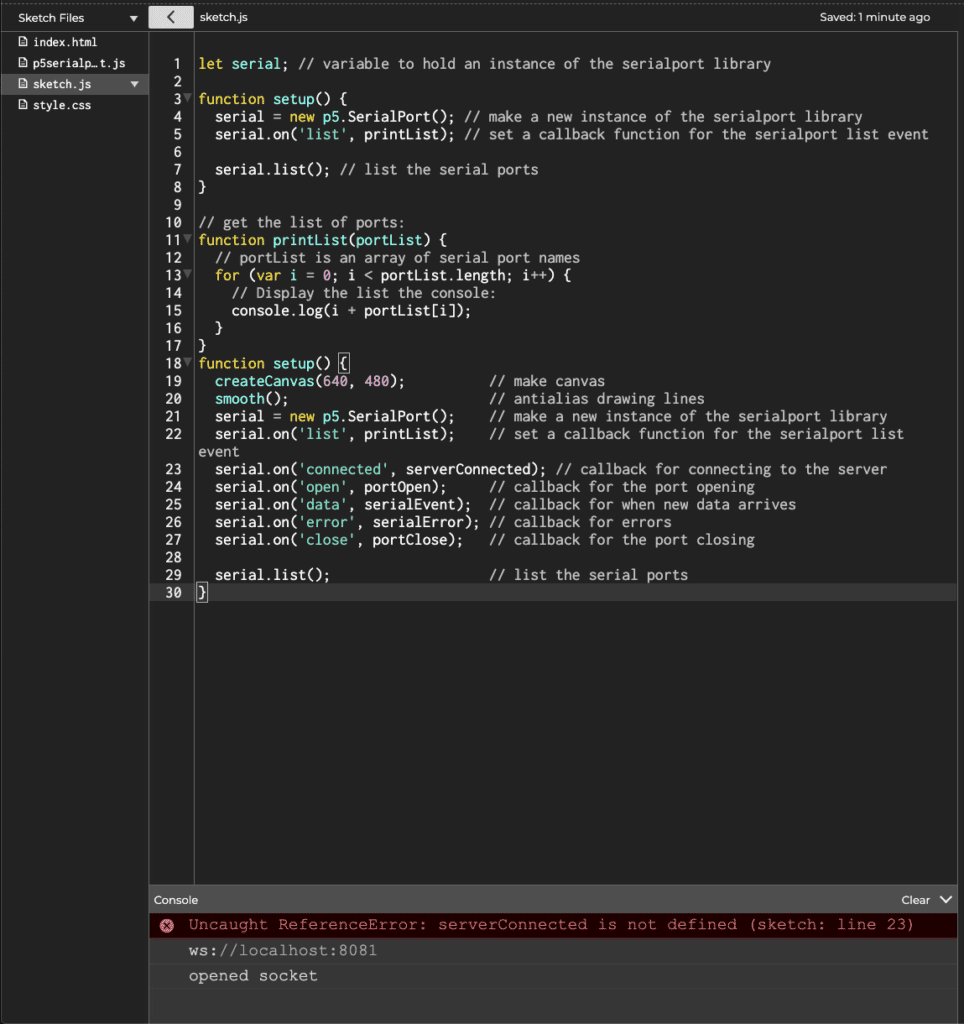
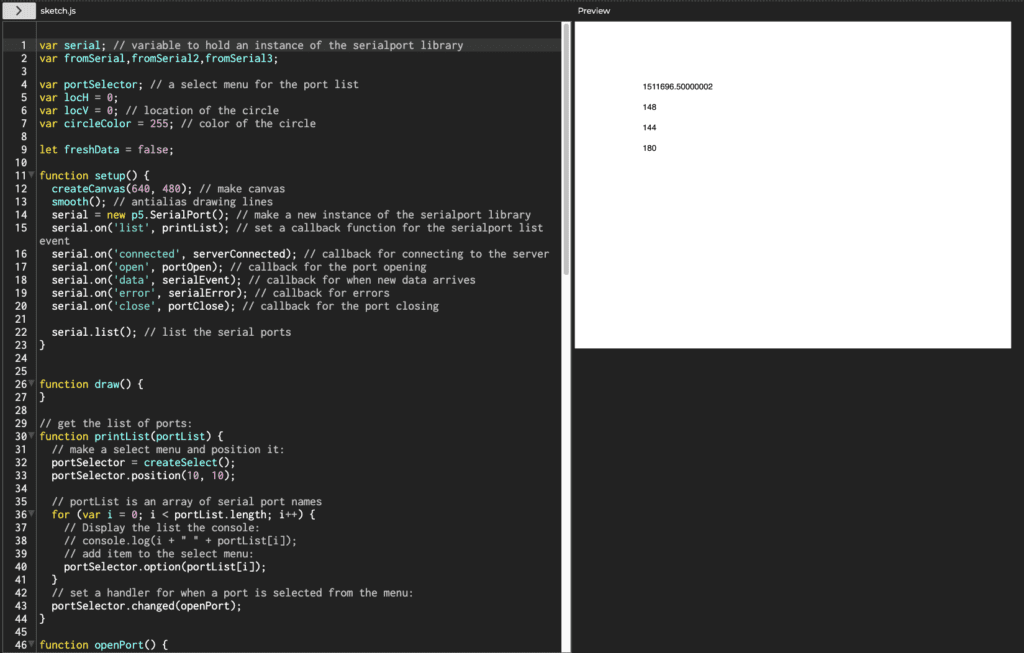
P5JS sketch with error message

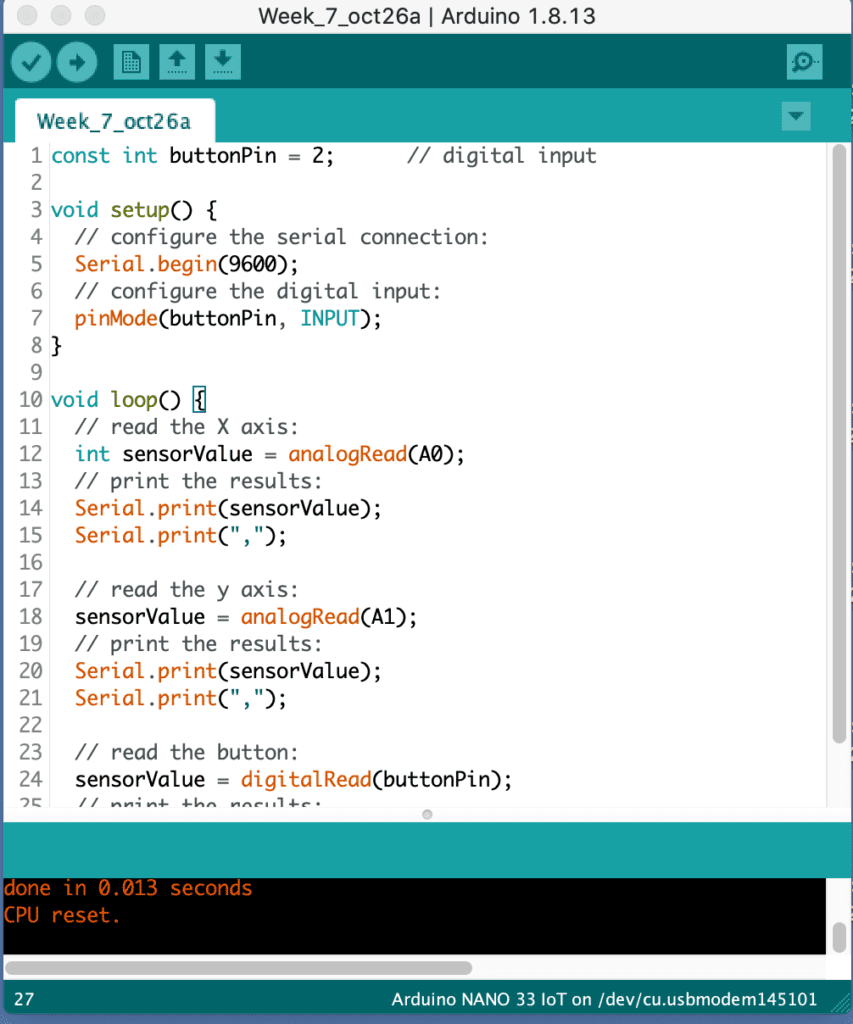
I did however get the Sending Multiple Serial Data using Punctuation section working.  I can see how using punctuation to break up the values can be really helpful for viewing. 

Serial monitor output

Arduino sketch

After an office hour session, Danny sent me over a new sketch to try and get this up and running. The code worked perfectly. This is a good thing because now I know that there is something wrong with my code not with my SerialControl or hardware. My next step is to go over this code again looking for my error. 
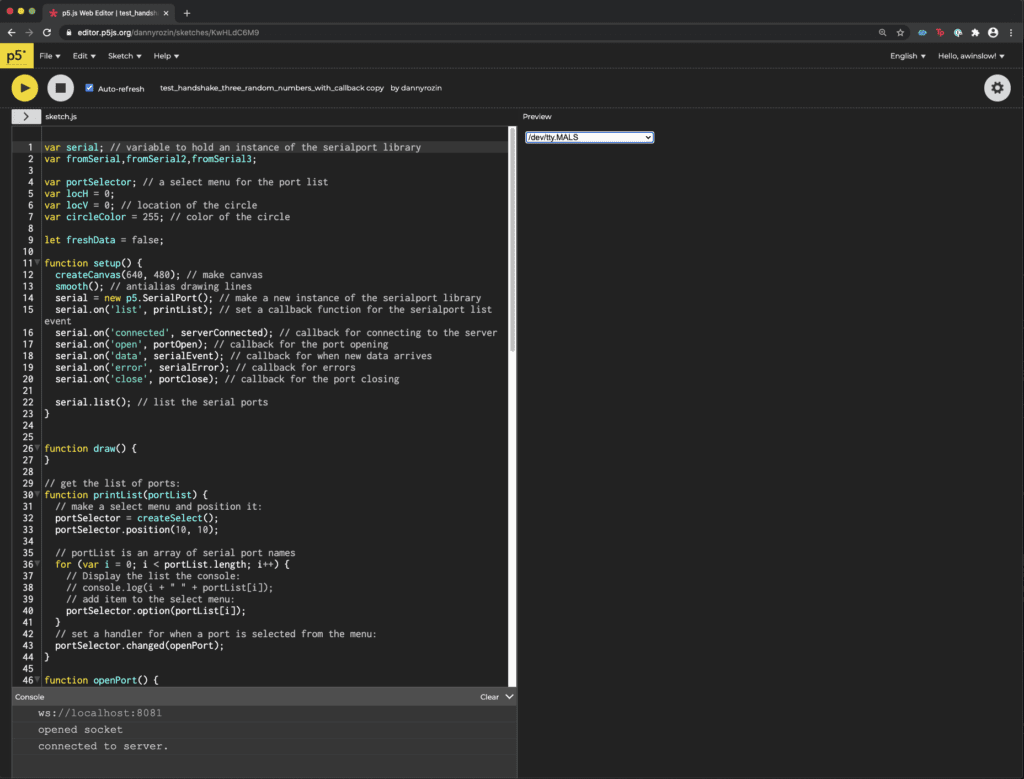
p5js sketch working

p5js sketch working

Getting Creative: 

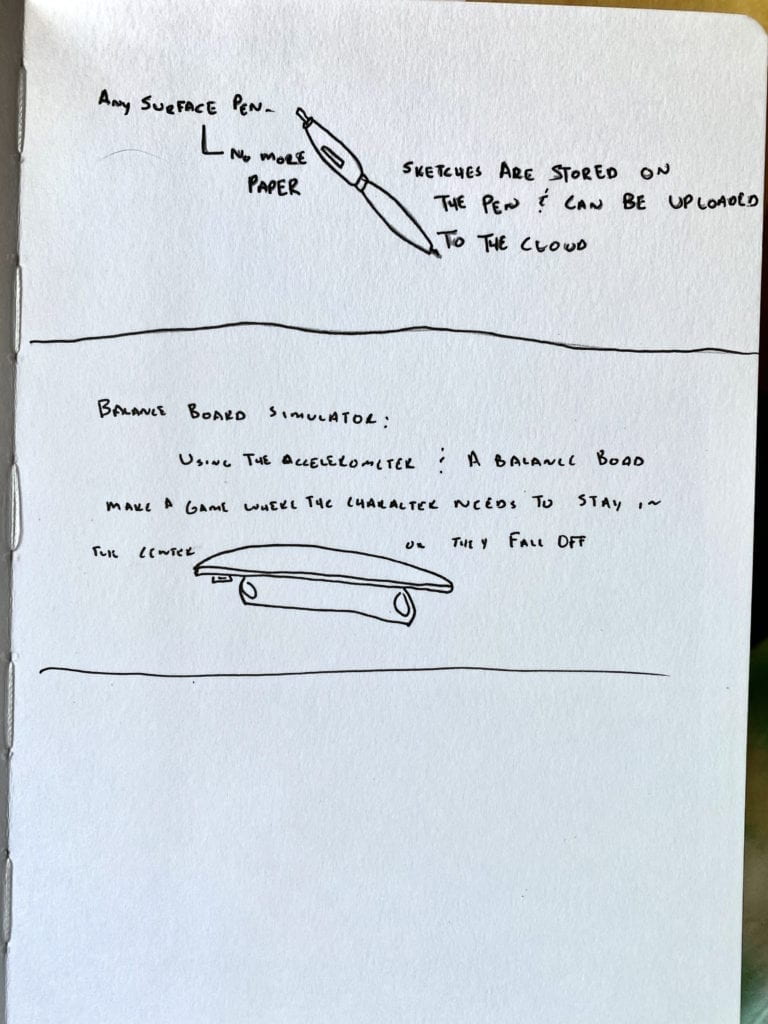
Two projects that I thought could use analog sensors that affect X and Y are:

Any Surface Pen: A pen that will store a drawing that can later be uploaded to the cloud or your device. No need for paper to jot down notes or remember your brilliant ideas. 

Balance Board Simulator: Using the IoT accelerameter on a balance board as a game controller. The player needs to stay in the center or they’ll crash in the game. This project ssems like it could be paired well with a Unity game. 
 

Objects and Arrays

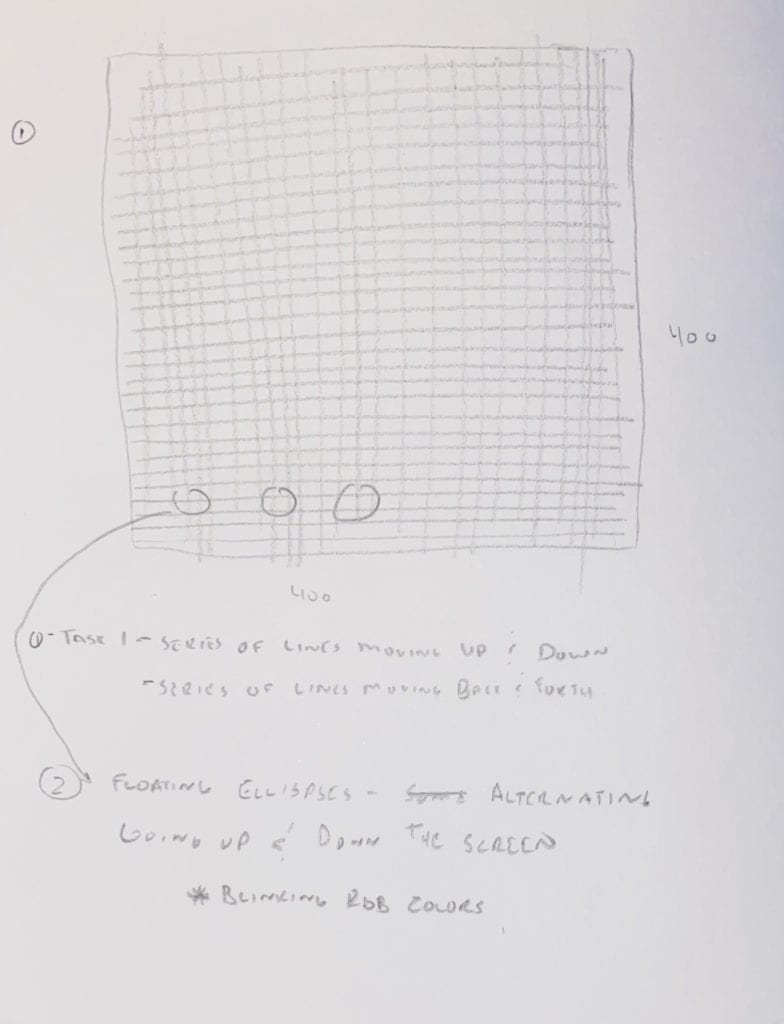
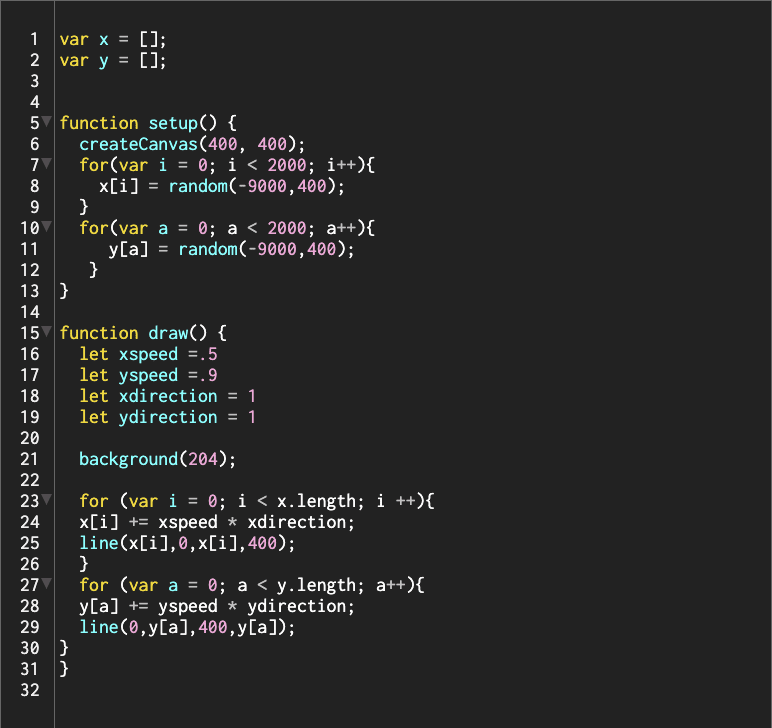
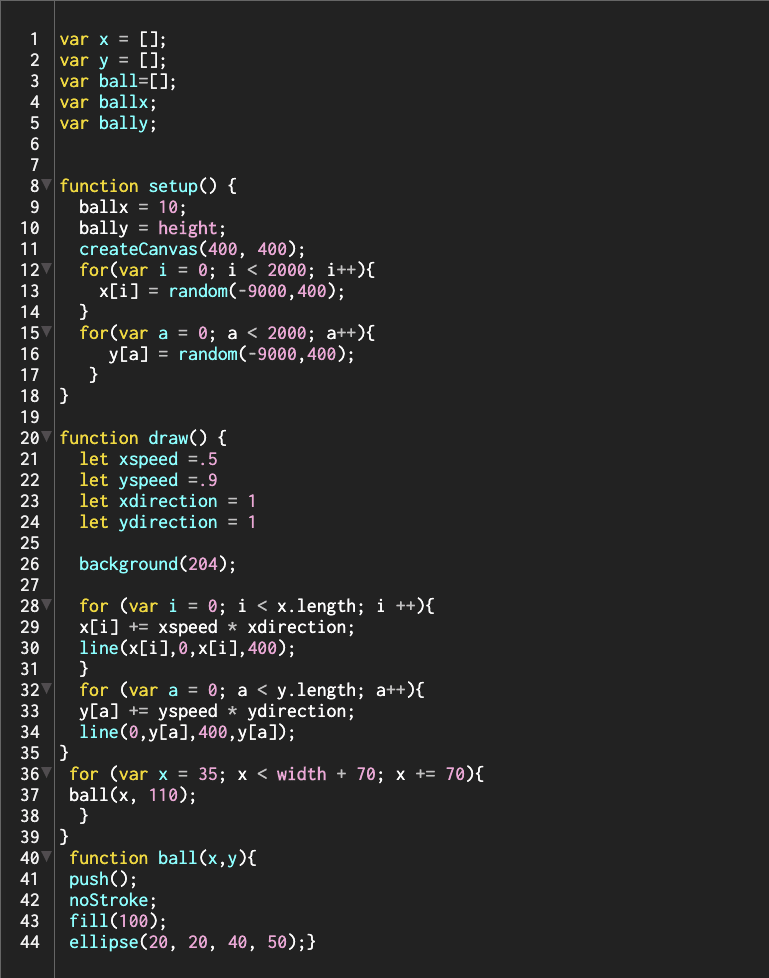
After going over the week’s tutorials, I felt confused. I understood the fundamentals but couldn’t think of a project to do. I re-watched the tutorials and searched the web for some inspiration but was blocked. Finally, I just started sketching in my notebook, reminding myself to think of a simple program that I could test things out. It’s not the most exciting script, but I came up with a thatch type grid with ever repeating colorful ellipses.

Here is my primary sketch. 

notebook sketch of a p5js file

After a great deal of trial and error, I was able to hobble my way to a completed sketch based on my drawing with a few modifications. 

  • I wanted half of the ellipses to go up and a half to go down.
  • I wanted the lines to turn around once they’ve reached the opposite side. 

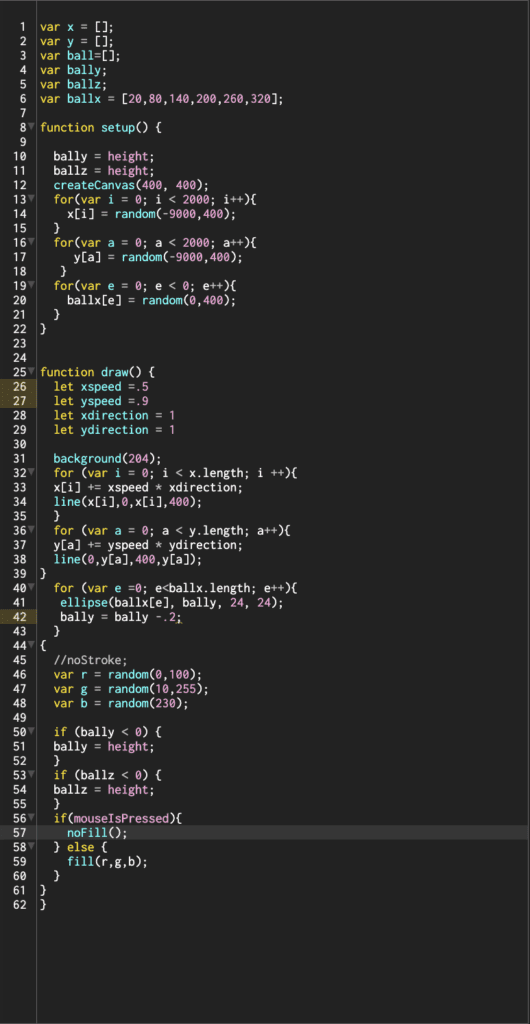
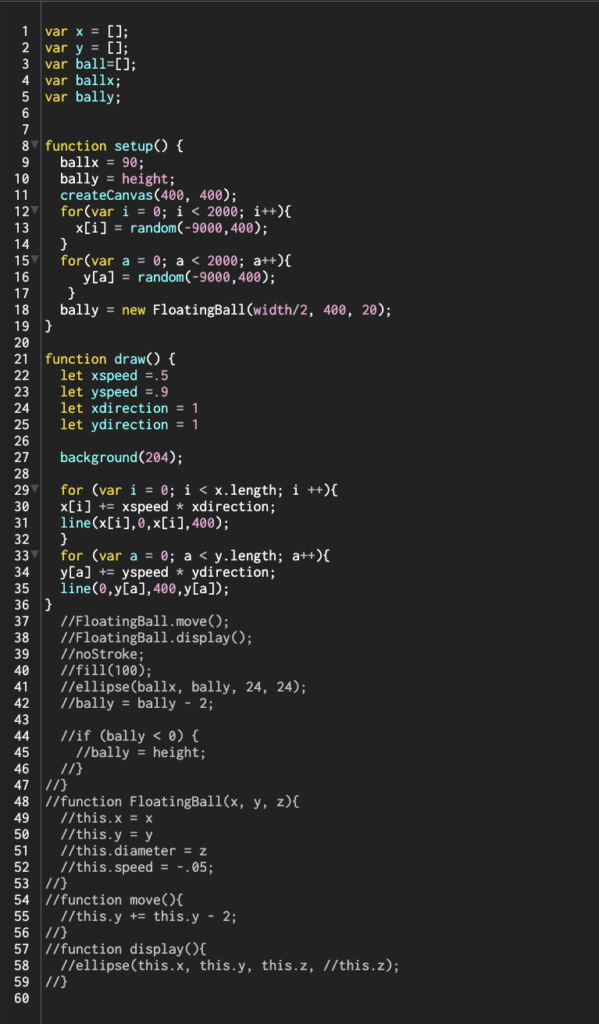
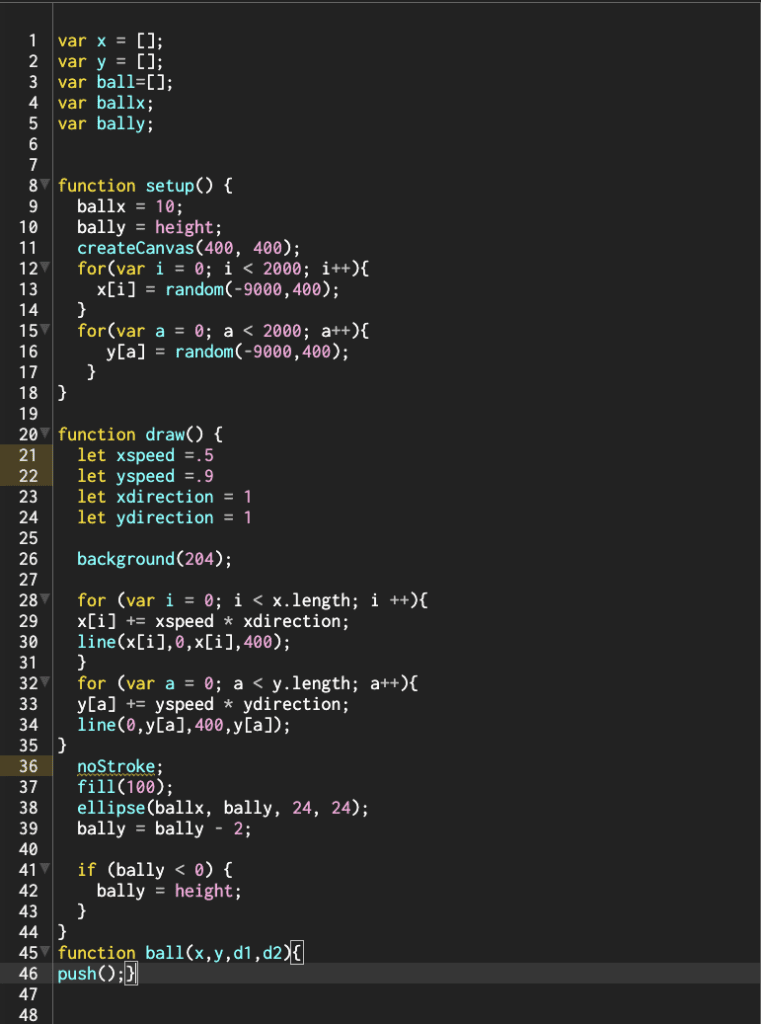
Because I tried so many different approaches and saved them separately, my final code became really confusing, with oddly named variables and useless code. 

screen shot of p5 sketch

It was important for me to work on this alone to figure out what I really need to work on. This proved to a very frustrating challenge. 

Below are the sketches I saved throughout this process.

Warning, they are full of errors.

screen shot of p5 sketch

screen shot of p5 sketch

screen shot of p5 sketch

Serial Communications

This was a tough week of labs, but I can see serial communication’s huge potential once I iron things out. 

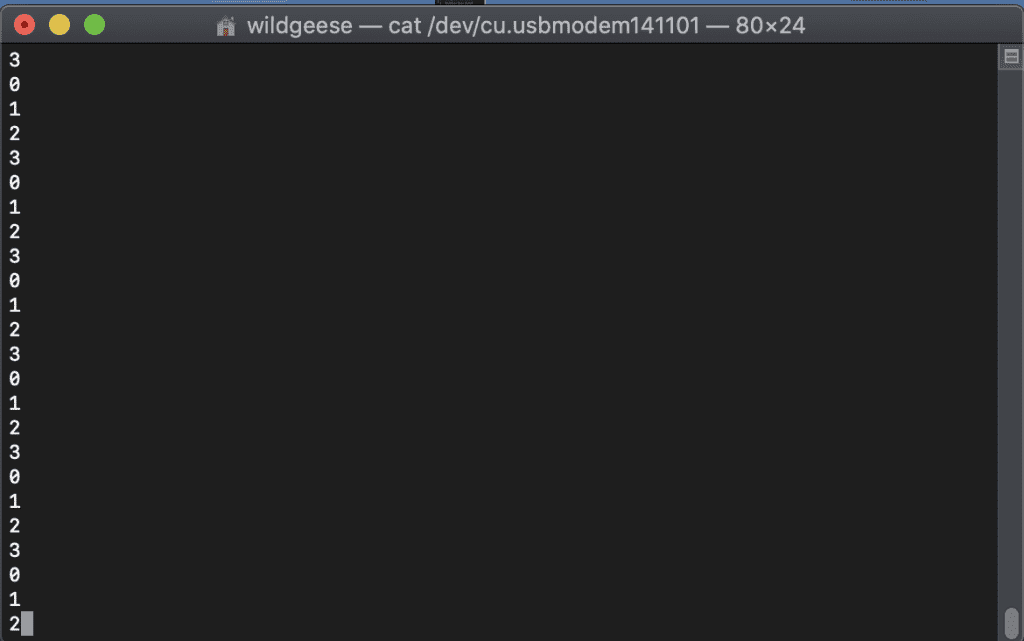
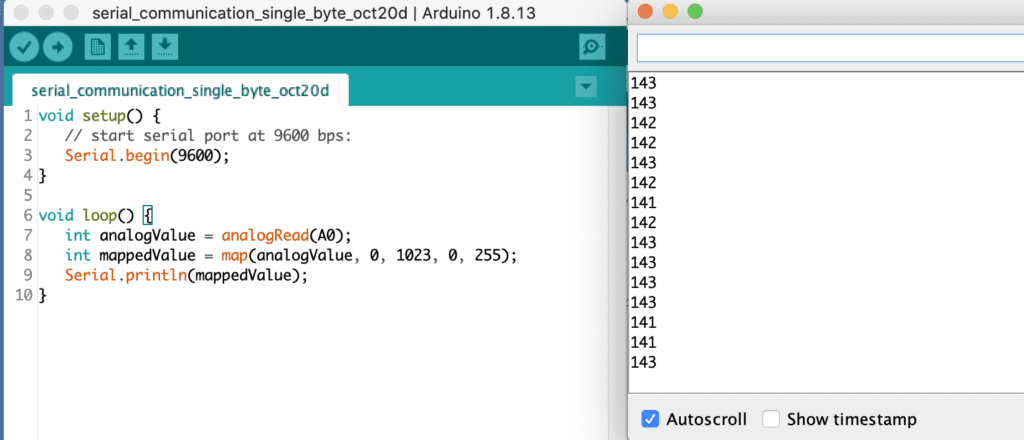
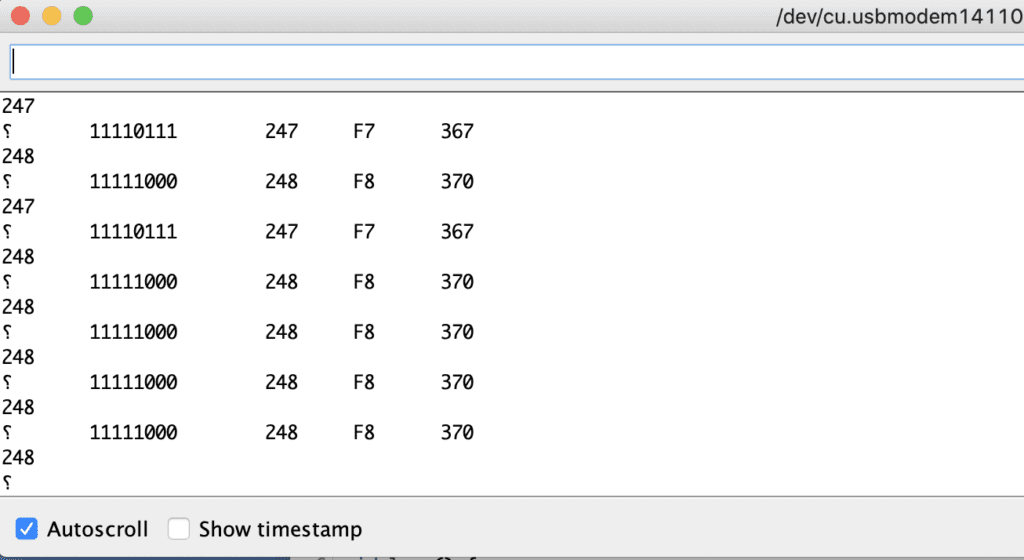
Everything worked well in the Intro to Asynchronous Serial Communications lab. I connected the circuit, map out my readings, and test ways to send data in different formats. After doing some extra readings, the code started to make more sense as did the Terminal App interaction. 


Screen shot of serial monitor

Terminal app repeating serial output. 


Screen shot of serial monitor

Mapping the output to a single byte.

Screen shot of serial monitor

Testing Serial.write

Screen shot of serial monitor

Sending values in different formats. 

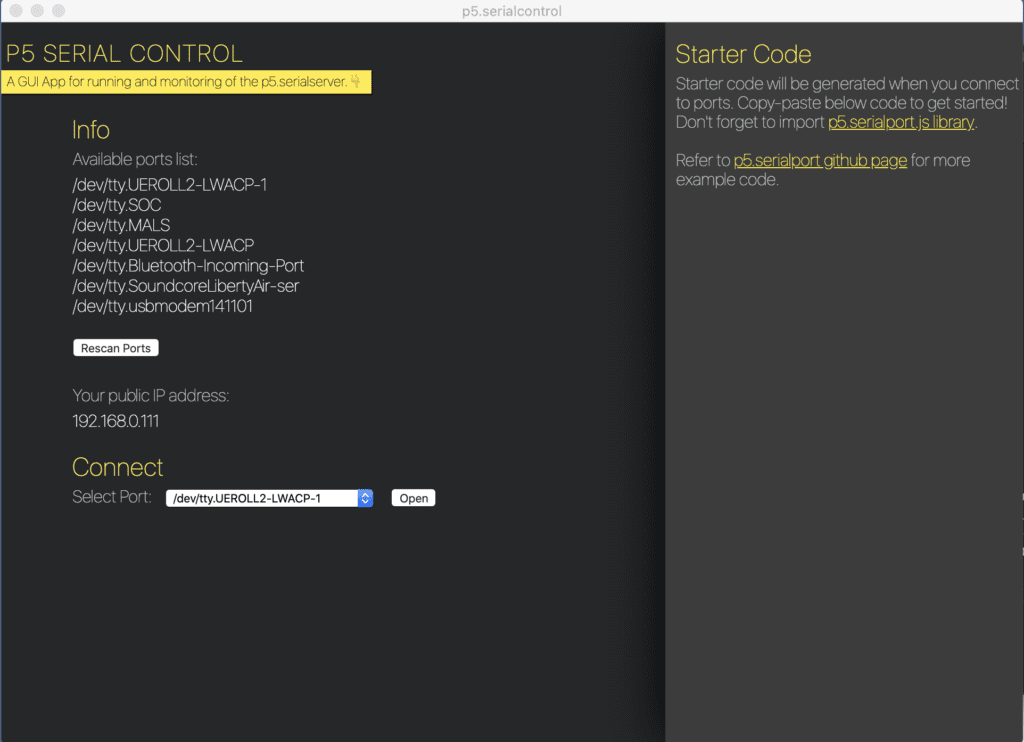
My problems started when I integrated P5 into my workflow. I was able to download the serial control software and the libraries needed to complete the lab fine. However, when I started to code in P5 I kept receiving error messages including “undefined is not a constructor (evaluating ‘new p5.SerialPort()’) (sketch: line 5).” 

I plan on discussing the errors in class so that I can re-run these labs. 

Screen shot of P5 serial control

Video and Sound Final

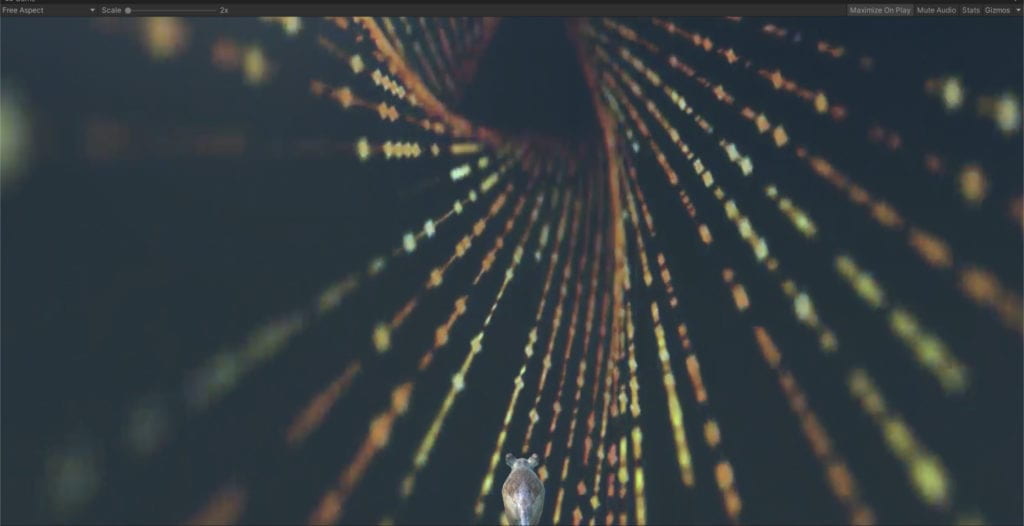
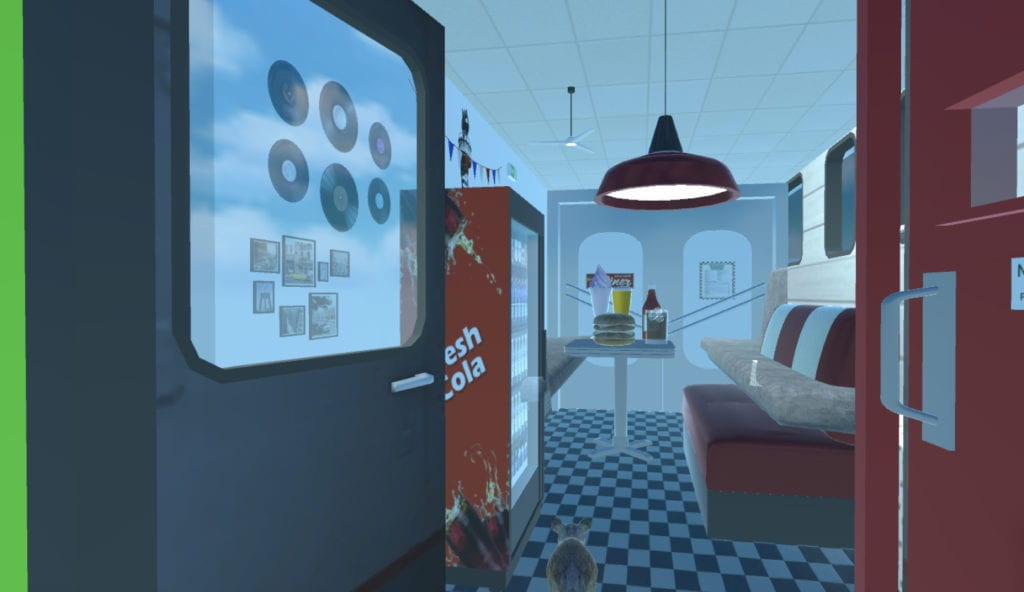
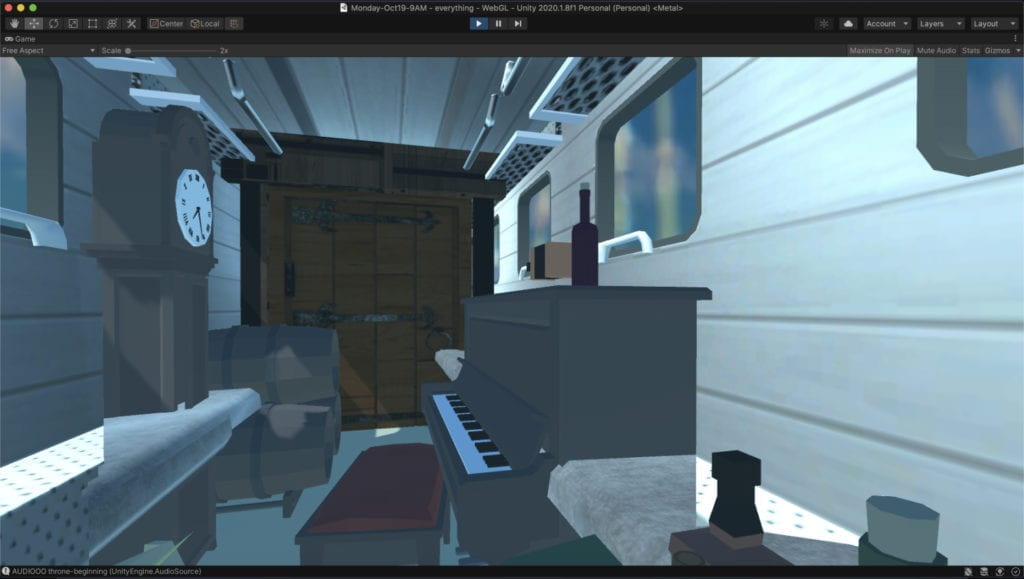
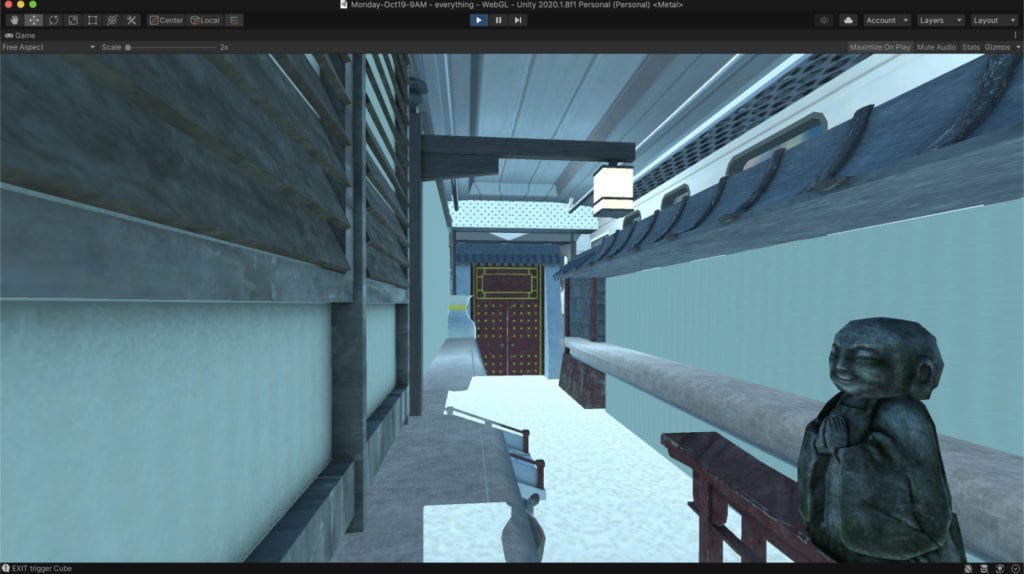
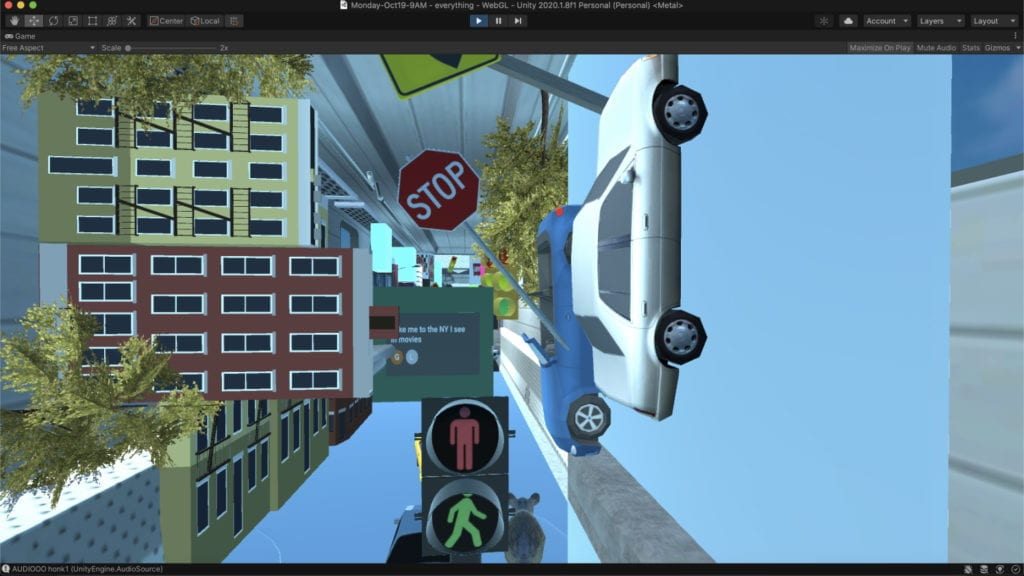
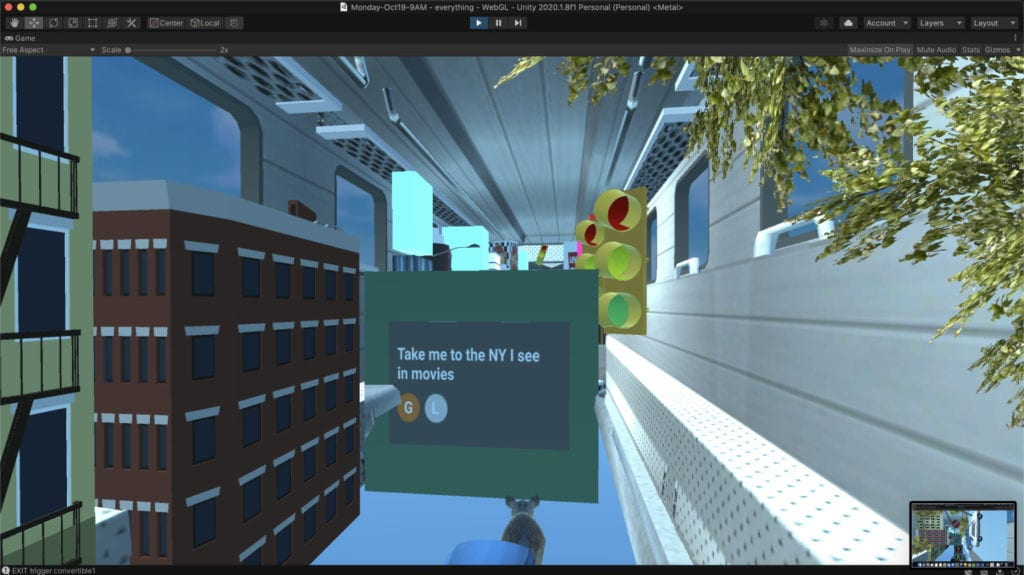
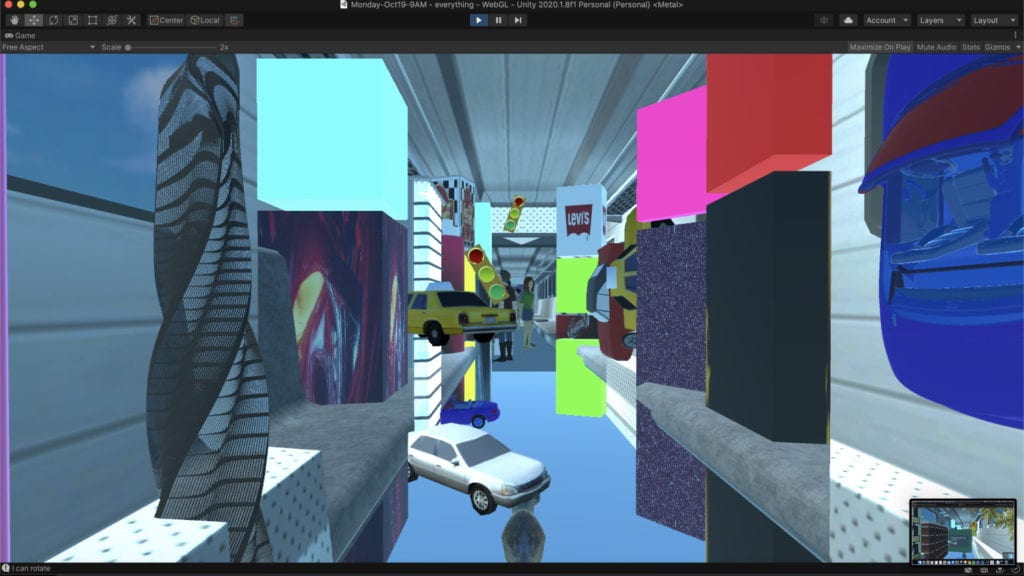
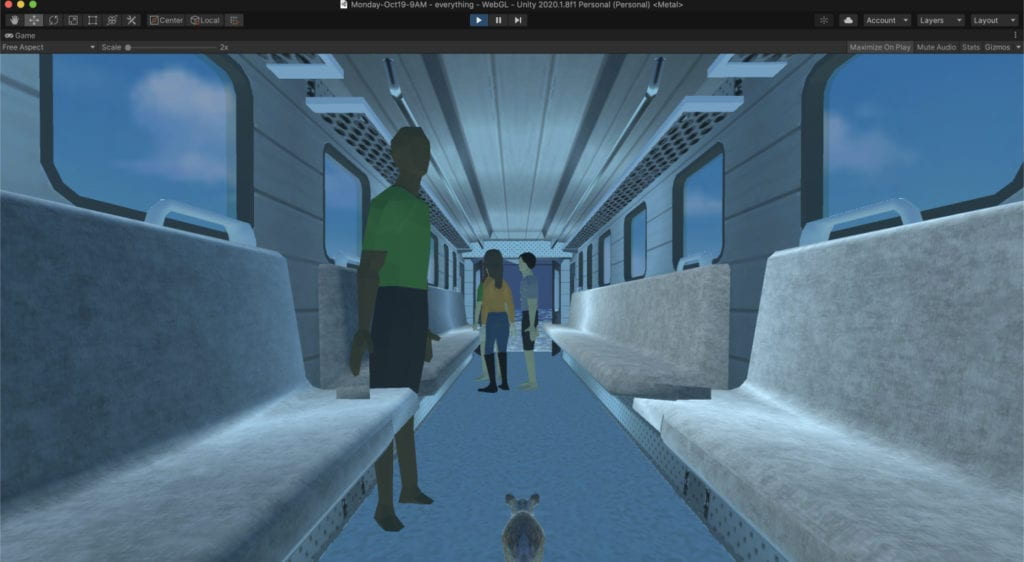
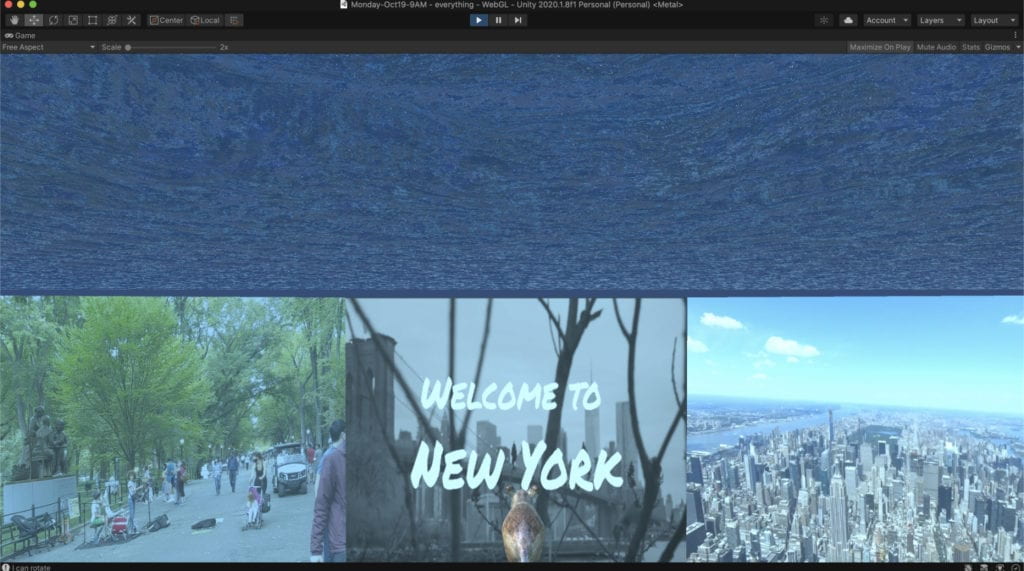
For our final Video and Sound project, Stuti, Sara, and I teamed up to create an interactive Alice in Wonderland themed experience in Unity. The project’s goal was to create a surreal representation of moving to NYC for the first time. The main character is a mouse that falls into a magical tunnel. At the end of the tunnel, the mouse starts its journey by navigating four subway cars. The first being a cramped apartment – next to a social/going out car – third a car where the mouse needs to navigate the crowded and confusing Manhattan streets- finally making its way to a cramped and crowded car that closely resembles real life. In the end, the mouse walks out of the final car, dropping back into reality. 

Unity screenshot

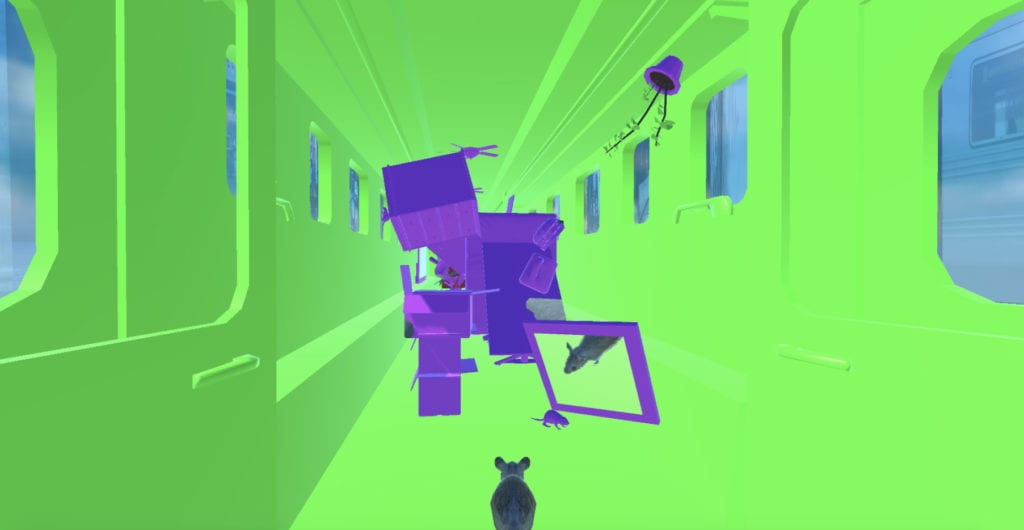
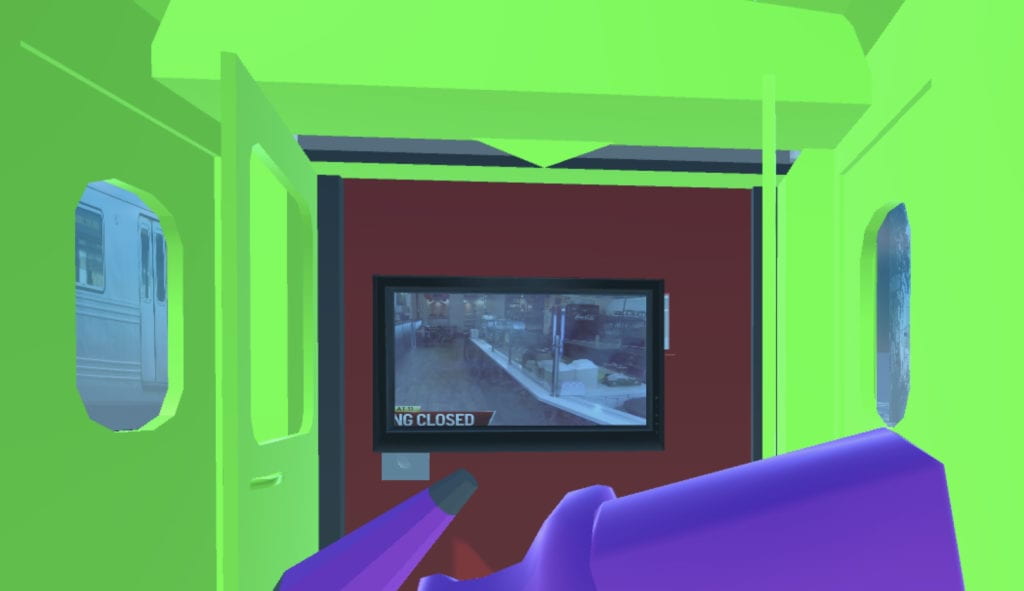
Individually each one of us contributed a car, mine being a color-blocked cramped apartment. Upon entering, the character is met with a mirror where they can check themselves out and see that they are a mouse. As they progress, everyday furniture is all over the place. A stove is upside down; food is floating, a fish tank is tipped over. In the subway windows, videos of NYC are playing on the loop. When the character walks by the tv, an invisible trigger turns it on, playing a short video of pigeons in Washington Square Park. Finally, the faint sounds of neighbors can be heard through the walls.

Unity screenshot

Unity screenshot

The team collectively worked on troubleshooting our individual cars, compiling the entire project, creating the entry and exit points, and the final car.  All three also agreed to meet up after class to further polish and expand the piece. 

Unity screenshot

Unity screenshot

Unity screenshot

Unity screenshot

Unity screenshot

Unity screenshot

Some ideas for future expansion include:

  • Having the mouse turn back into a human in the final car. 
  • Introducing scanned objects and people. 
  • Adding more cars. 
  • Making a more seamless experience. 
  • Adding more objects that we create. 

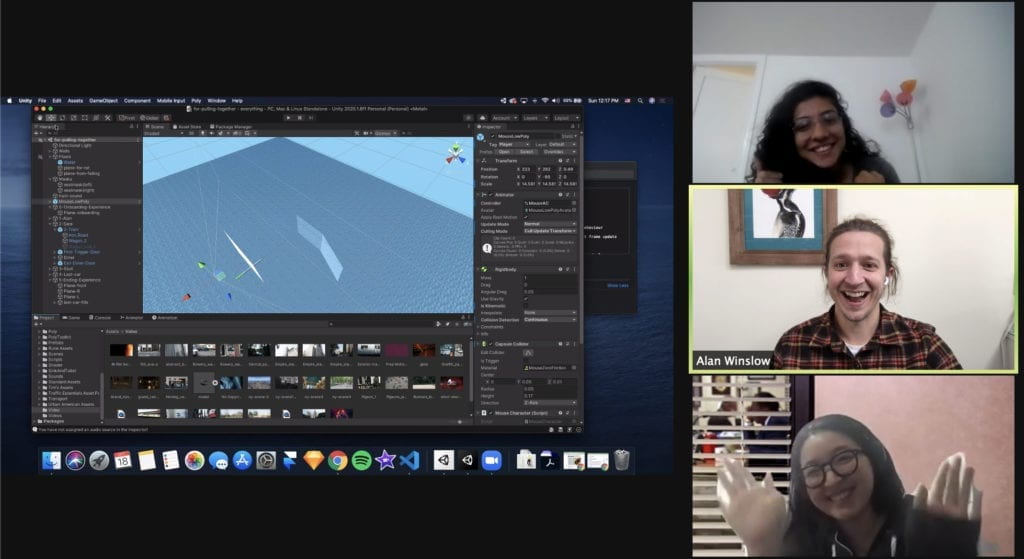
Screen shot of three people working in unity

I couldn’t ask for a better team. We spent hours on zoom collaborating, brainstorming, and laughing at all the errors we needed to fix. 


Leaves falling animation

This week our assignment was to either re-work or create a new script using functions to compartmentalize our code. I like starting from scratch so that I can redo things I’ve already learned while adding new features. So here we go! The leaves are changing here in NYC, so I thought, why not do a Fall theme. 

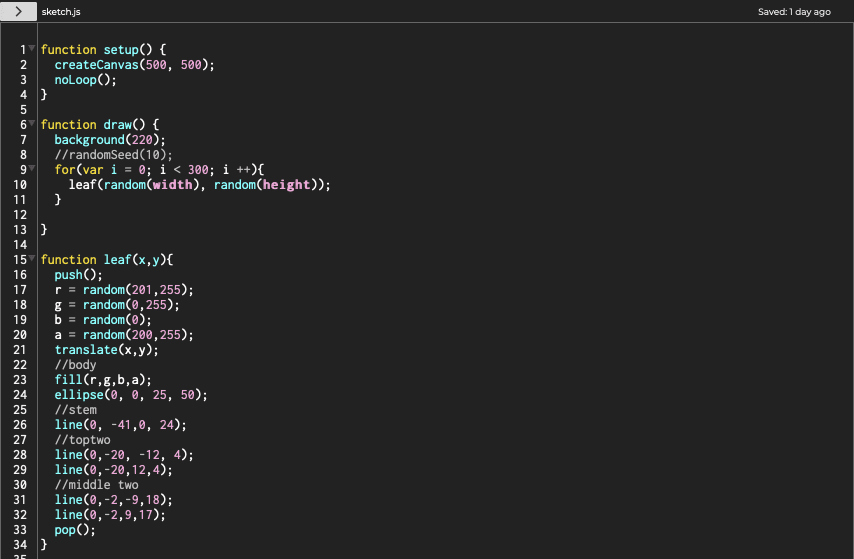
To start, I wanted to make static leaves of varying colors. I created a function called “leaf” within it; I drew the leaf shape, gave them random fall colors, and placed them randomly throughout the frame.
P5js Sketch of static leaves

I was happy with what I had so far, but I wanted to add some animation or movement to the piece. Ideally, I wanted the leaves to change color and fall. To tackle this, I started researching how to make the leaves change over time. First, I tried LerpColor. Below is the description from the P5JS reference page. 
“Blends two colors to find a third color somewhere between them. The amt parameter is the amount to interpolate between the two values where 0.0 equal to the first color, 0.1 is very near the first color, 0.5 is halfway in between, etc. An amount below 0 will be treated as 0. Likewise, amounts above 1 will be capped at 1. This is different from the behavior of lerp() but necessary because otherwise, numbers outside the range will produce strange and unexpected colors.”
I couldn’t get this to work for me and thought it had to do with the fact that I called noLoop() at the beginning of my script. Next, I tried using an if statement and framerate(). Again, I couldn’t seem to get it to work. 

I needed another set of eyes on my problem, so I reached out to Peiling Jiang at the Coding Lab. We had a great hour-long conversation, and since I had already started reading about classes and arrays, he thought we could incorporate them into my project.

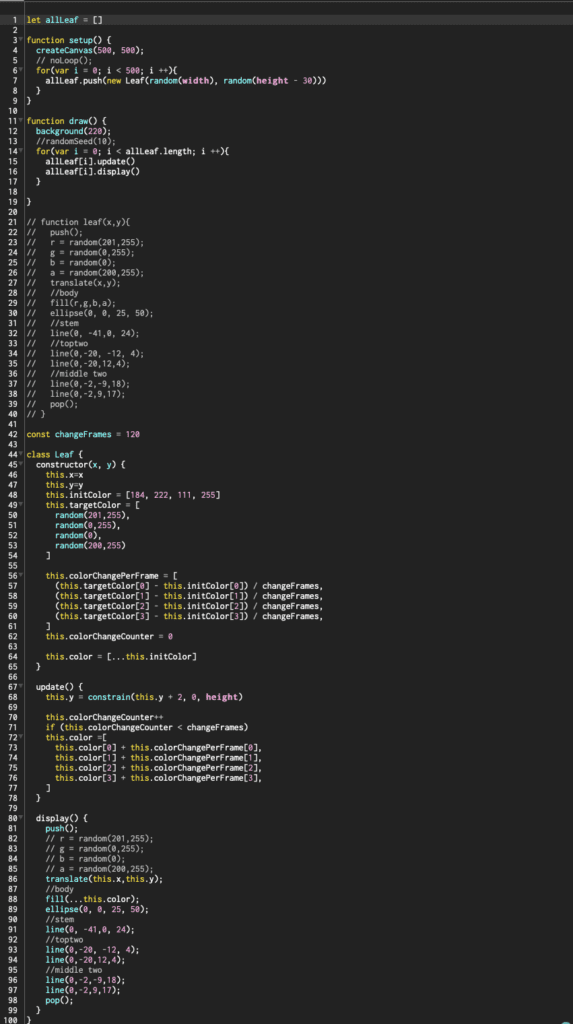
p5js script on leaves falling

Slowly with his incredible patients, we made our way through the project. First, we made a class for leaf rather than just a function. Inside that class, we could do everything I wanted to do from having the leaves color change to make them fall based on the script’s framerate. 

All in all, it was a success, and a big thanks go out to Peiling for help. 

Lockbox Process


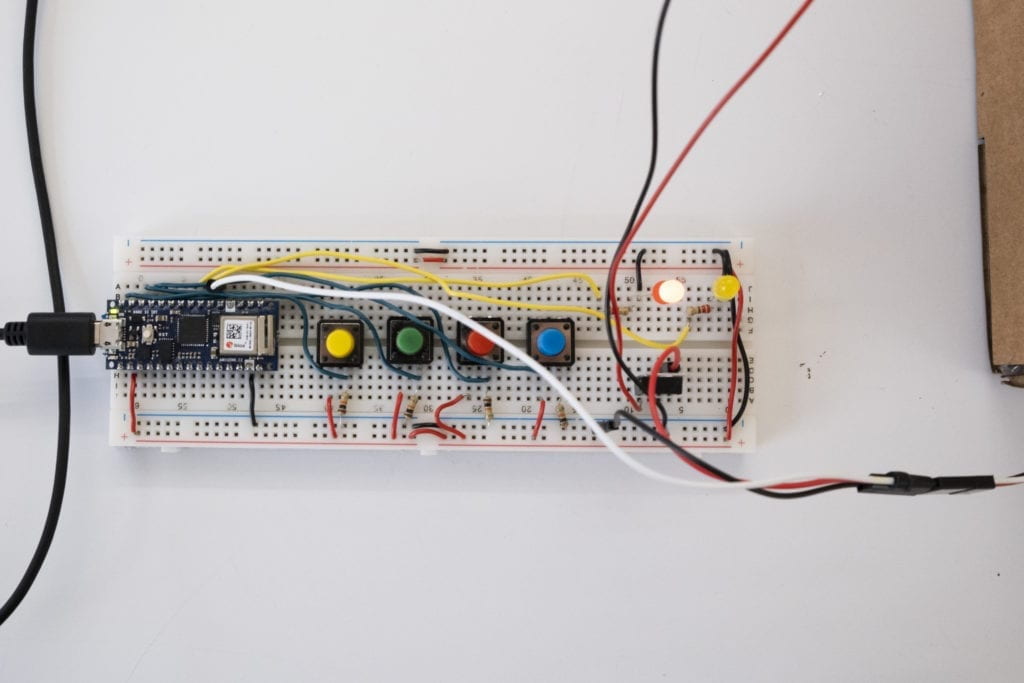
For my first project, I decided to make a lockbox. I figured making a custom for button arrangement would be a challenge for my coding and construction skills so I broke this project down into small stages. First, I wanted to just get the switches up and running using LED’s. If the user punches in the correct code, the LED would switch from red to yellow. The password, in this case, is 2,1,3,4, but don’t share that. 
Breadboard with four buttons and one LED lit

Below is an example of the lights working. 


Servos have been my nemesis over the last couple weeks so I wanted to take this project another step and include one as a locking mechanism.  

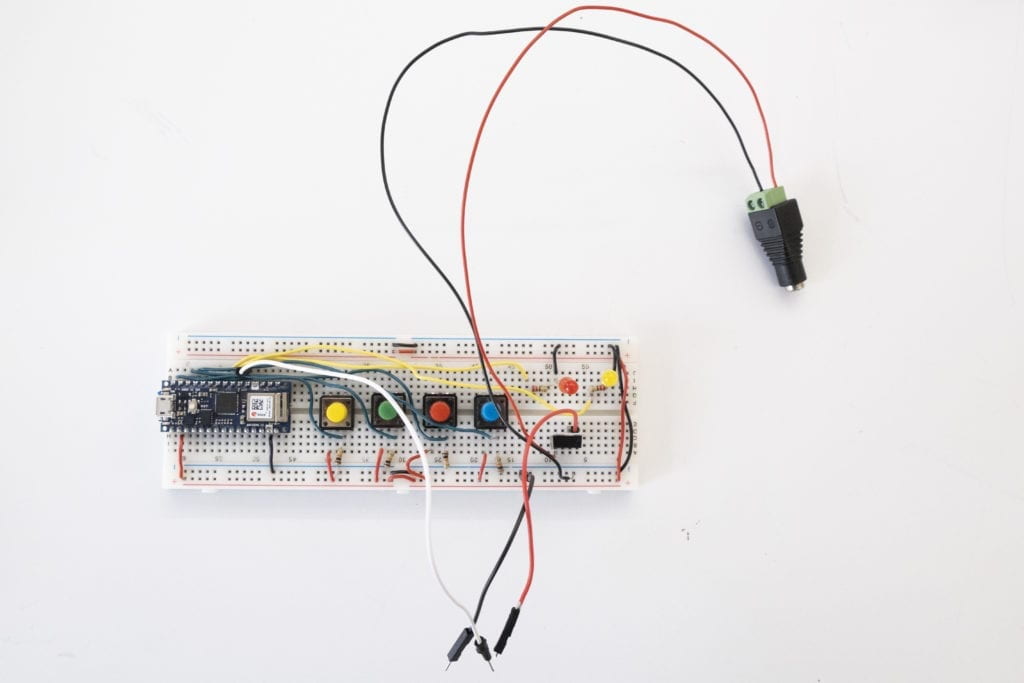
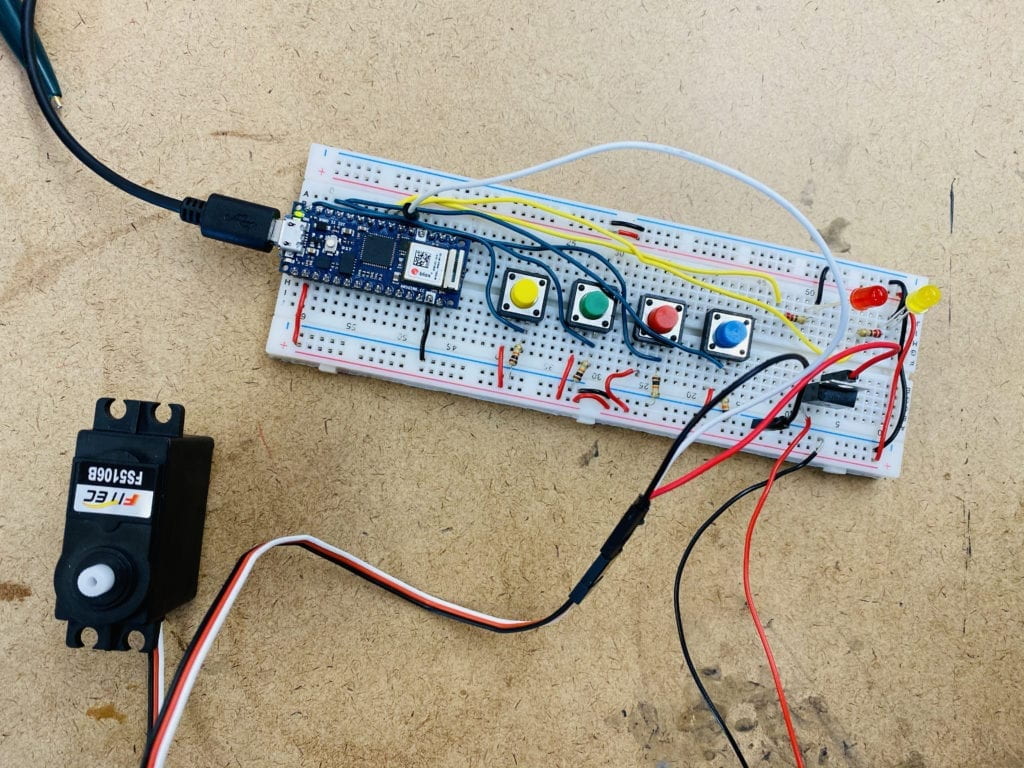
Breadboard with four buttons and socket wired

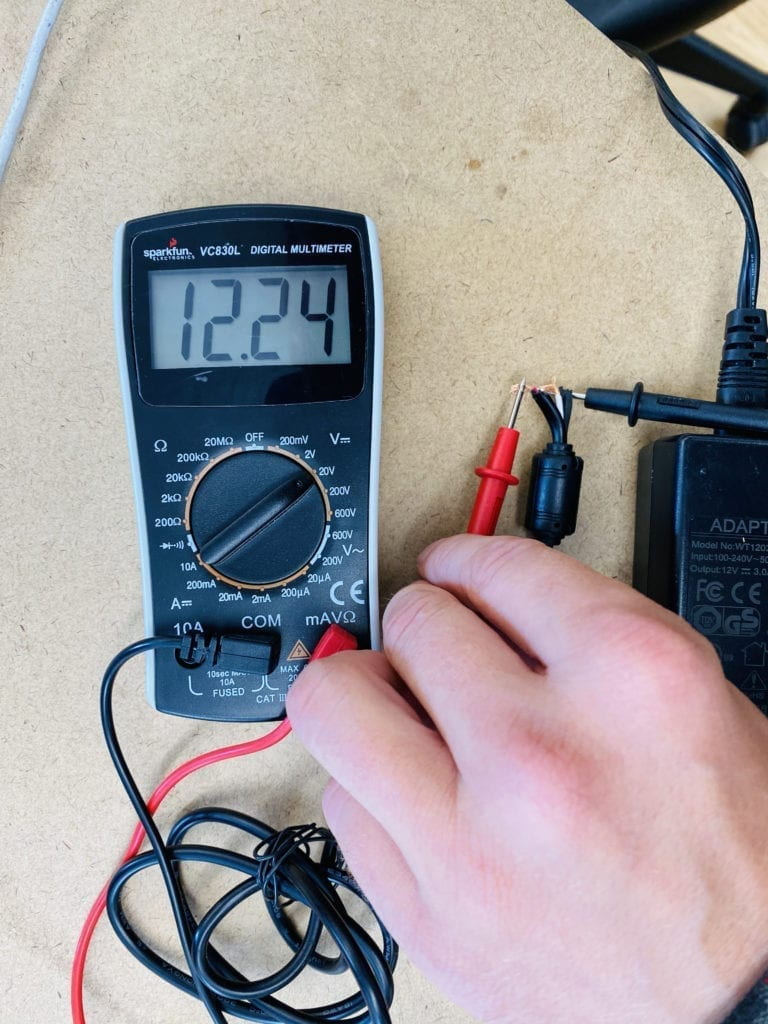
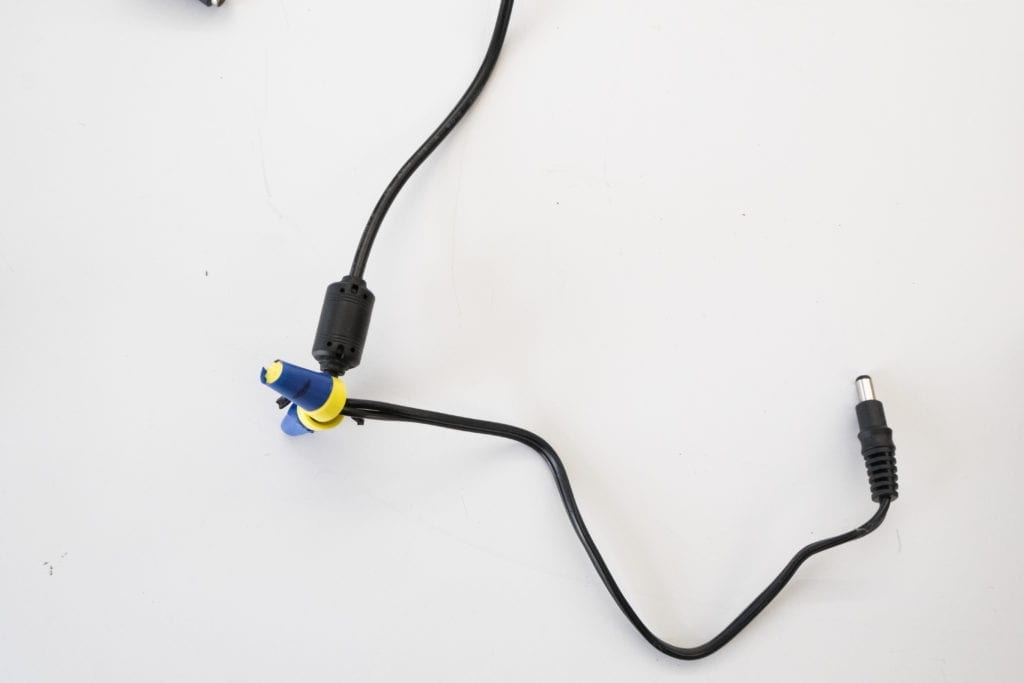
To achieve this, I needed more voltage to run my servo. The Arduino Nano couldn’t get the job done. I went over to the junk pile on the floor to find a power supply that would work.  

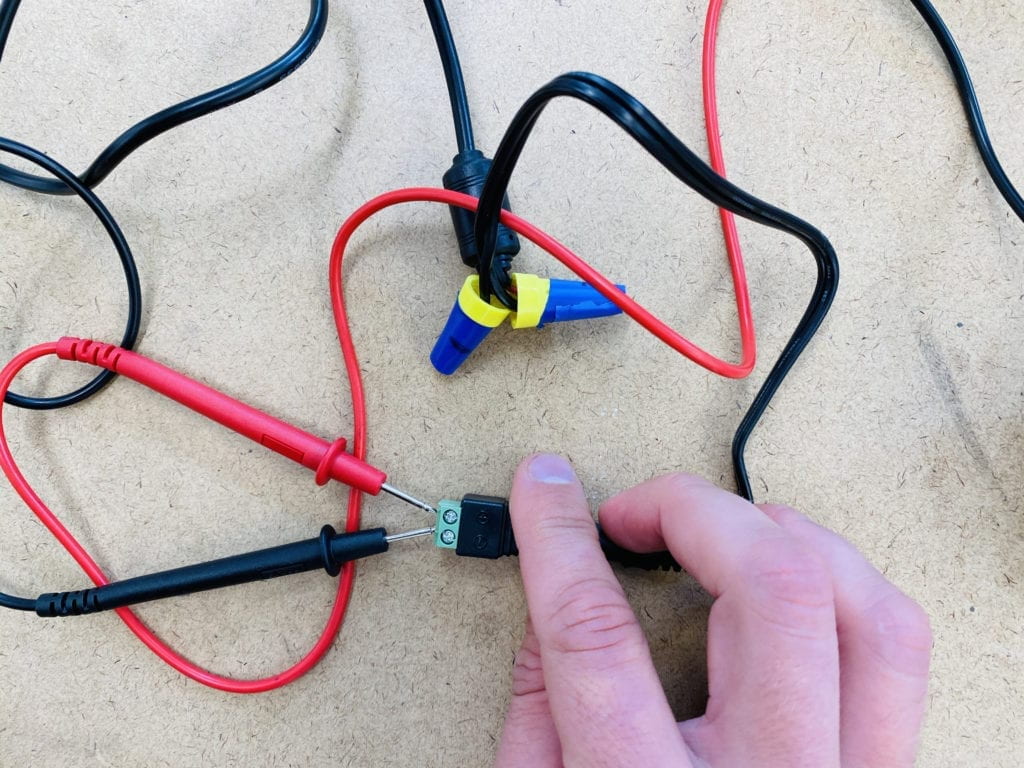
The power supply was 12 volts and just raw wires. Luckily I found more components that I could wire together once I knew I was getting the proper voltage. 

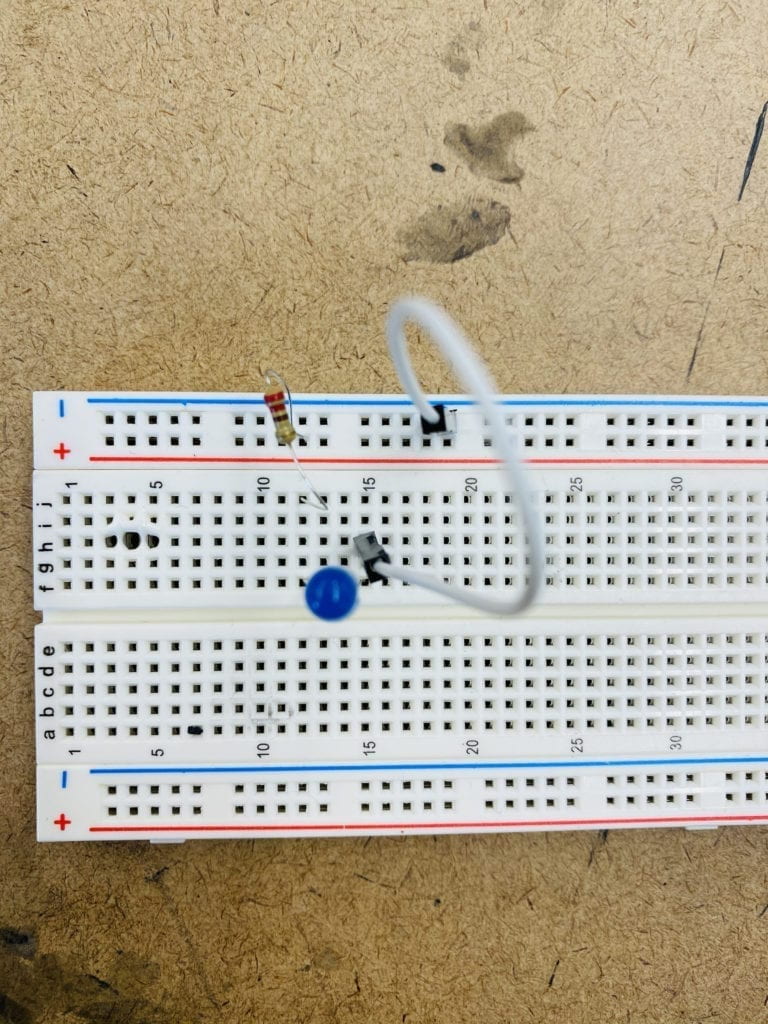
 I have never used a voltage regulator, so I got a spare breadboard out and attempted to light just a single LED. I wired the regulator wrong so instead of converting 12v to 3.5v I melted my board. I misread the datasheet. 

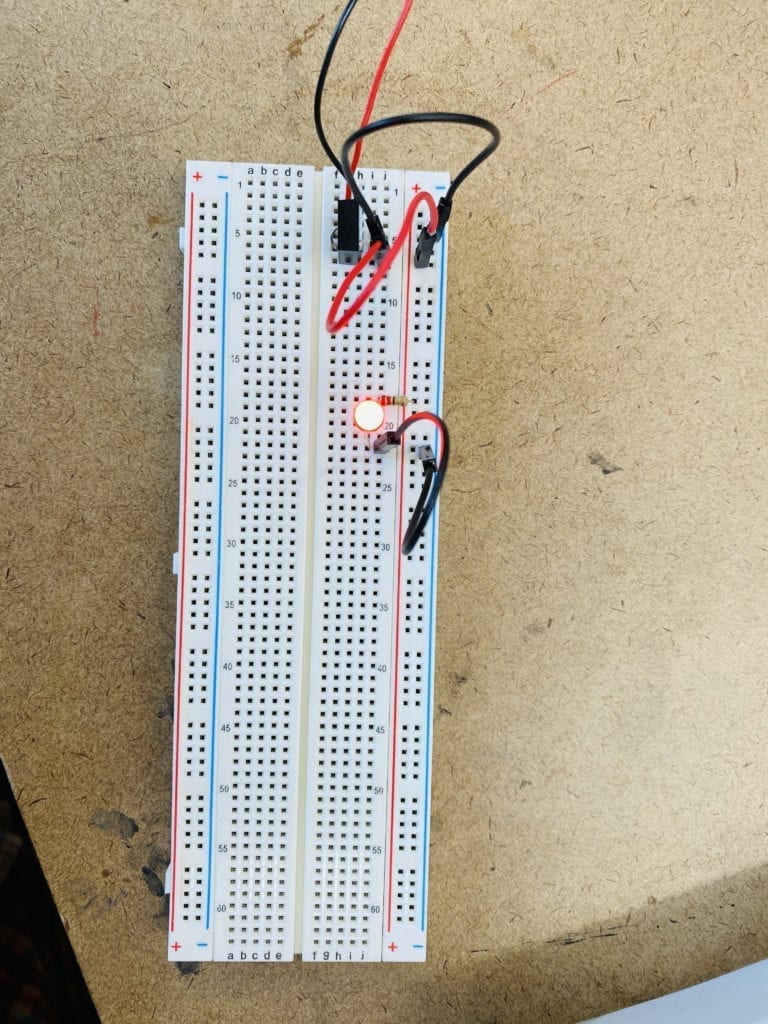
With new components, I was up and running correctly.

New wiring for old parts. Wiring with two wire caps

Modified breadboard. Breadboard with four buttons and socket wired

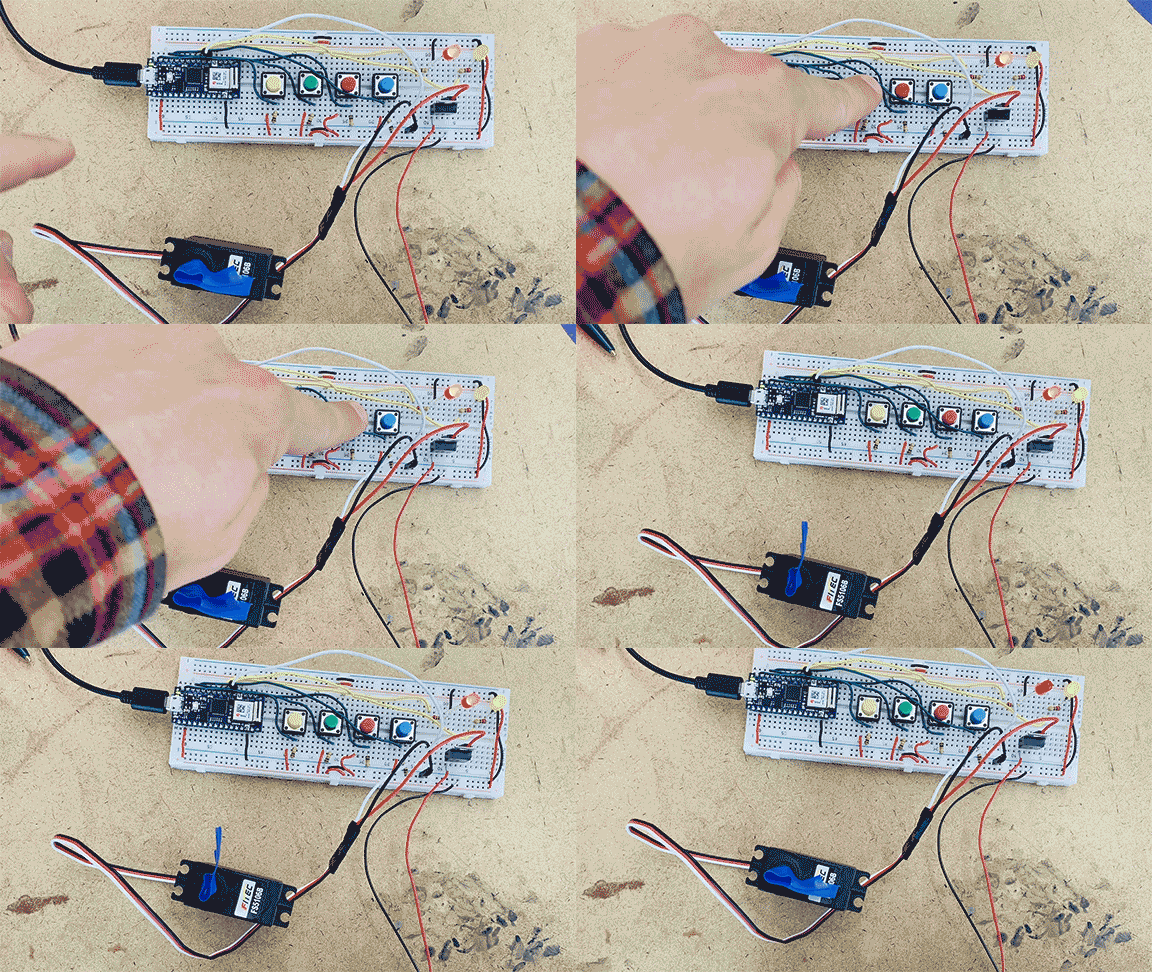
Servo attached to the breadboard. 

Servo up and running with the correct code.

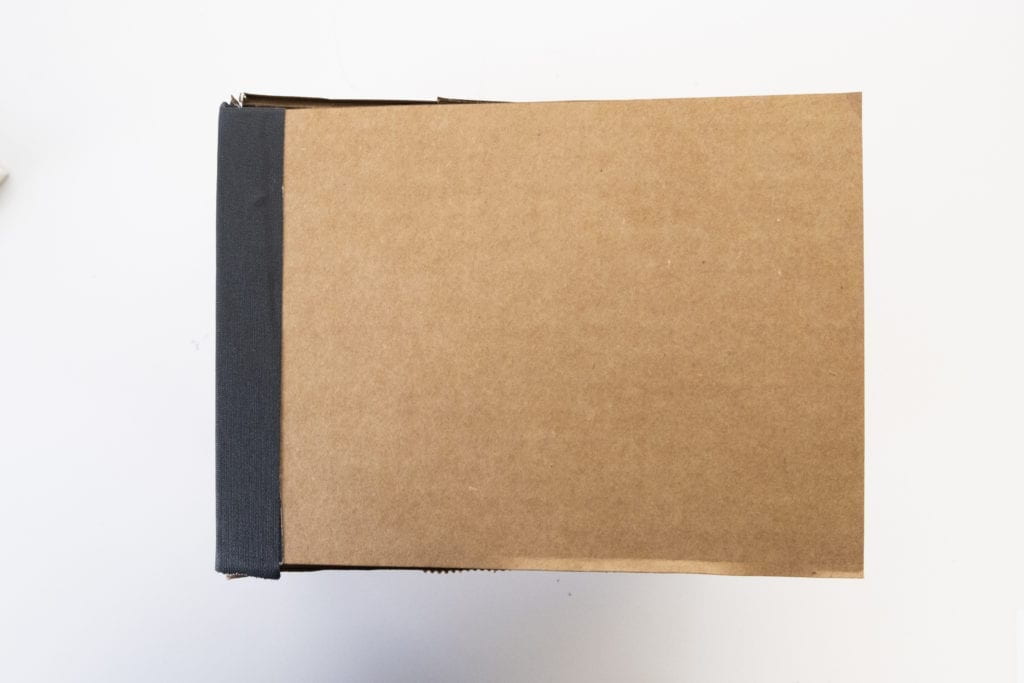
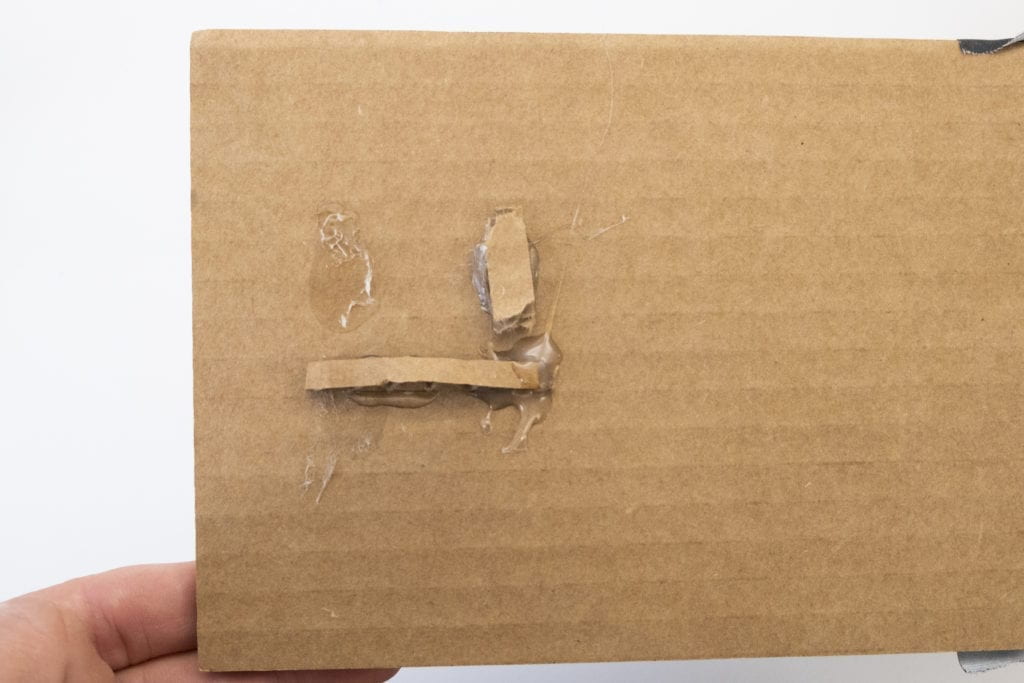
My rough laser cut box. Laser cut cardboard safe

Latch on the interior of my box. 

Cardboard lock

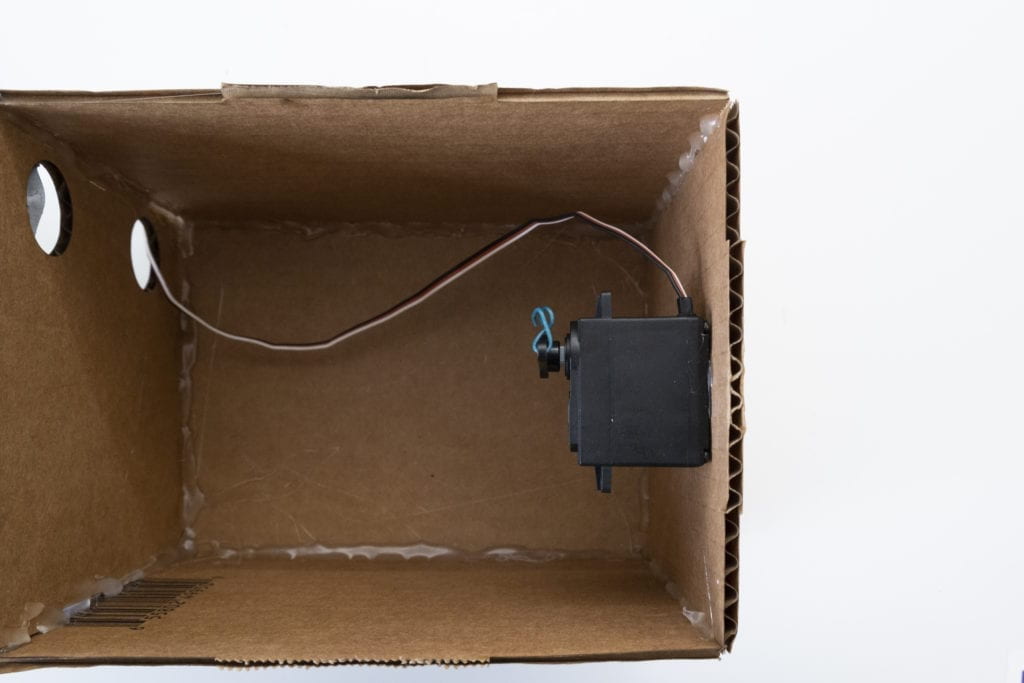
Servo inside the lockbox. 

Servo inside a lock box

The servo and locking hook activated after the code is typed in. 

And here is the piece in full use. 

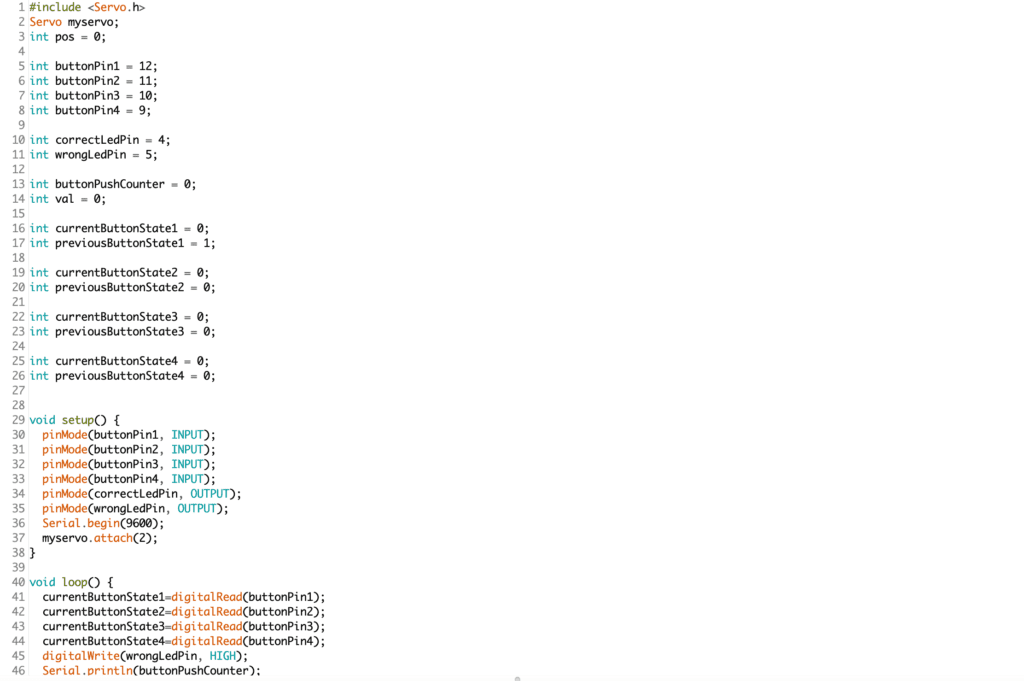
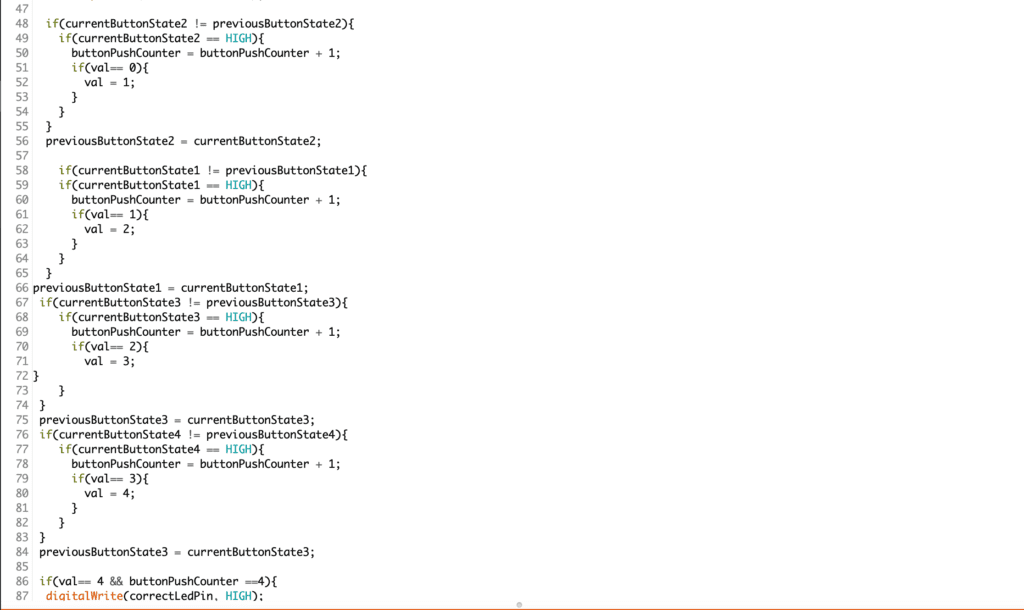
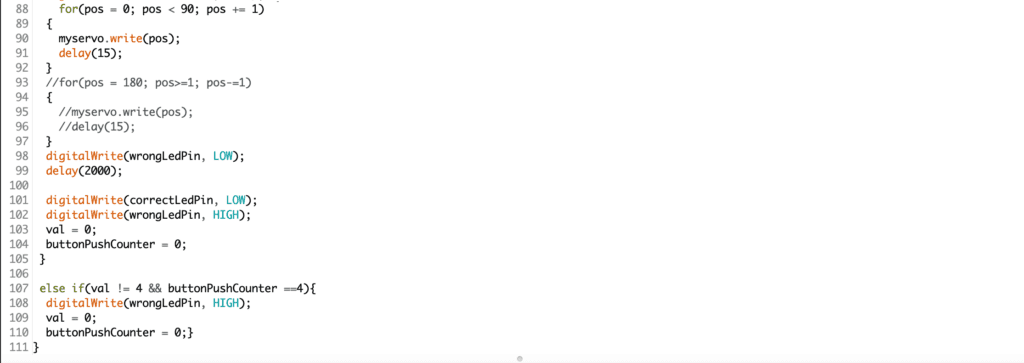
Below is my code of the project: Arduino code 1 Arduino code 2 Arduino code 3

I referenced several projects to help get this code up and running. Below are links to all those projects. 

https://highvoltages.co/tutorial/arduino-tutorial/combinational-lock-using-push-button-and-arduino/

Button Combination Lock

http://lizastark.com/physcomp/week-4-controlling-led-outputs-using-a-combination-of-buttons/

Going forward:

To make this project more user friendly and interesting, I am considering the following changes.

  • Bring the breadboard inside the box and custom make a button that can sit outside. 
  • Have a reset button either with time or an actual button if the user hits the wrong button. 
  • Have a better locking mechanism. I was thinking of fabricating an eye hook. 
  • Have the ability to relock the box with the servo rather than by hand. 
  • Code the ability to change the combination. 

Repetition with loops

This week the assignment was to “create an interactive artwork that implements the concept of repetition with variation.” Understanding loops and their functionality has been a challenge for me, but this week it finally clicked. Is crying from joy and relief a normal response to learning how to code?

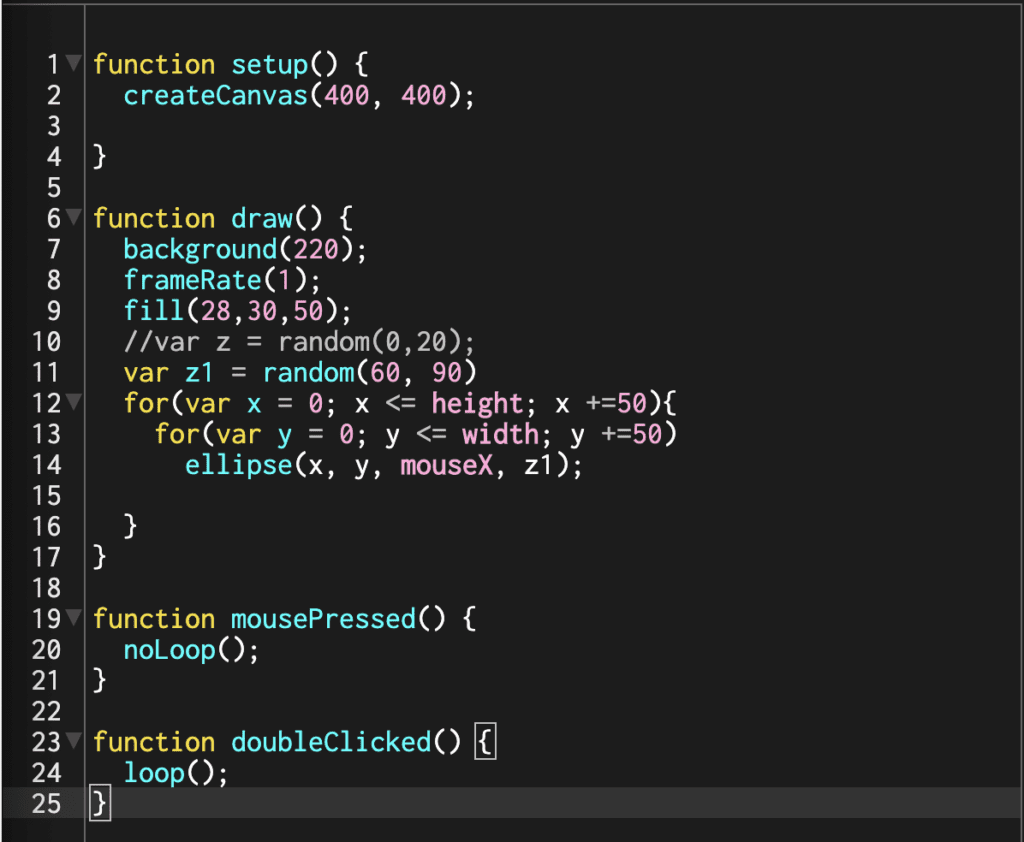
For my assignment, I wanted to make a series of ellipses that the user could modify, but that also changed independently. To achieve this, I used mouseX to adjust the circles’ width and called a random function to control the height. The ellipse is within a nested loop. 

To add a little more complexity and test out some new functions, I added mousePressed to stop the loop and doubleClicked to restart it. 

p5js editor screen shot of a nested loop.

Give it a try here: